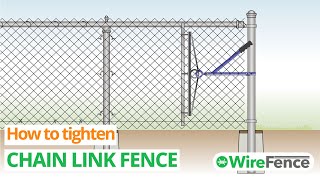
Show video
90cm (3ft)
10m (33ft)
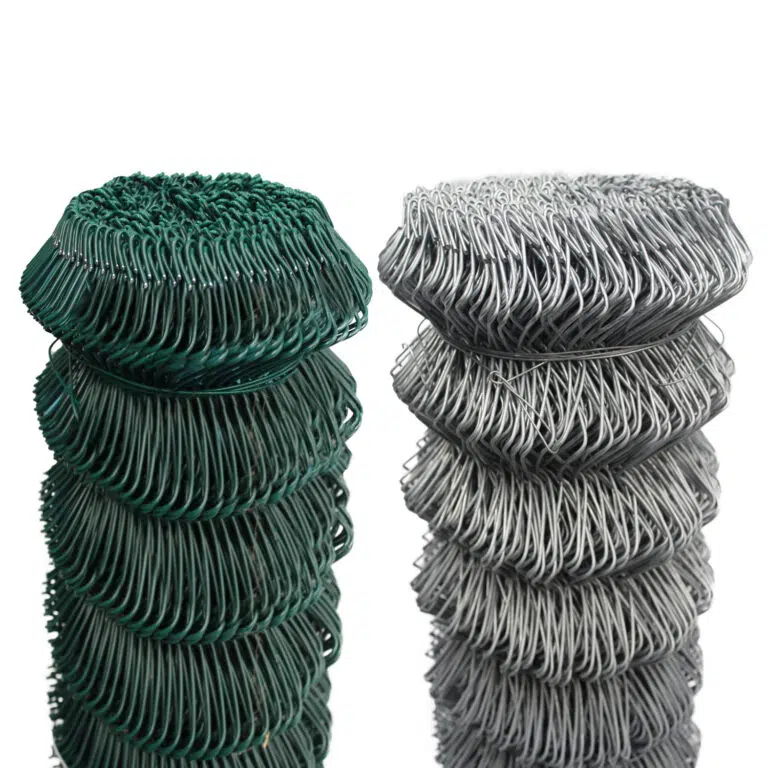
Galvanised + PVC coated
1.7mm (15g) - 2.5mm incl. PVC
£47.99 inc. VAT


Buy Galvanised & PVC chain link fence for commercial and residential applications, including boundary/perimeter demarcation and security fencing.
Key Product Info:
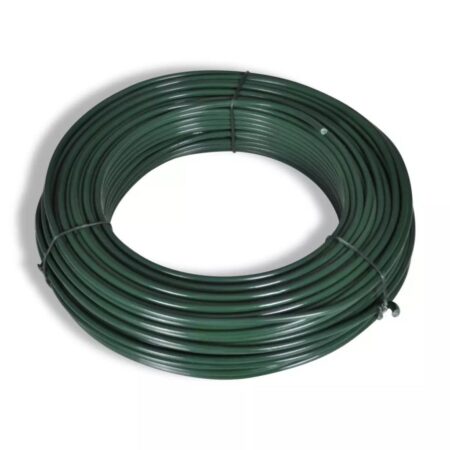
Related: Tensioning Wire, T Posts


Our chain link fencing has been manufactured in Europe to British Standards. All products purchased before 11am will be delivered the next day. Bulk discounts will be applied at checkout. If you are a returning customer, you will receive a cumulative discount.


| Property | Description |
| Material | Hot dip galvanised with zinc coating |
| Wire Construction | Twisted together in a single wind for superior flexibility & adaptability during installation |
| Zinc Purity | 99.9% |
| Appearance | Diamond shape mesh: metallic grey /silver |
| Hole Size | 50mm x 50mm |
| Diameter | Standard: 2.5mm & Heavier: 3mm |
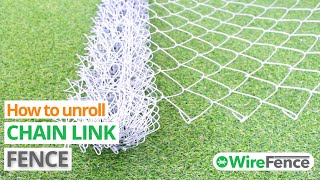
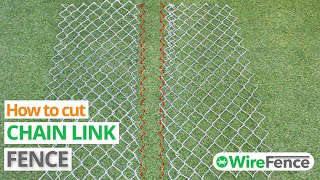
| Handling | Delivered as a roll, easy to cut to size |
| Biodegradable | No |
| Property | Description |
| Material | Steel wire is hot dip galvanised, then immersed in primer before plastic coating is applied. |
| Wire Construction | Twisted together in a single wind for superior flexibility & adaptability during installation |
| Zinc Purity | 99.9% |
| Appearance | Diamond shape mesh, with alpine green plastic coating |
| Hole Size | 50mm x 50mm |
| Diameter | Standard: 1.7mm / 2.5mm & Heavier: 2.1mm / 3.1mm |
| Handling | Delivered as a roll, easy to cut to size |
| Biodegradable | No |
| Corrosion Resistance | 10 years (in low risk environments) |
How deep in the ground do fence posts need to be?
The posts should be 1/3 the length of the post. For example:
How much concrete do you need for a post?
For an average size post, you will need around 150mm of concrete.
Can I install chain link fence posts without pouring concrete?
For long-term structural stability, corner, end, and gate posts must always be set in concrete because they bear the full tension when pulling the wire mesh tight. However, for intermediate line posts in firm soil, driven post options can be used.
Can a fox climb a chain link fence?
Yes, believe it or not, they can. Opt for a fence that is over 6ft / 1.8m high, for the best chance of keeping them at bay.
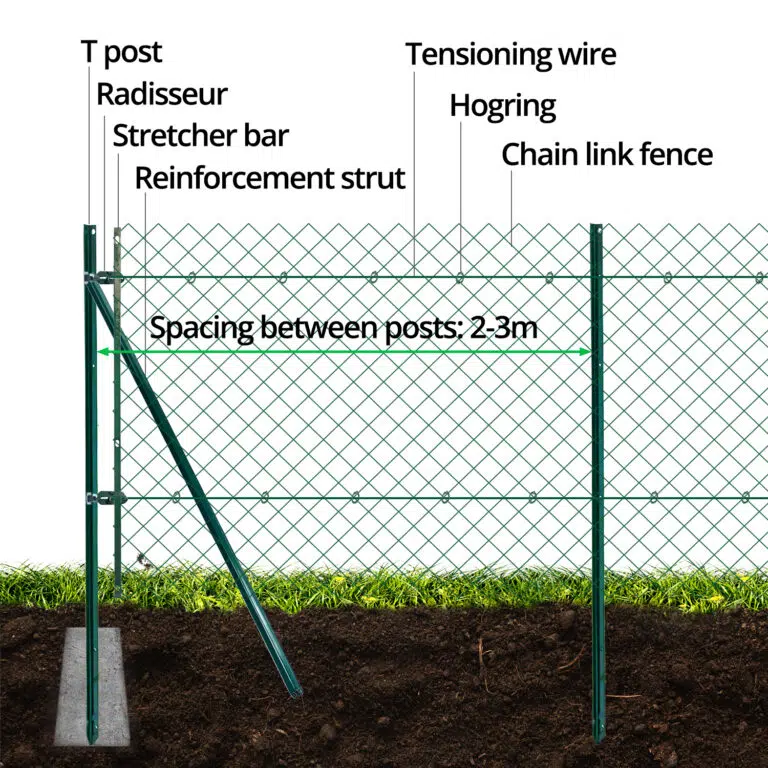
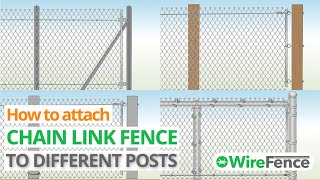
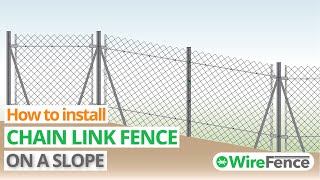
How do I install?
Most of our customers install the rolls in one of the following ways
It is also possible to install onto wooden posts using staples to attach the mesh to the wood.
Will standard chain link fencing keep my dog secured, or can they push underneath it?
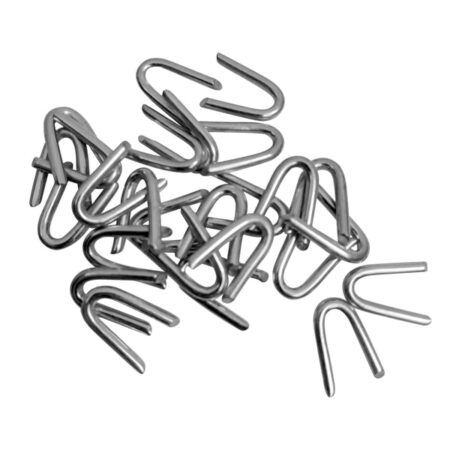
Standard chain link fabric on its own can flex at the bottom if a dog actively tries to dig or push through. To stop it from flexing, we recommend pairing your mesh with our 2-3mm thick High-Tensile Line Wire and Hog Rings pinned along the bottom edge to anchor it taut to the ground.
Browse our dog-proof fencing page for more fencing products
Should I choose Galvanised or PVC Green?
Both options offer outstanding rust protection, but they suit different aesthetic needs:
What gauge (thickness) of wire do I actually need for a garden fence?
When picking wire thickness, remember: the lower the gauge number, the thicker and stronger the wire.
How much fence post hardware and line wire do I need for a 25-meter roll?
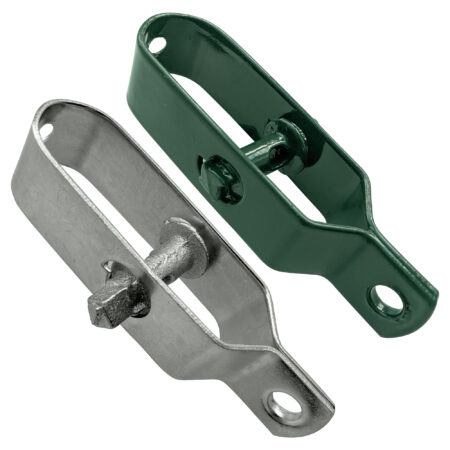
To complete a standard 25-meter run correctly, you will typically need:
These FAQs were assembled and answered by our customer support team members, Joy and Erno. They cover the most common questions our customers ask when planning and buying chain link fencing. We hope this guide helps you choose the right rolls and fittings, but if you have any questions about your project, please get in touch—our team is always happy to help.
Our team has experience using and installing chain link fencing. You can see them in action, installing a chain link fence as well as putting tutorials together about unrolling and cutting the mesh.
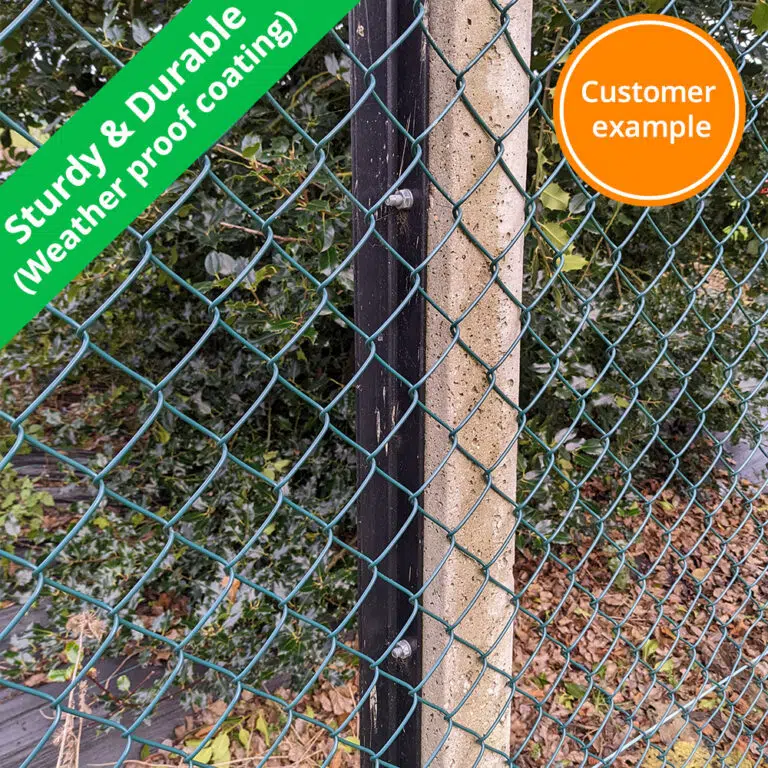
You will find many images submitted by our customers on this page under the ‘Customer Image’ heading, or you can find them on our review page. We have also given the fencing to charitable causes, such as helping to prevent dogs from getting injured on a local train track.
Need visual installation guides or practical tips? Visit our Chain Link Learning Hub to browse our library of step-by-step videos covering everything from unrolling mesh to post setup and wire tensioning.

Wire Fence is part of the Super Magic Bean group - VAT Registered: 344 7643 83 - Company Registration No: 11290483