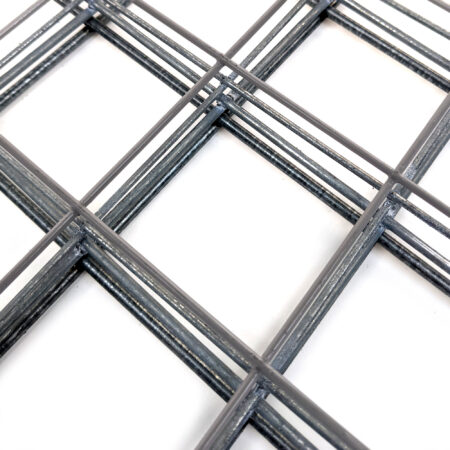
75mm x 75mm
3.2mm
97.5cm (3.2ft)
1m (3.2ft)
£30.22 inc. VAT


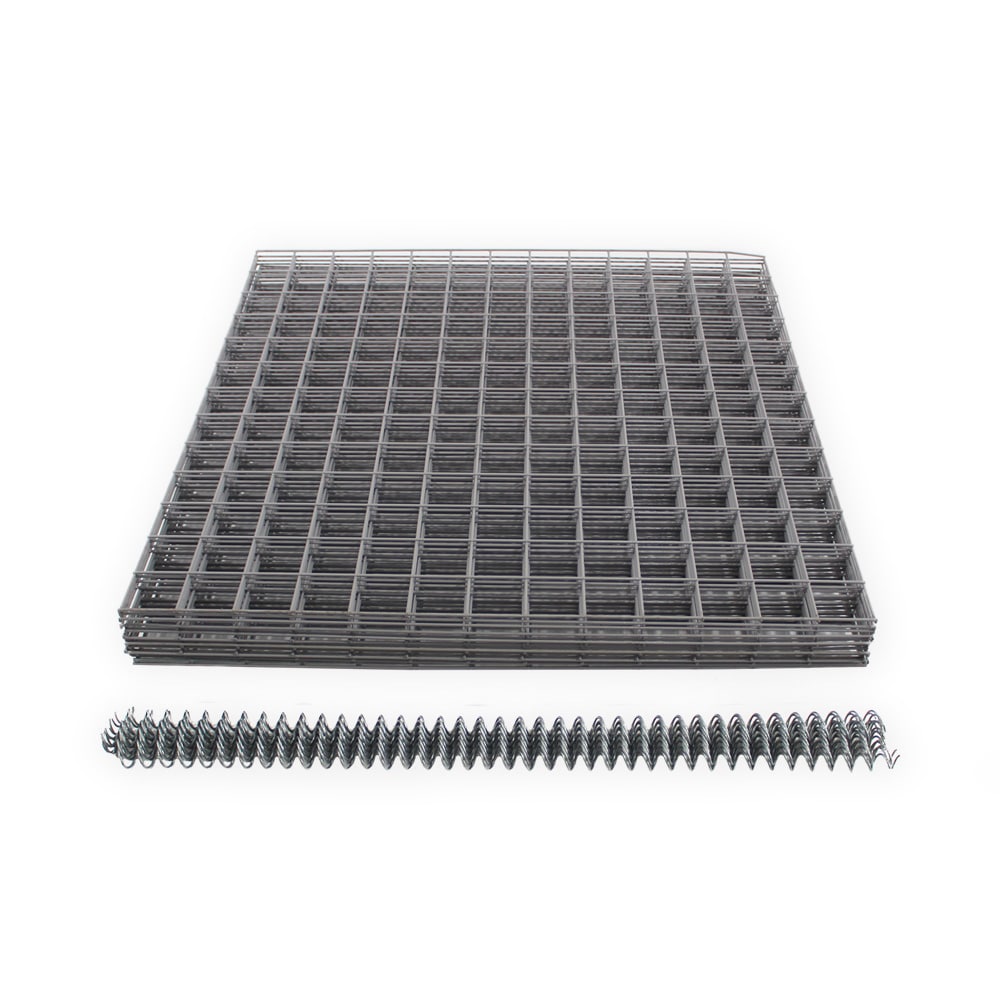
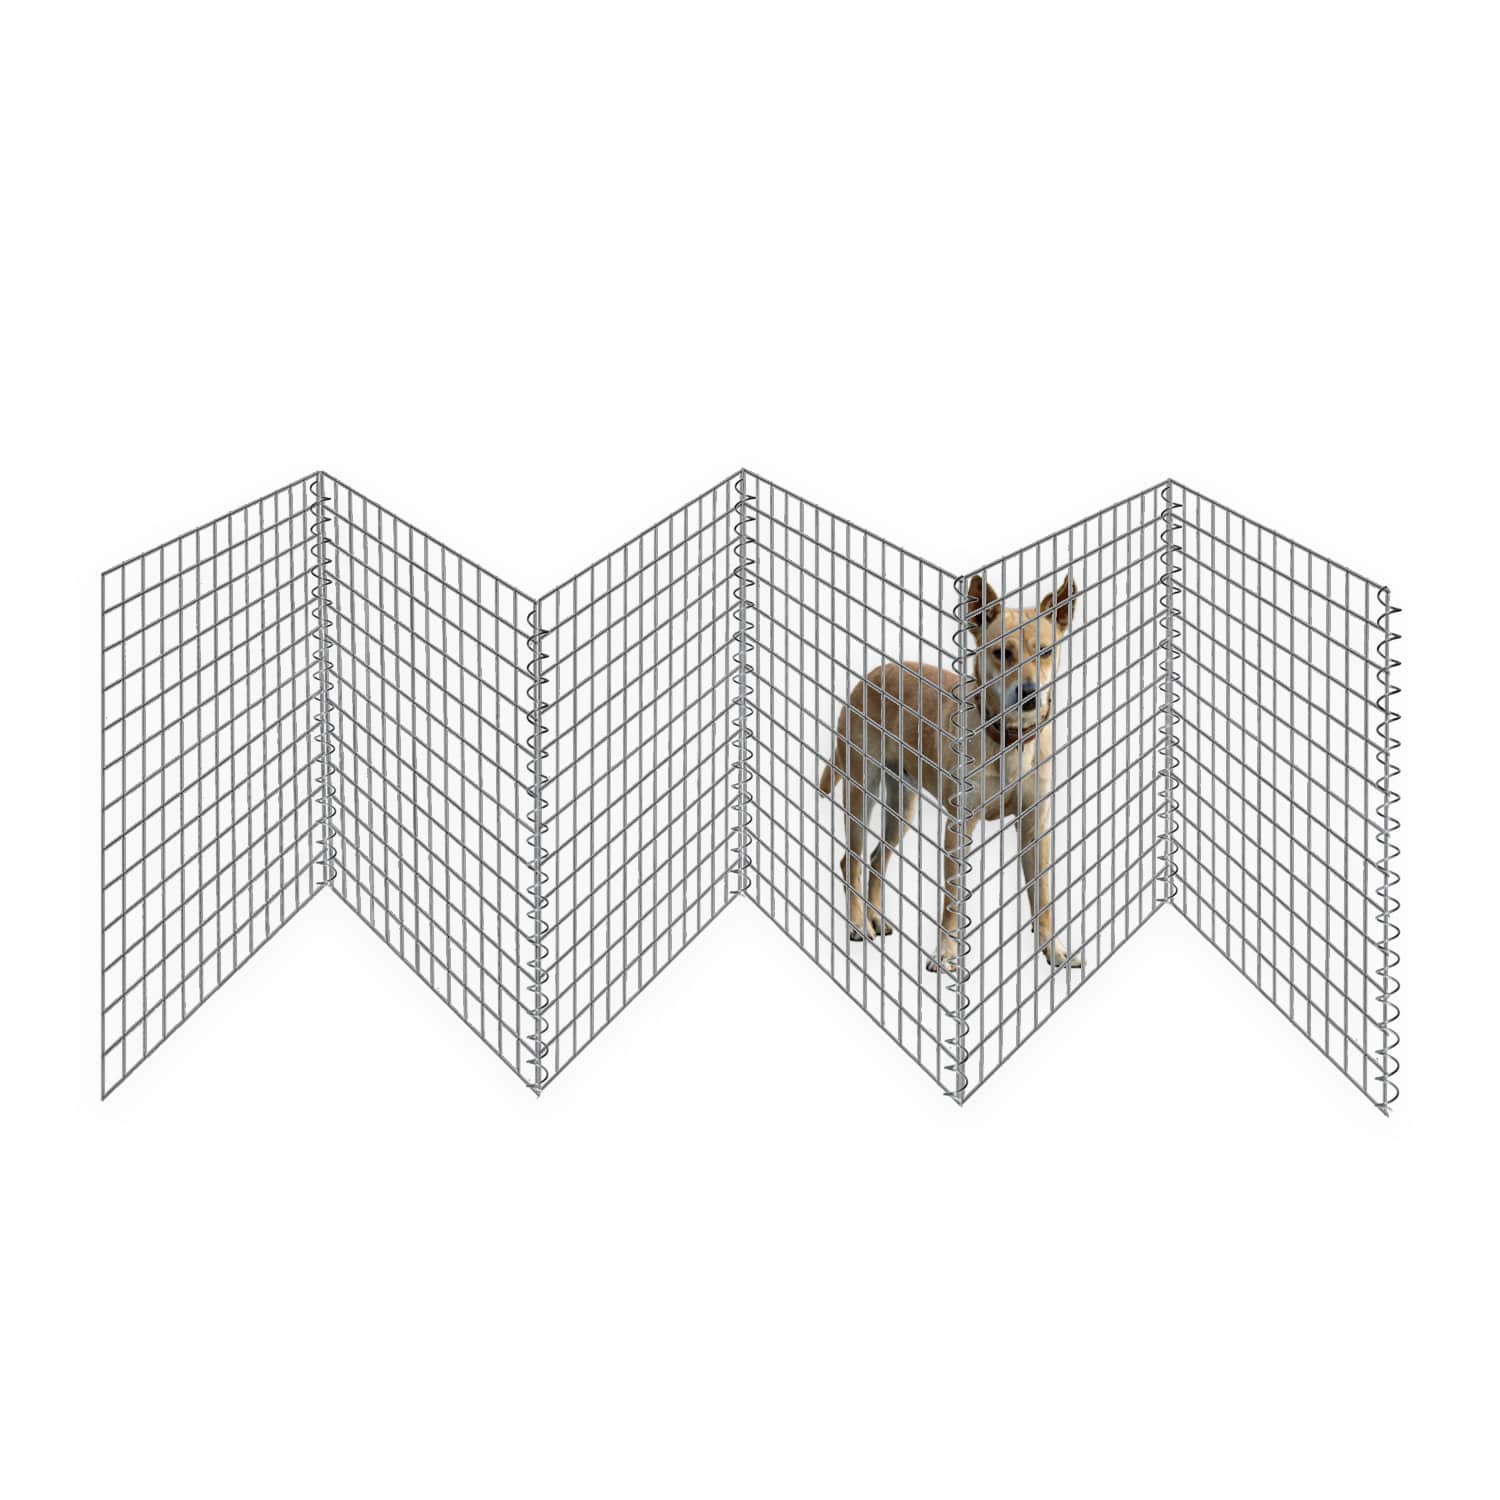
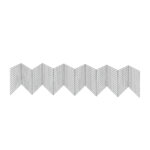
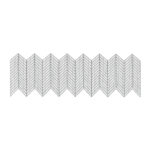
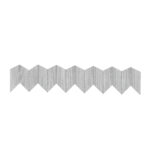
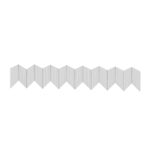
Flexipanel style freestanding dog barrier kits. Suitable for your yard, as temporary fencing or even a gate. Portable dog pen kits and lighter plastic options available.


| To Do | Explanation |
| Step 1 – Preparation
|
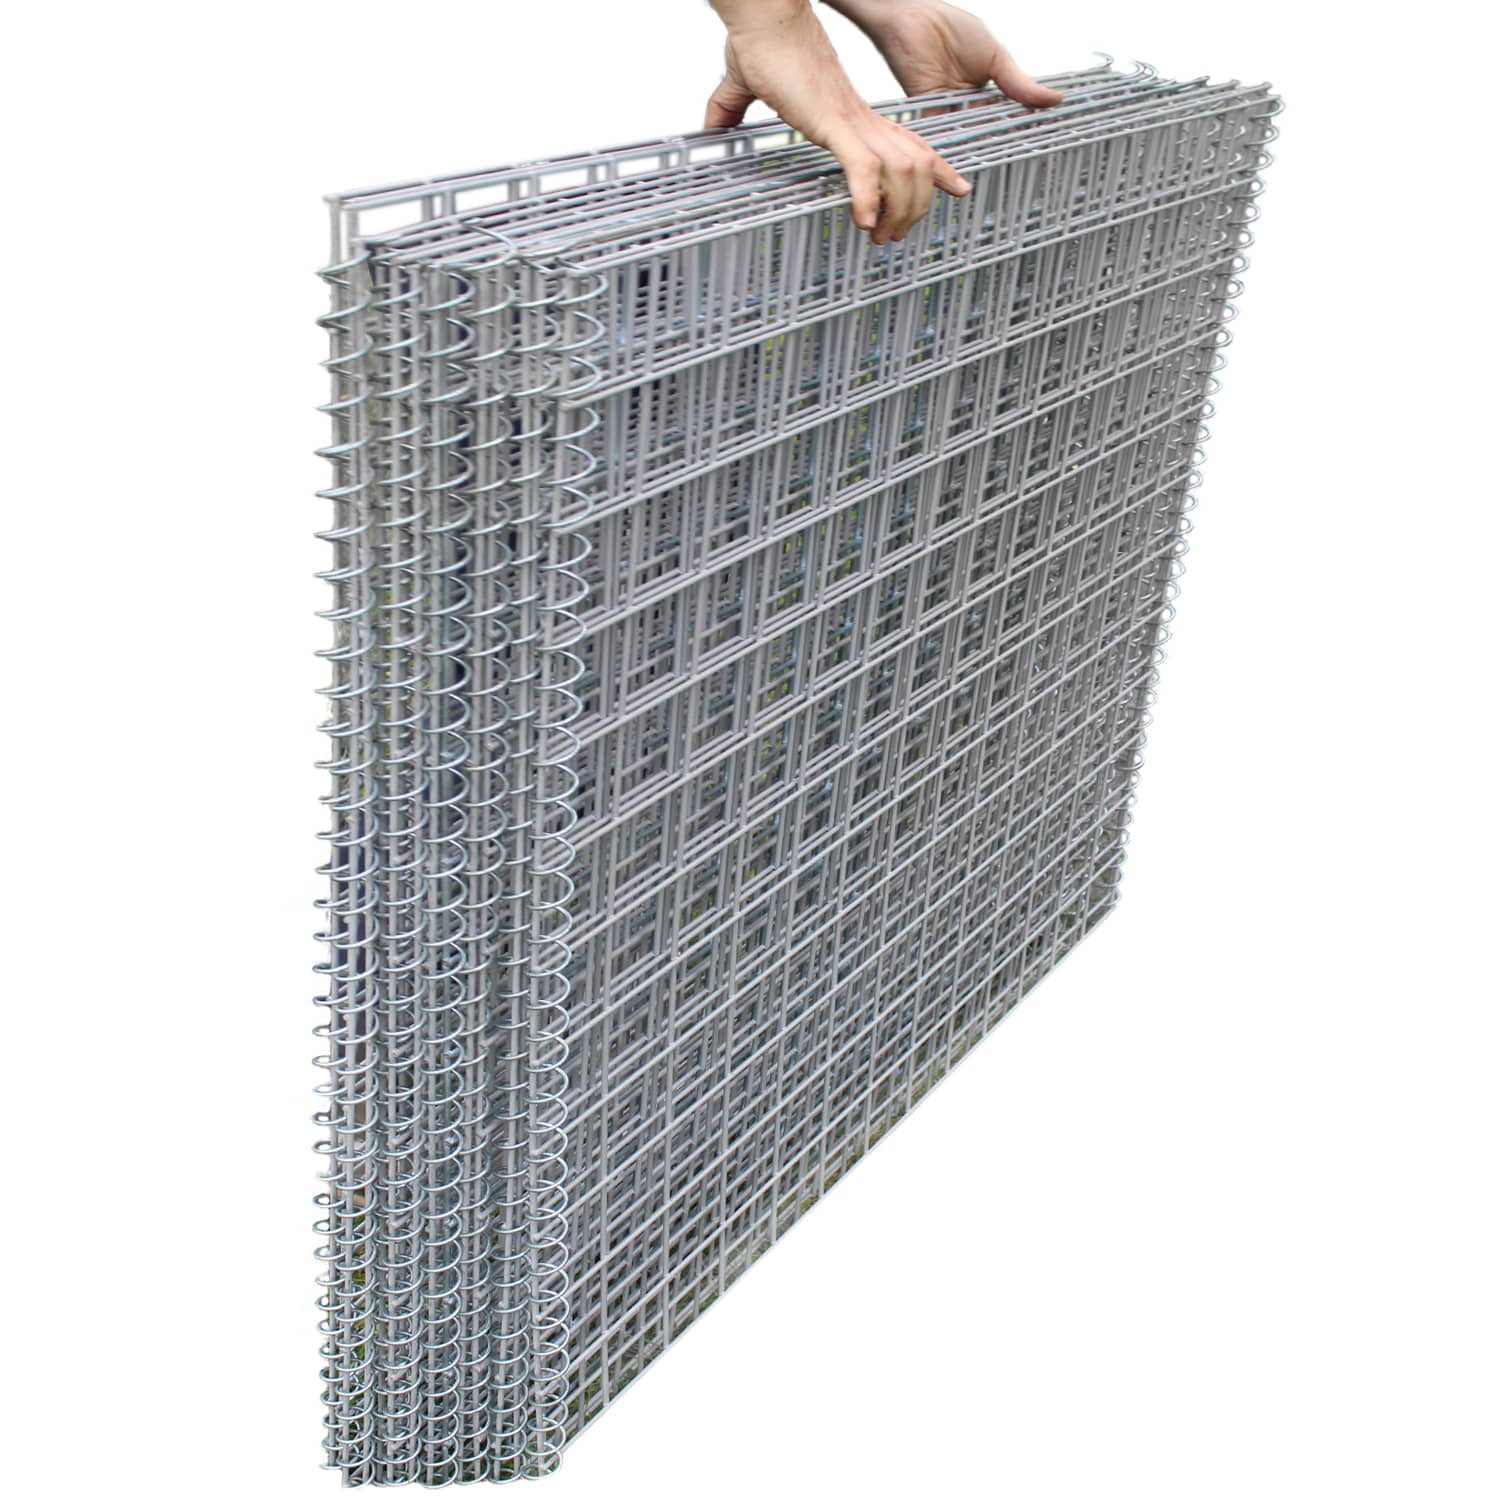
Unpack the barrier kit and count all of the parts.
You should have the same number of panel connectors and panels. |
| Step 2 – Connect panels
|
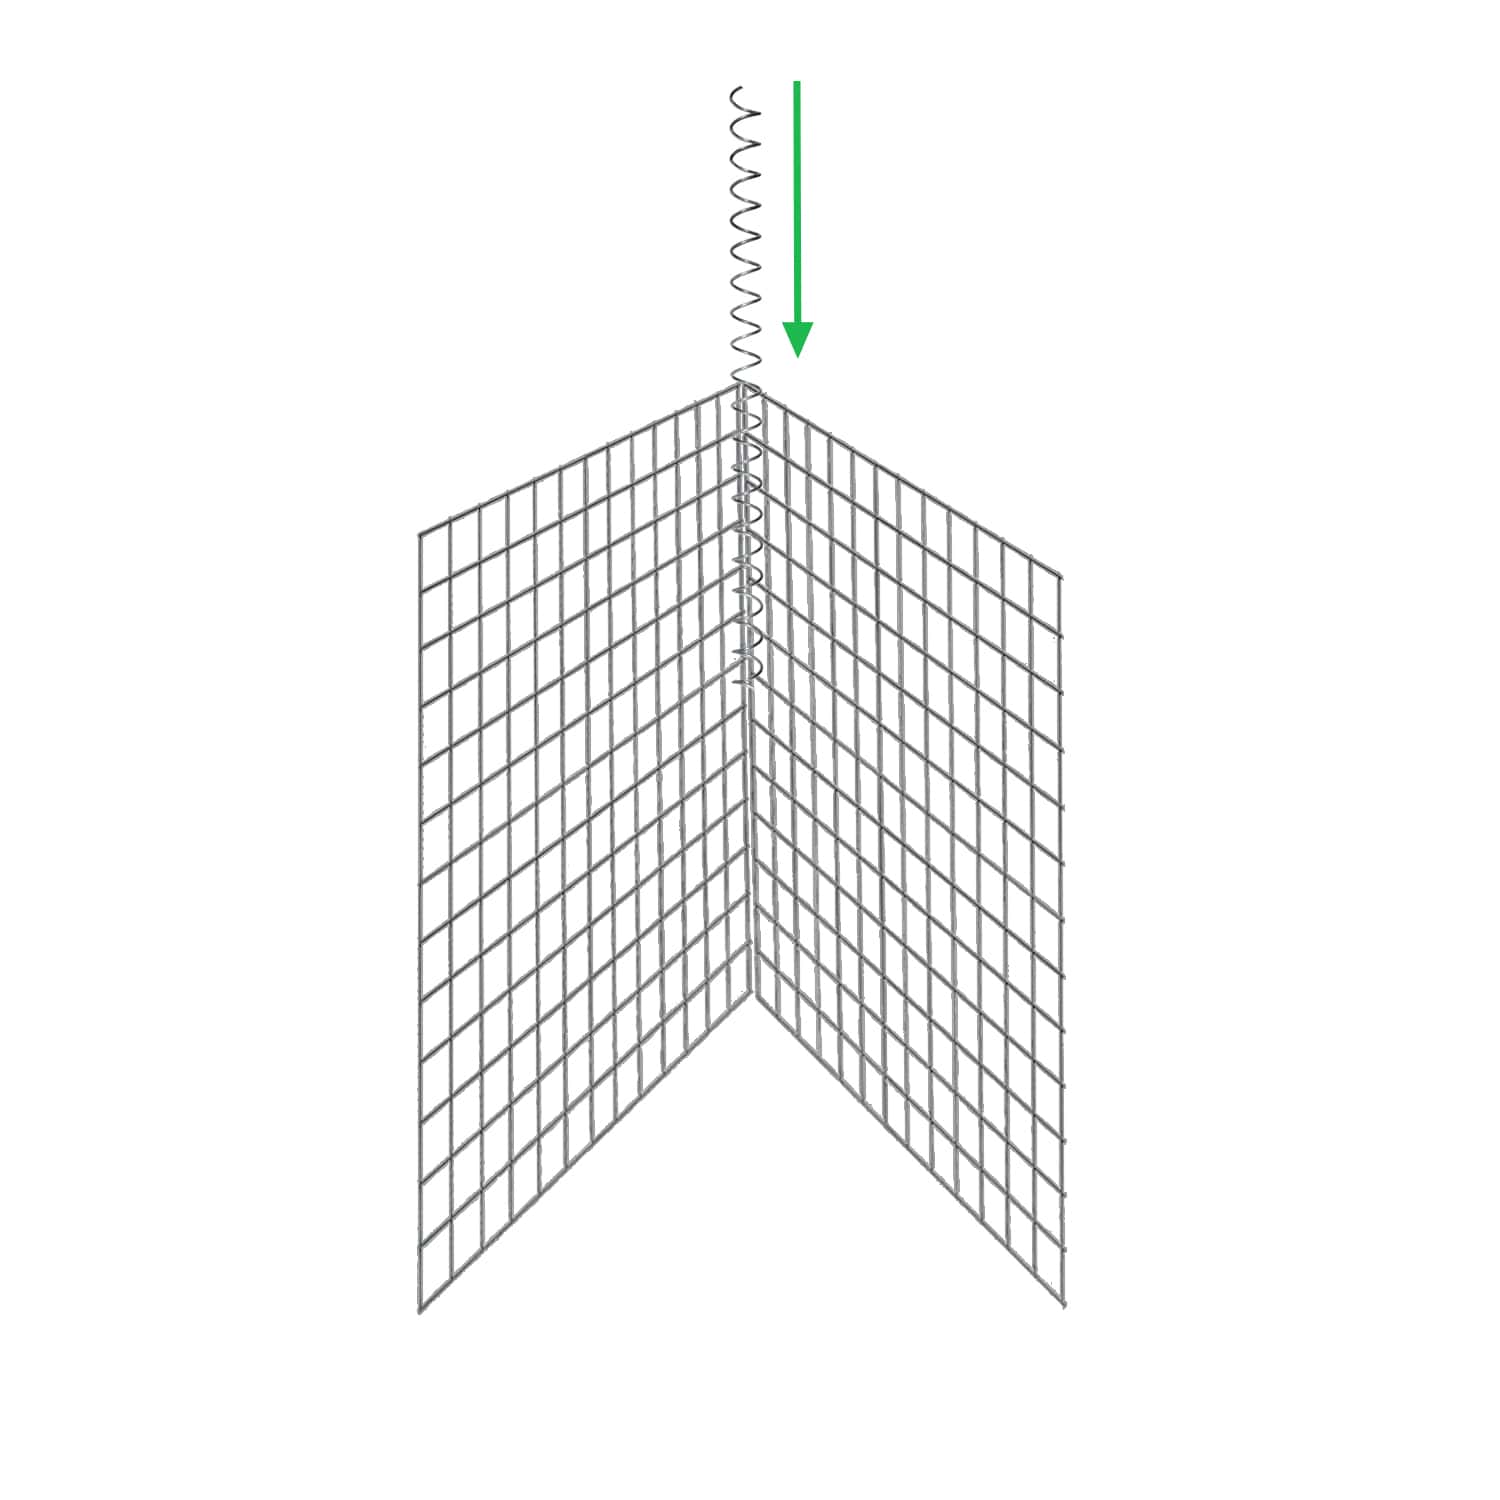
Connect the panels by twisting the connectors down the joints. |
| Step 3 – Connect all joints
|
Repeat Step 2 to connect all joints. |
| Step 4 – Fold down wires
|
To make the structure safer for your furry friend(s), fold down the top of the spiral connector so that no pointy wires are poking out of the top of the fence. |
| Step 5 – Adjust length
|
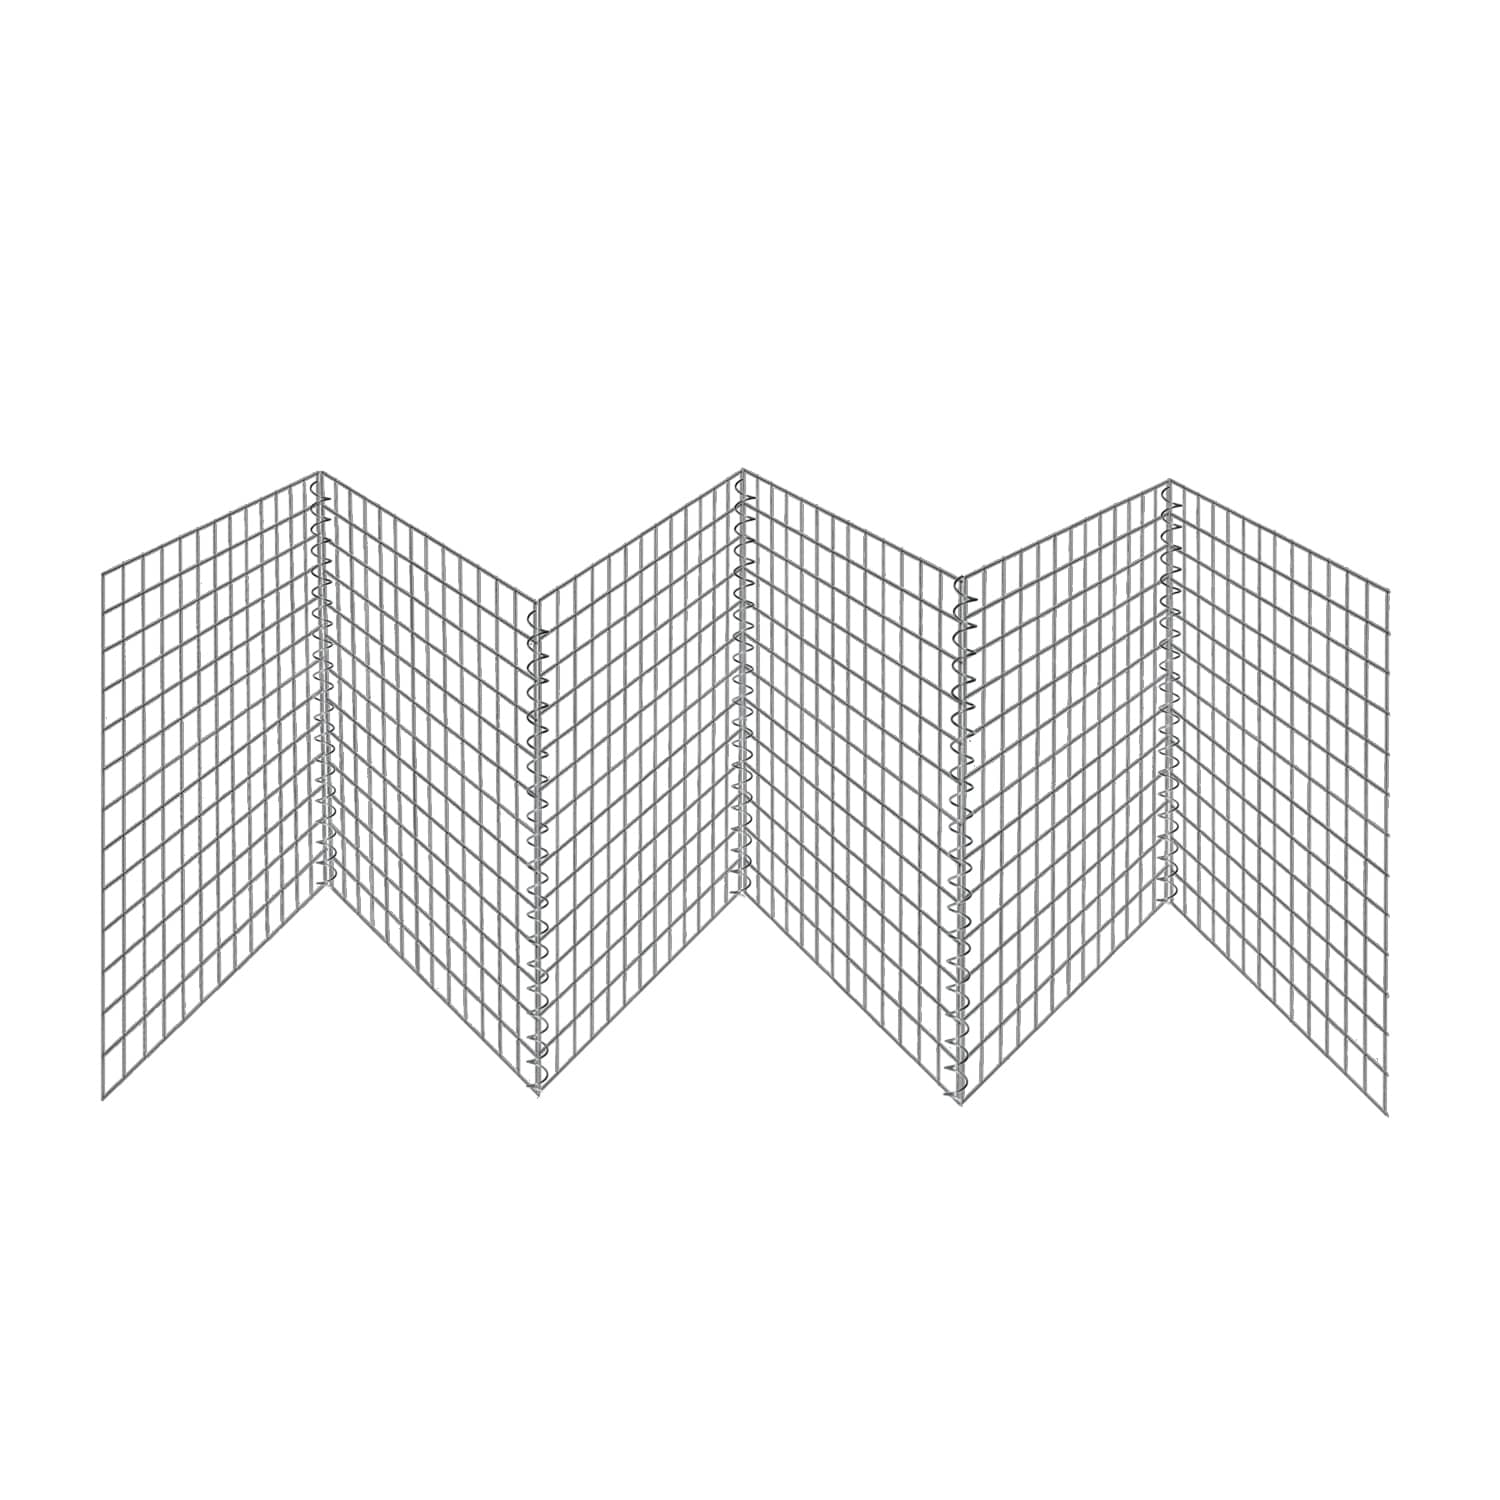
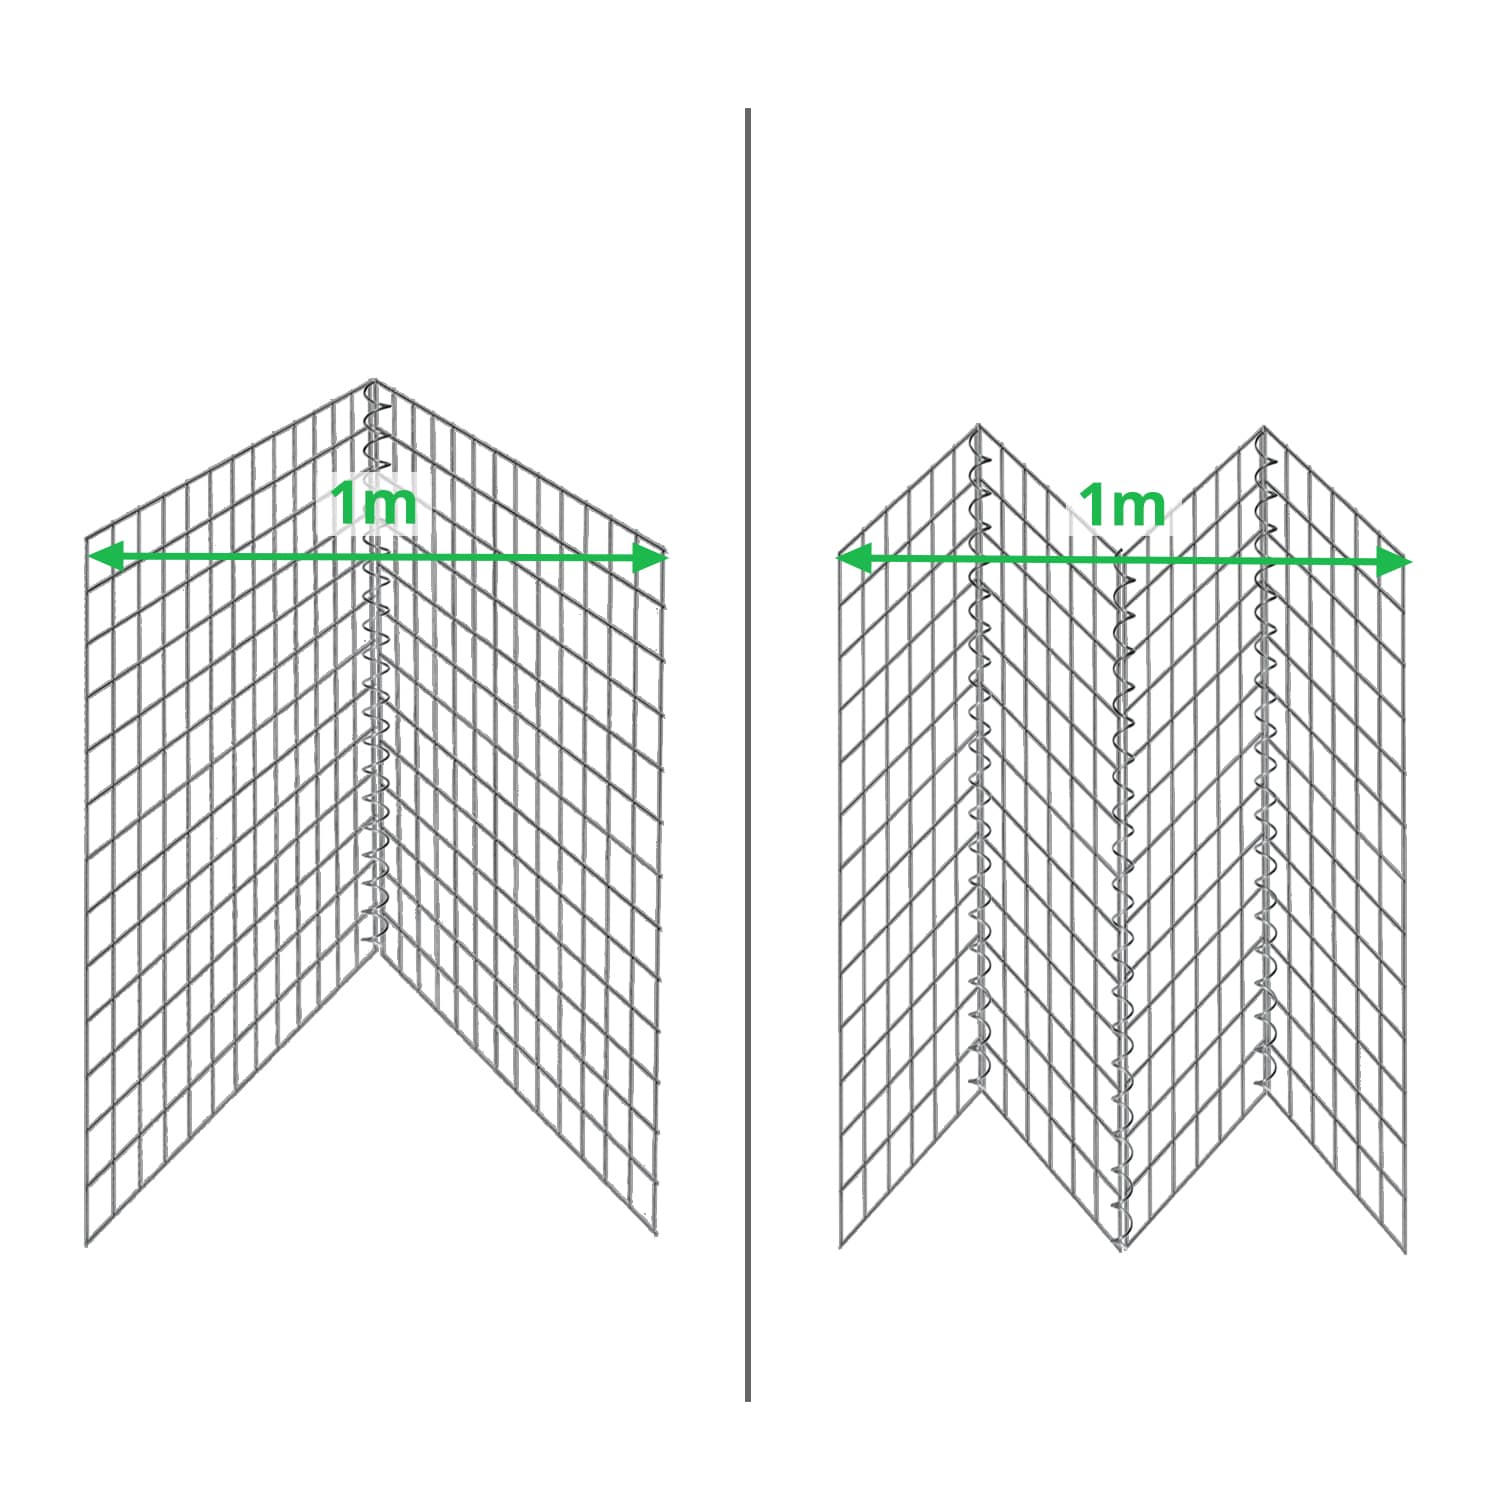
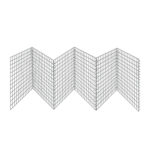
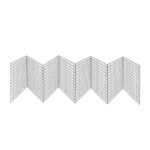
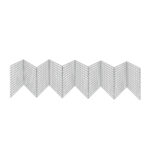
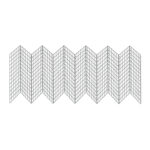
The panels can now be readjusted to be freestanding. 1m length of foldable fence can be achieved by:
NOTE: Smaller or bigger angles can be used as long as the barrier is freestanding, and depending on the area you’d need to fence in. |
| Step 6 – You’re done!
|
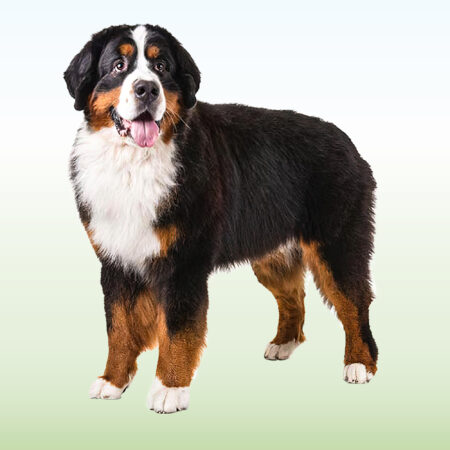
You can let your canine out and watch them enjoy their freedom safely from behind the free standing dog barrier. 😀 |
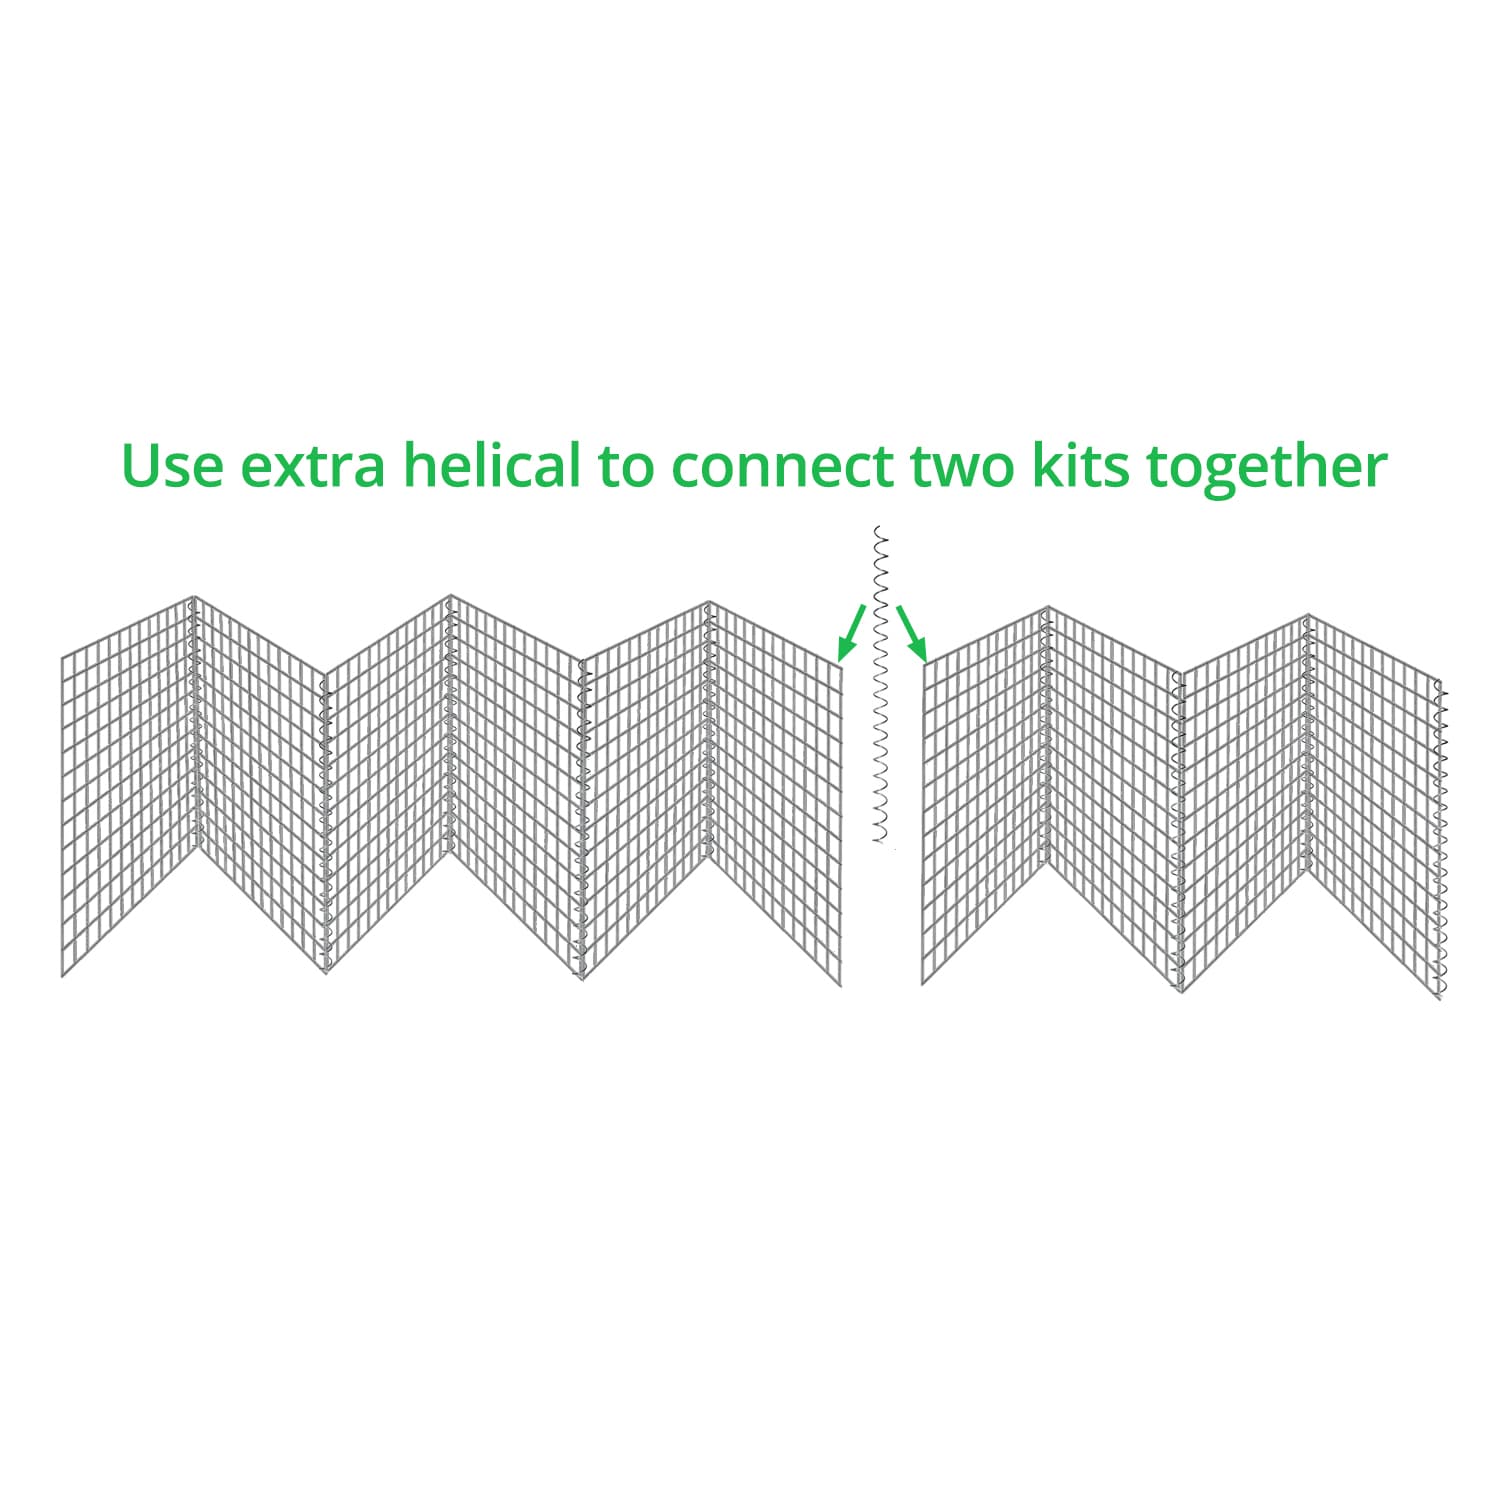
Extend an existing fence
| To Do | Explanation |
|
With the extra helical connector, you can attach one kit to another to create custom lengths of free standing barriers with ease.
NOTE: You can use the same technique to attach the kits to most types of wire mesh fencing as well. |
Its portable
| To Do | Explanation |
|
|
You can use this kit as a temporary barrier and fold it up whenever it’s not required.
You can even take it camping with you and create a portable enclosure in case your canine is not very keen on escaping. Example installation of a similar temporary pen can be found here. |
| Residential applications | |
| Garden | |
| Camping | |
| Indoors |
| Industrial applications | |
| Parks | |
| Dog shelters |
| Animal proofing | |
| Dog proof | |
| Dog deterrent | |
| Very small dogs (chihuahuas, yorkies etc.) | |
| Energetic dogs (keen to jump, dig or paw) |
| Conforms to | Explanation |
| BS EN 10244 – 2:2009 | Inner wires are Galfan Coated (95% Zinc / 5% Aluminium) in accordance with BS EN 10244 – 2:2009 (Class A). |
| BS EN 10245 – 1:2011 and BS EN 10245 – 2:2011 | Inner wires are coated with organic polymer powder coating (grey) which complies with BS EN 10245 – 1:2011 and BS EN 10245 – 2:2011. |
| BS EN 10218 – 2:2012 | All wires used in the manufacturing process have a tensile strength between 540 – 770 N/mm², as specified in BS EN 10218 – 2:2012. |

Wire Fence is part of the Super Magic Bean group - VAT Registered: 344 7643 83 - Company Registration No: 11290483