Show video
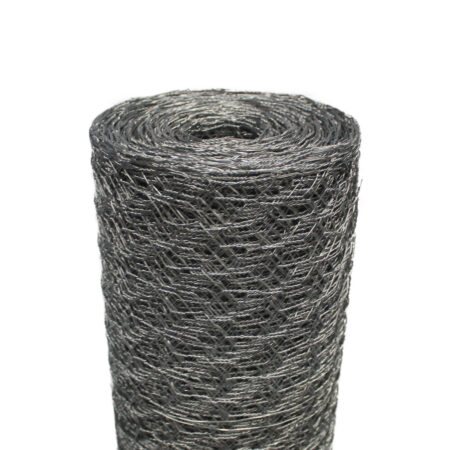
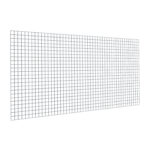
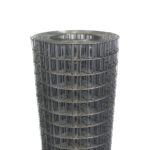
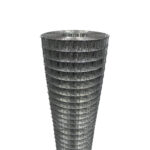
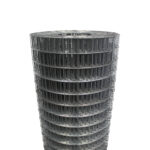
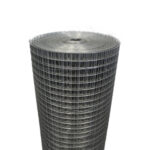
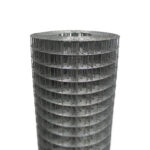
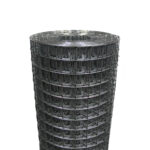
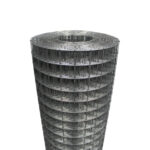
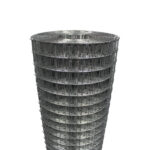
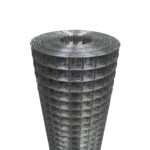
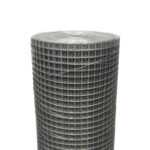
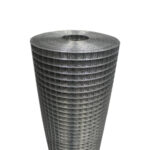
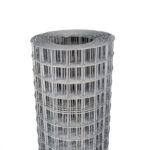
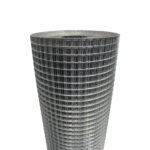
Galvanised steel
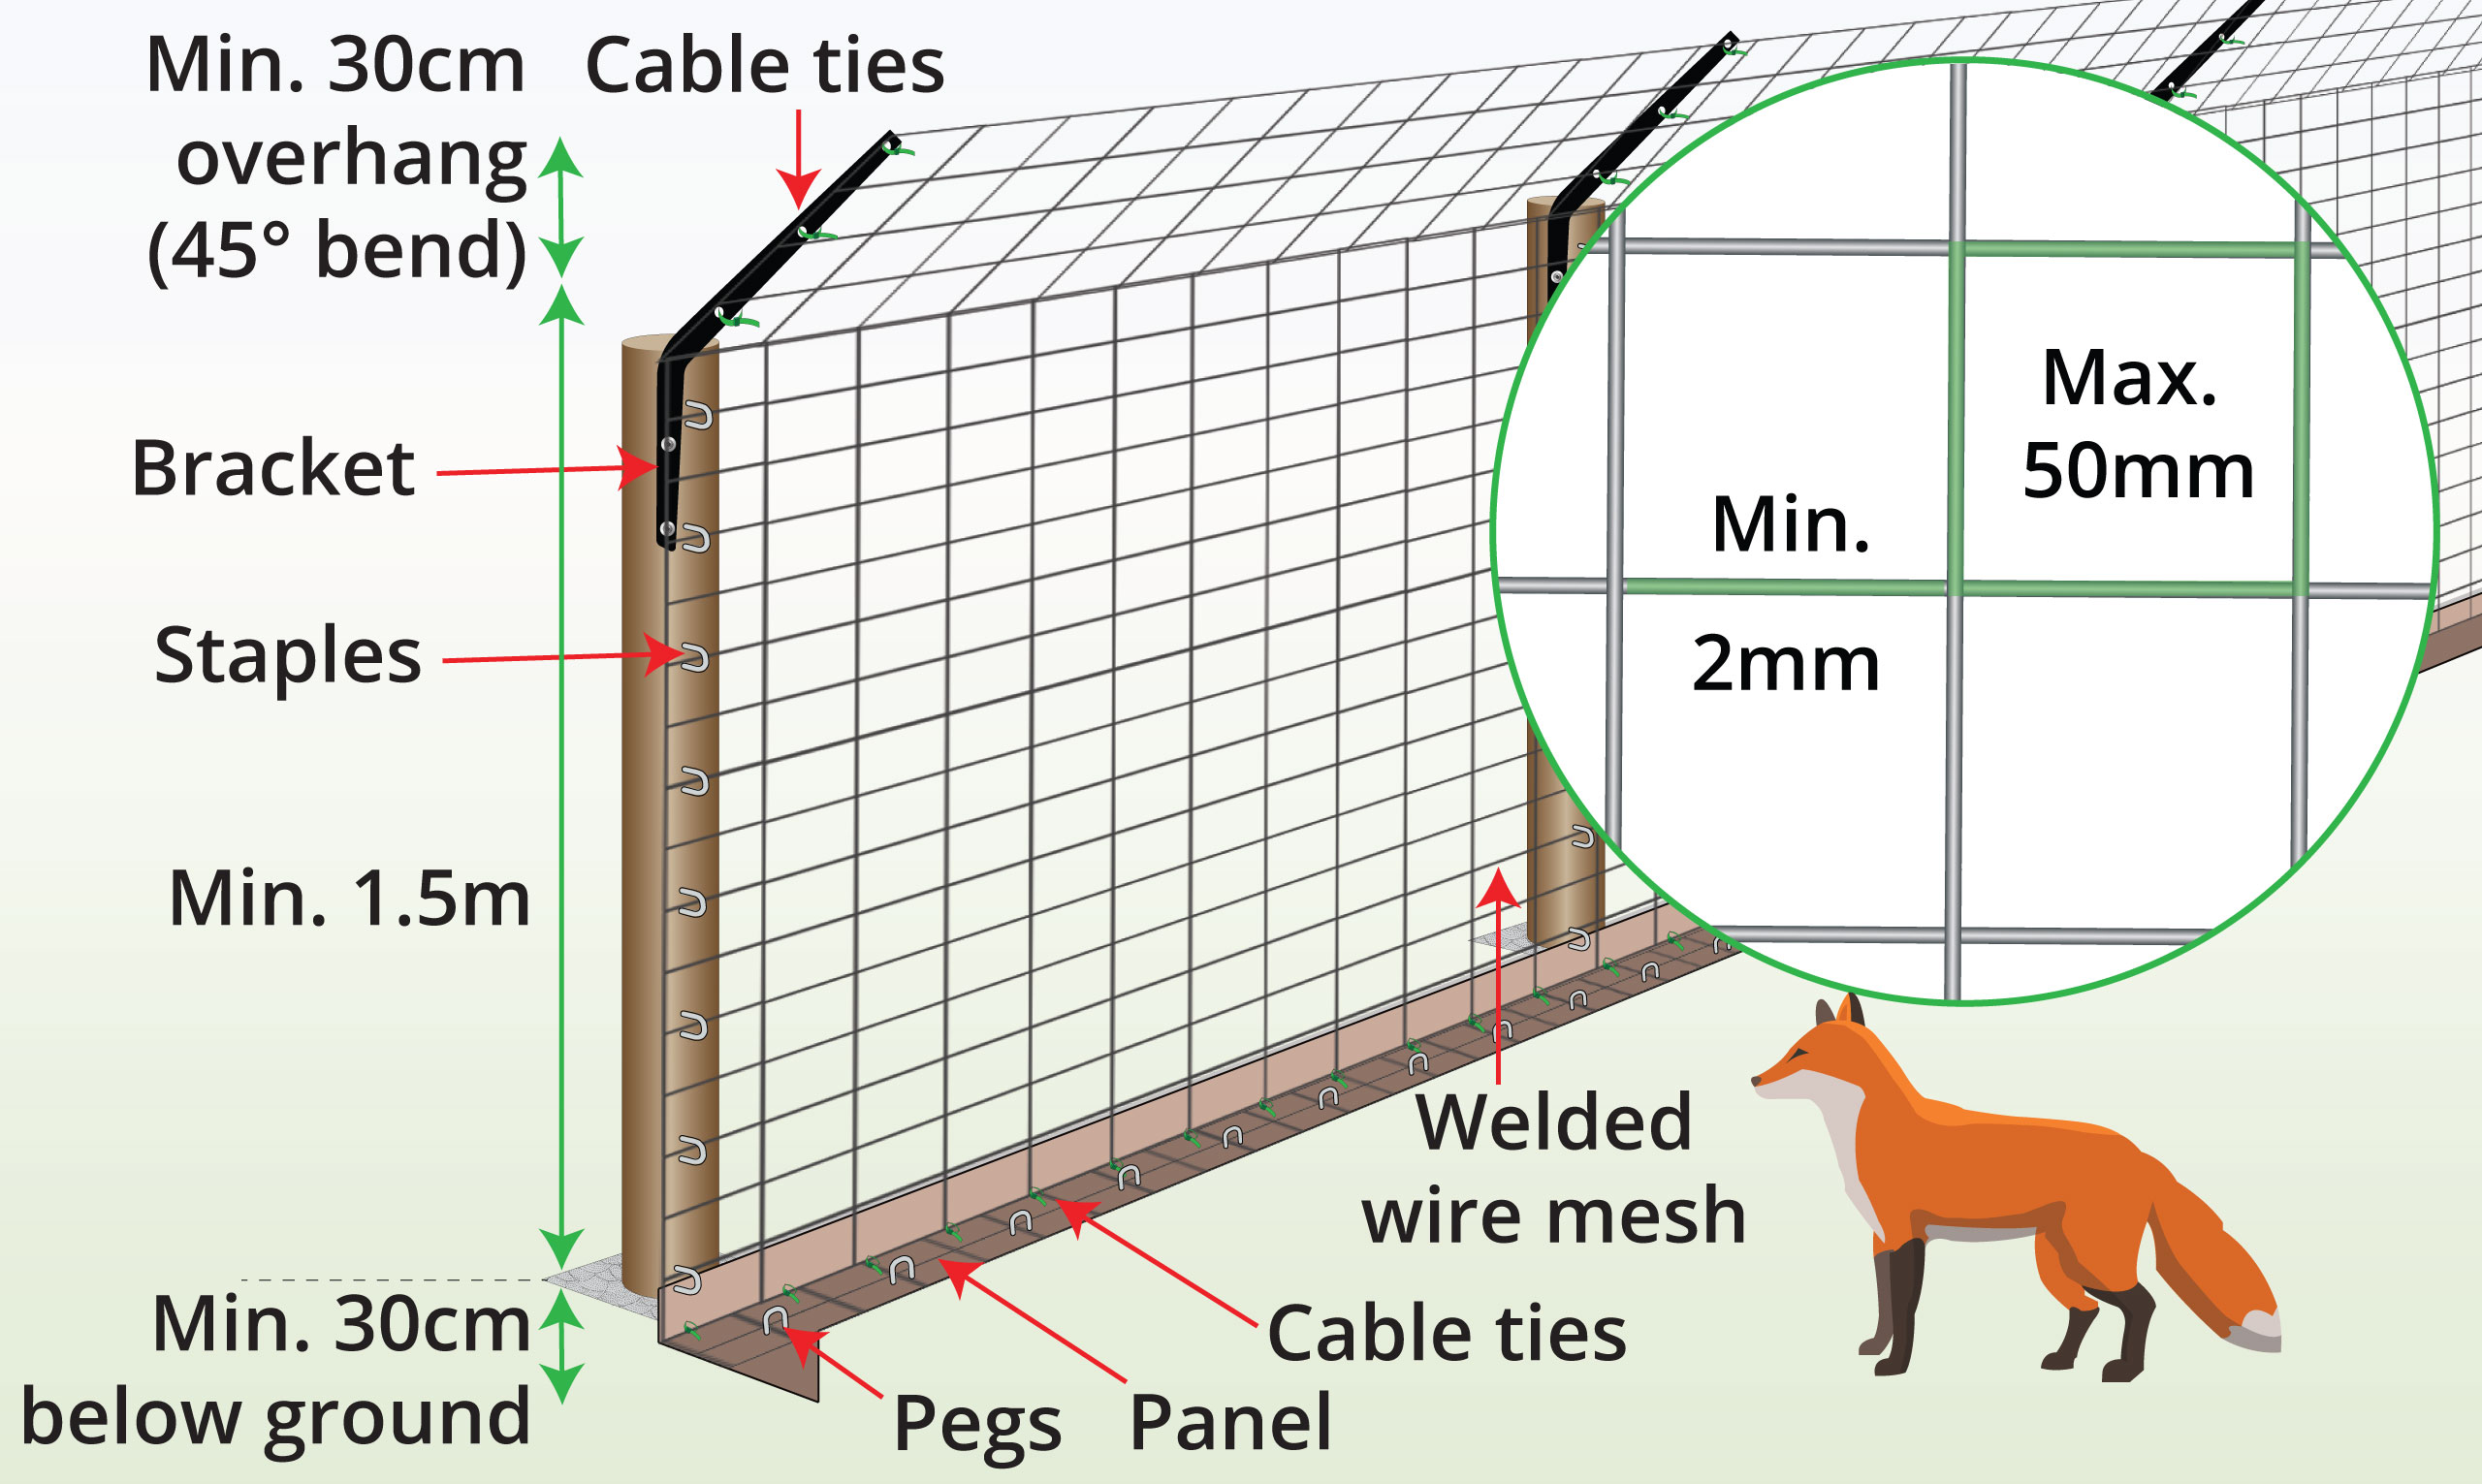
50mm x 50mm
90cm (3ft)
1.8m (6ft)
3mm (10g)
£40.99 inc. VAT
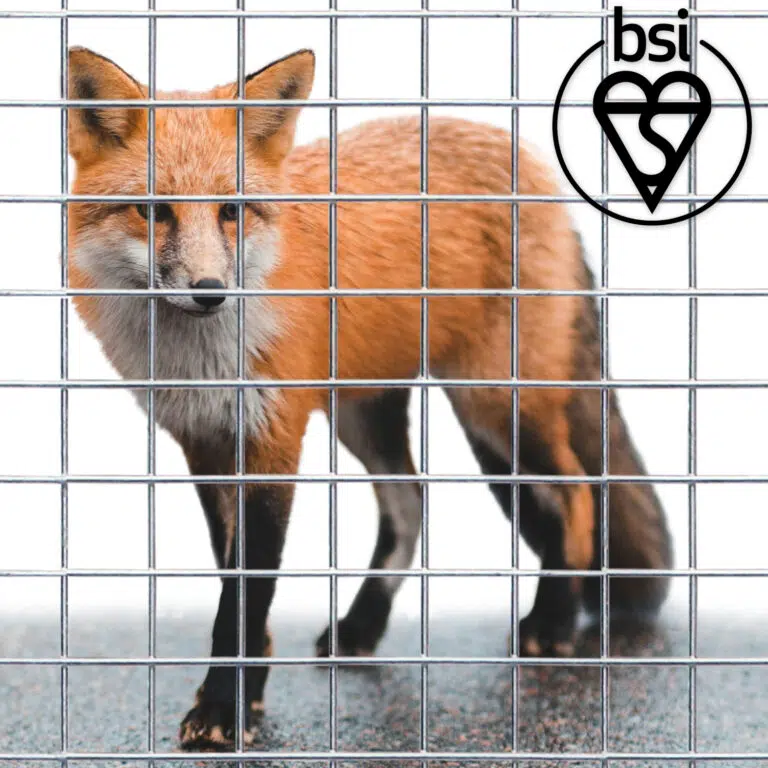


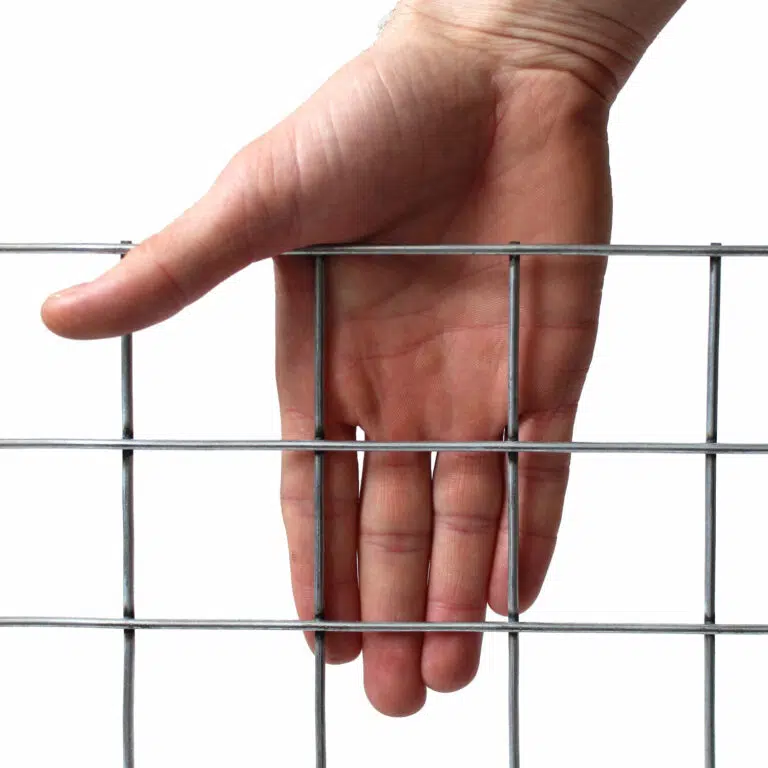


2mm (14g) and thicker galvanised steel wire mesh ideal for protecting your land and poultry from foxes or fox-proofing an existing fence.


| Fence Height | Application |
| 1 m | Fox proofing existing fences; Chicken runs |
| 1.2 m | Fox proofing existing fences; Chicken runs |
| 1.5 m | Standalone fox proof fencing; Chicken runs |
| Property | Description |
| Material & Construction | Pre-galvanised steel, hot-dipped in protective zinc coating. |
| Appearance | Square apertures. Metallic grey look. |
| Handling | Heavyweight fencing mesh. Cut with wire cutters and shape by hand. Wear protective gloves. |
| Biodegradable | No. |
| Protecting exposed steel | Rust may occur where new cuts are made if untreated steel is exposed. Protect with galvanised spray or paint. |
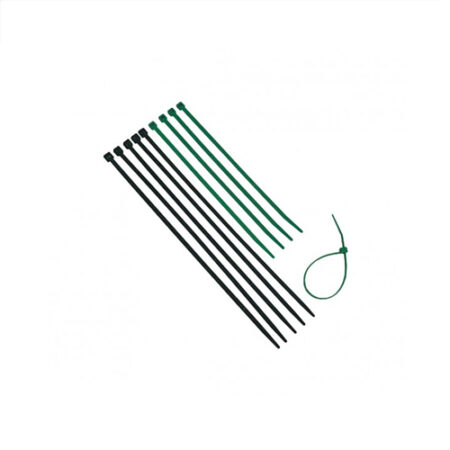
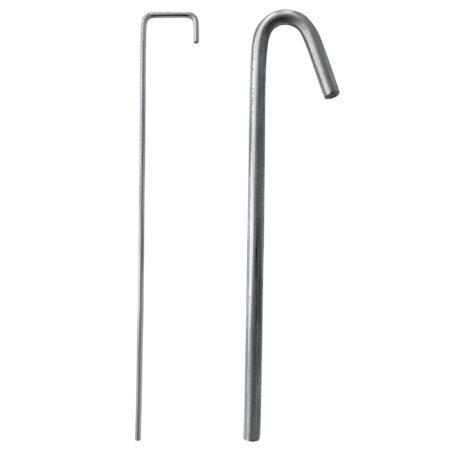
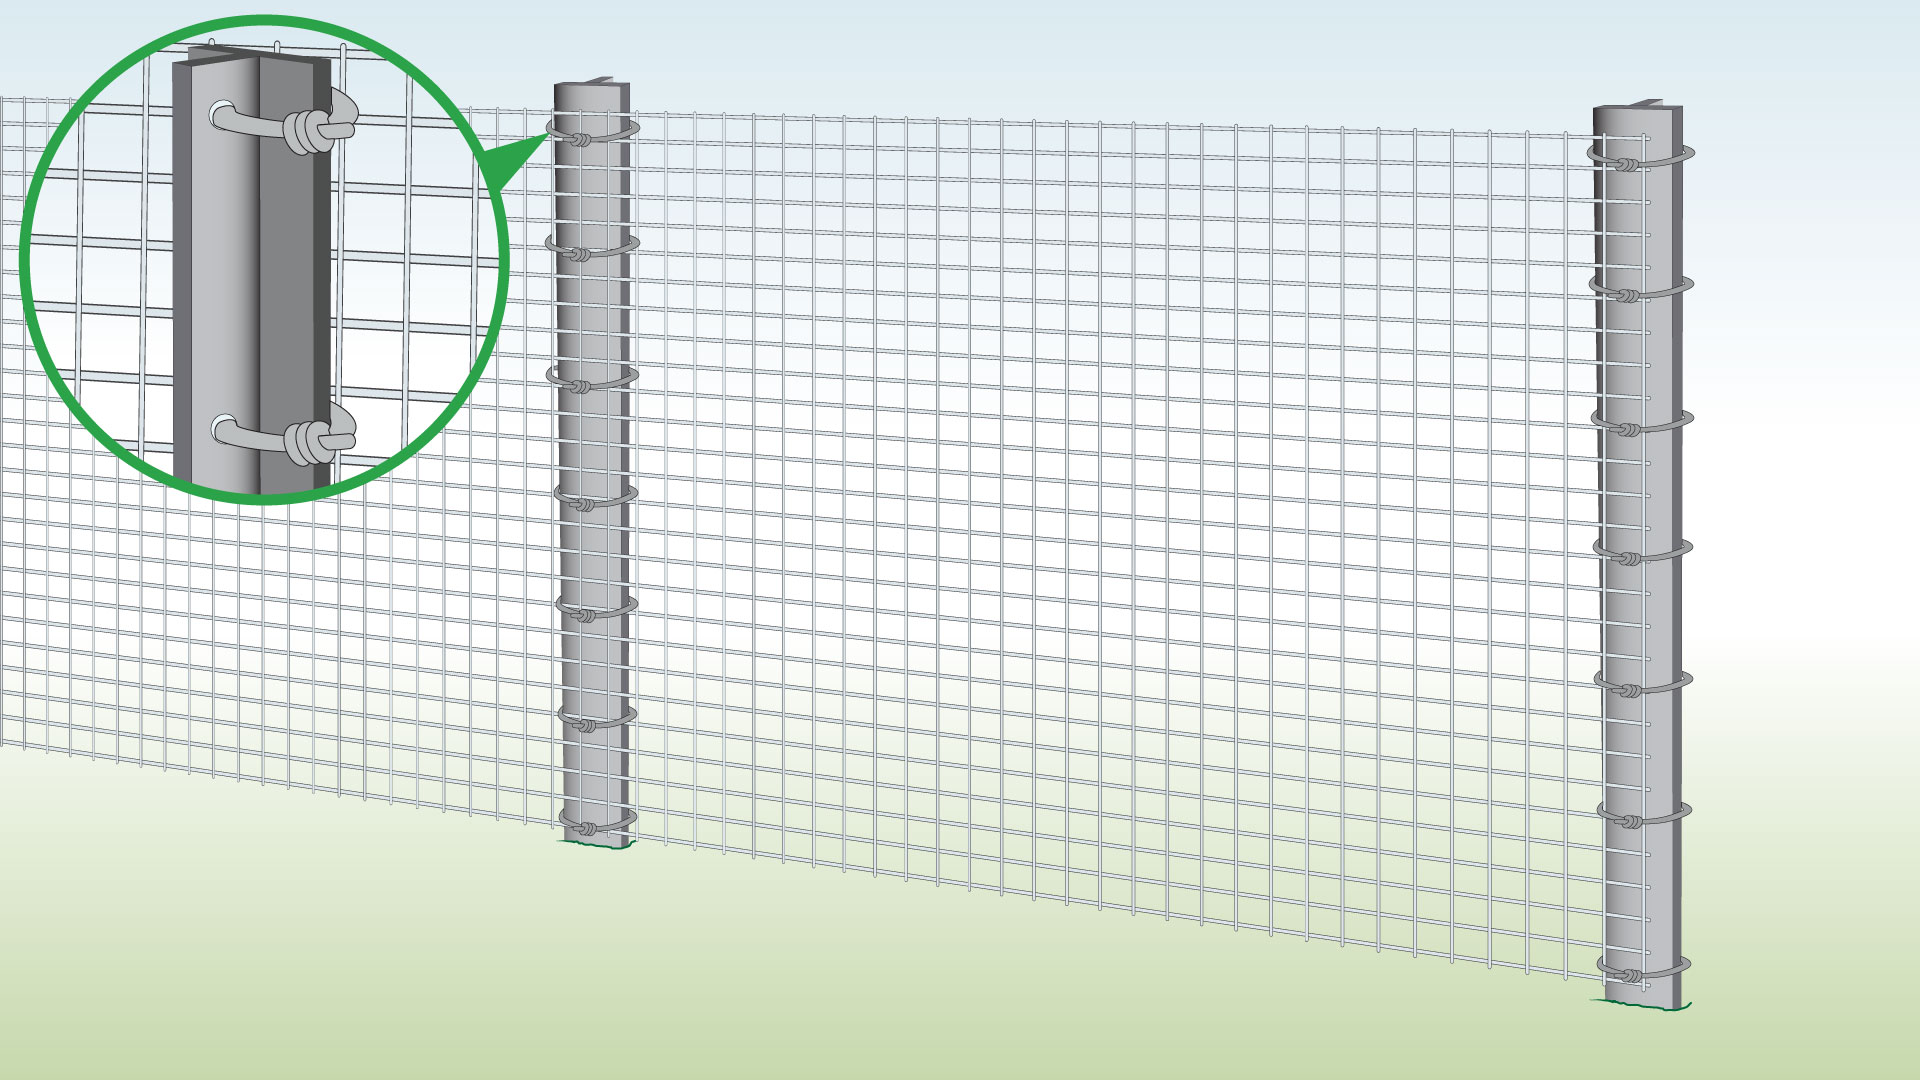
| Attach to: | How to: |
| T Posts
(Wire ties) |
|
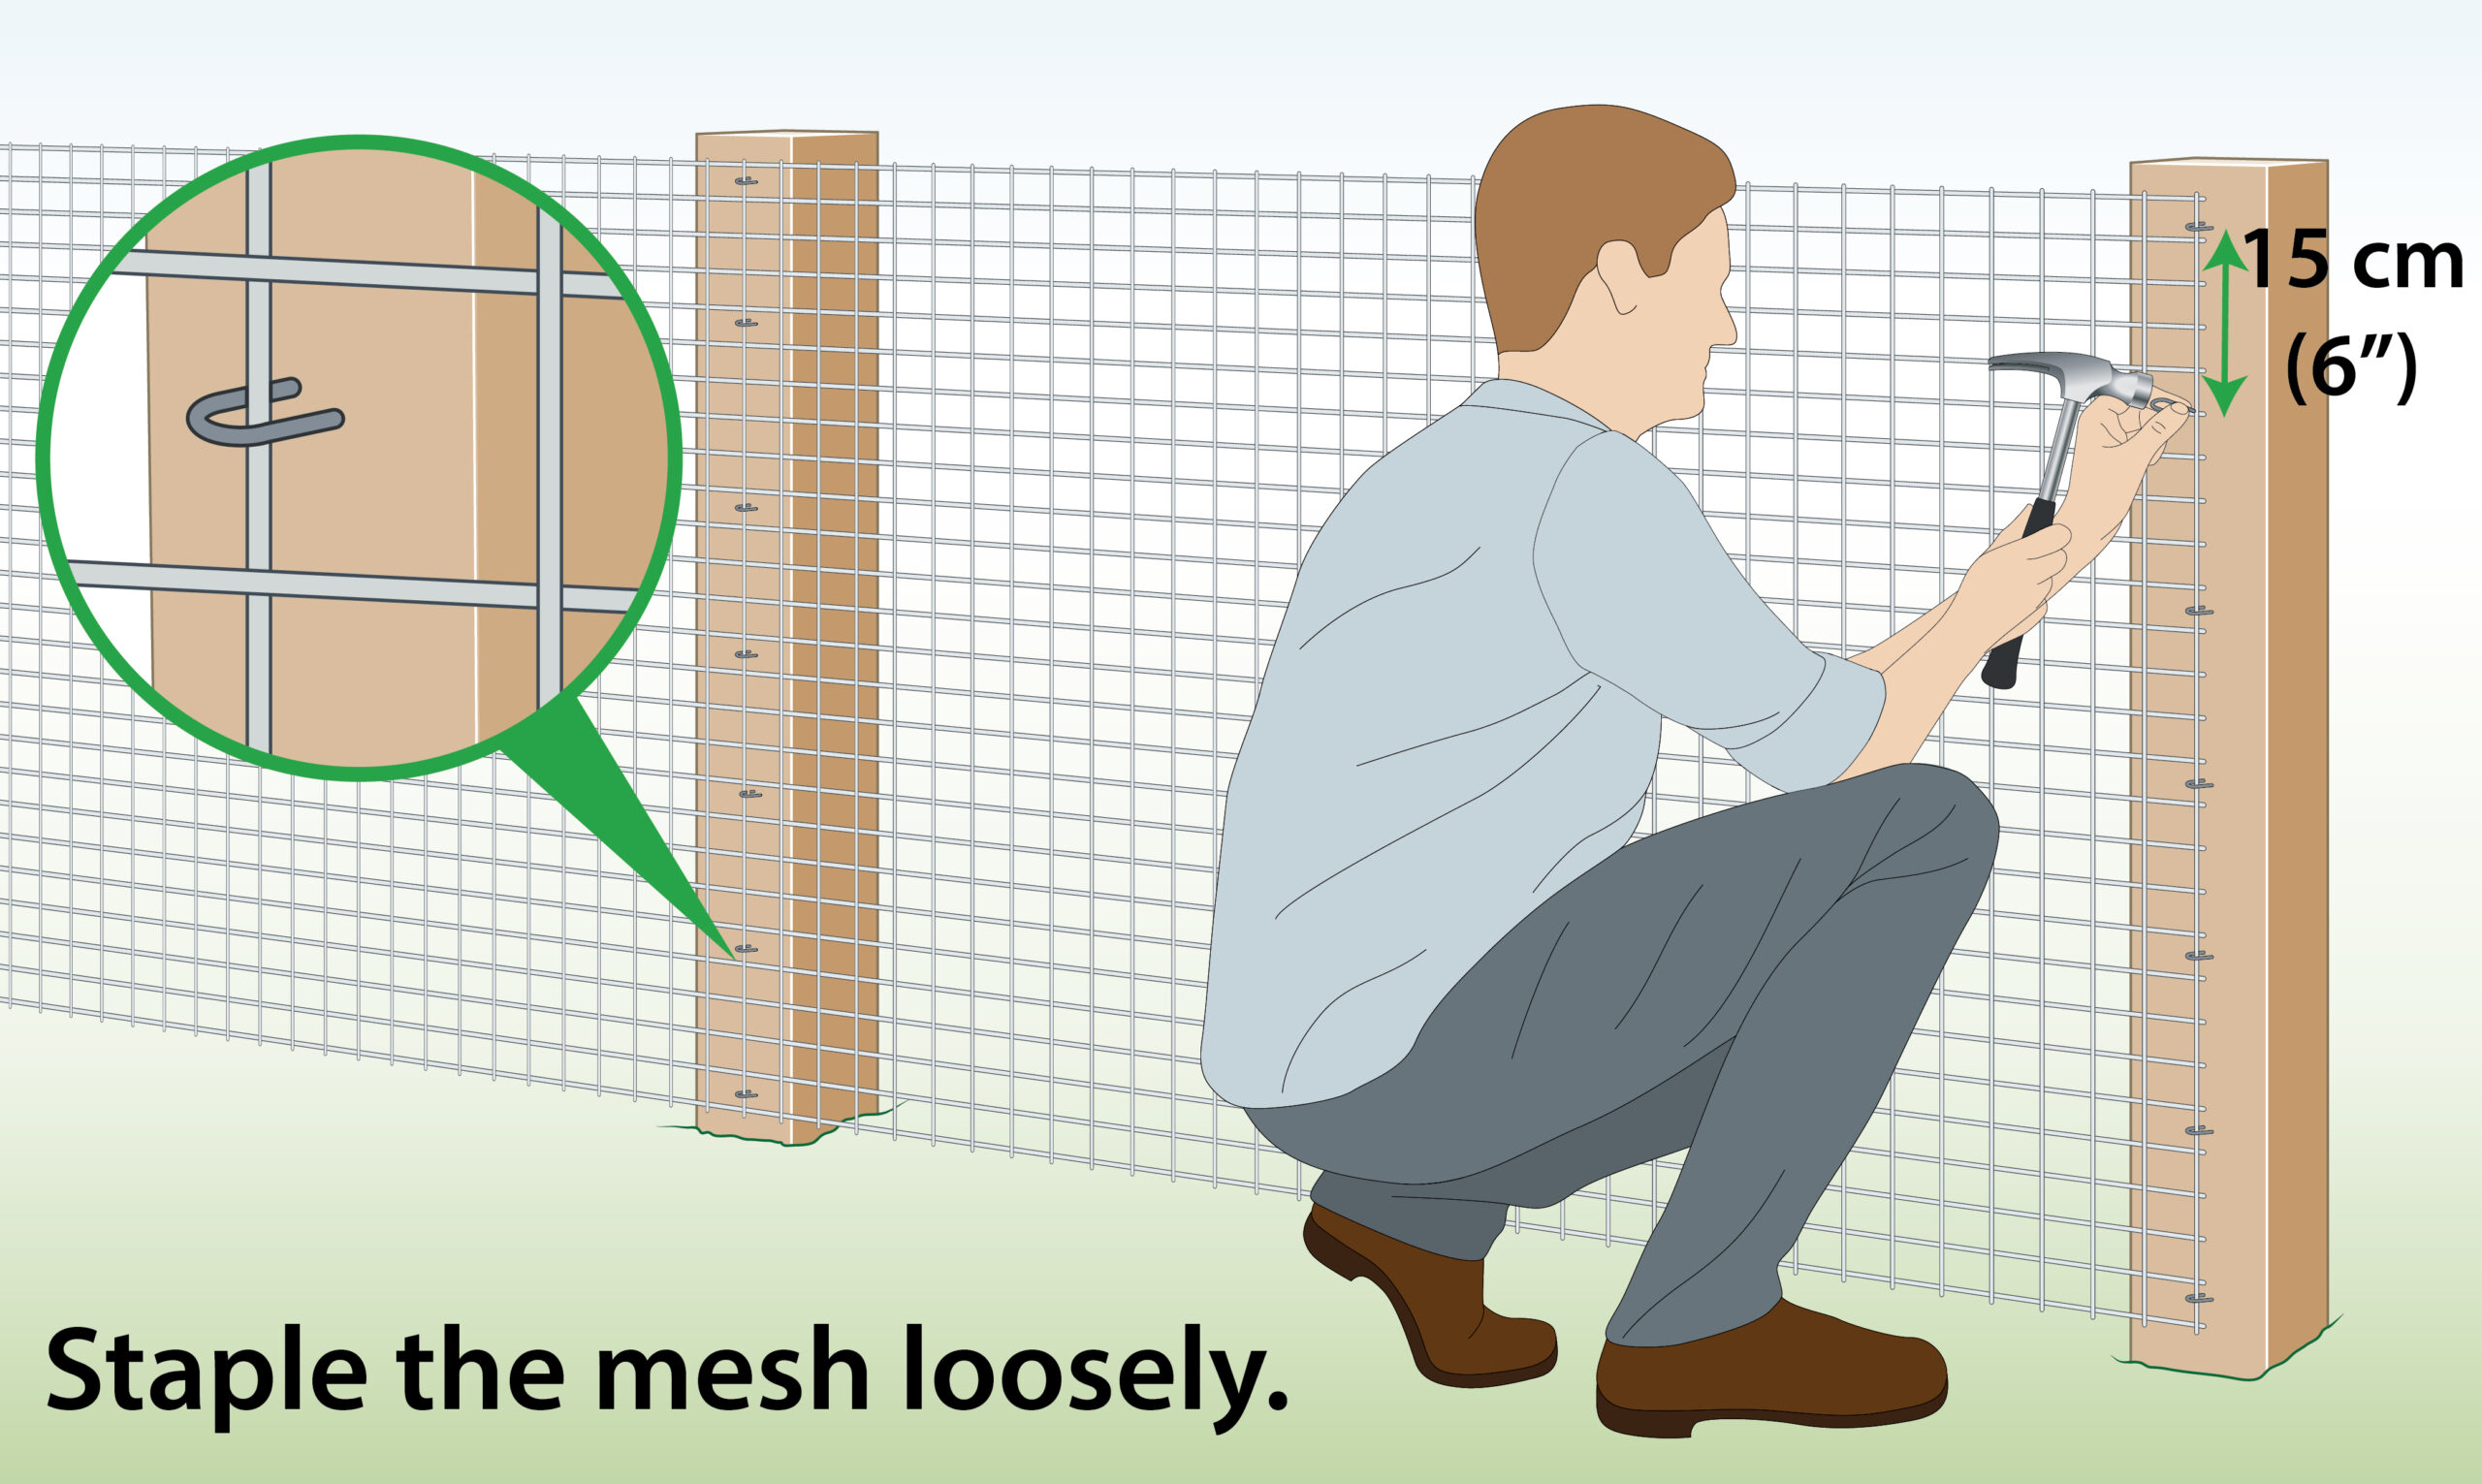
| Wood/ Wooden Posts(Staples) |
 |
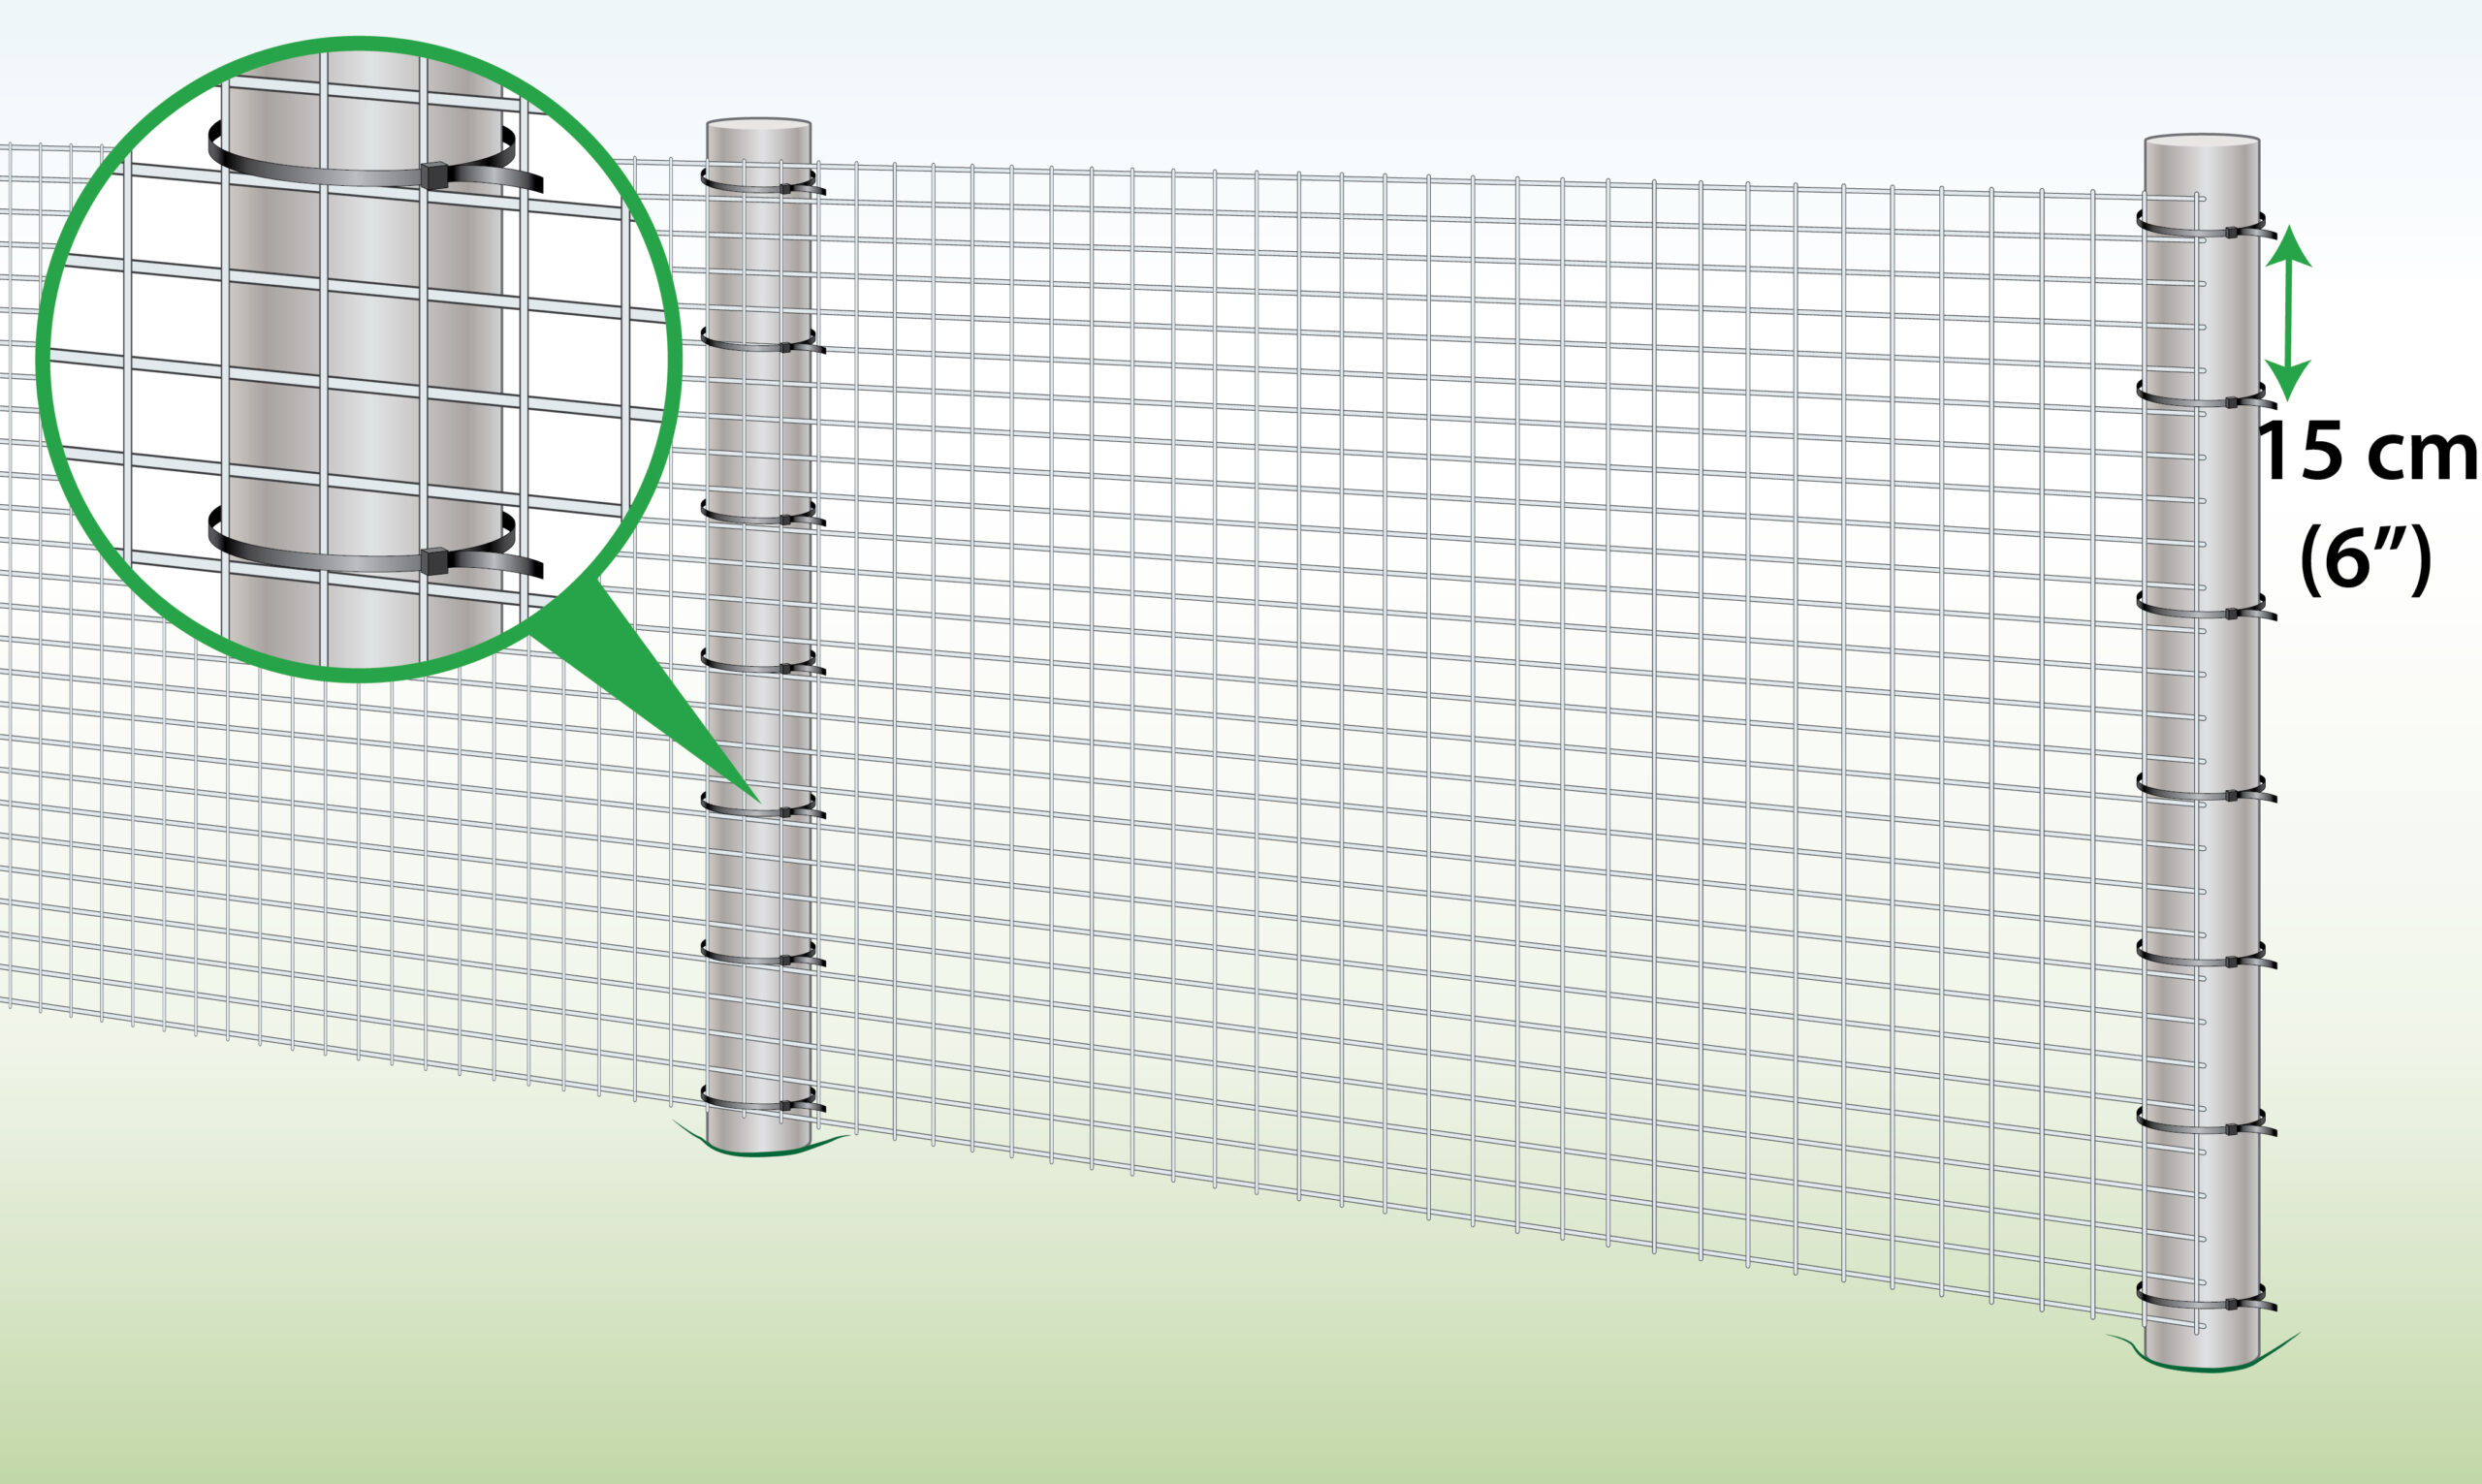
| Metal/ Metal Posts(Cable ties) |

|
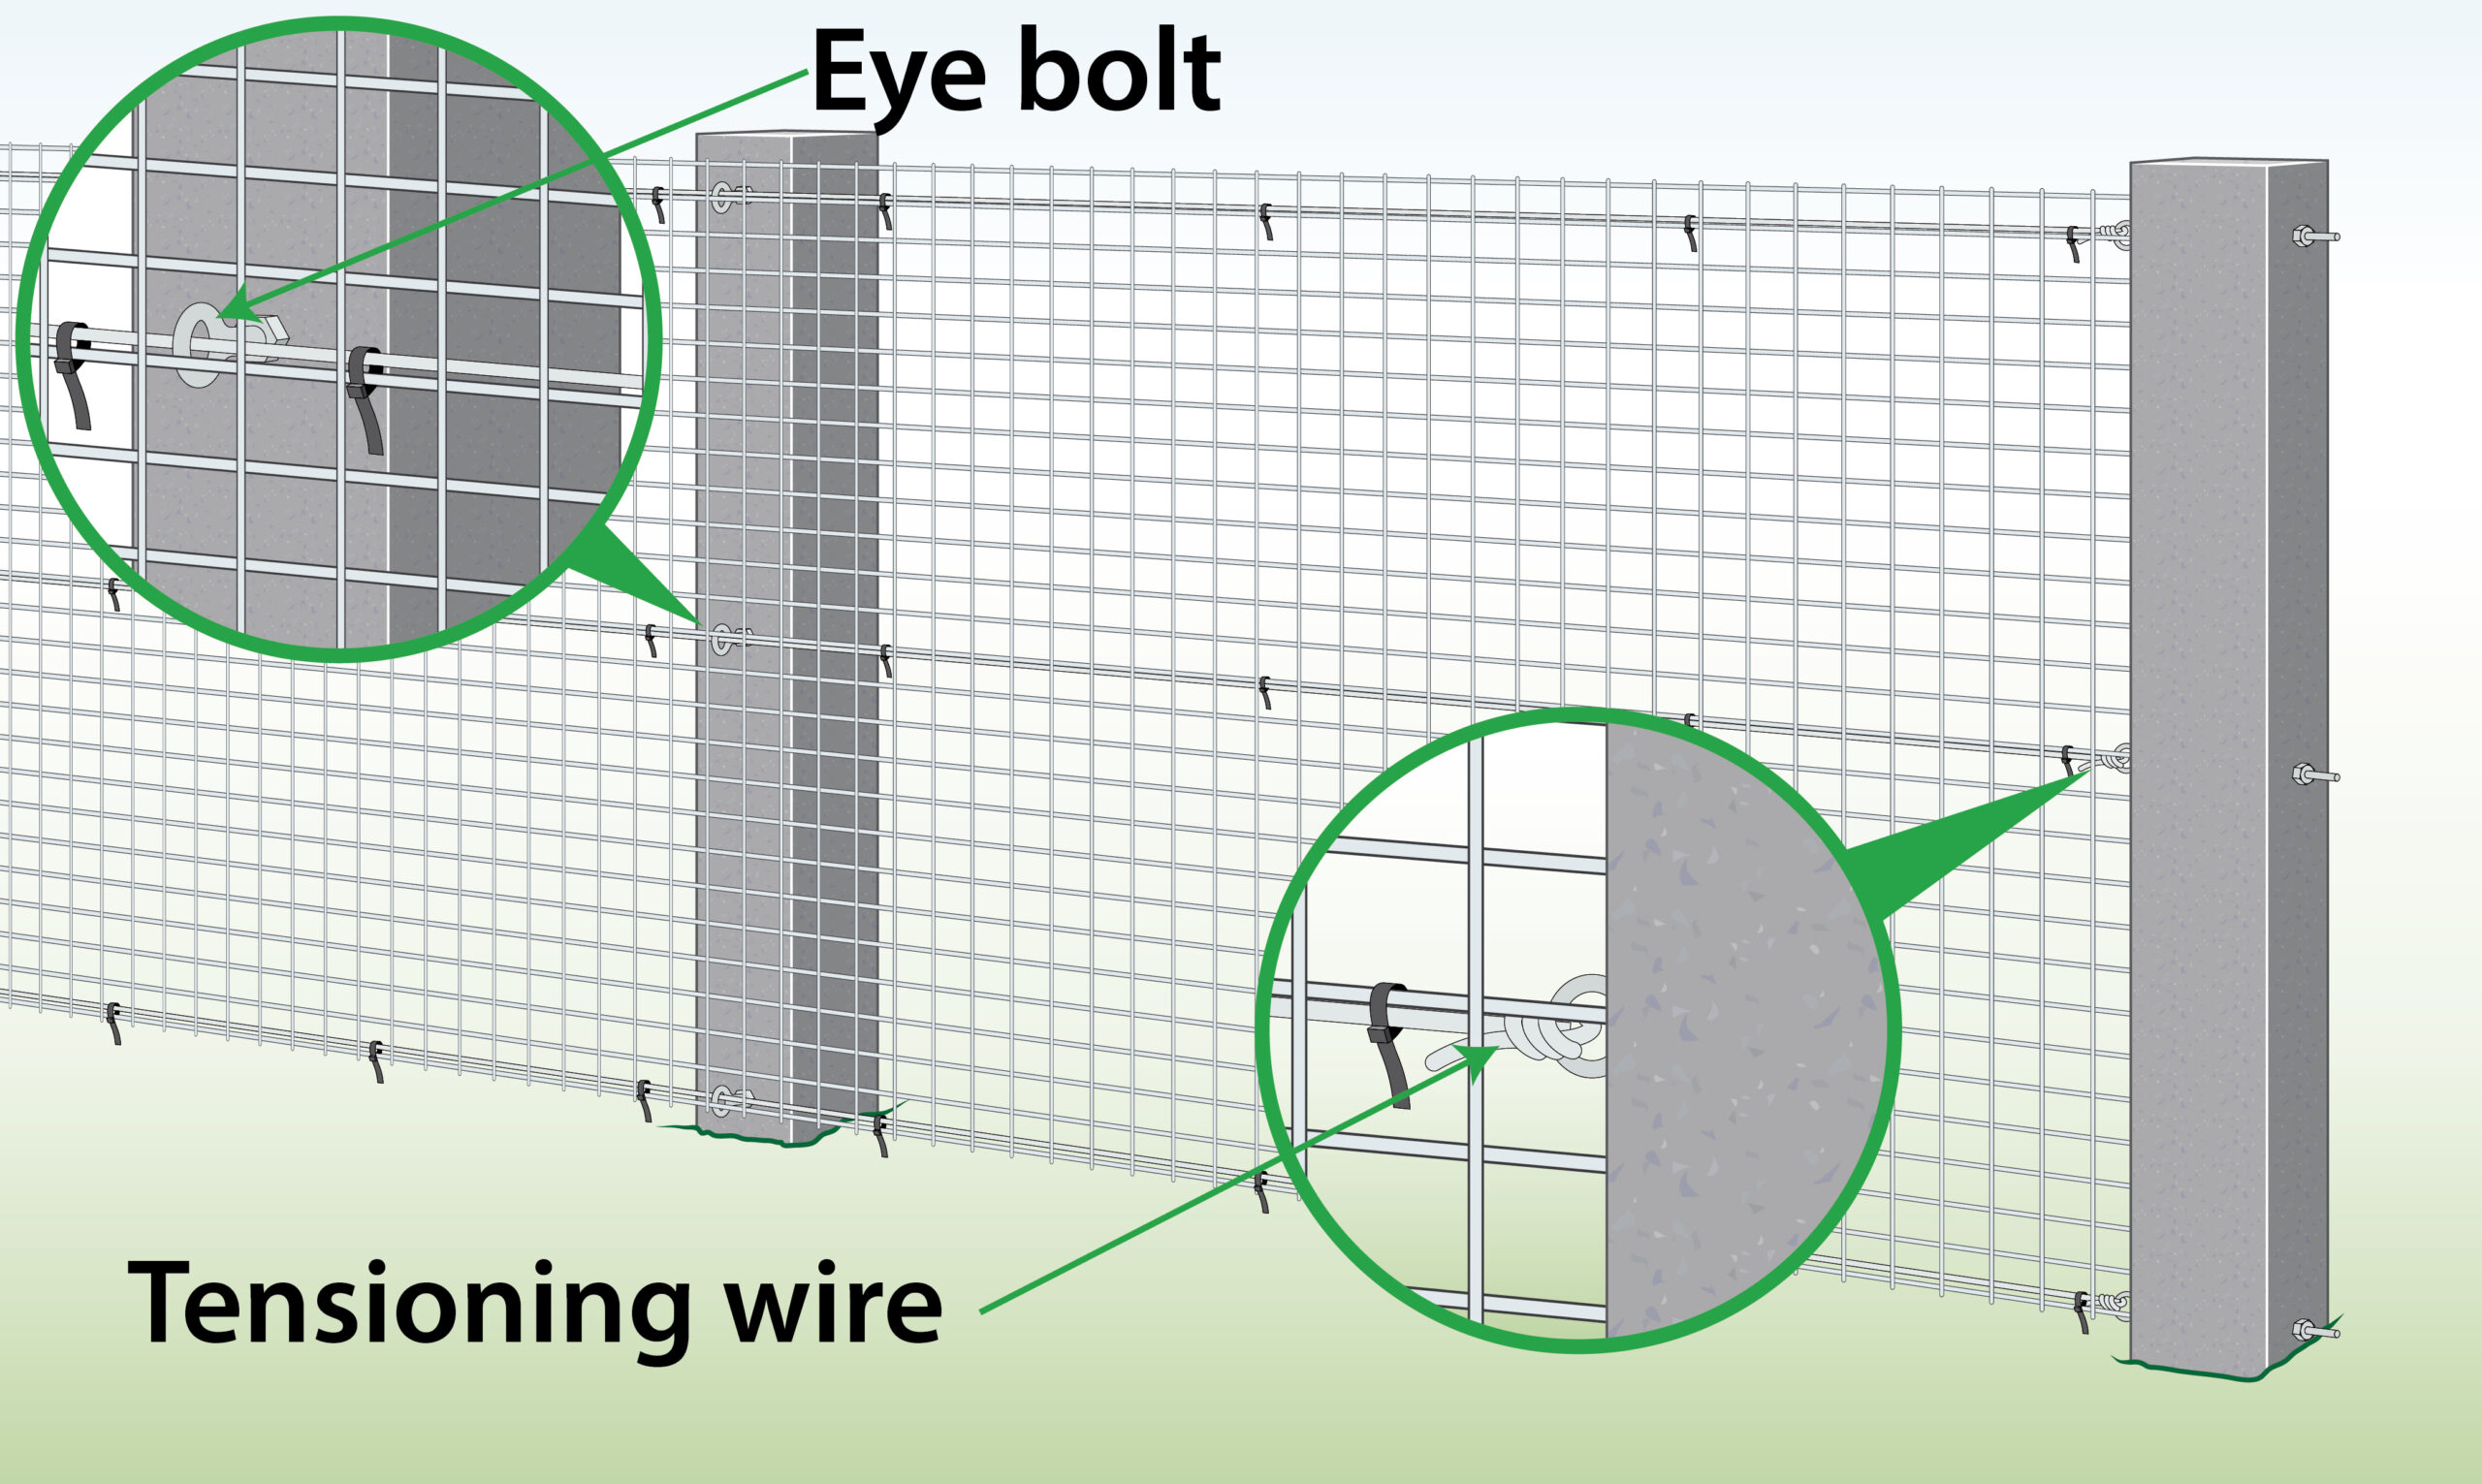
| Concrete Posts
(Tensioning wire, |
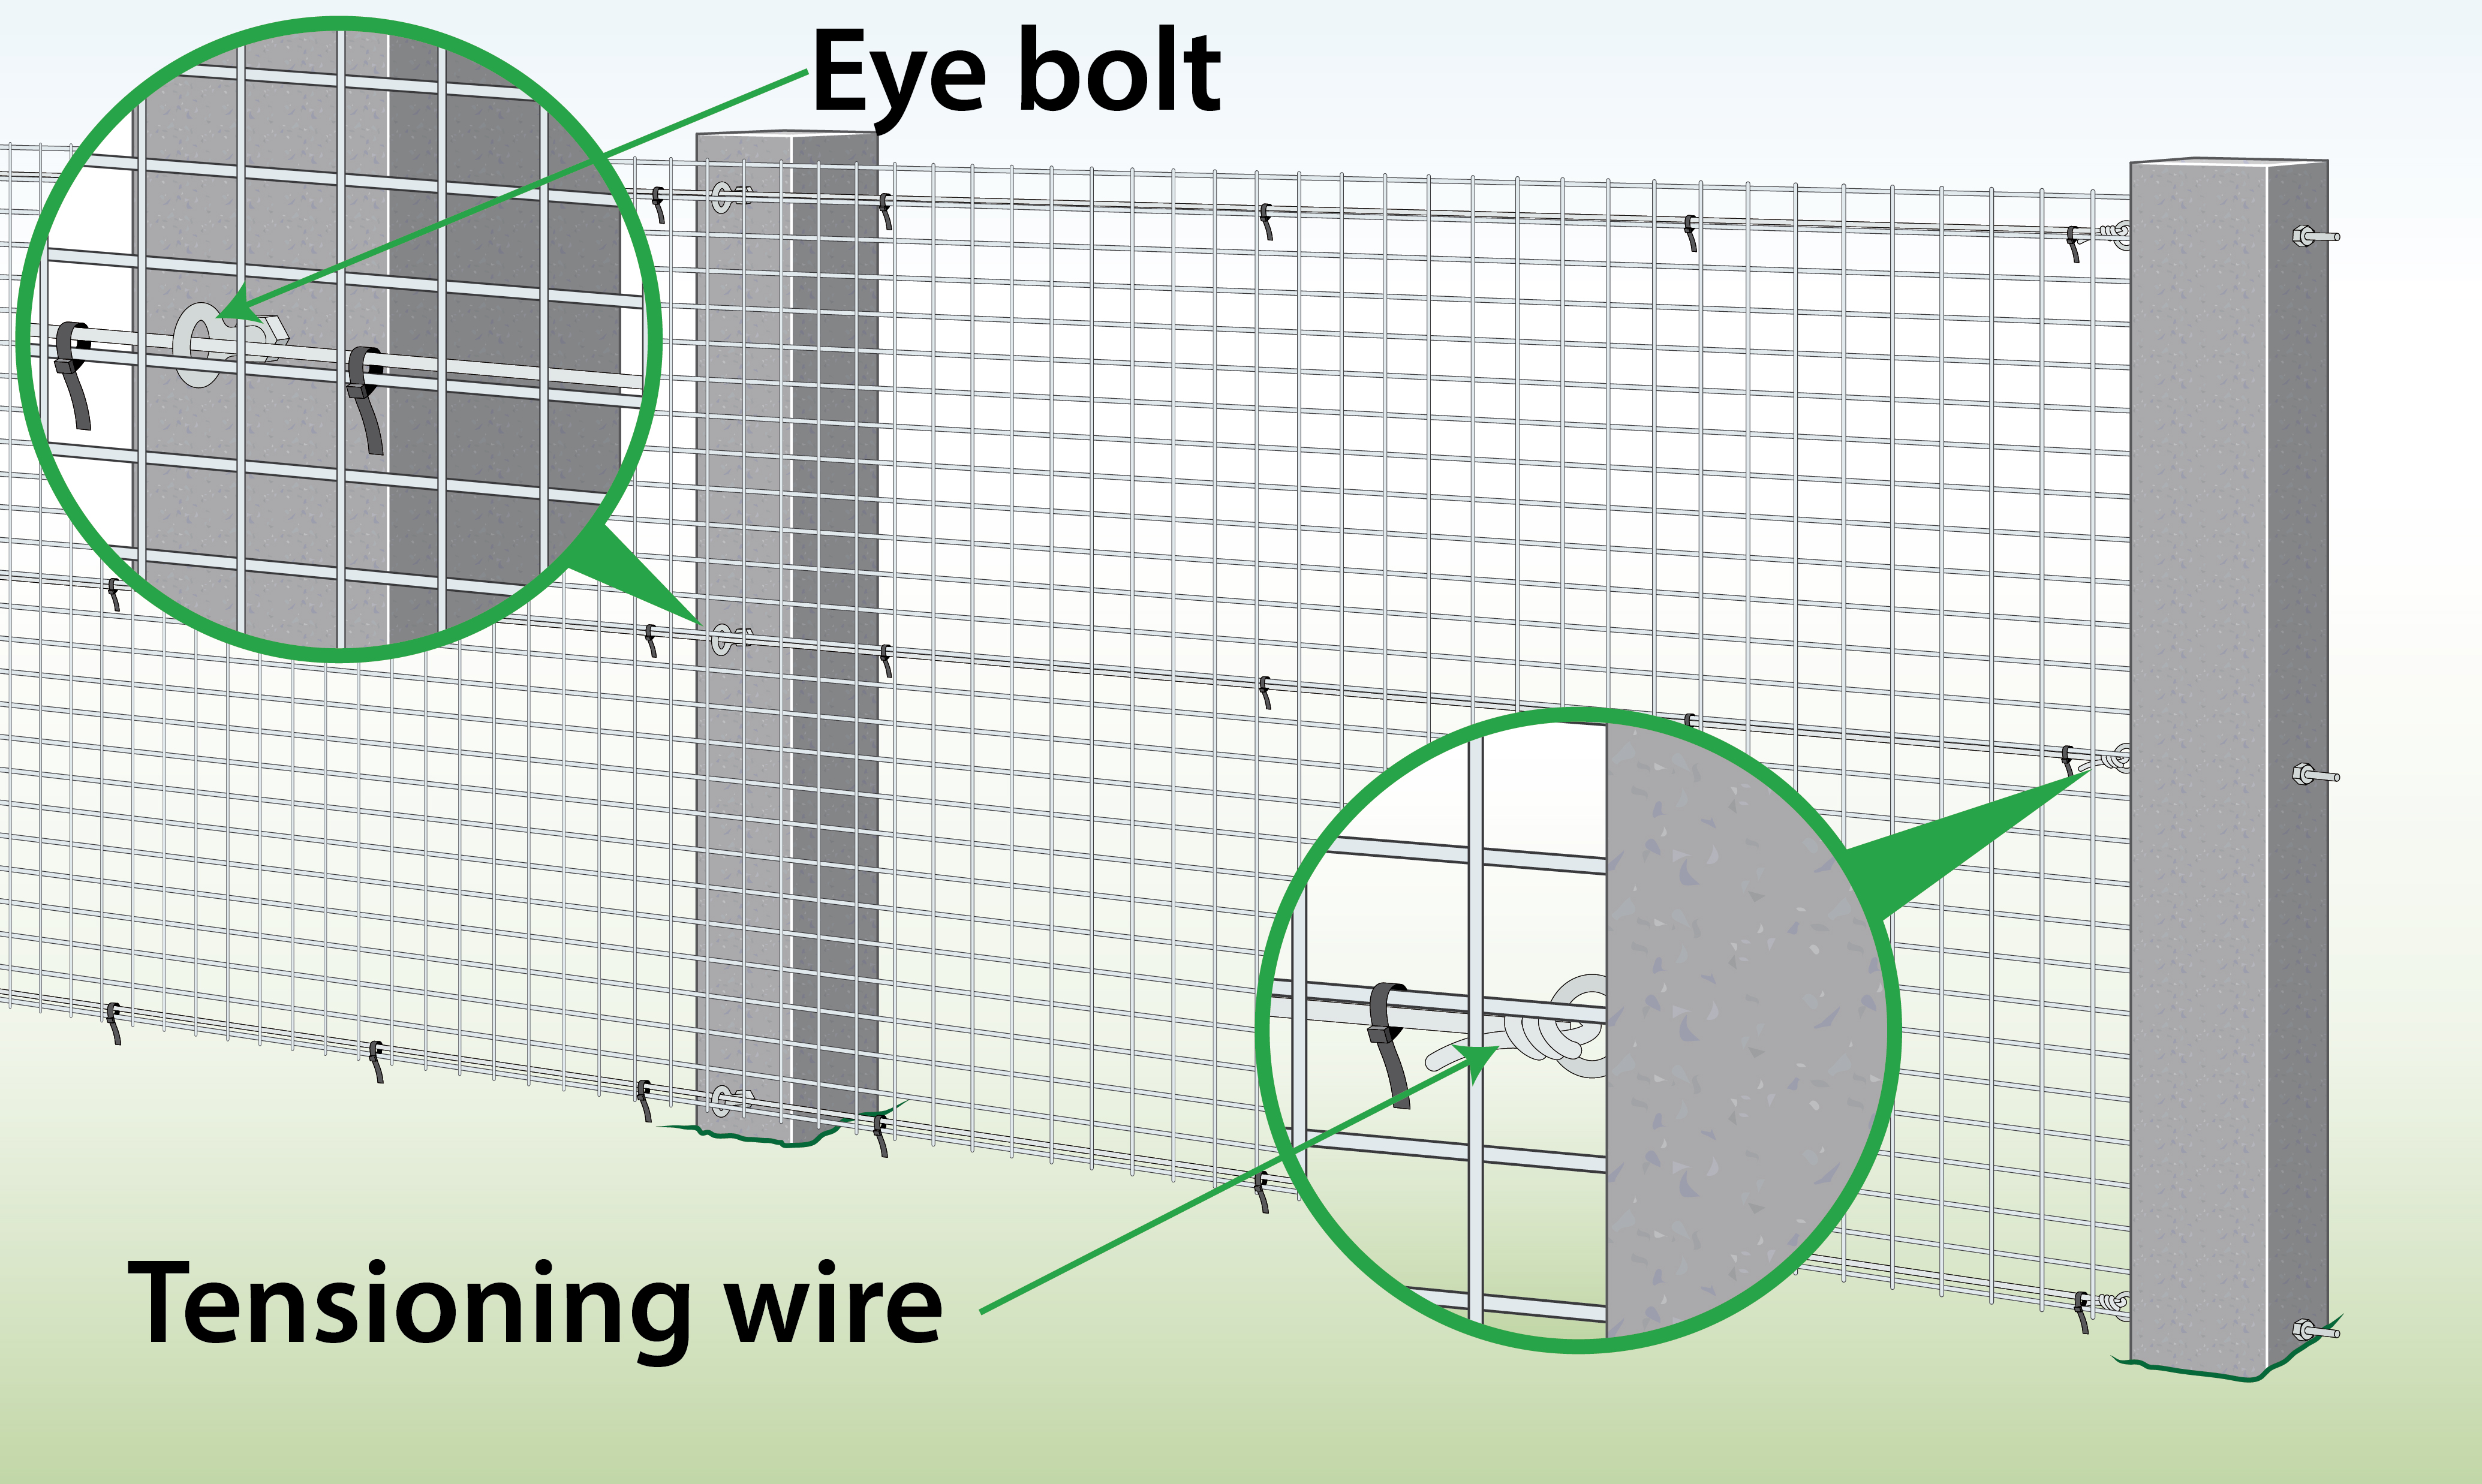 |
| Soil
(Pegs) |
|
| Wire Fence
|
|
with T Posts
with Wood Posts
| To Do | Explanation |
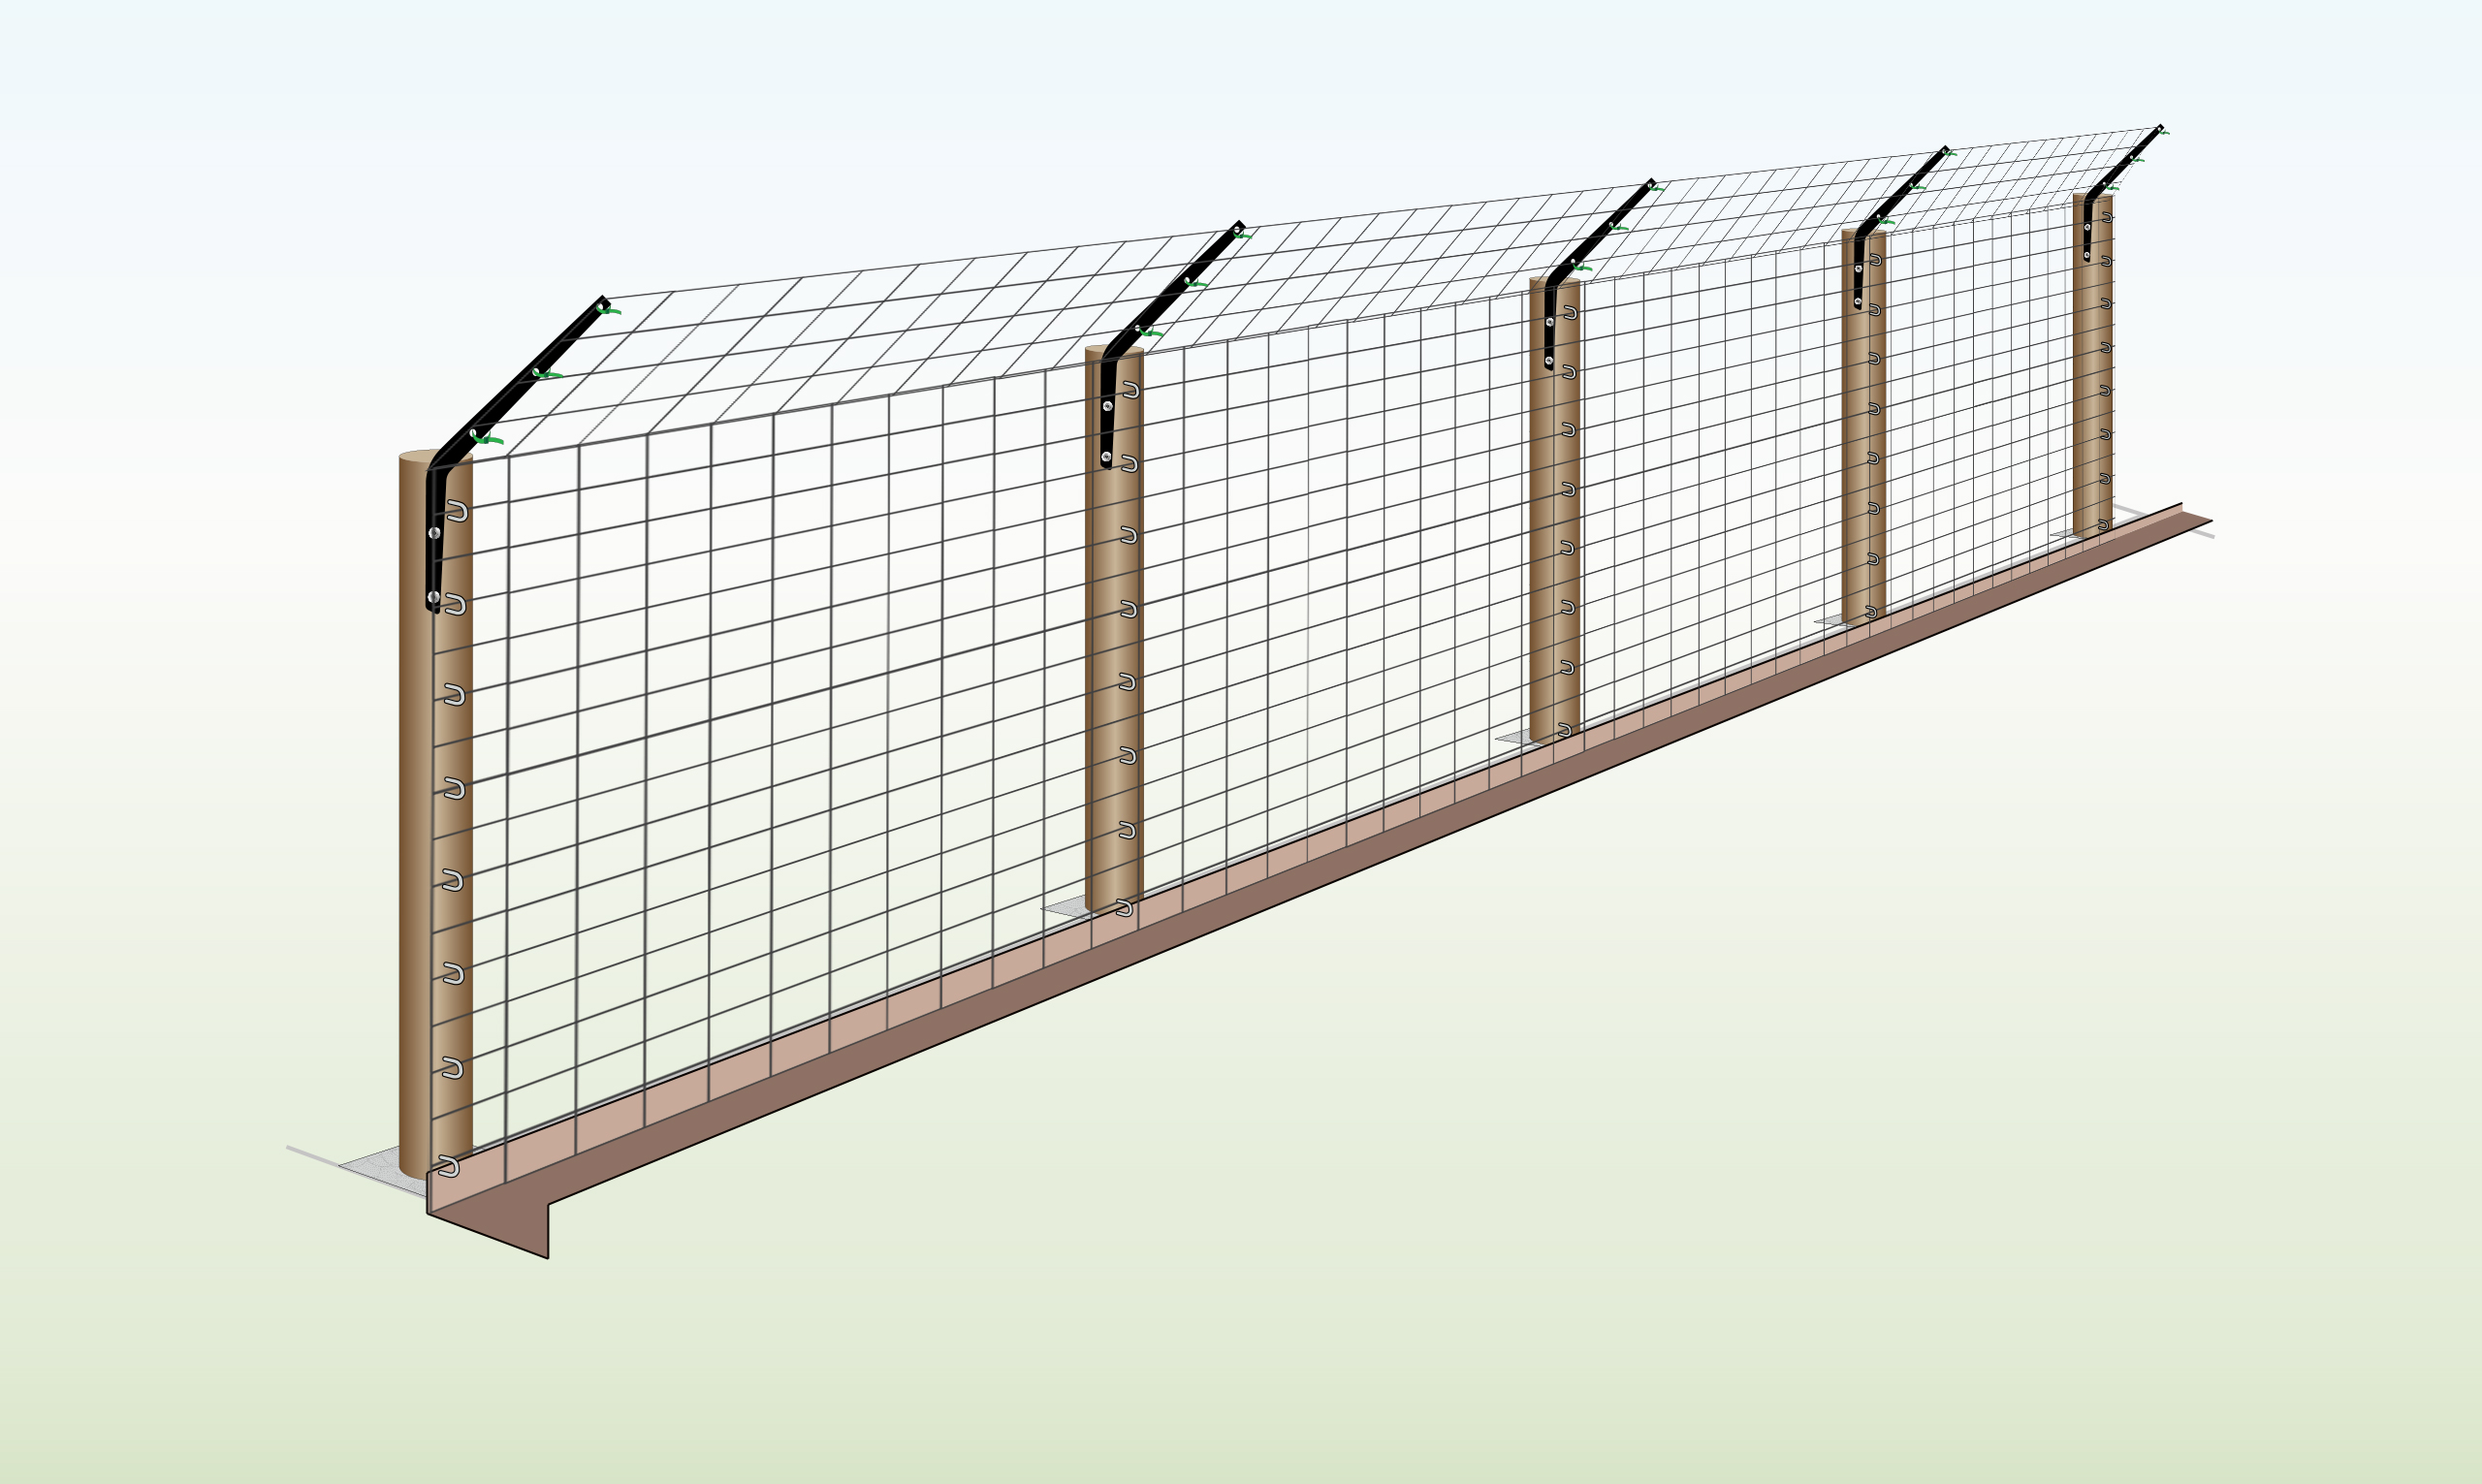
| Completed Installation
|
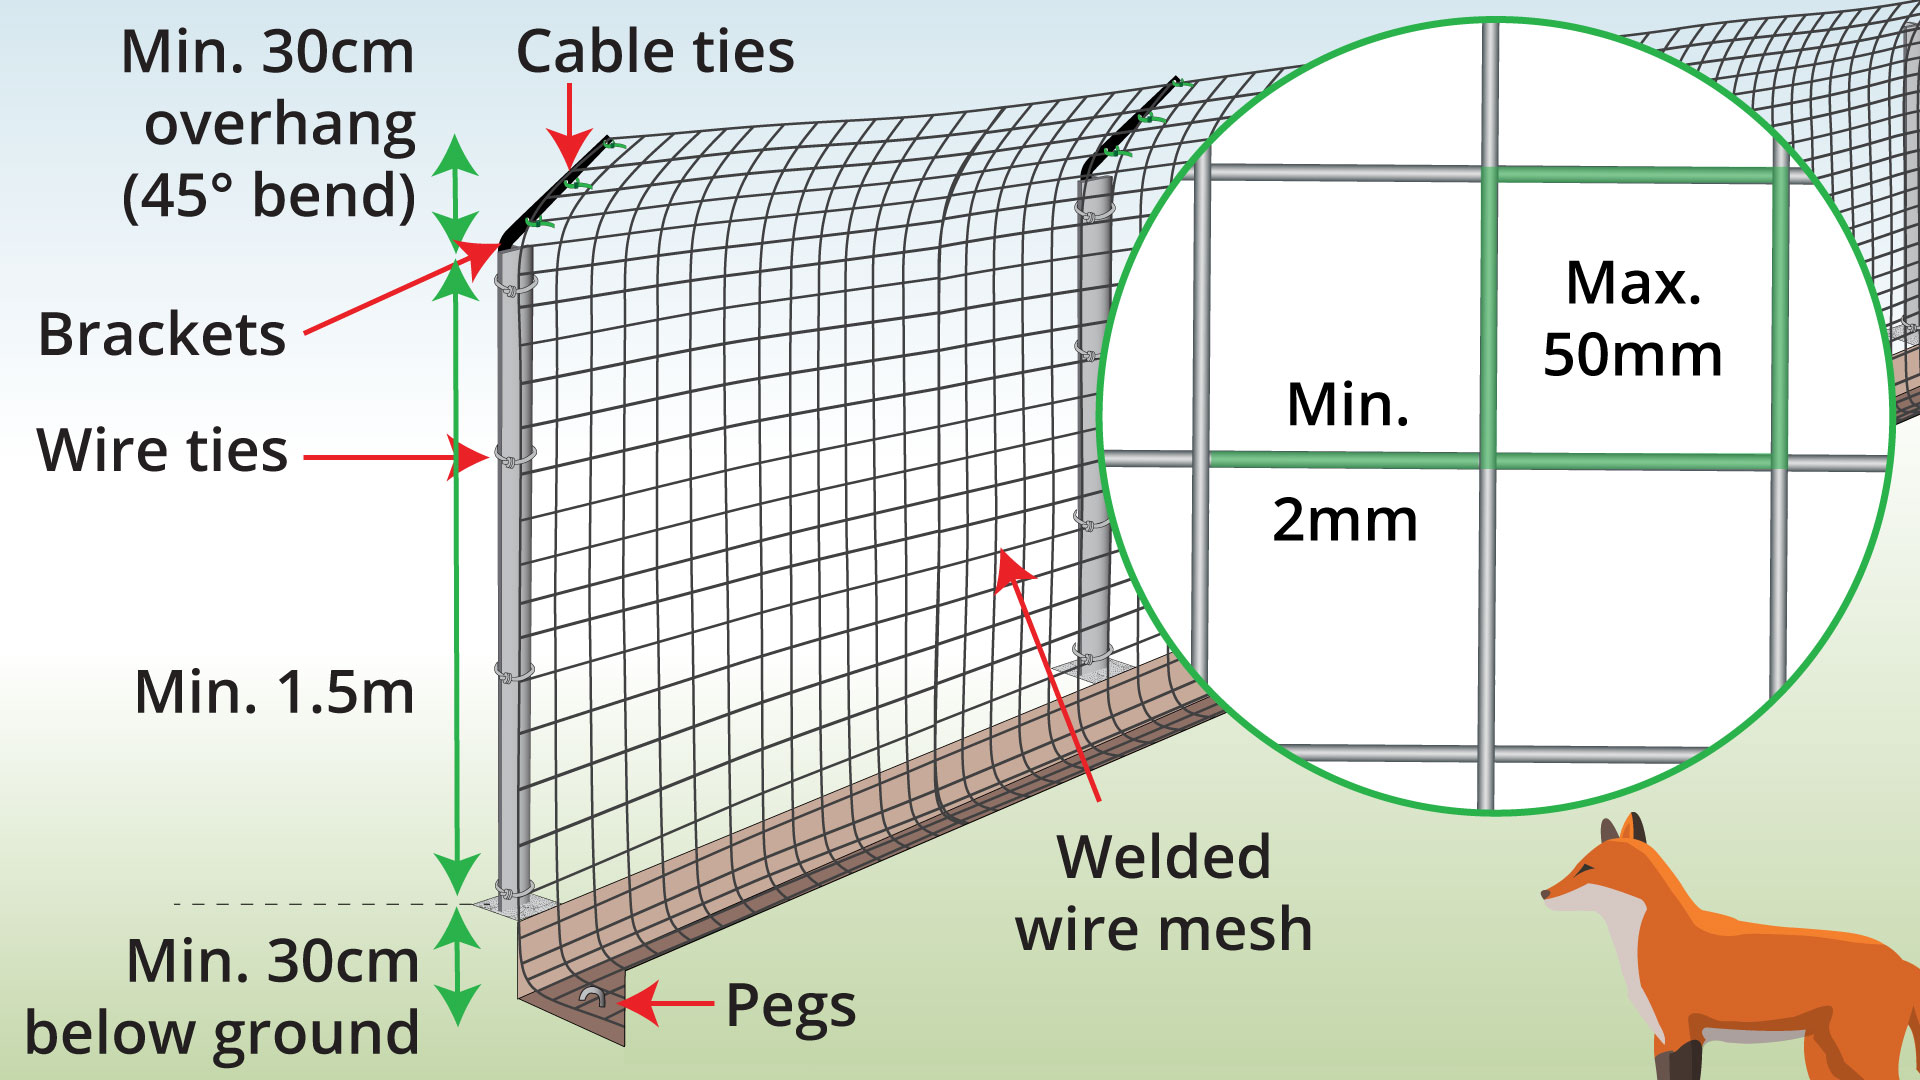
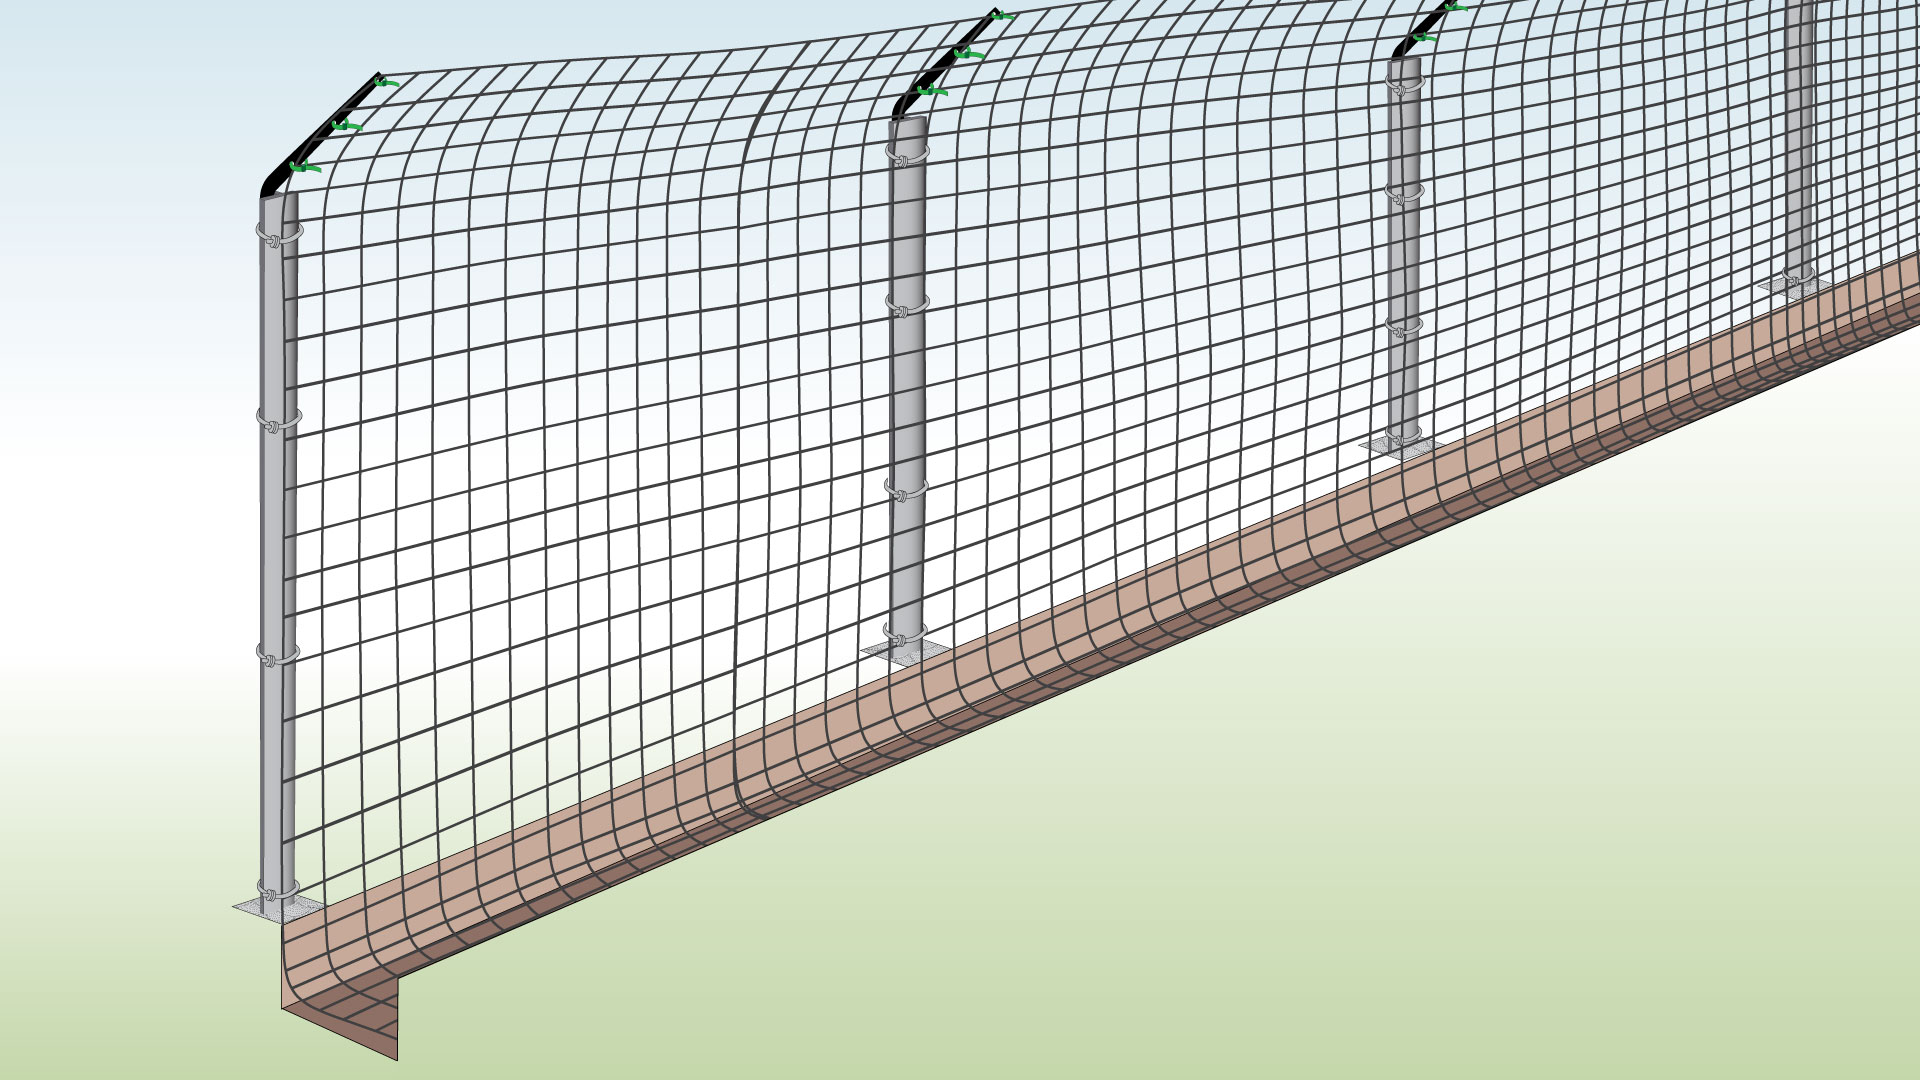
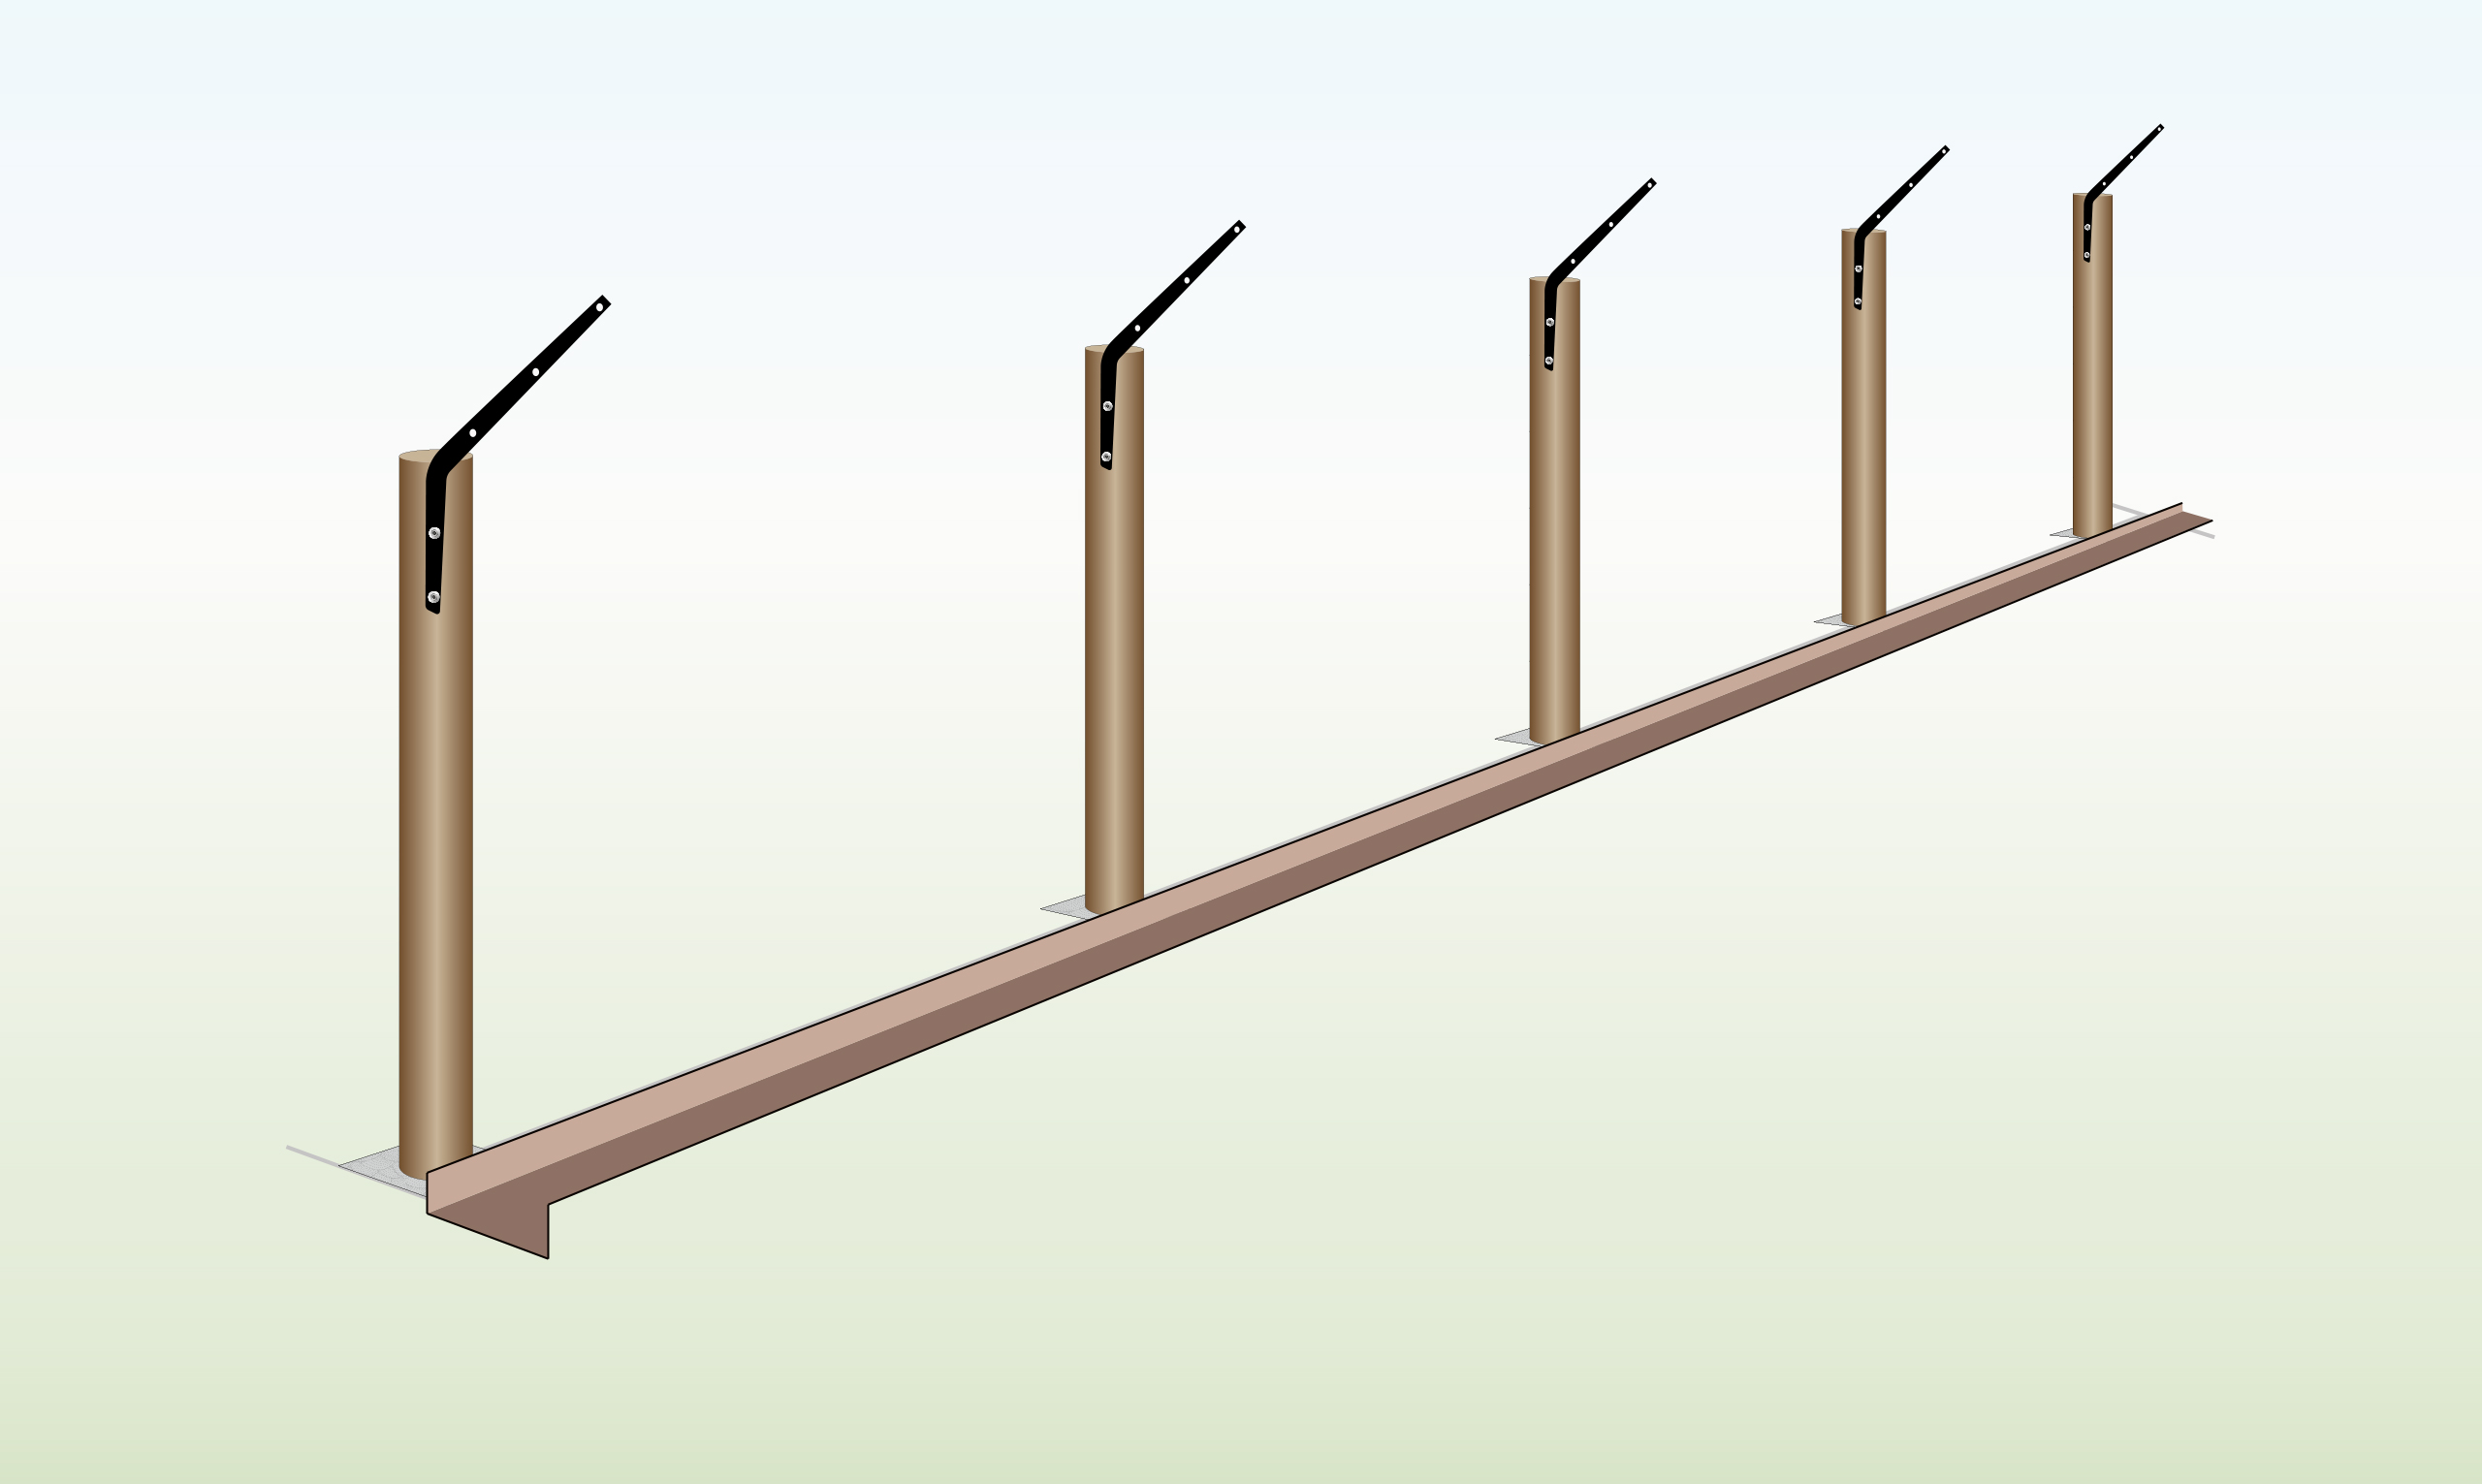
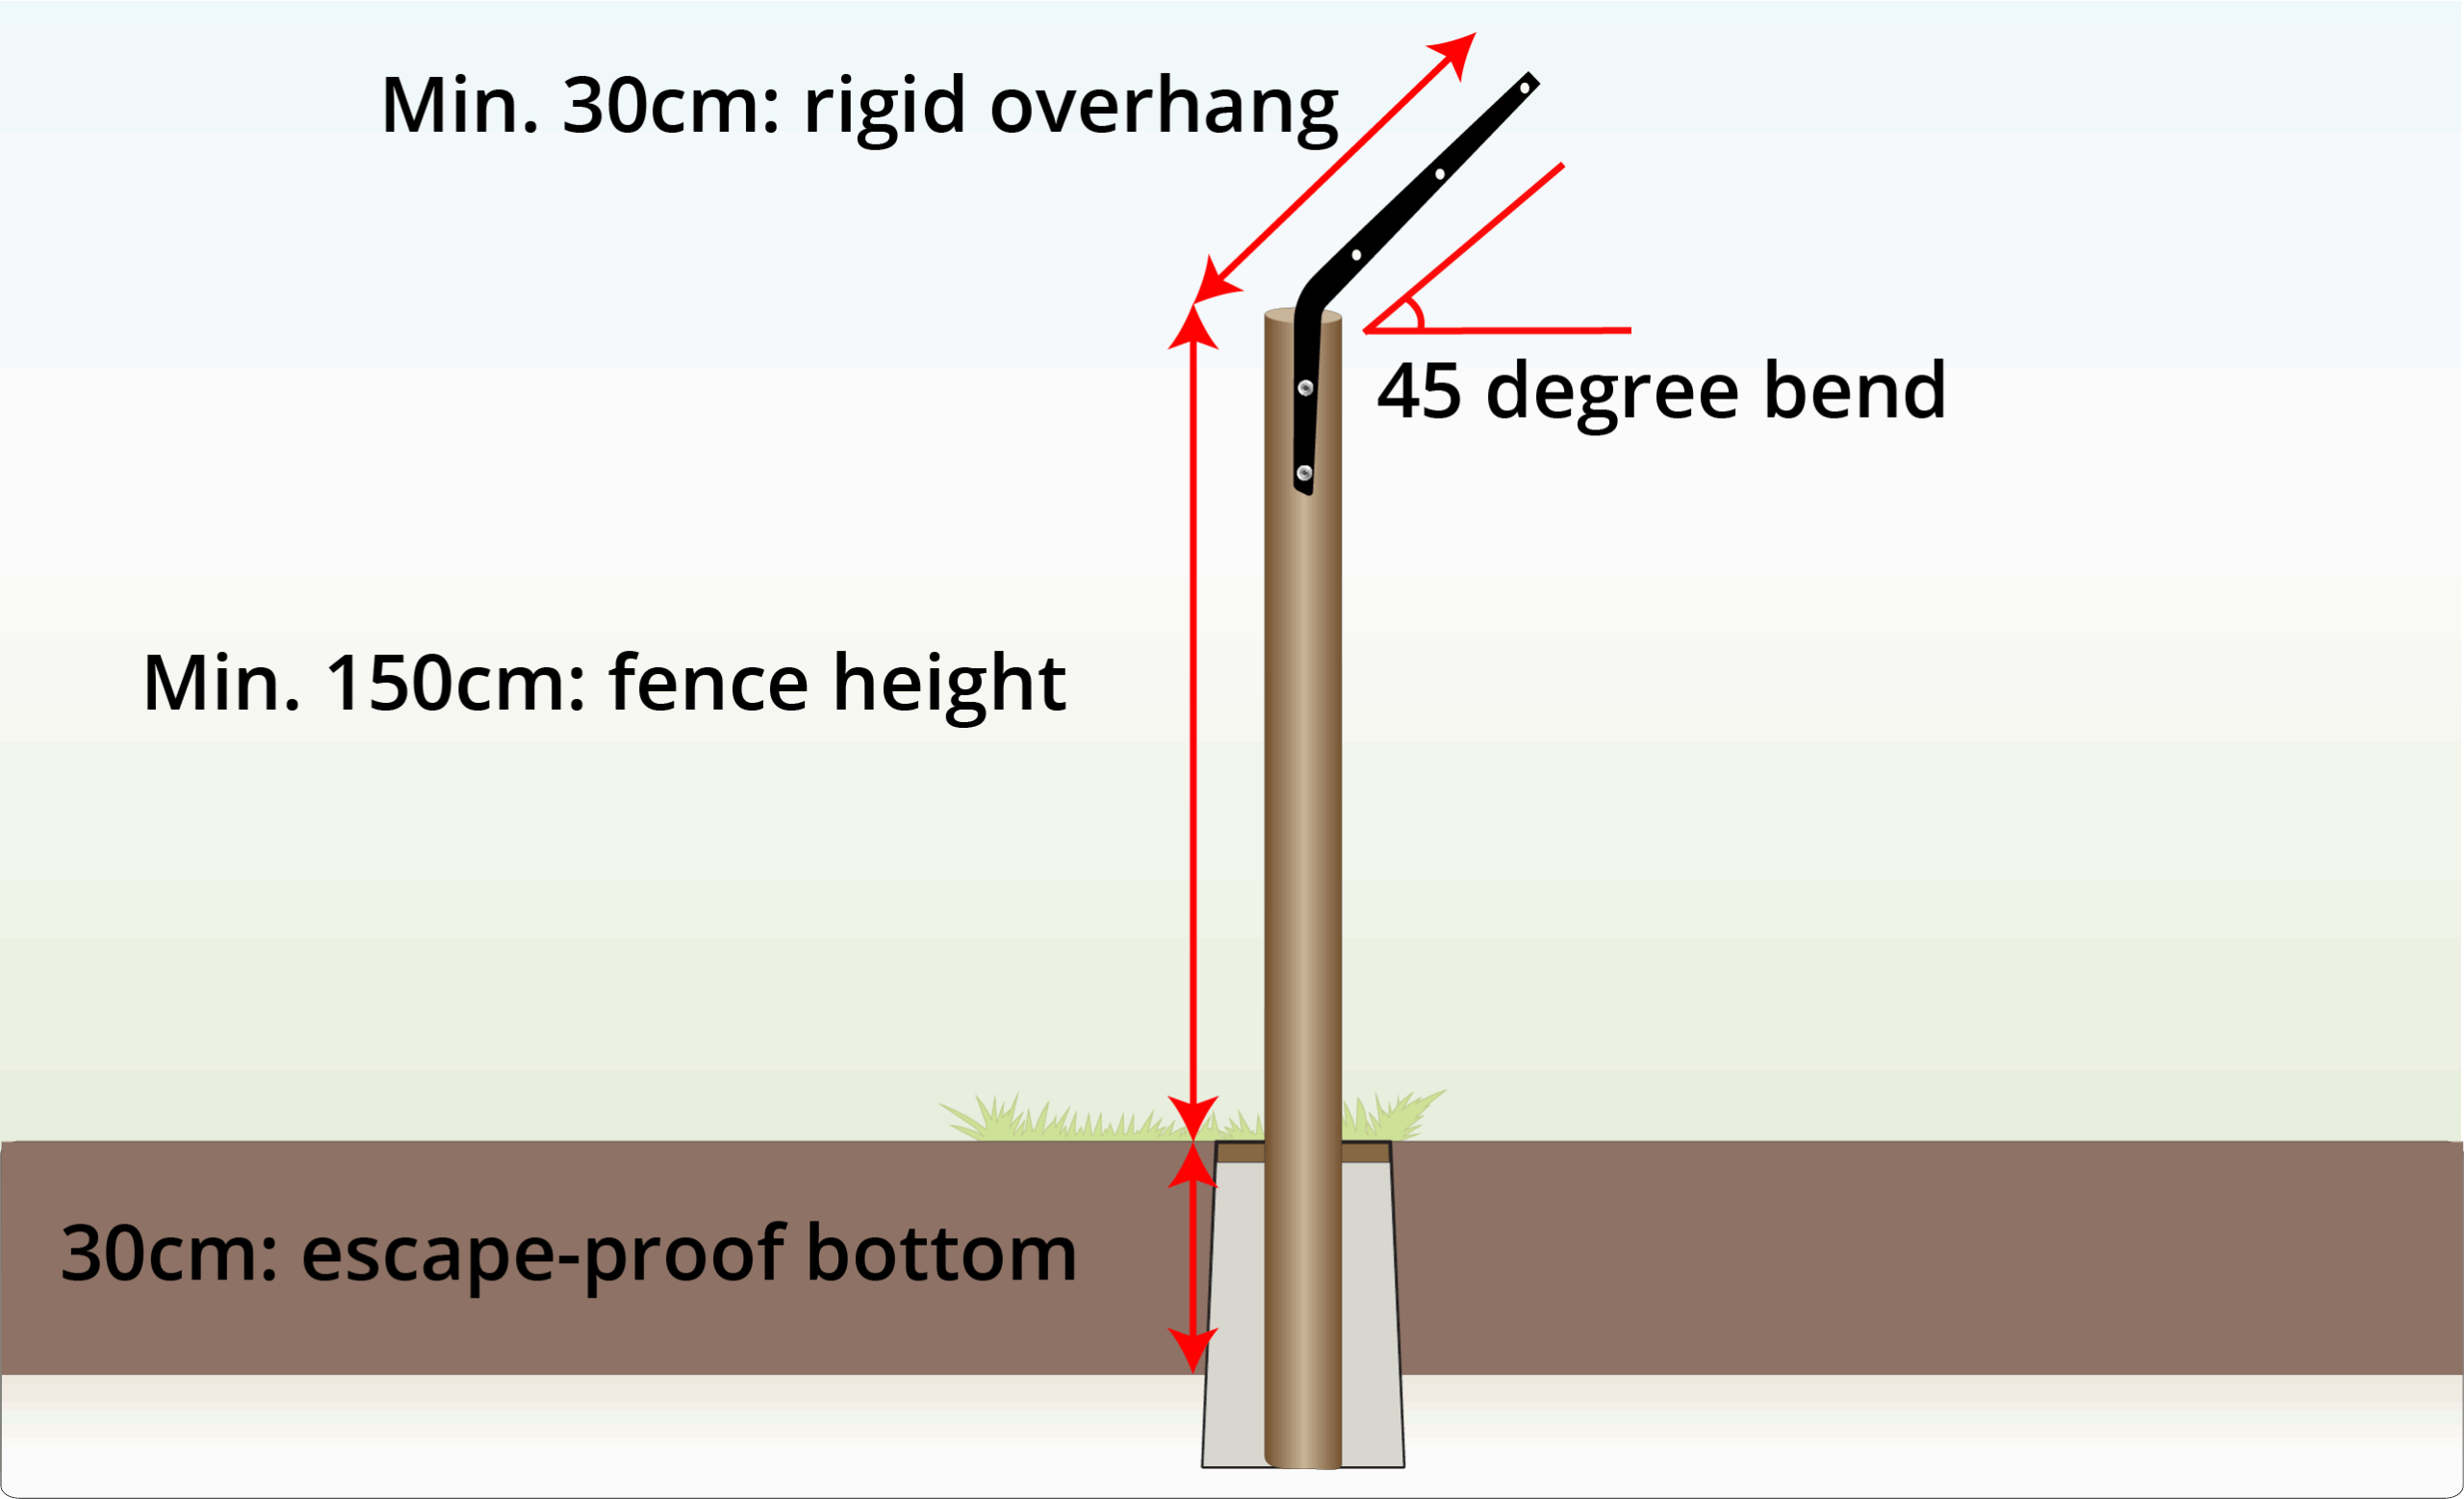
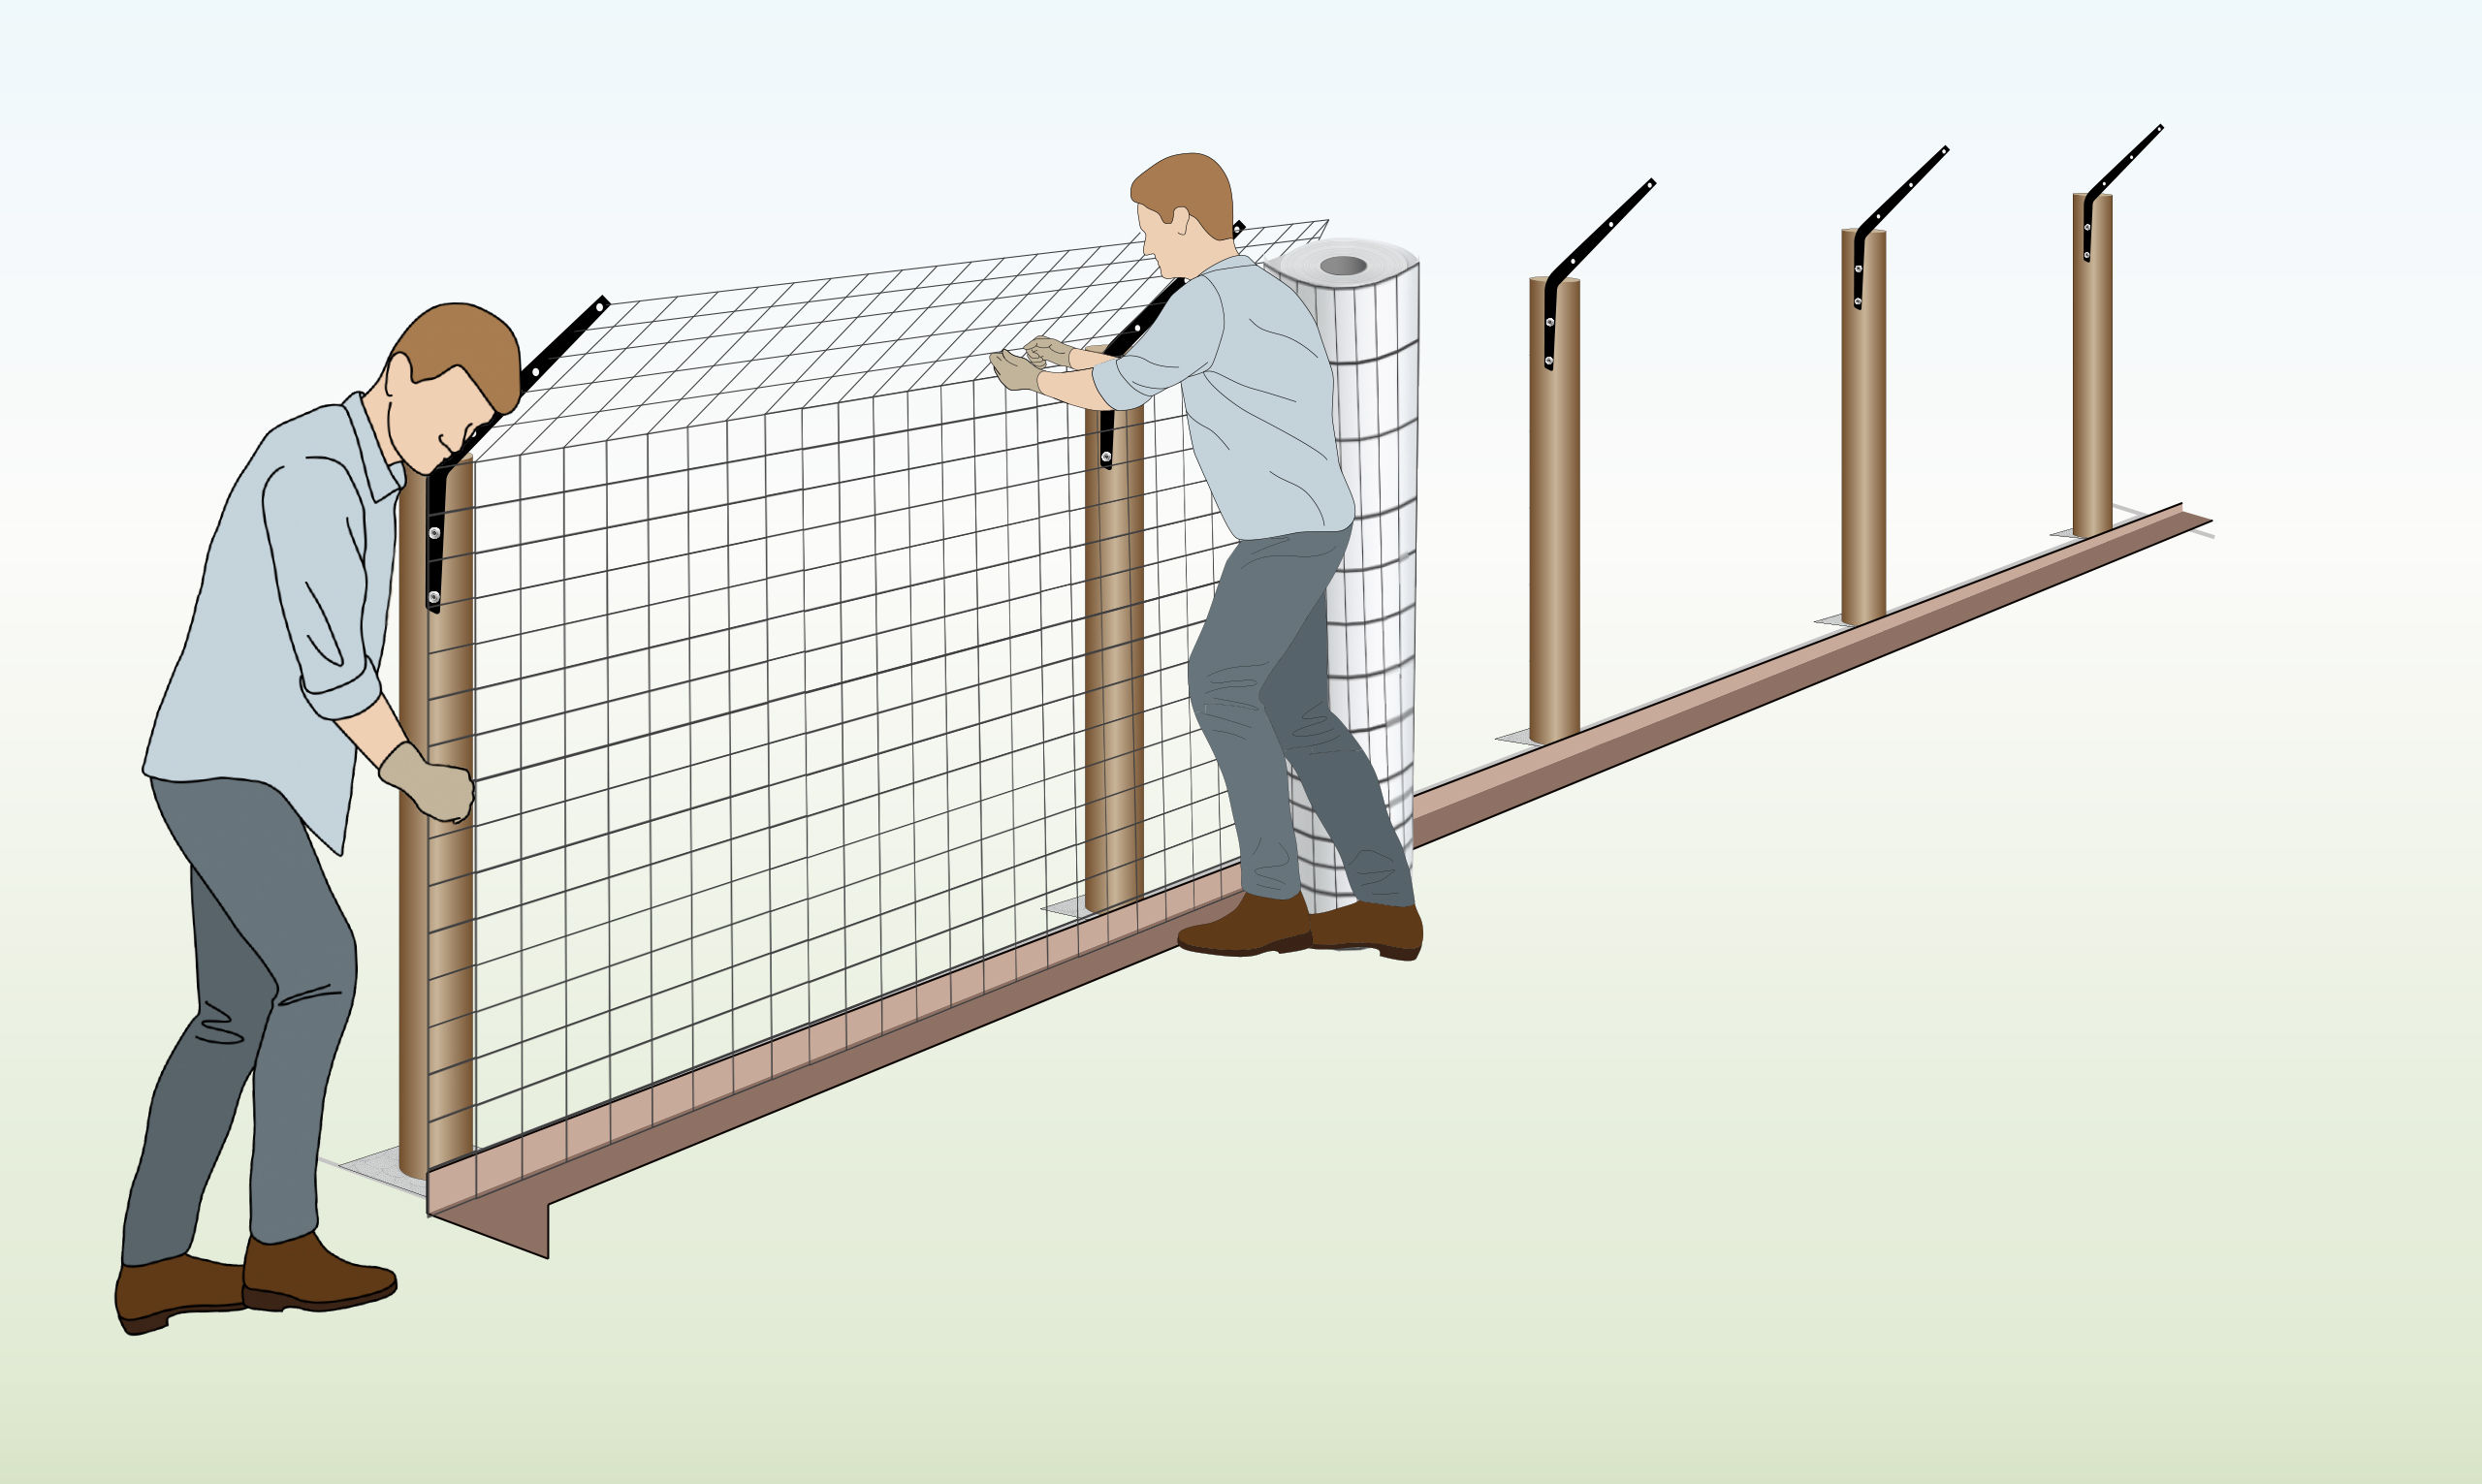
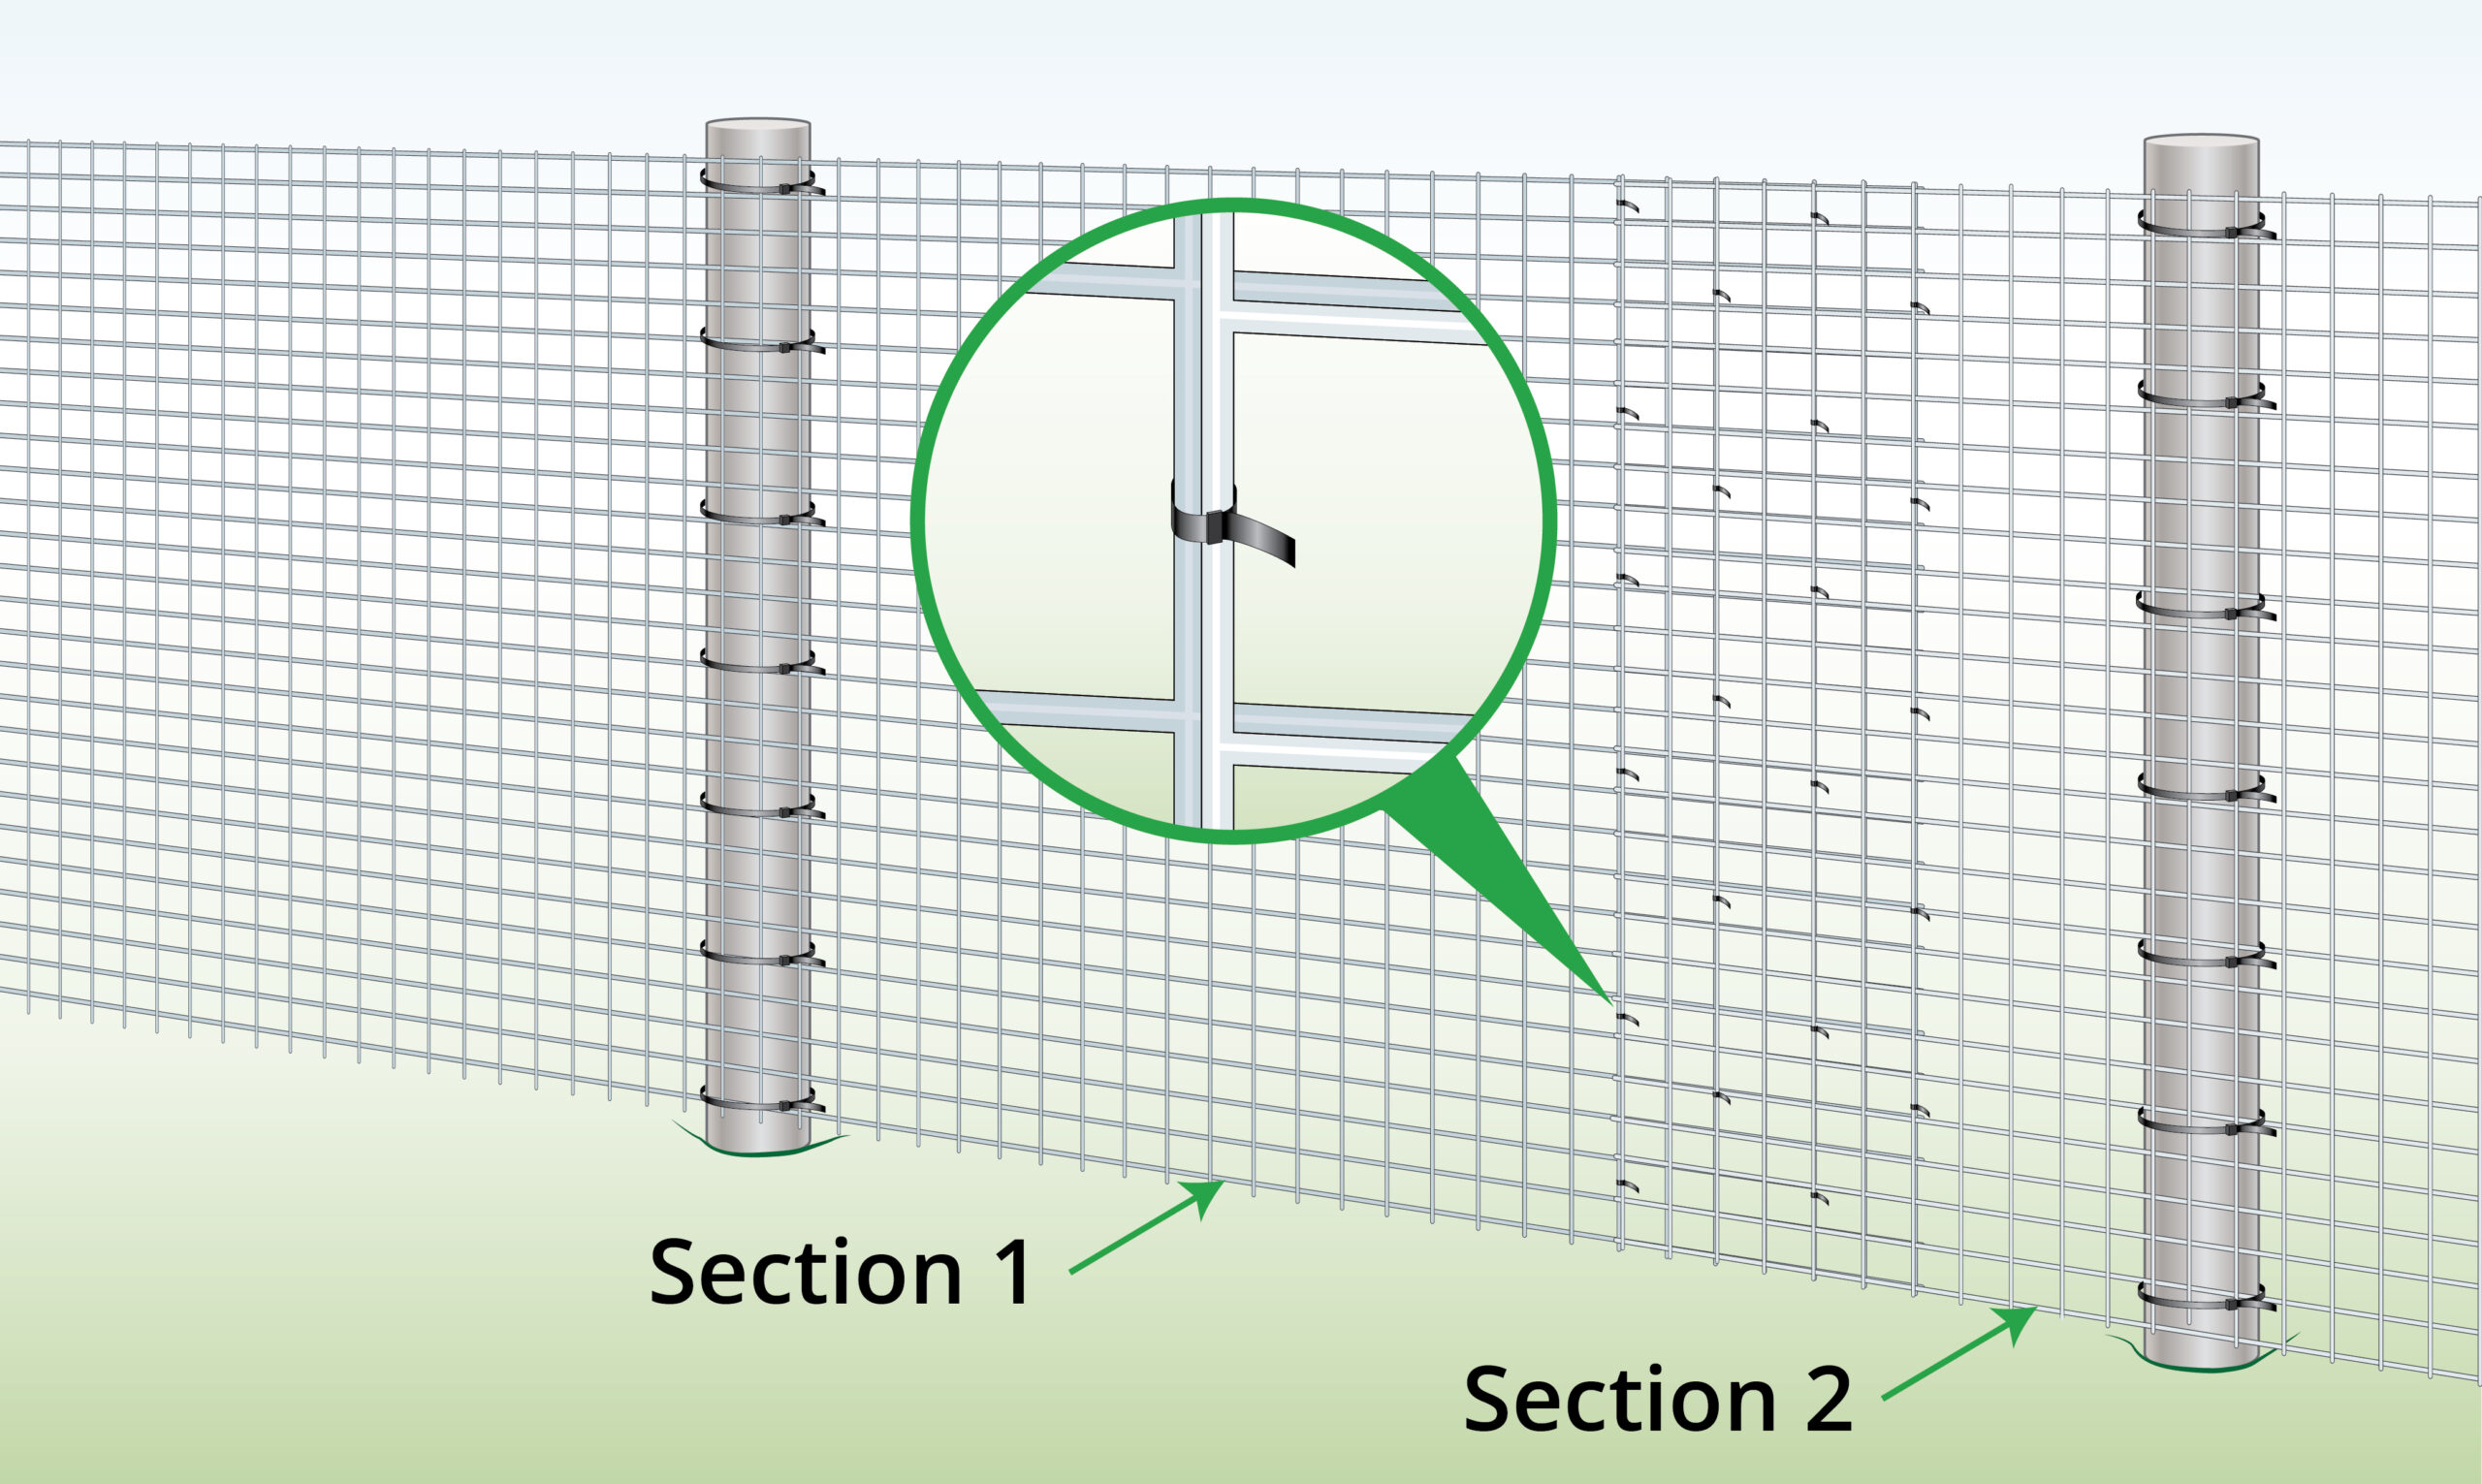
Set T-posts 2–3 m apart in concrete and dig a 30 cm trench. Attach angled brackets to the posts, then fix the mesh to the posts and brackets. Secure the bottom with pegs and cover the trench with soil.
Full instructions below or watch this video |
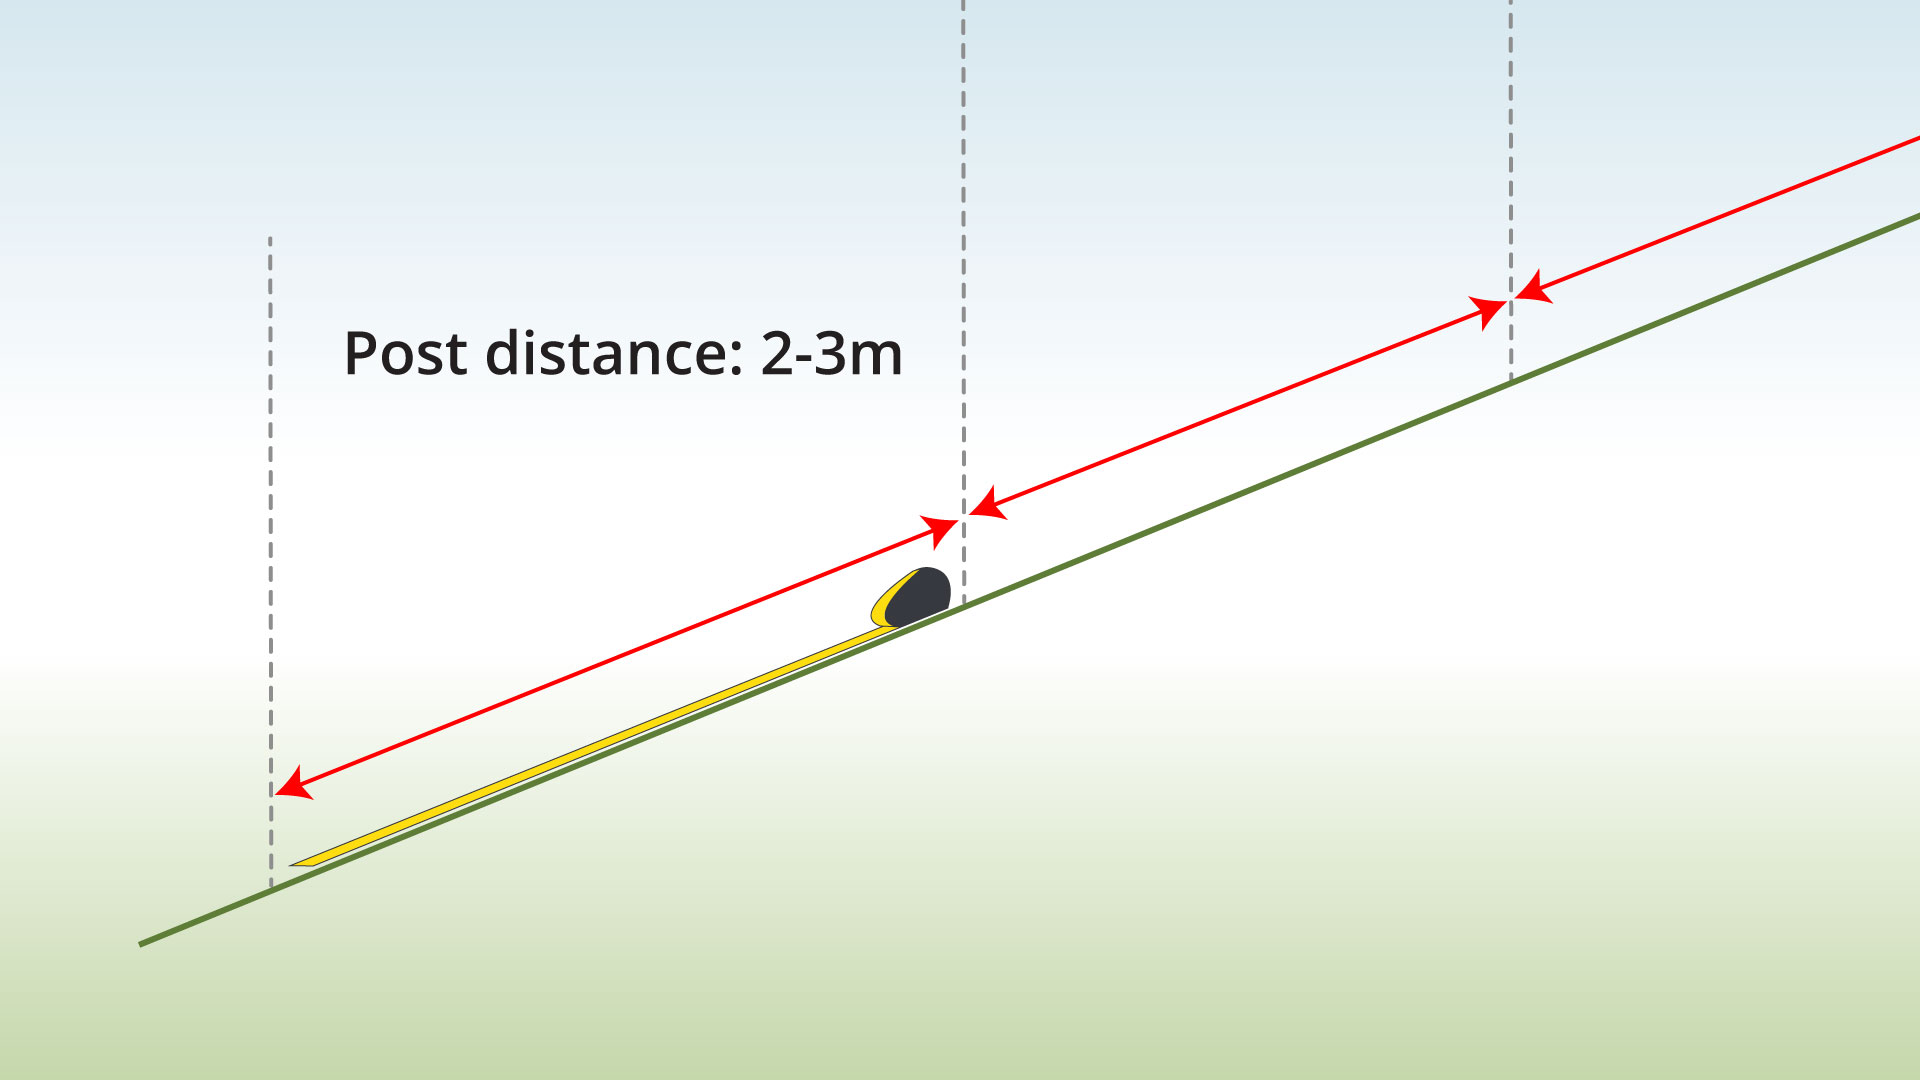
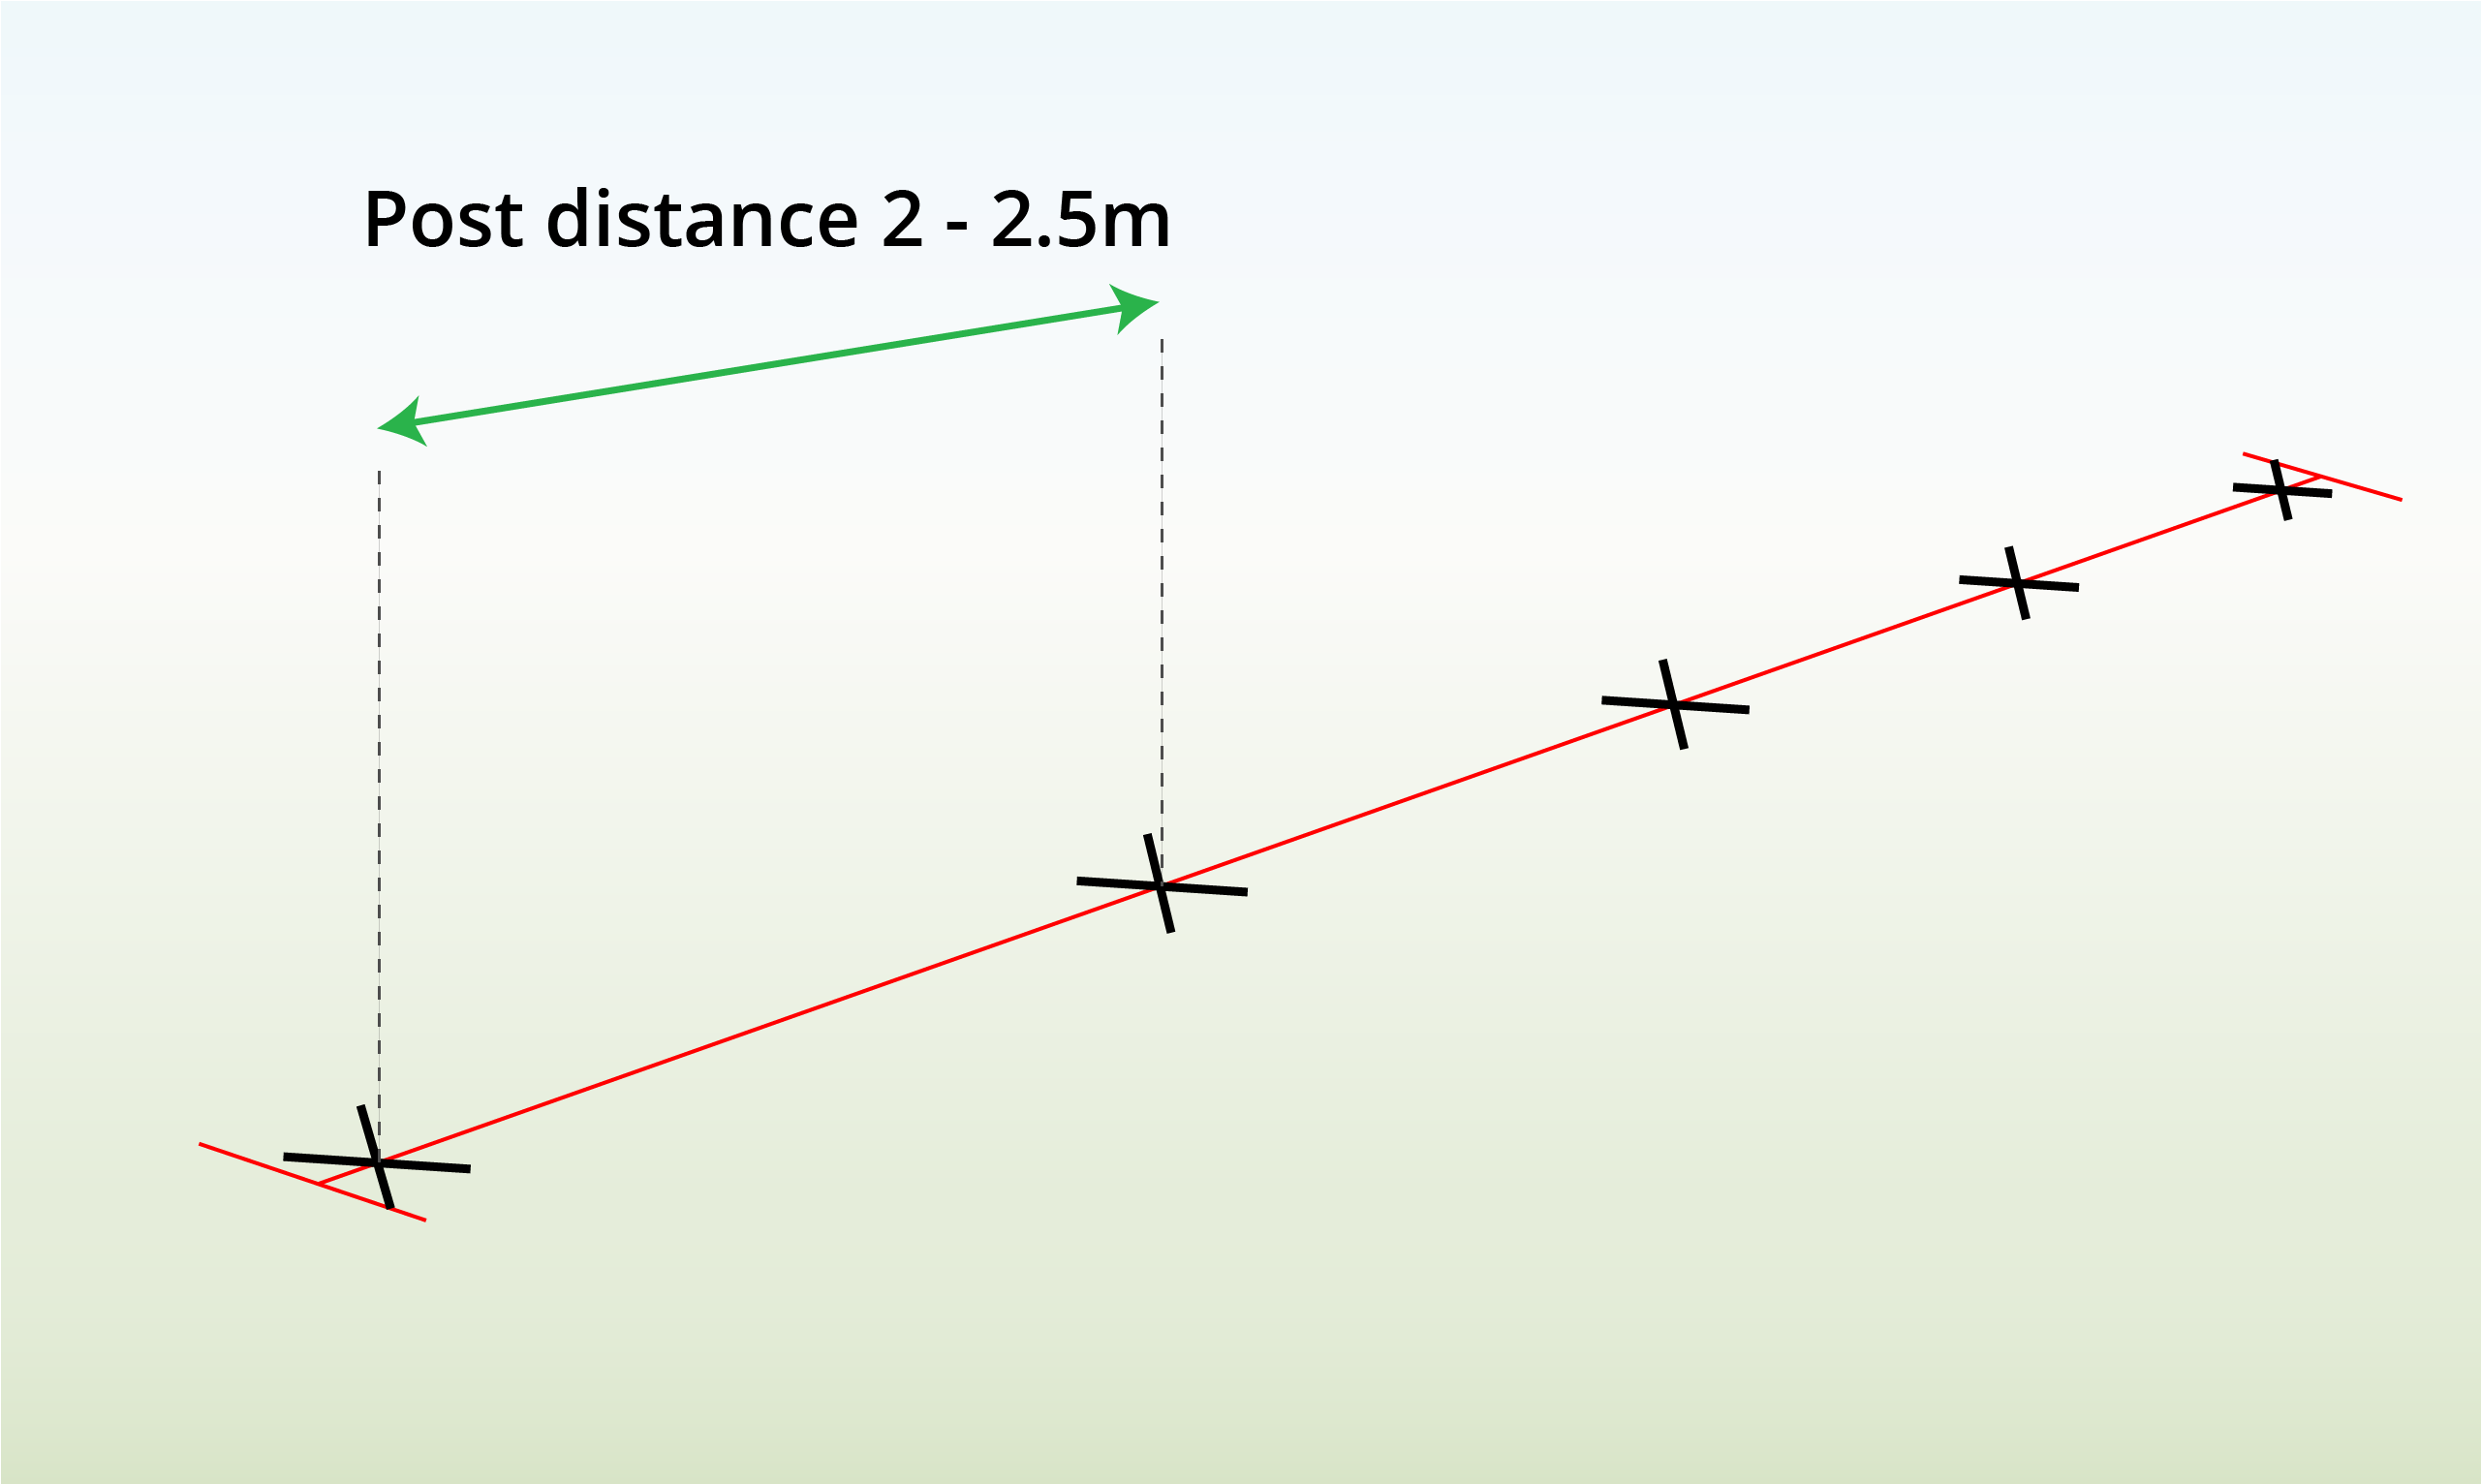
| Step 1 – Measure Post Distance
|
Specify the post location, maintaining a distance of 2-3 m between each one. |
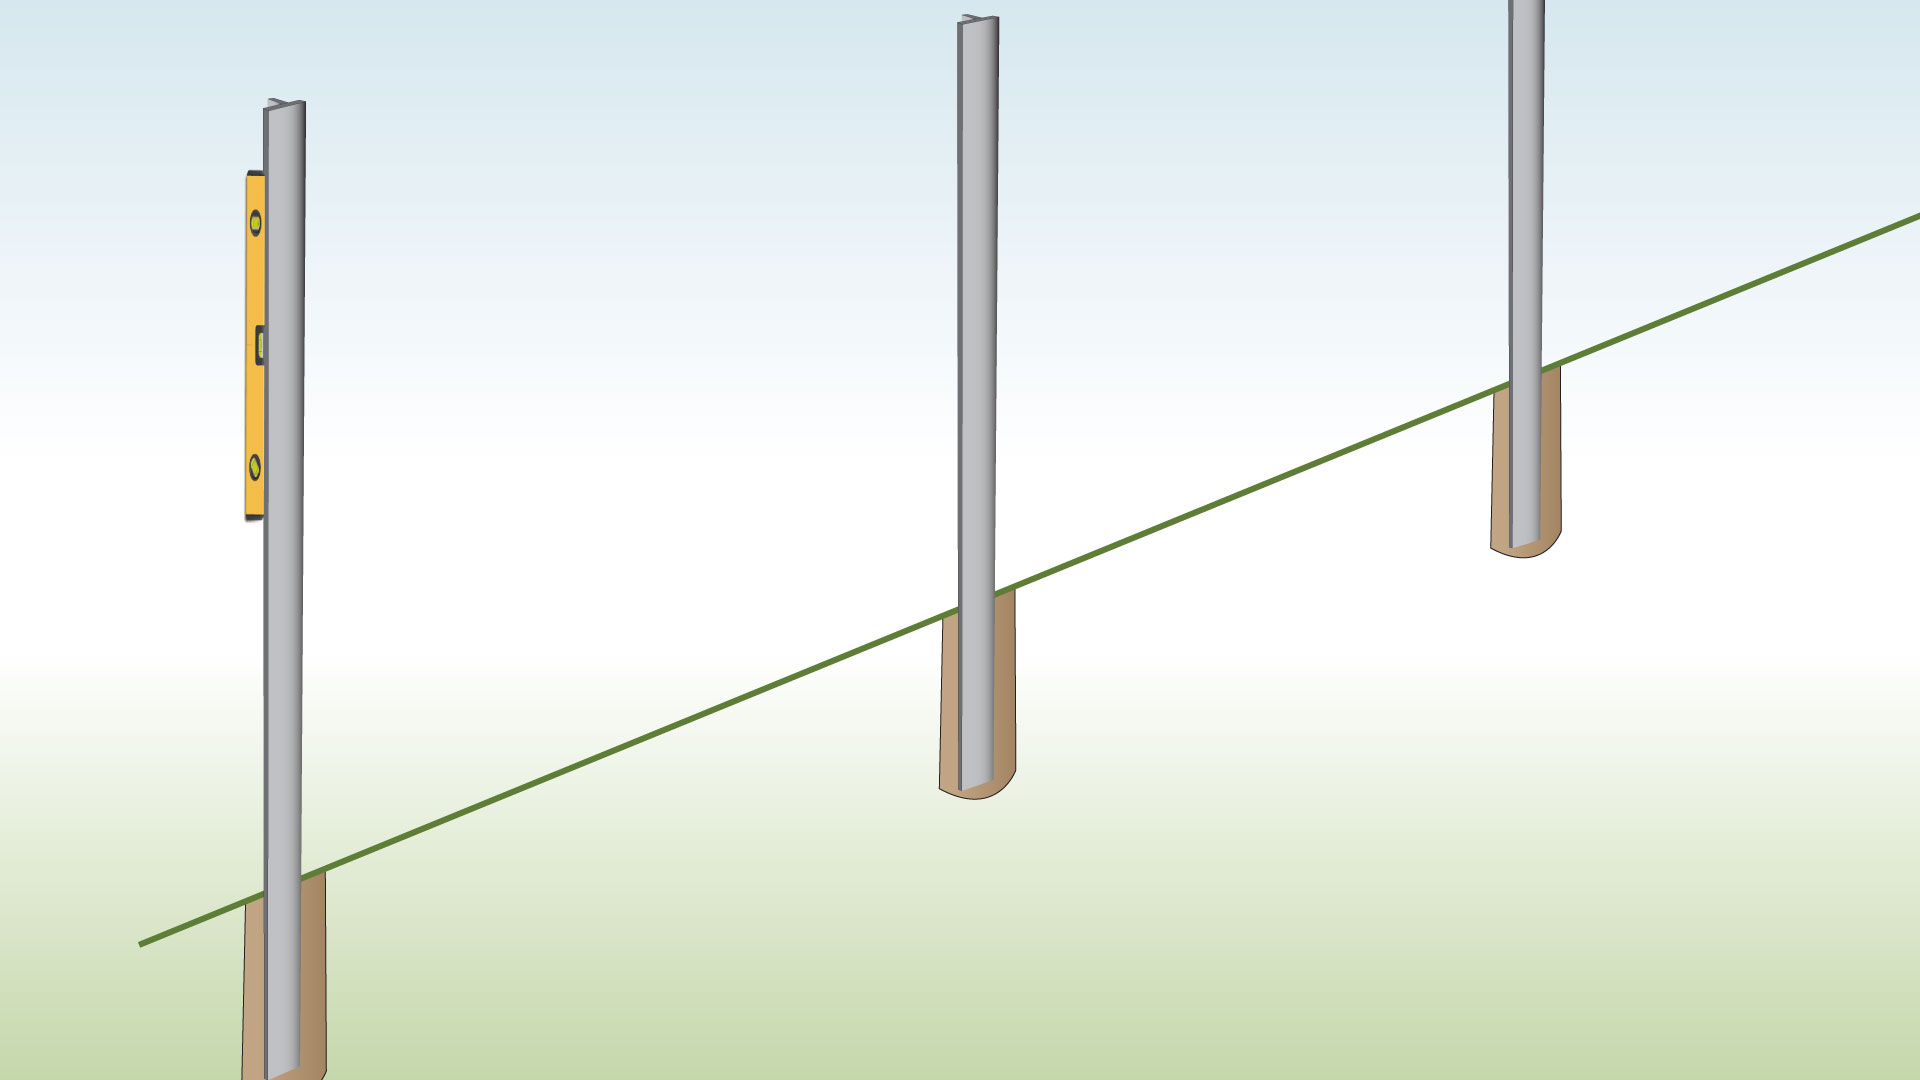
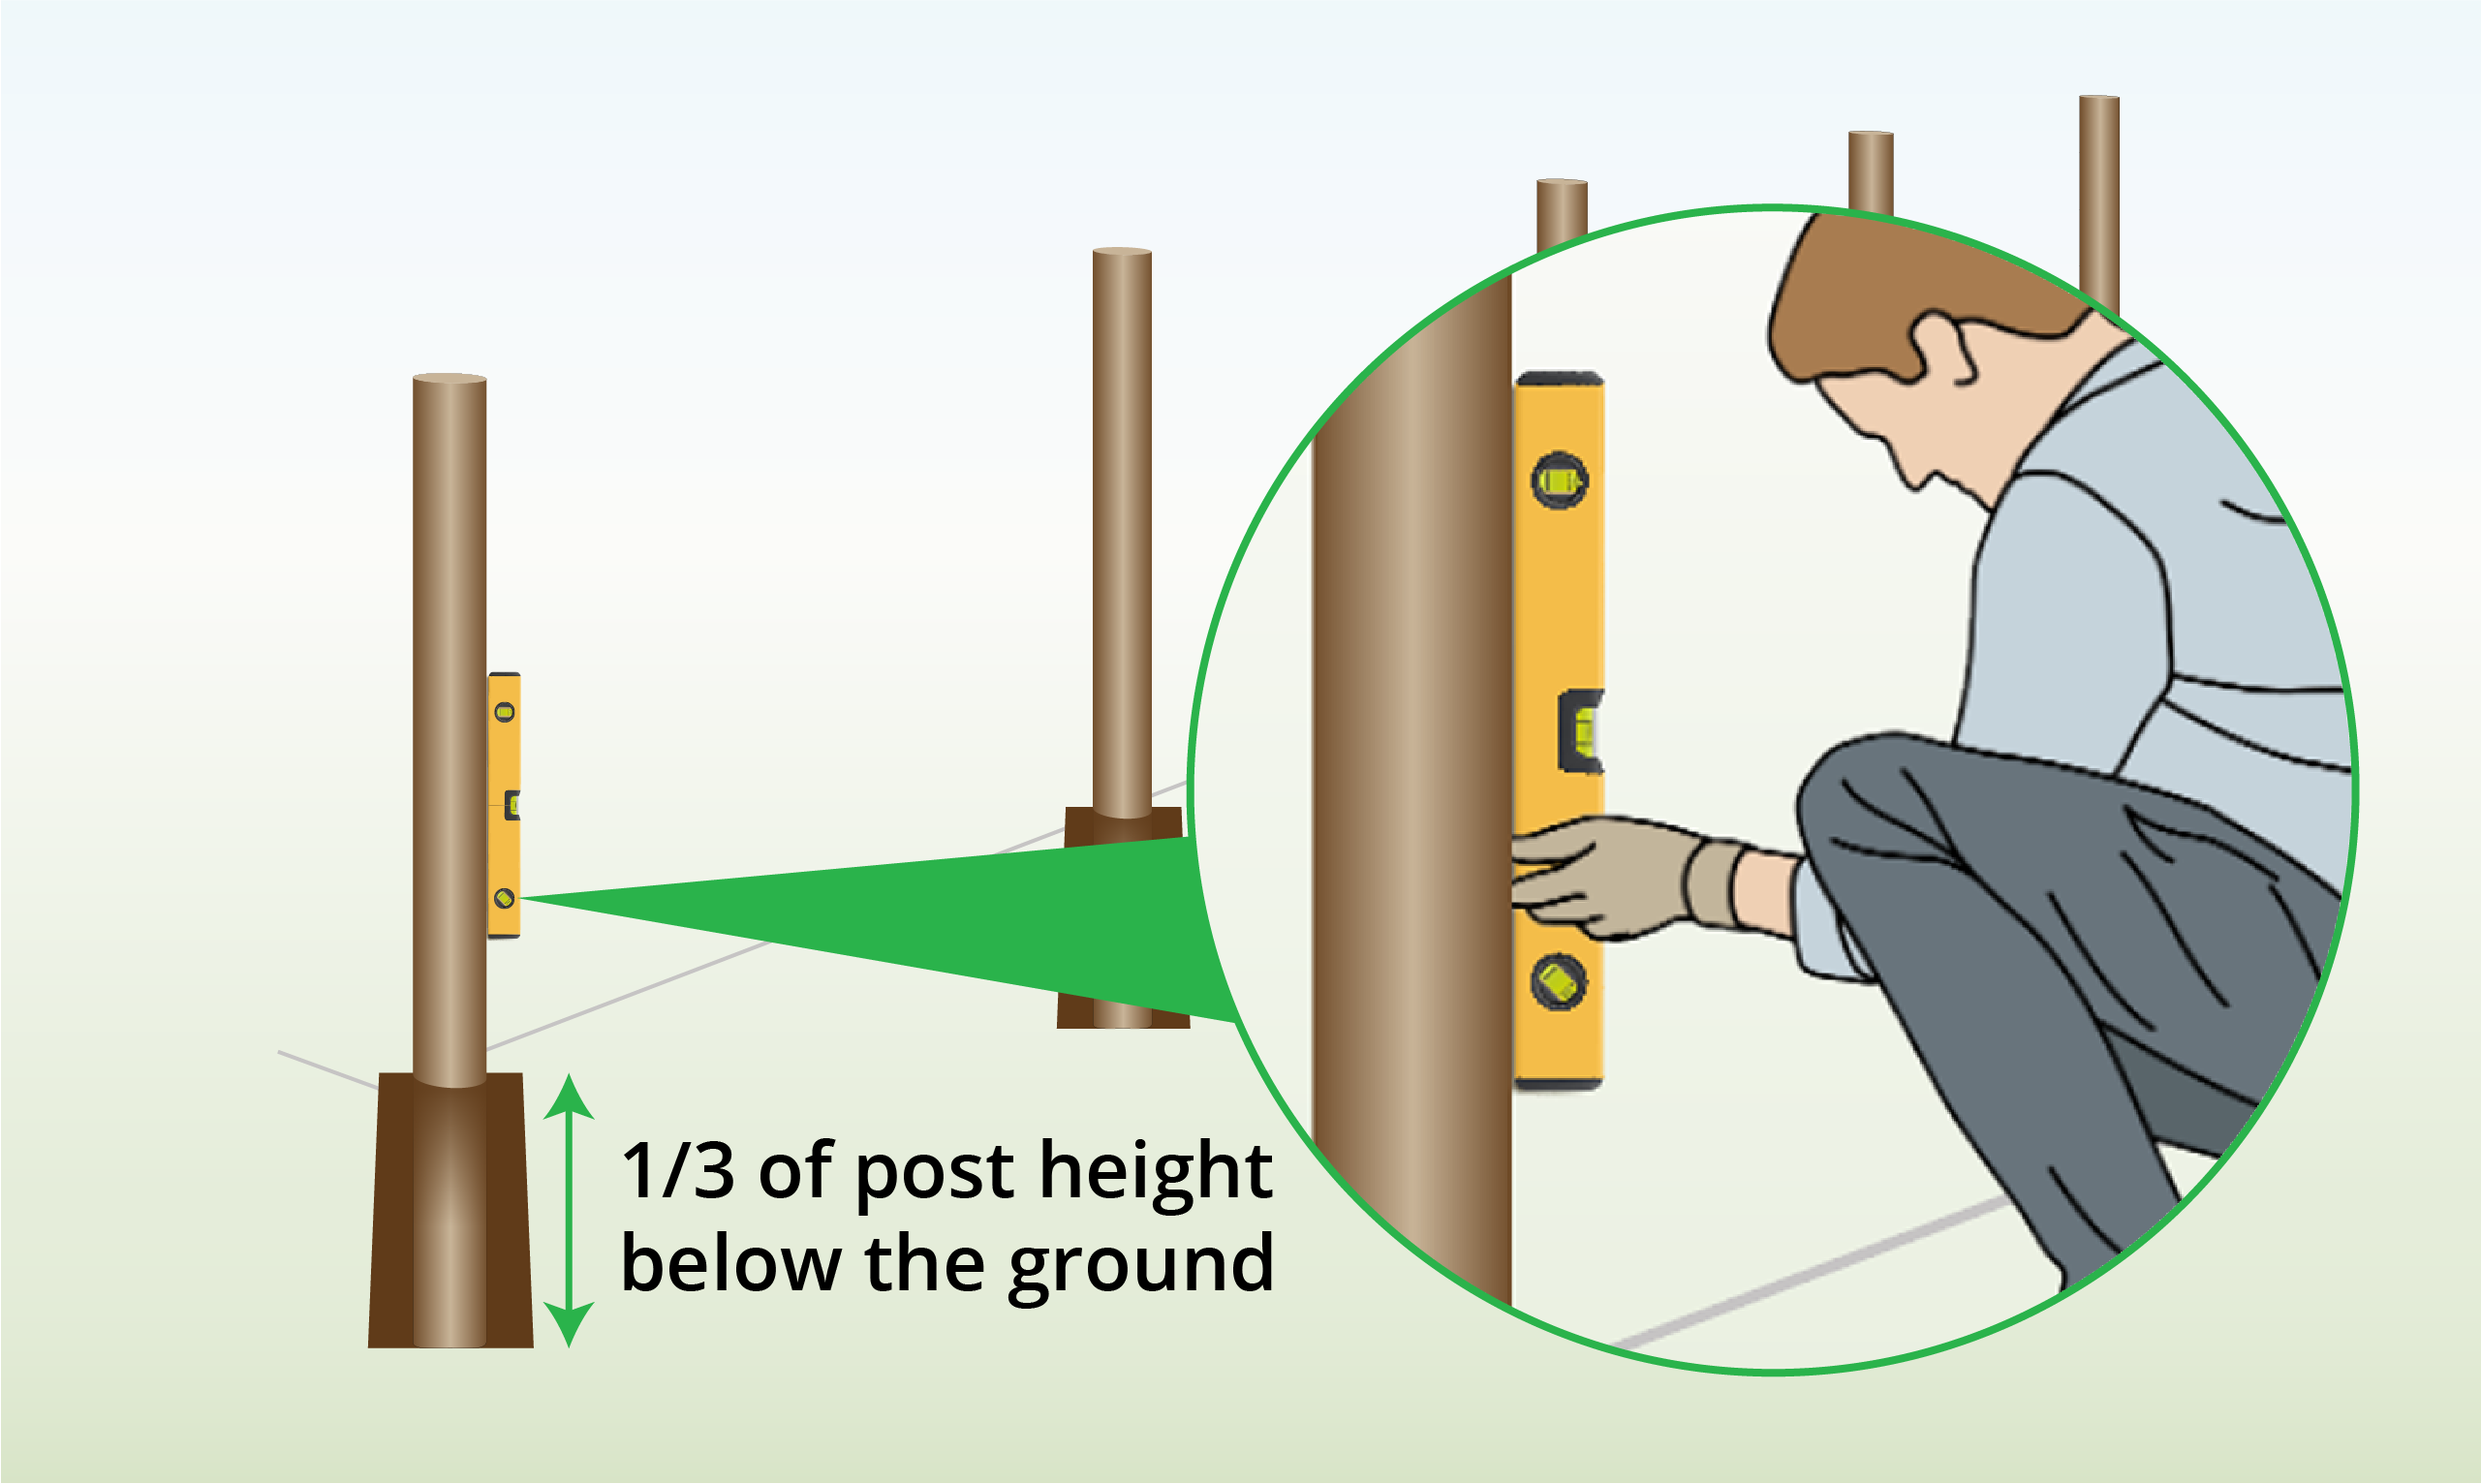
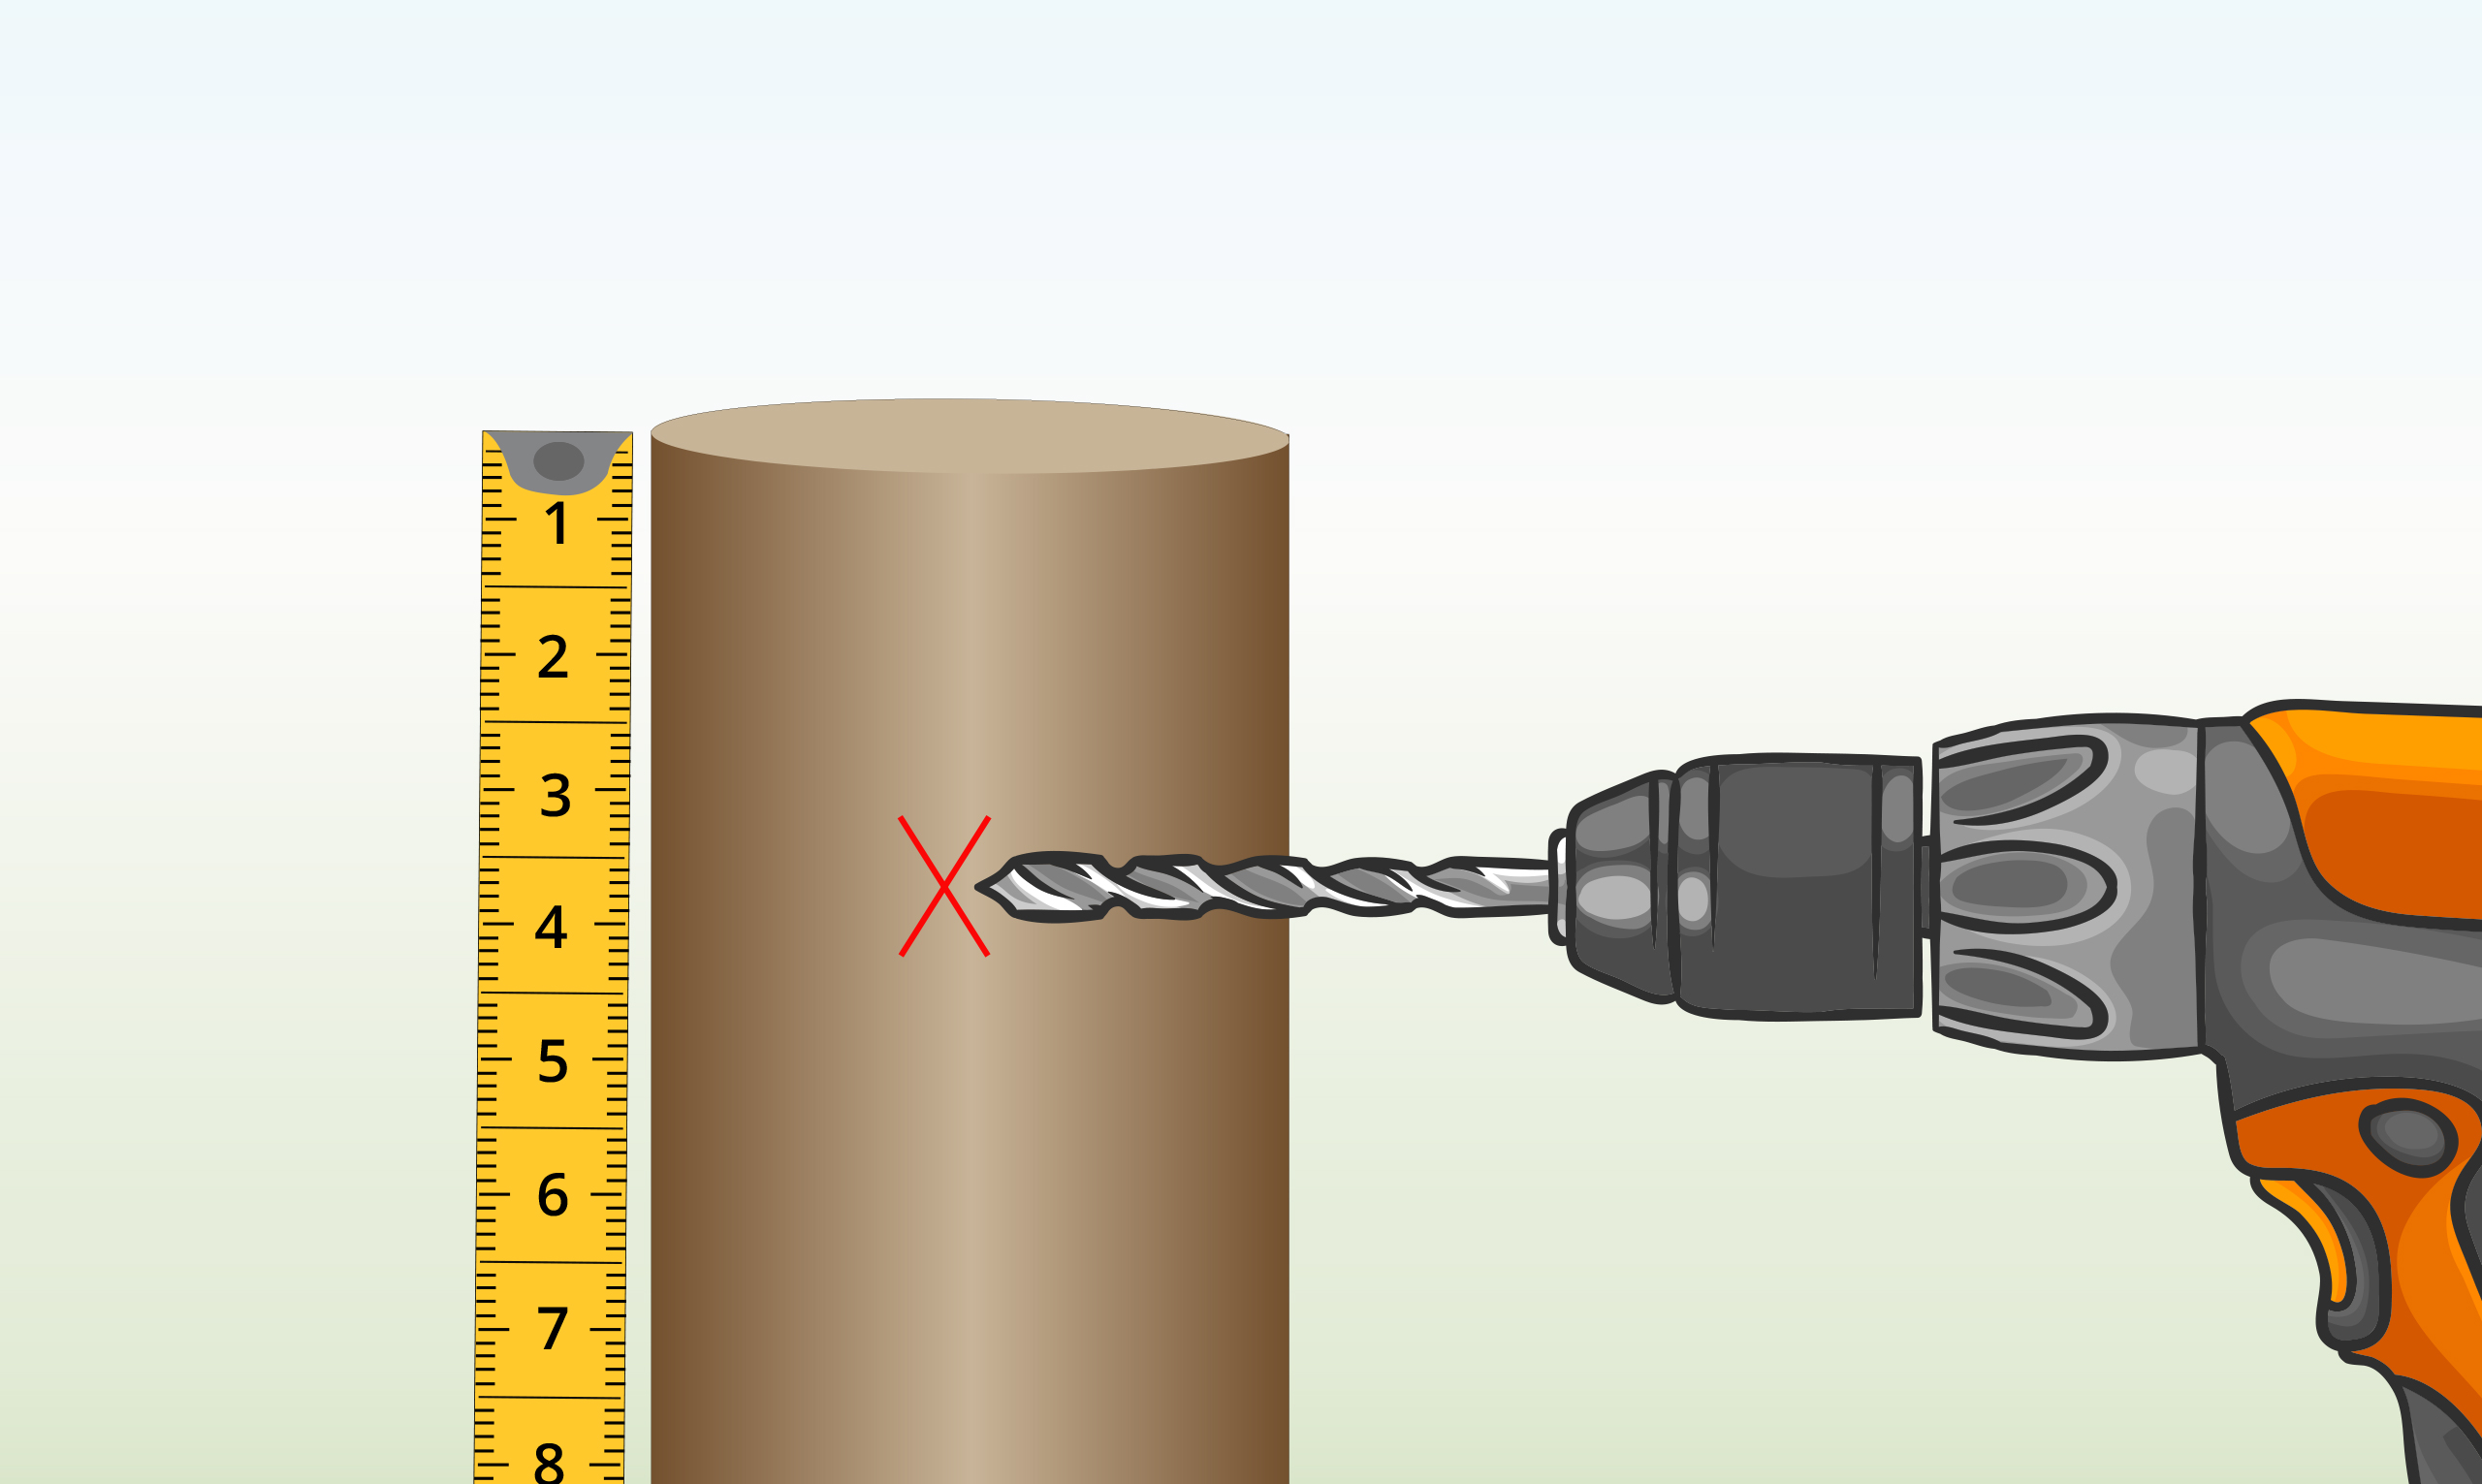
| Step 2 – Dig Post Holes
|
Dig the holes, place the posts inside, and ensure they’re aligned with the flat sides facing outward. |
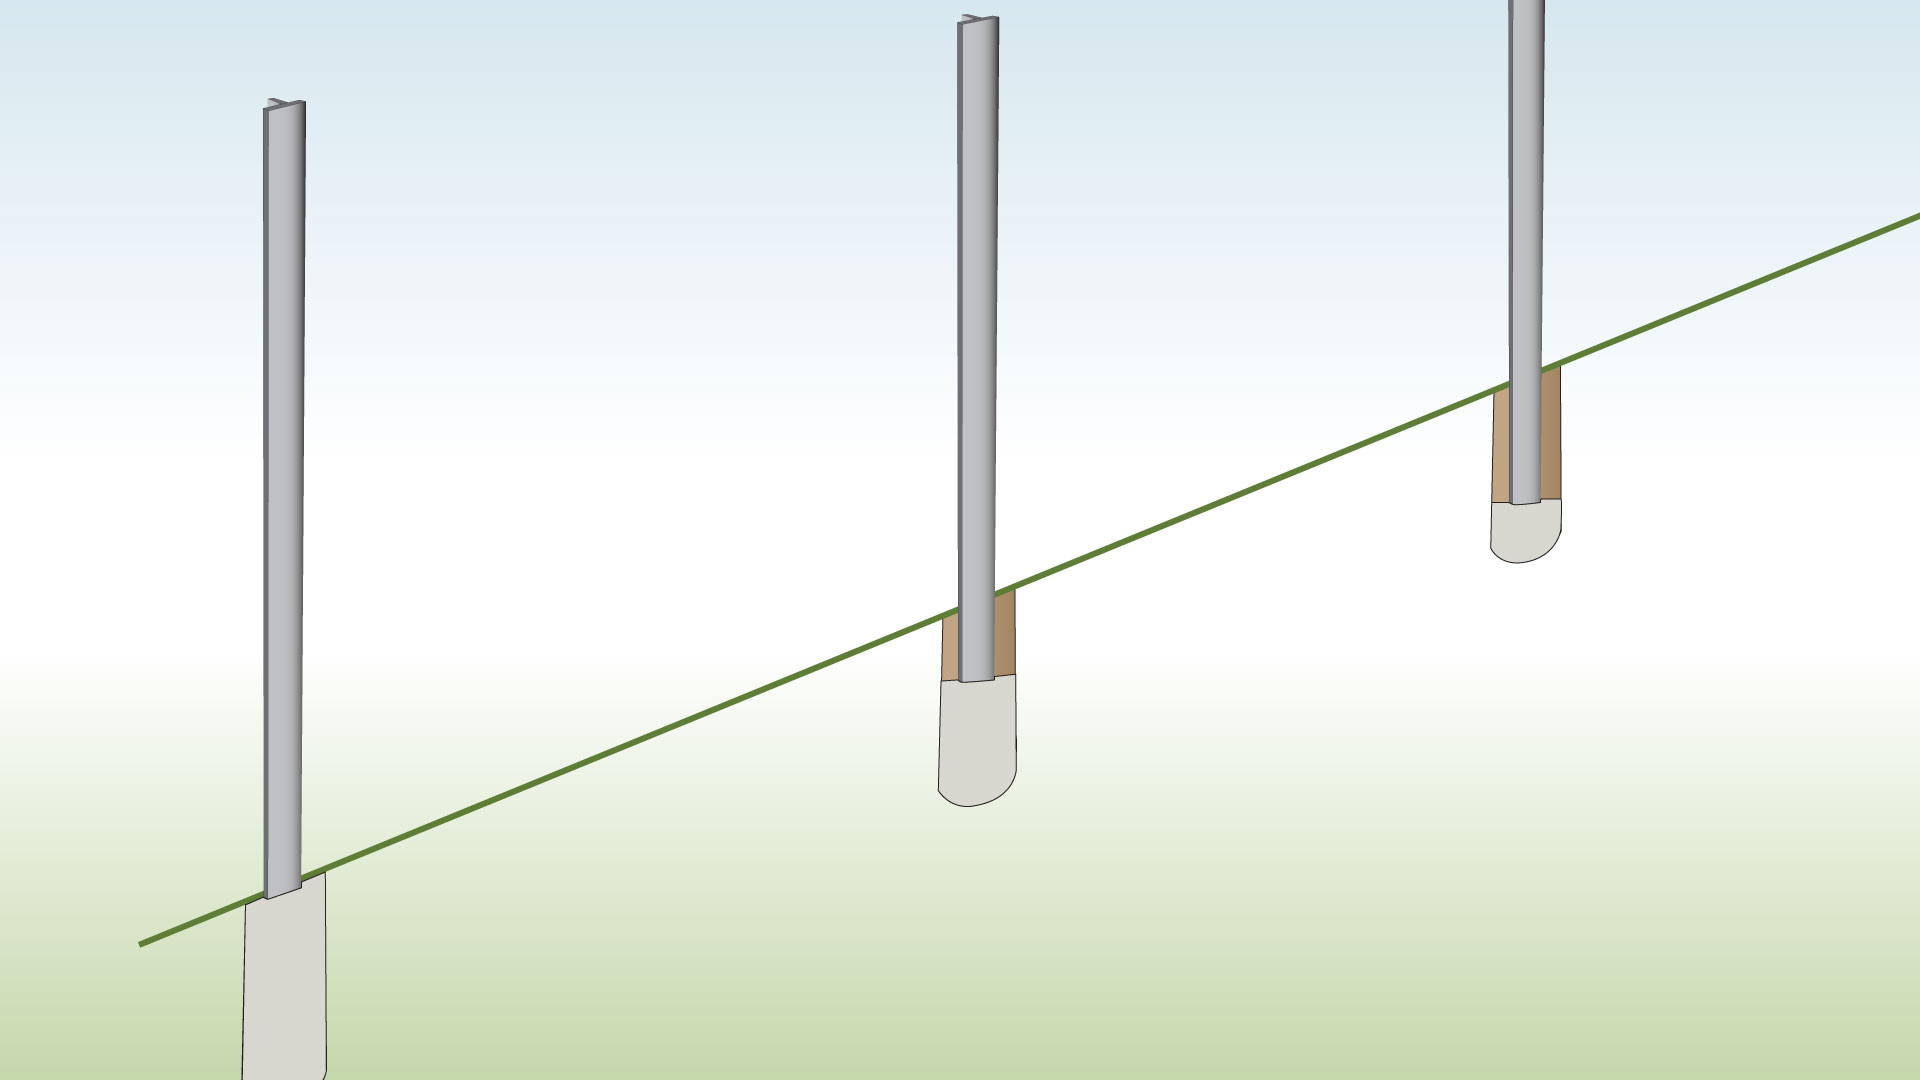
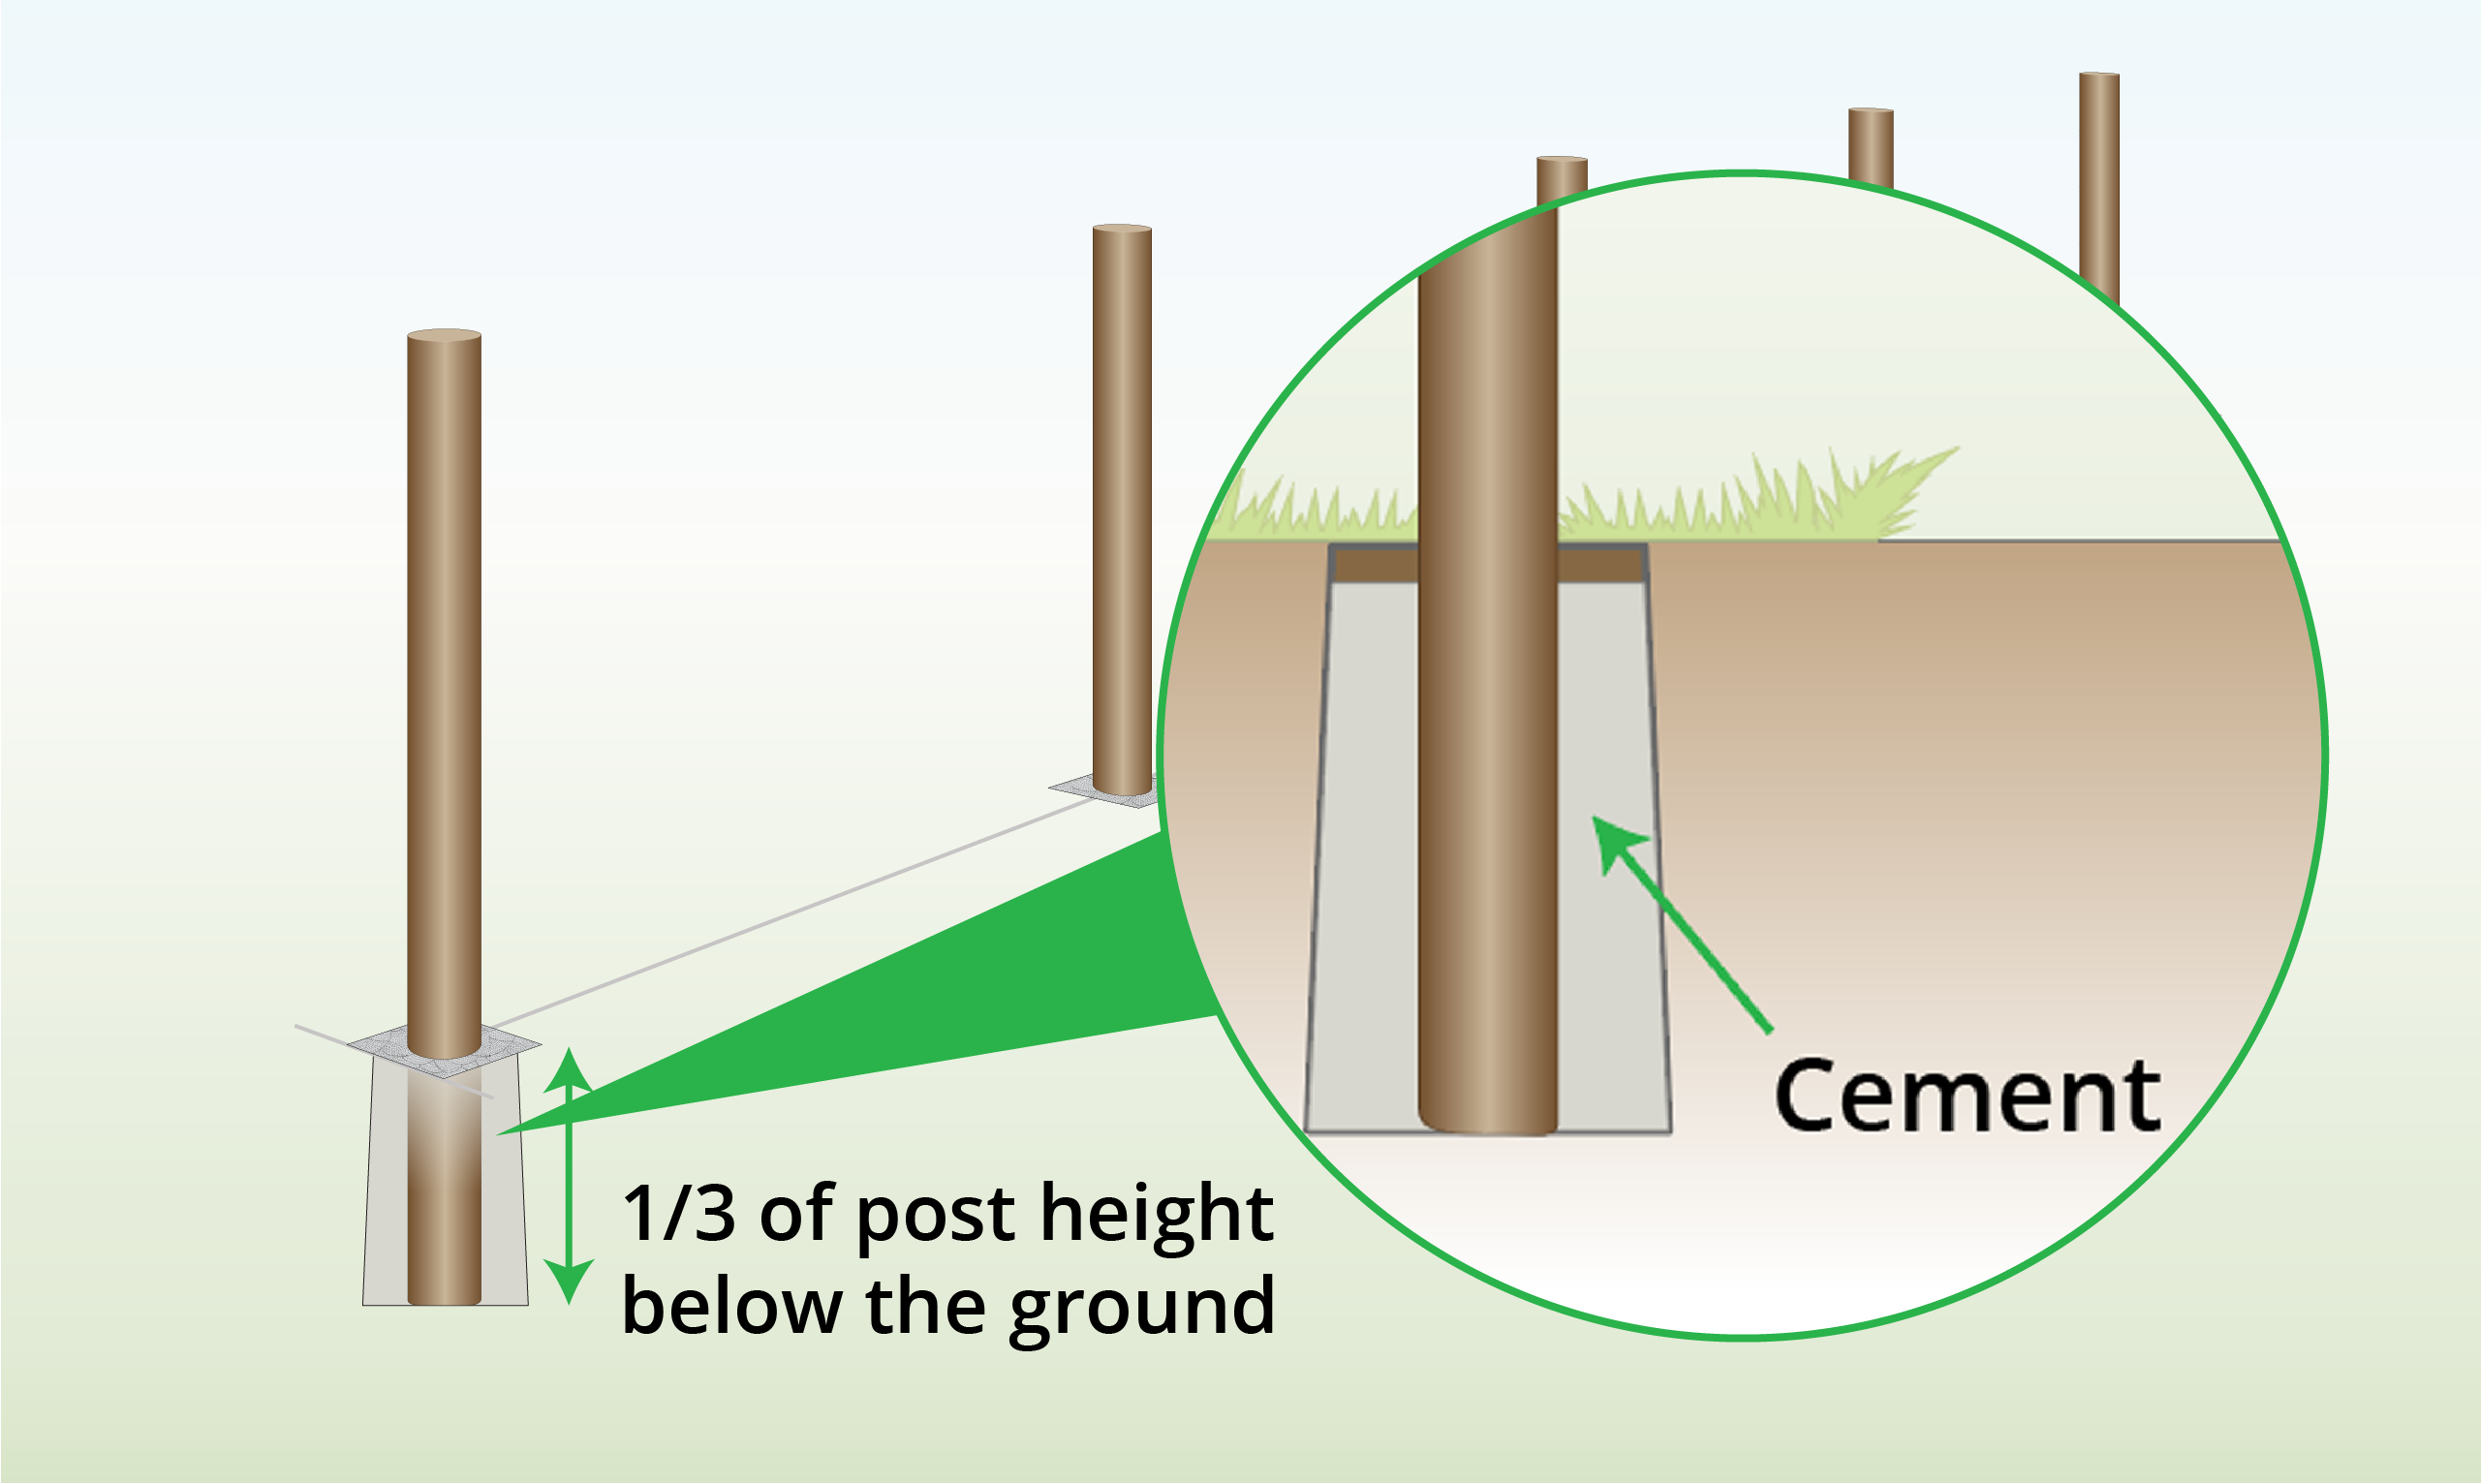
| Step 3 – Set in Concrete
|
Secure the posts in concrete to ensure stability. |
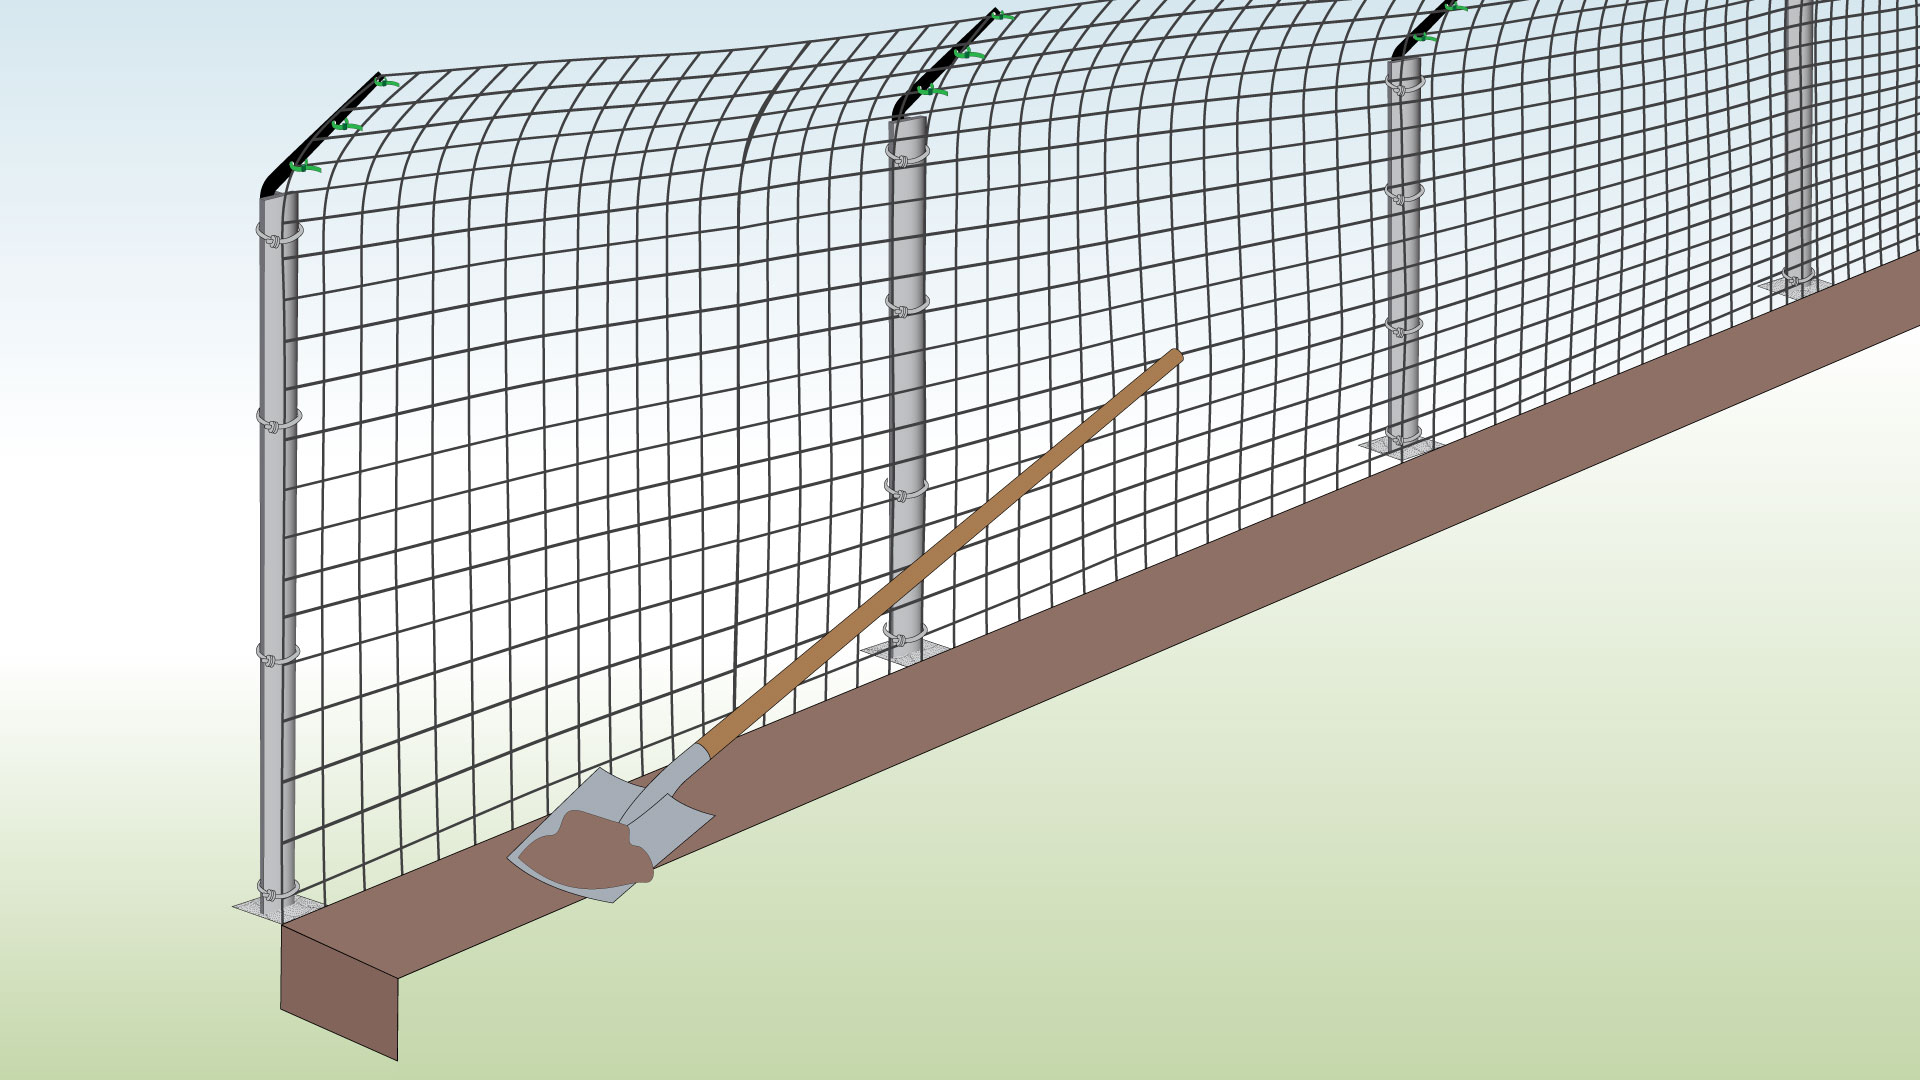
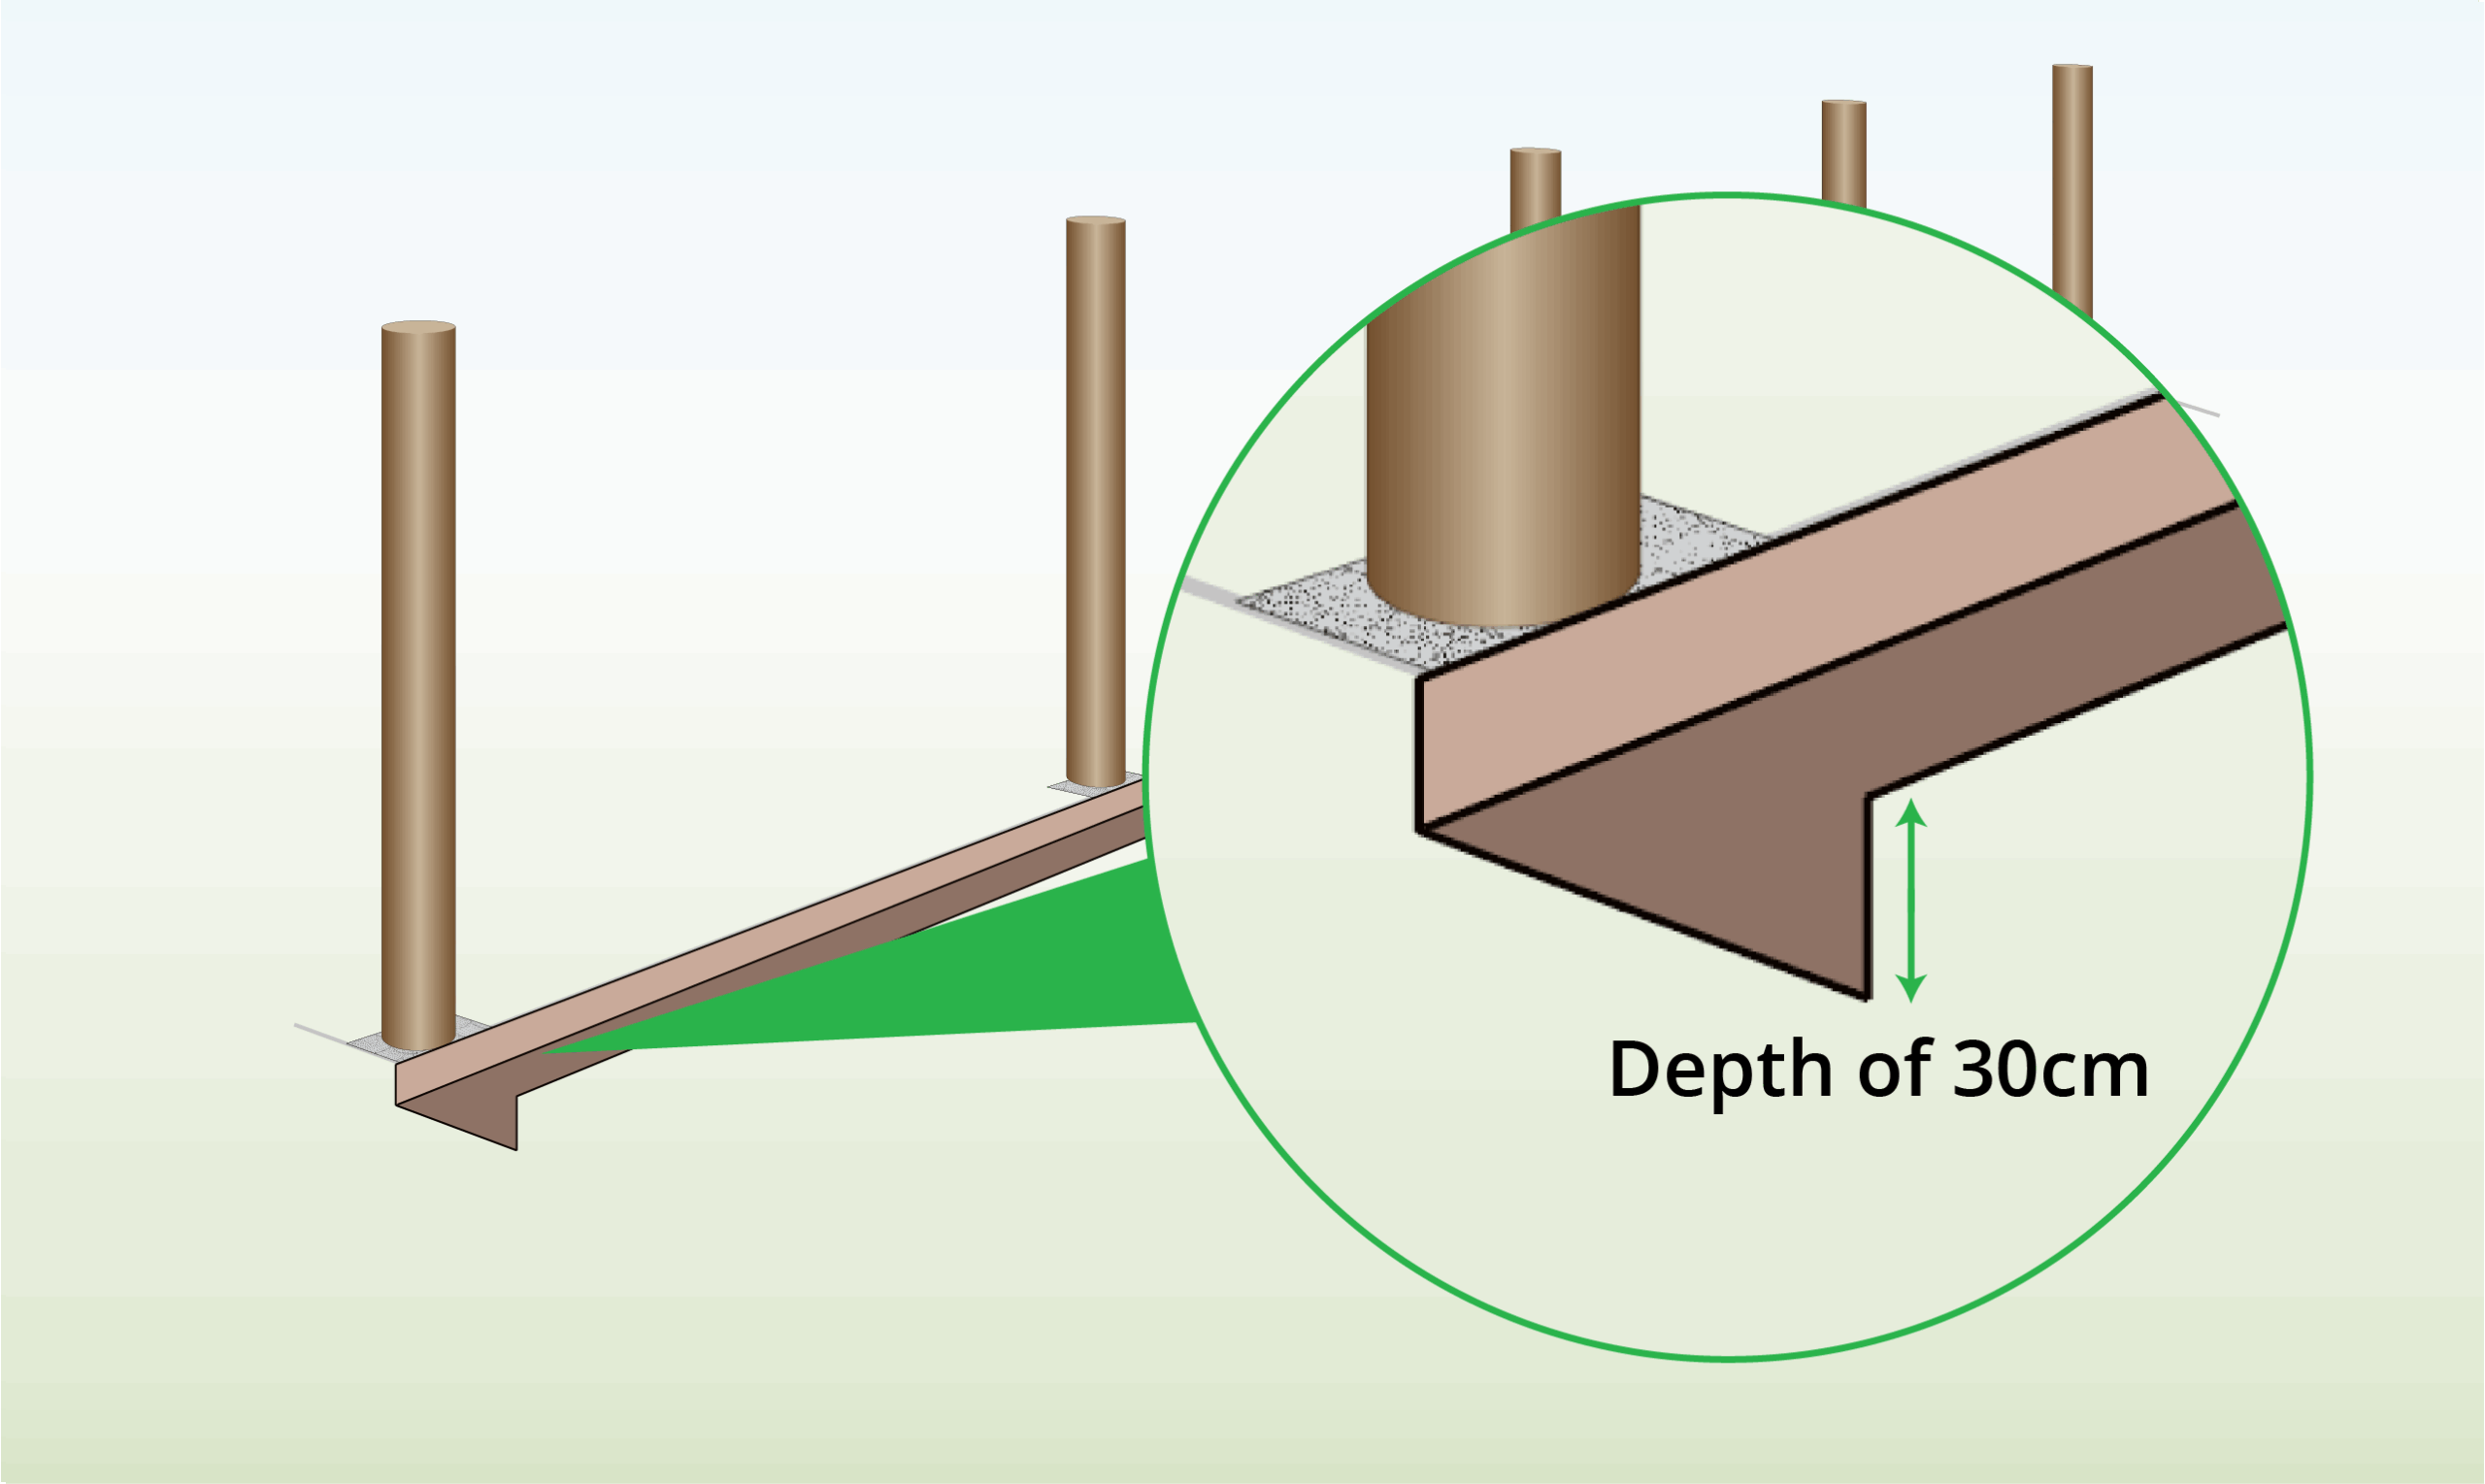
| Step 4 – Dig a Trench
|
Dig a minimum 30cm deep trench along the fence line. |
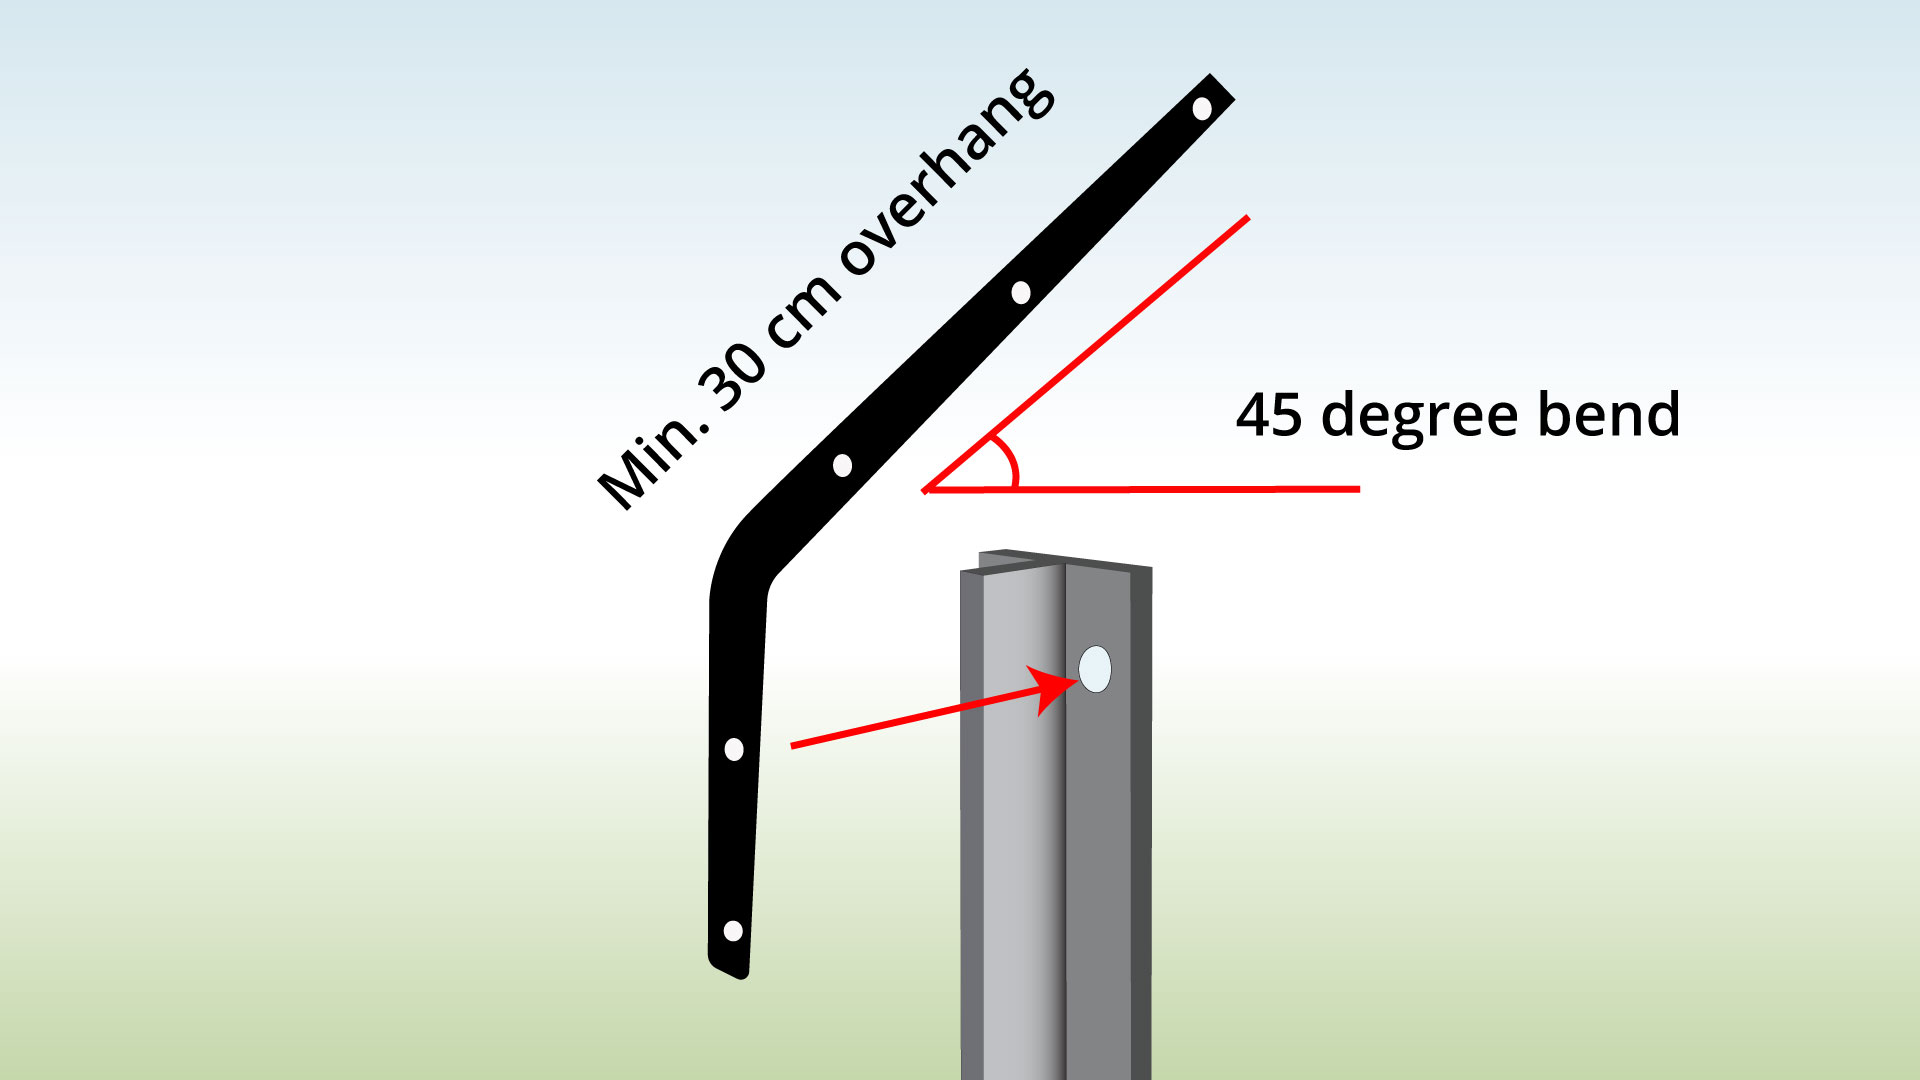
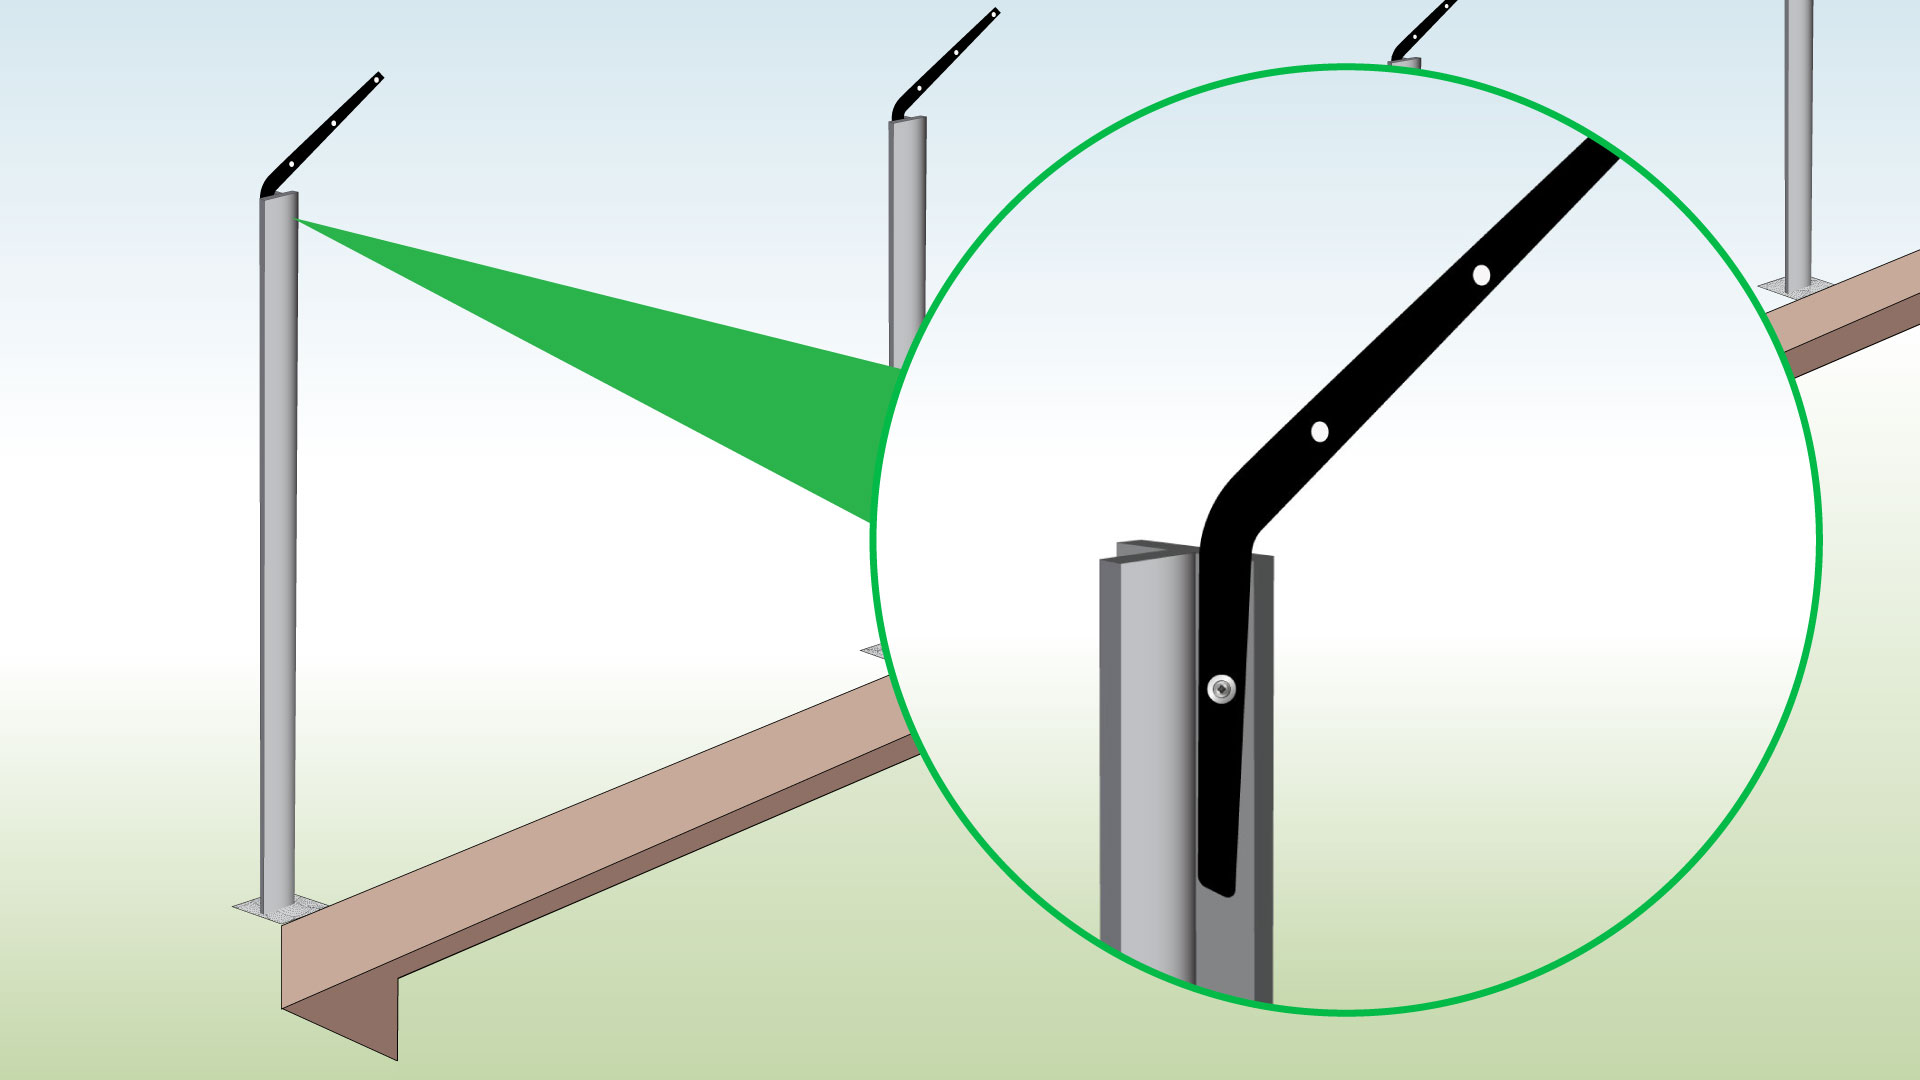
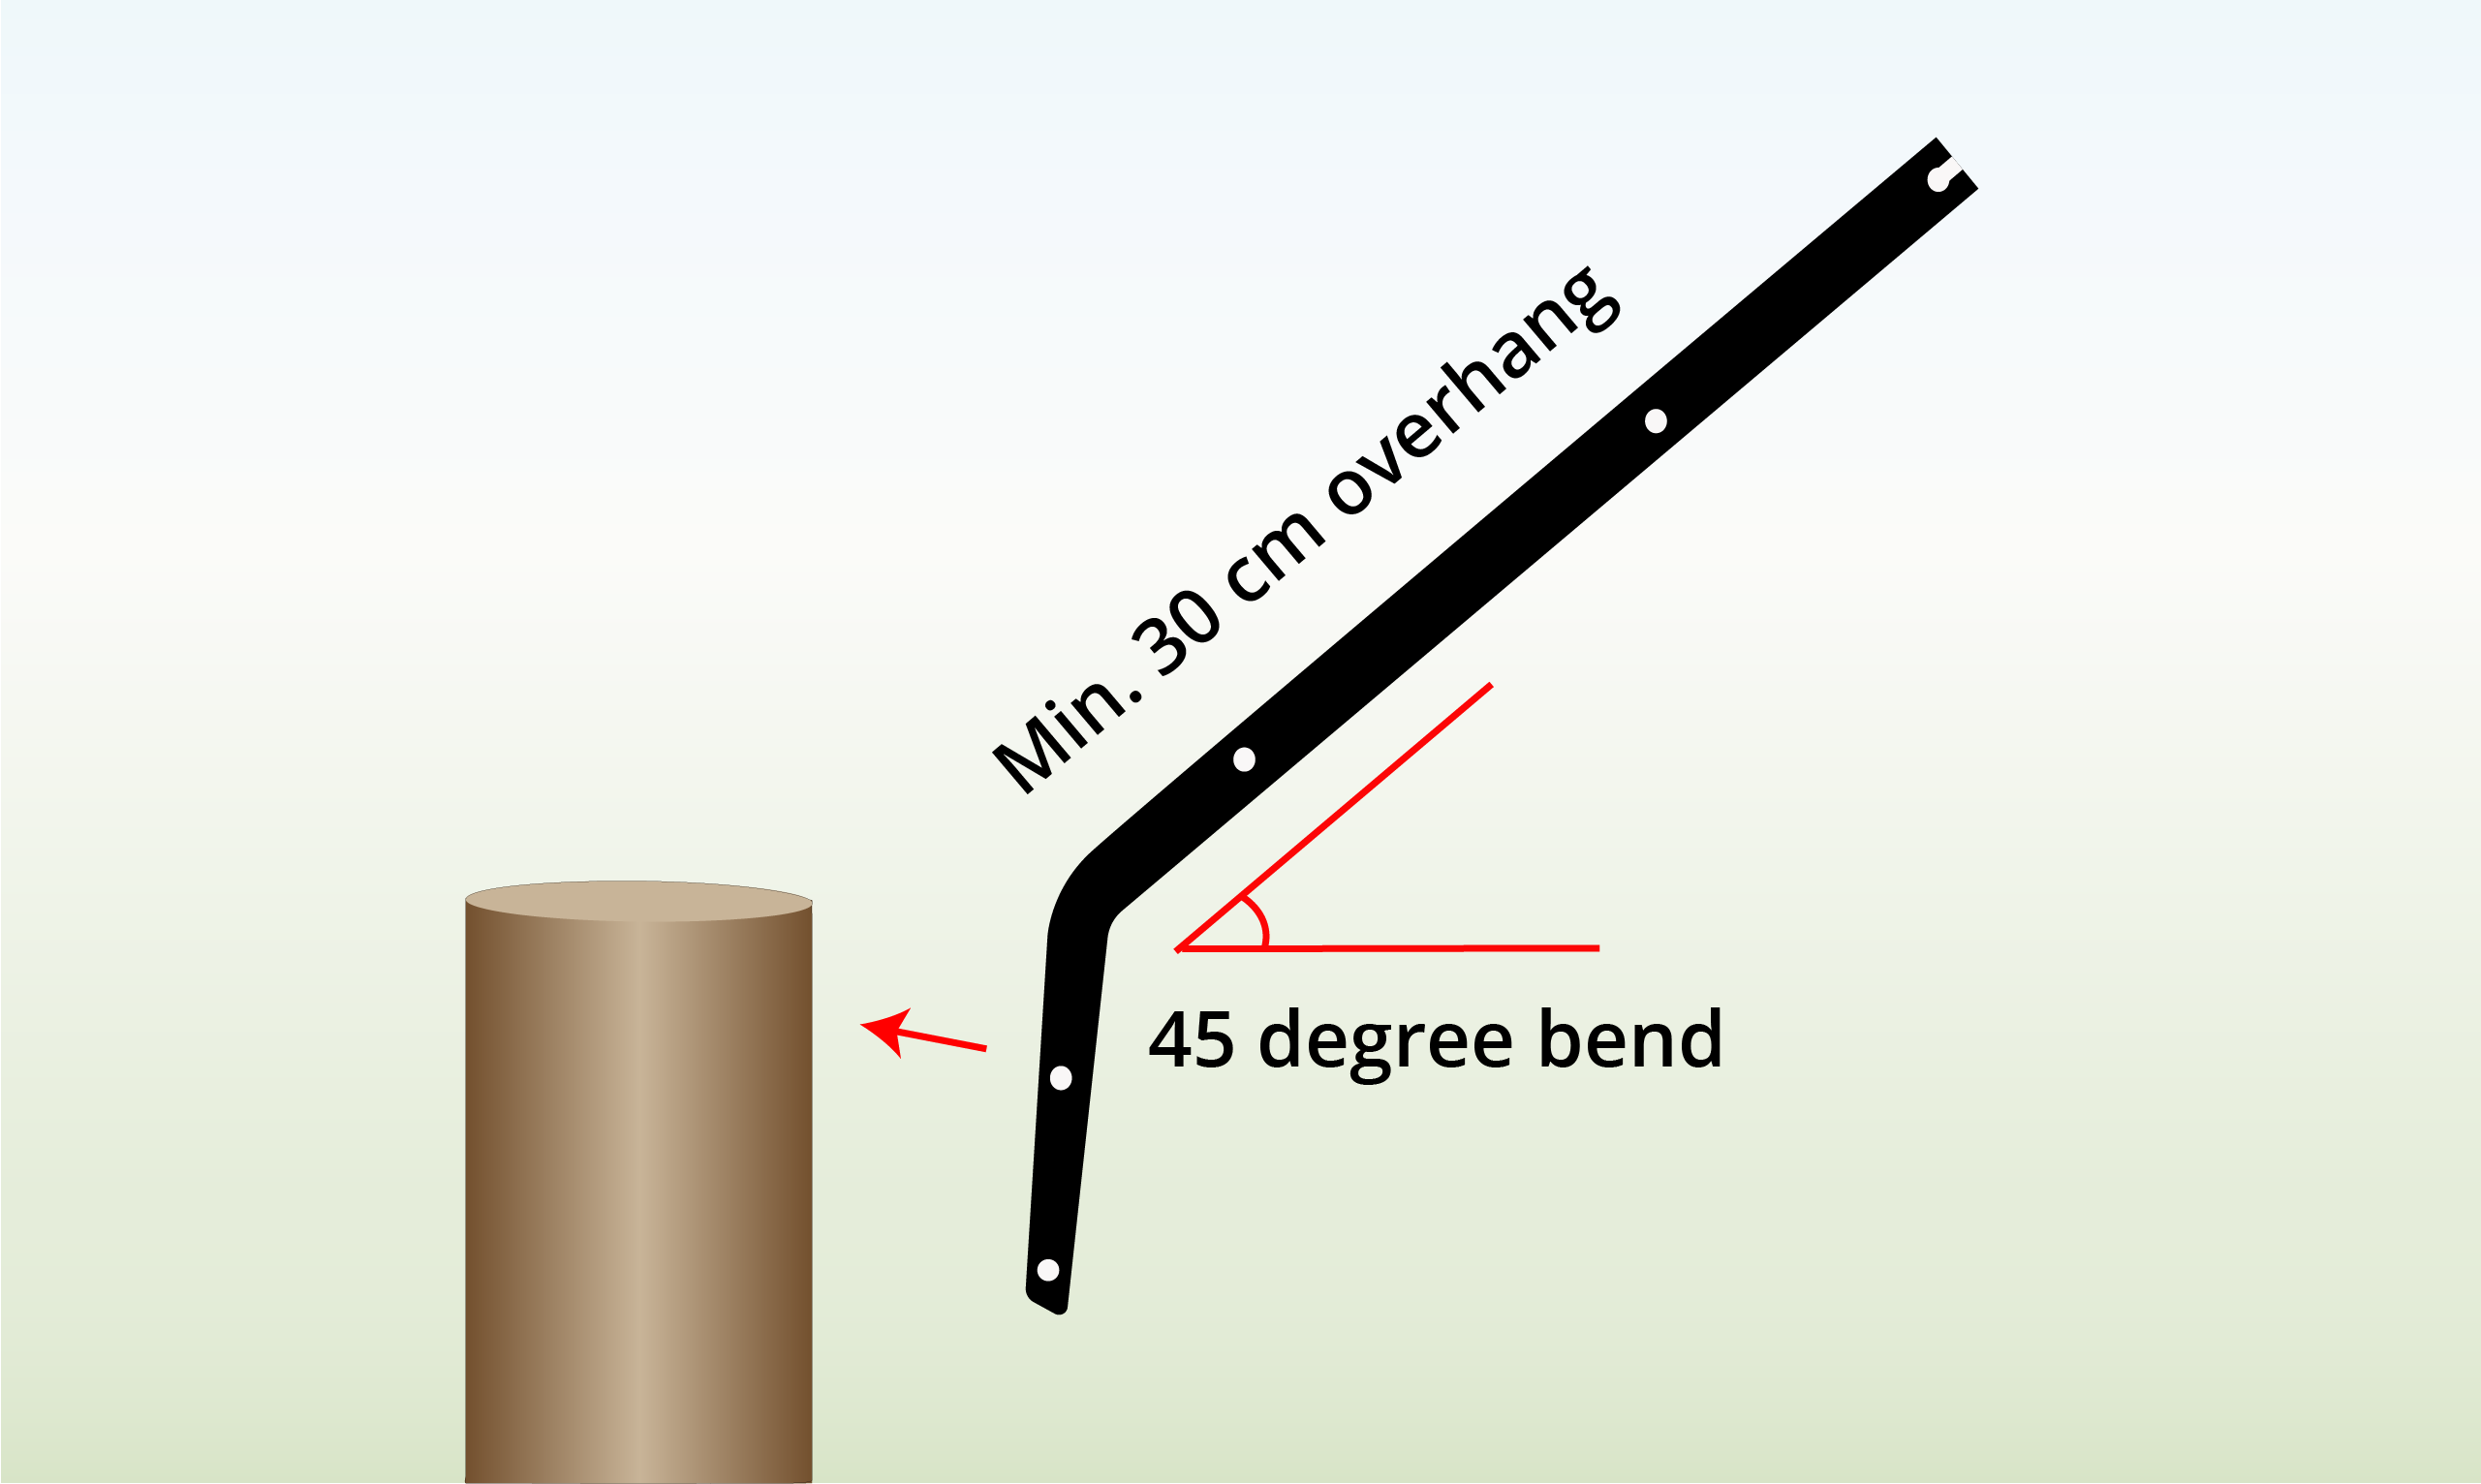
| Step 5 – Choose Your Brackets
|
You can use angled fence brackets with a 45 degree bend. |
| Step 6 – Attach Your Brackets
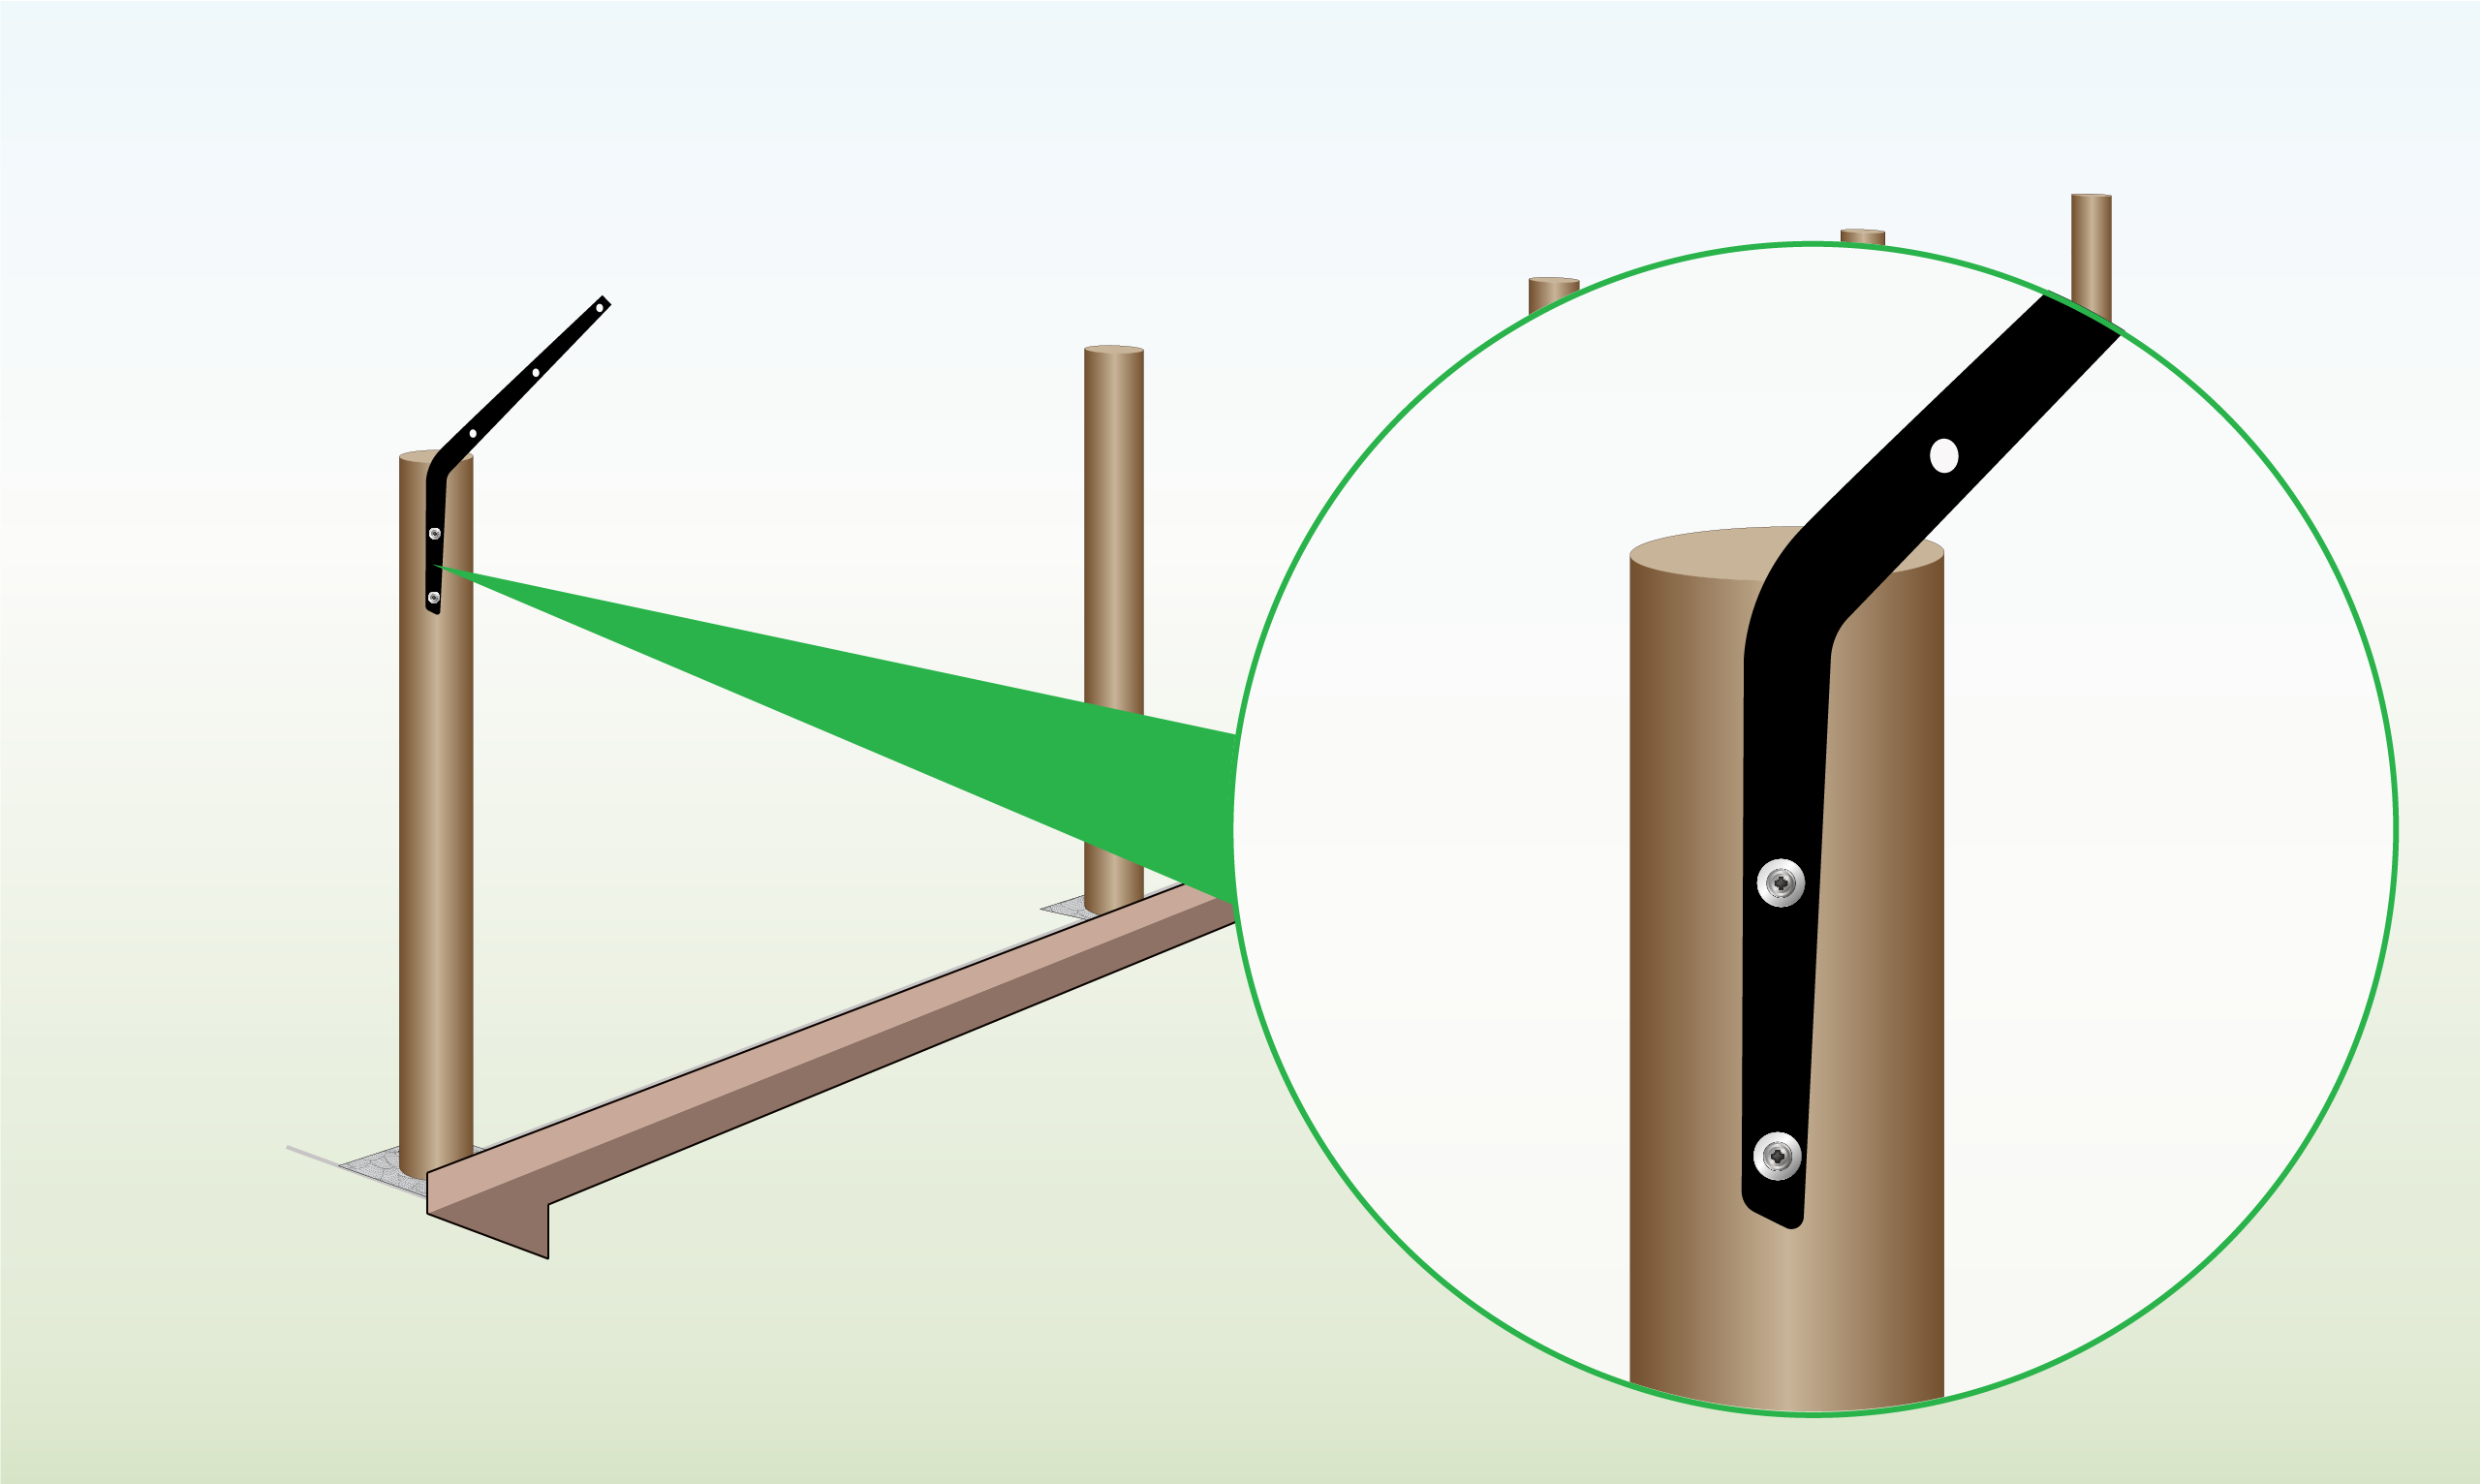
|
Use bolts and nuts to attach the fence overhang brackets to the tops of the posts. |
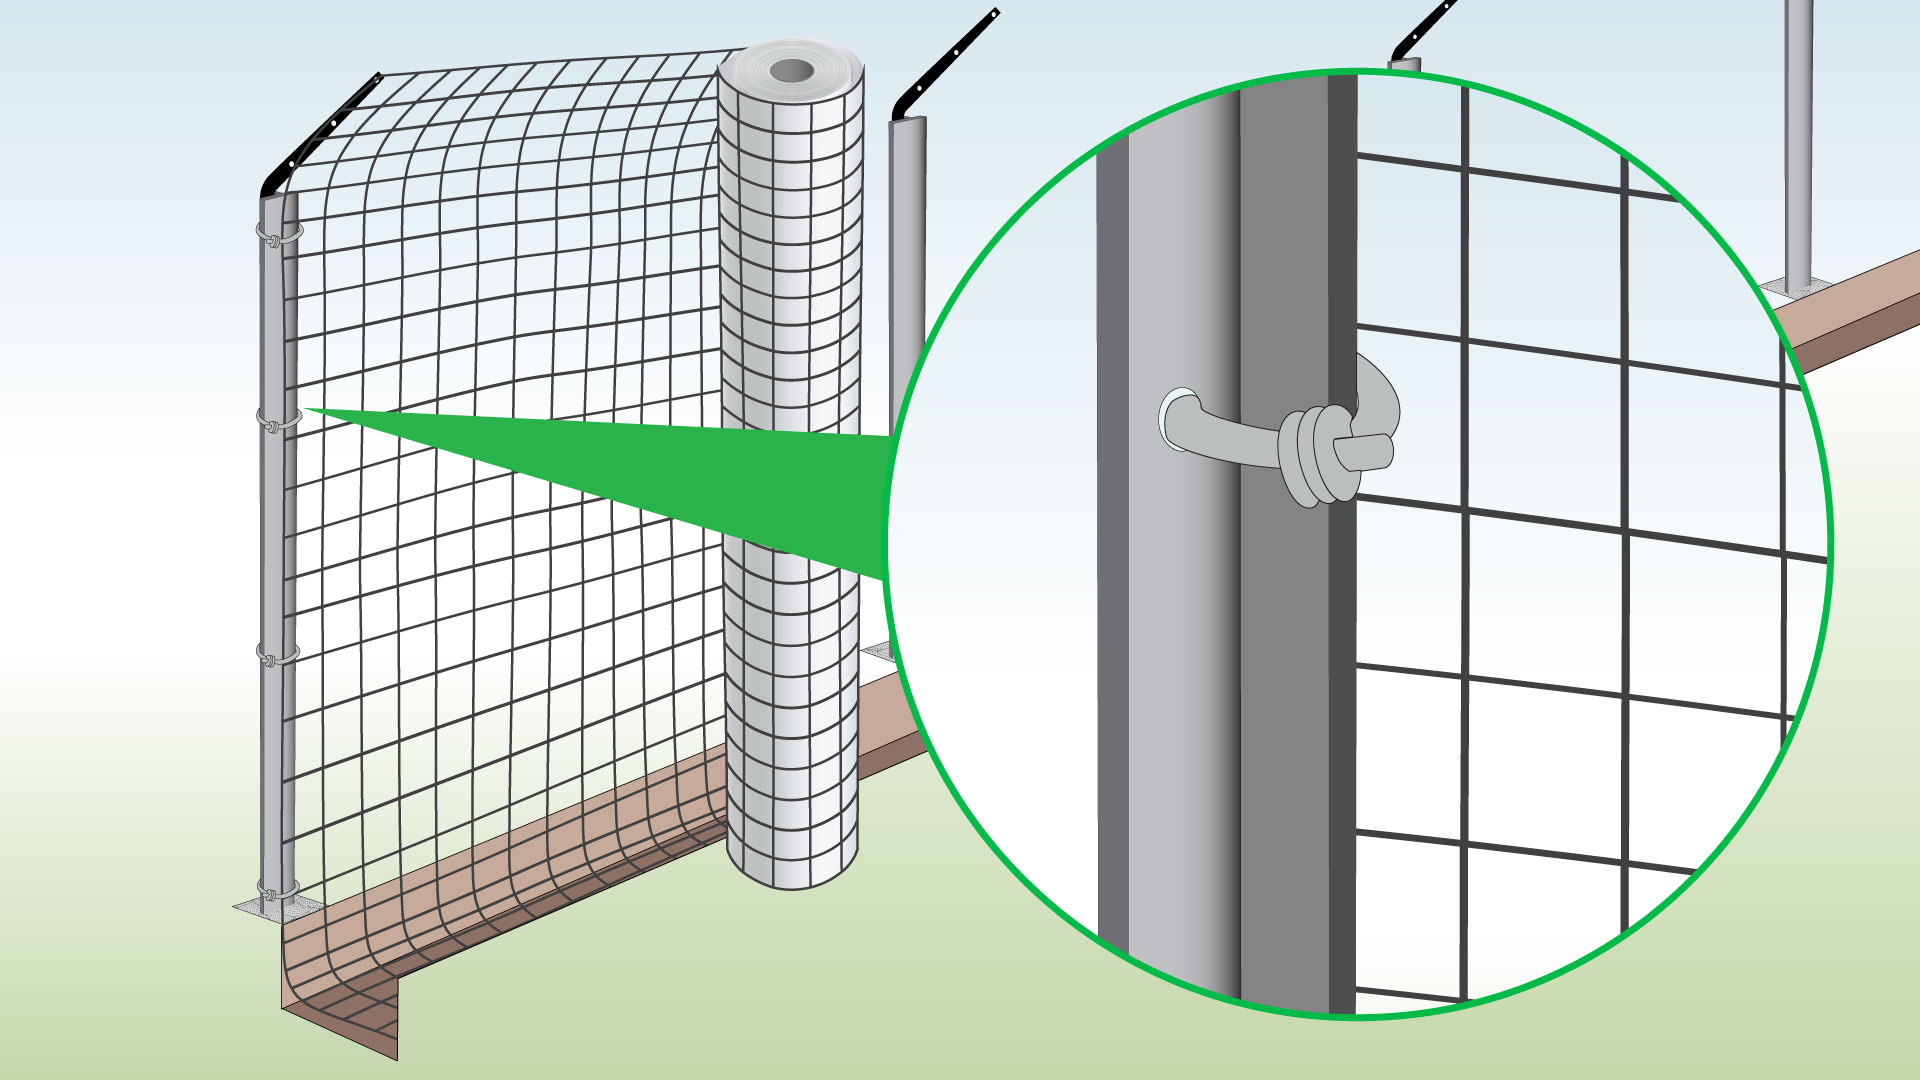
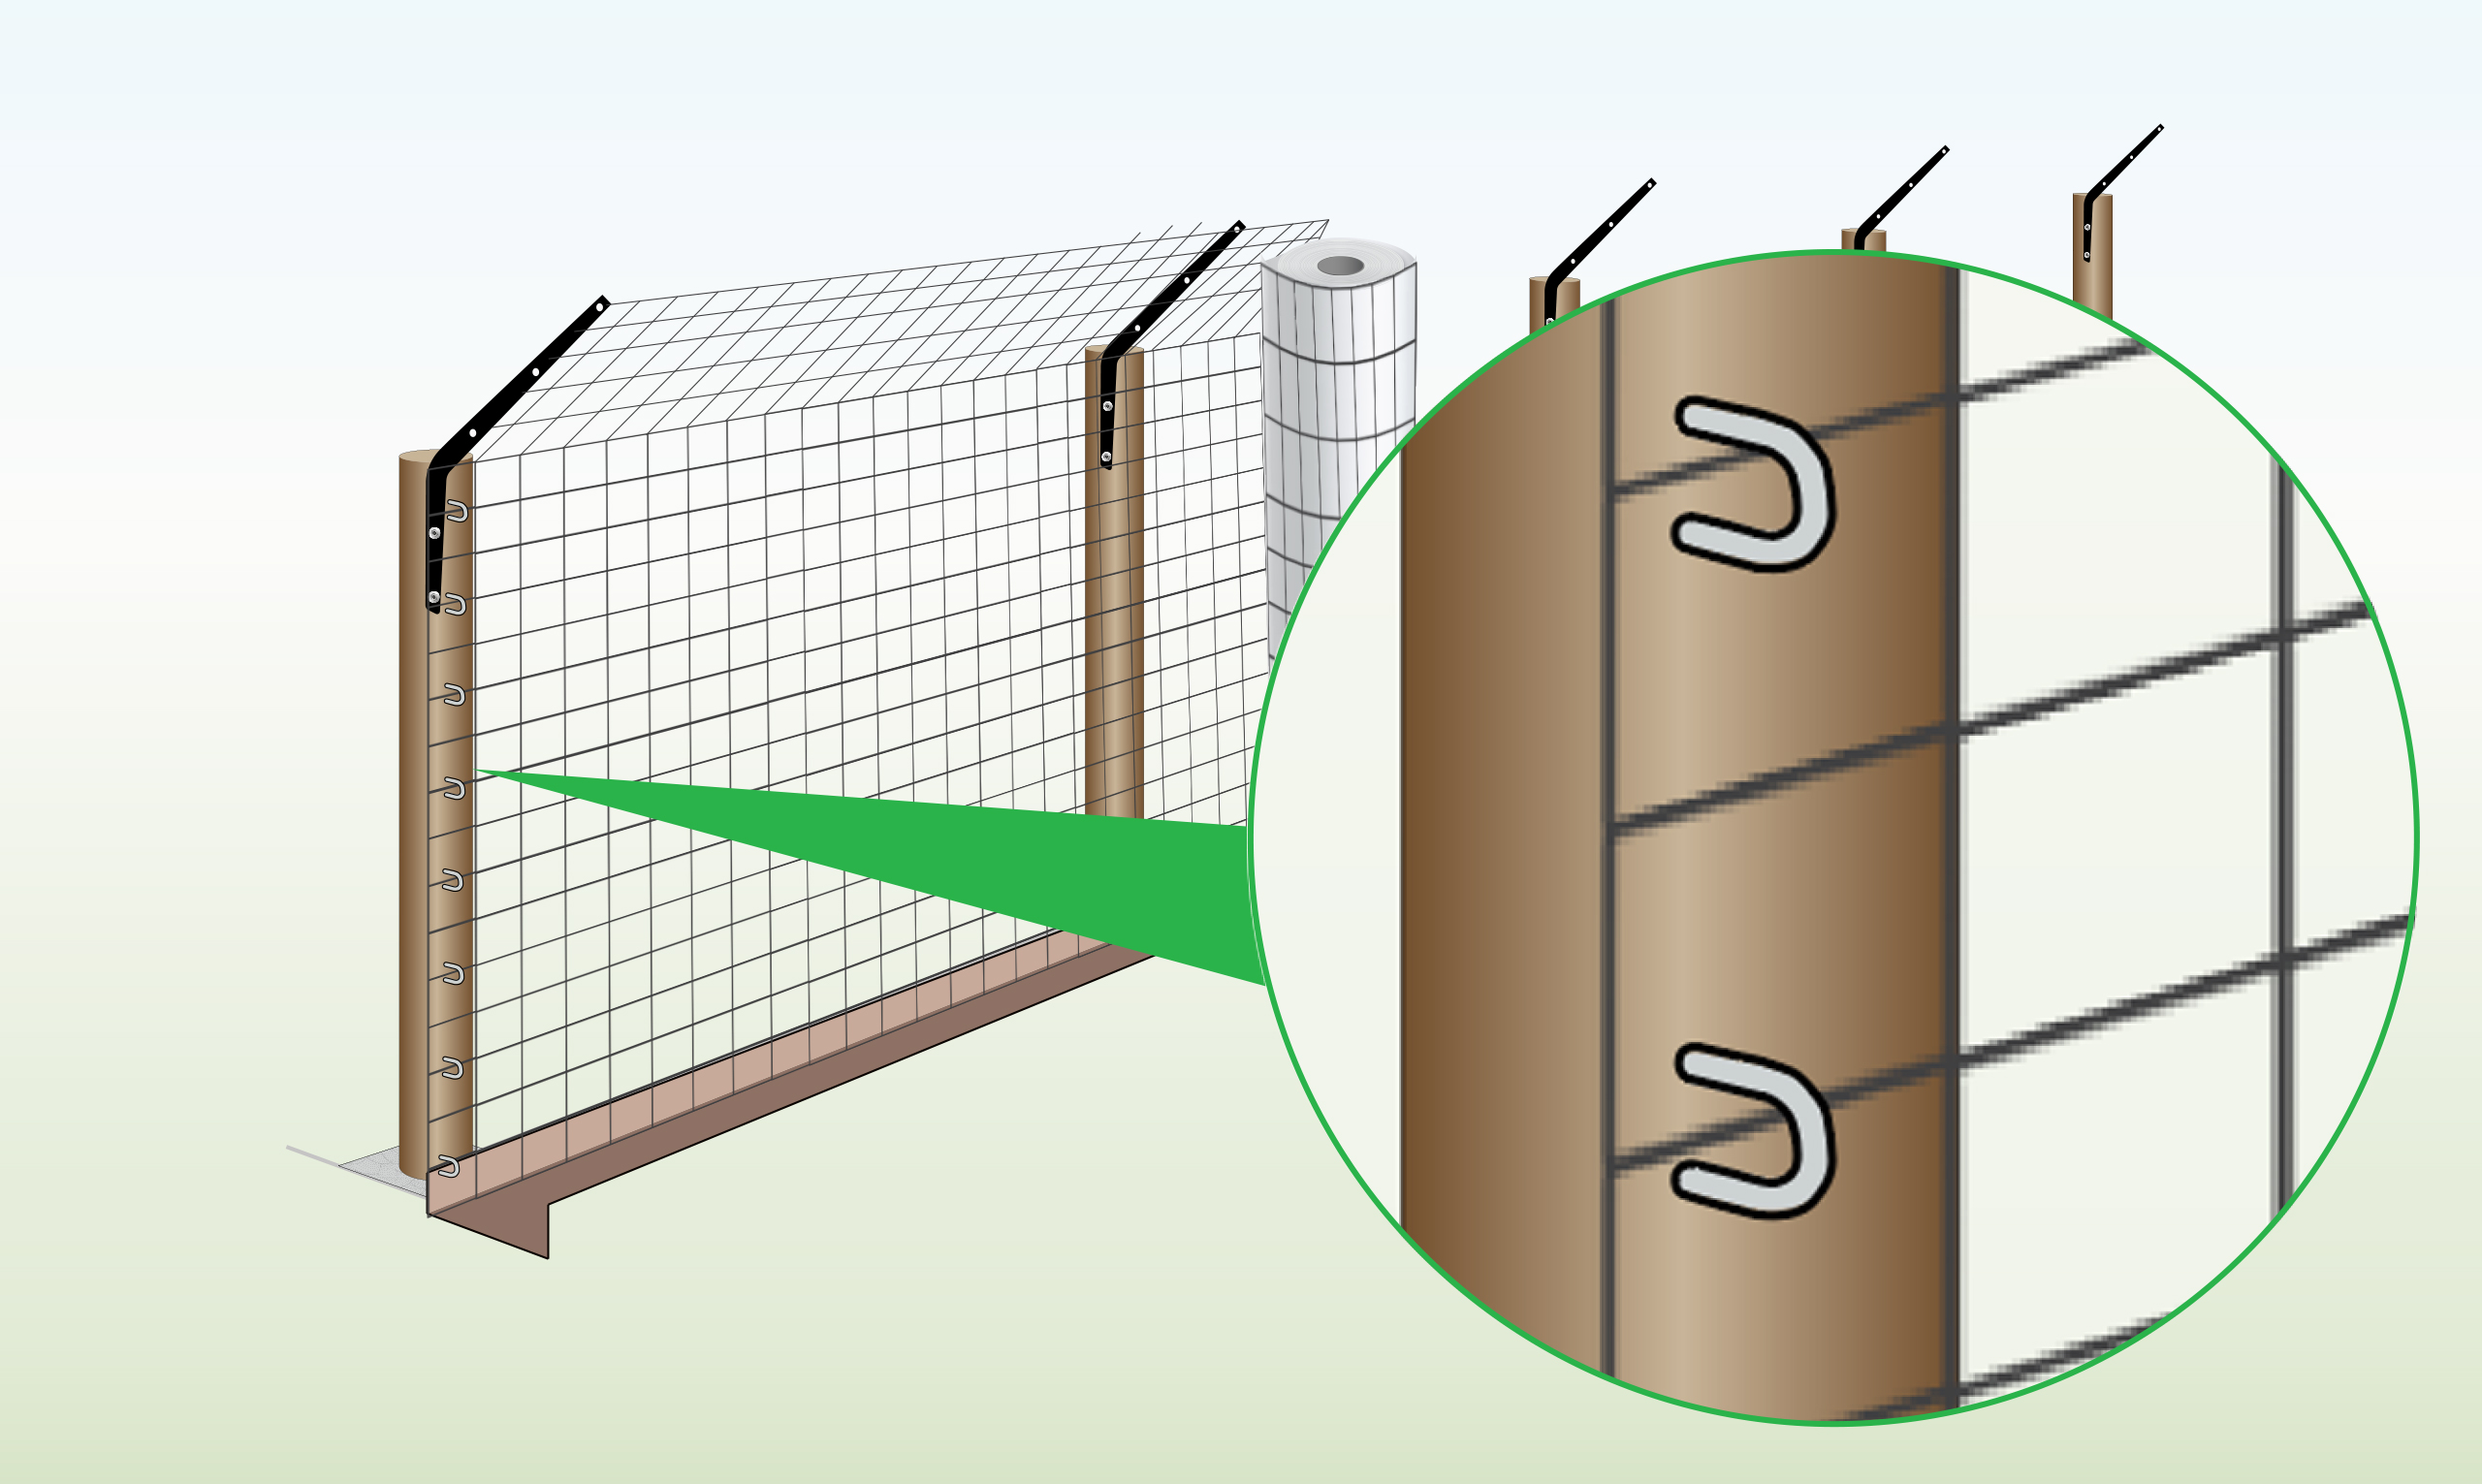
| Step 7 – Secure Mesh to First Post
|
Begin unrolling the mesh, then attach it to the first post using wire ties through the pre-drilled holes in the post. |
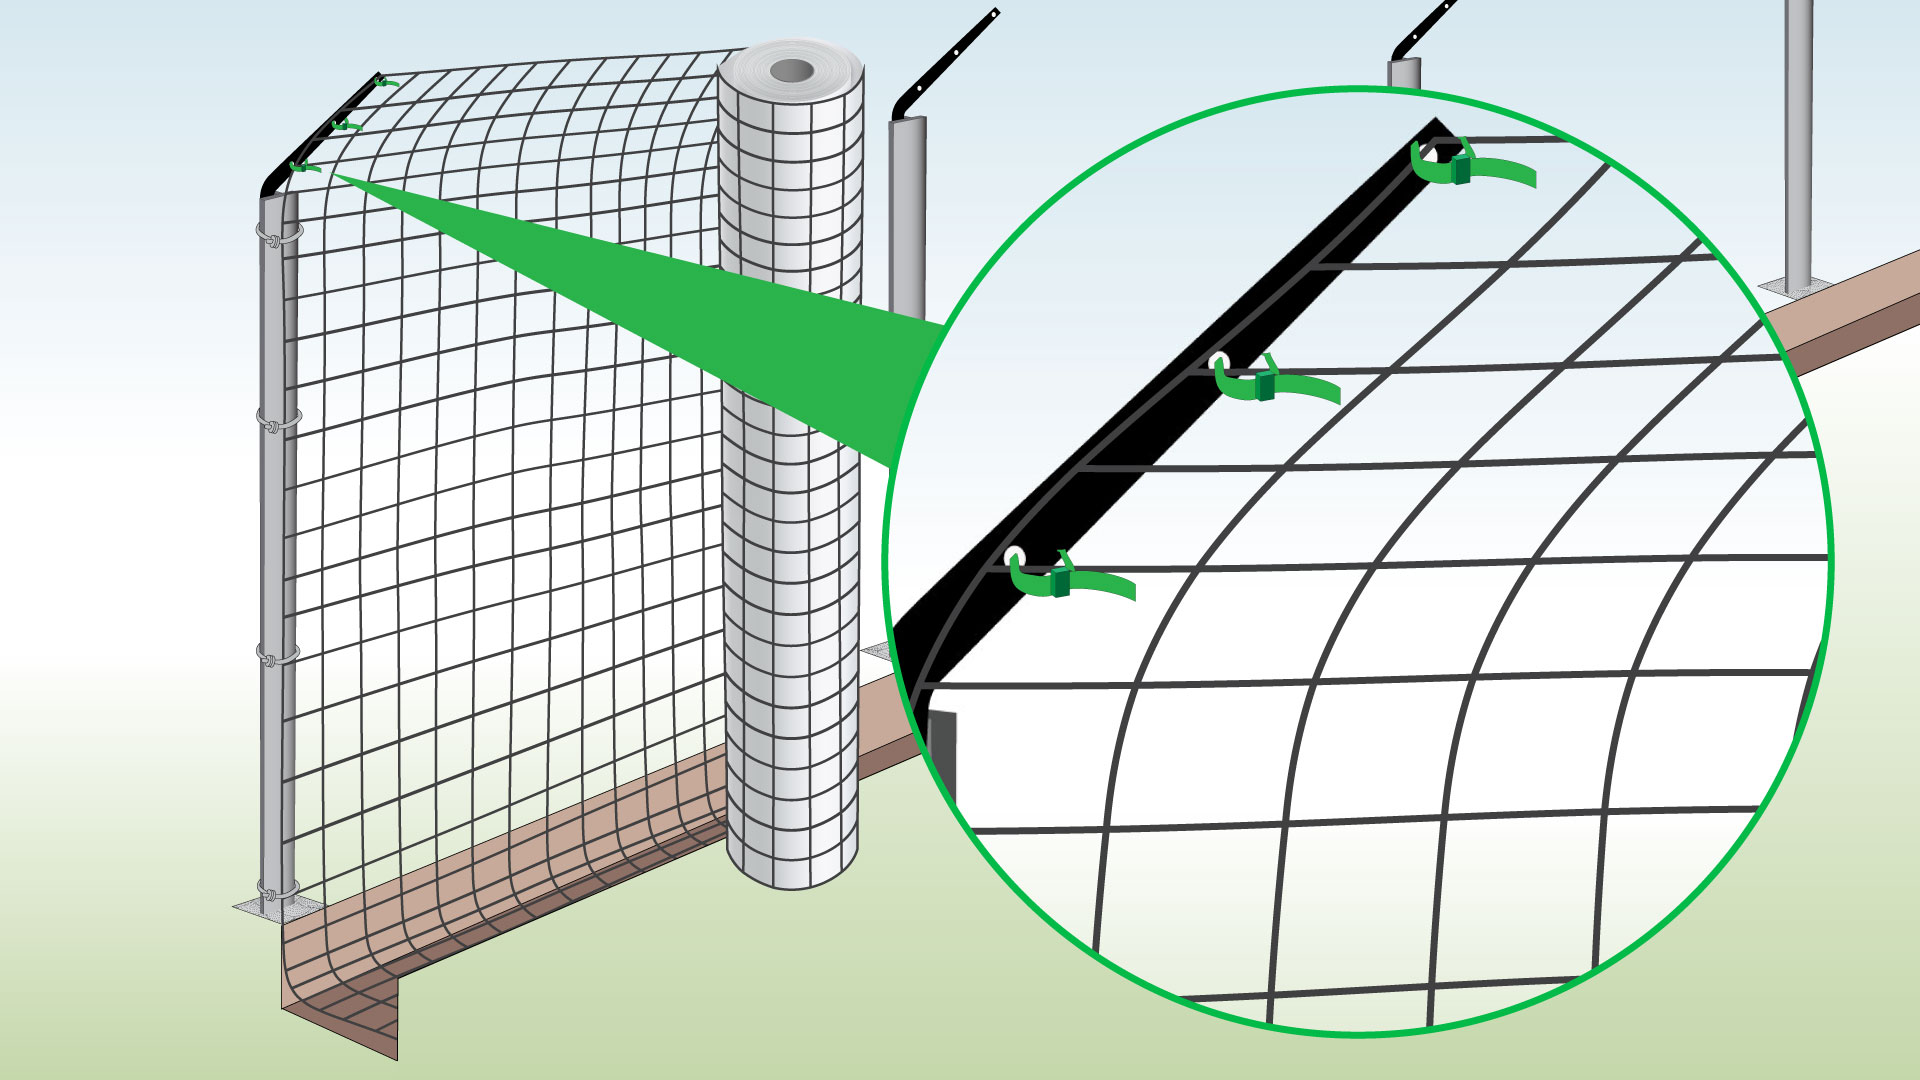
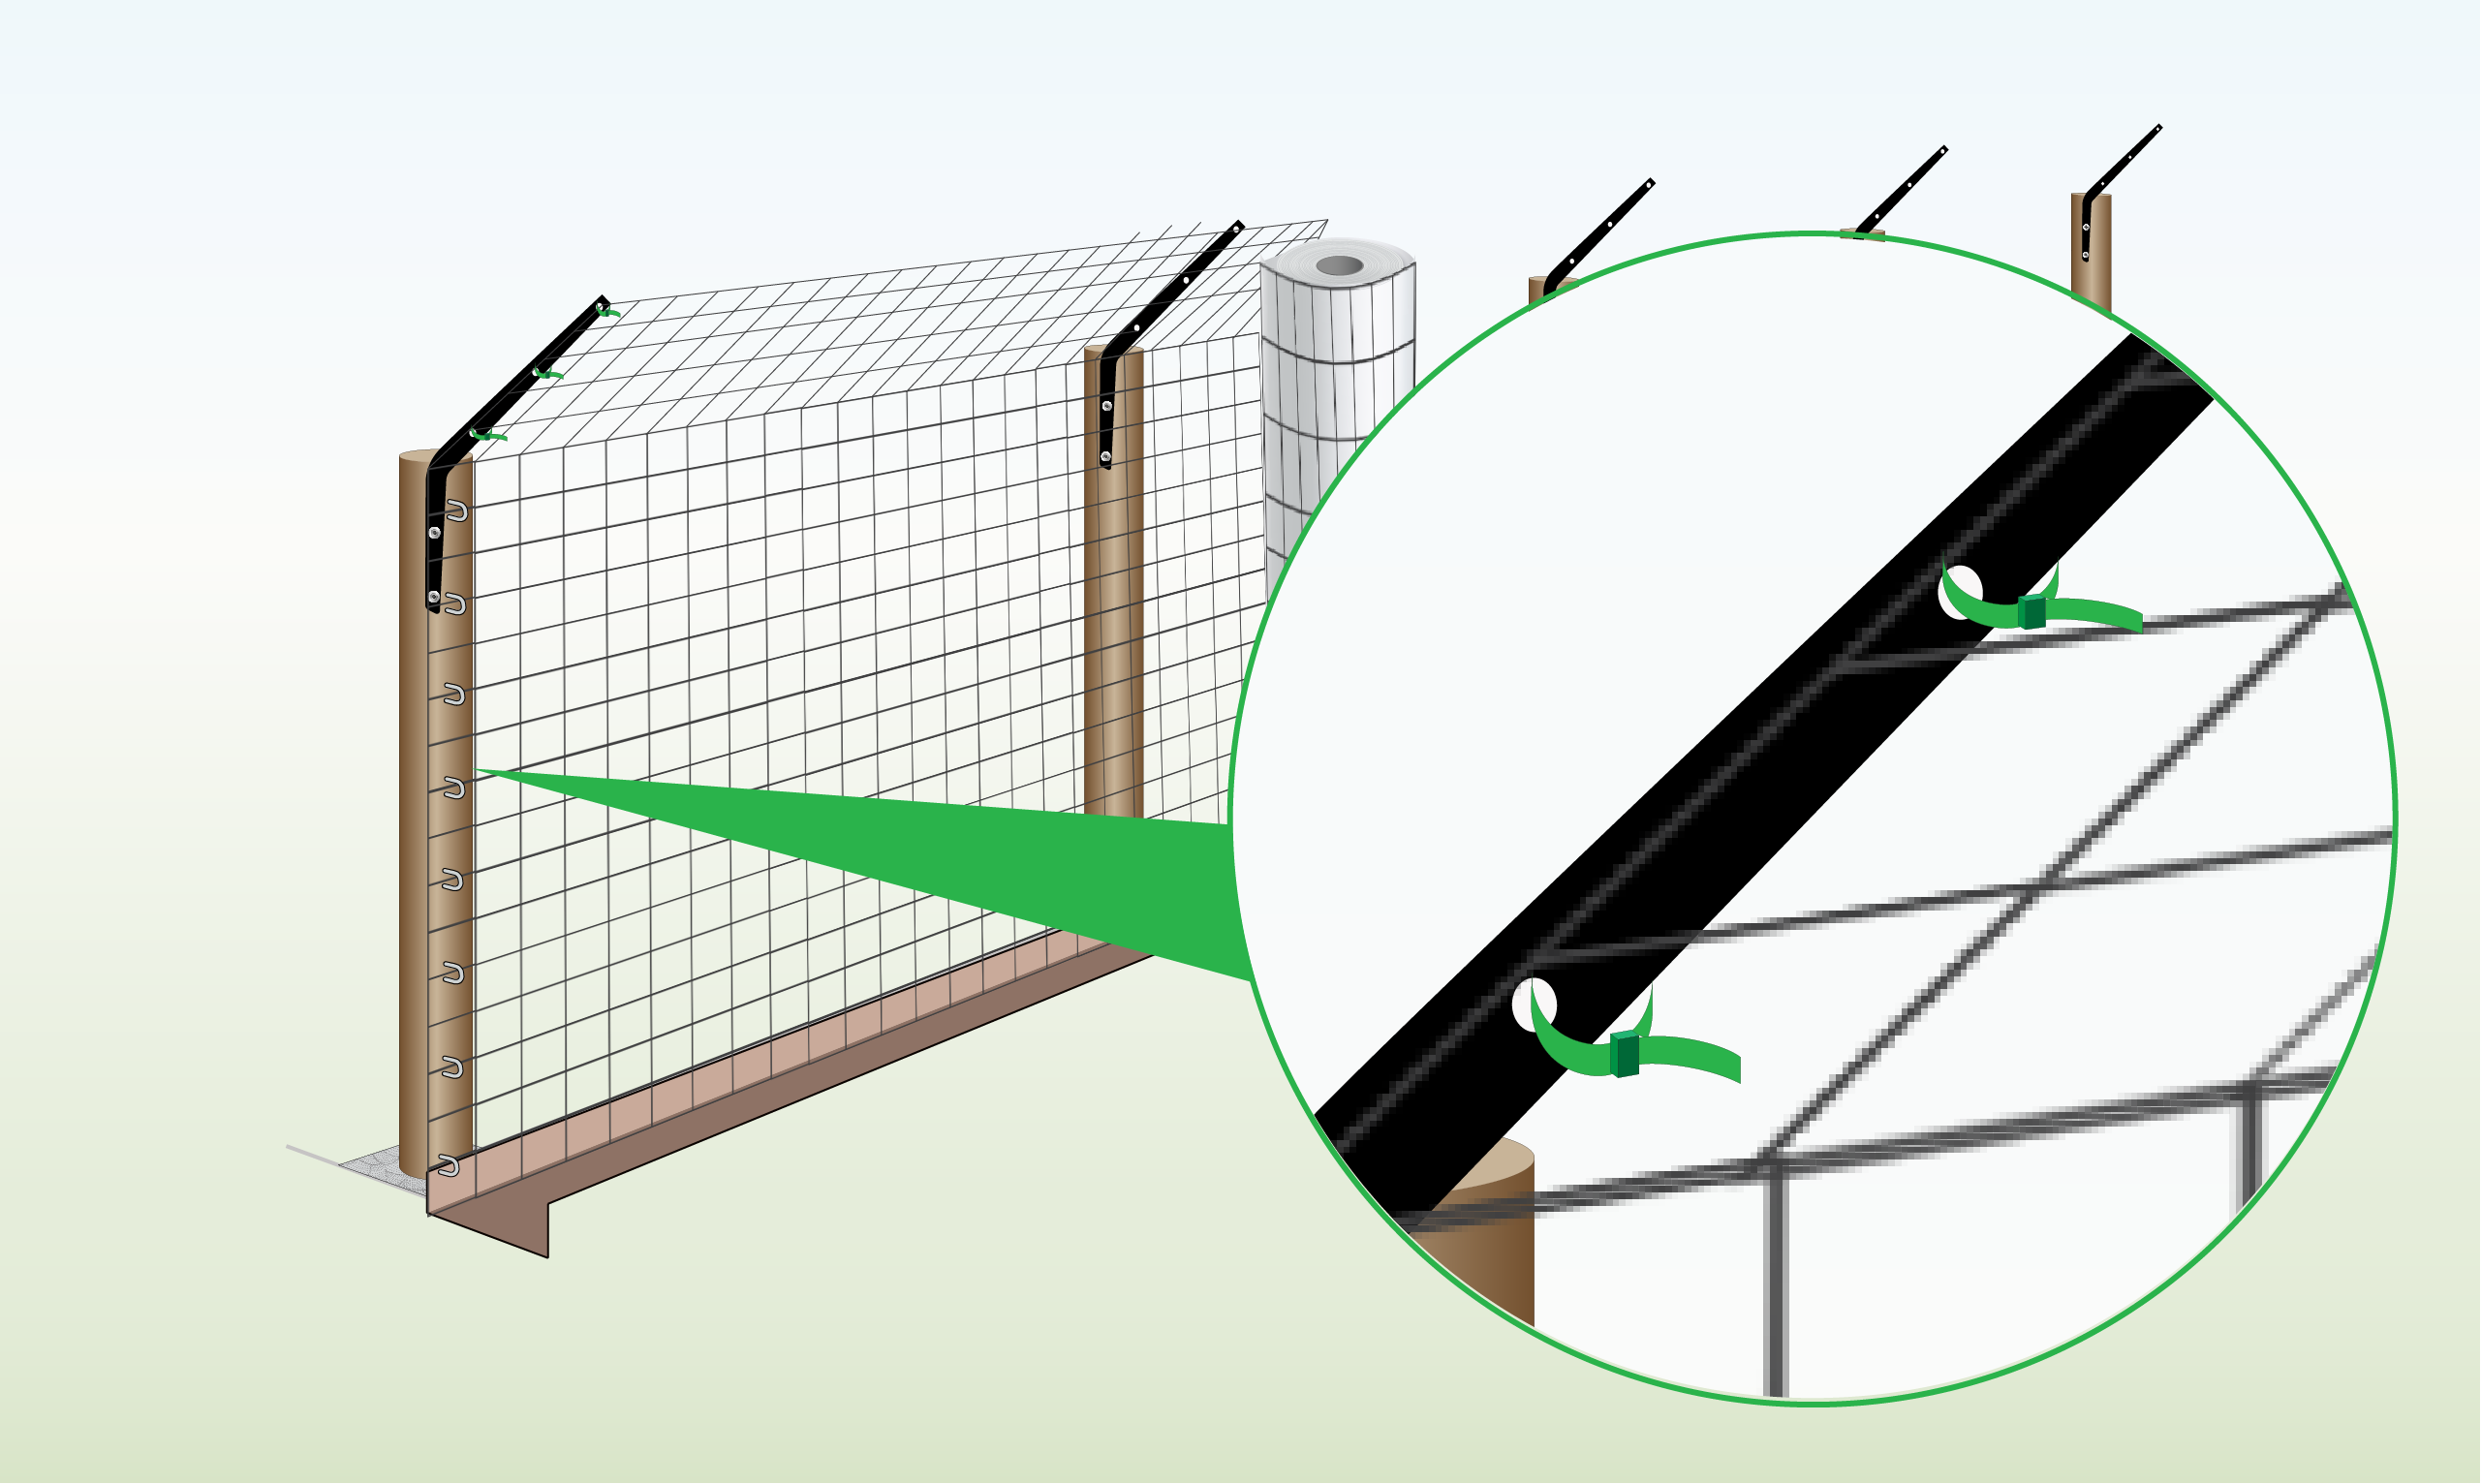
| Step 8 – Secure Mesh to First Bracket
|
Thread cable ties through the pre-drilled holes of the brackets and attach the mesh at each hole.
If there are insufficient holes in the brackets, you can add extra cable ties to encircle the entire bracket for added stability.
|
| Step 9 – Attach Mesh to Posts & Brackets
|
Attach the mesh to the remaining posts and brackets in the same way as described in steps 7 and 8. |
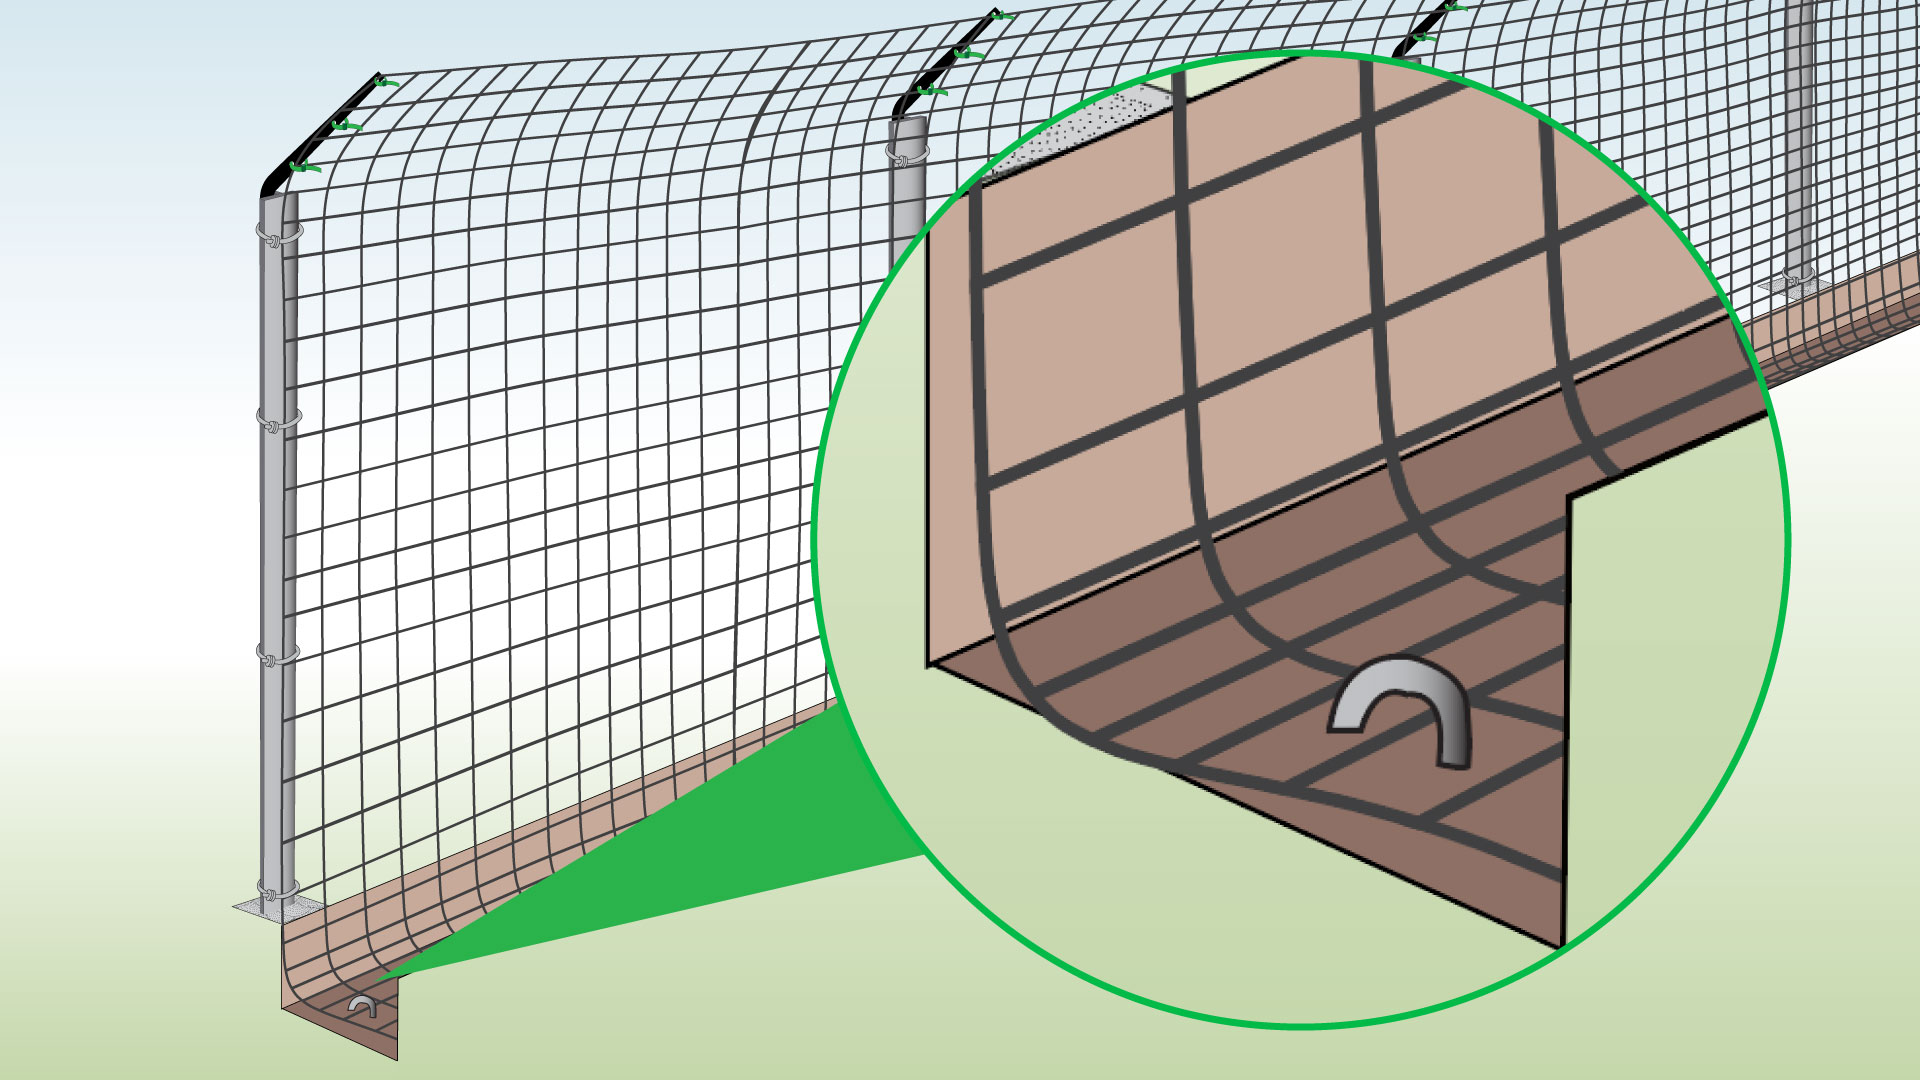
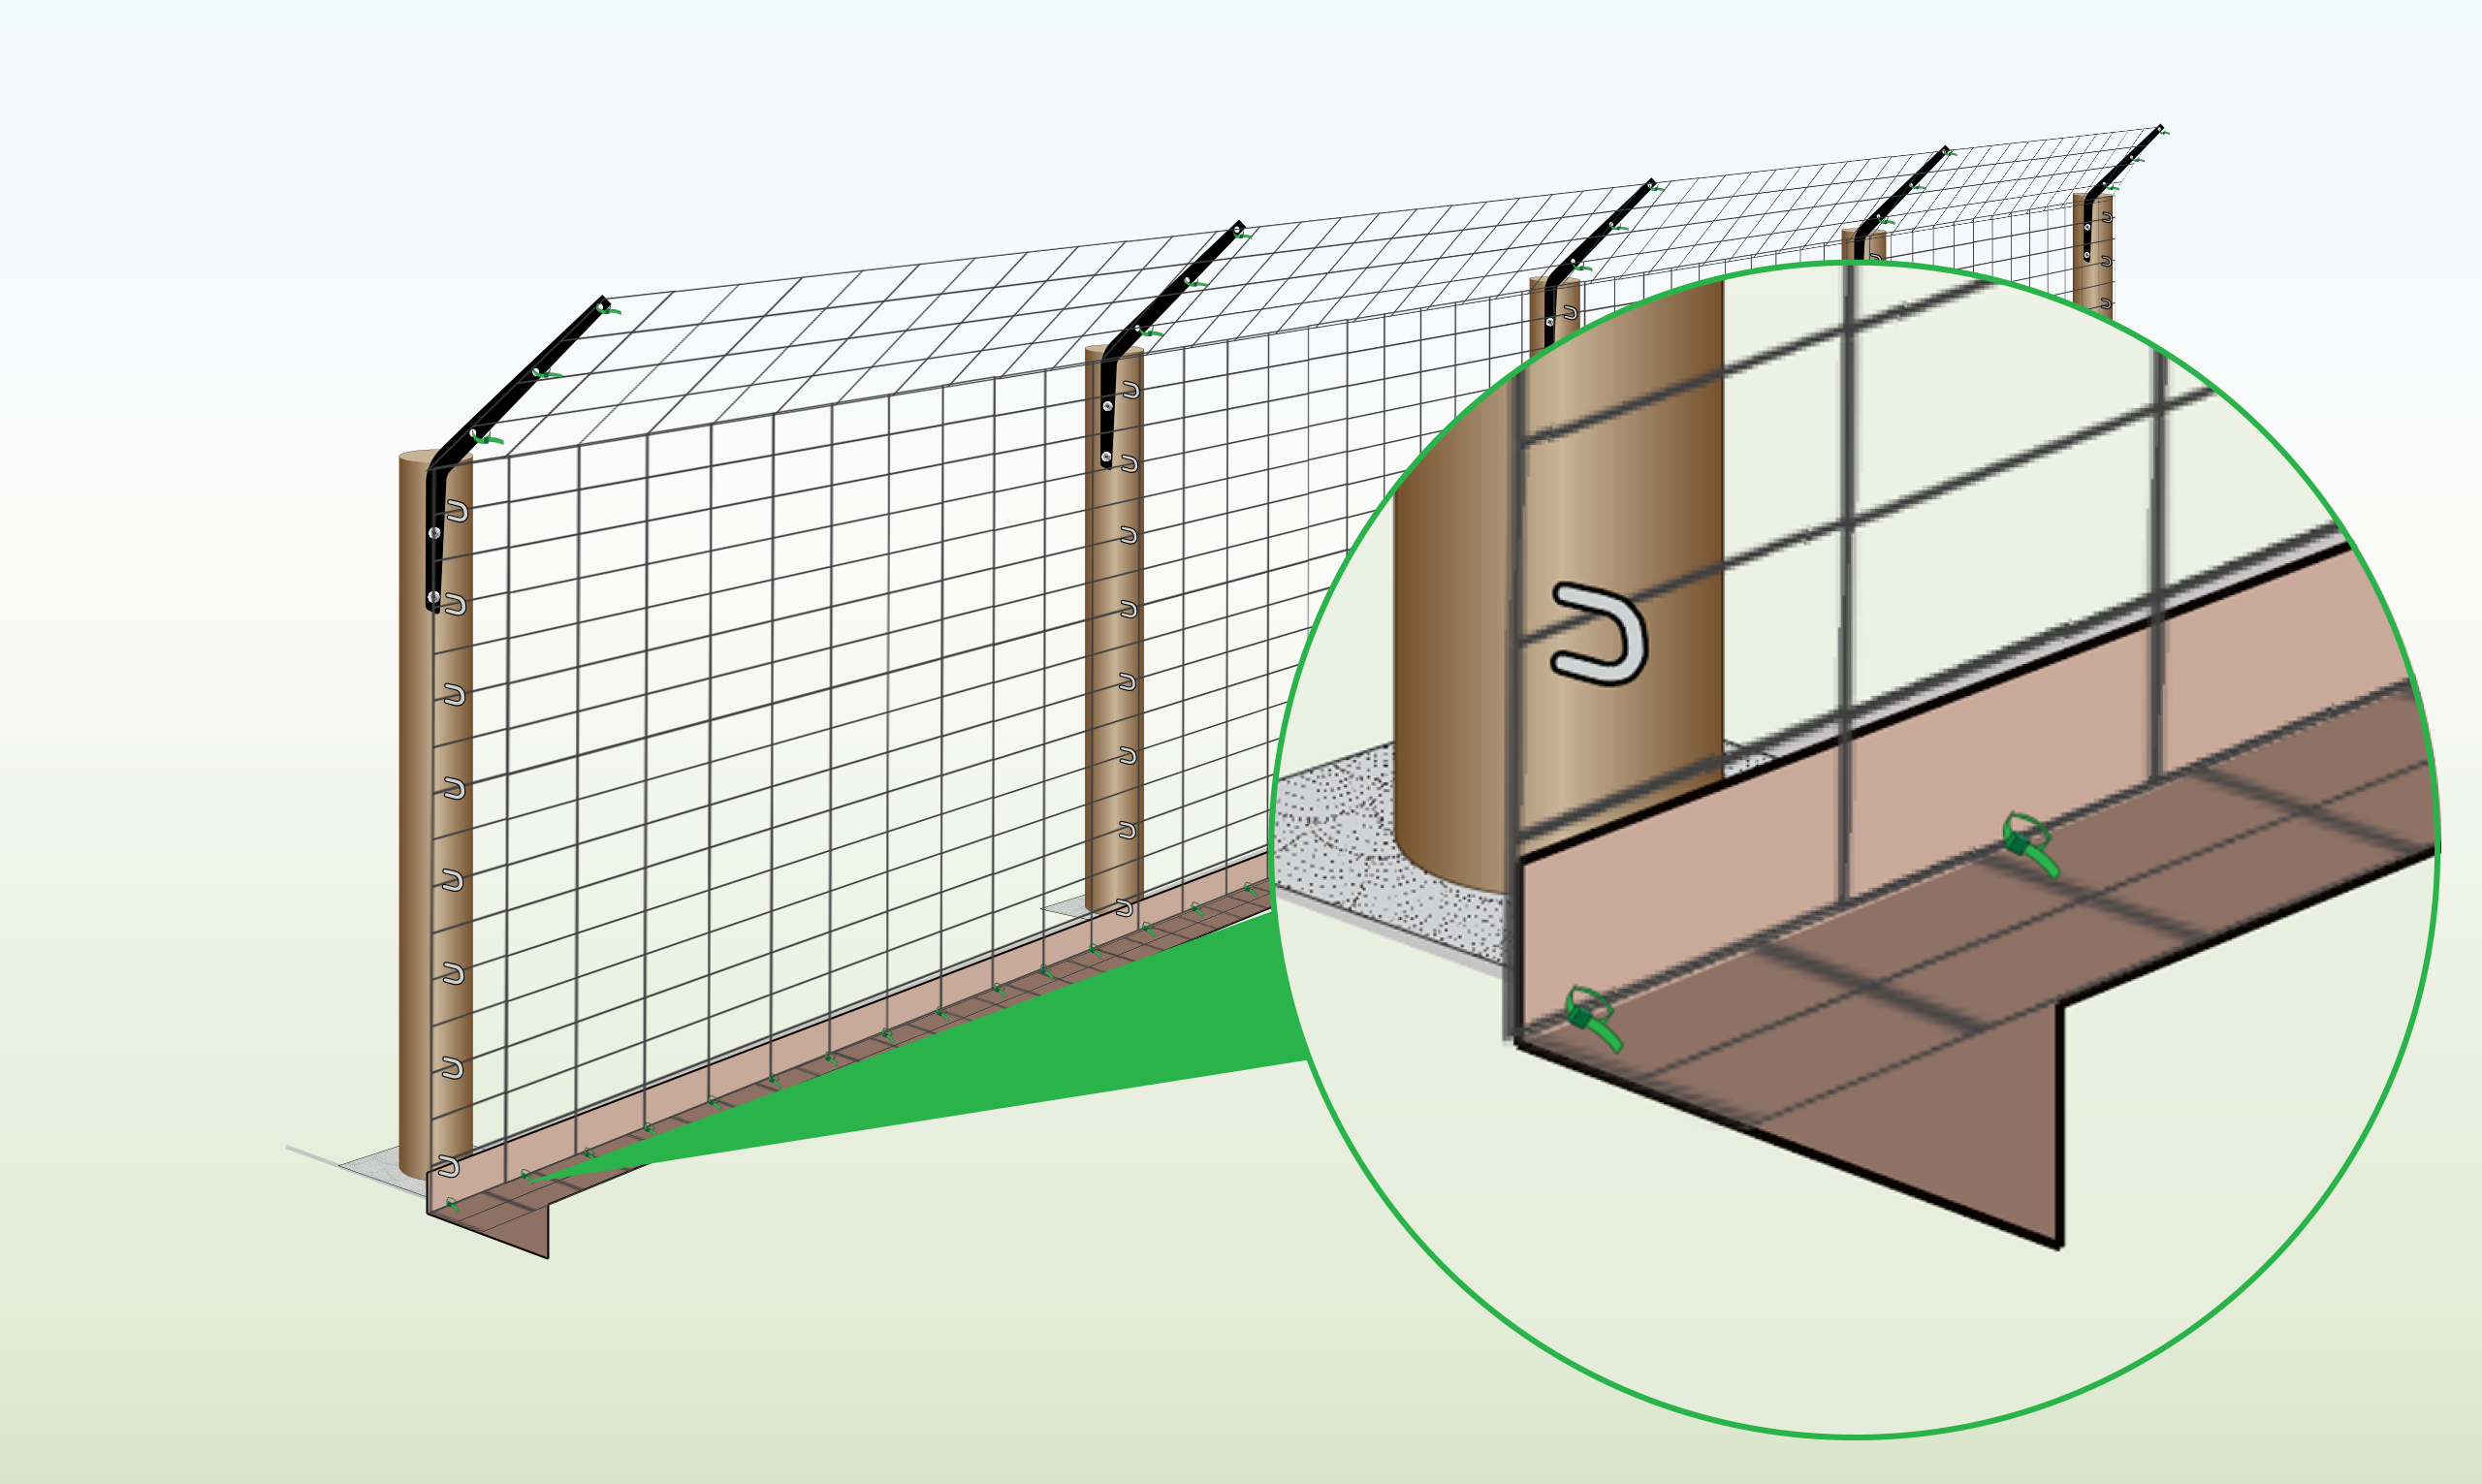
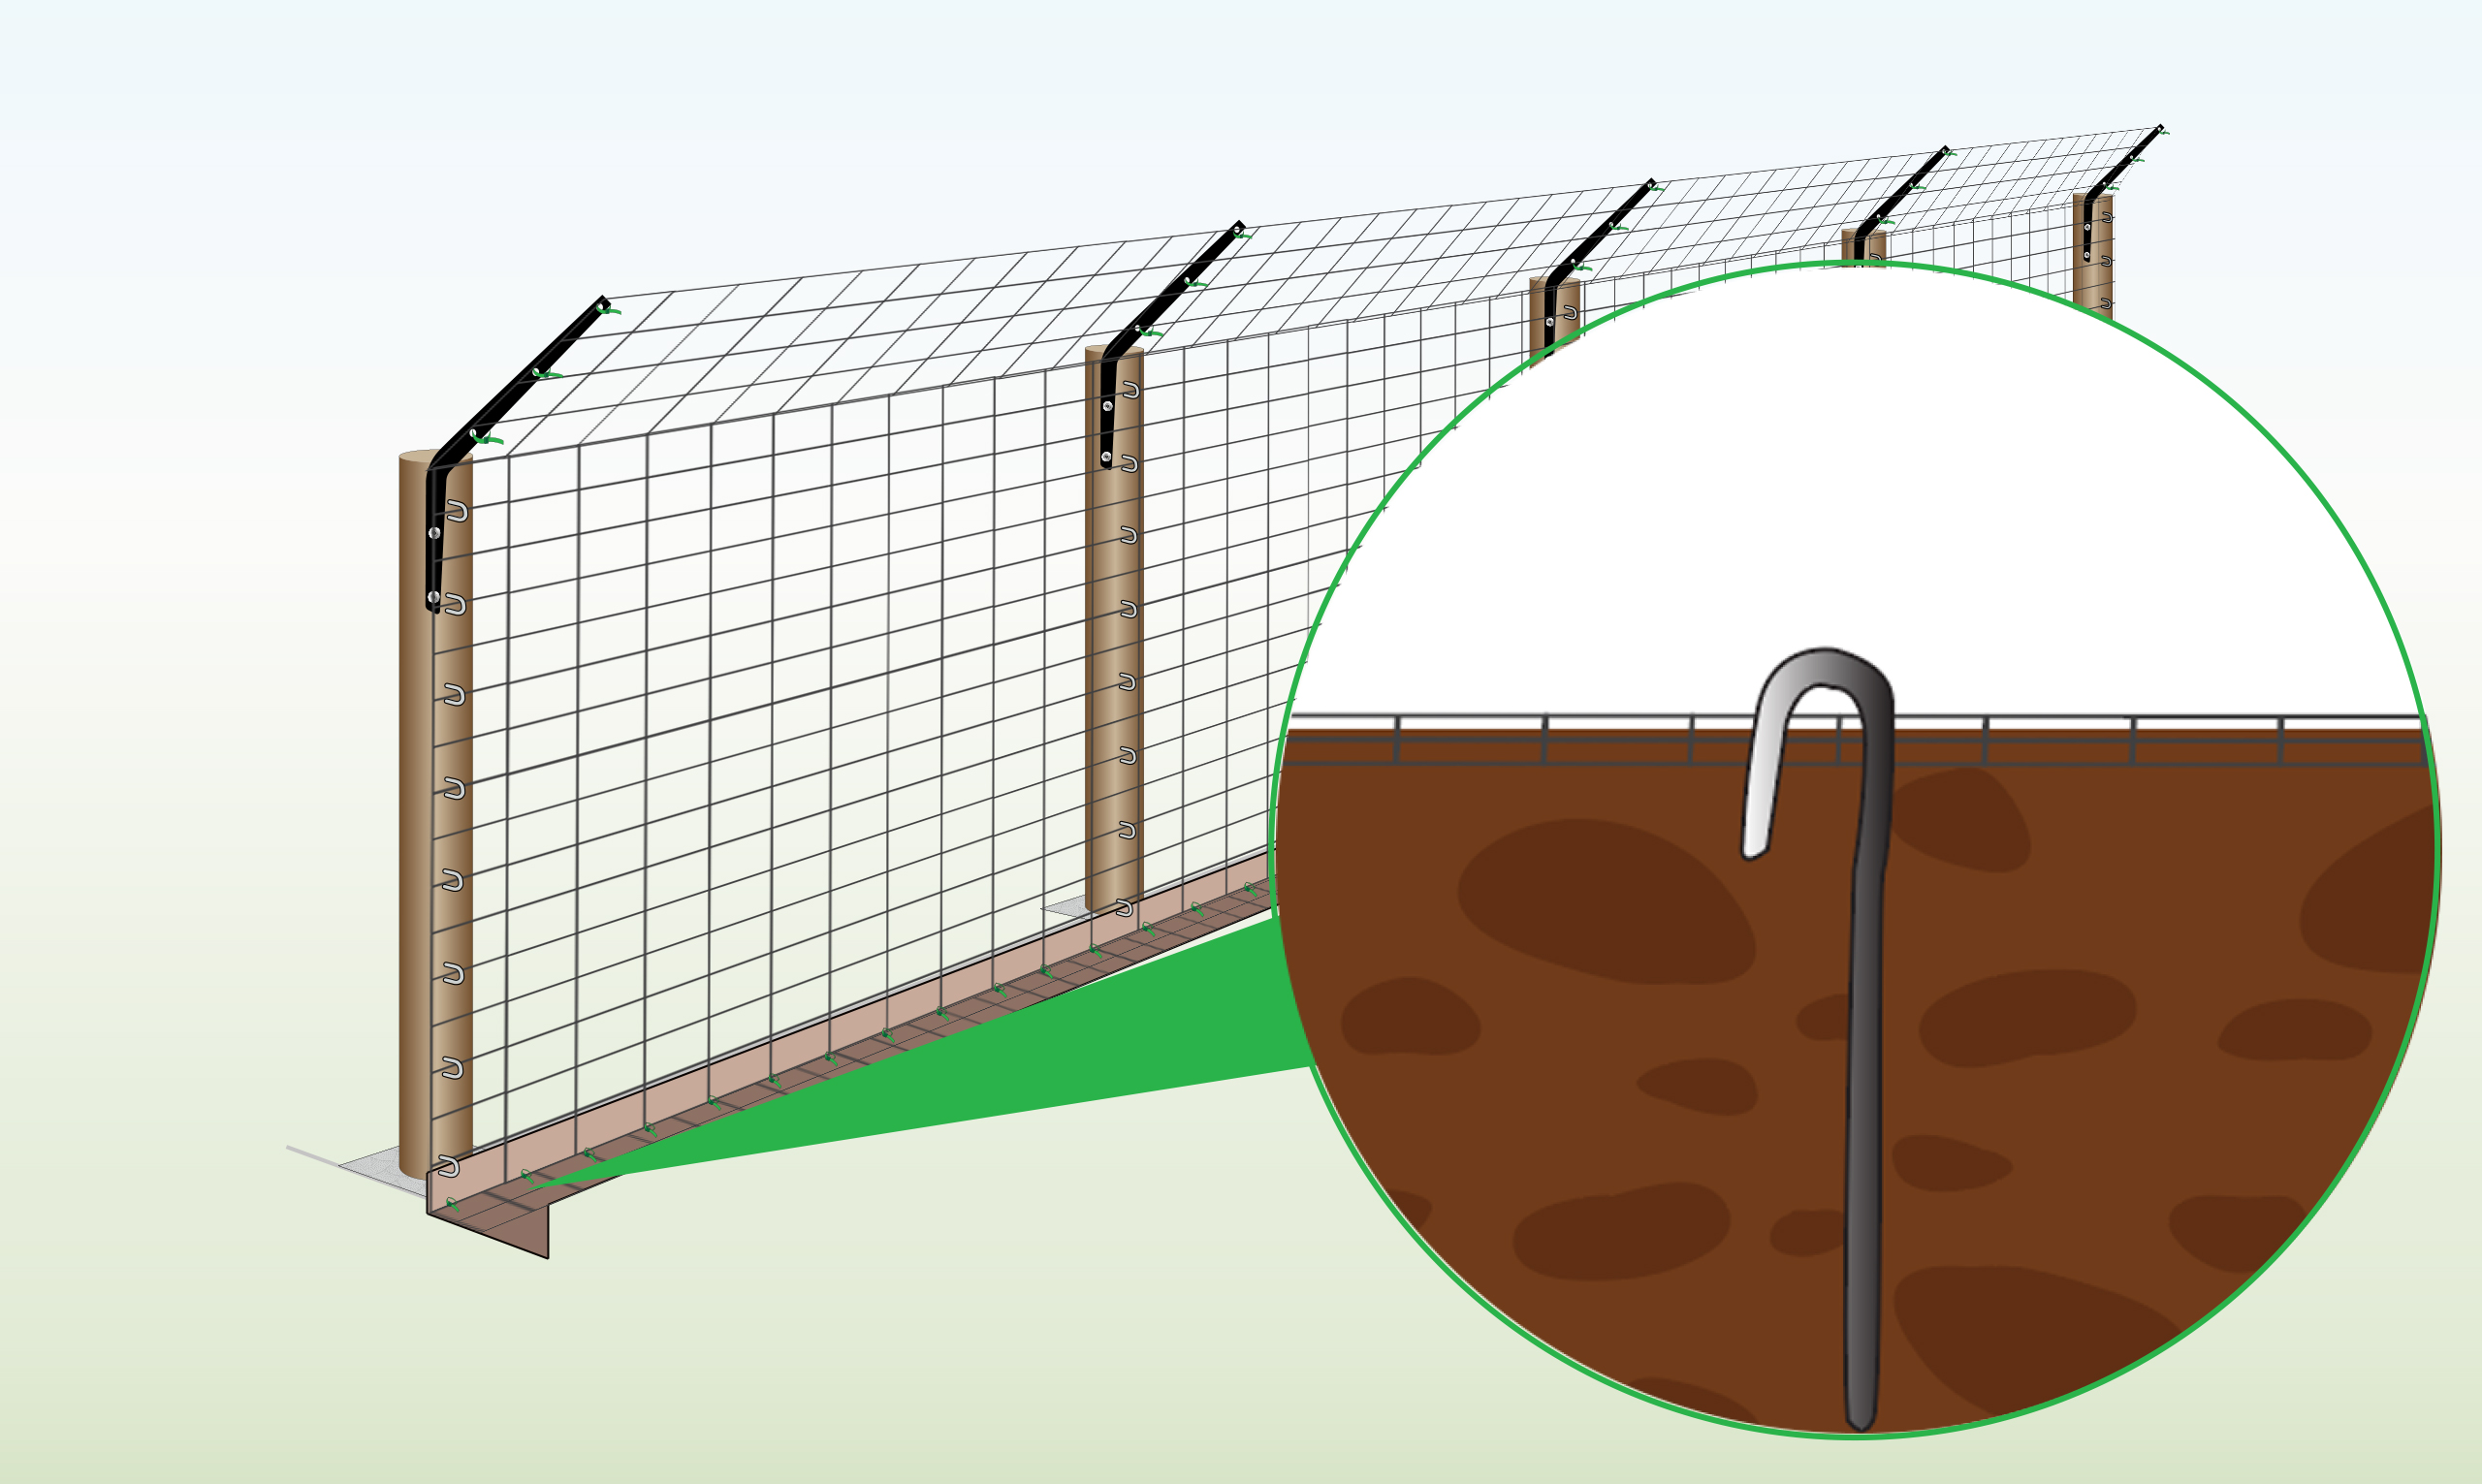
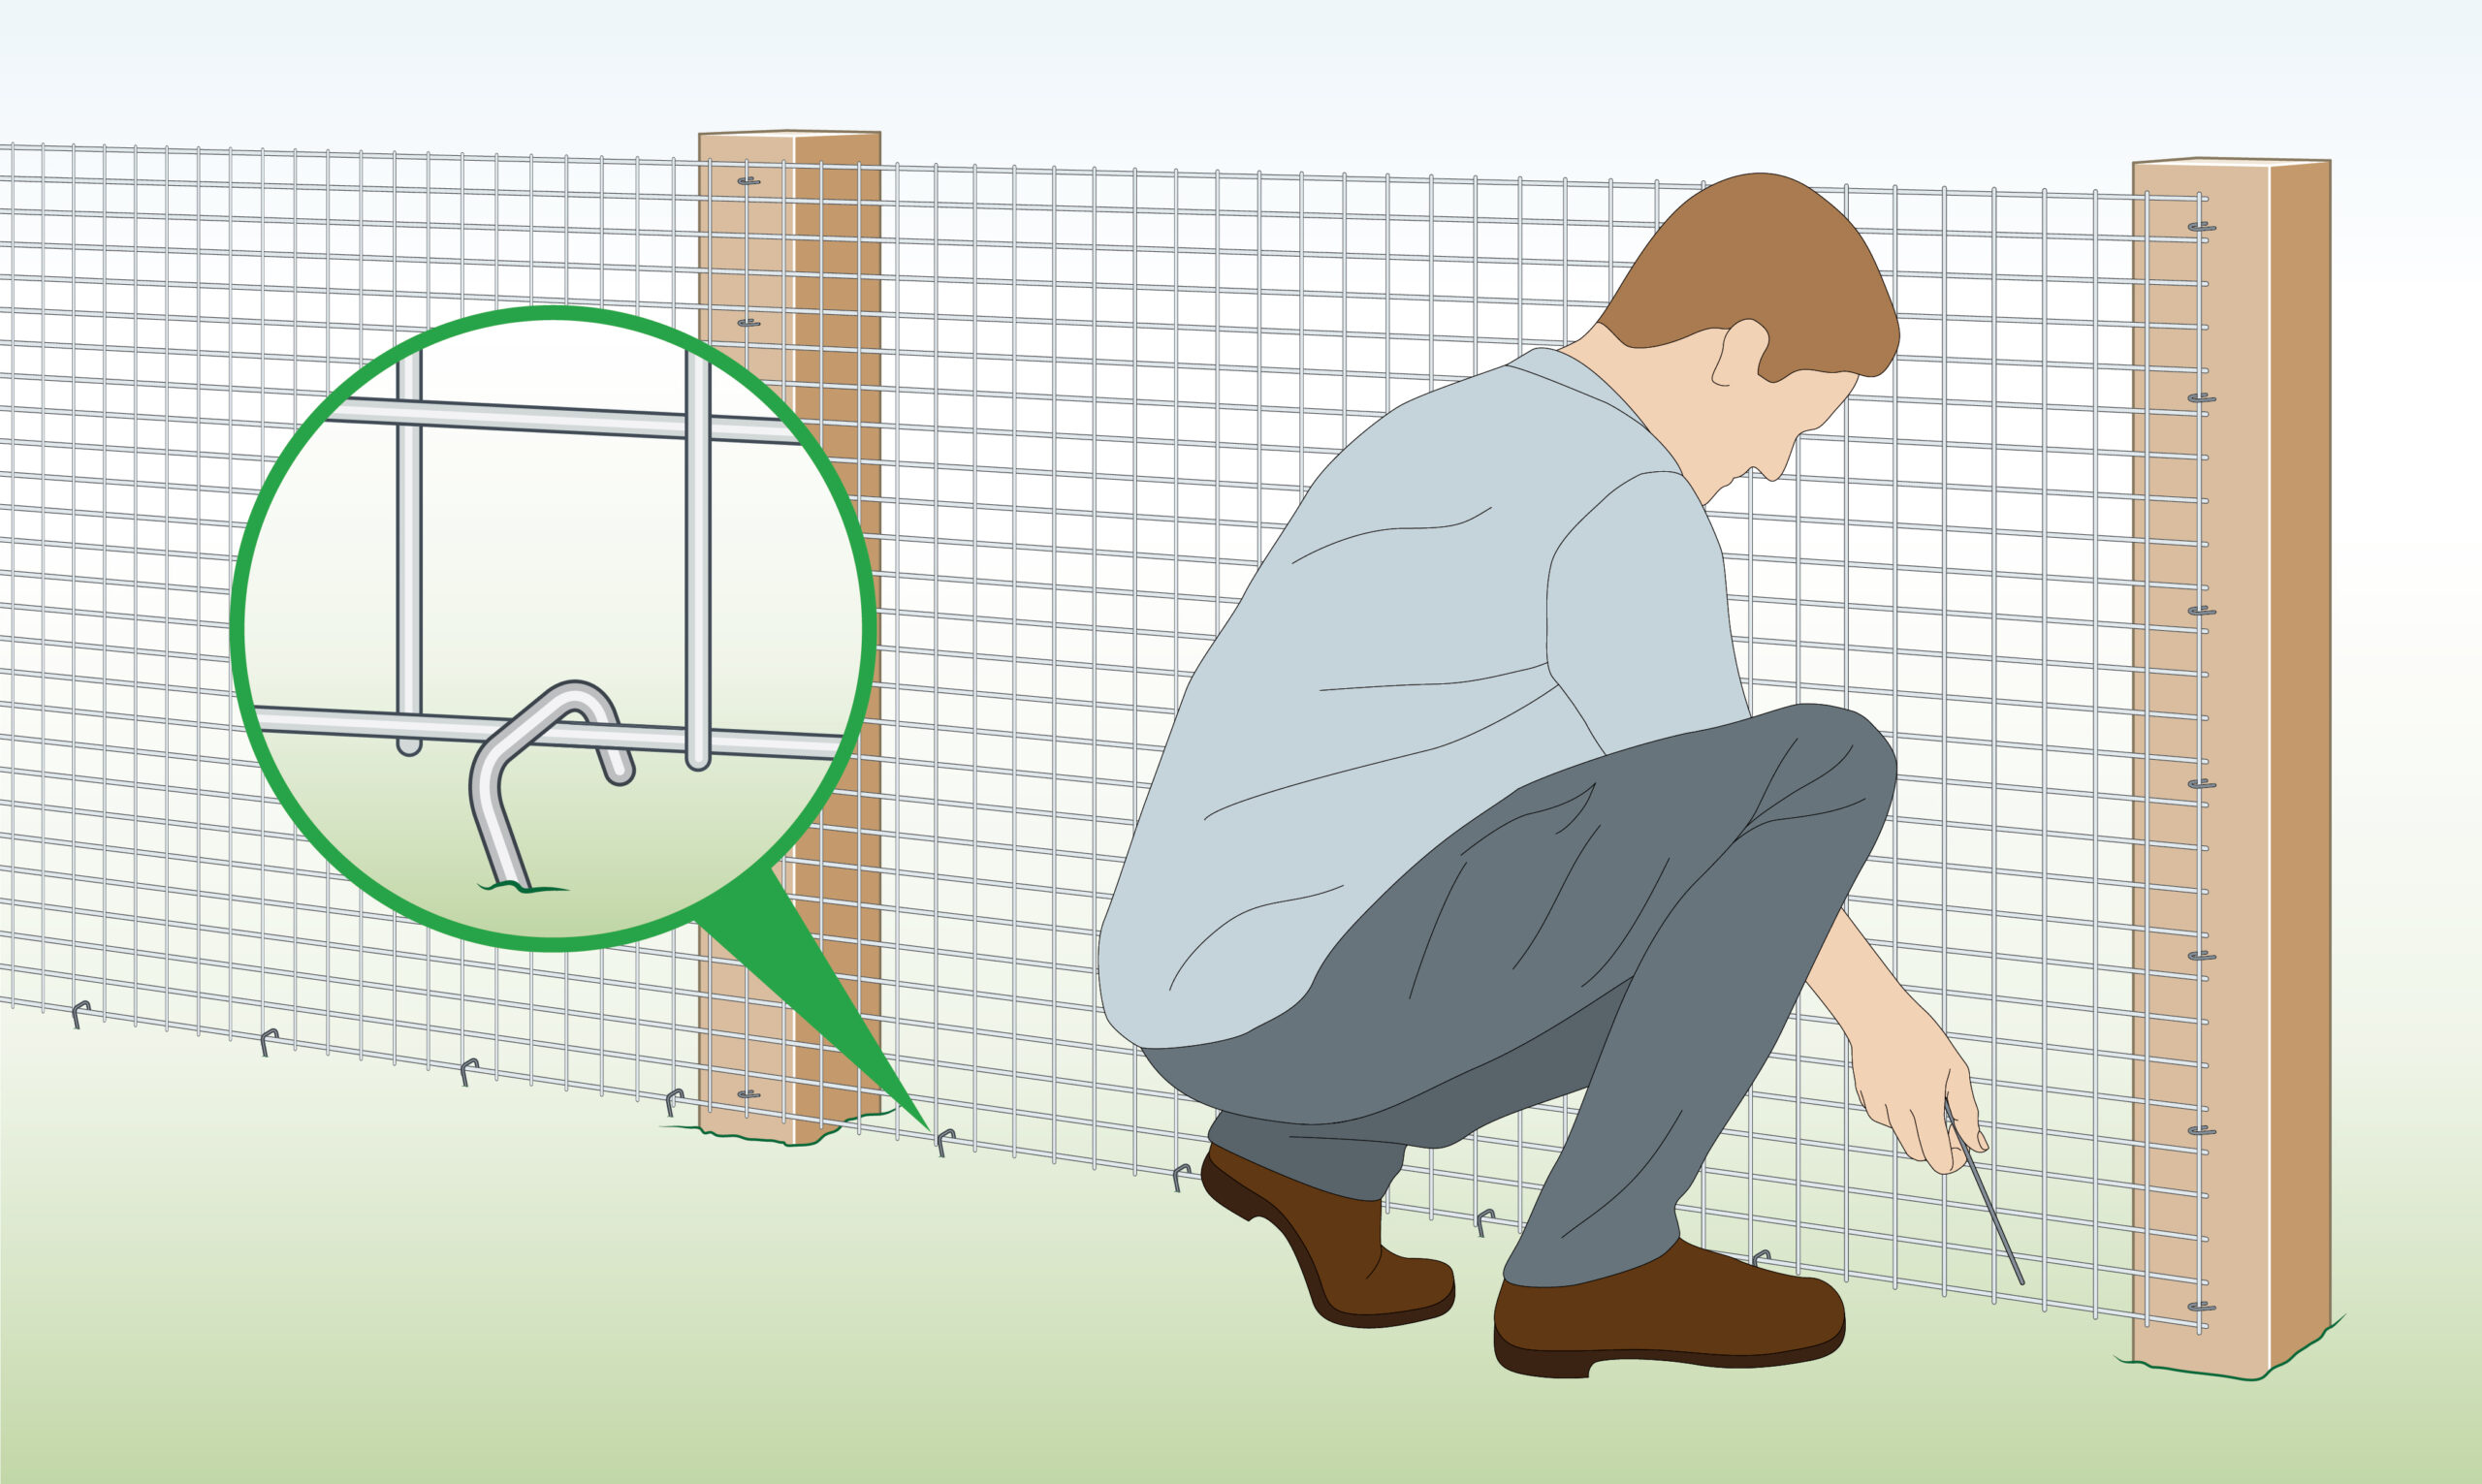
| Step 10 – Secure Bottom to the Ground
|
Secure the bottom of the mesh to the ground by securing it with pegs at a 90-degree angle and placing them at the outer edge of the lip, spacing them every 60cm. |
| Step 11 – Cover the Trench
|
Cover the trench by layering soil or mulch over it. |
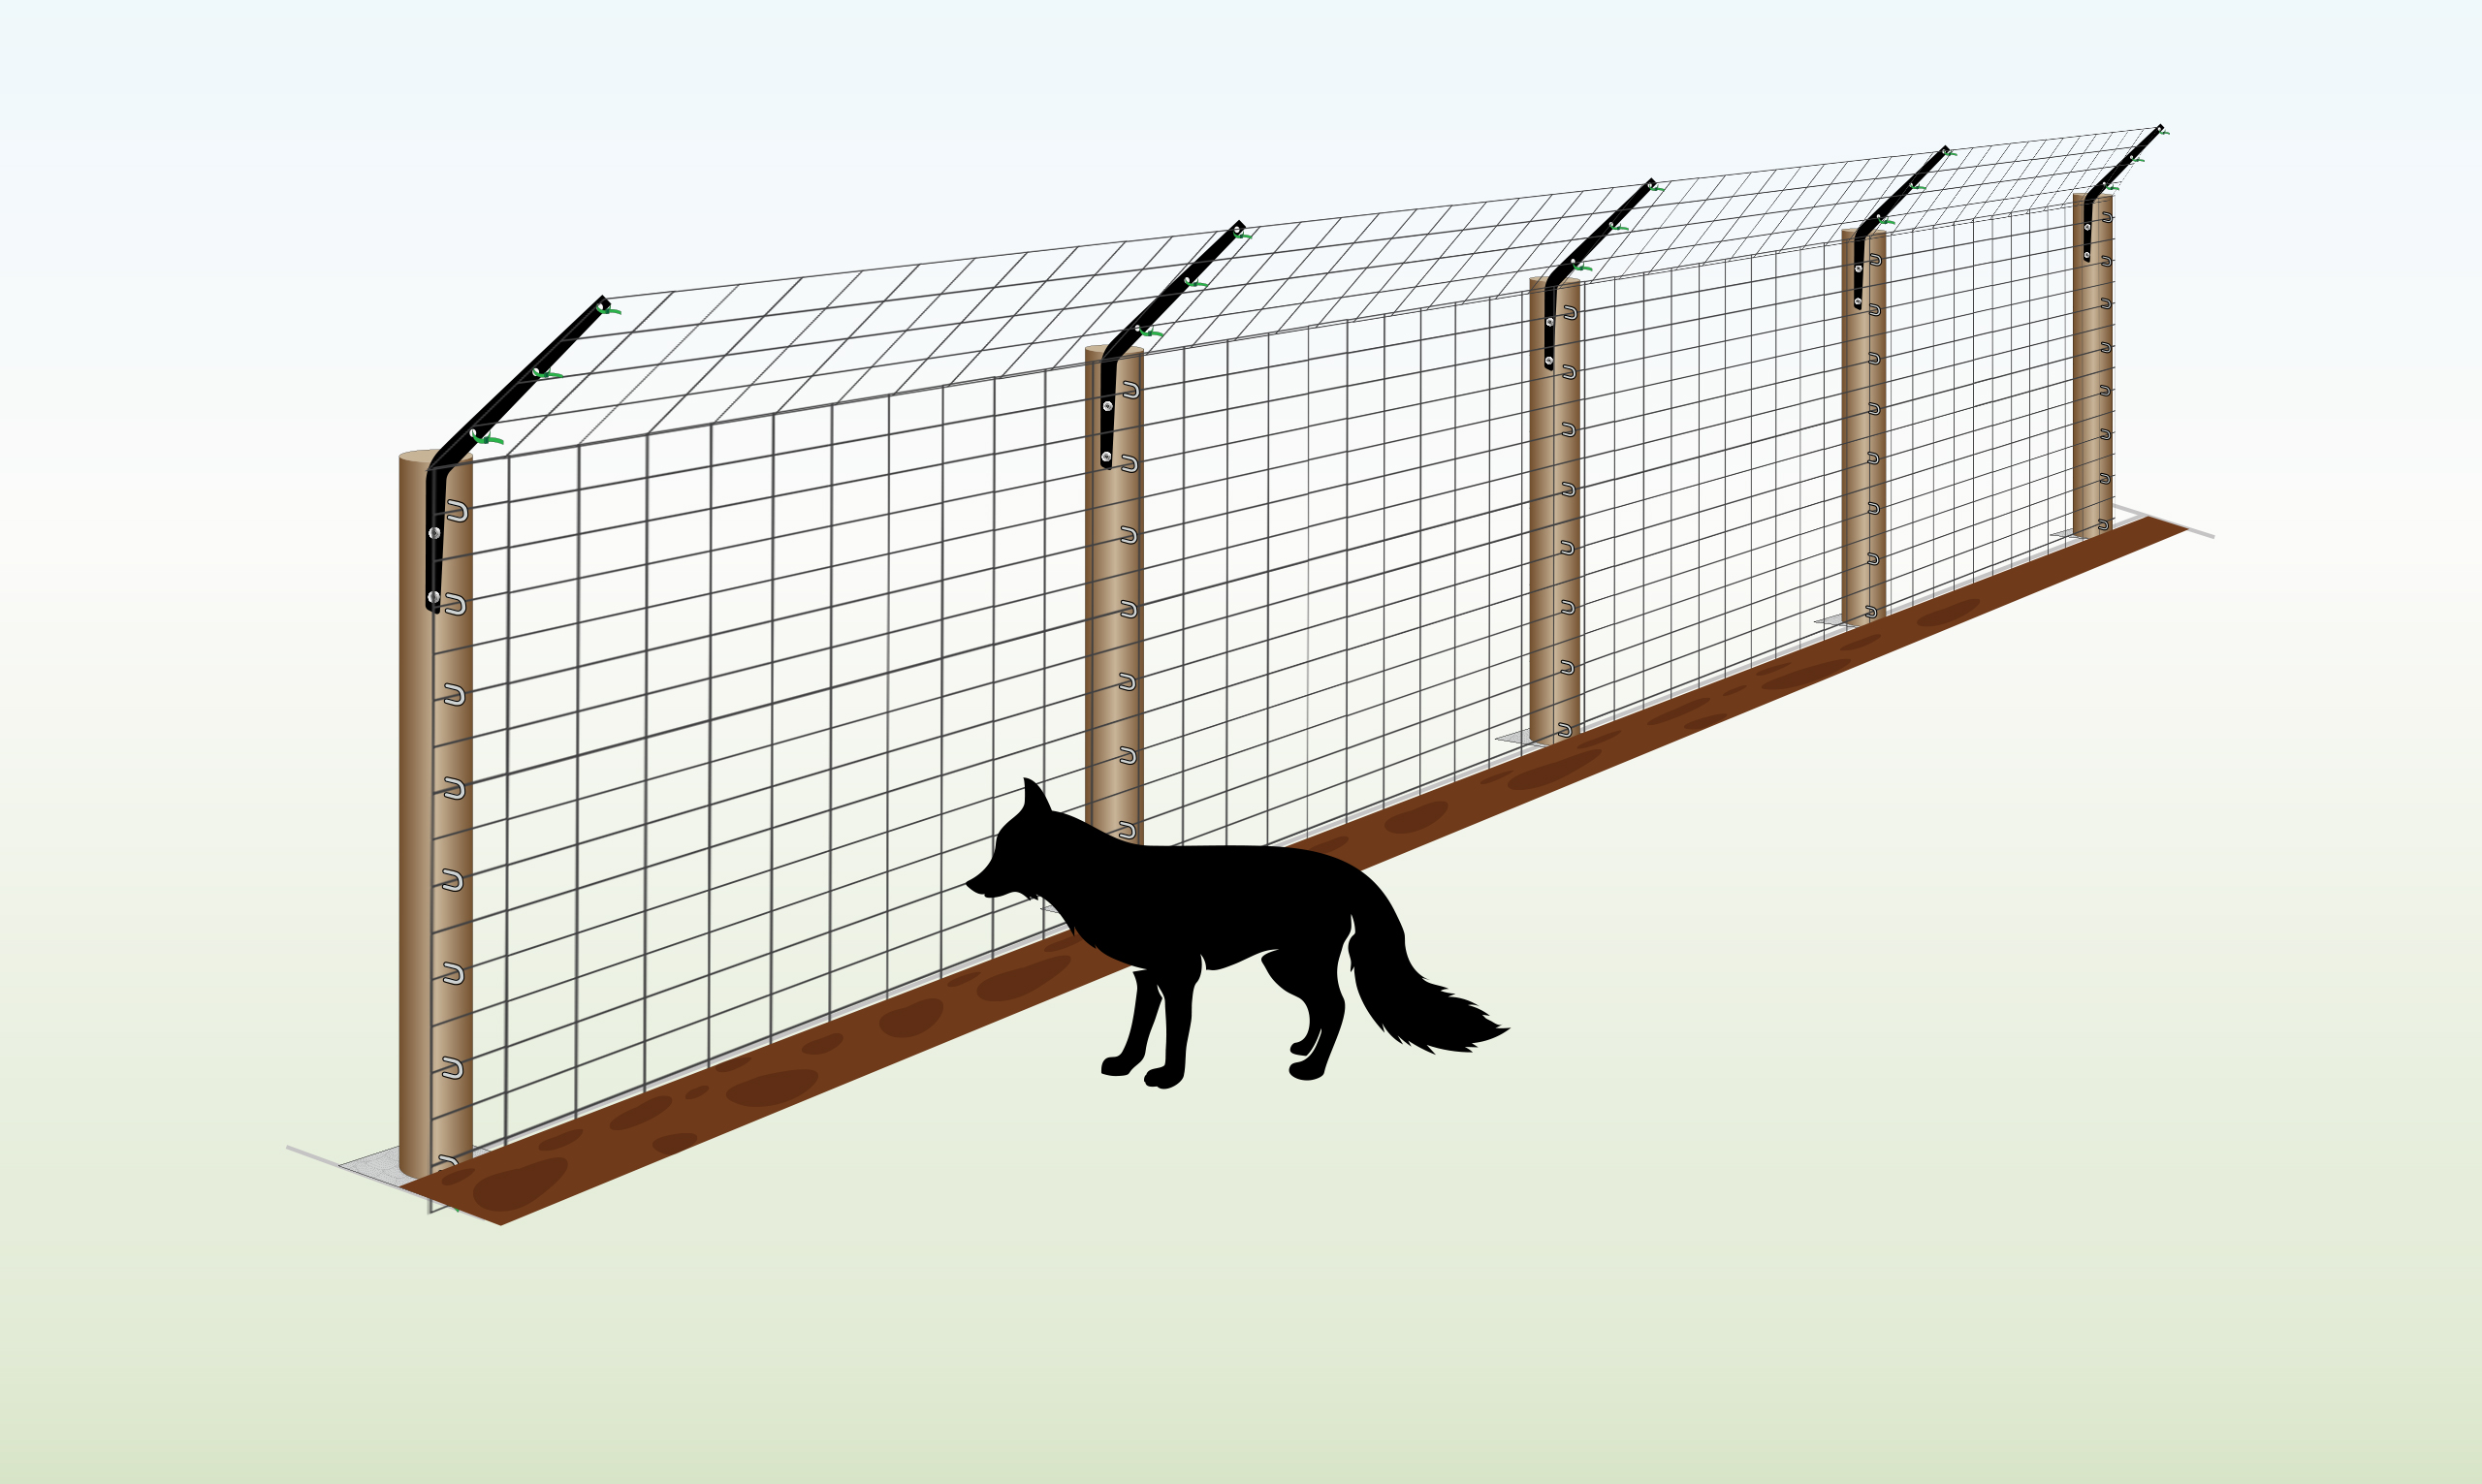
How can I make sure urban predators don’t get to my poultry?
Encircle the area you wish to protect with a welded steel mesh, and strengthen any joins or weak points in your fence to prevent them from forcing their way through.
What type of posts should I use?
Use metal posts instead of timber ones, as they’re more difficult for animals to climb on.
How can I prevent digging under the fence?
Secure the bottom of the fence to the soil with pegs. Line the ground around the fence with 30-60 cm welded mesh with a diameter of at least 2 mm, attach it to the bottom of the fence with cable ties and secure it to the ground with weights or pegs.
How do I prevent jumping over the fence?
Create an outward-facing overhang of 50 cm to discourage jumping. In smaller pens, a complete wire netting roof is also an option.
How tough and sturdy is this mesh?
Welded mesh with a wire diameter of 2 mm is designed to be tough to chew through and difficult to damage.
Can I use chicken wire instead?
If there aren’t any predators around, you can use standard chicken wire mesh to create pens and chicken runs. However, keep in mind that urban predators are able to chew through wire with a diameter of less than 2 mm, so we recommend fox proof fencing for added security.
Will this also stop my dog from getting to my poultry?
This mesh is strong enough to keep medium sized dogs away. However, for larger and stronger dogs, 3 mm+ wire diameter is recommended.

Wire Fence is part of the Super Magic Bean group - VAT Registered: 344 7643 83 - Company Registration No: 11290483