Show video
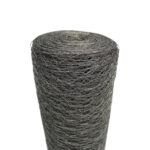
31mm x 31mm
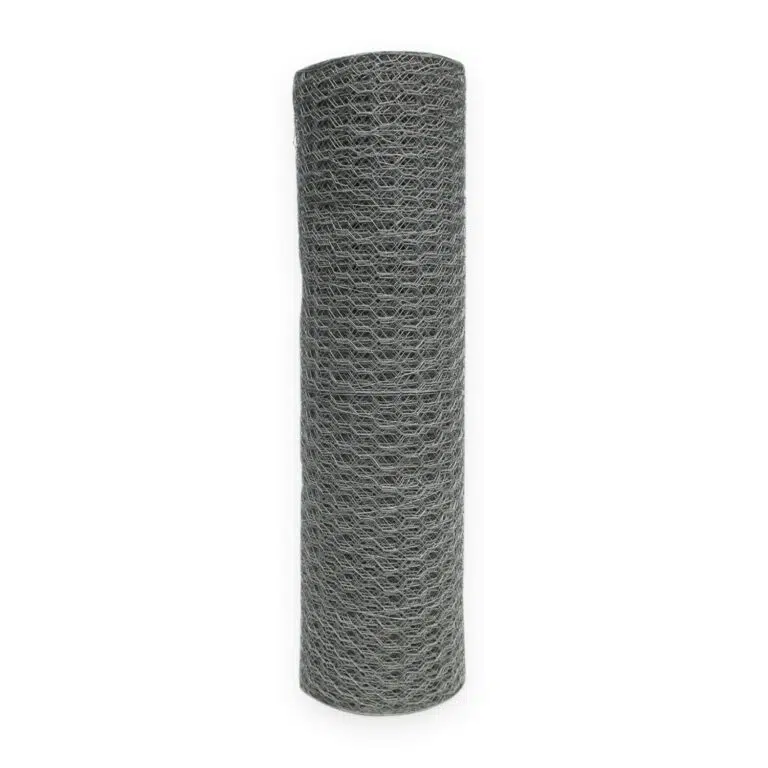
1.05m (3.5ft)
50m (164ft)
1mm (19g)
£75.99 inc. VAT
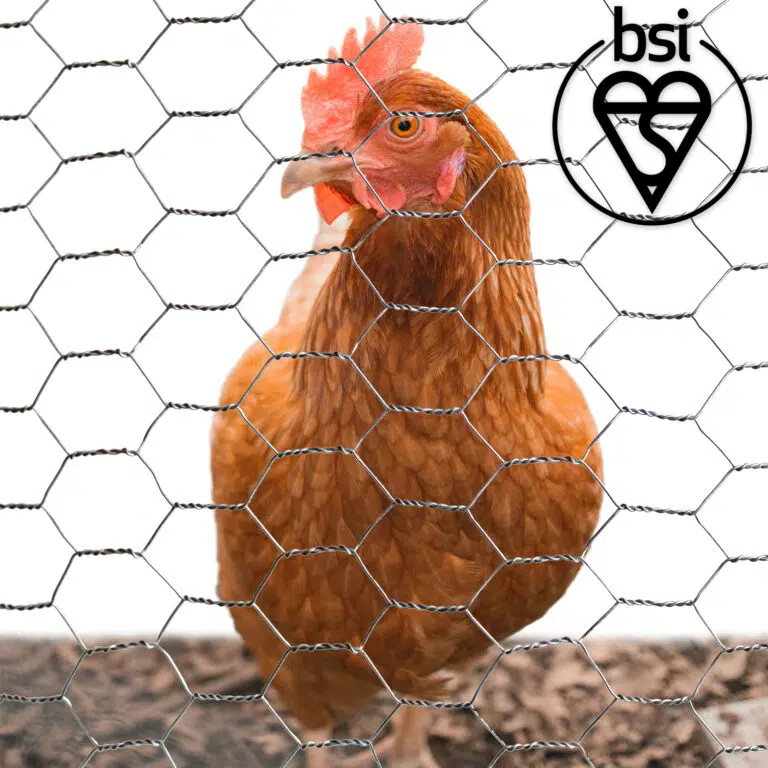


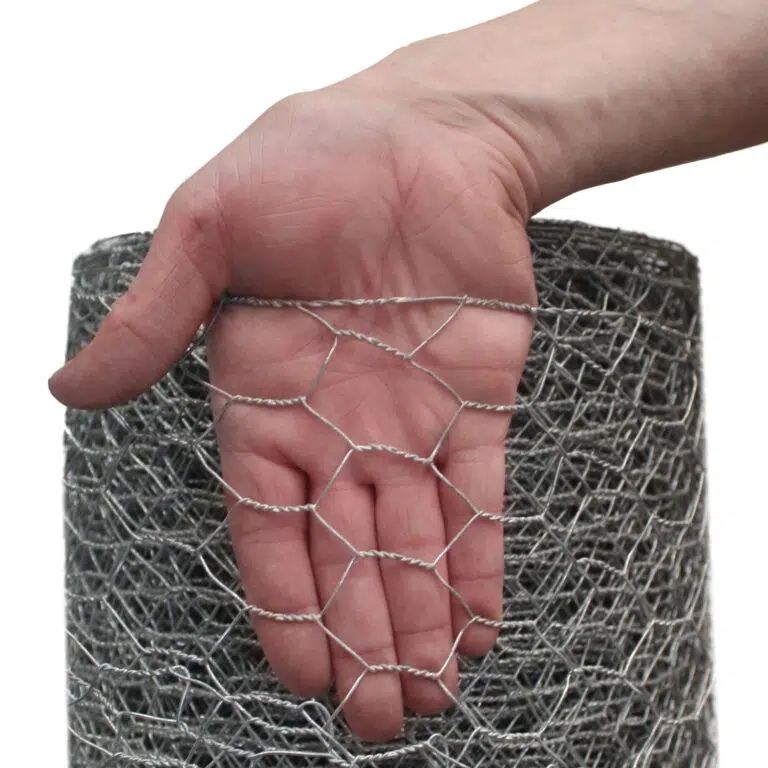

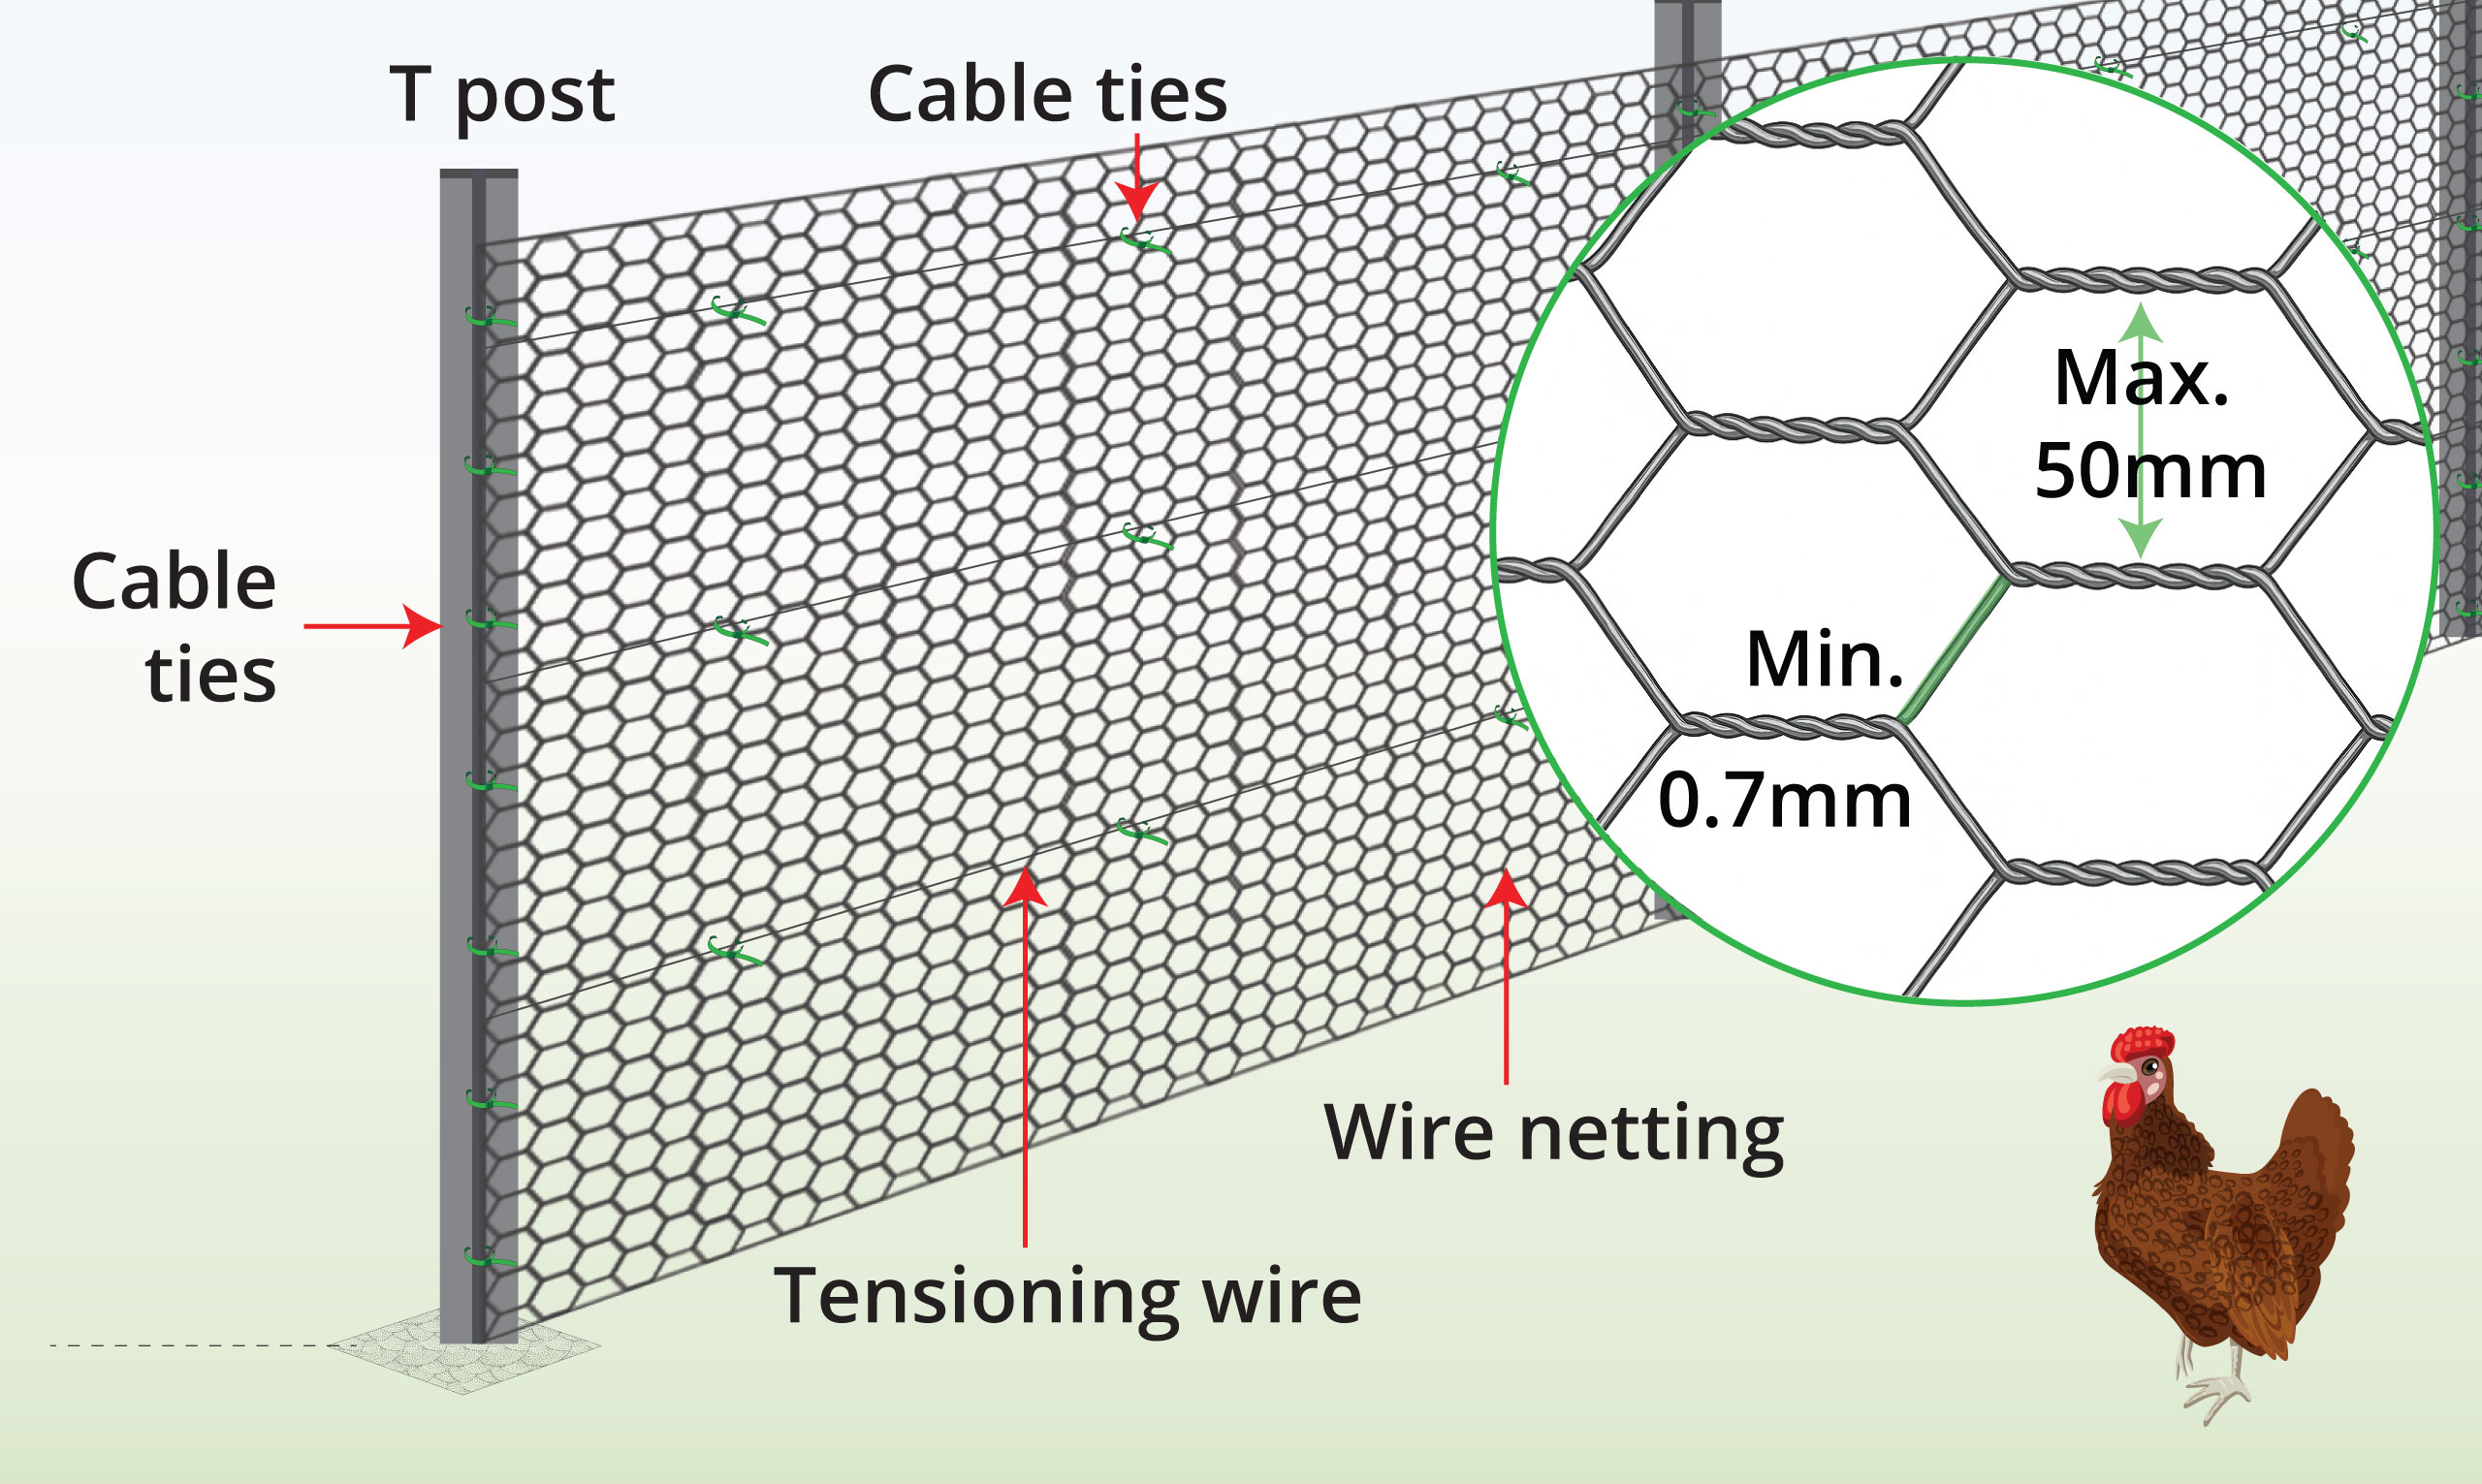
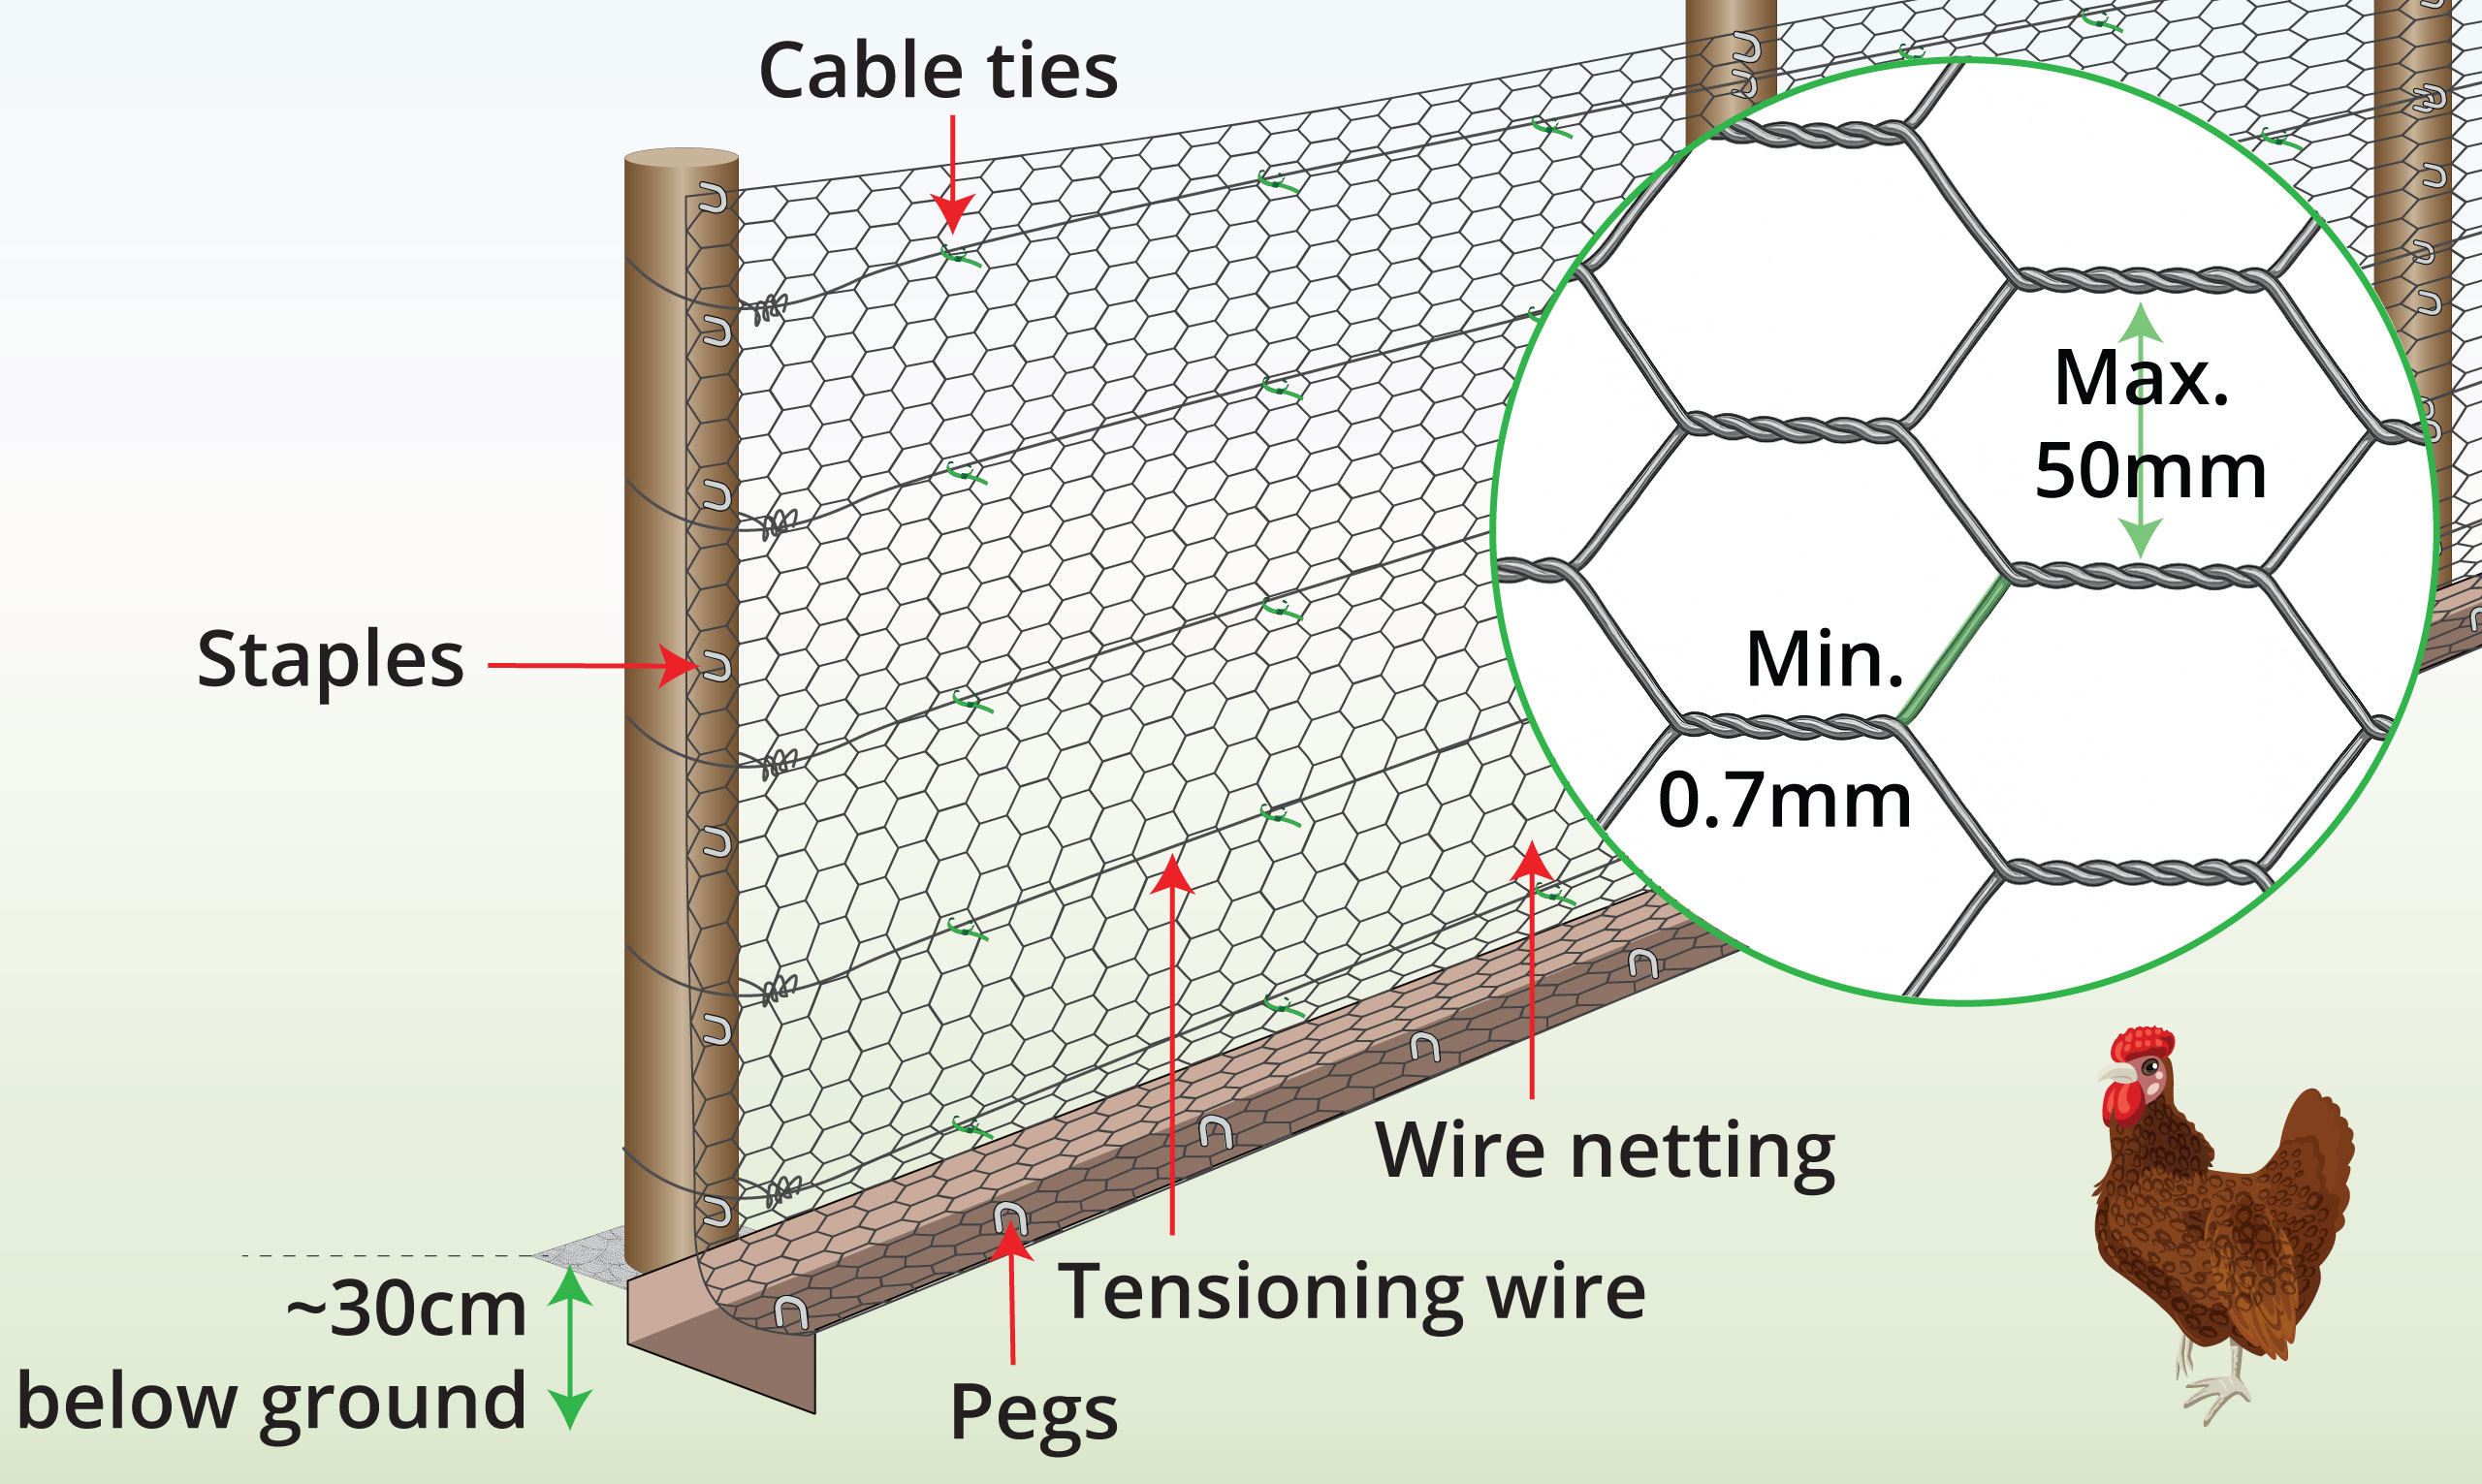
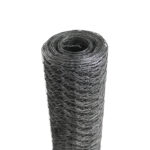
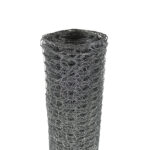
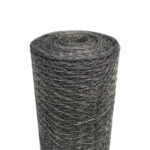
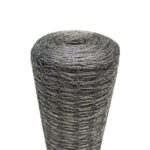
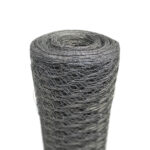
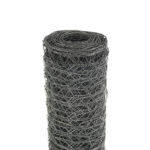
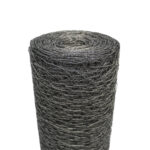
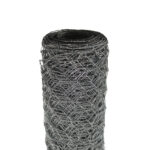
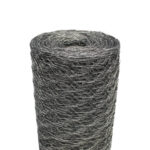
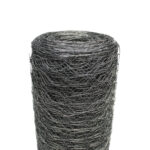
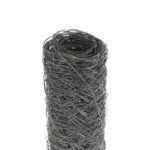
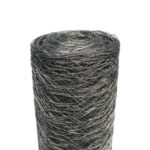
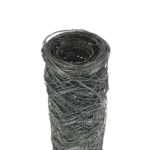
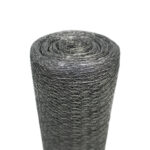
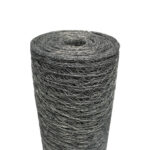
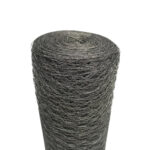
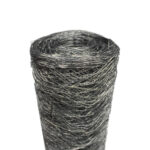
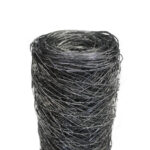
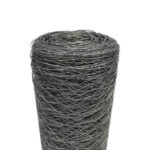
0.7mm-1mm wire mesh is a lightweight and economical poultry wire fence. It will stop poultry escaping, but it is not strong enough to keep foxes out.
If you need to keep foxes out please visit Fox Proof Fence


| Attach to: | How to: |
|
|
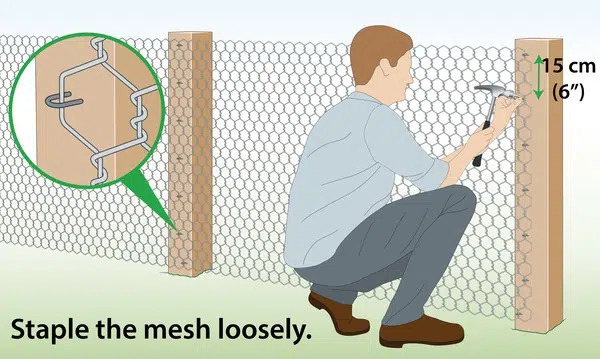
| Wood/ Wooden Posts(Staples) |
|
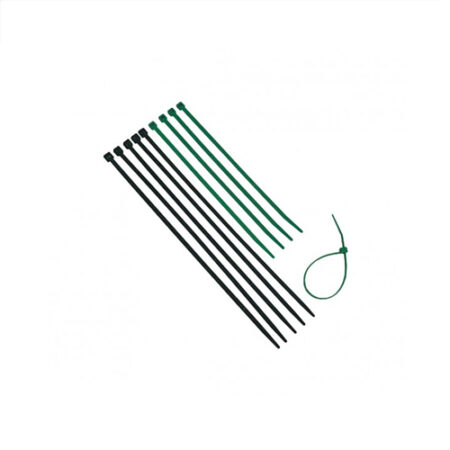
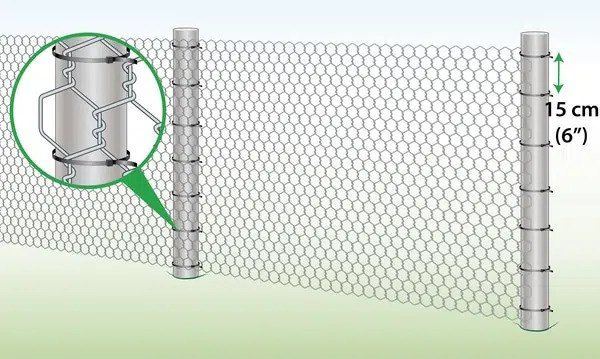
| Metal/ Metal Posts(Cable ties) |
|
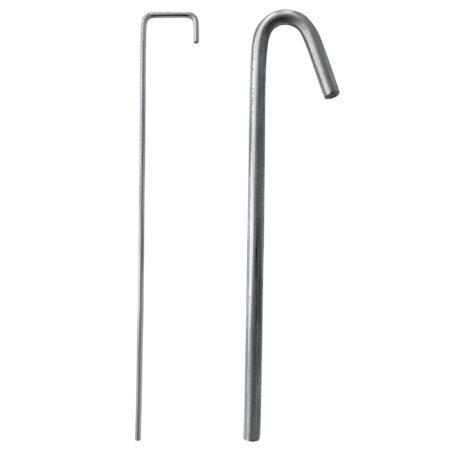
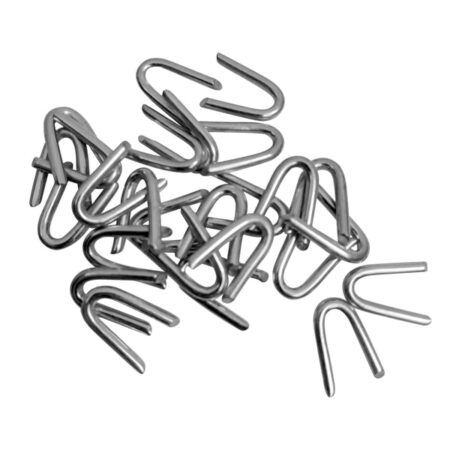
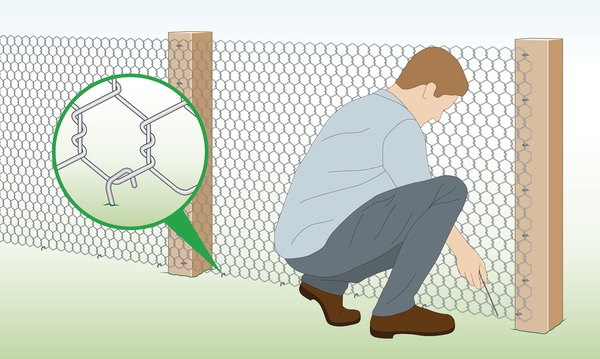
| Soil
(Pegs) |
 |
| Wire Fence | 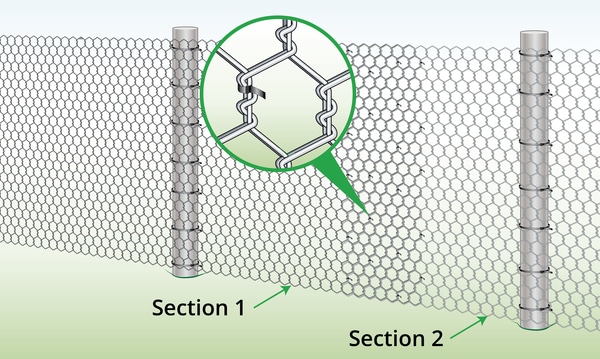 |
With T Posts
With Extra Security
| To Do | Explanation |
| Completed Installation
|
Set the T posts 2–3 m apart. Attach the poultry mesh to the posts with cable ties. Add tension wire to prevent sagging, and tie the mesh to it.
Full instructions below or watch this video |
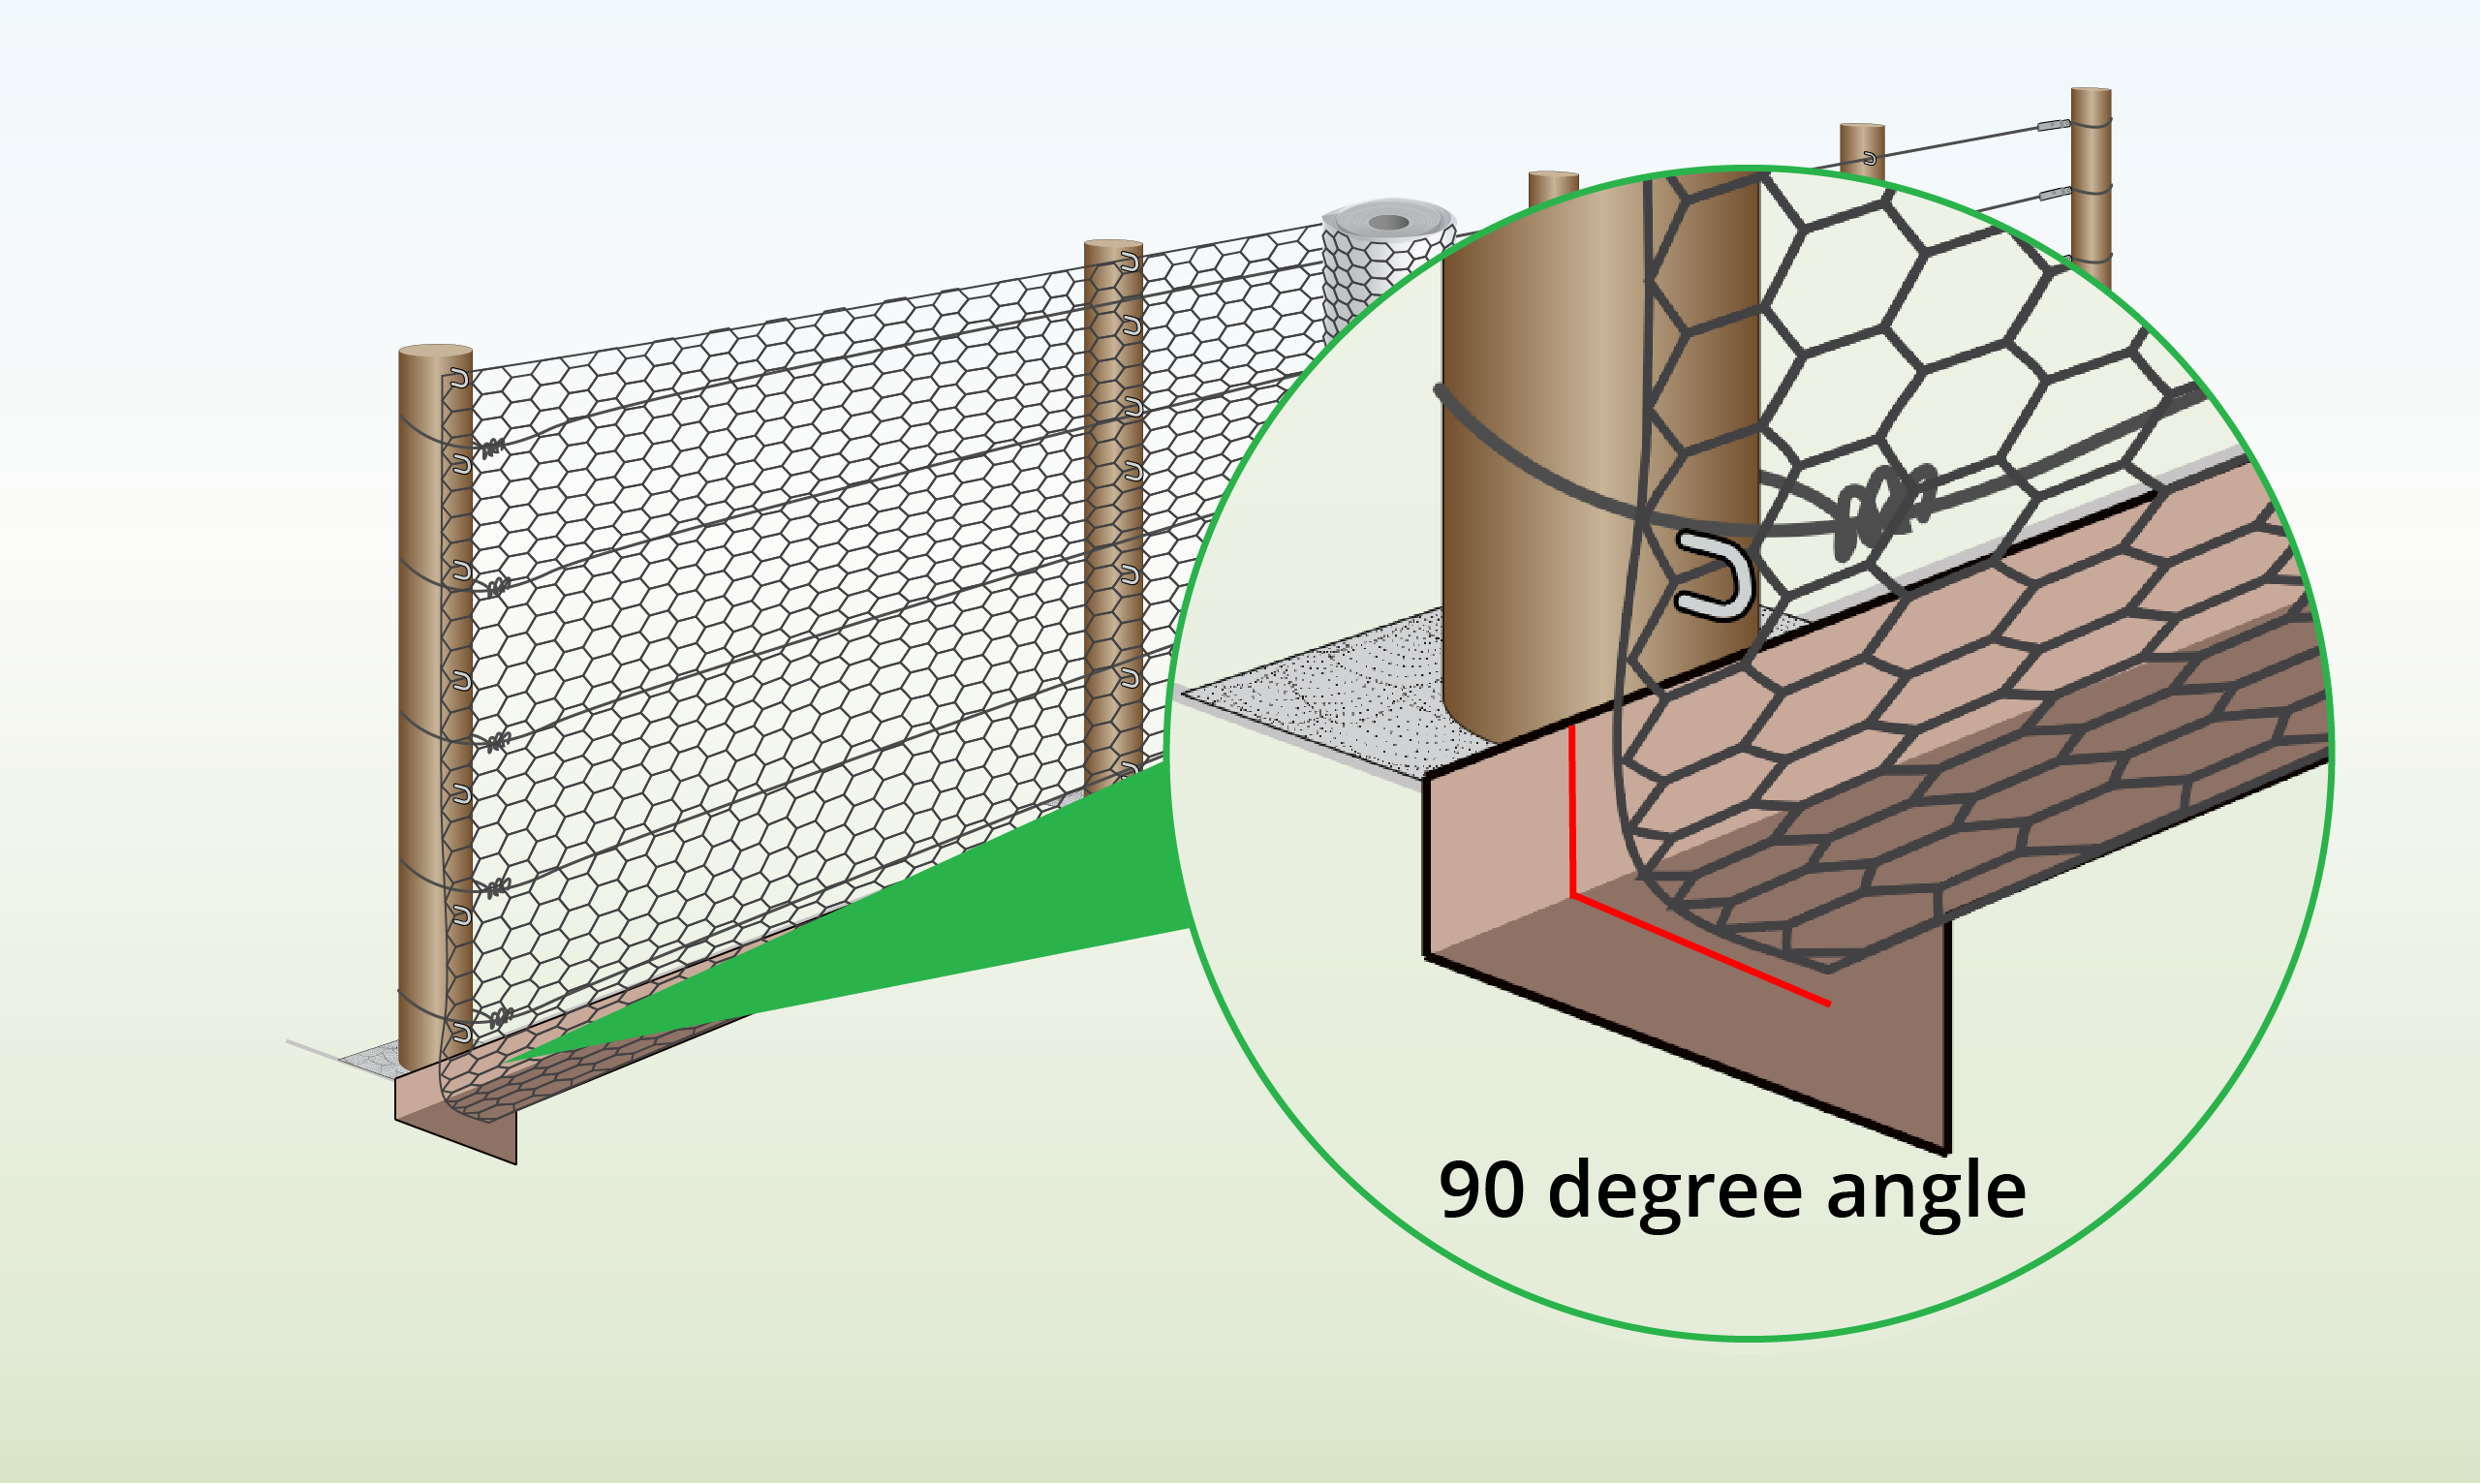
| Step 1 – Mark Area
|
Mark a straight line for the fence between the two posts at each end. |
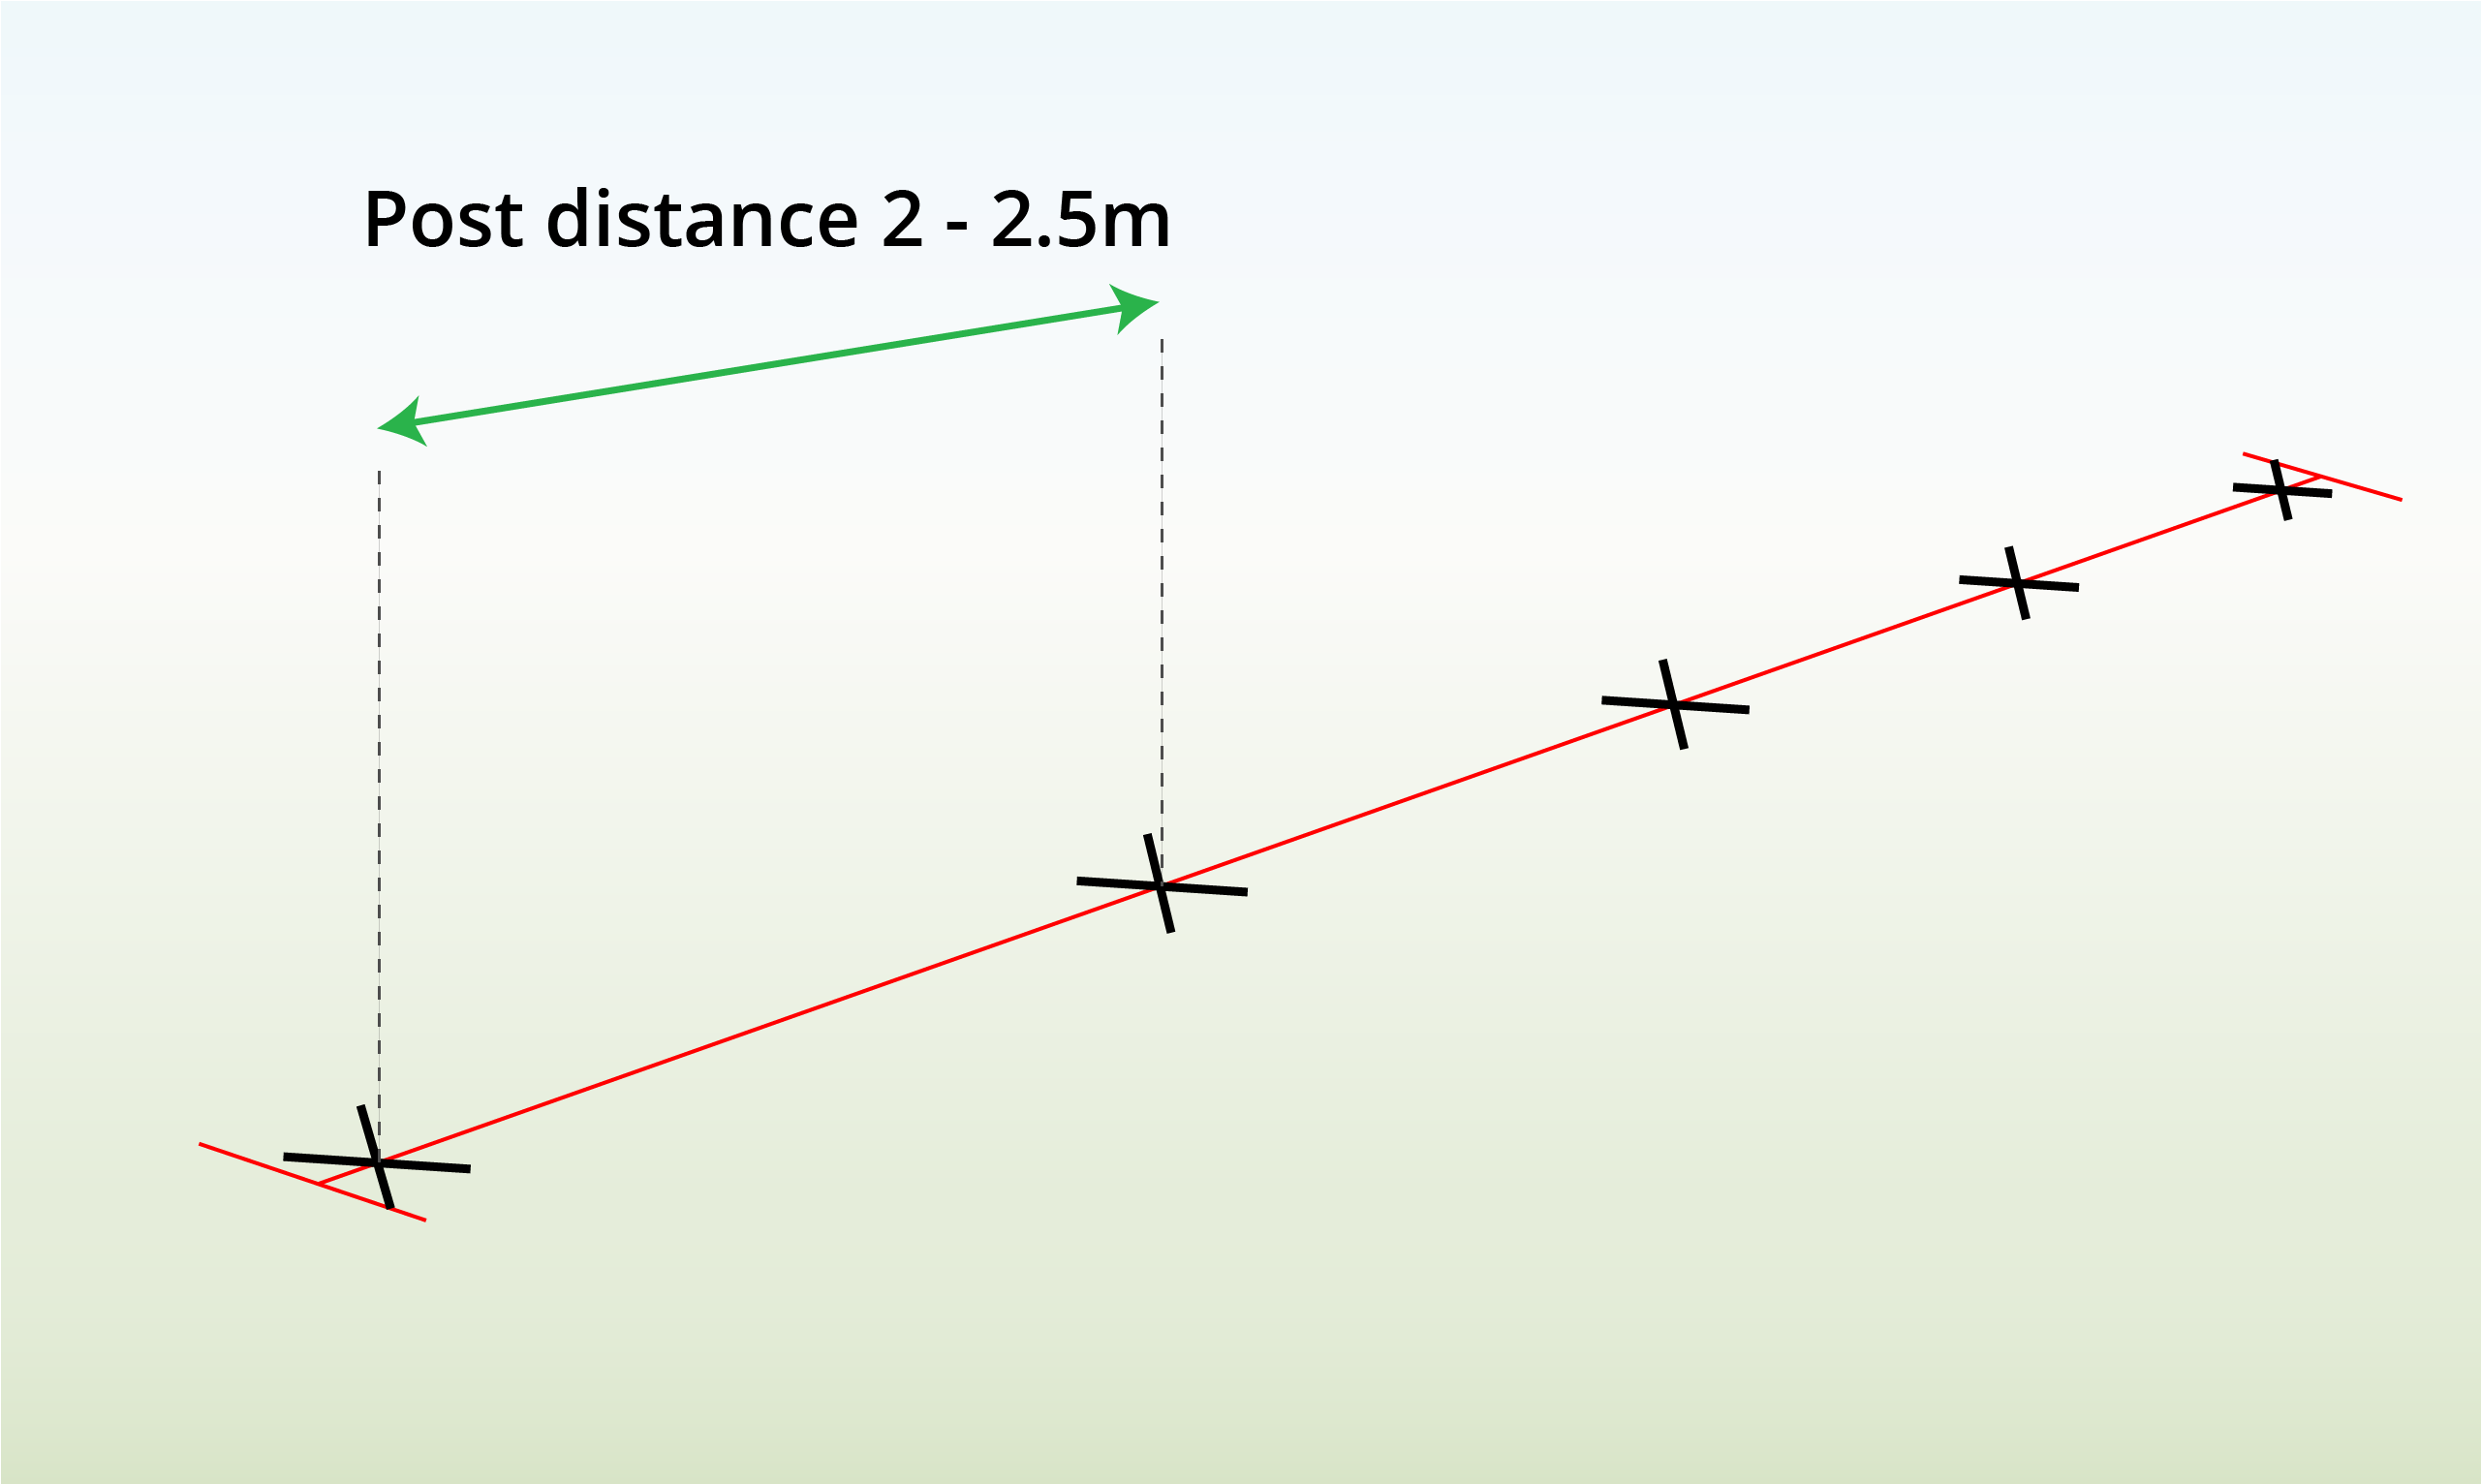
| Step 2 – Measure Post Distance
|
Use a tape measure to indicate the post locations 2 -3m apart.
To enhance stability, shorten the distance between your fence posts. |
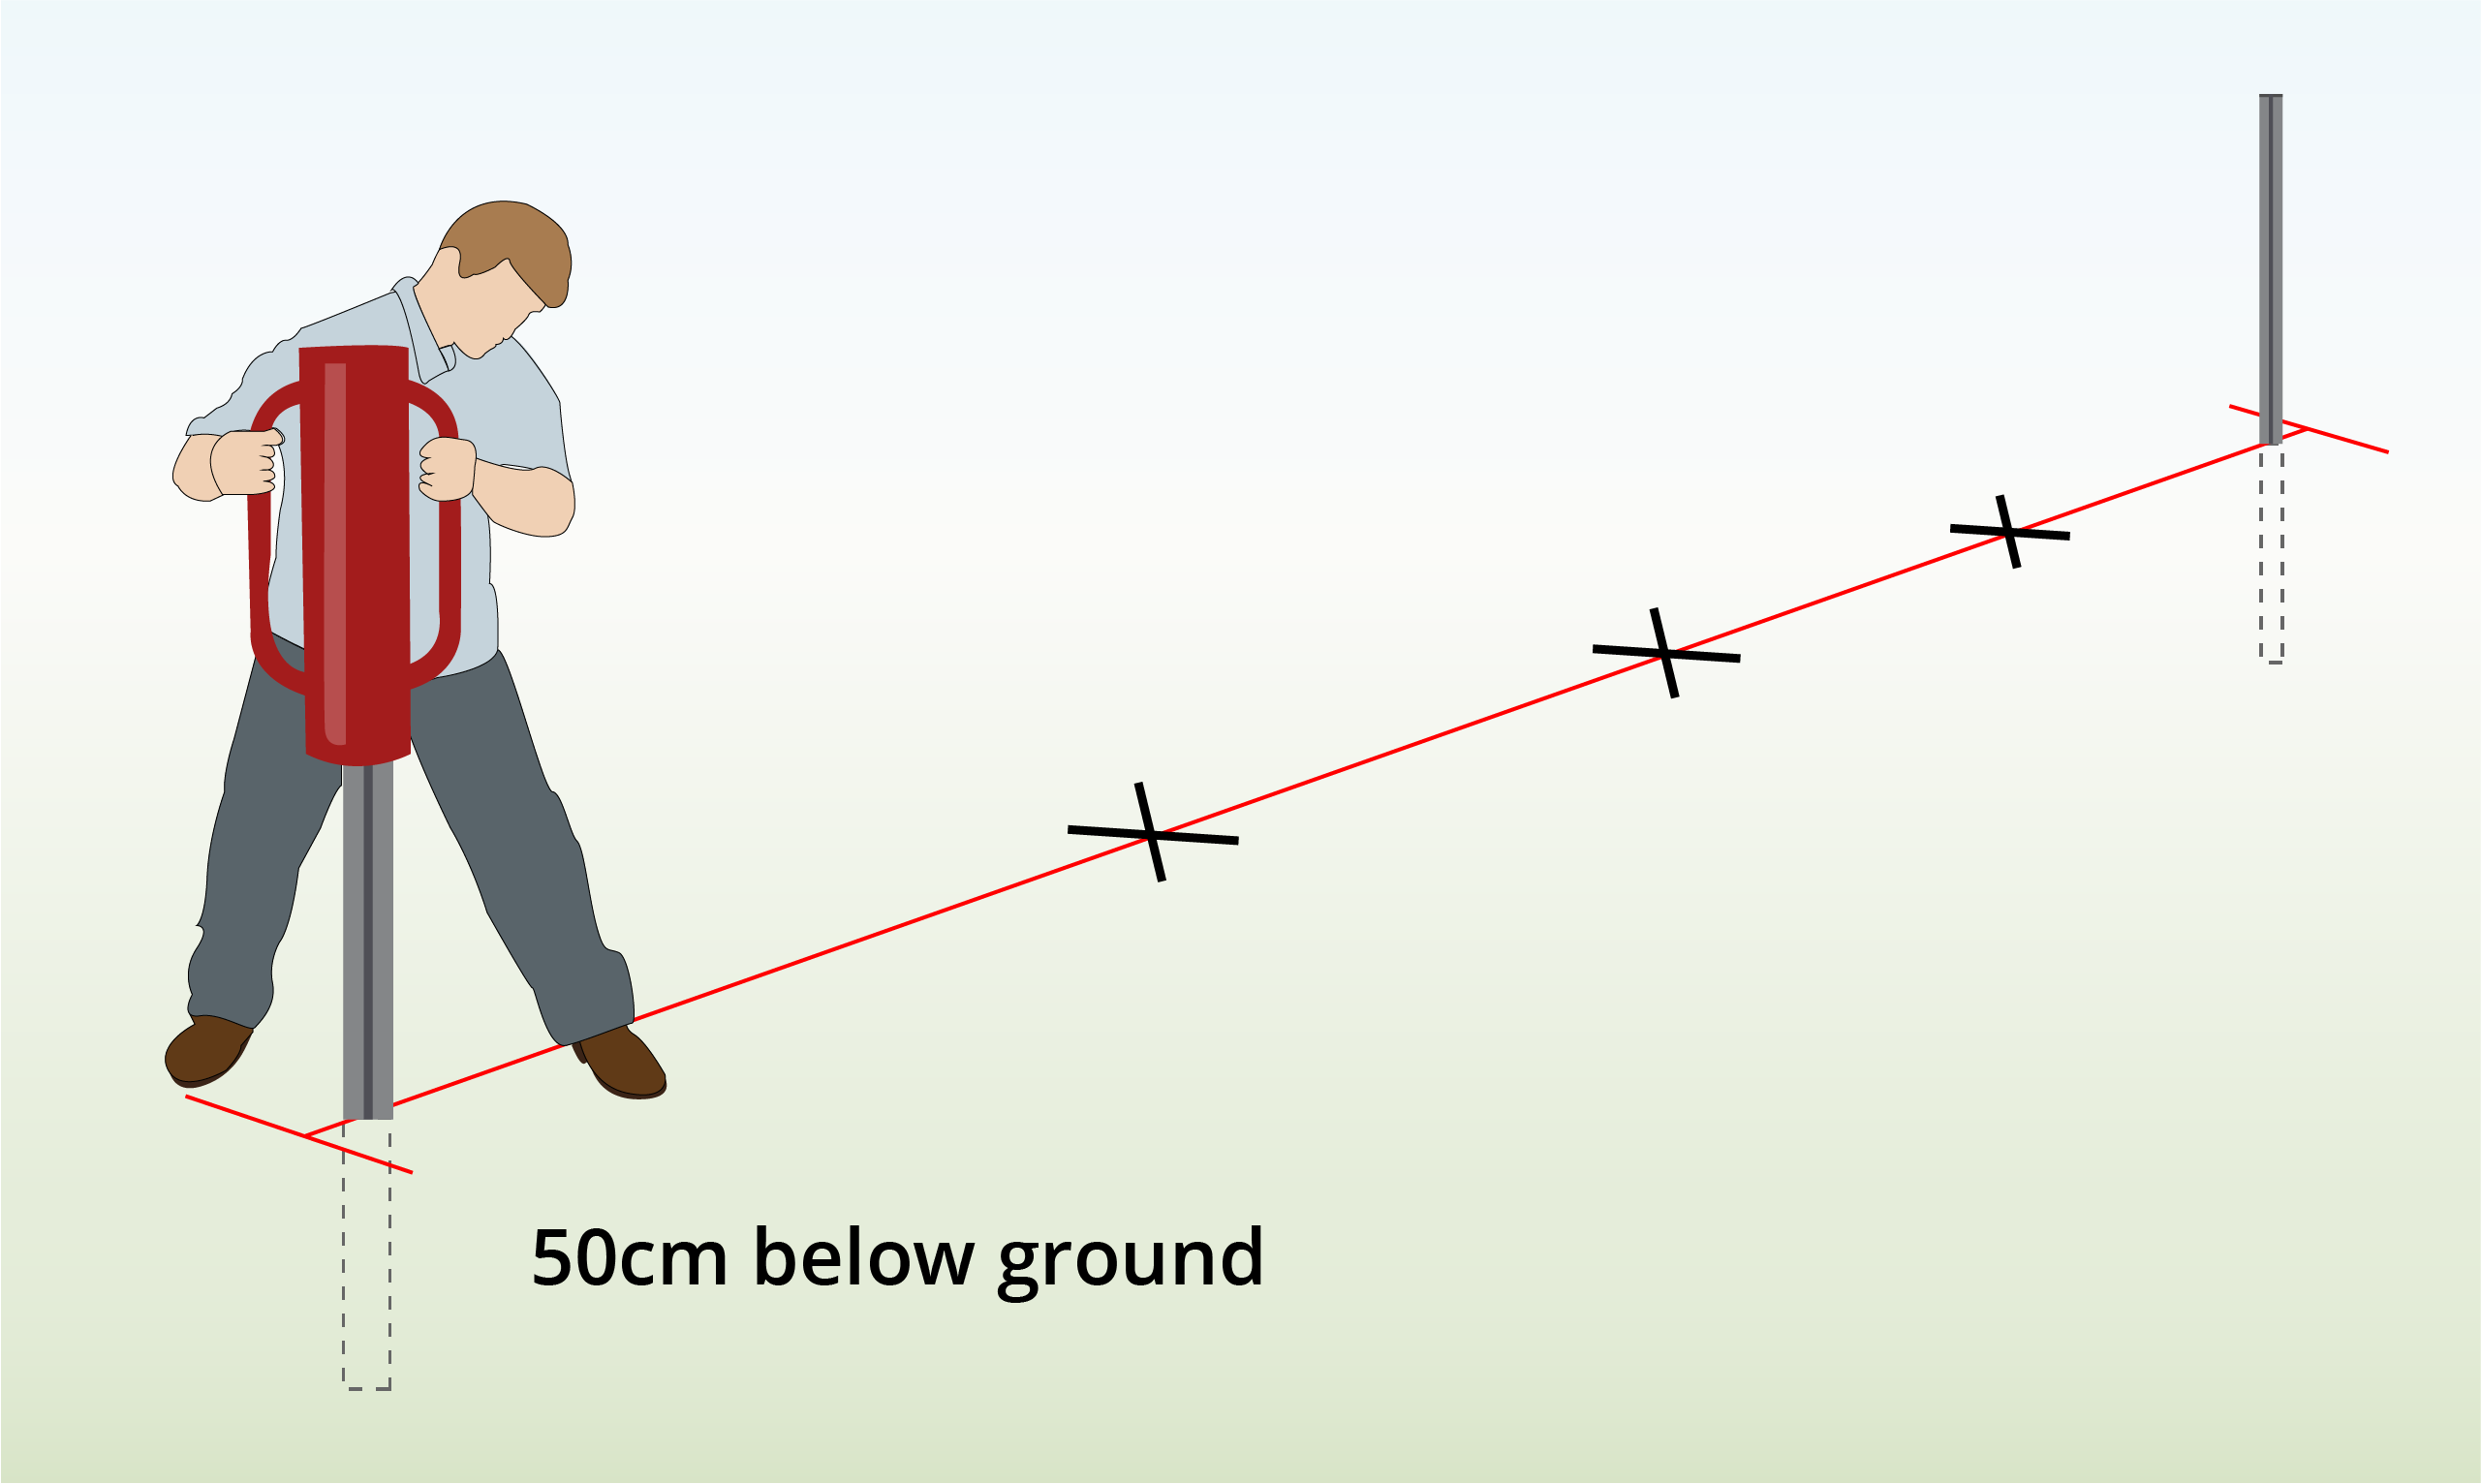
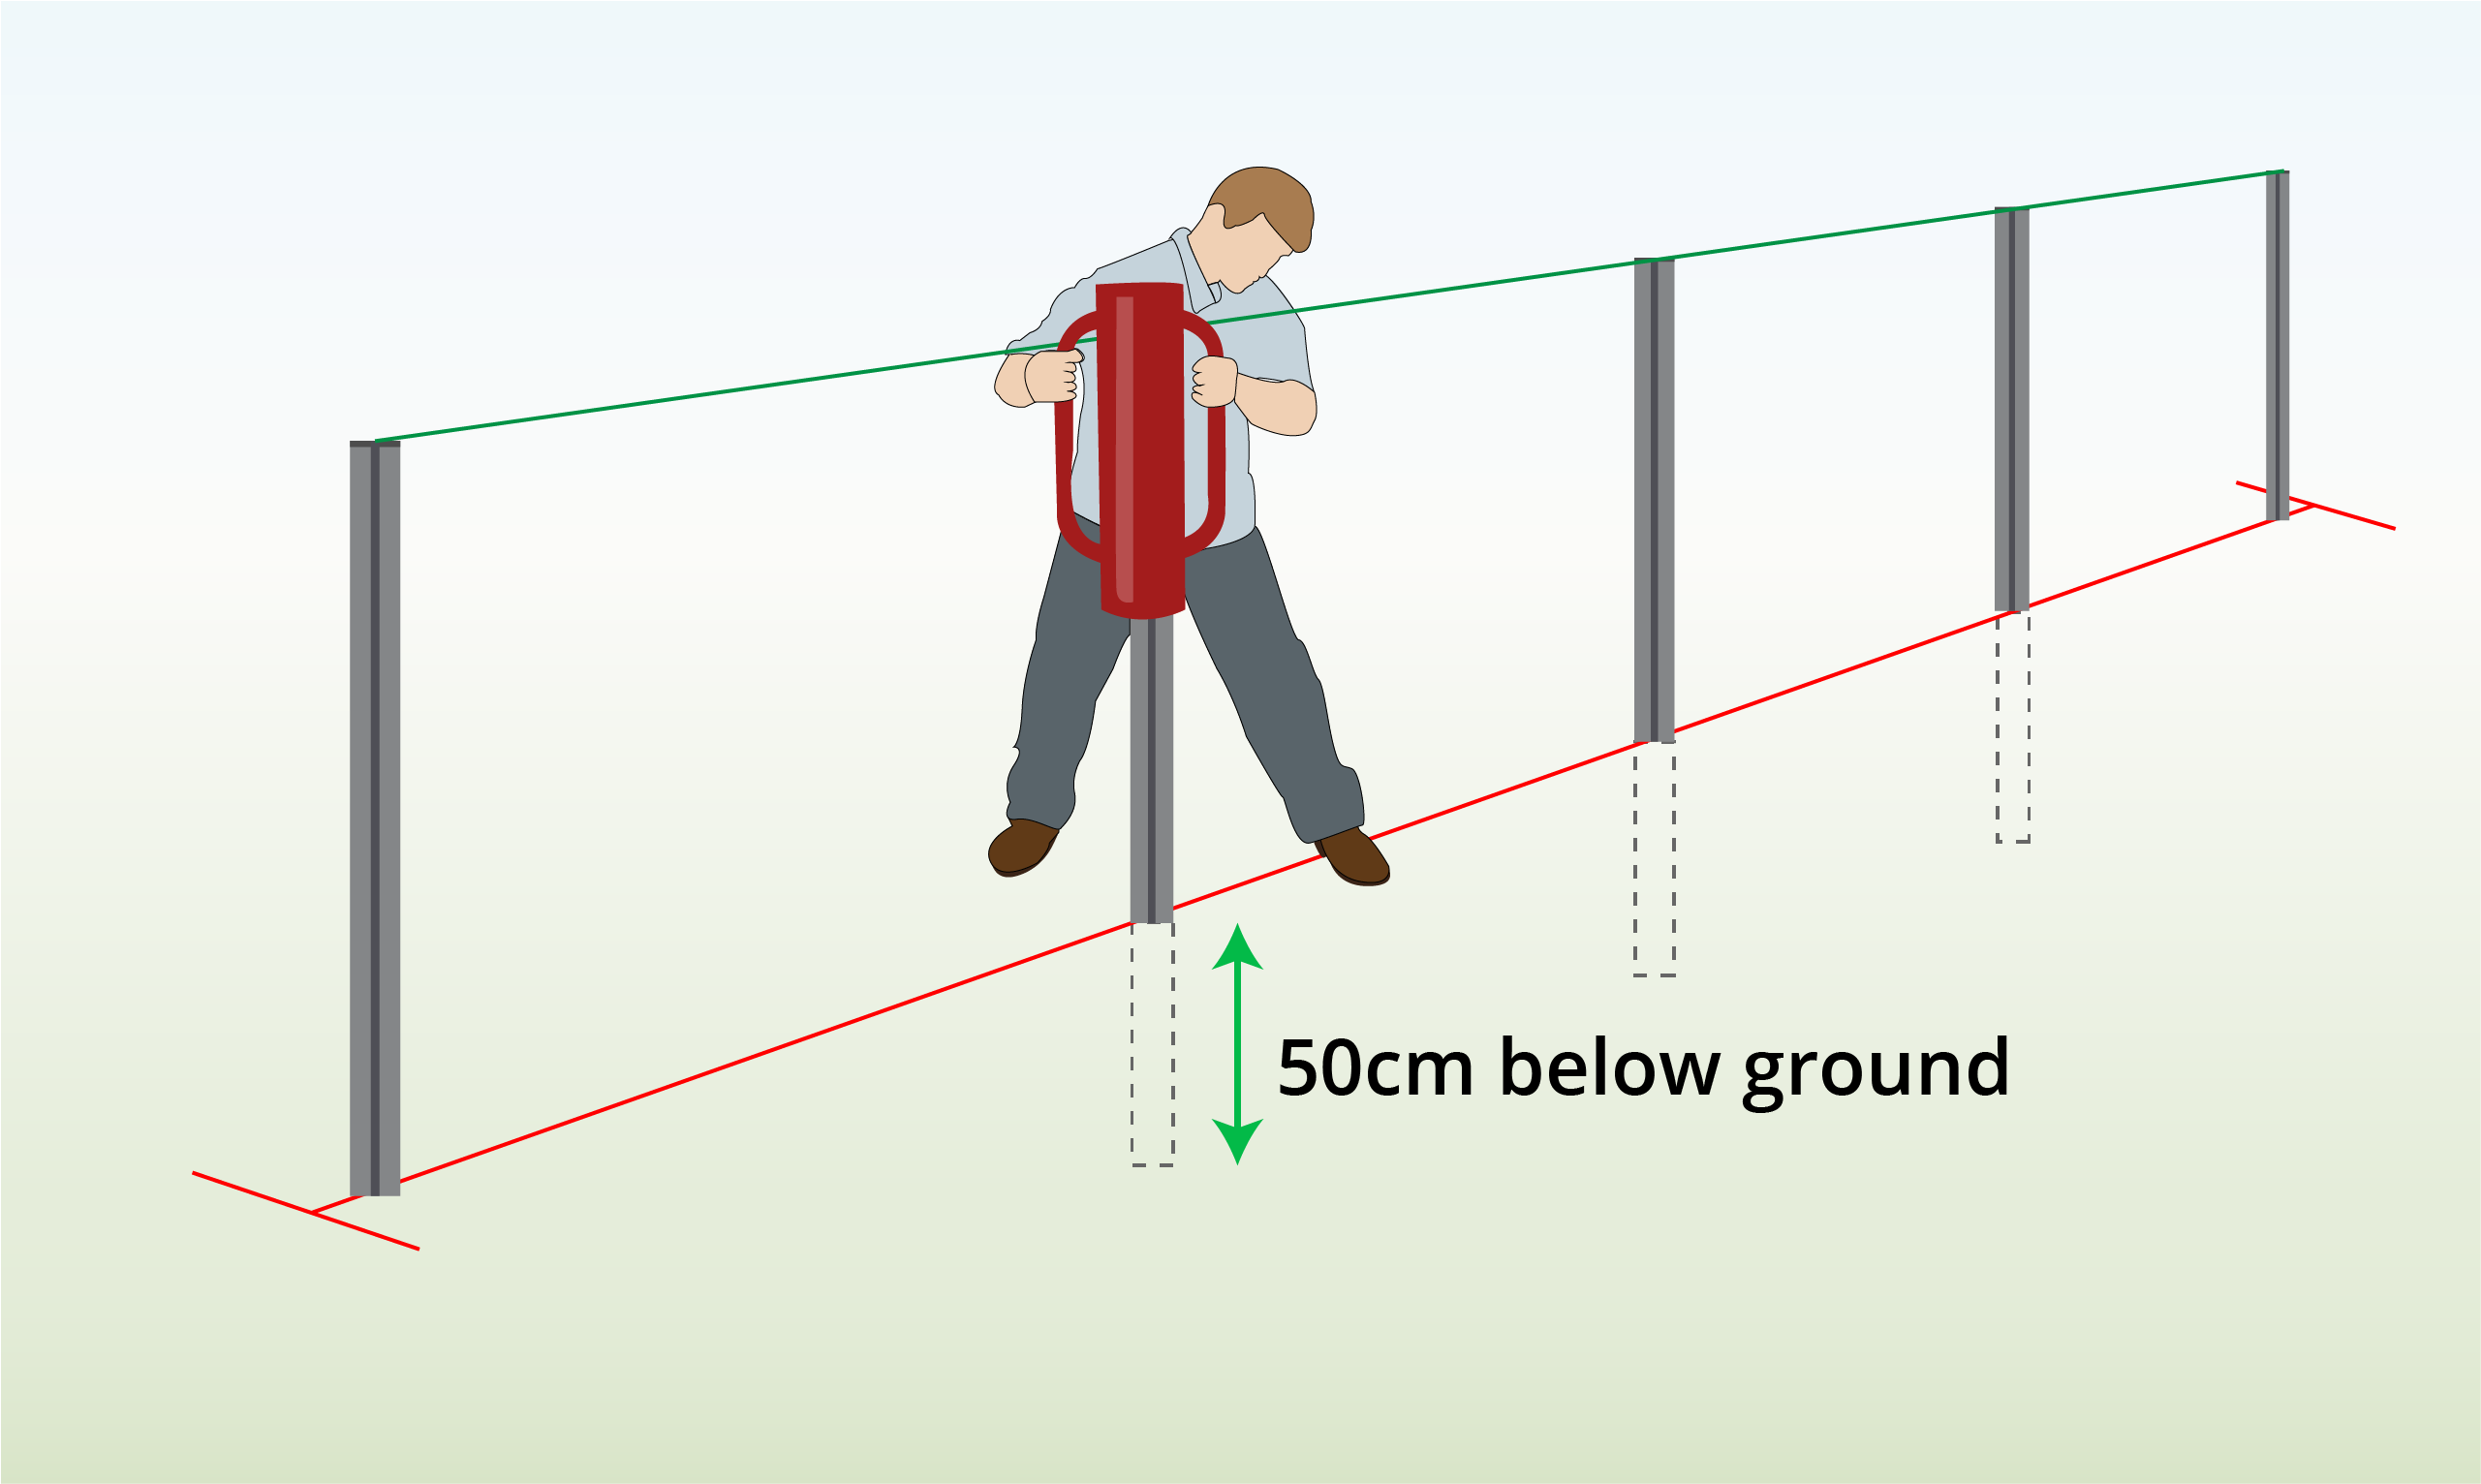
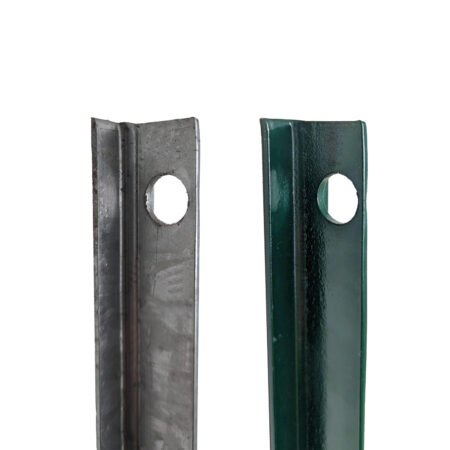
| Step 3 – Install End Posts
|
Drive the end posts 50cm into the ground by using a post driver or mallet.
Ensure that the holes of the posts face each other to maintain consistent alignment. |
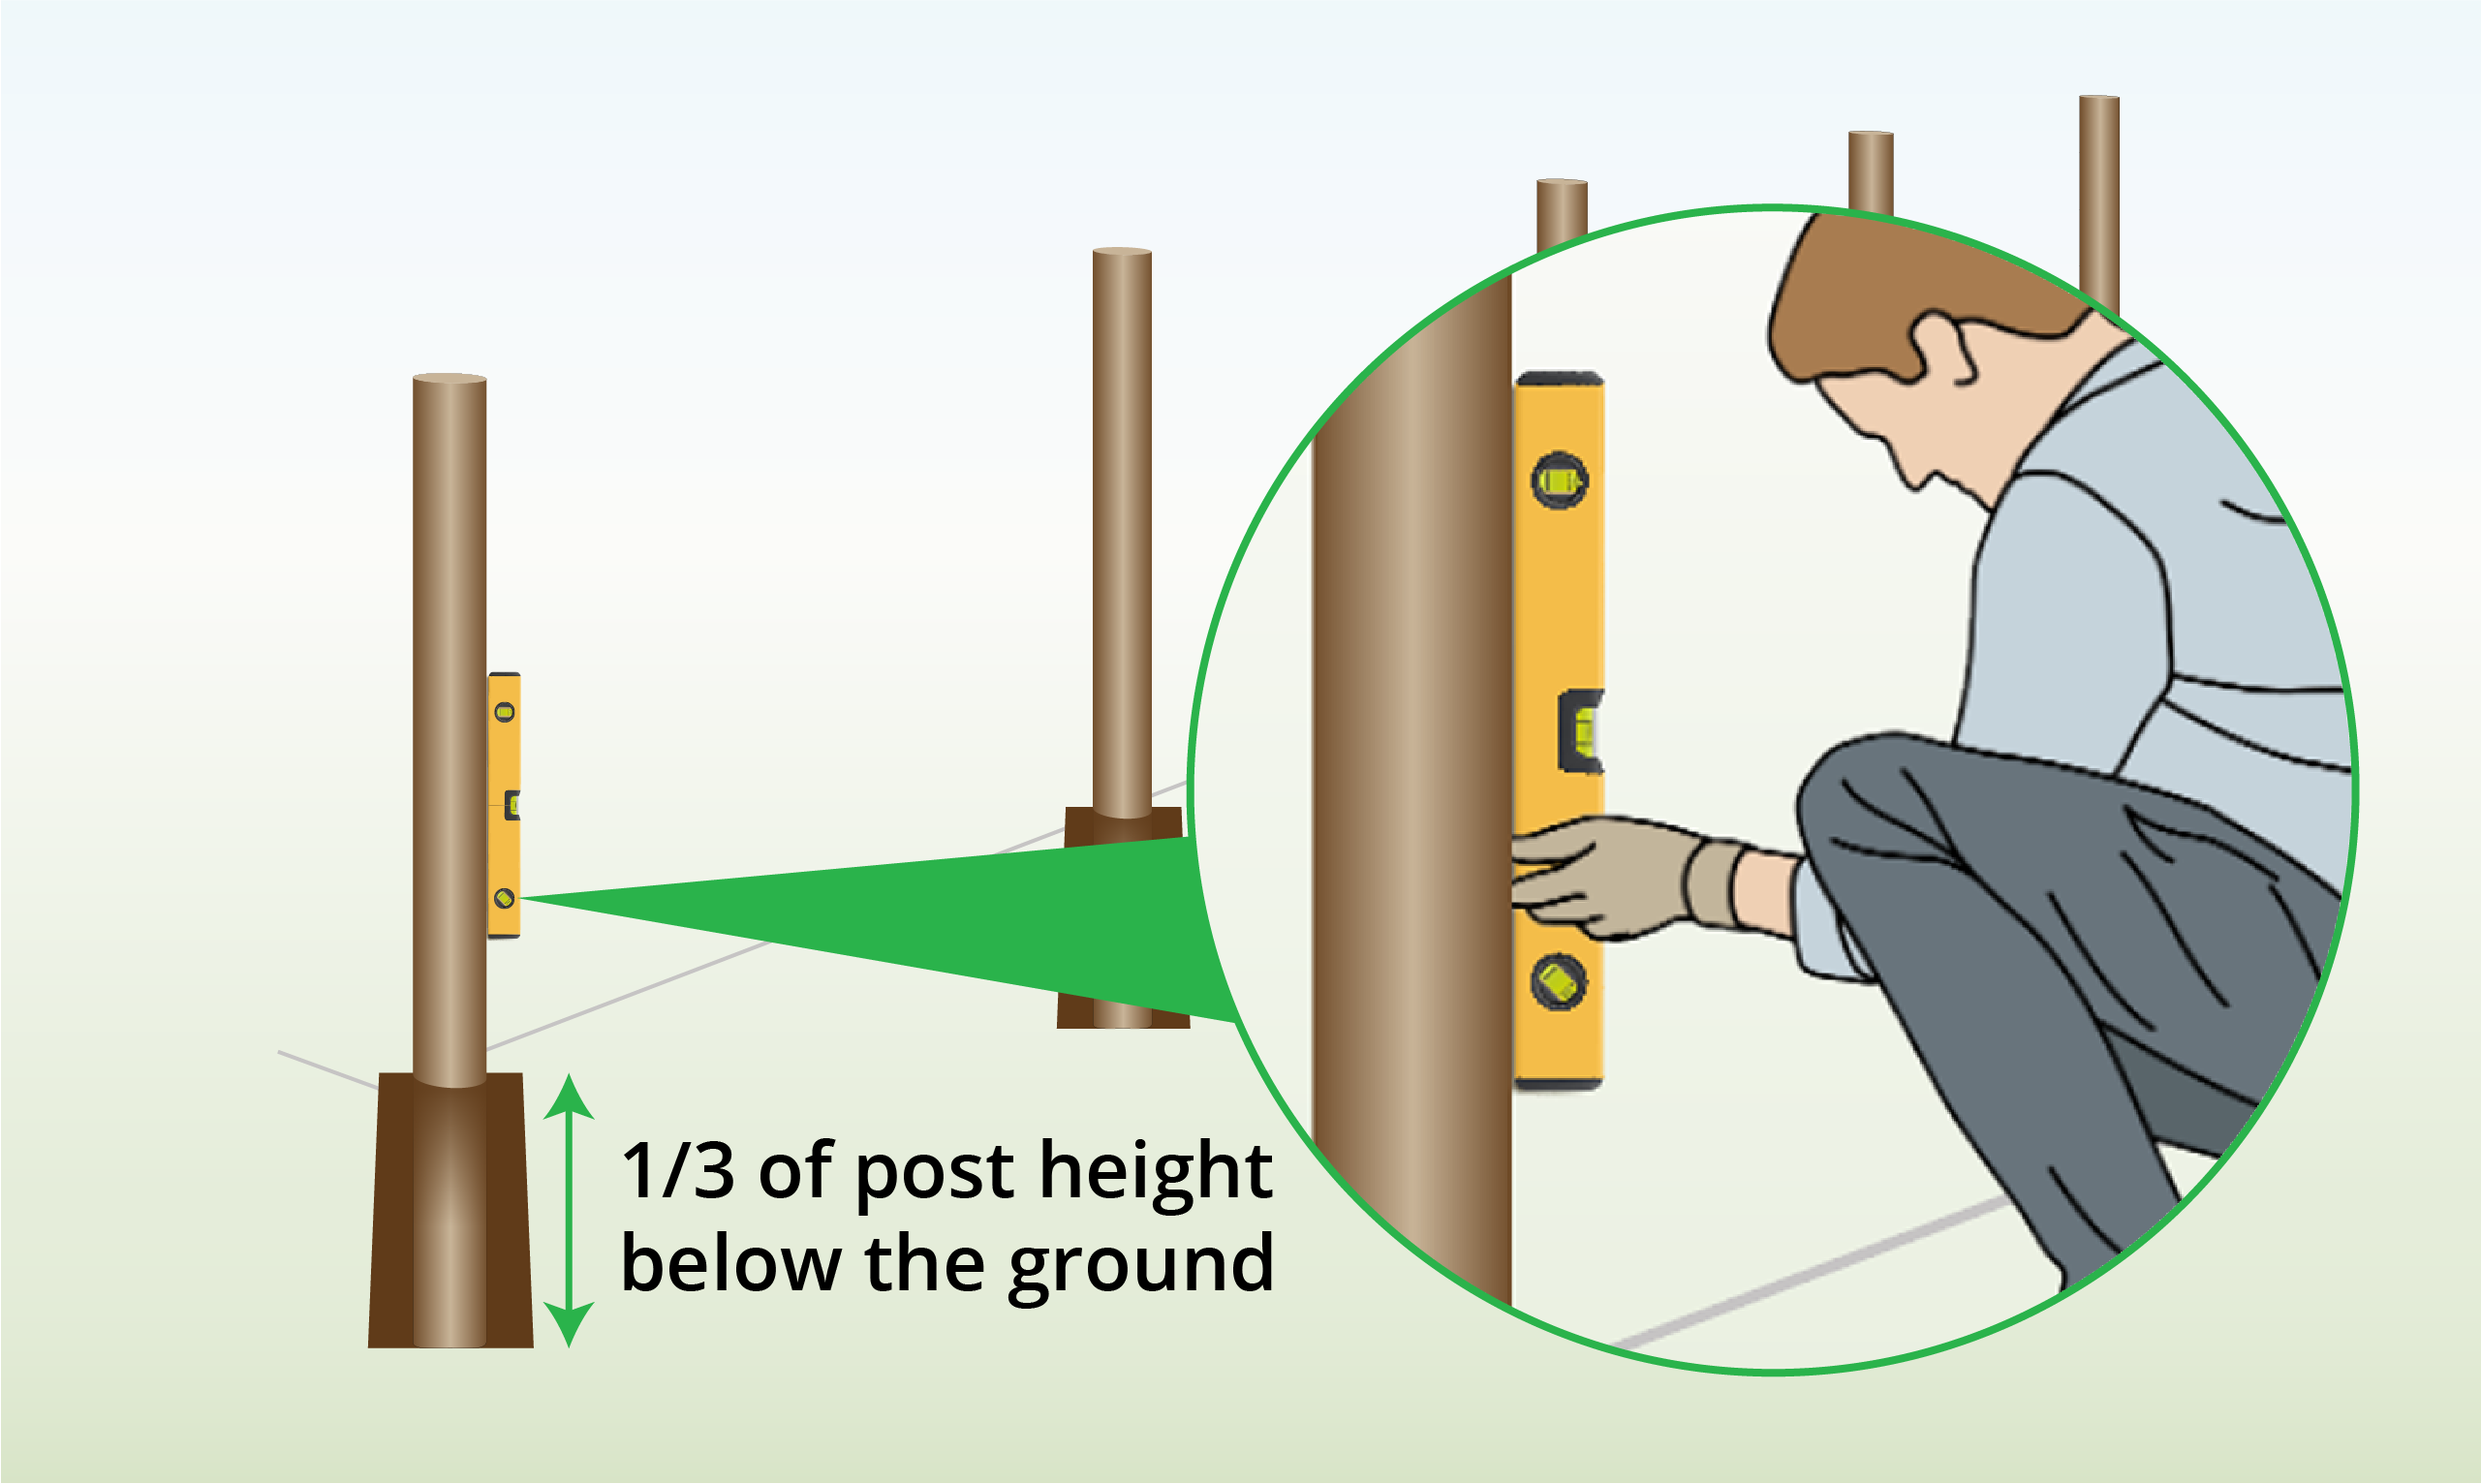
| Step 4 – Check for Same Height
|
Fasten a piece of string between the end posts, then check that they have been installed at the same height by using a tape measure. |
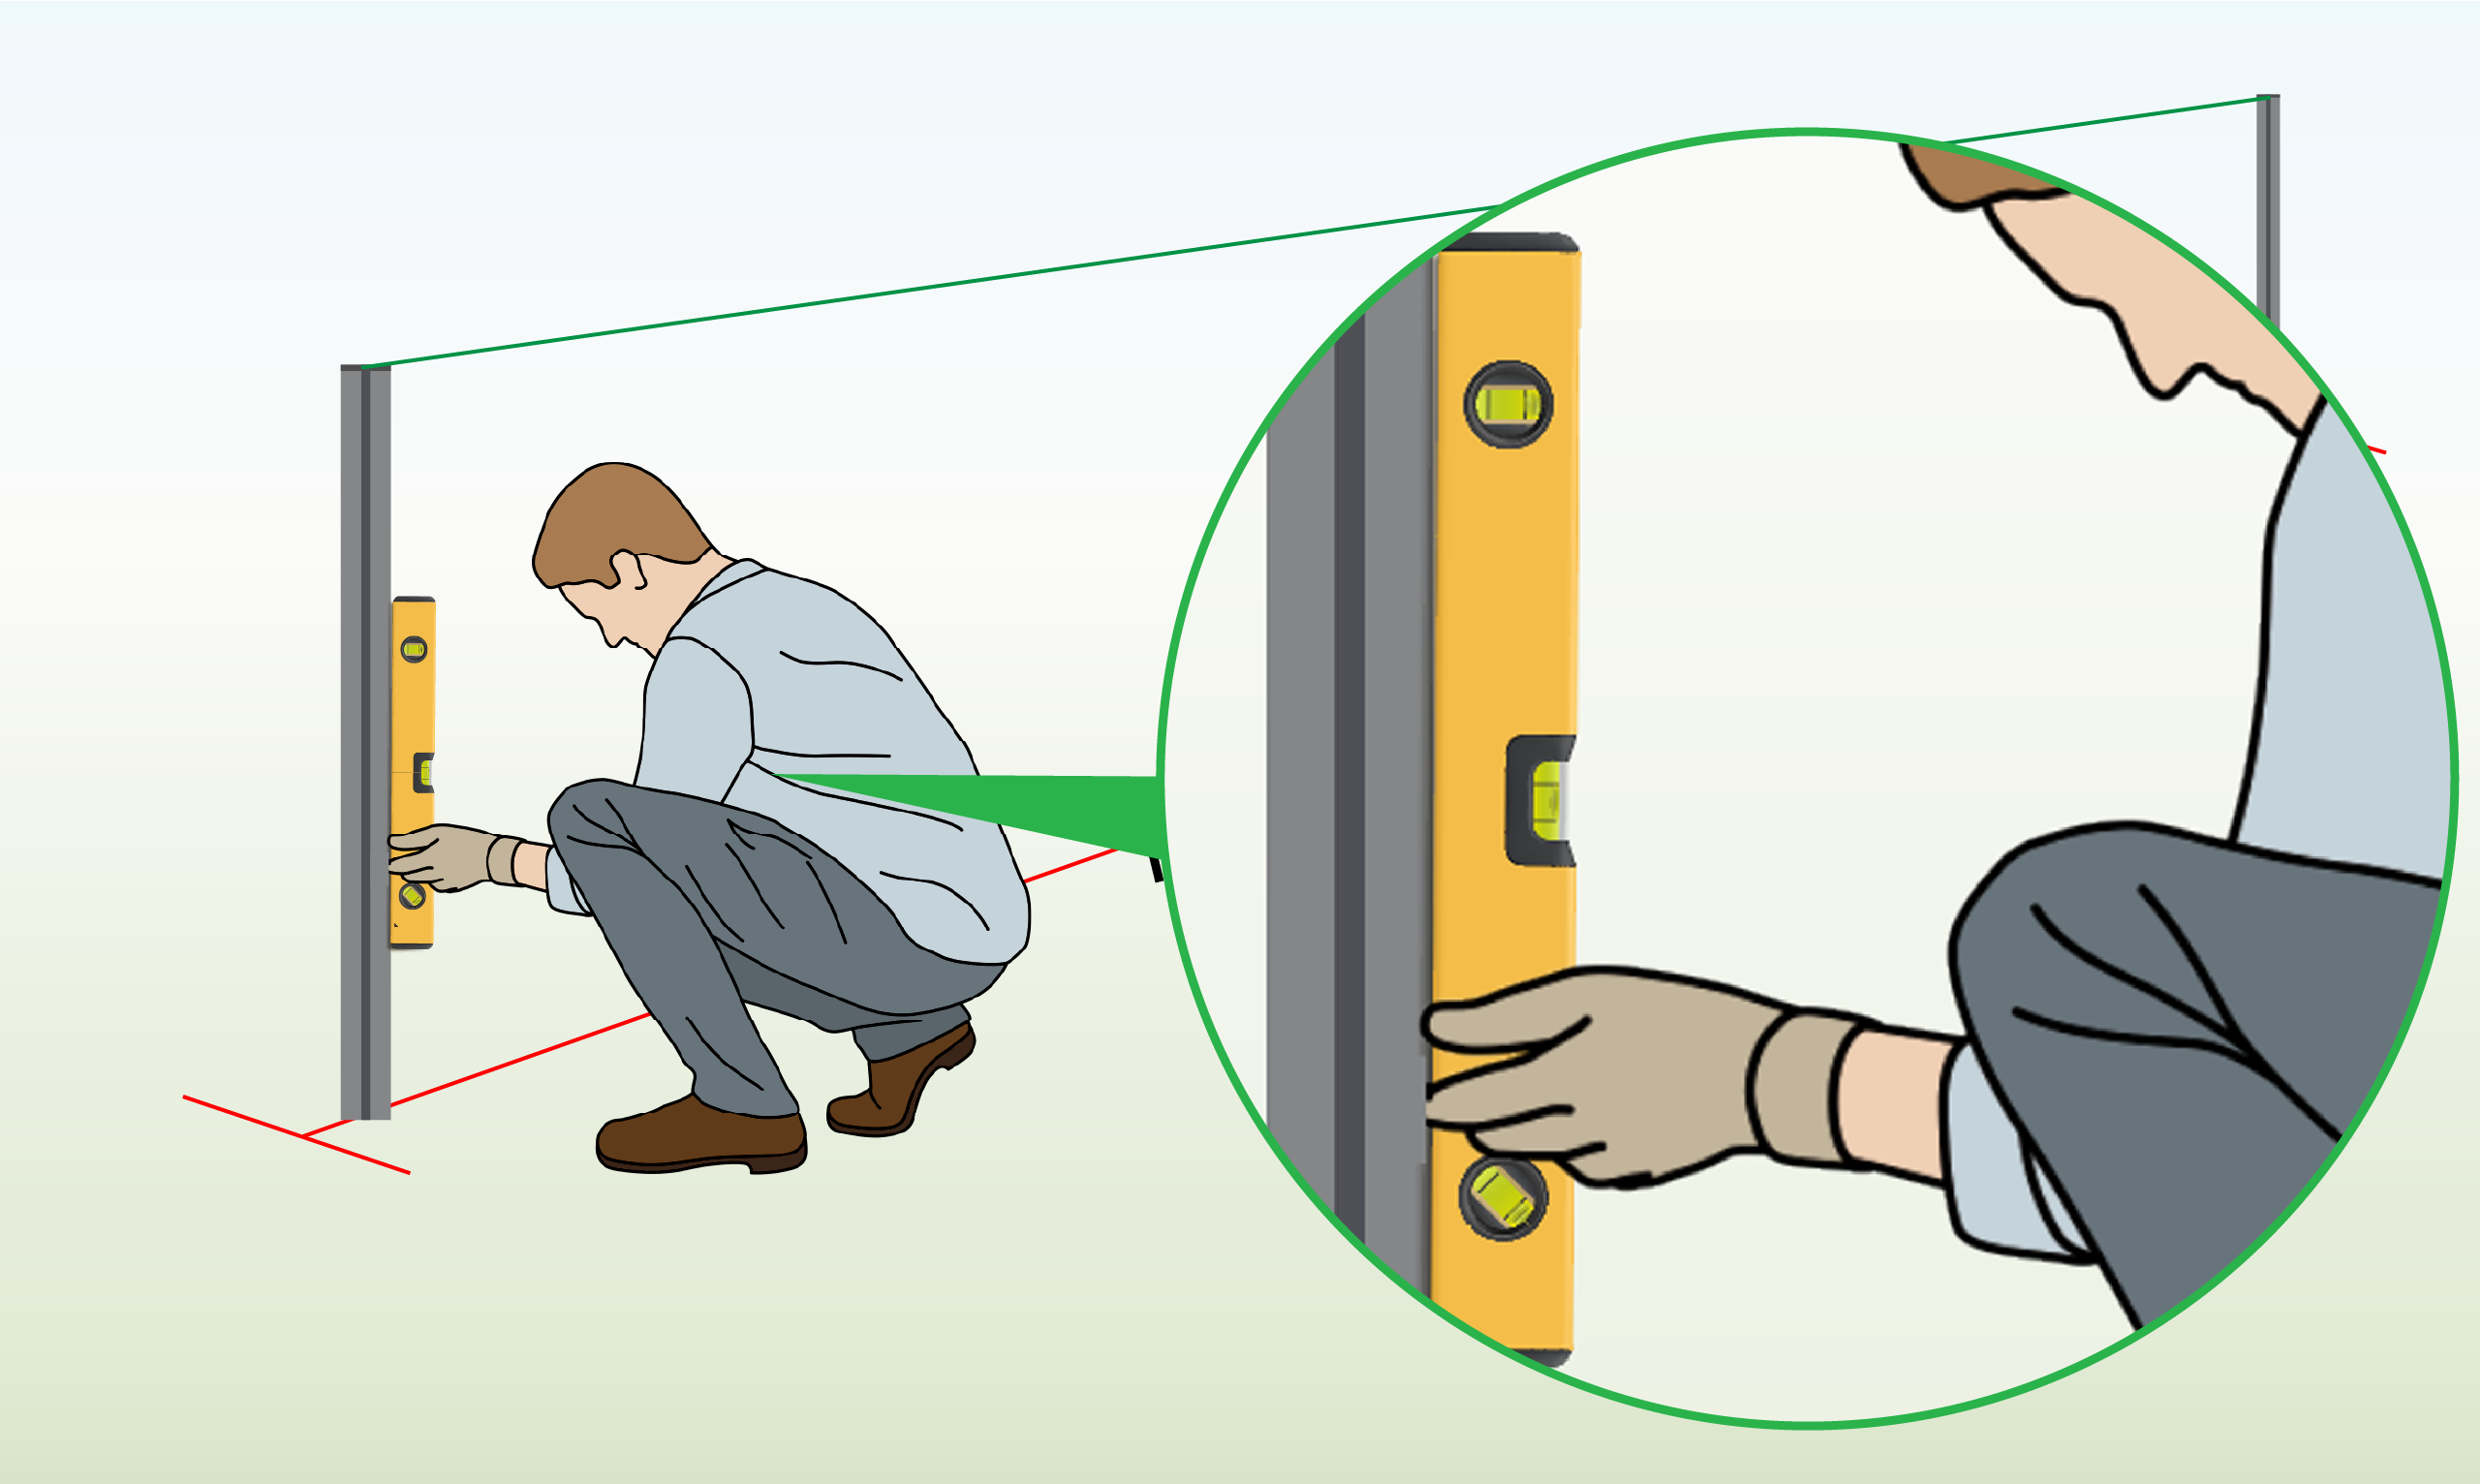
| Step 5 – Check for Straightness
|
Employ a spirit level to ensure that the posts have been installed perfectly straight. |
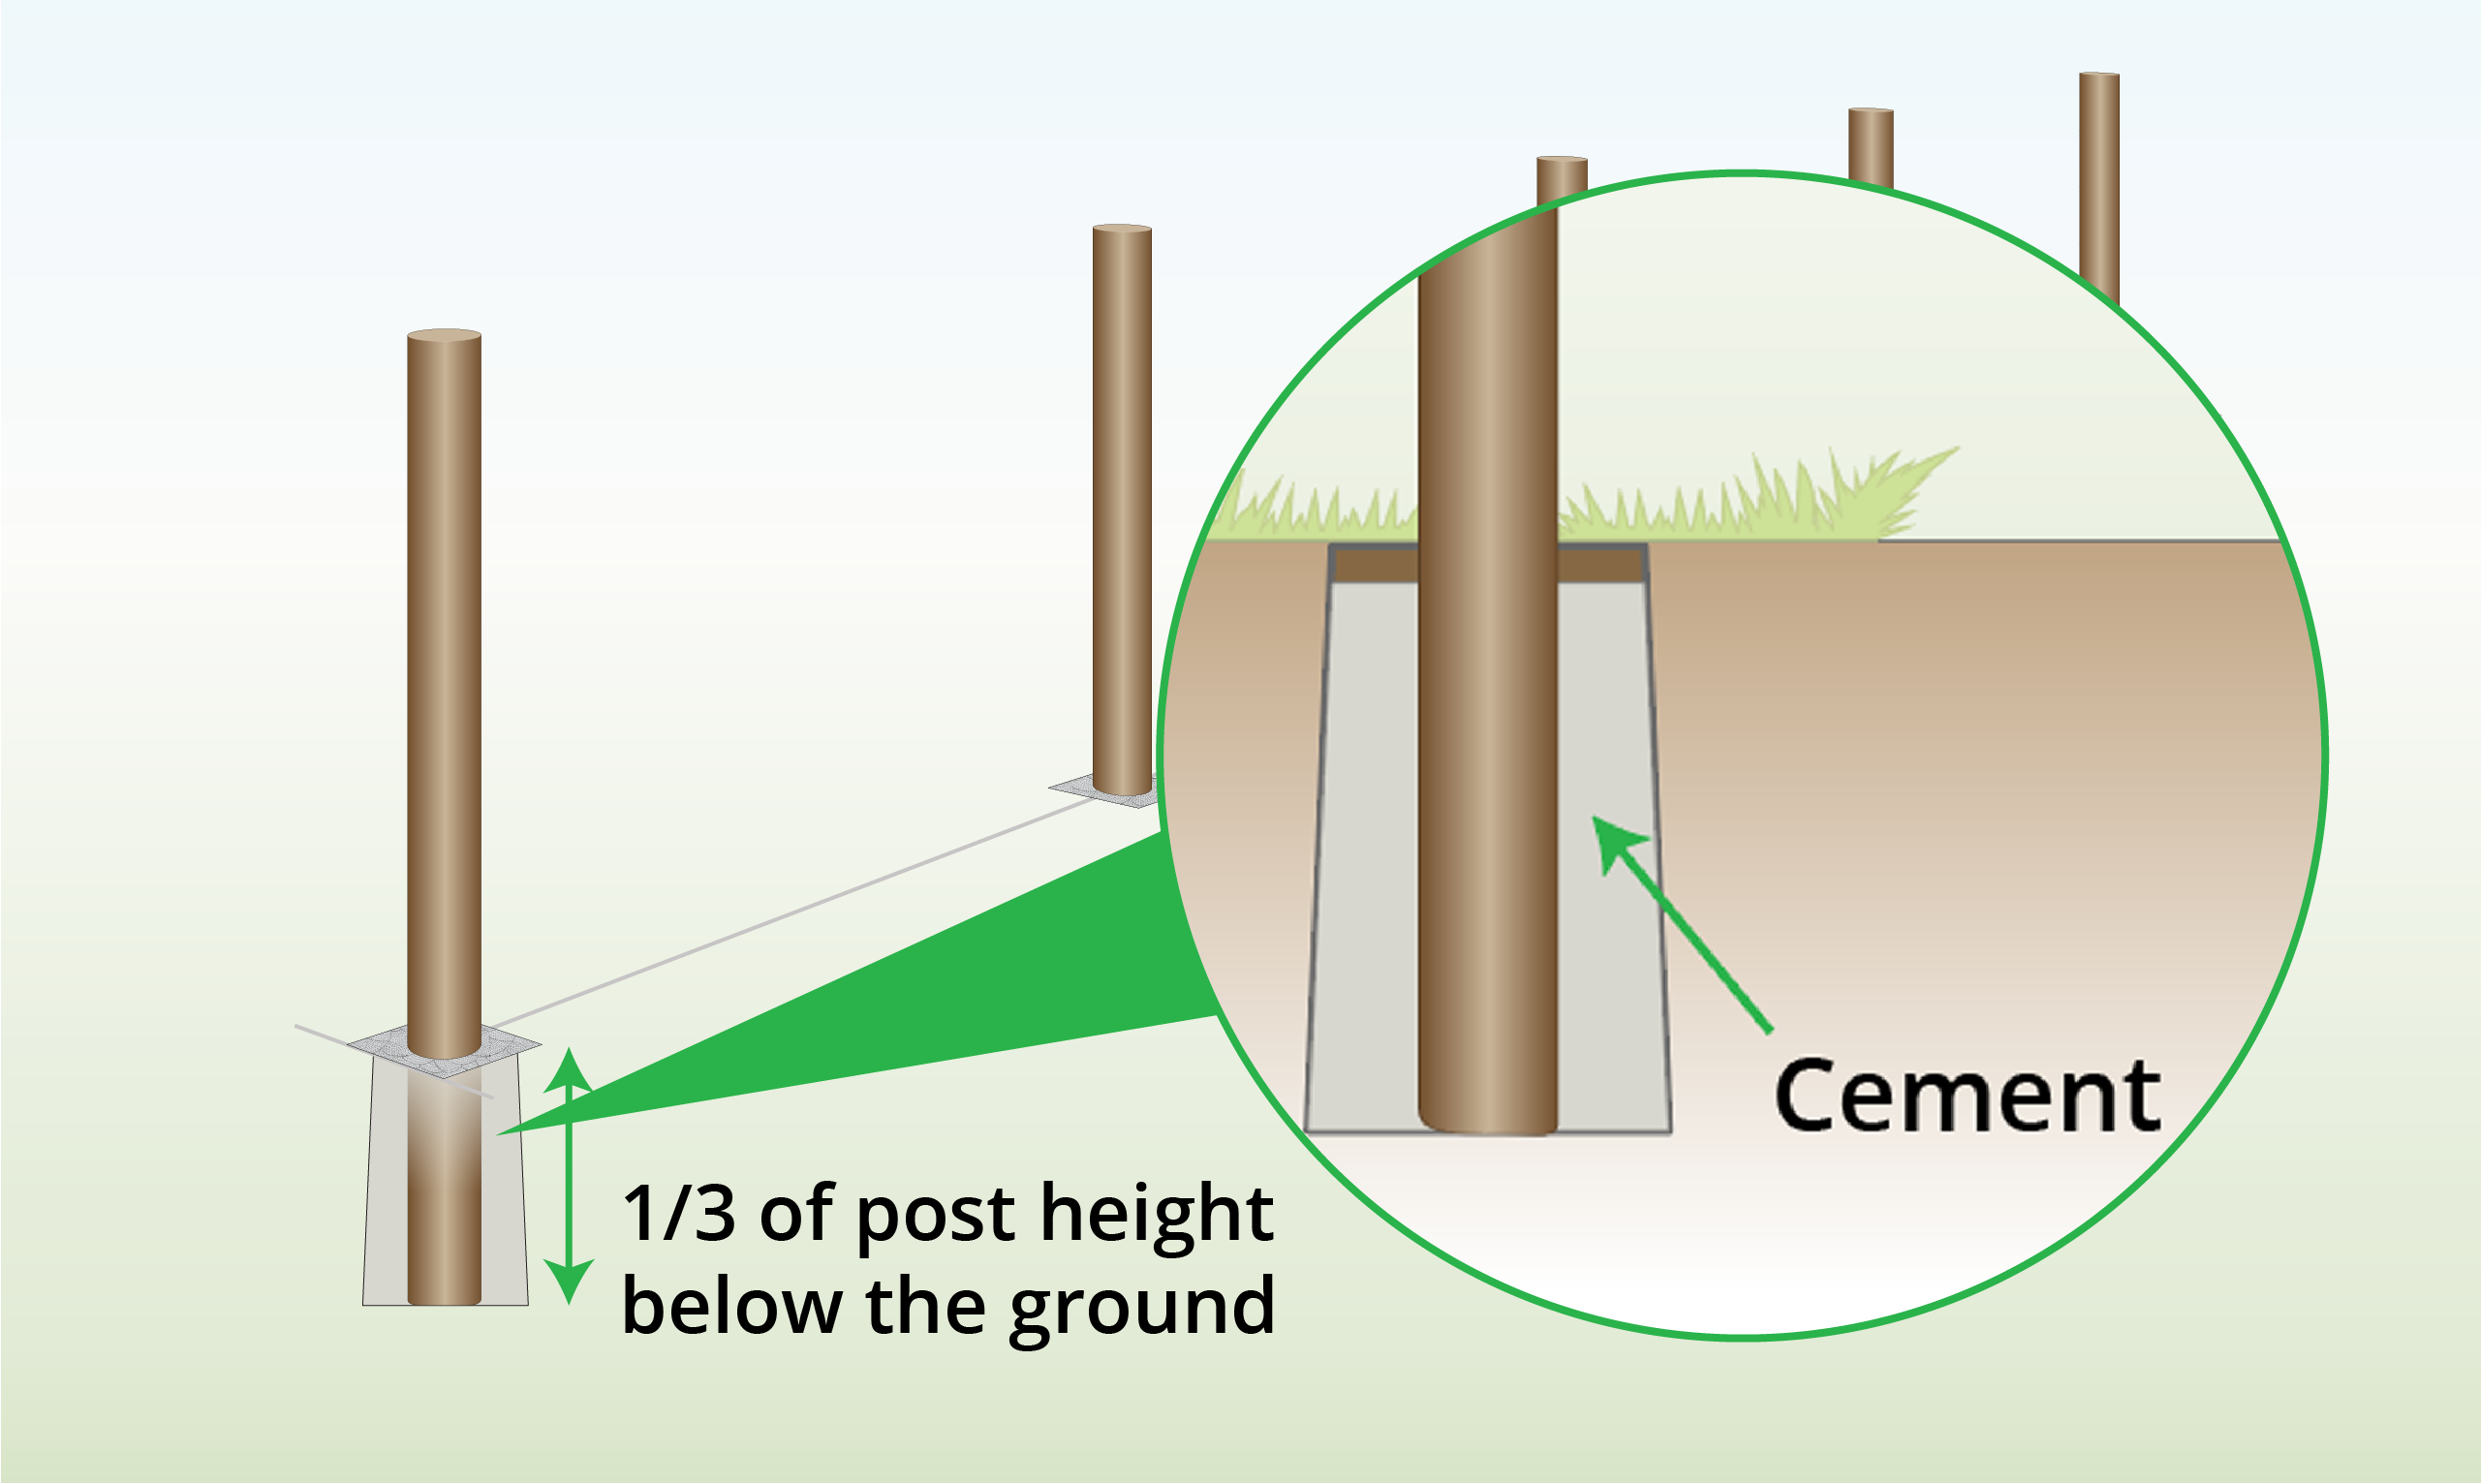
| Step 6 – Set in Concrete (Optional)
|
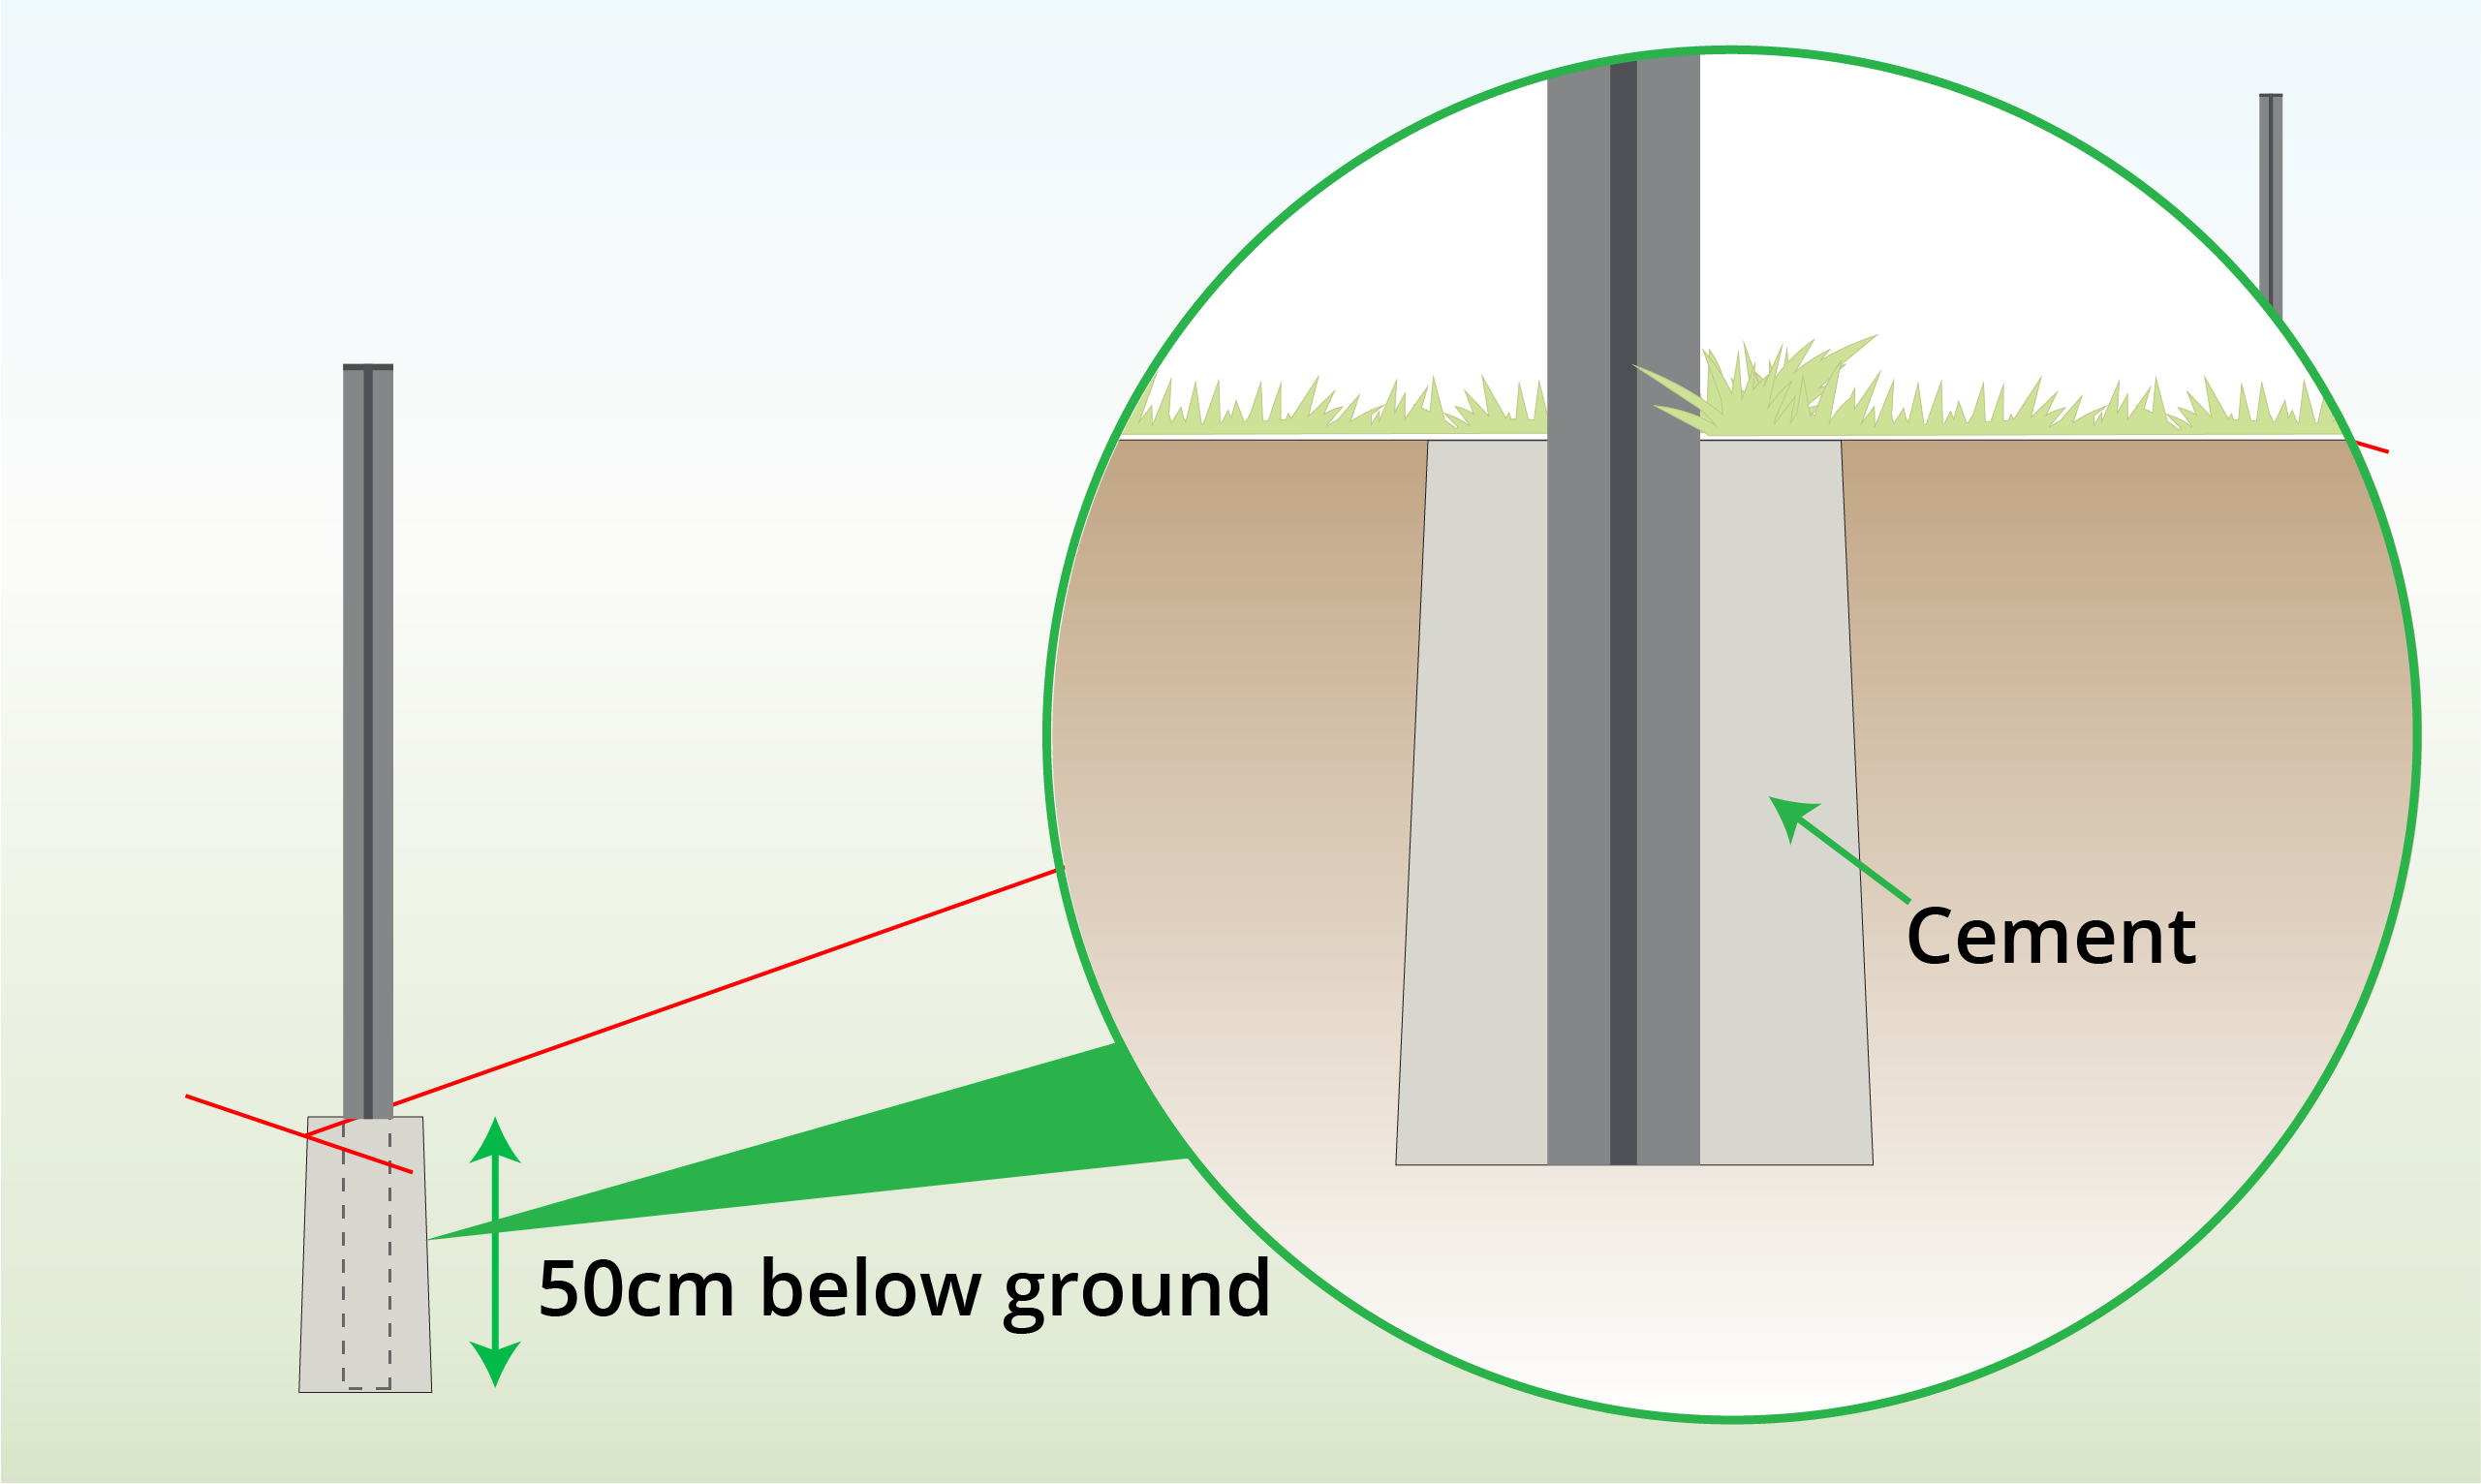
To achieve a stronger and more secure fence, set your posts in concrete by digging a 50cm hole and pouring cement for the post to rest in. |
| Step 7 – Install Middle Posts
|
To install middle posts, replicate steps 3-6. |
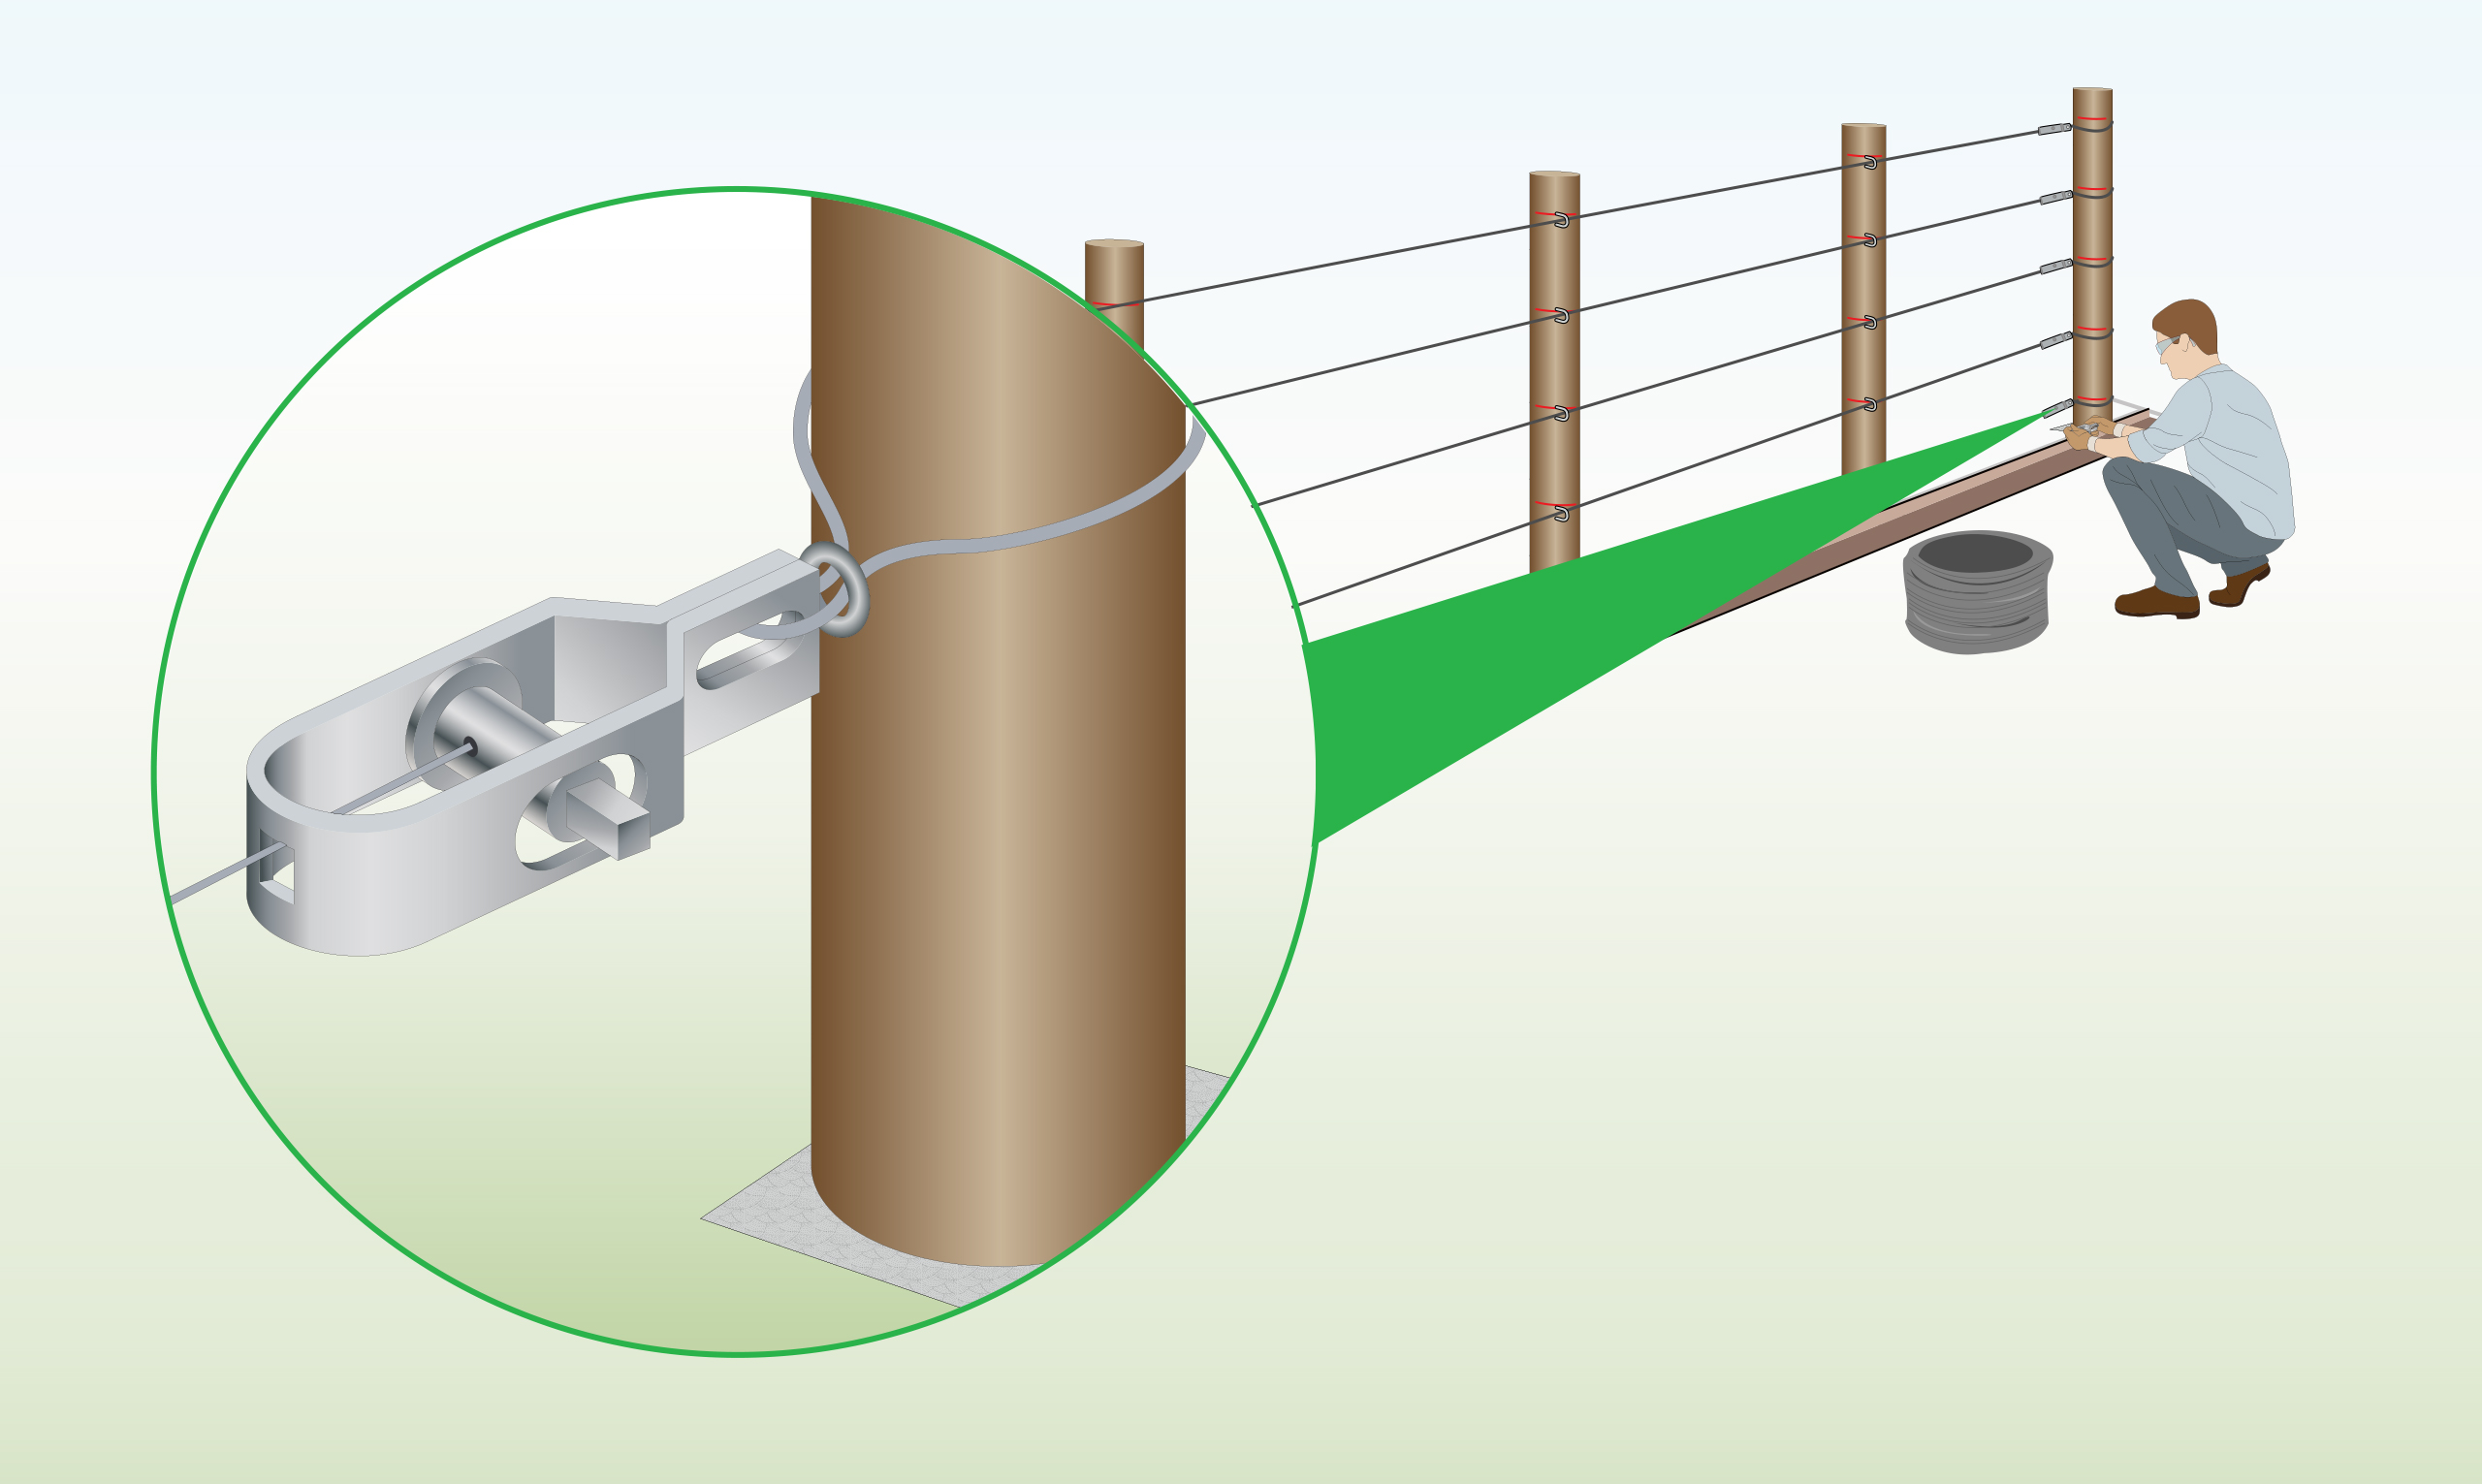
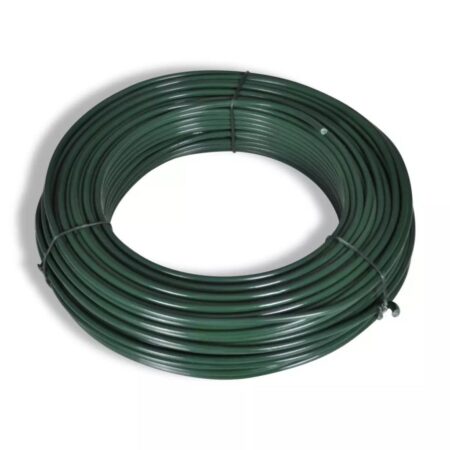
| Step 8 – Install Tension Wire (Optional)
|
To prevent any sagging, wrap the tension wire around the hole of the end posts and secure it by twisting the wire’s end with a plier. |
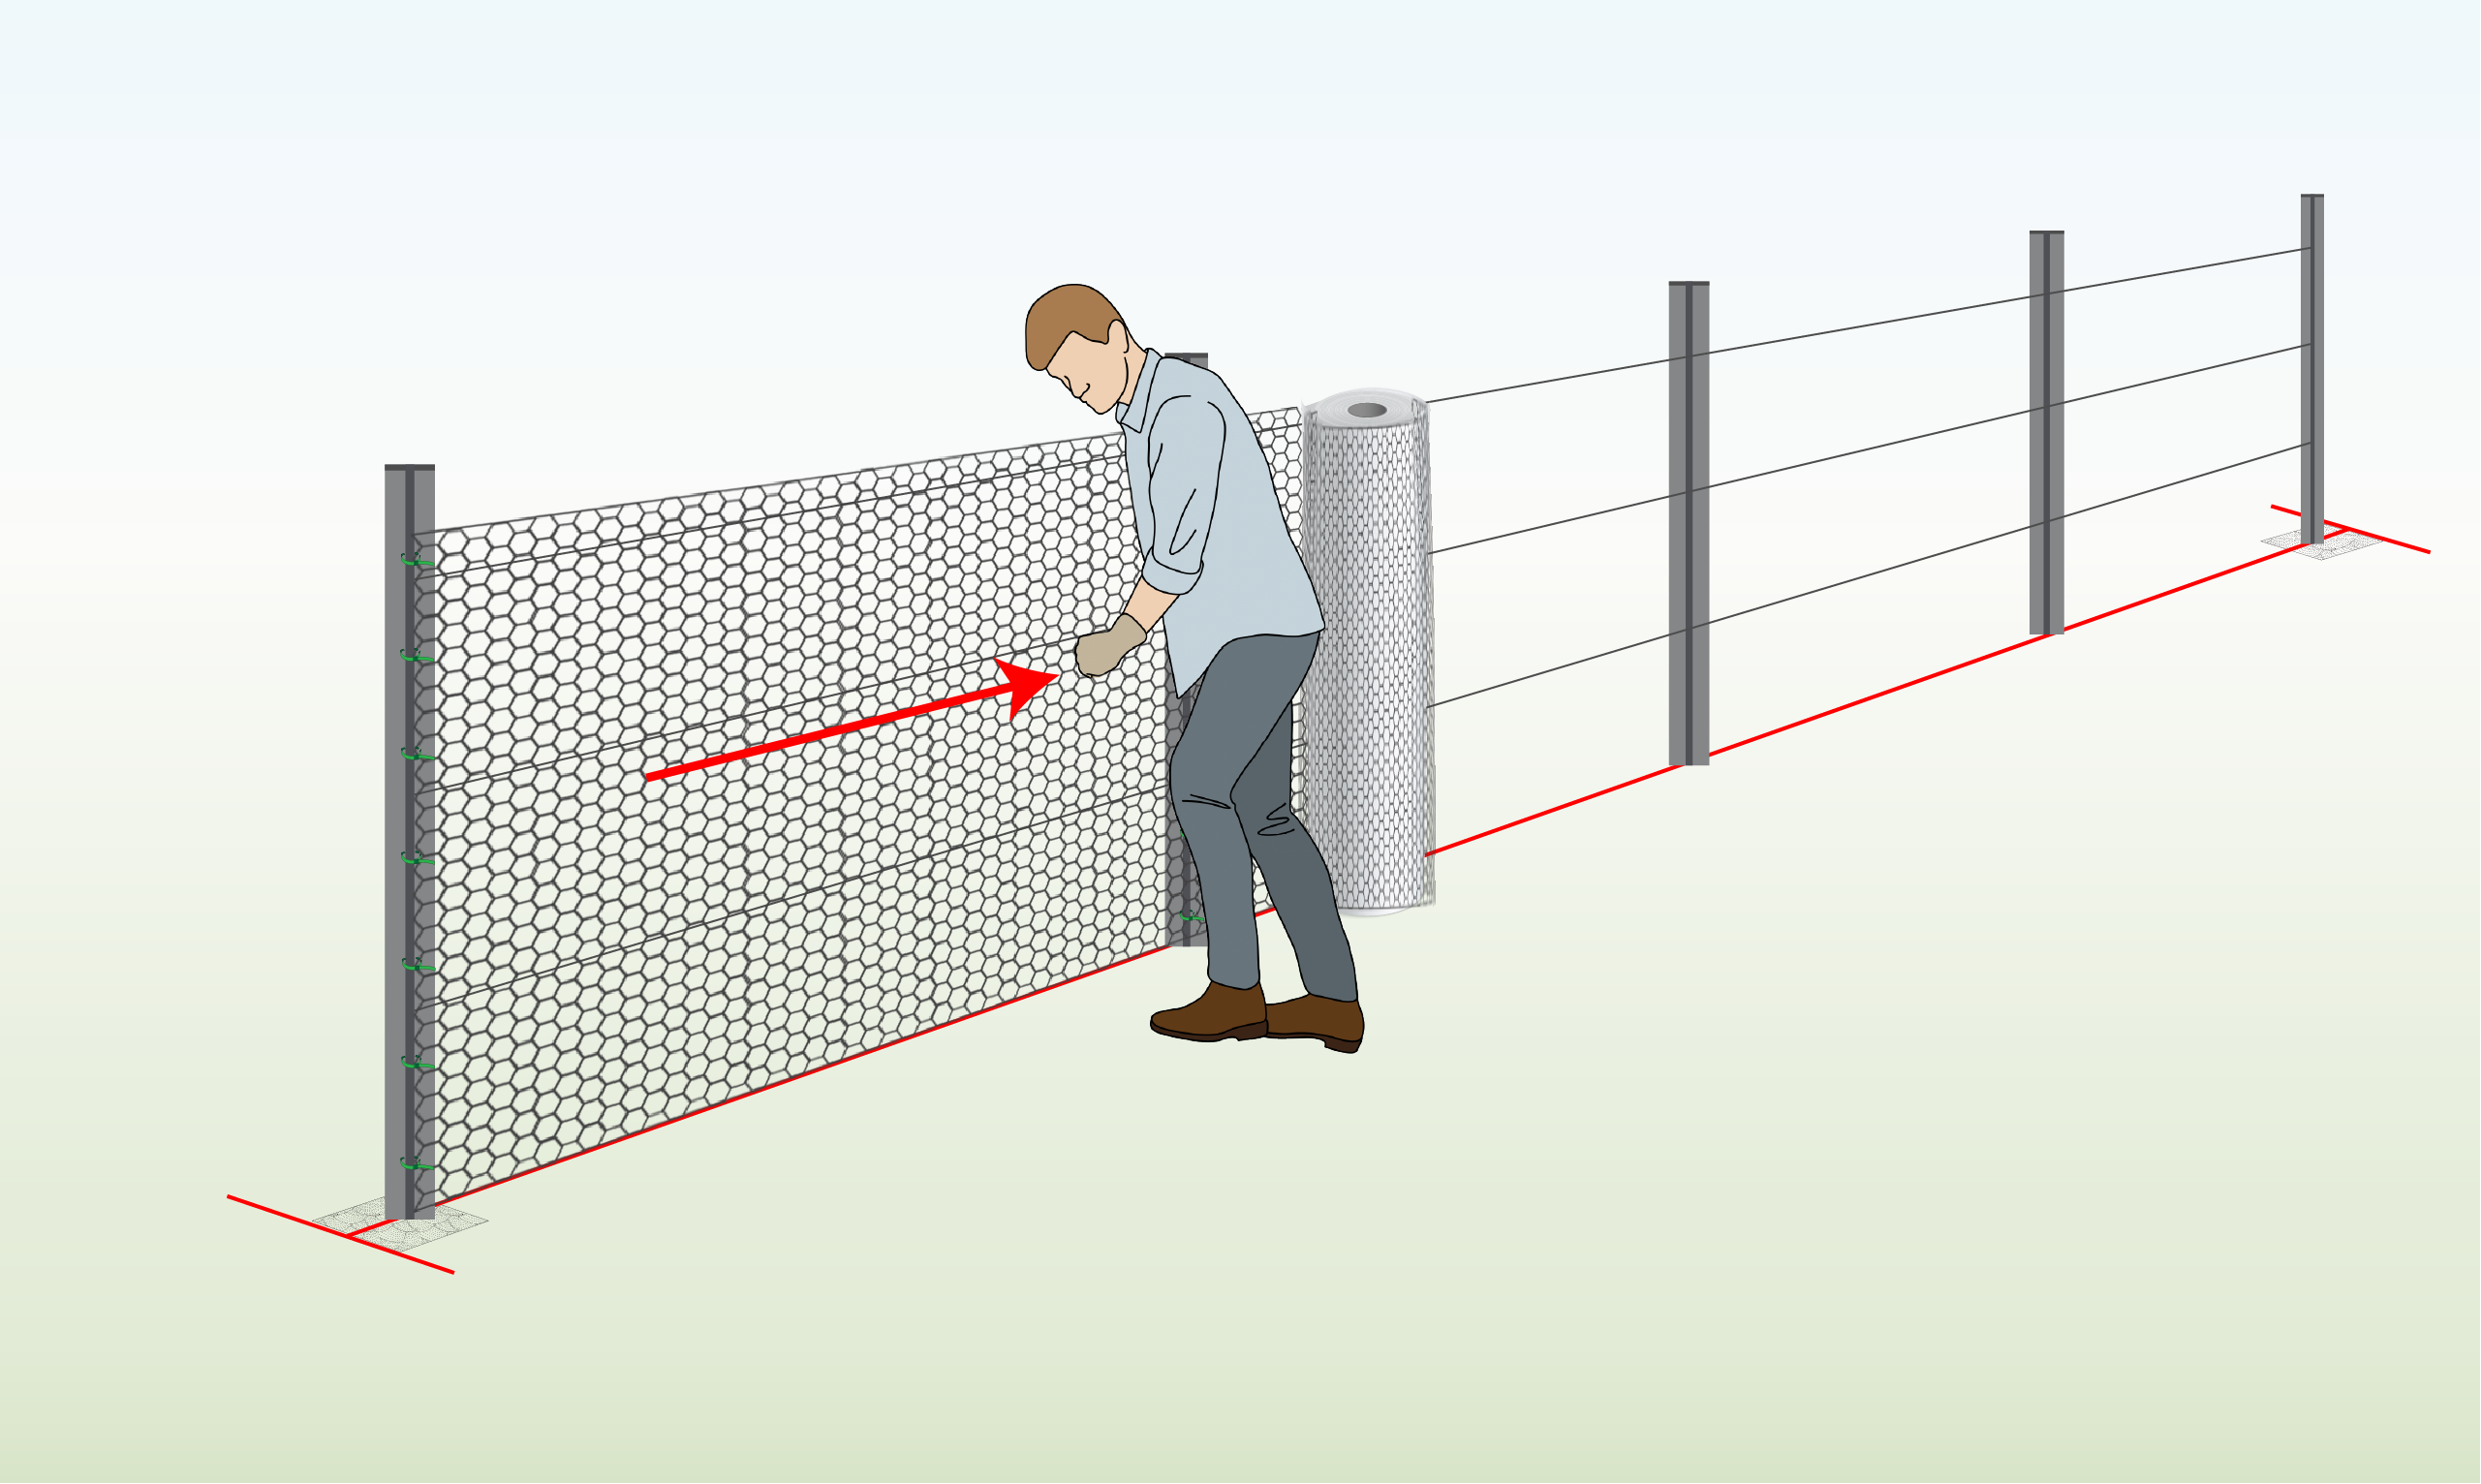
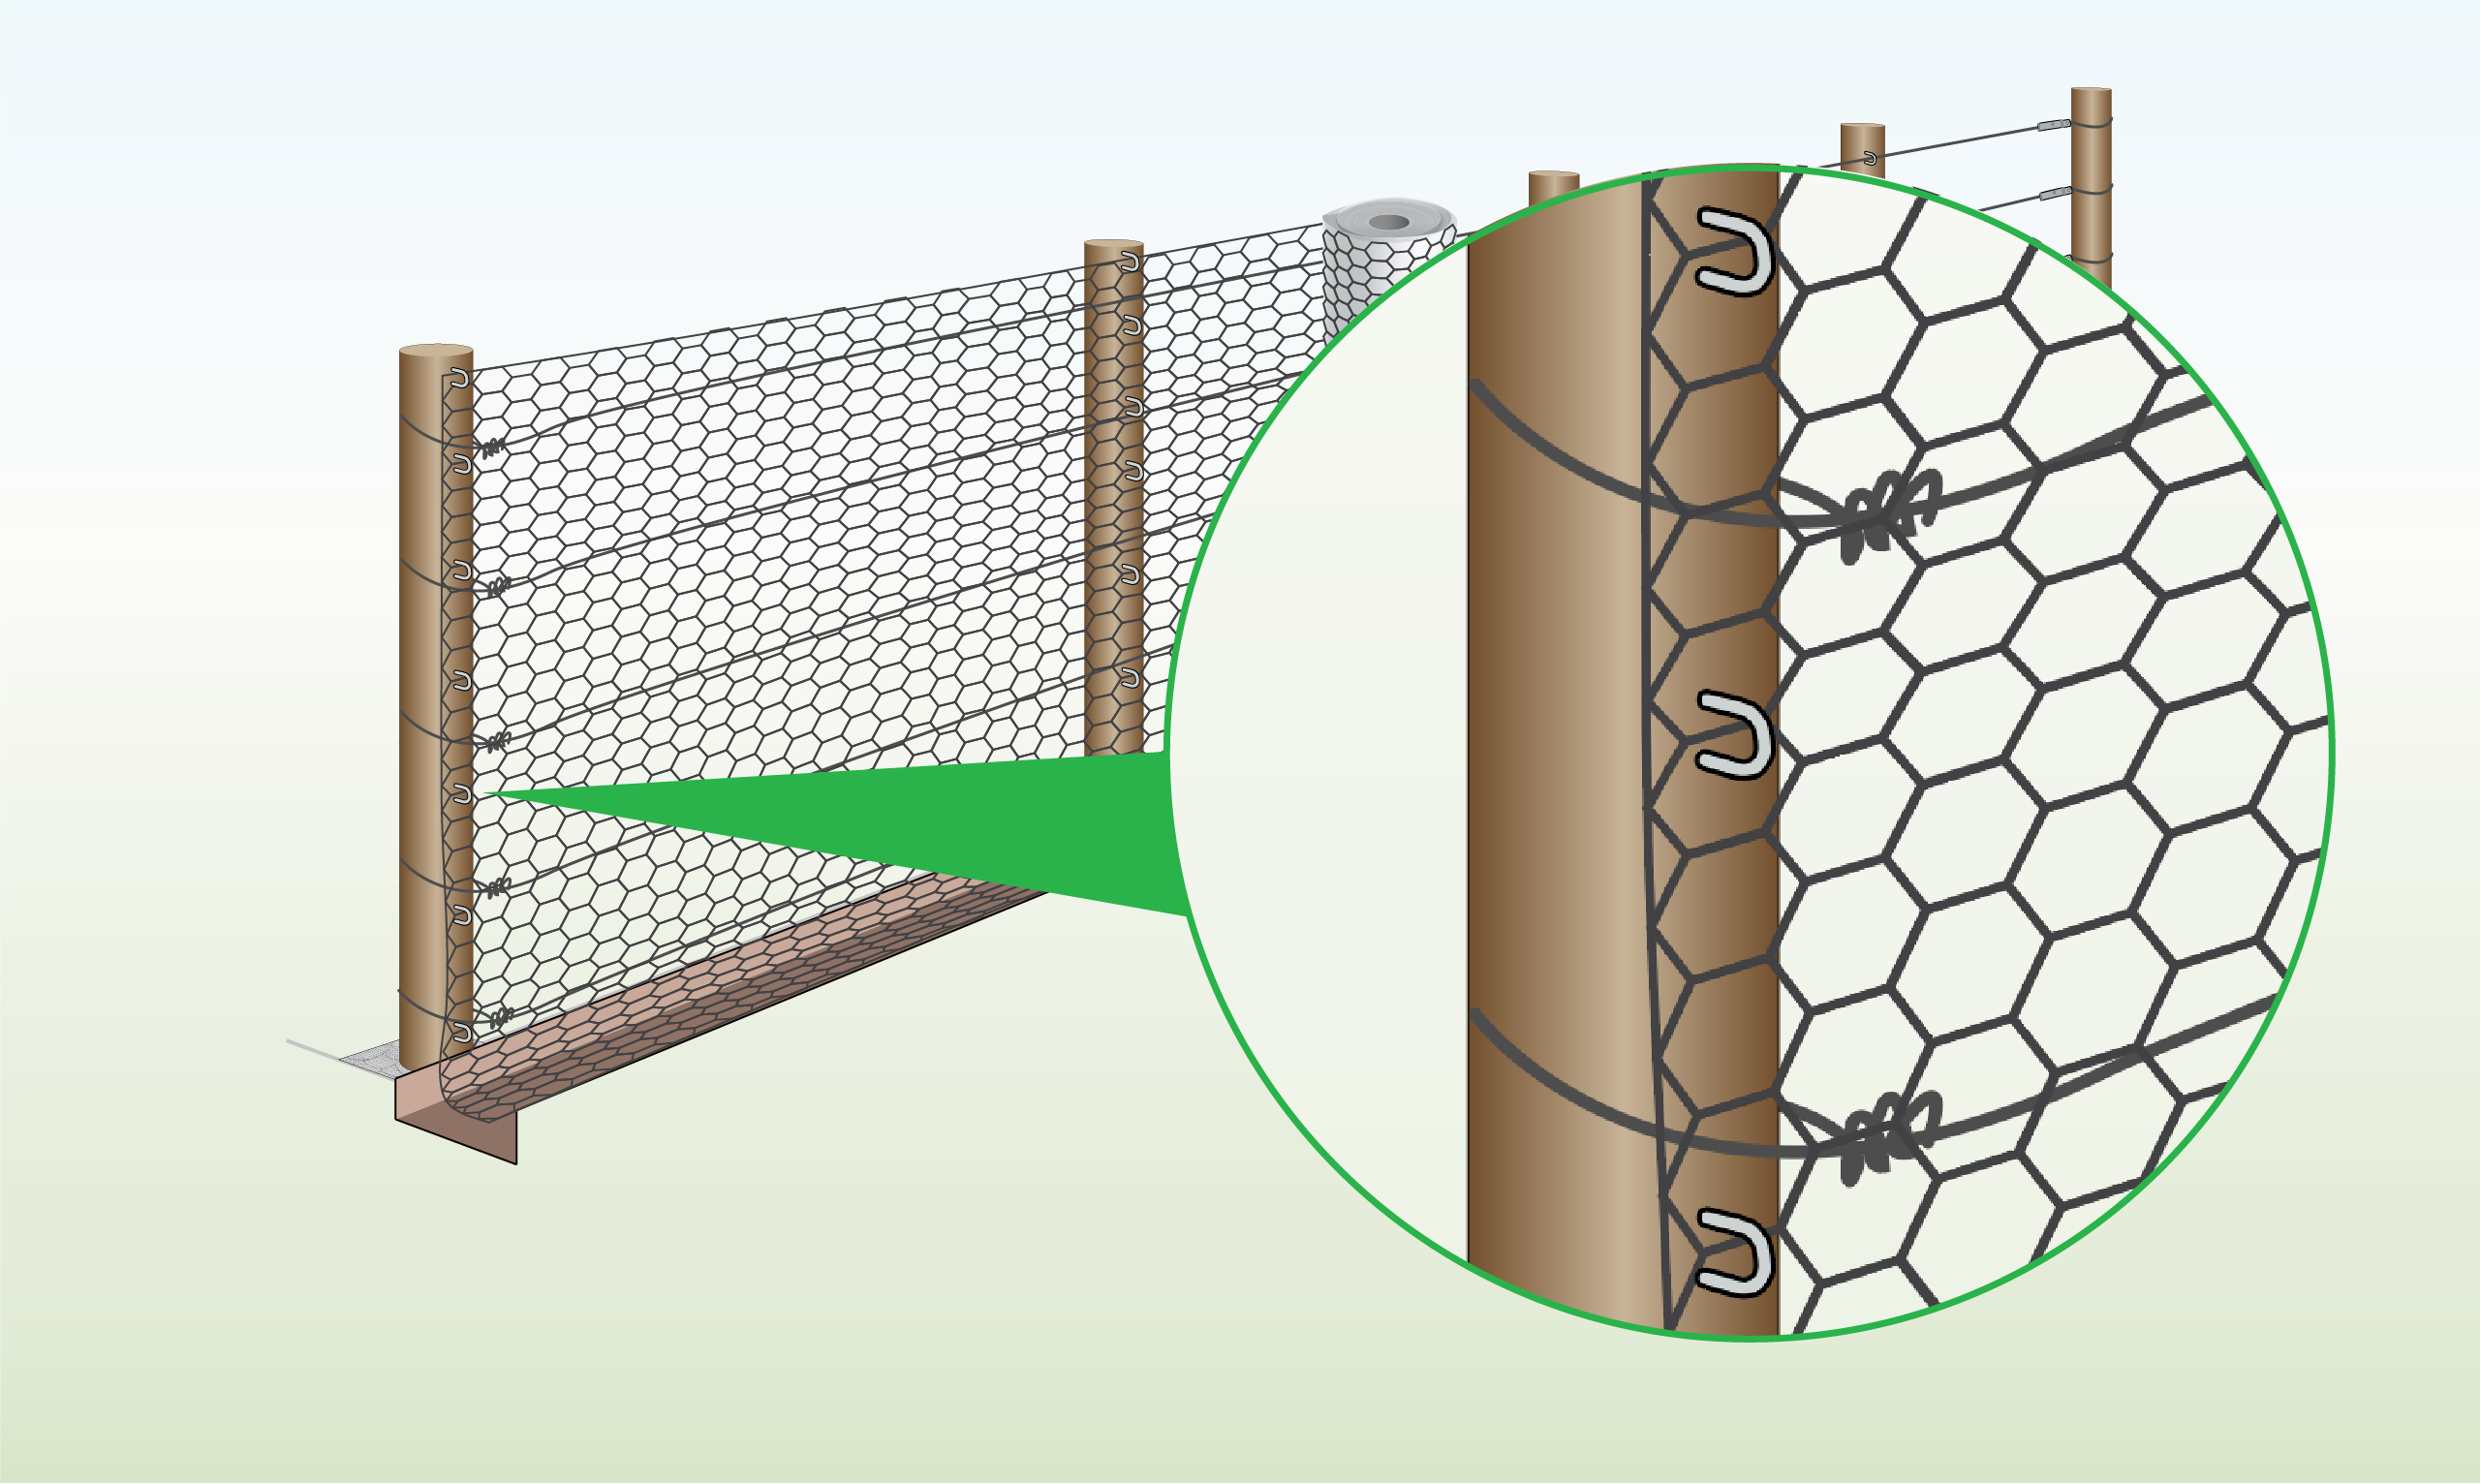
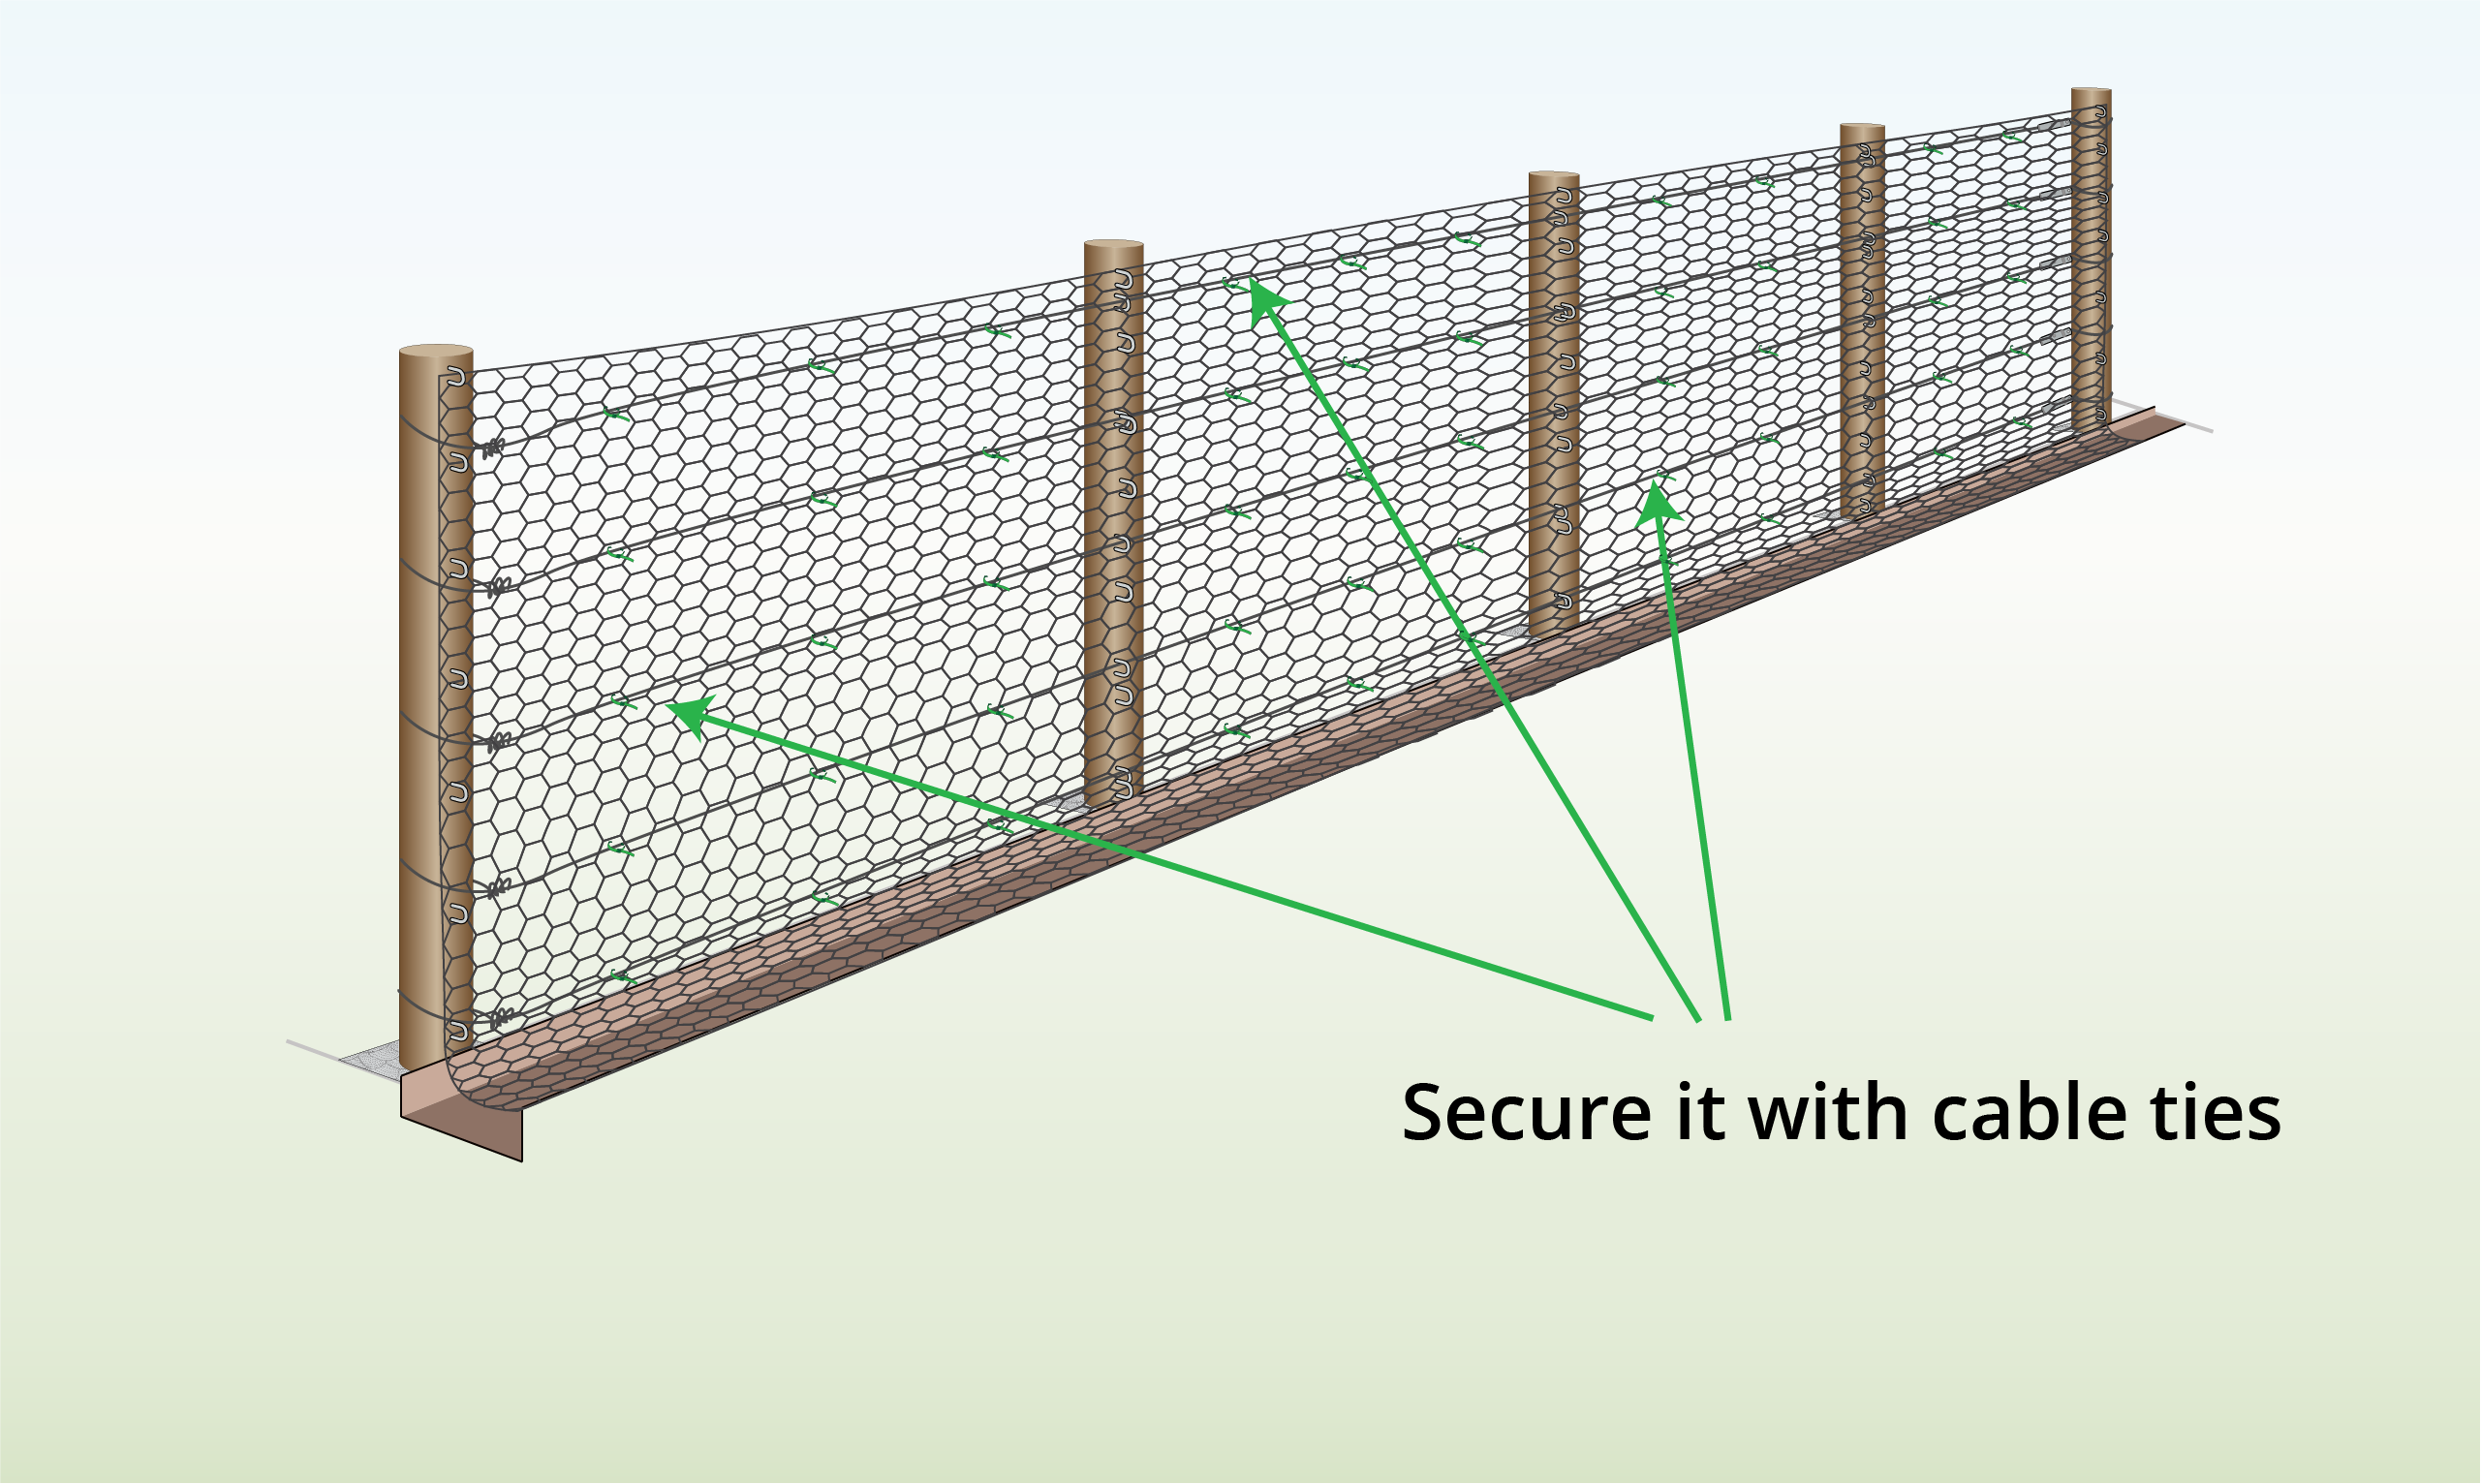
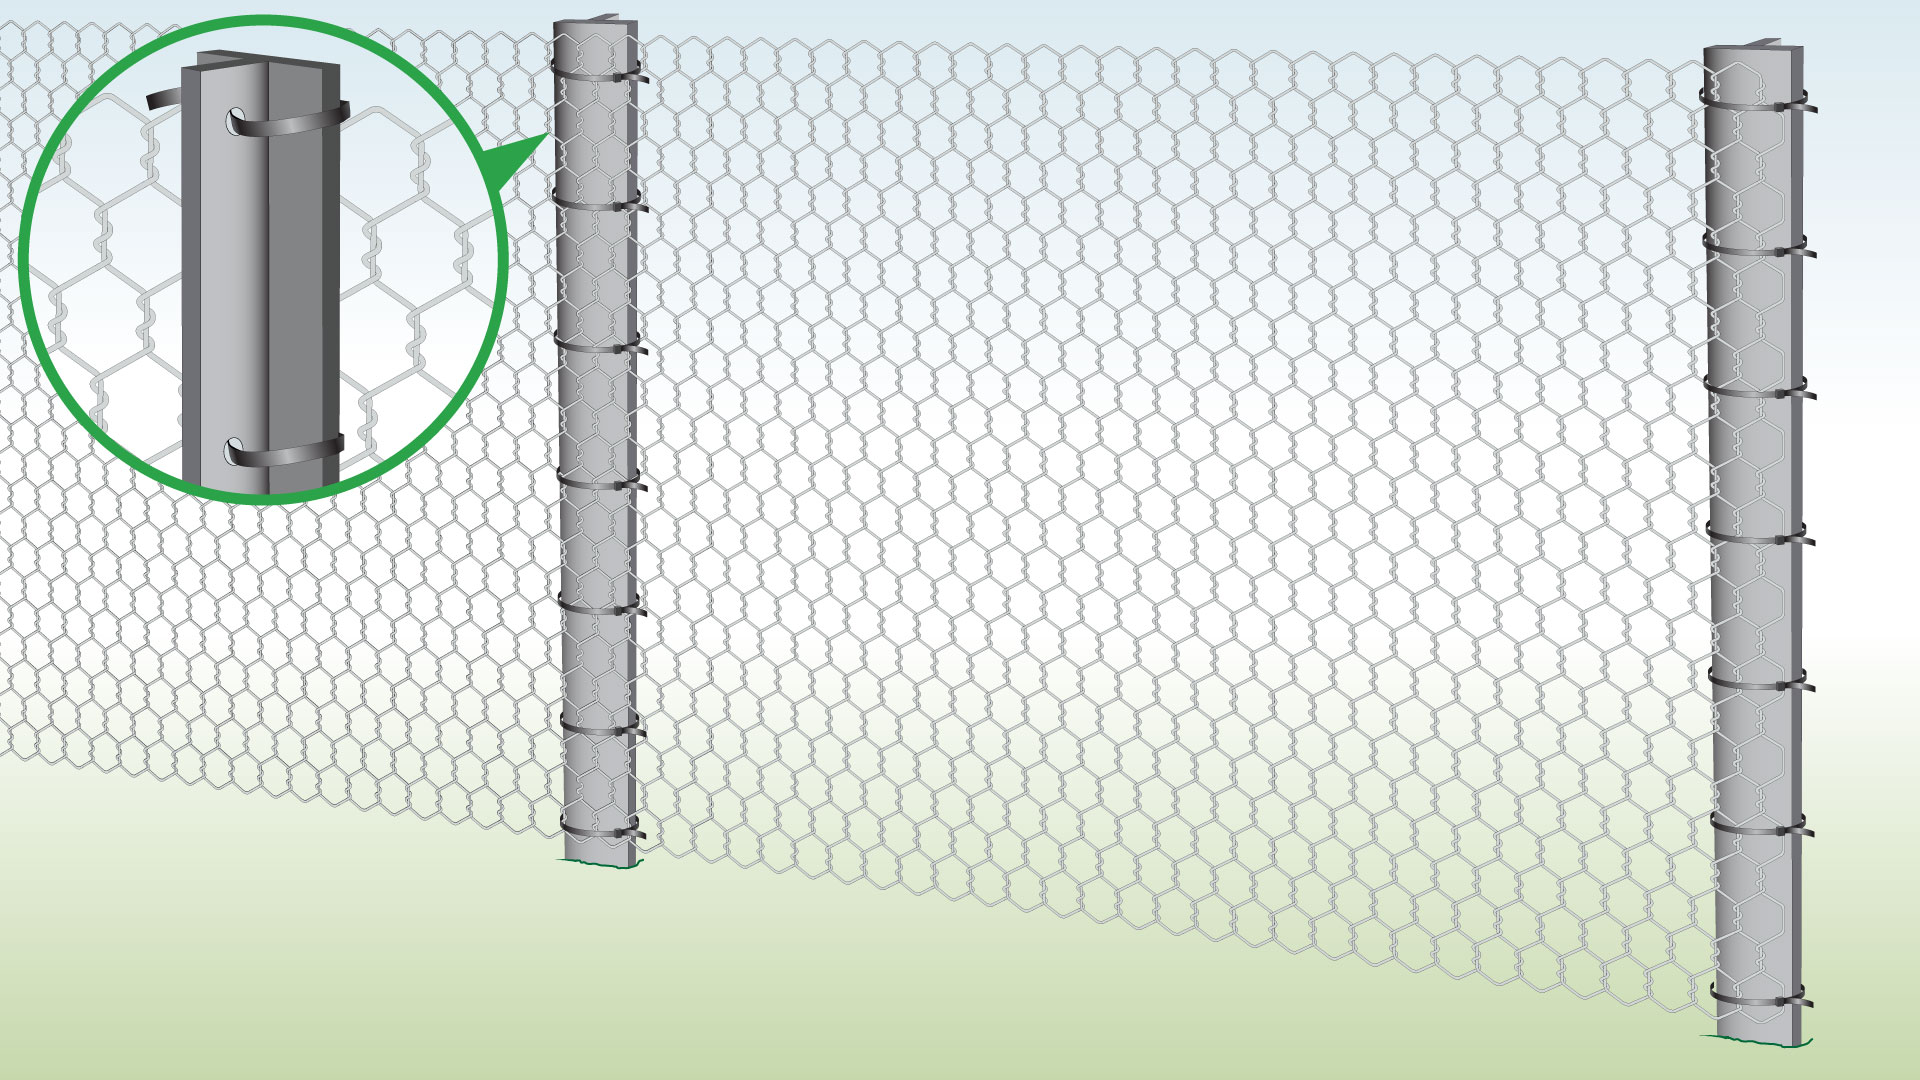
| Step 9 – Secure Mesh to End Post
|
Secure the mesh to the end post by using cable ties, which can be threaded through the pre-drilled holes in the post.
You can add more cable ties by enclosing the entire post. |
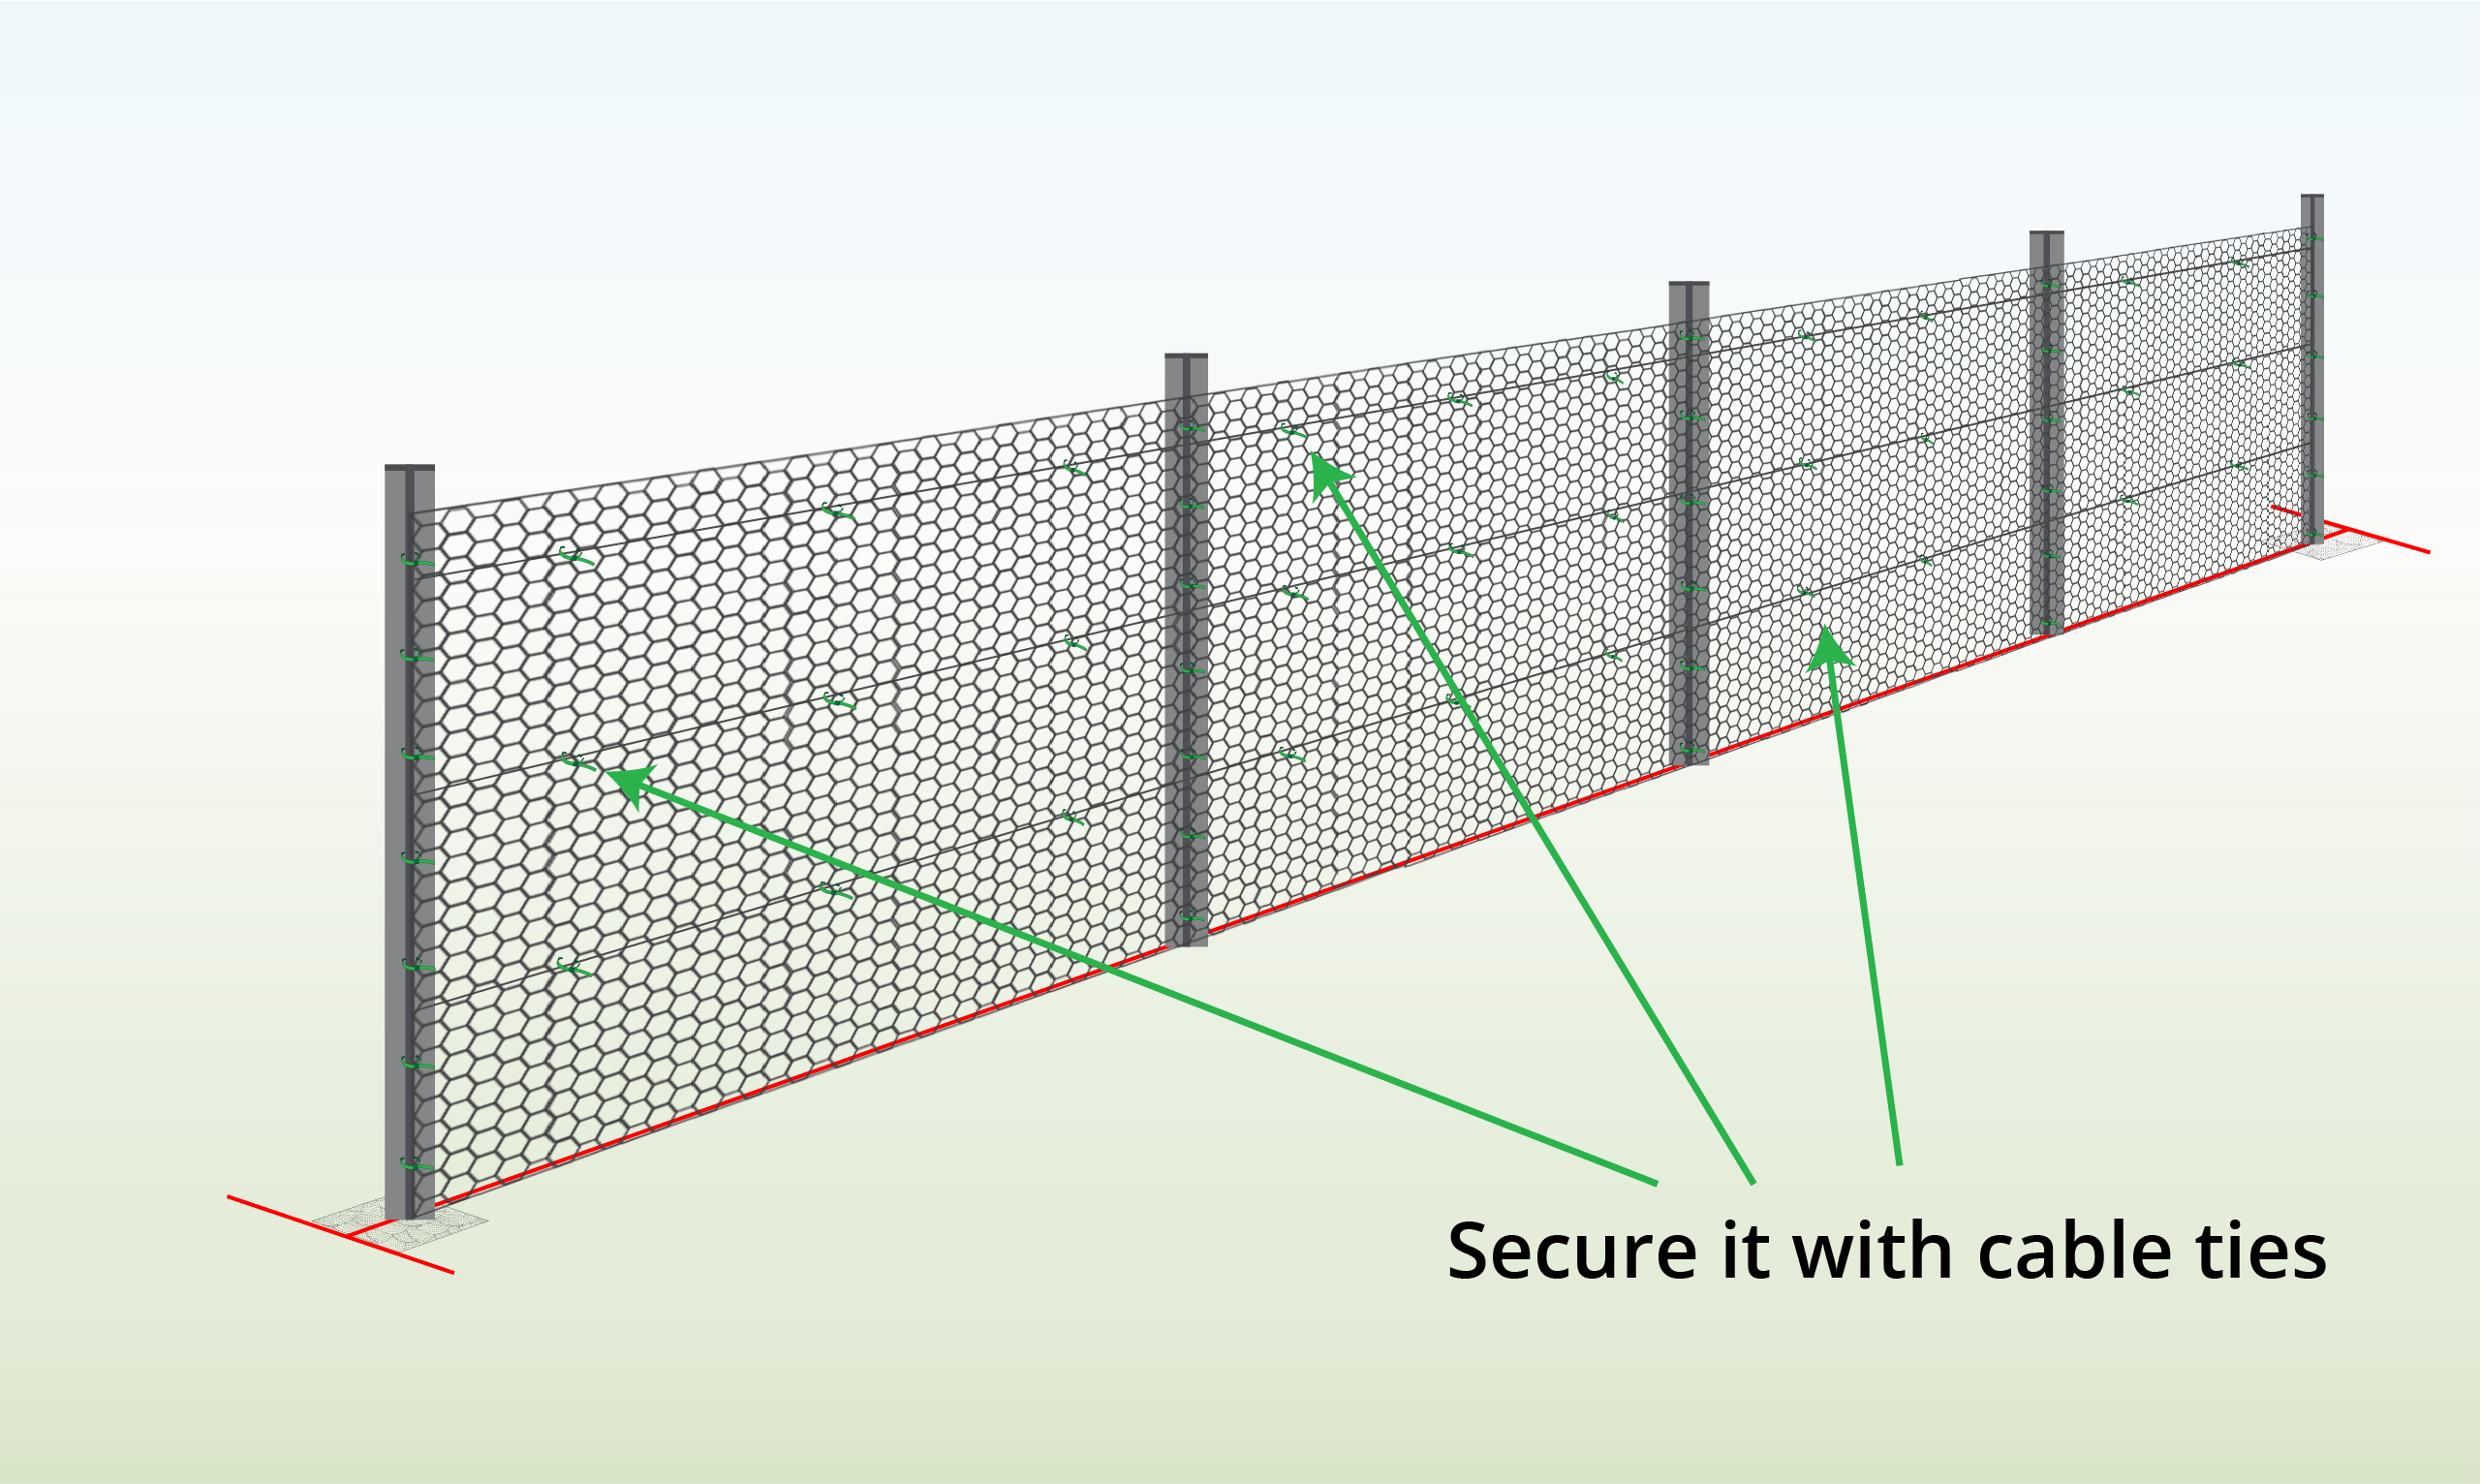
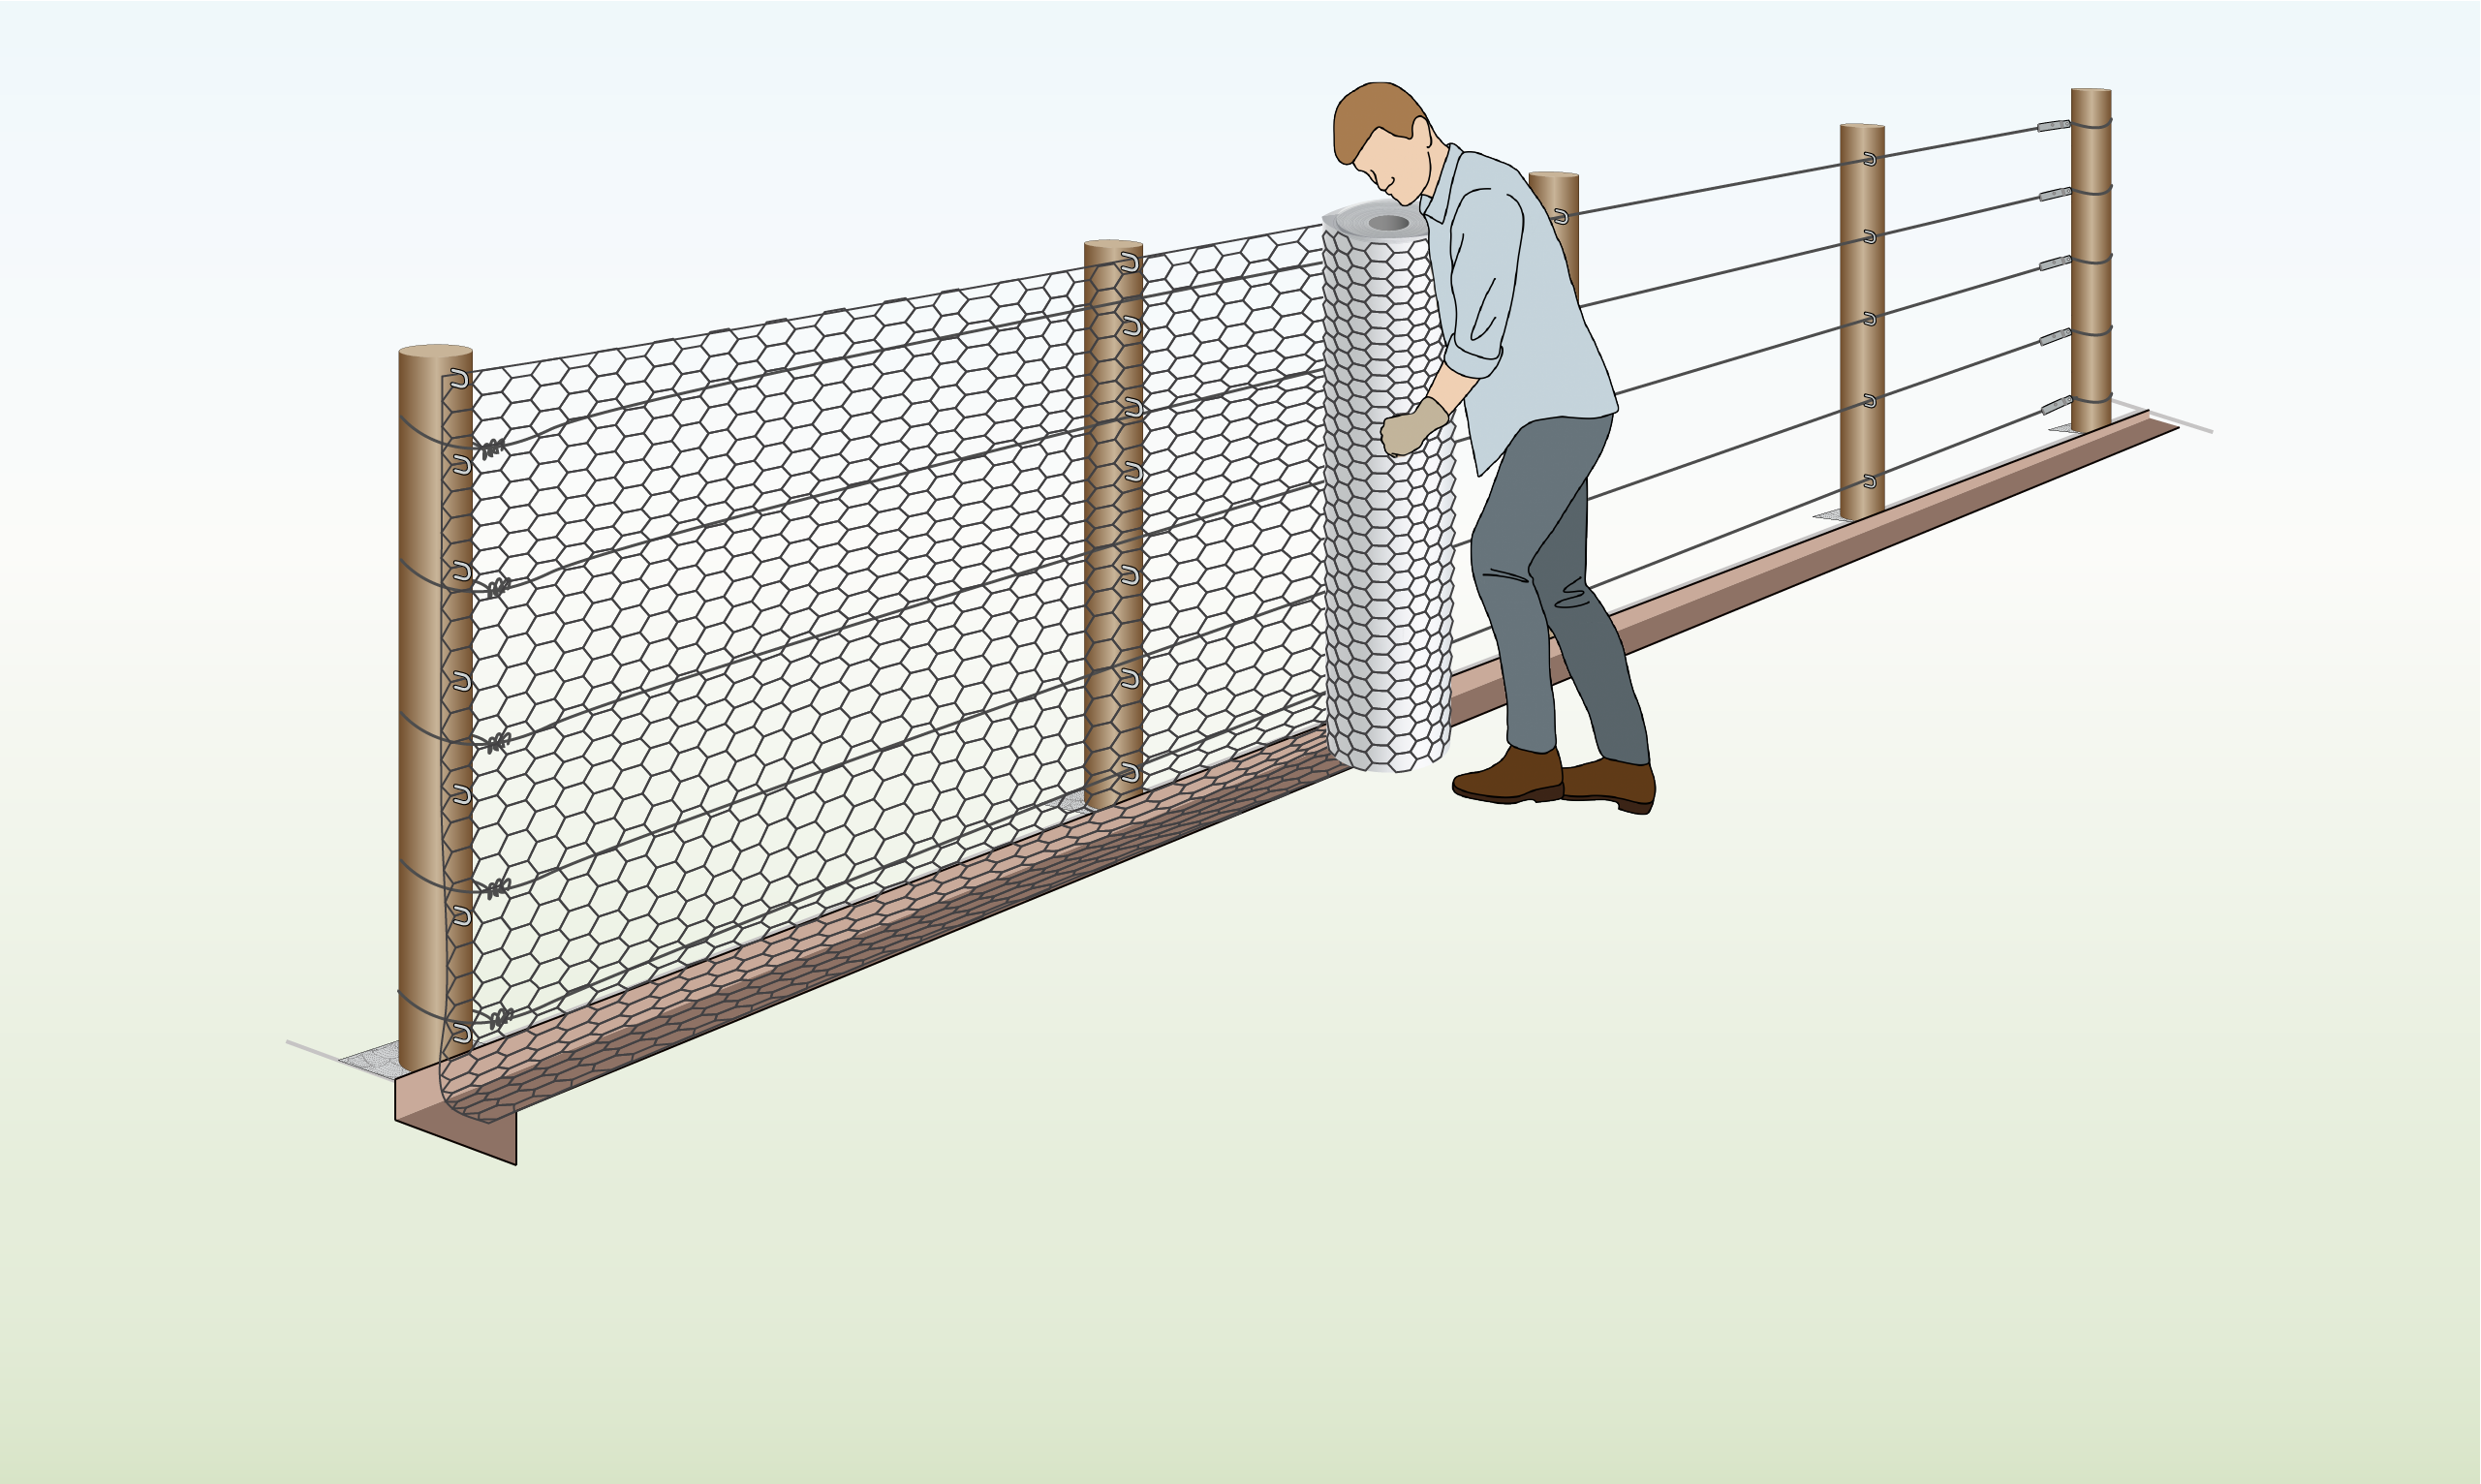
| Step 10 – Pull Taut
|
Pull the mesh taut and then secure it to the second post using cable ties. Make sure not to pull too tightly.
Repeat this process until you reach the end post. |
| Step 11 – Secure to Tension Wire (Optional)
|
If you’ve set up a tension wire, secure the mesh to it using cable ties, spacing them approximately 30-45 cm apart. |
How do I set up a poultry fence?
These products are very simple to set up when you know how. All of our fences come with full instructions to guide you through the process. Be sure to read these to provide your poultry with the maximum level of protection.
Are poultry fences electrified?
Yes they are. This gives your poultry an extra level of protection from common predators like foxes, as well as preventing them from escaping and running away.
How tall are bird nets and fences?
We have a range of products which come in a variety of lengths, widths, and heights, ensuring you can get the fence that is right to keep your birds out of harm’s way.
Can nets and fences for birds be used to keep out rabbits?
Our fences and nets, although designed to protect poultry, can provide a good level of protection from any animals attempting to get into the fenced area.
How can I prevent foxes from digging under a fence?
We recommend checking out our range of welded mesh, which can be used to line the ground, making it difficult to dig. This can line a coop, enclosure, or other space to prevent any animal tunnelling in or out. Foxes can chew through chicken wire, so this is not strong enough to do the job.

Wire Fence is part of the Super Magic Bean group - VAT Registered: 344 7643 83 - Company Registration No: 11290483