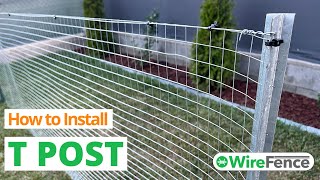
Show video
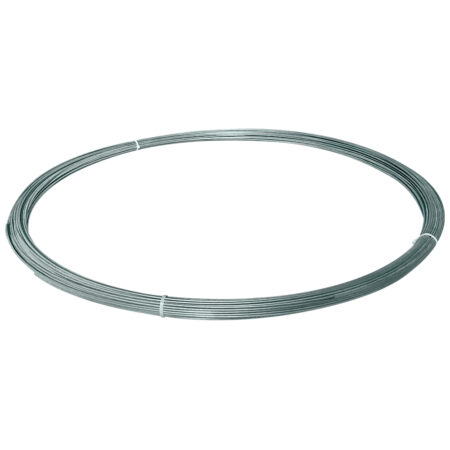
1.5m
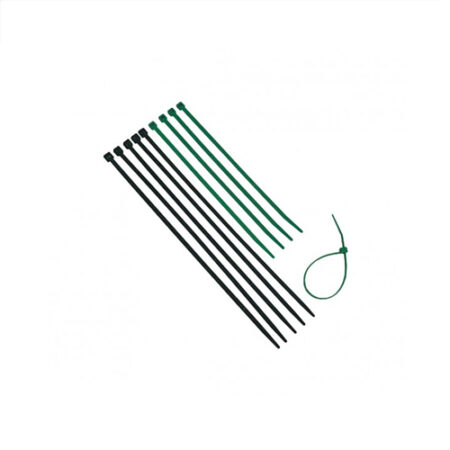
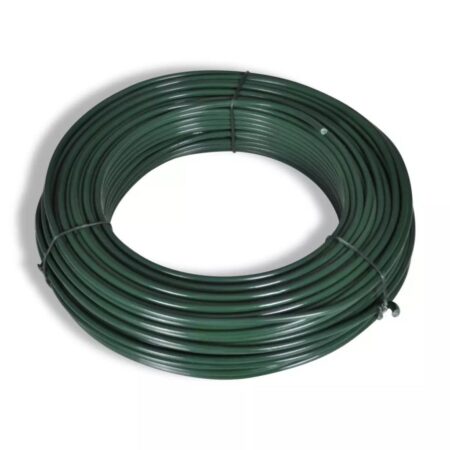
PVC
1m and below
Green
Intermediate
£21.99 inc. VAT
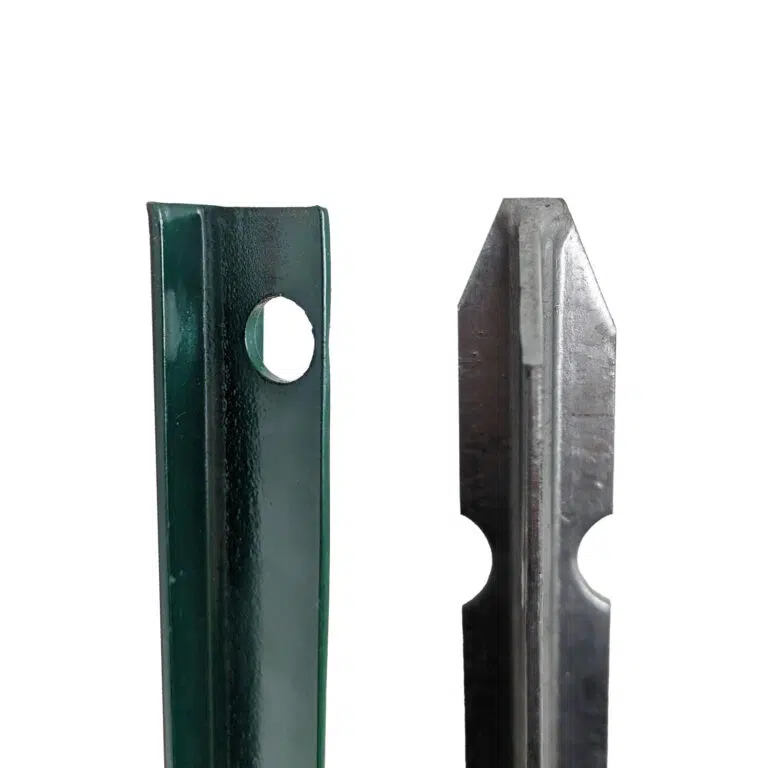


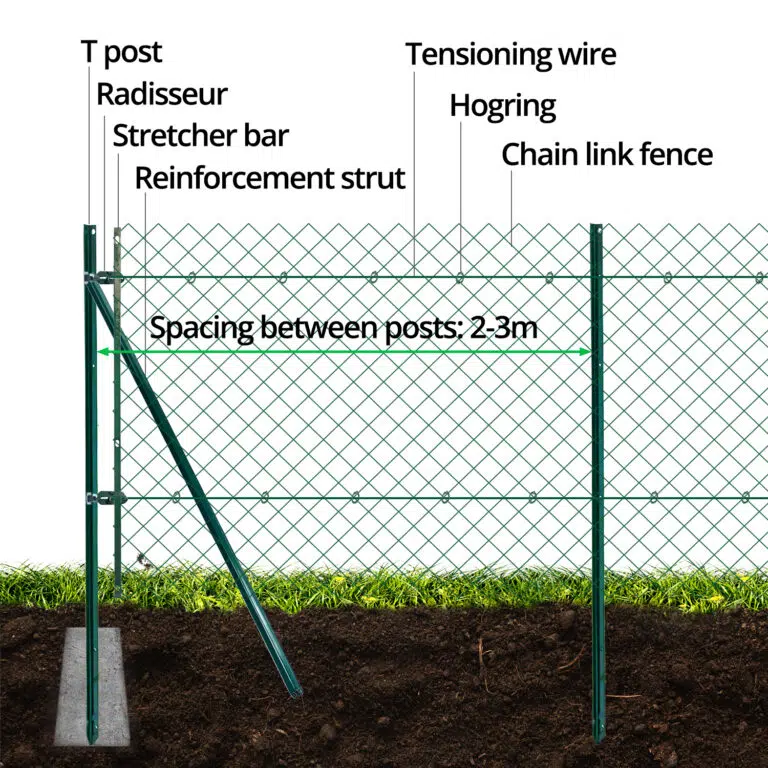


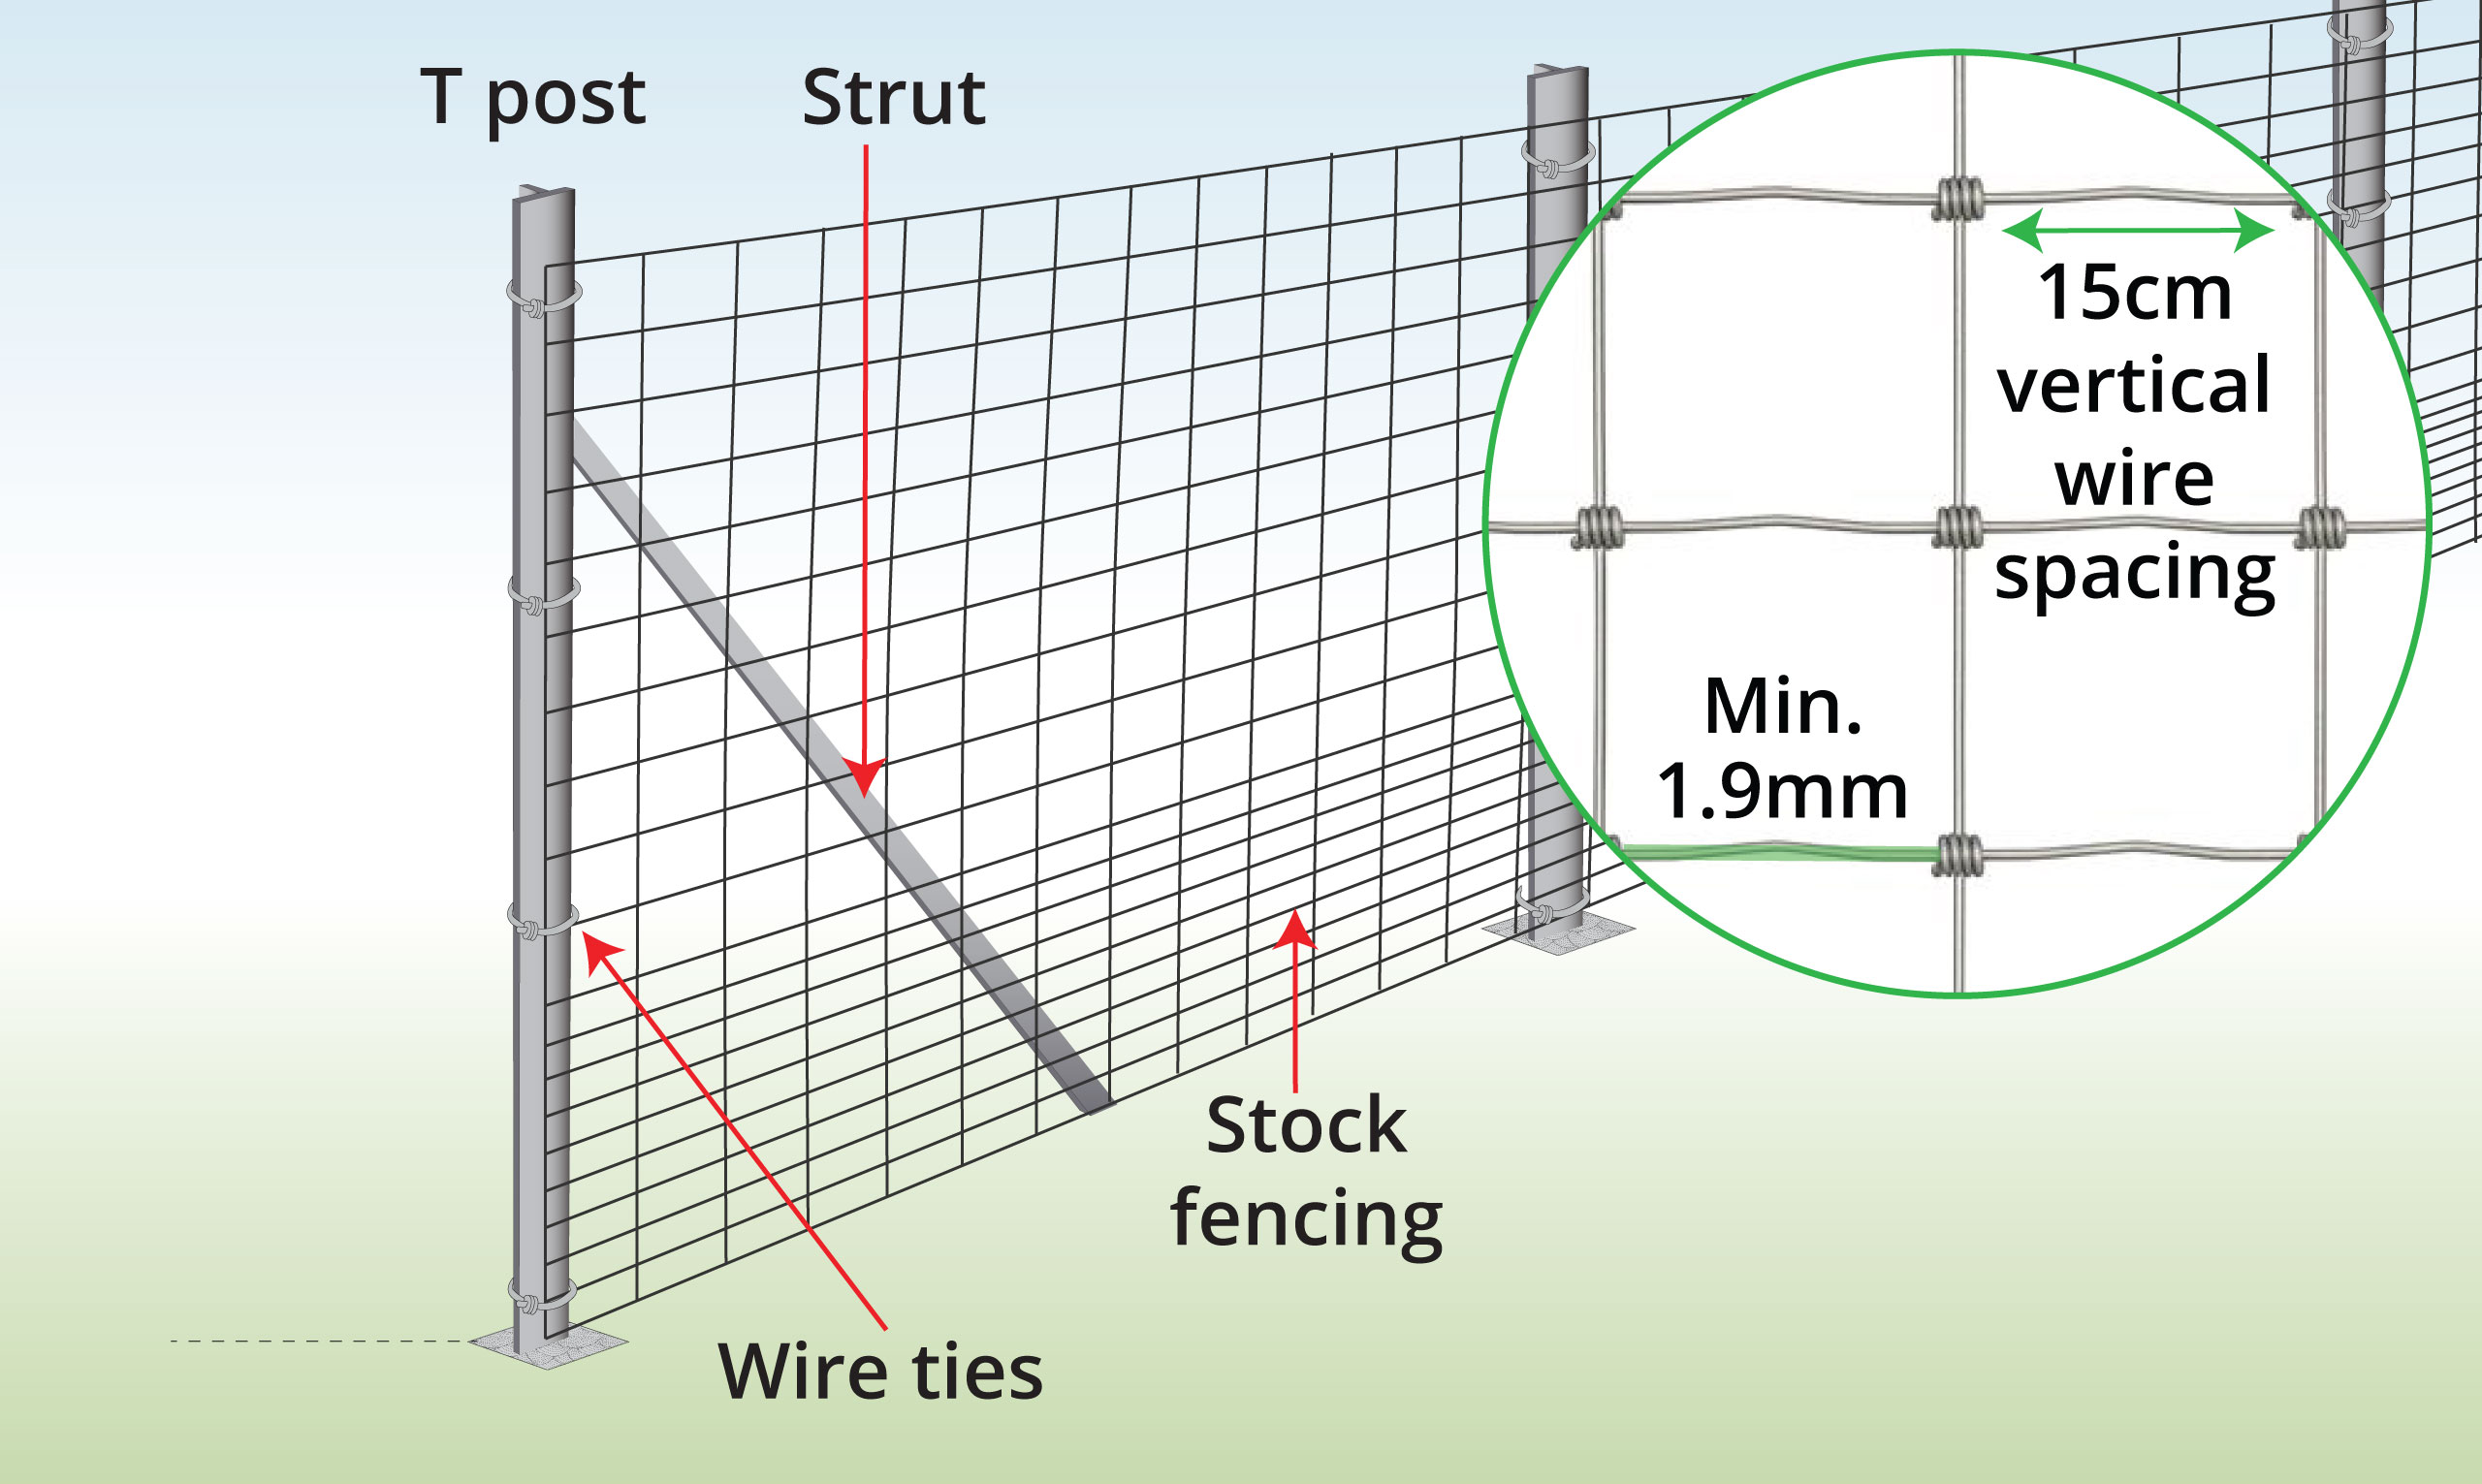
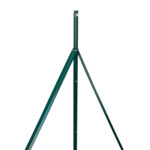
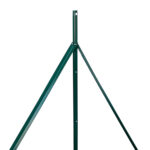
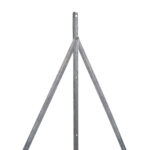
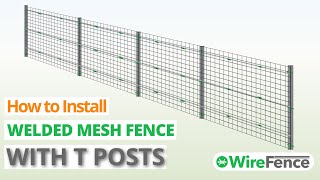
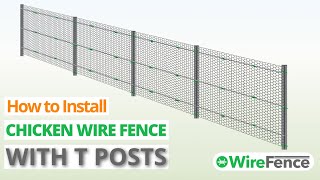
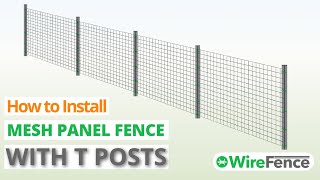
Strong t-posts offer quick and easy wire fence installation. Often used to create a border around large grass areas, keeping out or containing pets.


The t-posts are designed to be driven 50cm into the ground to keep them in place. Therefore, the total height should be 50cm longer than the height of the fence that you plan to install. For example, if you plan to install a fence 1m high you will need a 1.5m tall post.
| Post height | Depth in the ground | Height above ground |
| 2.25m | 50cm | 1.75m or shorter |
| 1.75m | 50cm | 1.25m or shorter |
| 1.5m | 50cm | 1m or shorter |
| 1.25m | 50cm | 75cm or smaller |
| Wire fence type | T-post spacing |
| Chicken wire | 2-3m |
| Wire panels | The spacing should be equal to the length of the panel |
| Welded mesh | 2-3m |
| Stock fencing | 2-3m |
| Barbed wire | 2-4m |
| Tension wire | 2-4m |
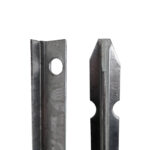
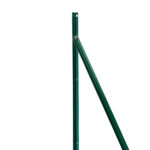
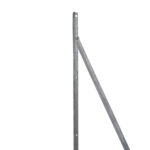
| Post types | Overview |
| Intermediate Post | Does not include a strut & bolts. Installed in the middle of the fence. Also used as an end post for lightweight mesh and panels. |
| End Post | Includes 1x strut connecting bolts. Install at the end of your fence system |
| Corner Post | Includes 2x struts connecting bolts. Install at the corner of your fence system |
| Support Post | Includes 2x struts connecting bolts. Install in the middle of your fence if it runs longer than 25-30m |
| Compatible fencing | How to install |
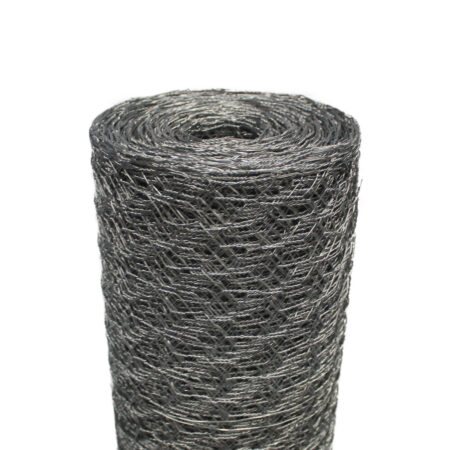
| Chicken wire
|
|
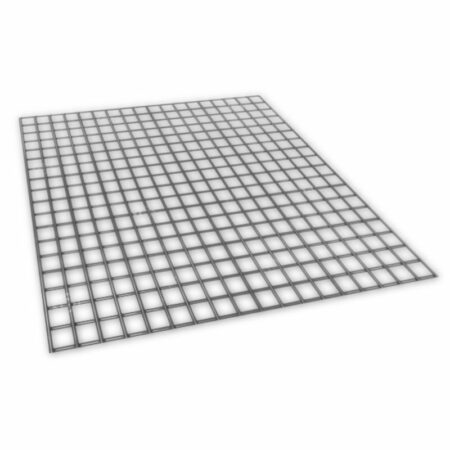
| Mesh panels
|
|
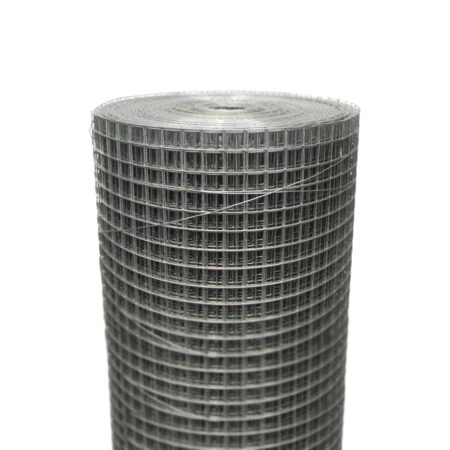
| Welded mesh (wire diameter thinner than 2mm) 
|
|
| Welded mesh (wire diameter thicker than 2mm) |
|
| Stock fencing
|
|
| Chain link
|
|
| Tension wire
(wire diameter thicker than 0.7mm)
|
|
| Barbed wire
|
|
| Fence Application | |
| Residential locations |
– used for temporary and permanent residential fencing
|
| Commercial locations |
– concrete into the ground to ensure they remain permanent
|
| Grass areas |
– they are designed to be driven into soil using a rammer or mallet
|
| Concrete areas |
– they are designed to be driven into softer ground such as soil but they can also be set into concrete if required
|
| Large areas |
– they do not require digging or concreting into the ground making it a lot quicker to cover larger grass areas
|
| Strong border |
– they are made of thick 3.5mm iron. They will make a very strong, designed to work with wire mesh rolls up to 2mm (14 gauge).
|
| Quick & easy install |
– they do not require digging and/or setting in concrete. They can be driven into the ground much quicker as long as the ground is soft enough.
|
| Temporary |
– drive the posts into the ground but do not concrete them in. If you are concerned about the strength of the fence without concrete then use a taller size so you can drive it further into the ground
|
| Permanent |
– set the end posts into concrete to create a strong permanent fence. You can also set the middle sections into concrete to increase the strength further.
|
| Garden |
– good for garden fences and will double up as a trellis to grow your plants up
|
| Cover large areas |
– often used to cover large areas such as woodland or farmland. They are quicker and easier to install than traditional wooden options.
|
| Marking boundaries |
– often used with tensioning wire for a cheap and economical option to mark large boundaries.
|
| Animal Fencing |
– good for small to medium-sized animals such as chickens, cats, and dogs.
|
| Dogs |
– perfect for creating permanent or temporary dog runs. If the dog is particularly strong and will test the fence use 2mm+ thick panels and concrete them into the ground.
|
| Poultry |
– perfect for creating permanent or temporary chicken runs
|
| Keep out wild animals |
– they will keep out most small to medium-sized animals such as rabbits and foxes. Each animal will require a specific size and strength of wire mesh. For more info, please visit the animal fencing page.
|
| Highly tensioned |
– increase the post strength by setting the end posts into concrete and attaching Struts allowing them to be used with Tensioning Wire, Chain Link and Stock Fencing.
|
| Large farm animals |
– not good for large farm animals such as cows and sheep that rub up against the boundary. The weight of larger animals may push it over.
|


How deep should I bury them under the ground?
The bottom should be buried 45-50cm into the ground. This means that you should purchase a T post 50cm taller than the height you would like your fence to be. For example: if you would like a 1m tall fence you should purchase a 1.5m tall fence.
Can I use them without cement?
Yes. The fence won’t be as strong without cement but it will be quicker and easier to install. This is useful if you want to install a temporary fence or the fence will not come under a lot of strain such as large animals leaning against it. As an alternative option, it is also possible to sink the post into gravel, sand or crushed rock which will be stronger than soil but not as strong as cement.
Can I use them as a temporary fence?
Yes. If you install without cement and they will be easier to take out of the ground. Installing and uninstalling without cement is quick and easy making it a good option when a temporary yet sturdy fence is required.
How can I drive them into the ground?
Most customers use a rammer which is the best option. If you do not have a driver a strong mallet should do the job.
How far apart should I space them?
Most fencing will have a spacing of approx 3 meters. If you place them closer together the fence will be stronger and if you space them further apart the fence will be less sturdy. The lighter the fence mesh/material being used the further apart they can be installed.
How long will they last?
Around 30-50 years. They are made of very strong thick iron and they are also covered in PVC or galvanised giving them strong protection from corrosion. The exact length of time will depend on the environment it is subjected to. For example, if it is constantly being pulled around and dragged along the floor it may not last as long as it would otherwise.
Do I need to use tension wire to construct the fence?
No. Tension wire will keep the top middle and bottom of your fence straight but it isn’t necessary. Mesh panels are rigid and do not require tension wire to remain straight. If installing without tension wire is your preferred option panels would be a good choice.

Wire Fence is part of the Super Magic Bean group - VAT Registered: 344 7643 83 - Company Registration No: 11290483