Show video
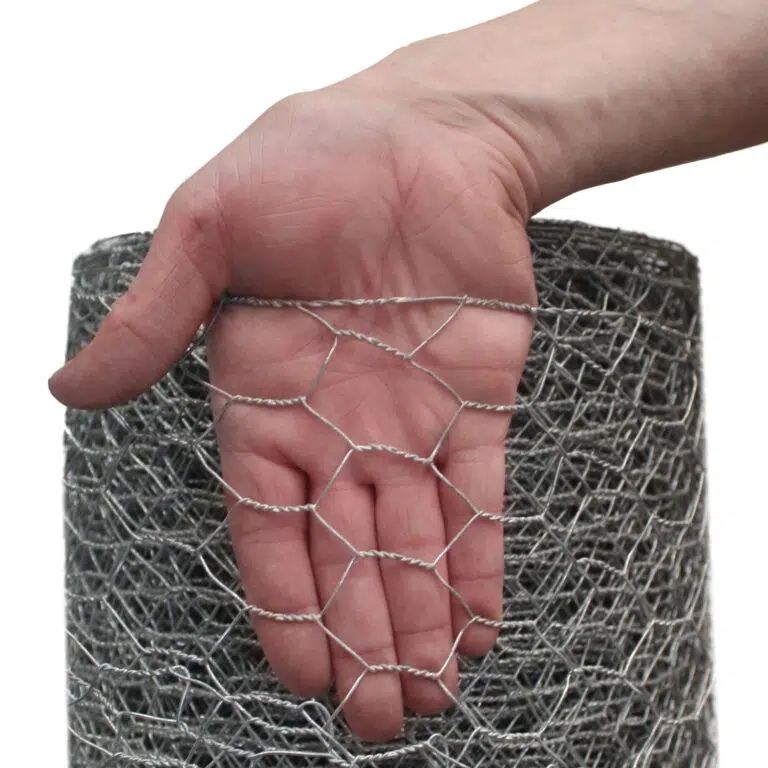
25mm x 25mm
90cm (3ft)
6m (20ft)
1.6mm (16g)
£24.99 inc. VAT
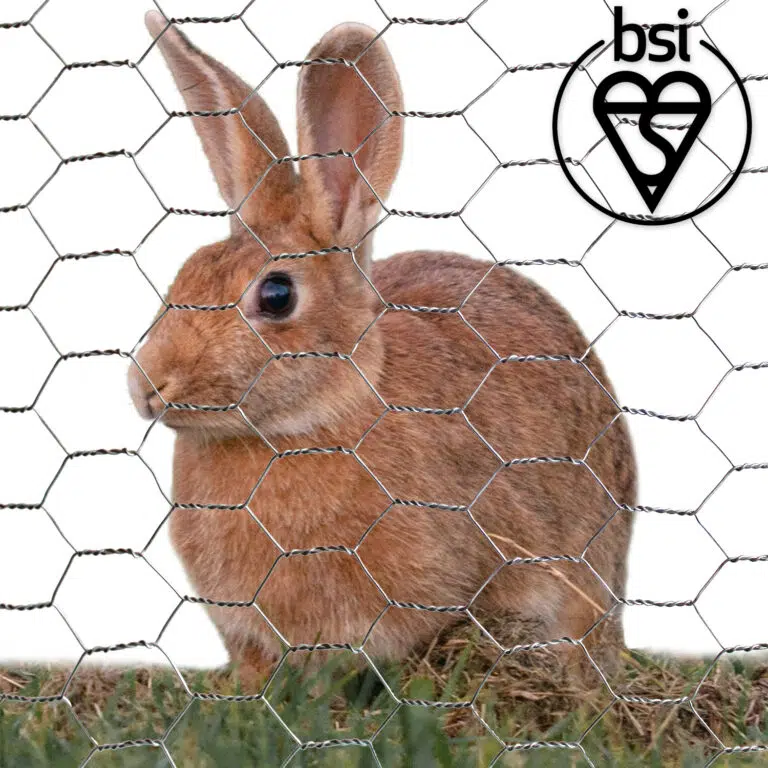


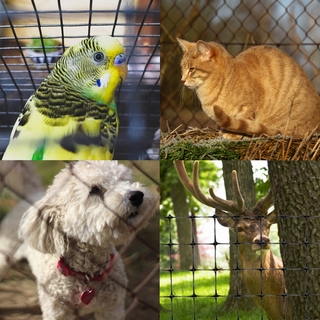
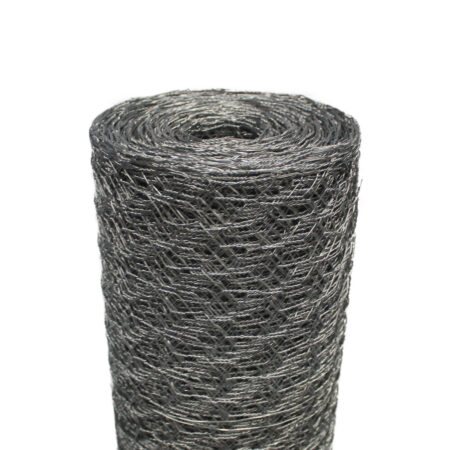
Galvanised steel wire mesh netting ideal for installing rabbit fencing or rabbit proofing an already existing fence.
Key info:


| Option | Application |
| 60 cm height | Ideal to use at the bottom of an existing fence. |
| 105 cm height | The industry standard for a standalone fence |
| 19g (1mm wire thickness) | Standard protection against rabbits |
| 18g (1.2mm wire thickness) | Extra strong protection against particularly determined rabbits |
| Property | Description |
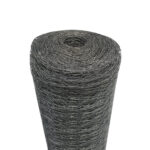
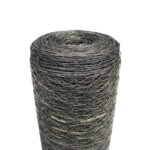
| Material & Construction | Galvanised steel, hexagonal fencing mesh. Hot dipped in protective zinc coating |
| Appearance | Hexagonal apertures. Metallic grey, silver look |
| Handling | Lightweight & malleable. Easy to cut & shape |
| Biodegradable | No |
| Protecting exposed steel | Rust may occur where new cuts are made if untreated steel is exposed. Protect with galvanised spray or paint |
| Not suitable for… |
|
| Attach to: | How to: |
|
|
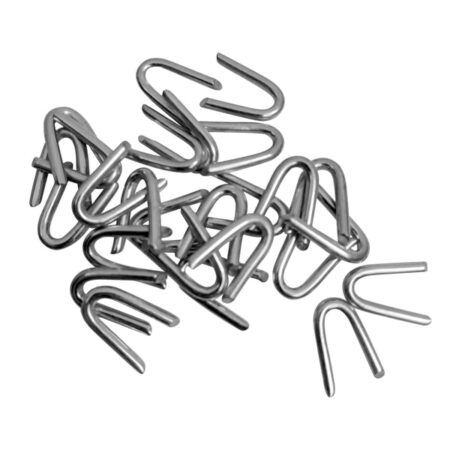
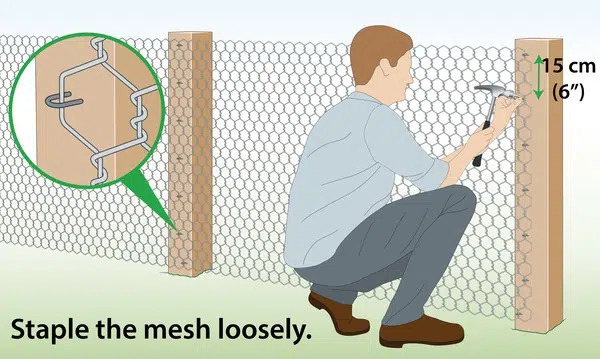
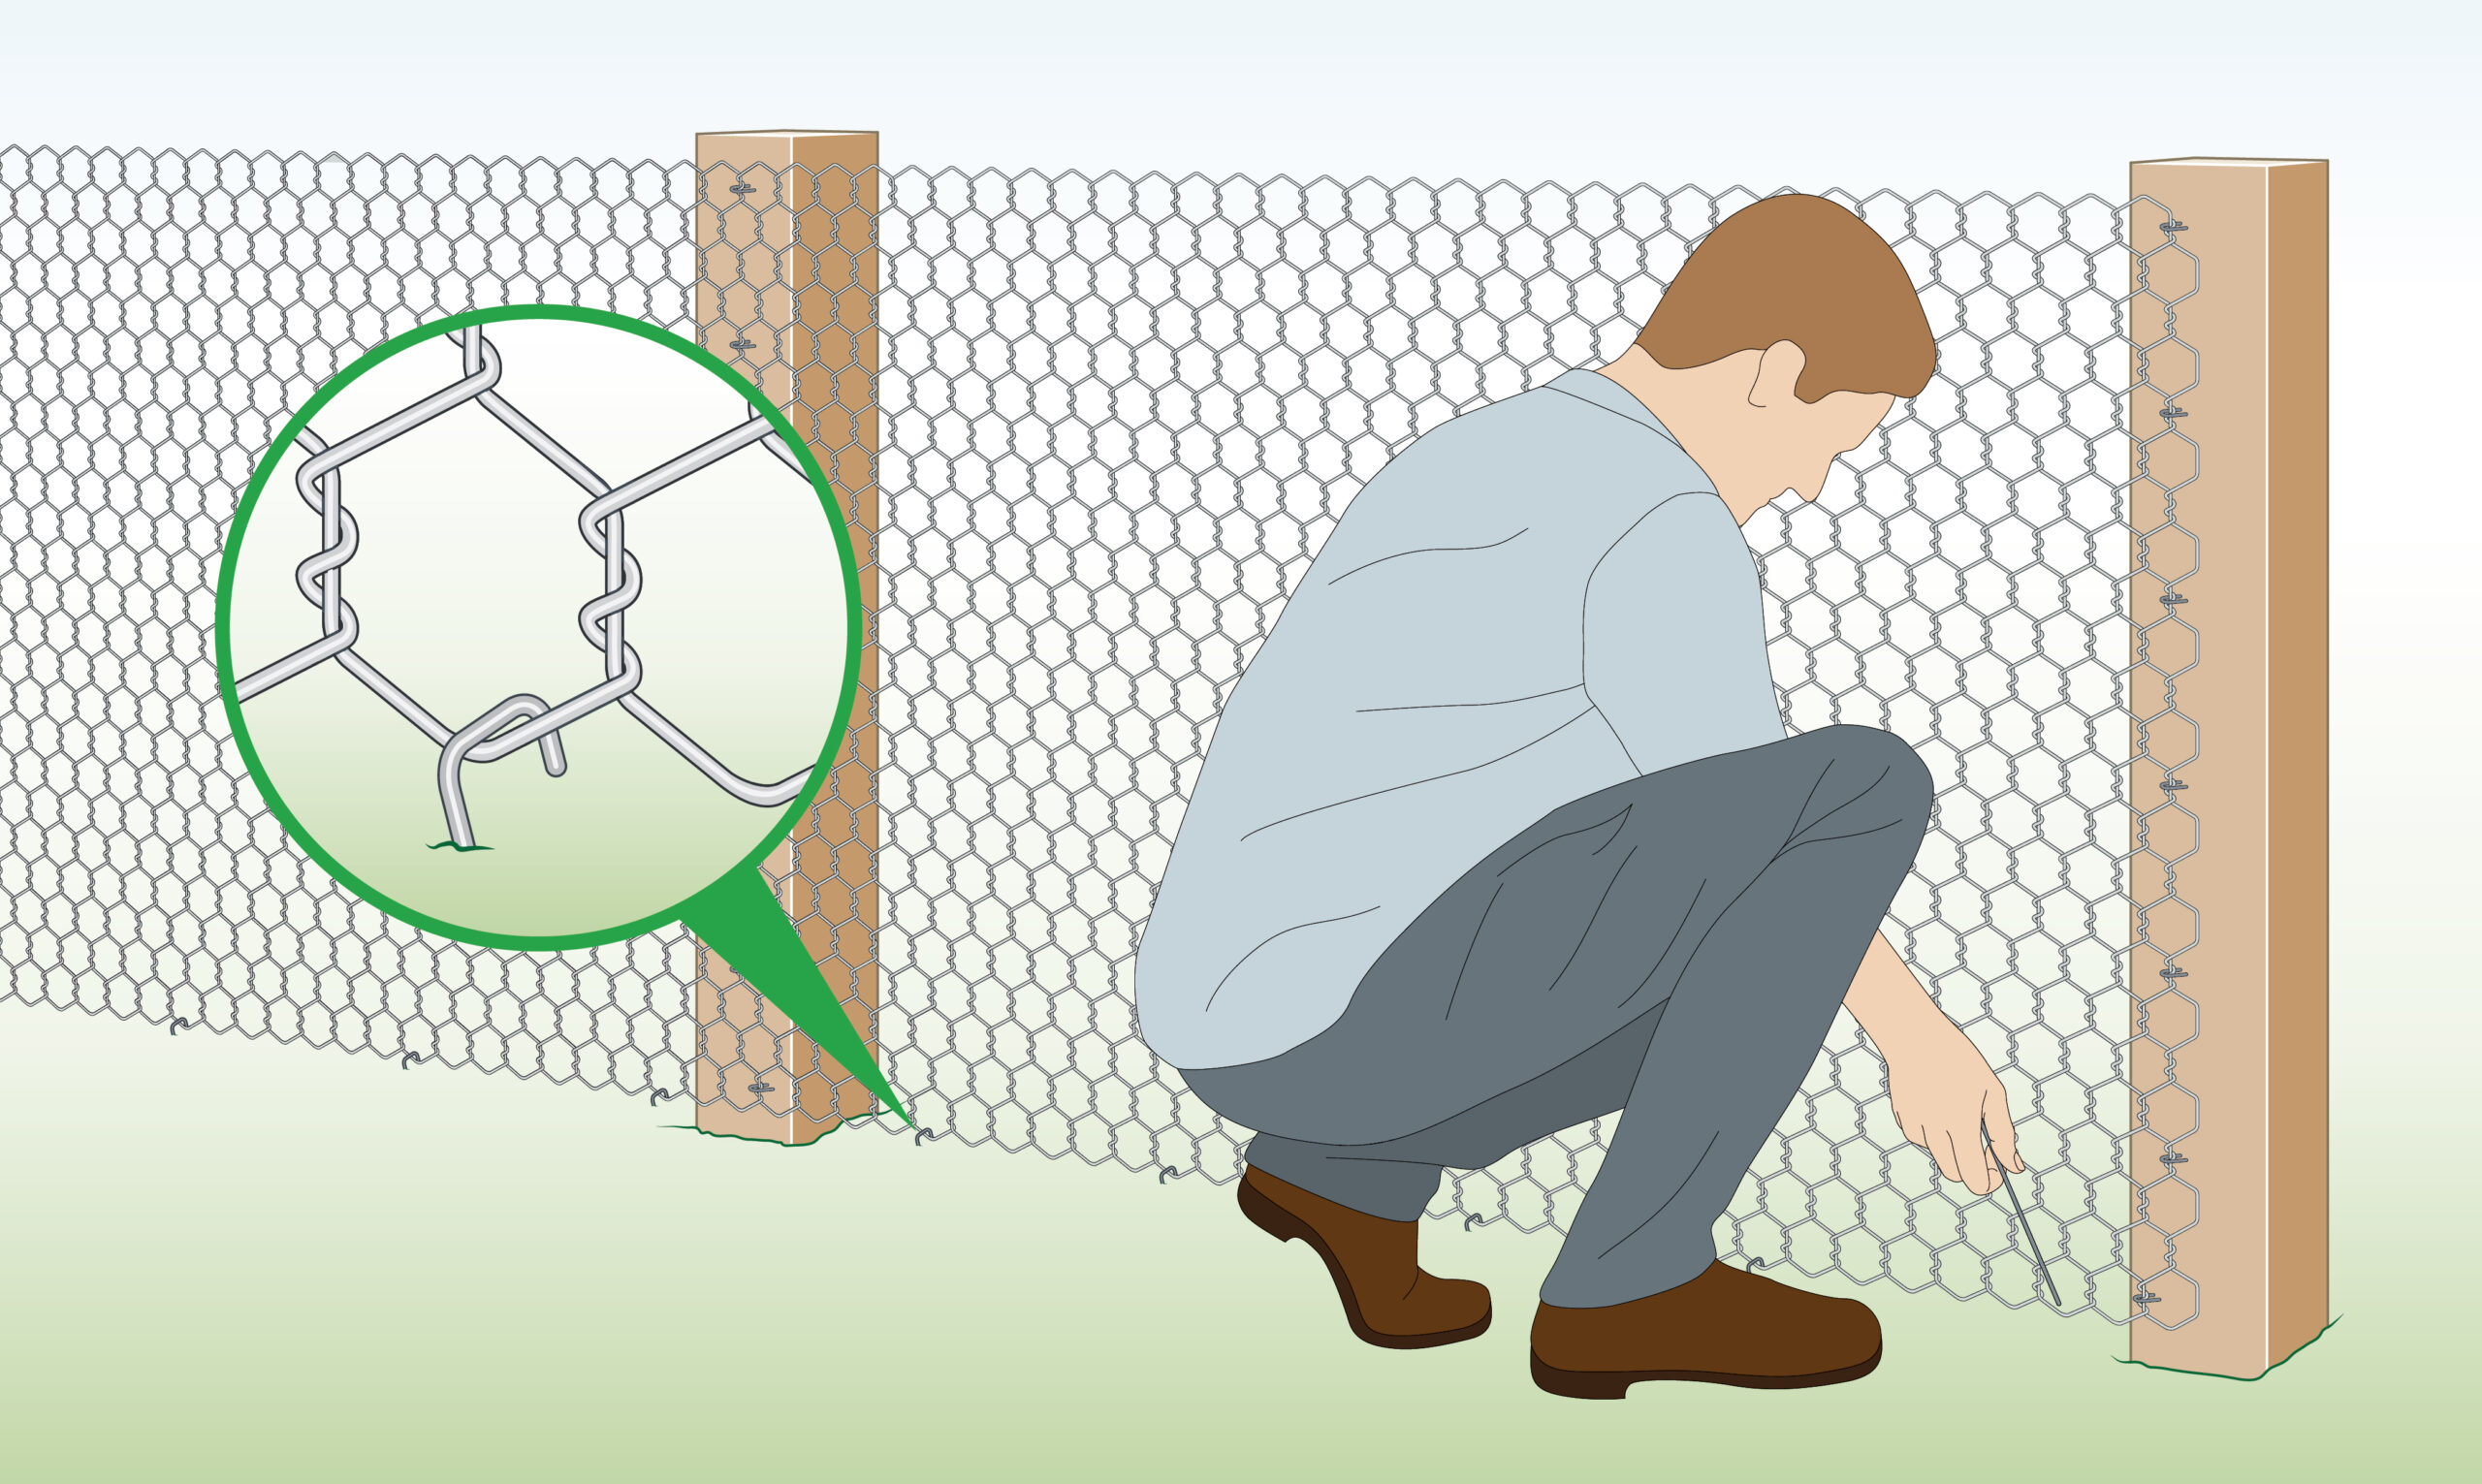
| Wood/ Wooden Posts(Staples) |
|
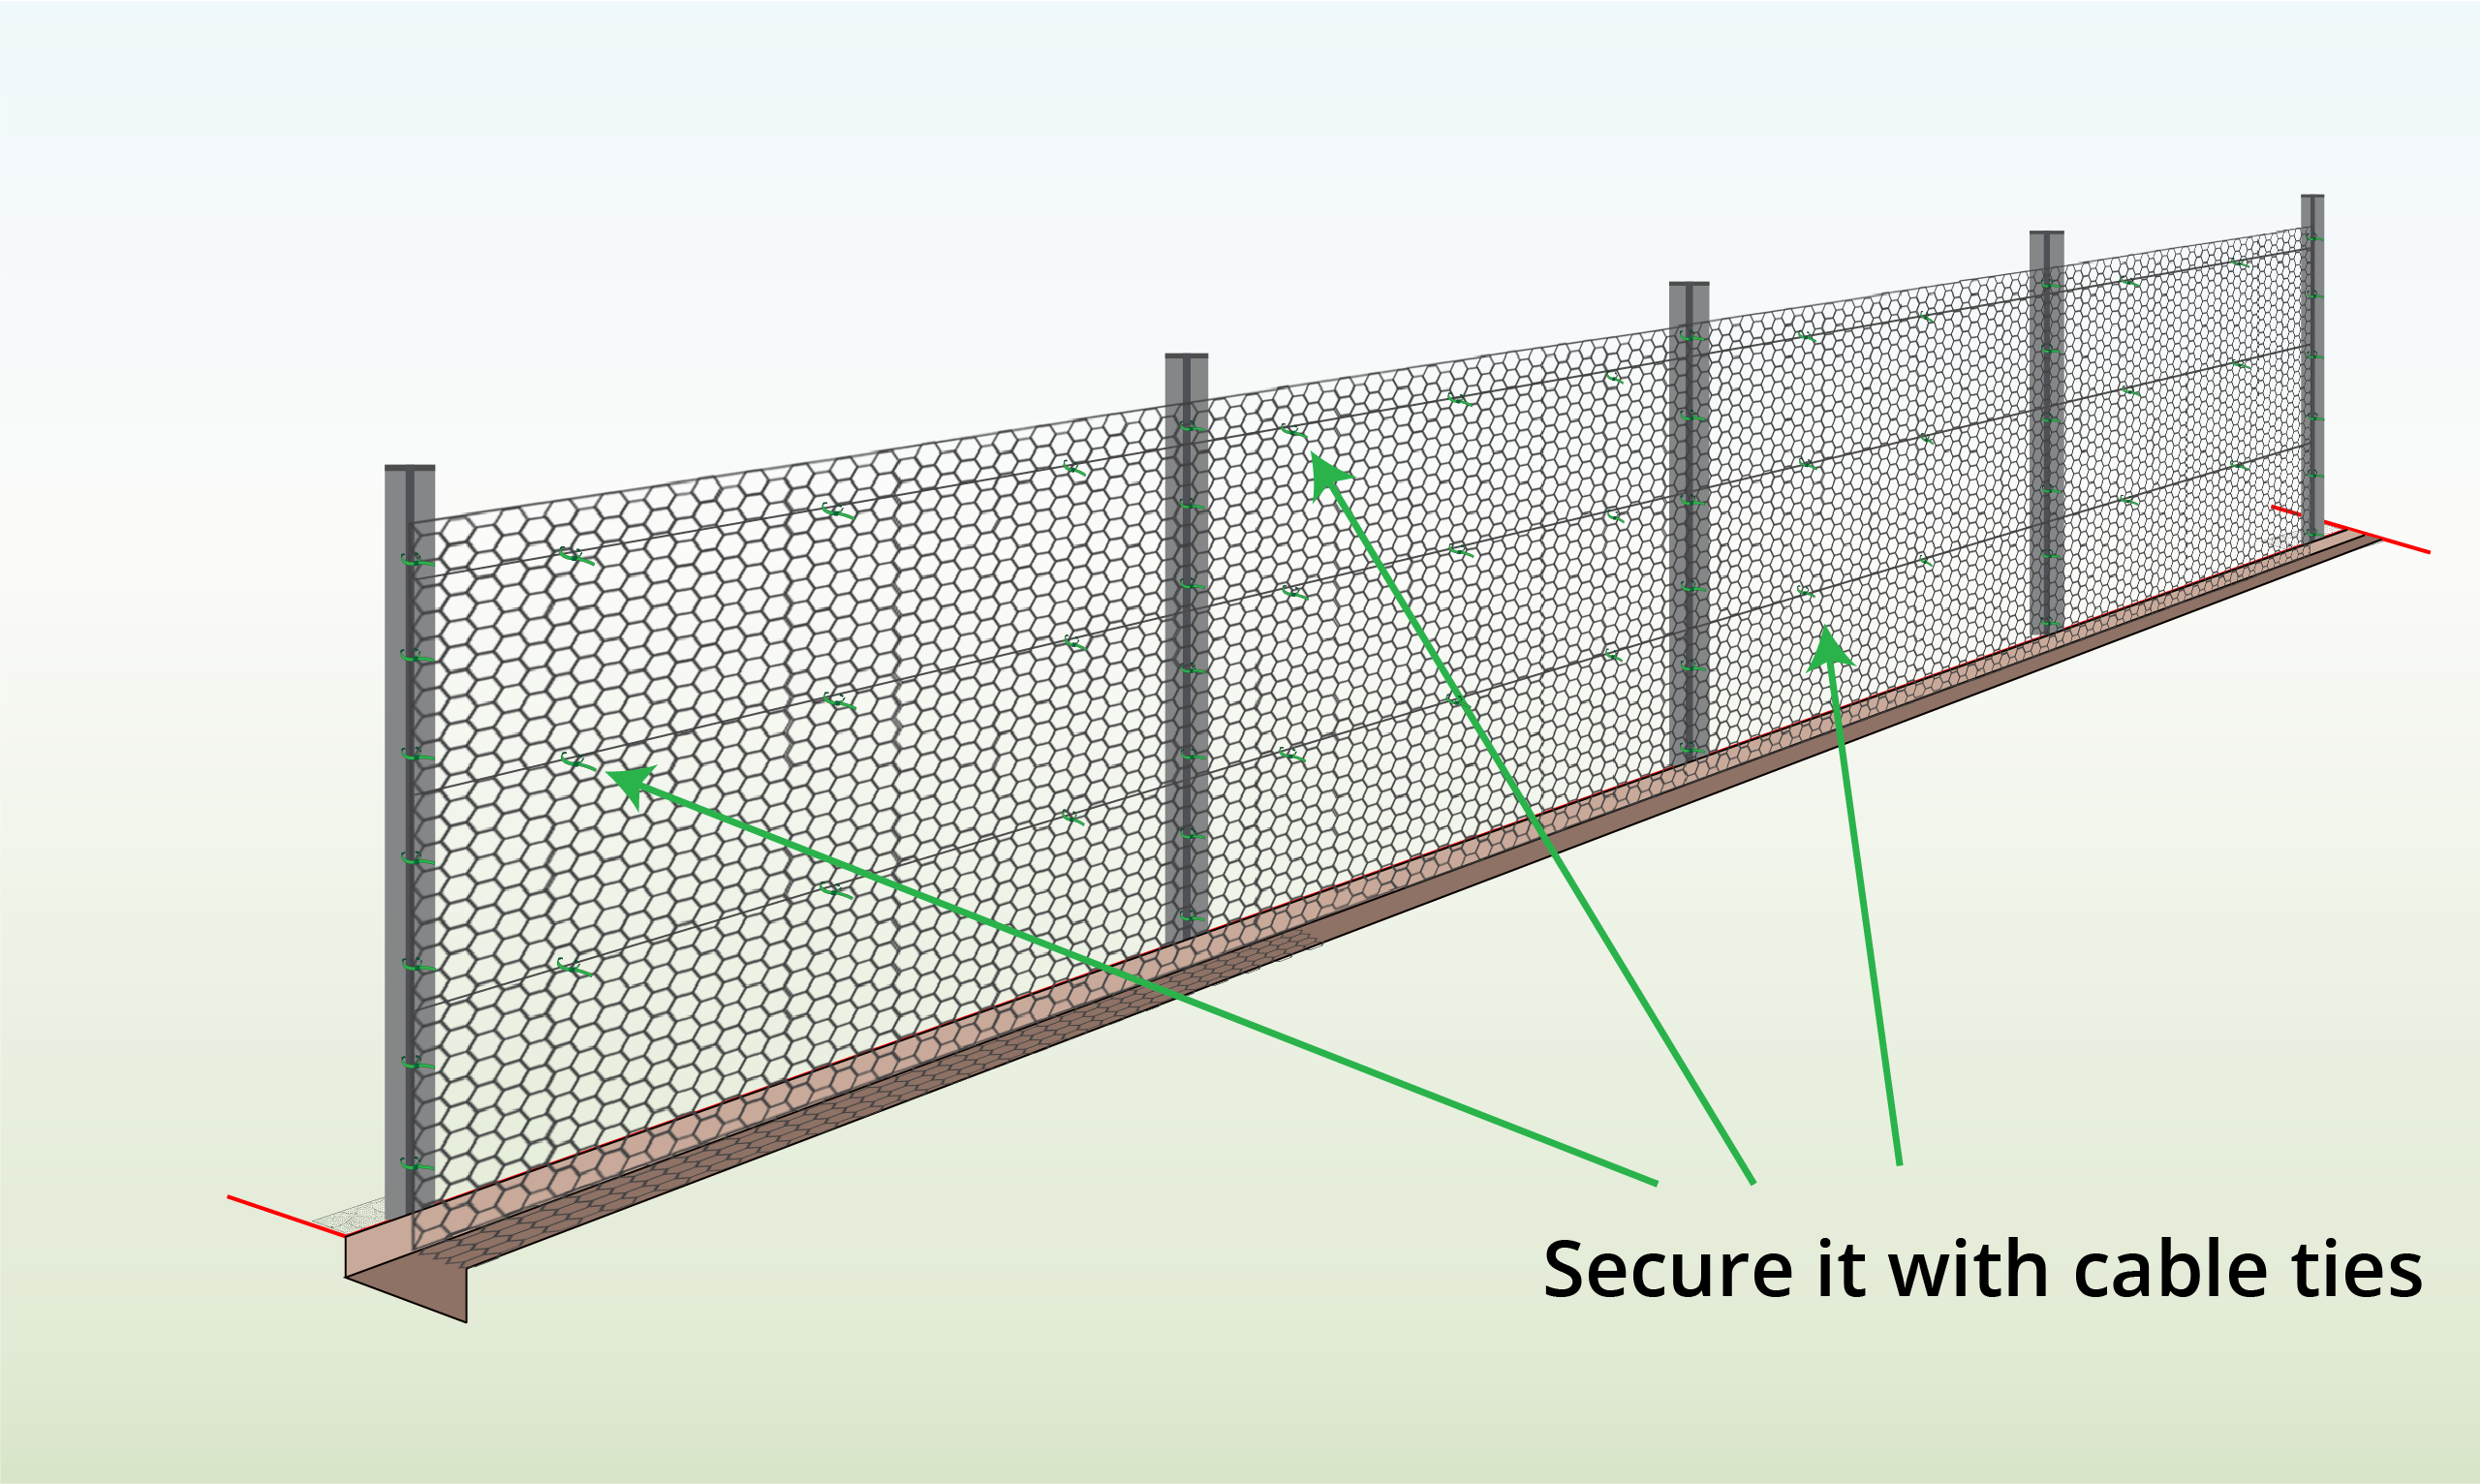
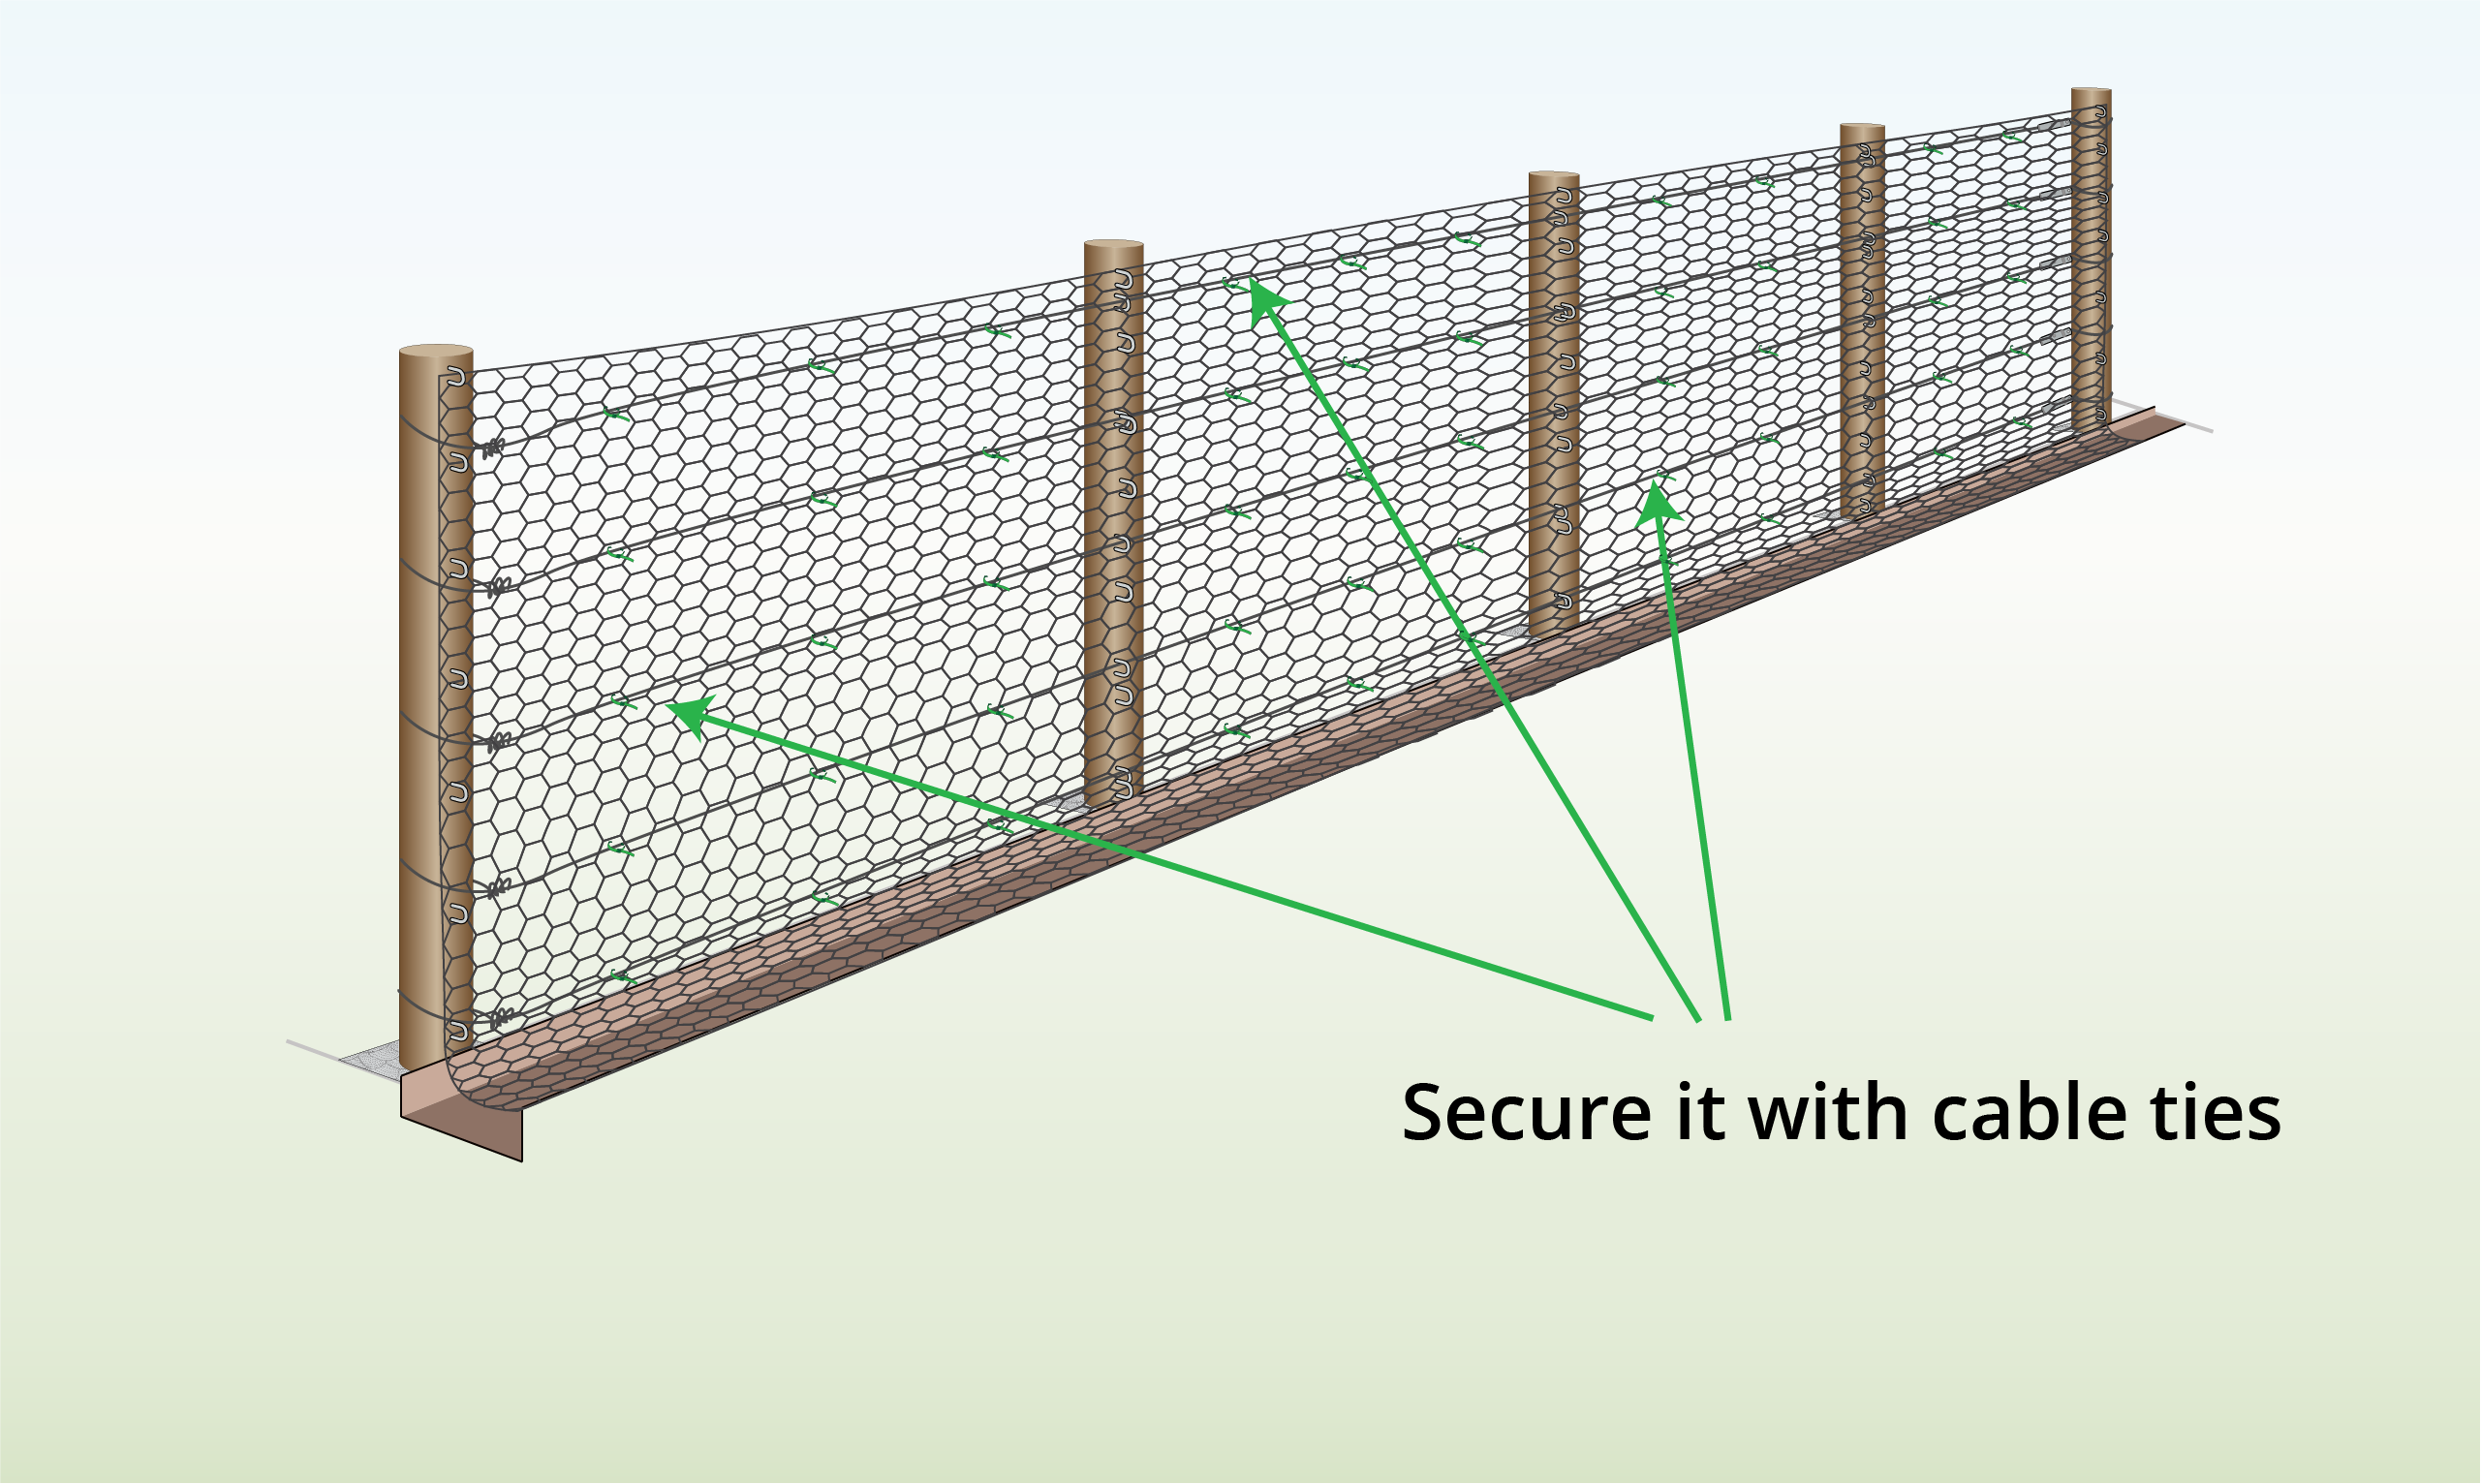
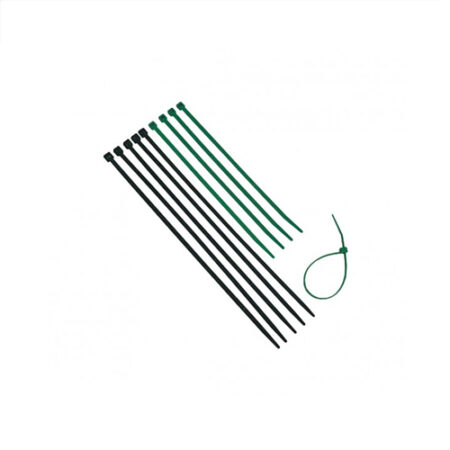
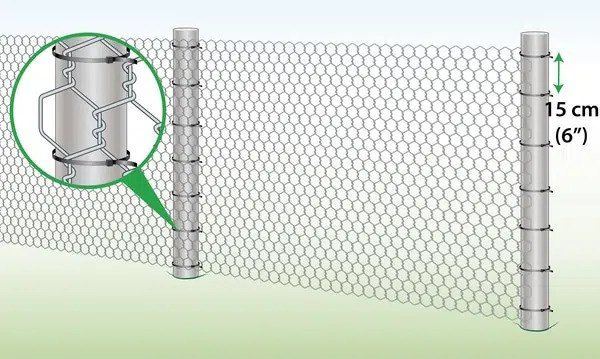
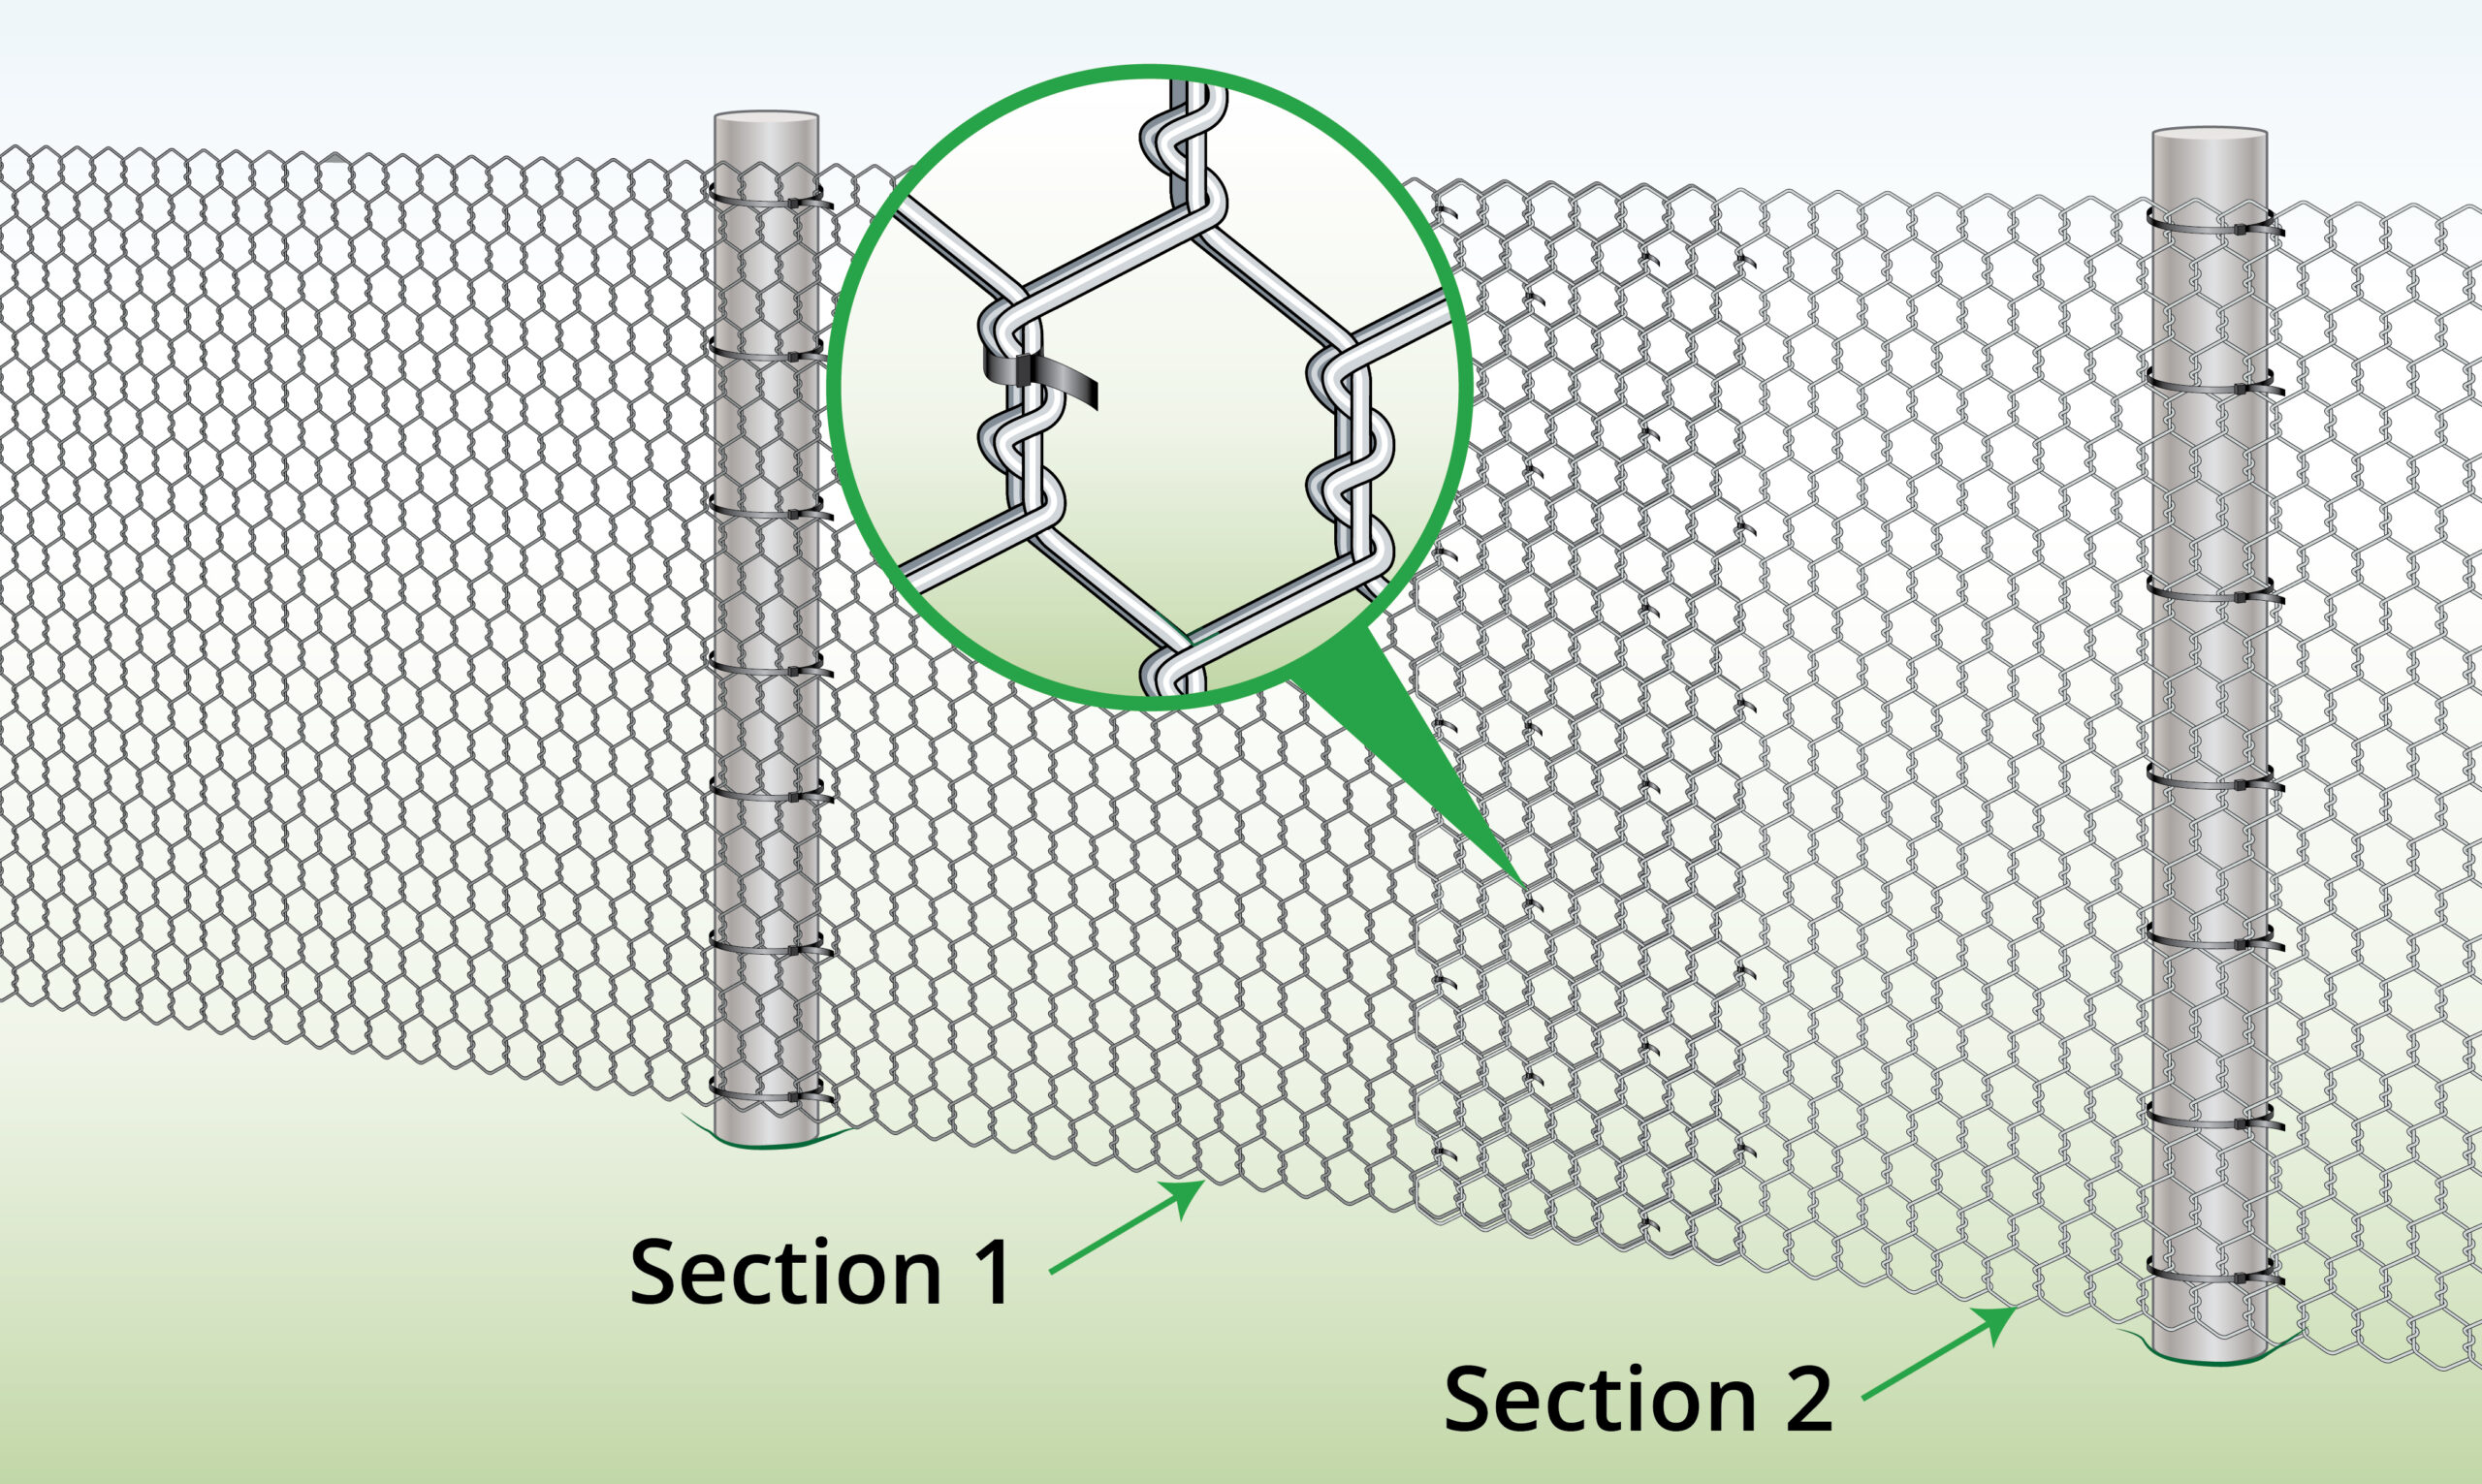
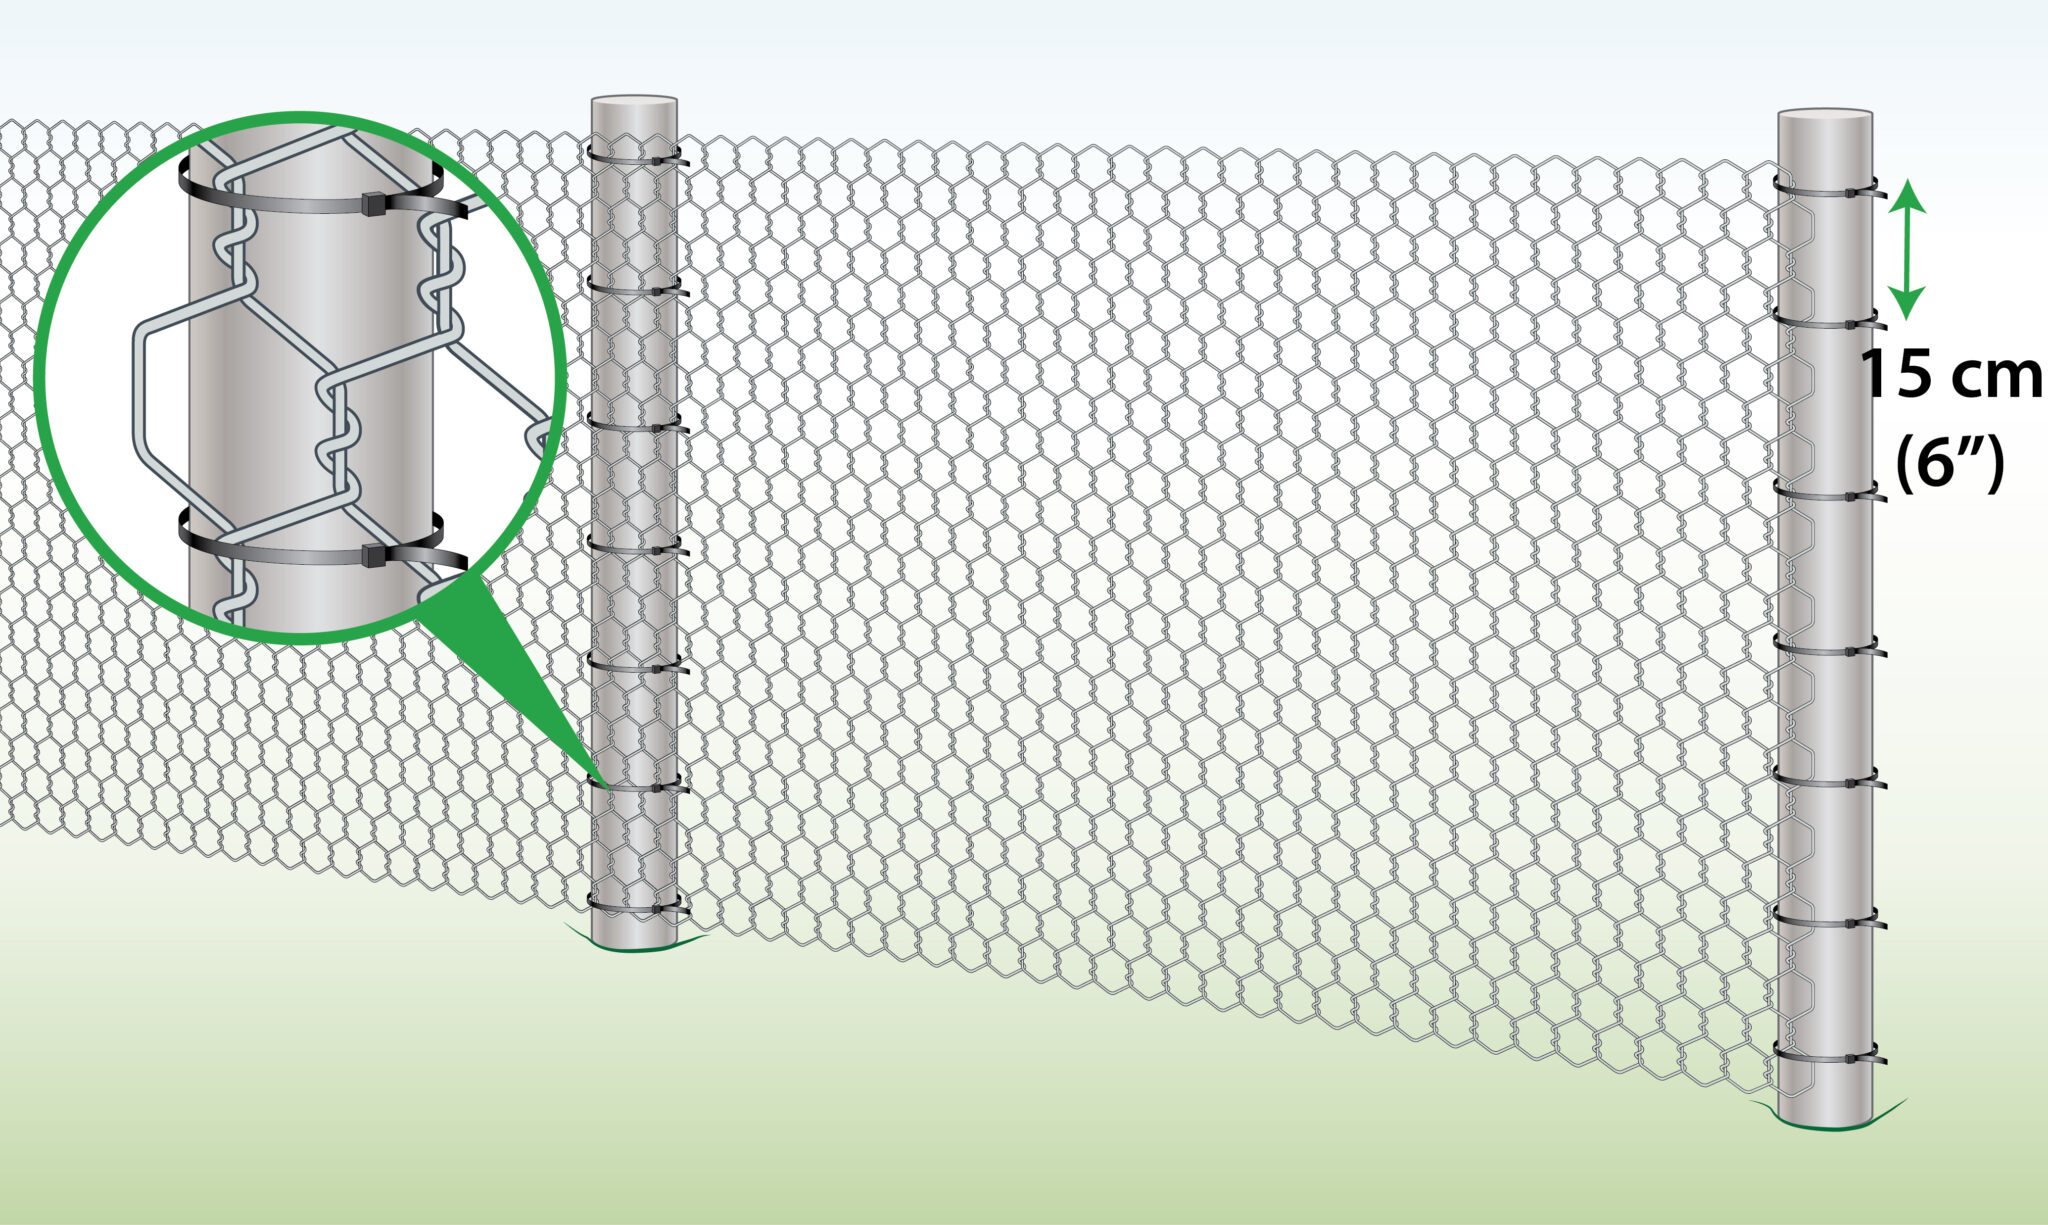
| Metal/ Metal Posts(Cable ties) |
|
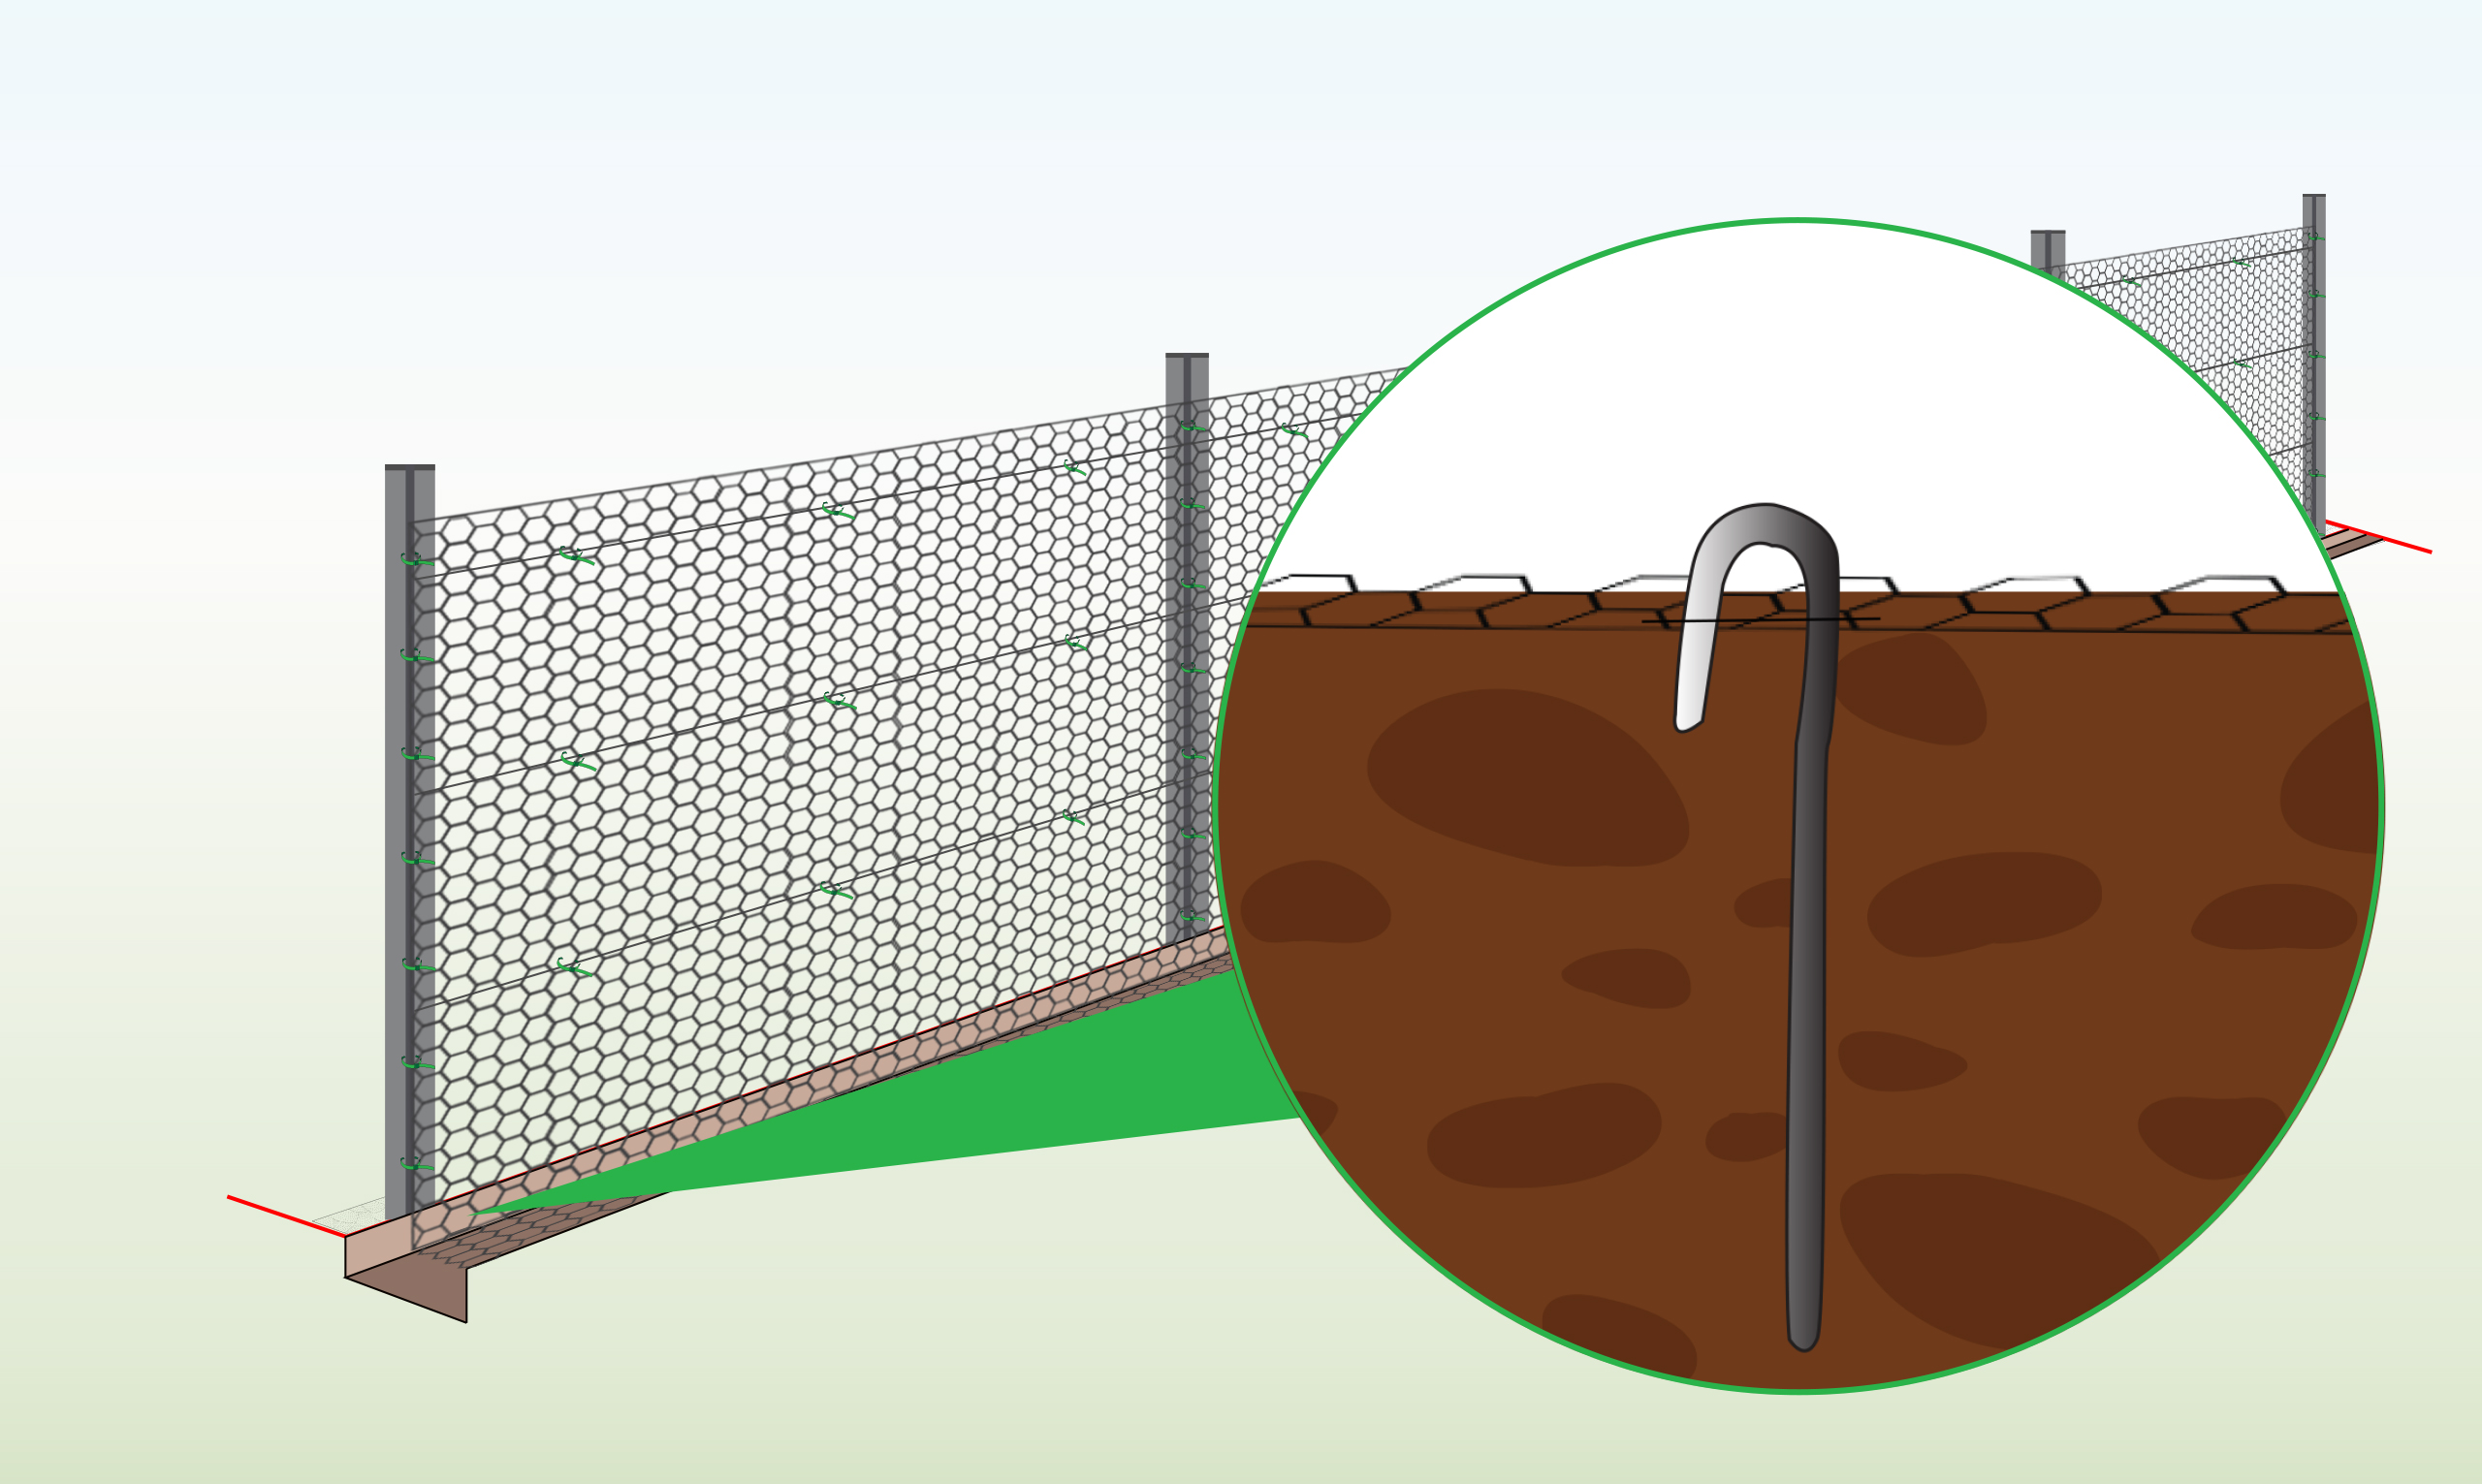
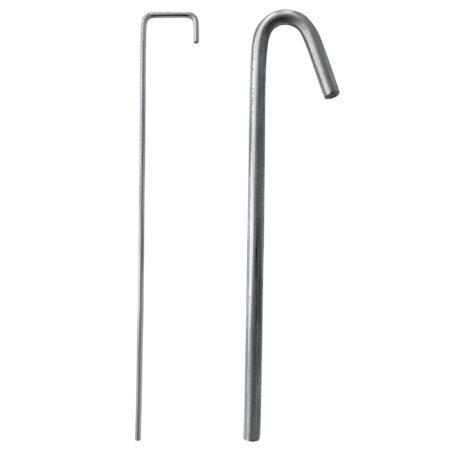
| Soil
(Pegs) |
 |
| Wire Fence | 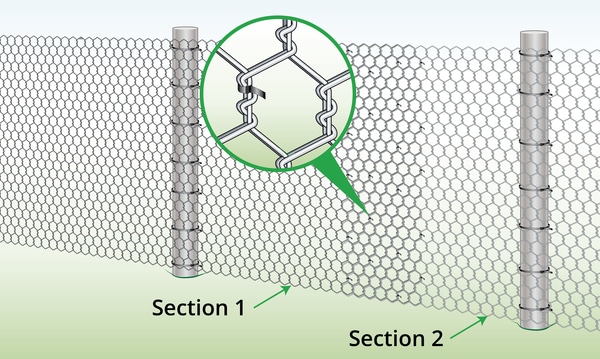 |
Rabbits are likely to wreak havoc on your vegetable garden so you need to work towards keeping them at bay. Please see step by step instructions in the PDF section below.
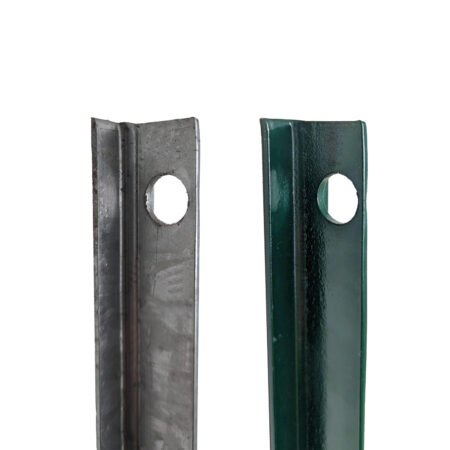
With T Posts
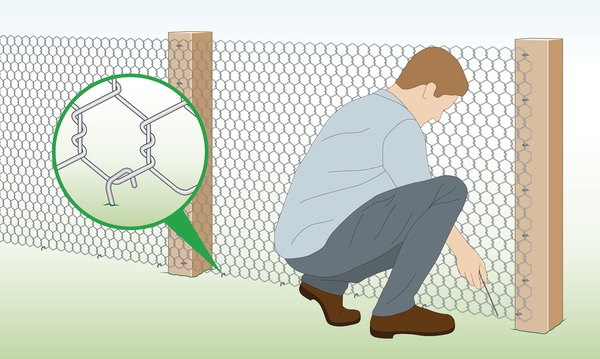
With Wooden Posts
| To Do | Explanation |
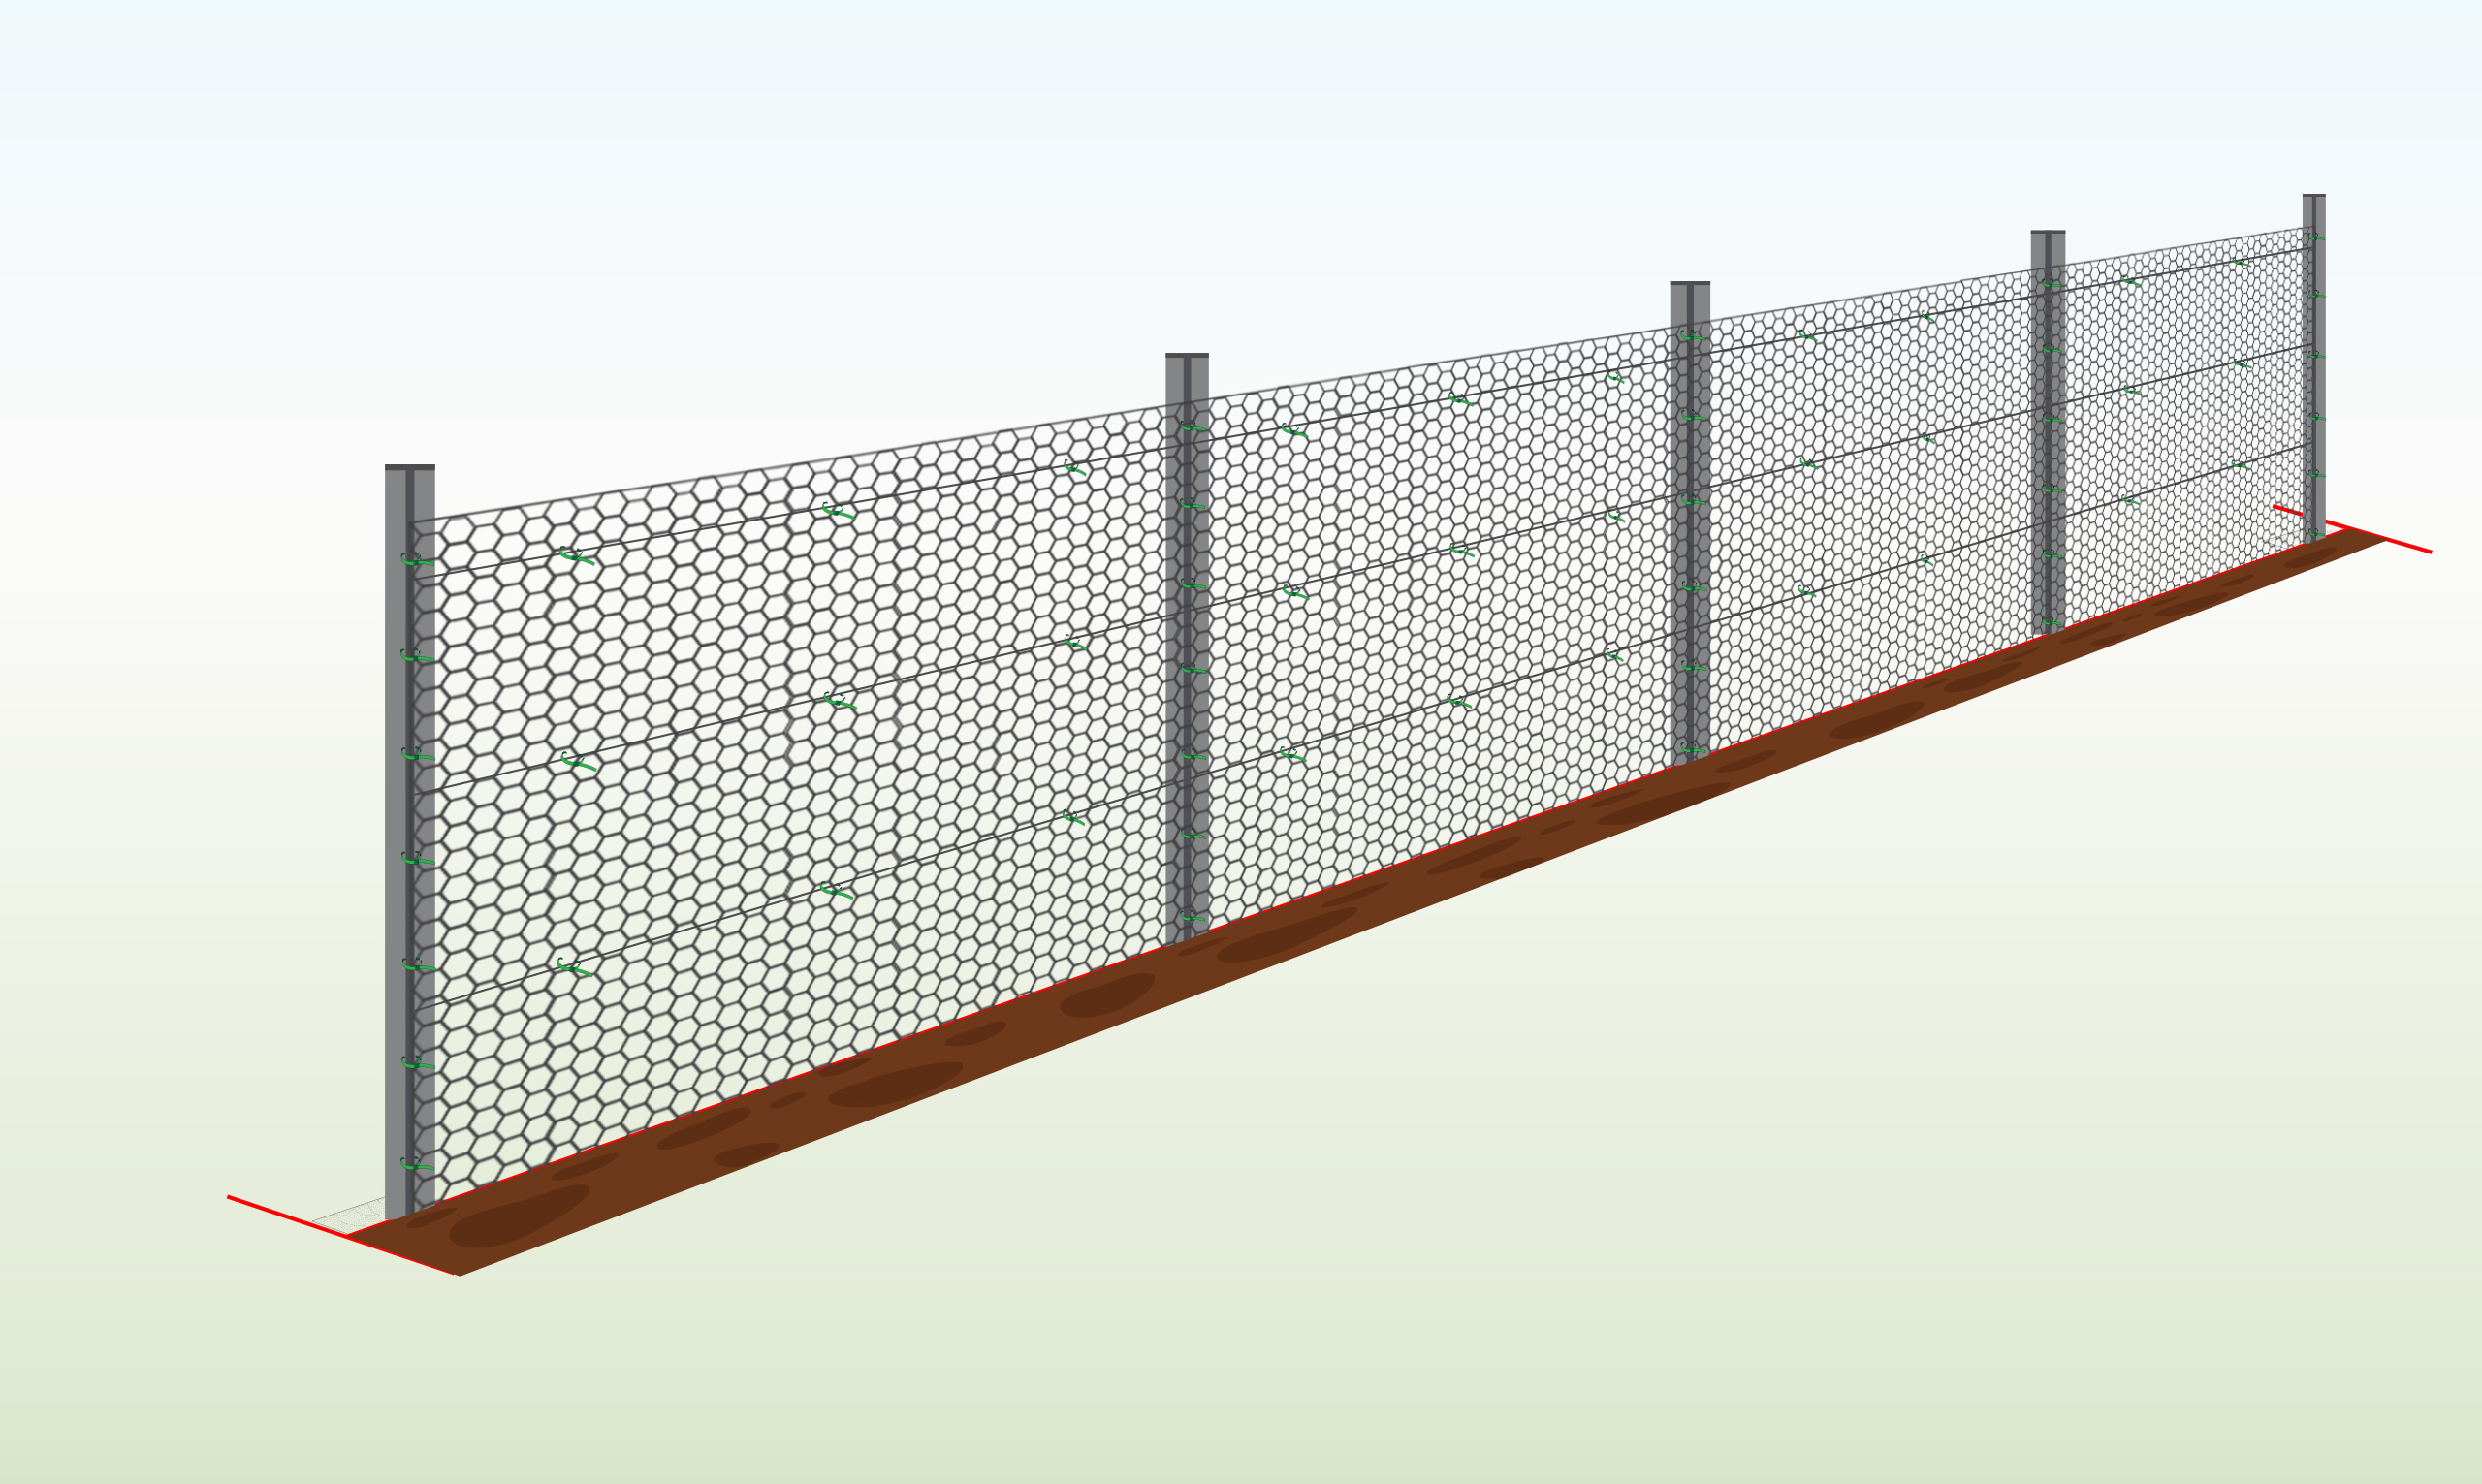
| Completed Installation
|
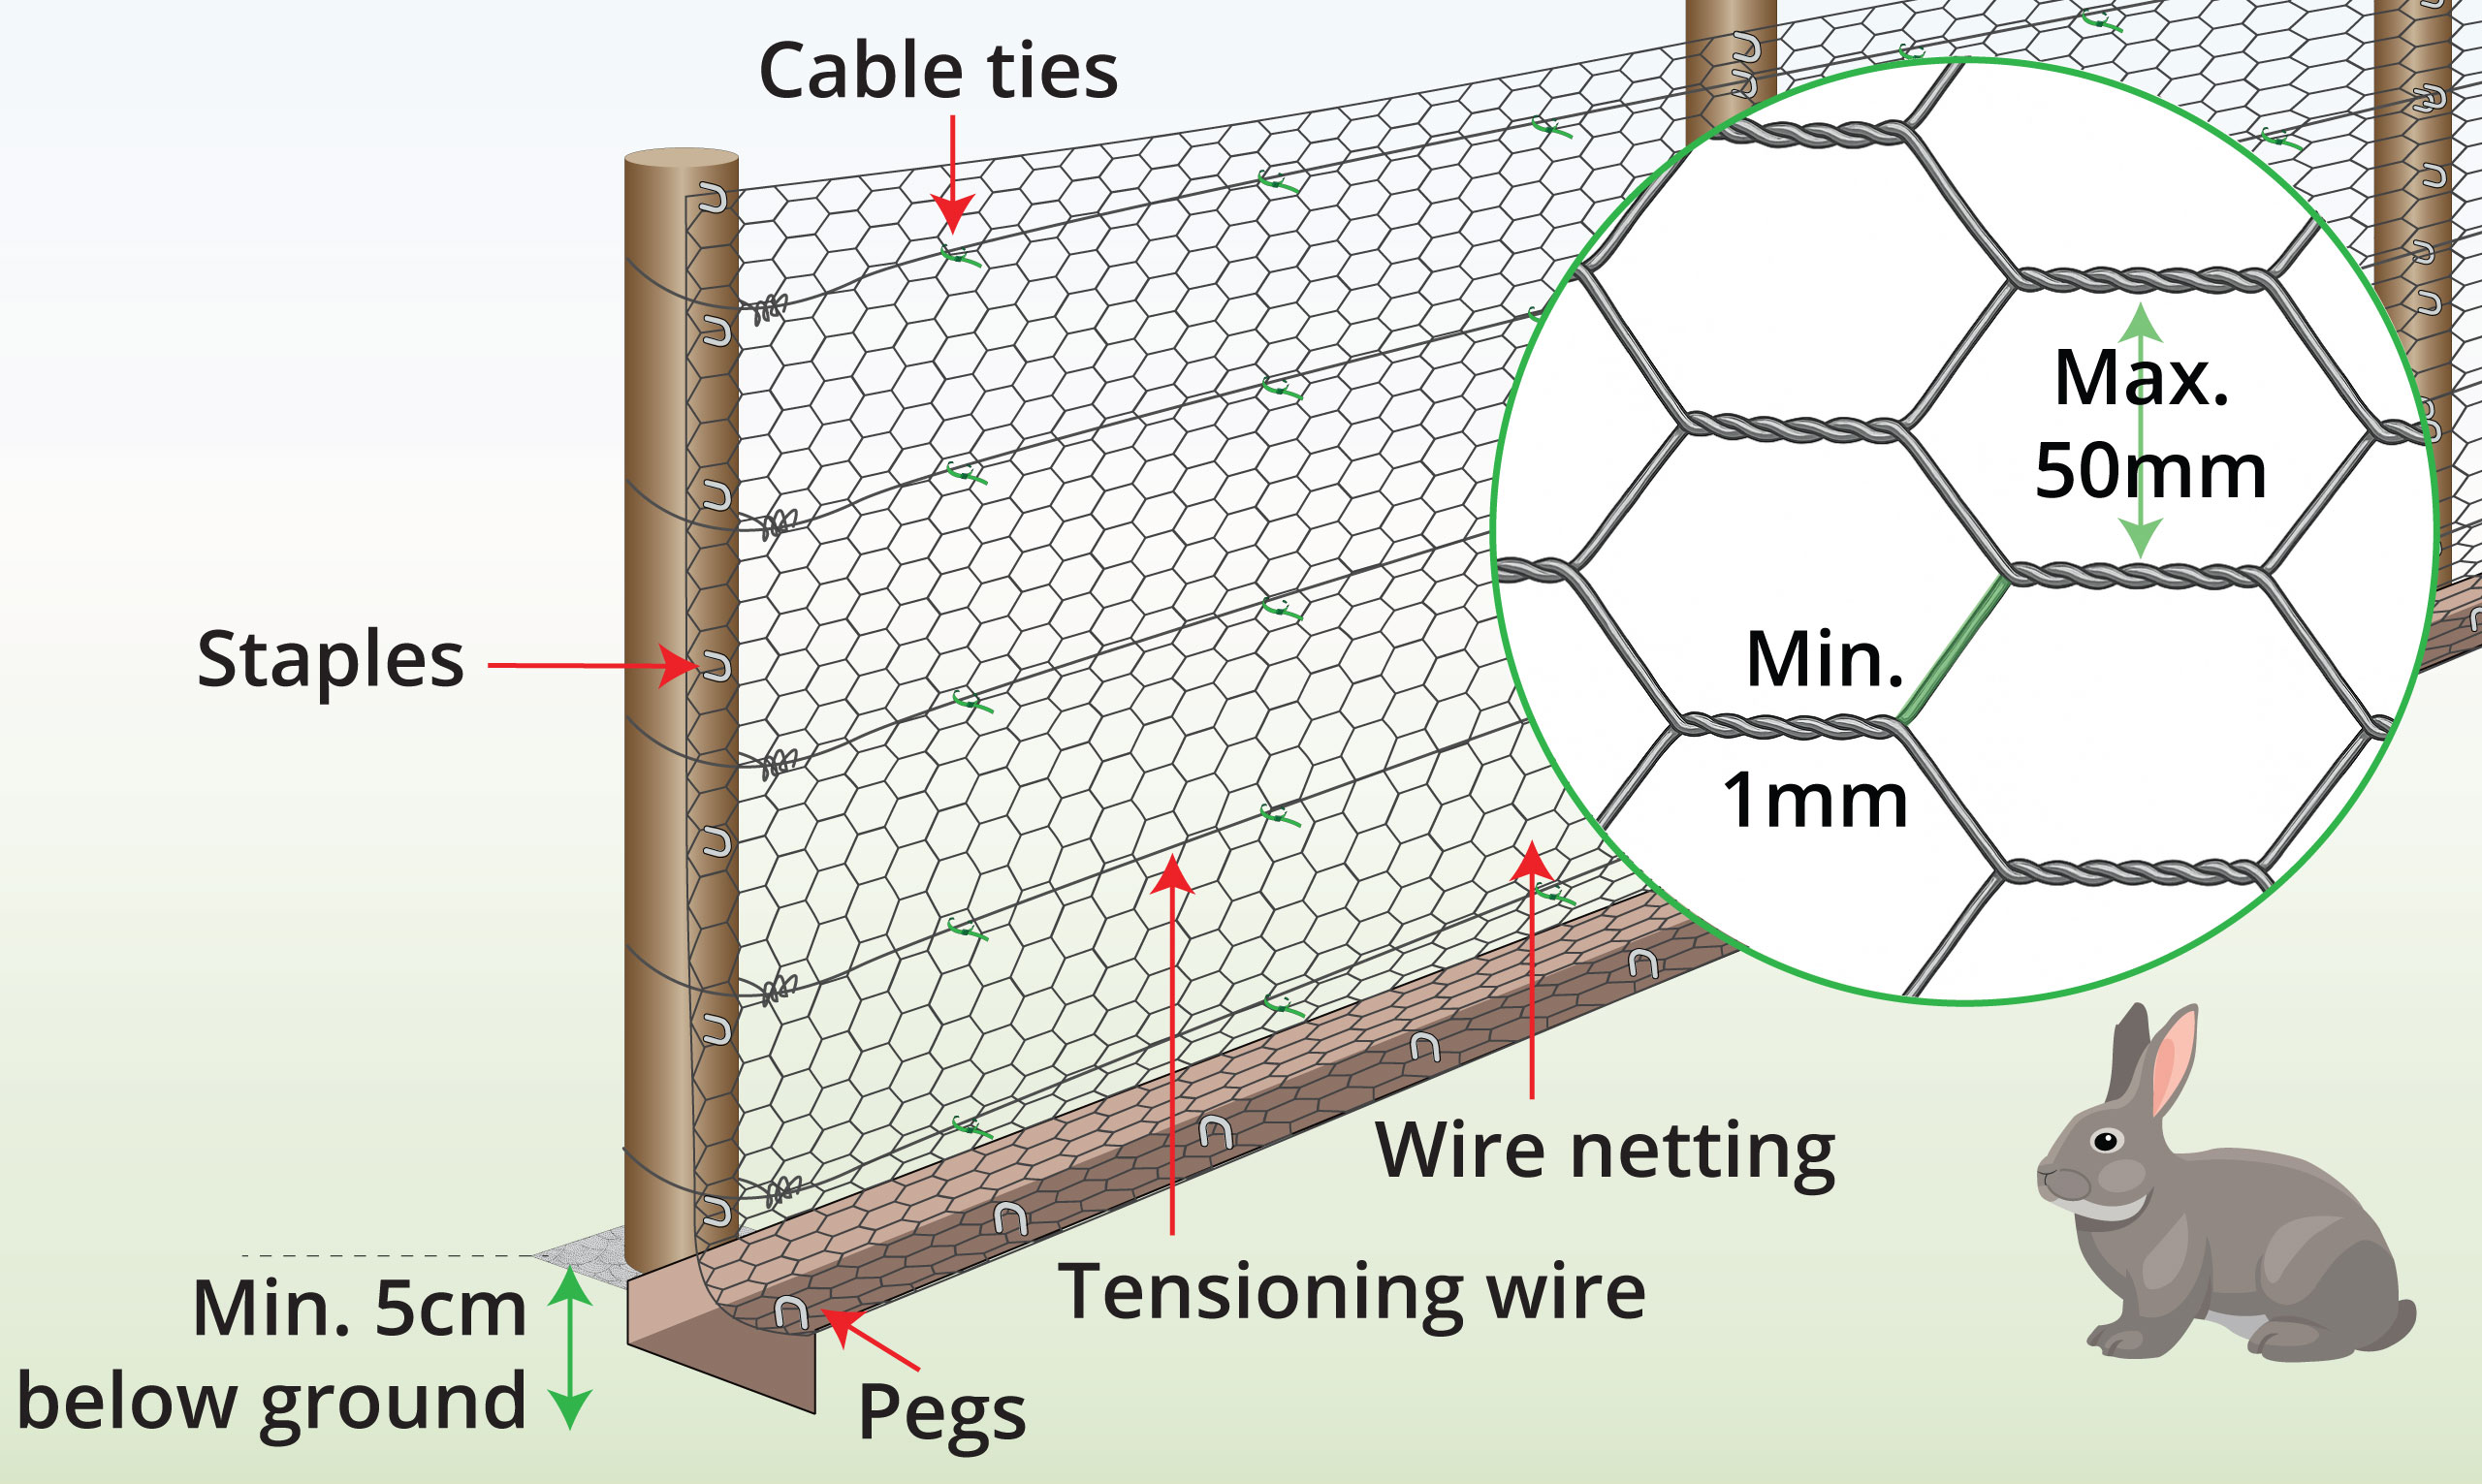
Set T-posts 2–3 m apart. Dig a 5 cm trench, attach the rabbit mesh to the posts and fold the bottom 15 cm in the trench. Secure the flap with pegs and cover with soil.
Full instructions below or watch this video |
| Step 1 – Mark Area
|
Mark a straight line at each end between the two posts for the fence. |
| Step 2 – Measure Post Distance
|
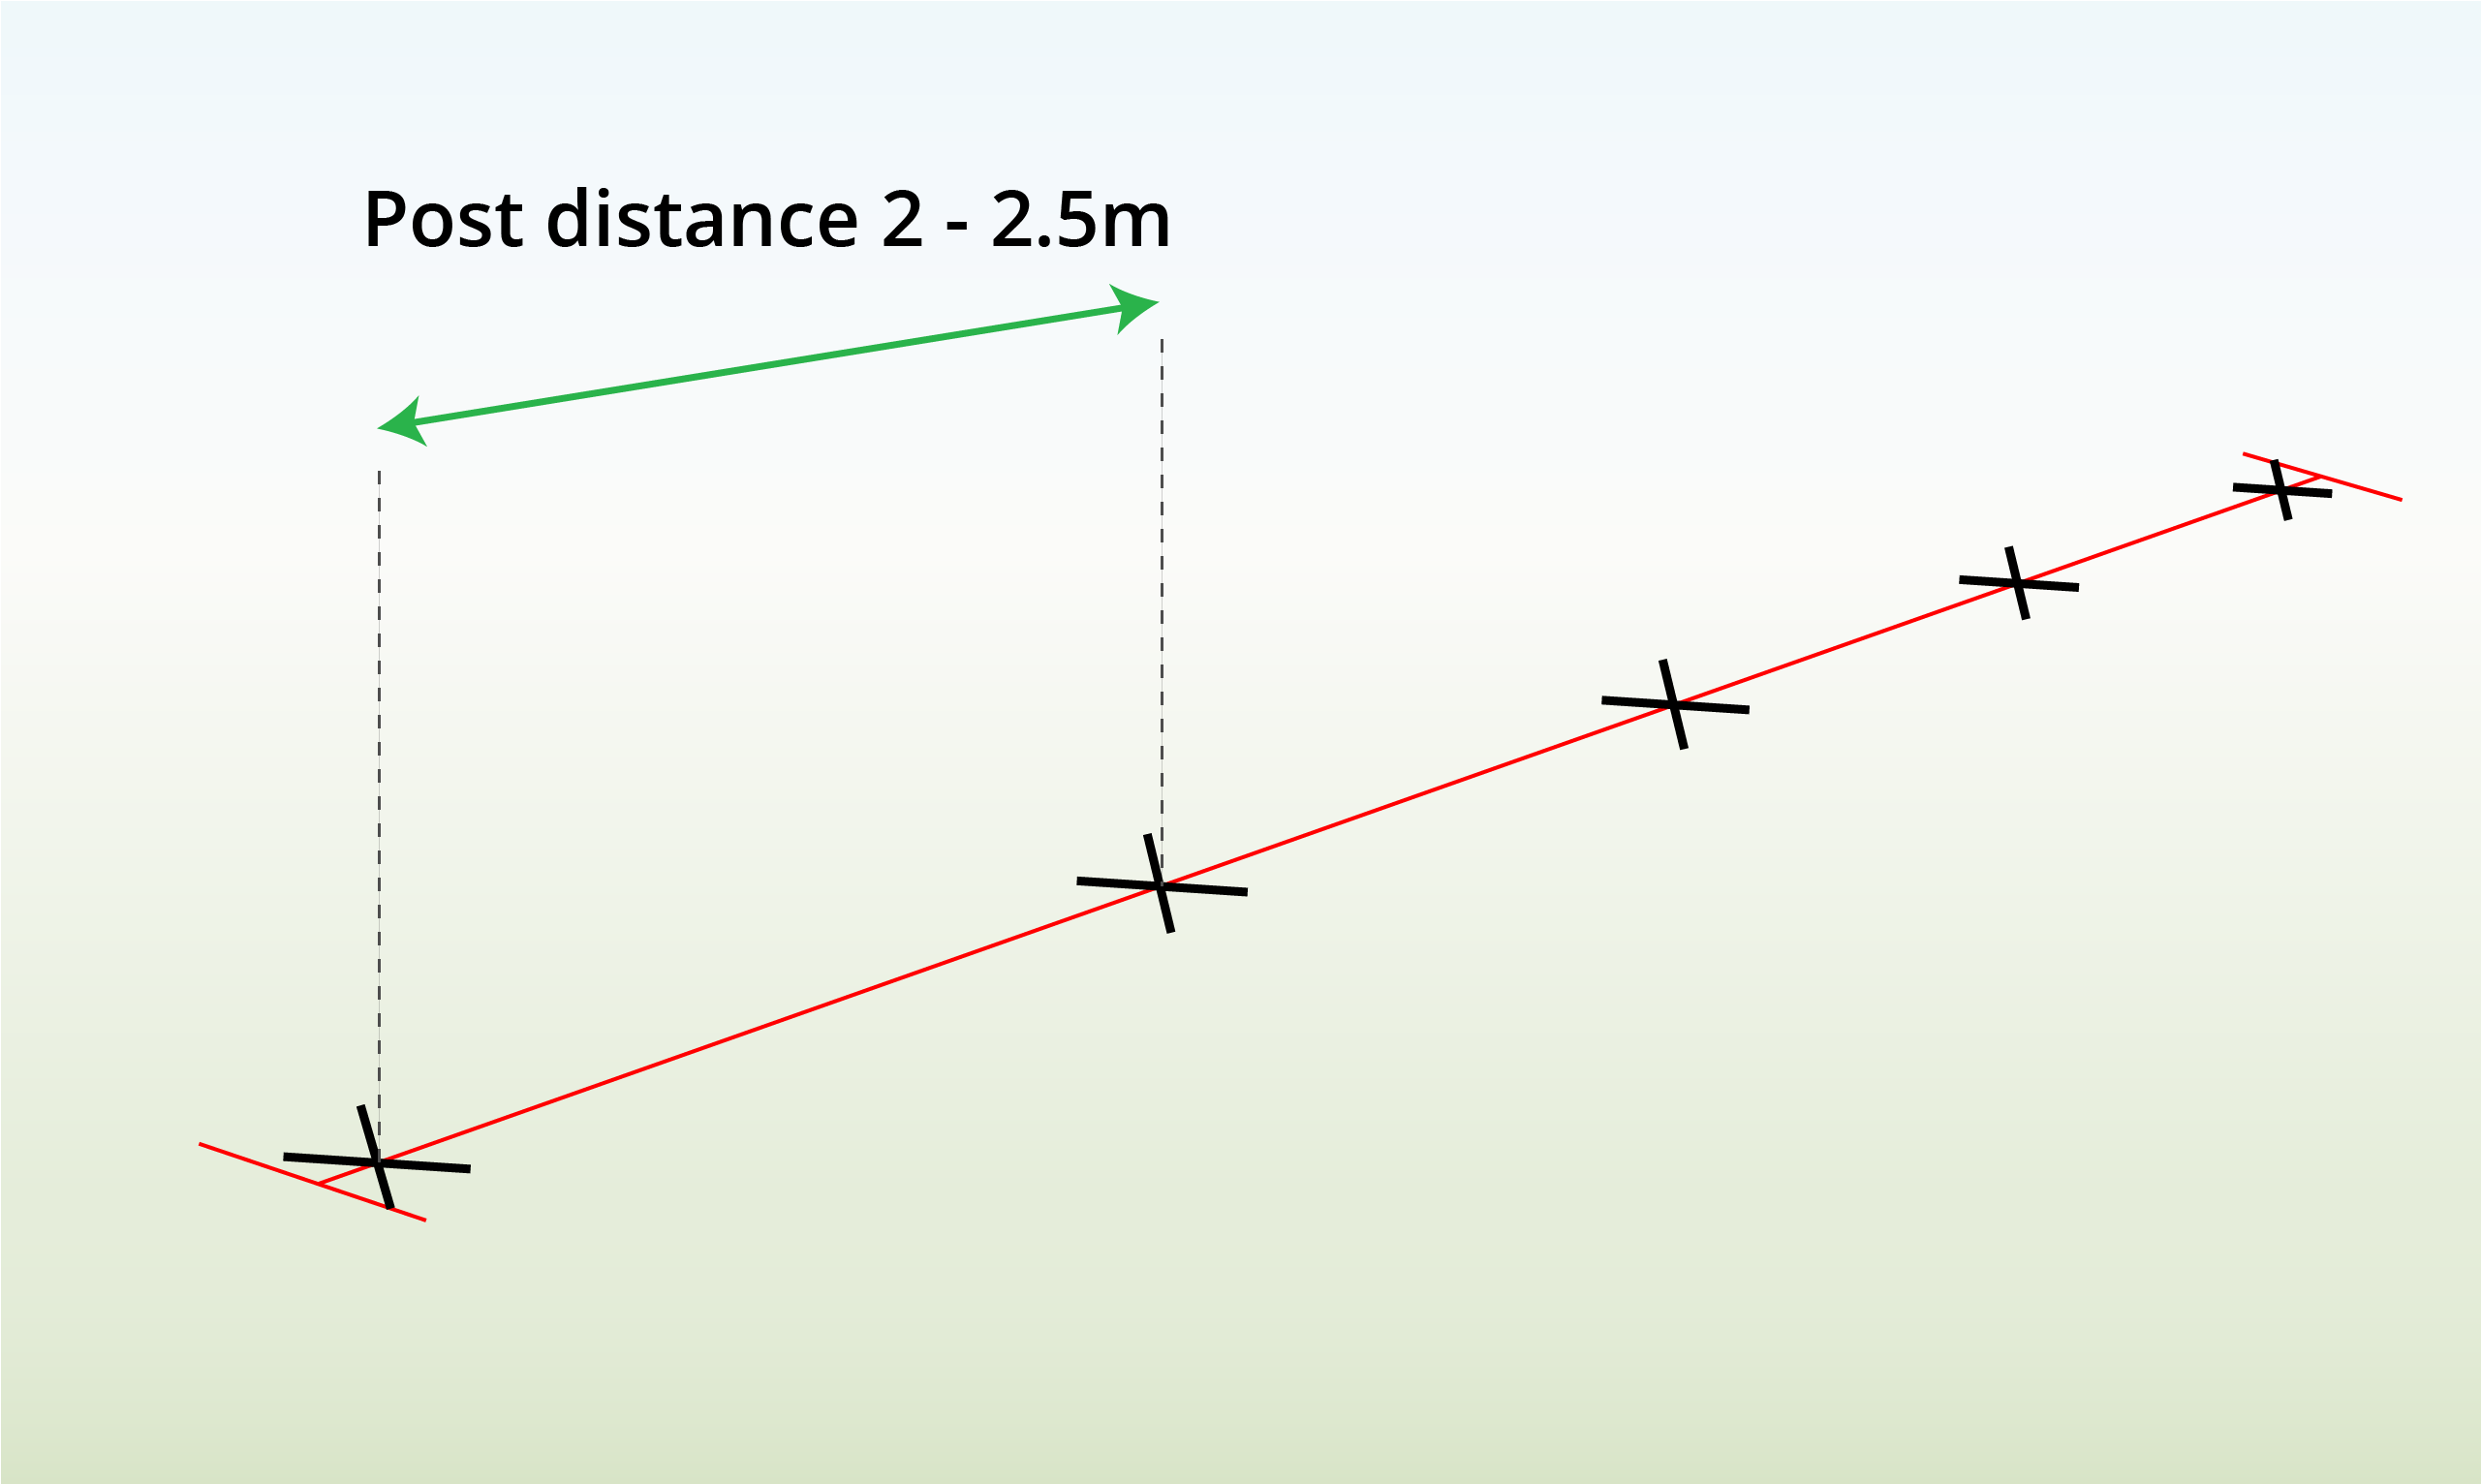
Indicate the post locations 2-3m apart using a tape measure.
Shorten the distance between your fence posts to enhance stability. |
| Step 3 – Install End Posts
|
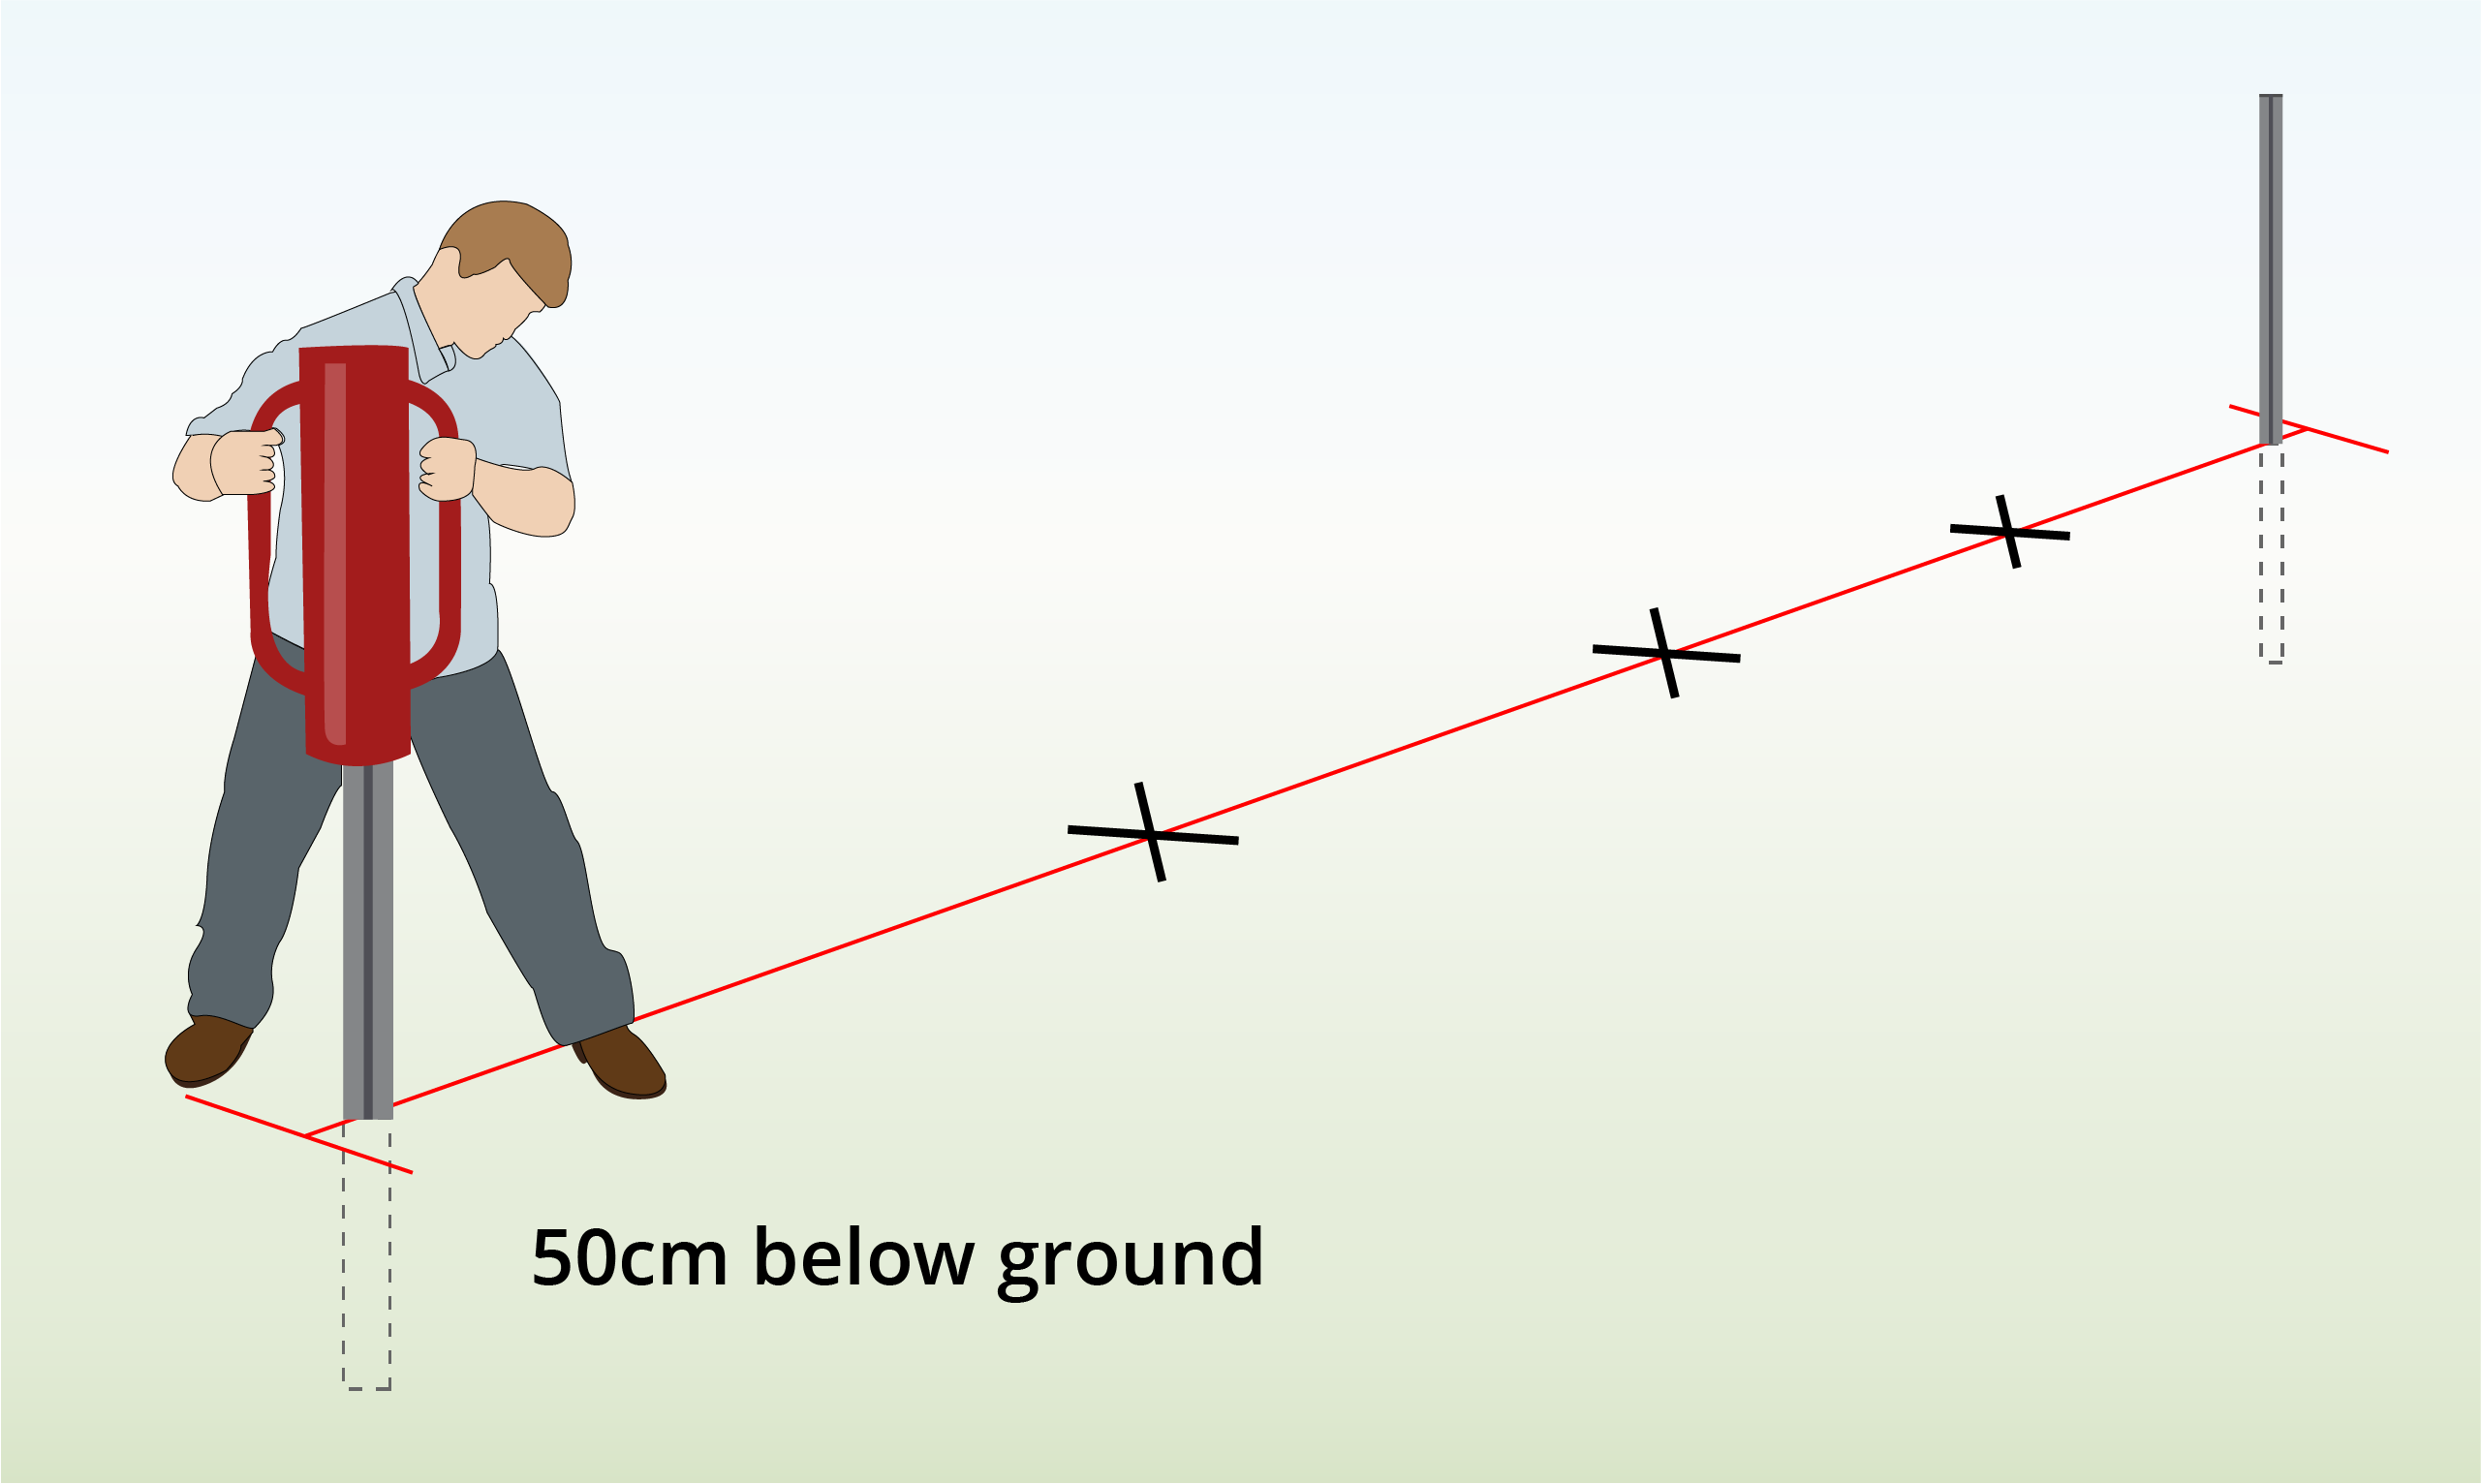
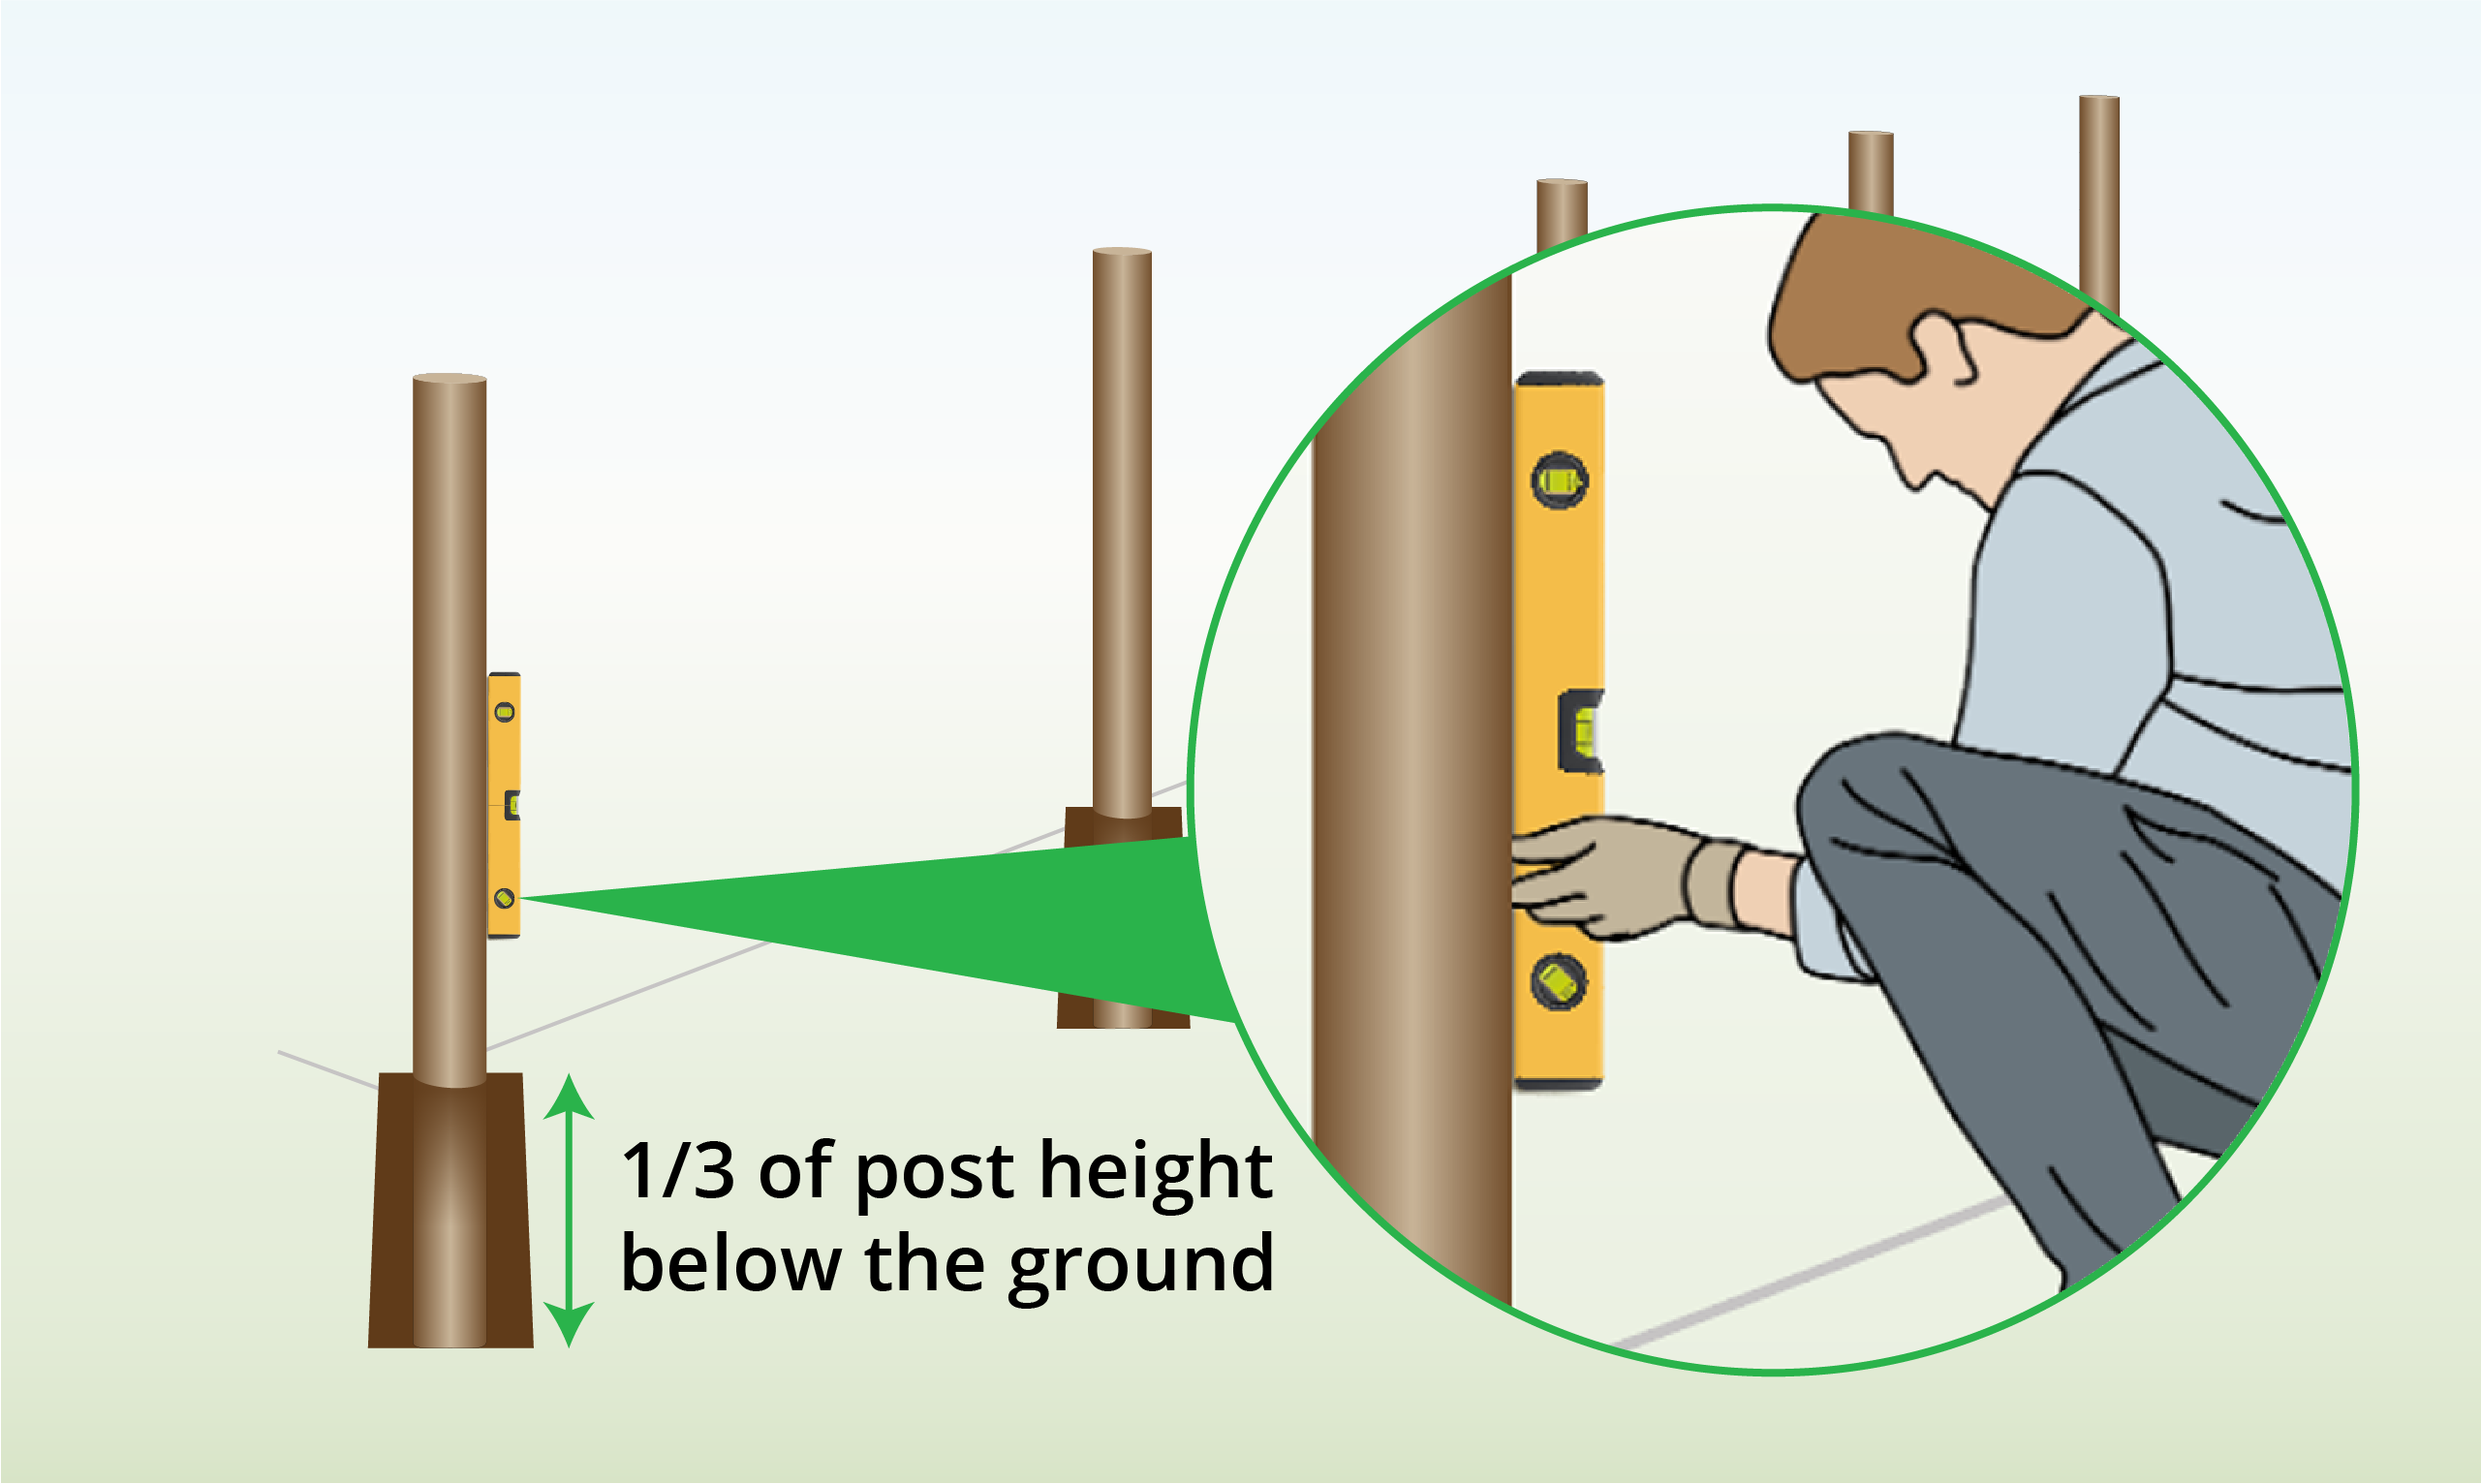
By using a post driver or mallet, drive the end posts 50cm into the ground.
To maintain consistent alignment, ensure that the holes of the posts face each other. |
| Step 4 – Check for Same Height
|
Secure a piece of string between the end posts, then use a tape measure to verify that they have been installed at the same height. |
| Step 5 – Check for Straightness
|
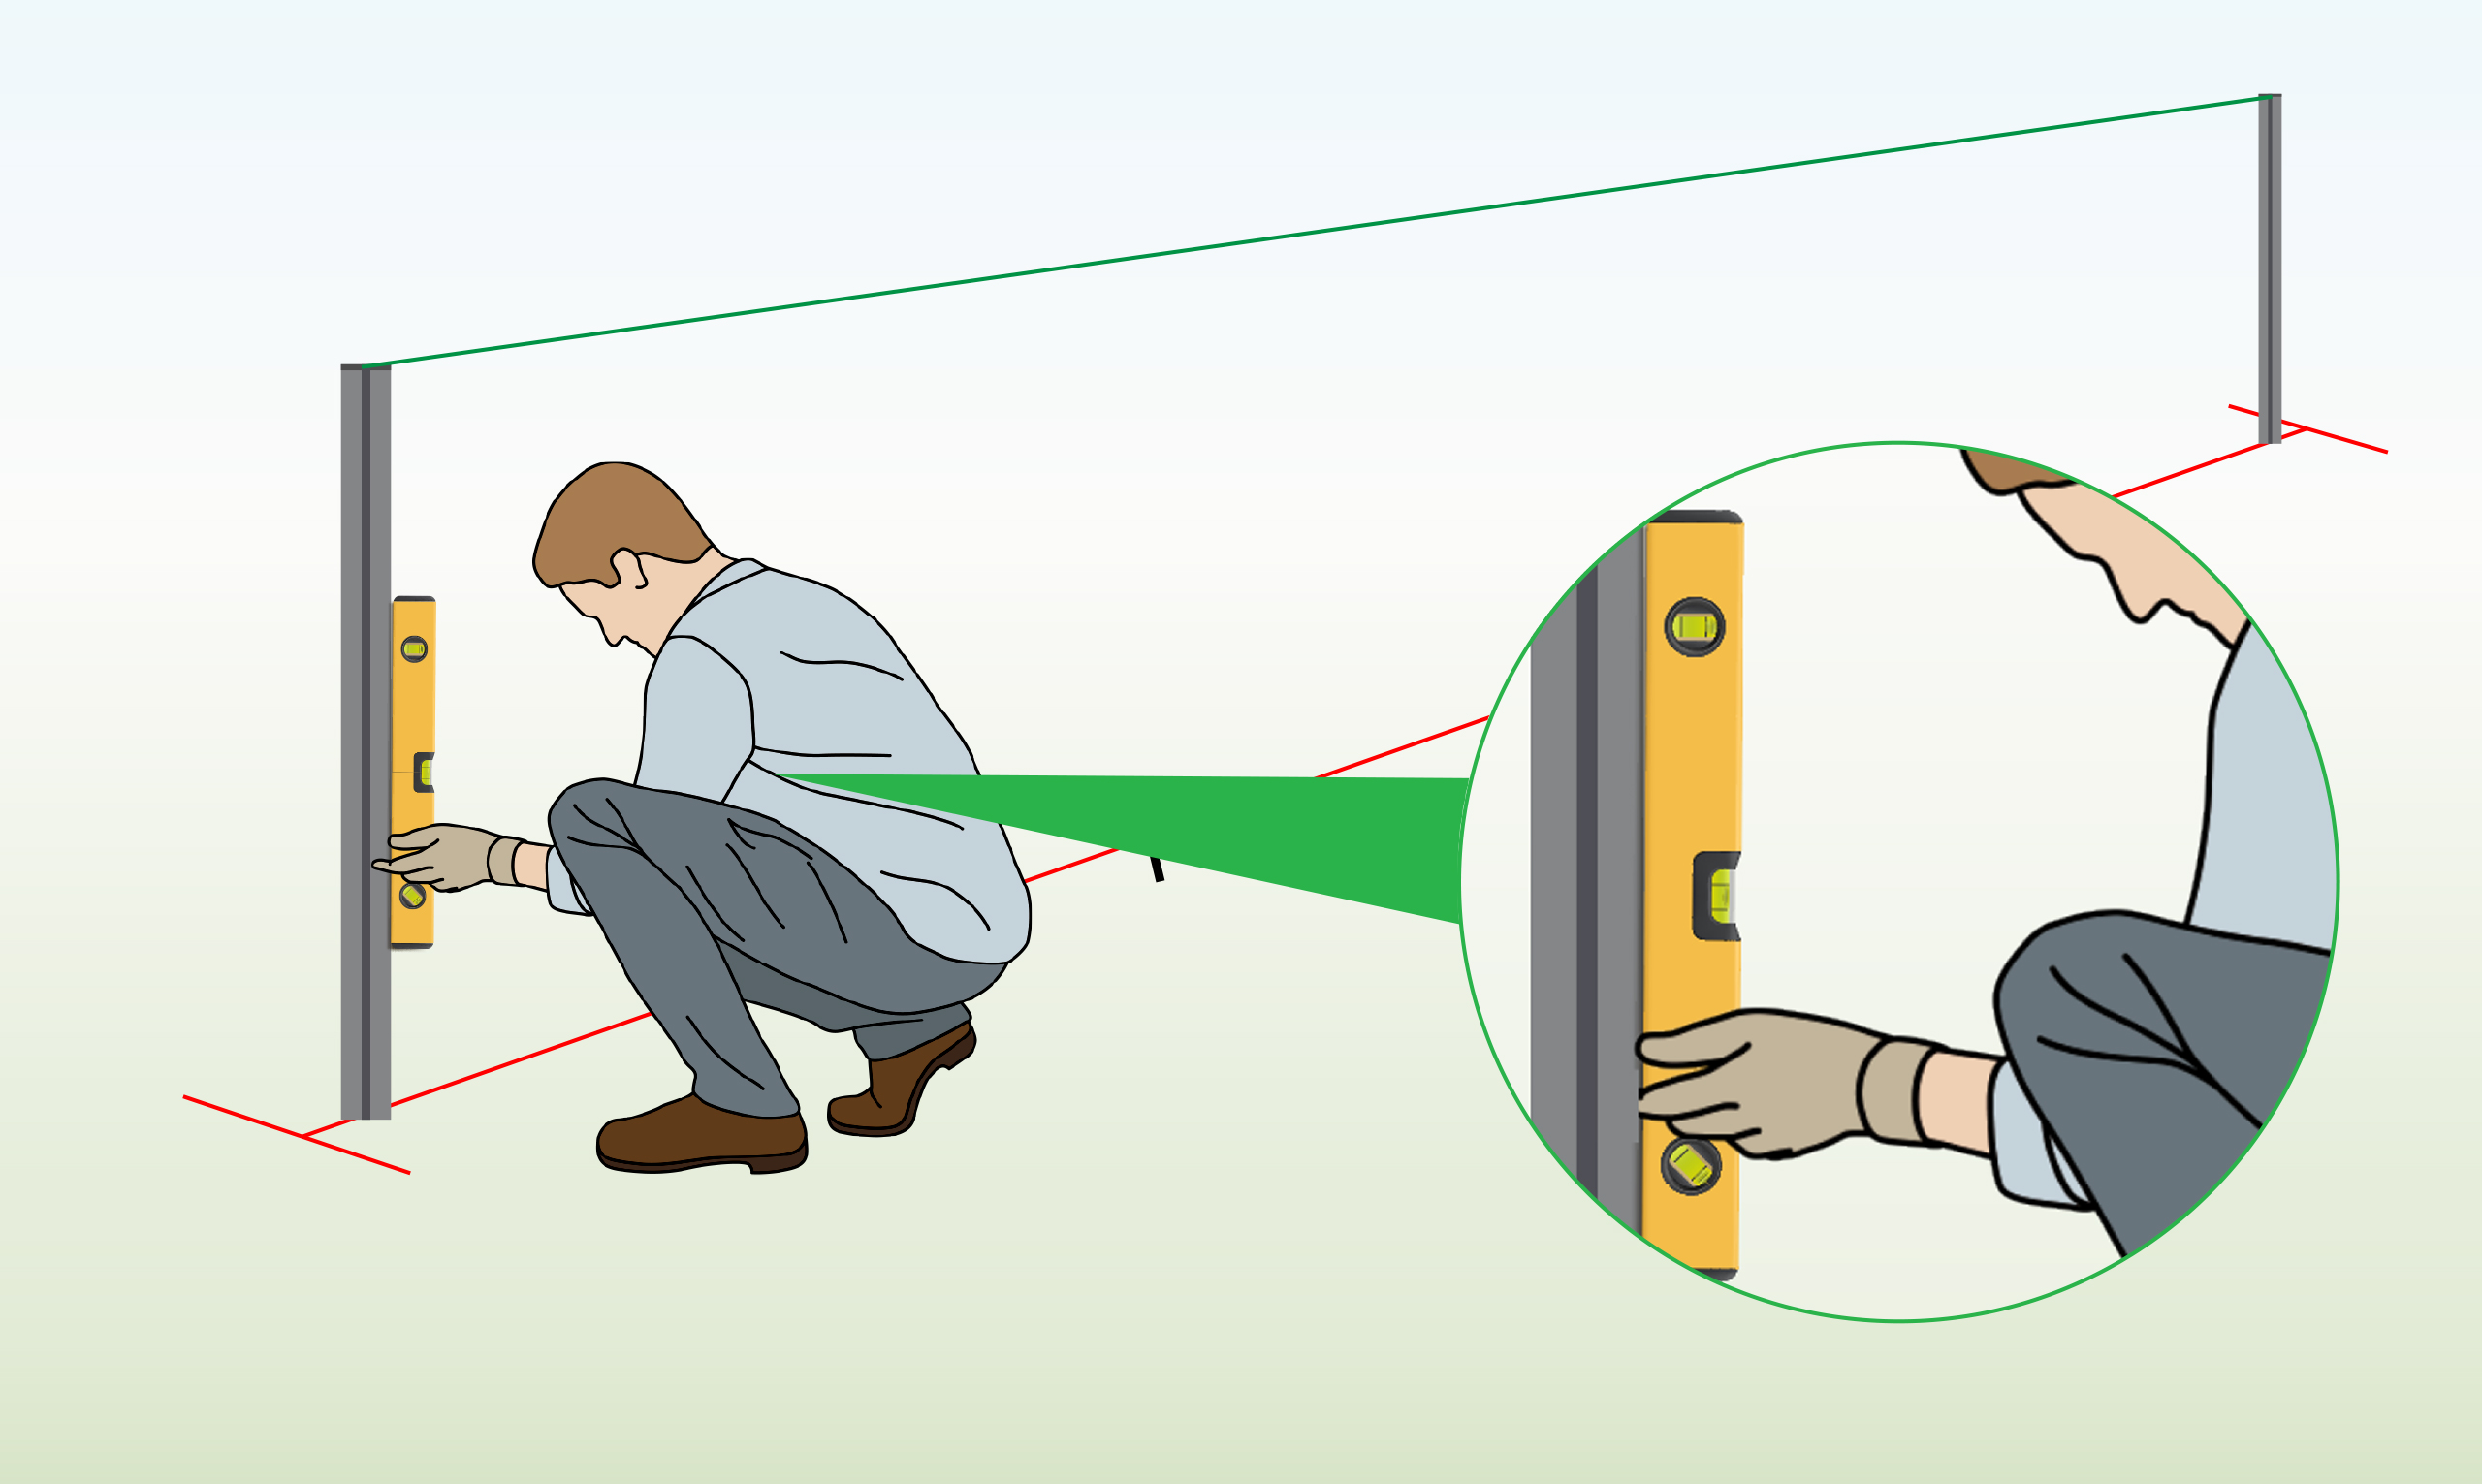
Use a spirit level to ensure that the posts have been installed straight. |
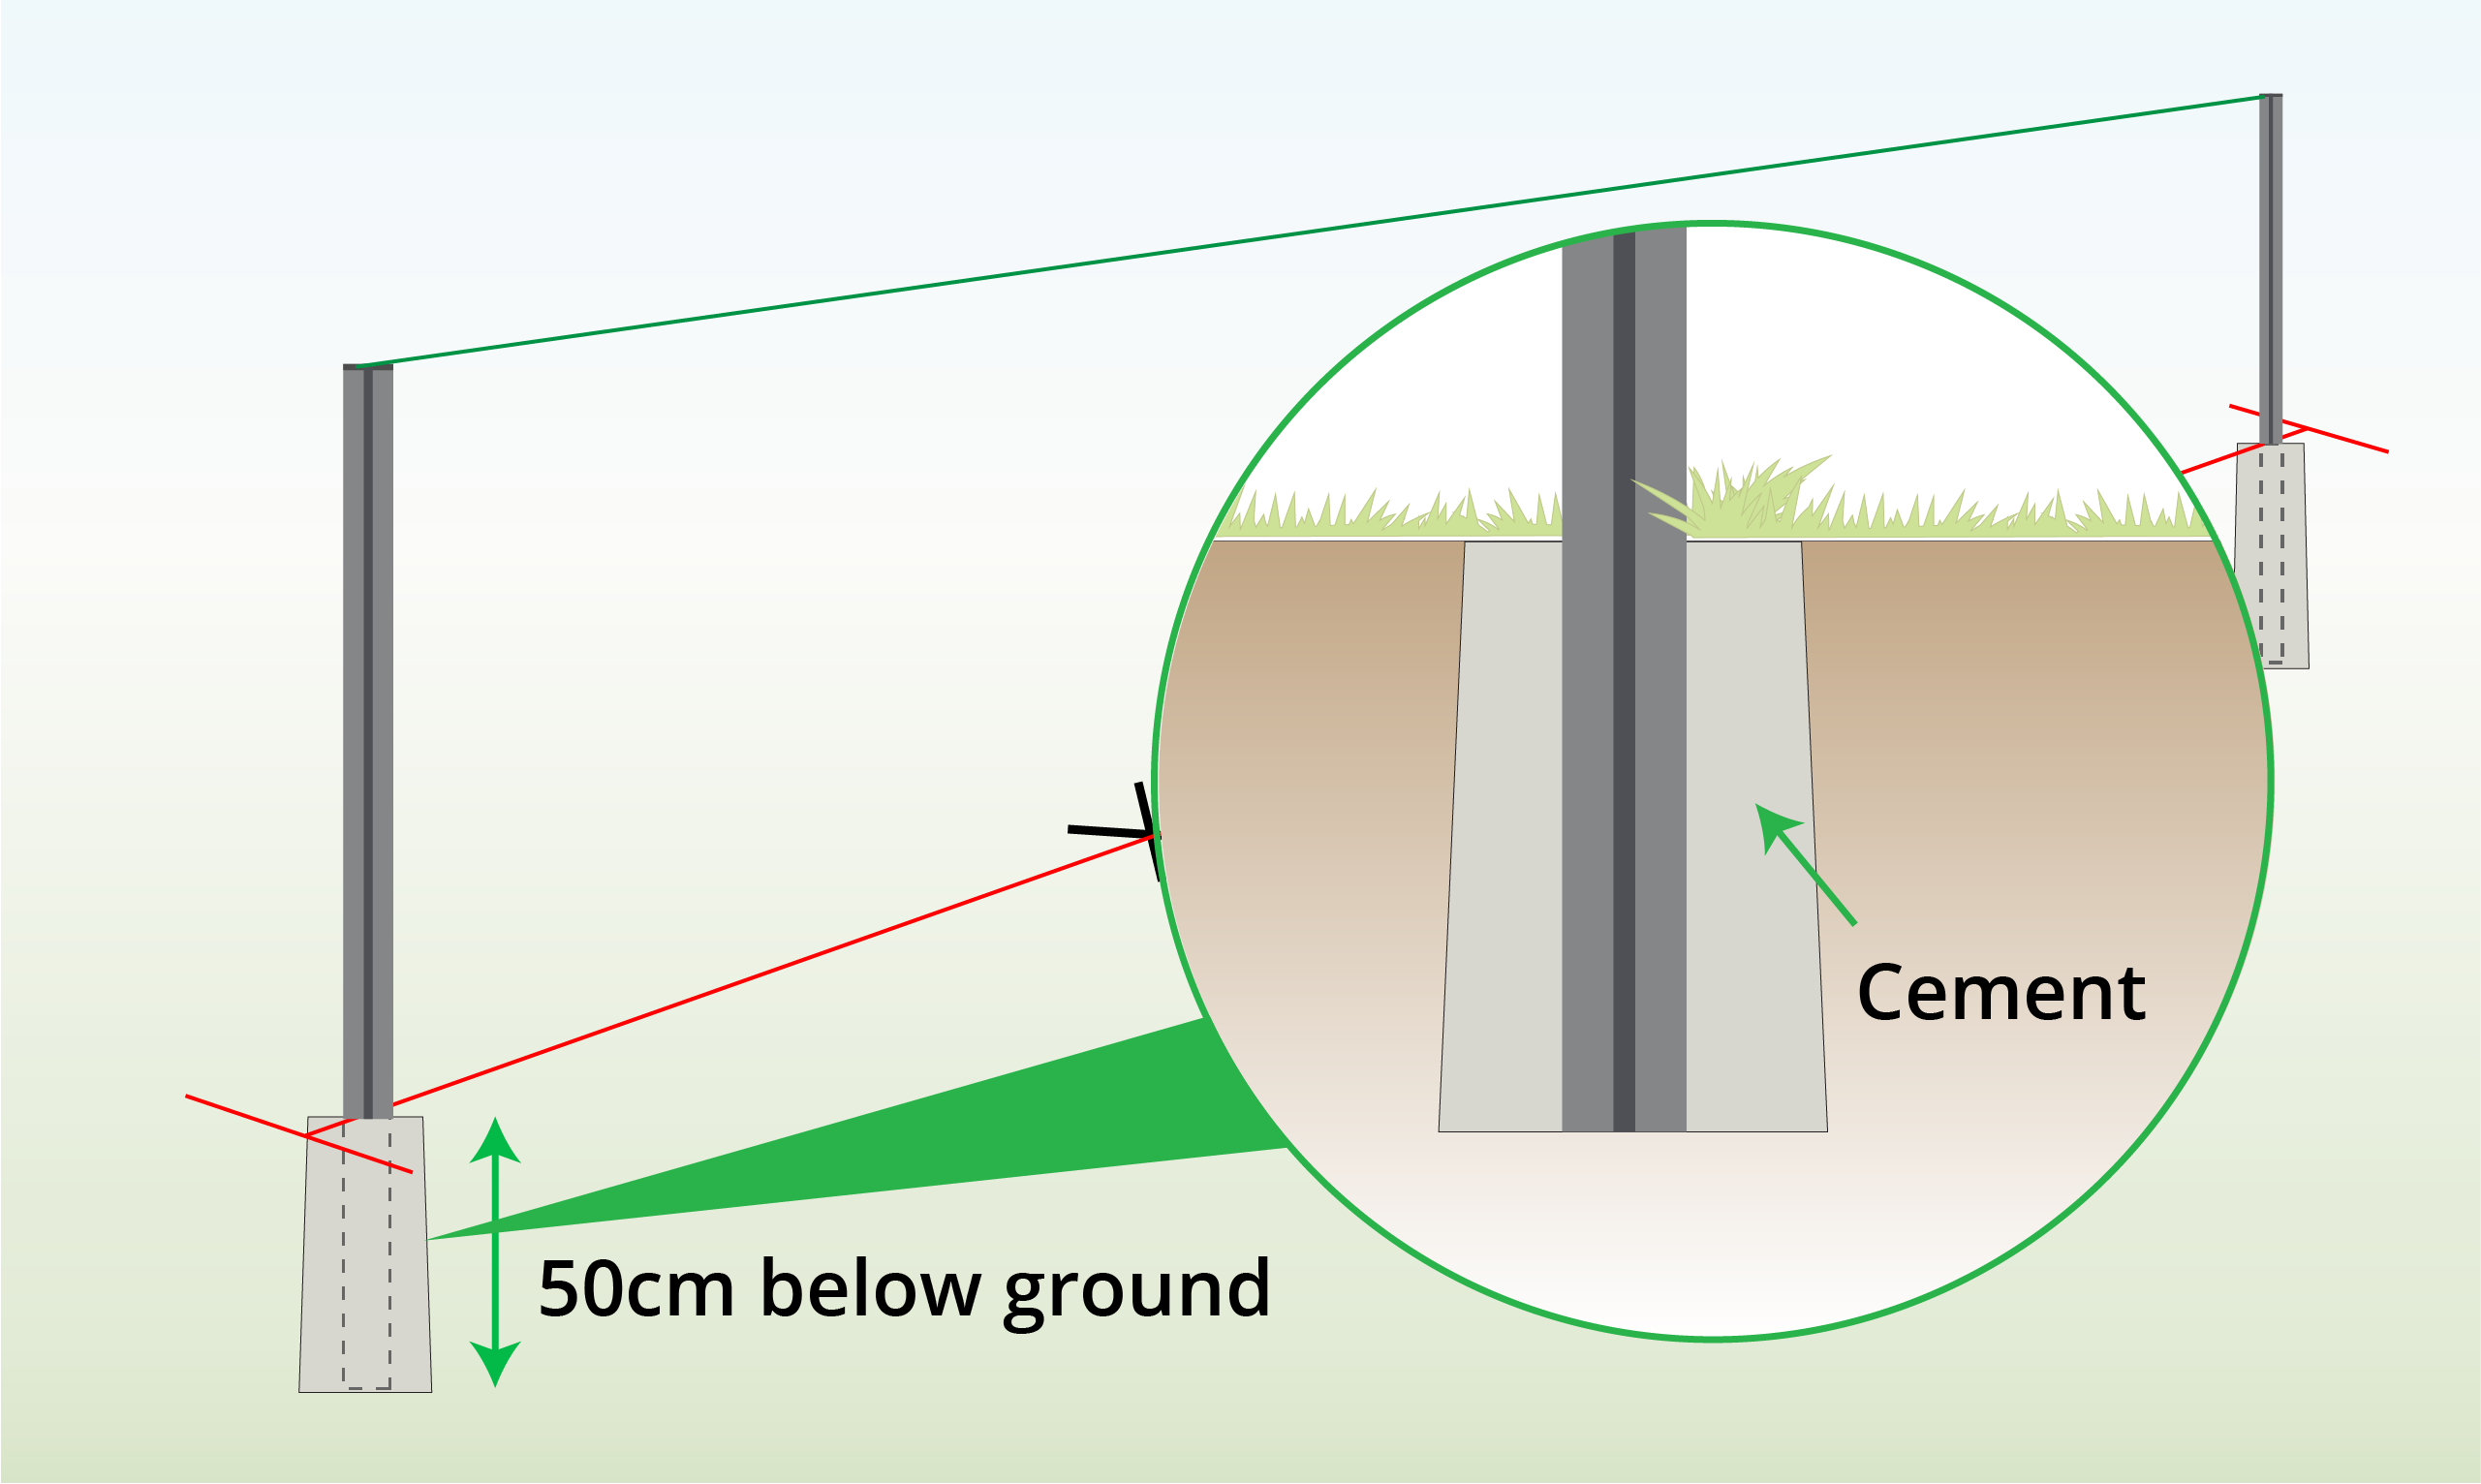
| Step 6 – Set in Concrete (Optional)
|
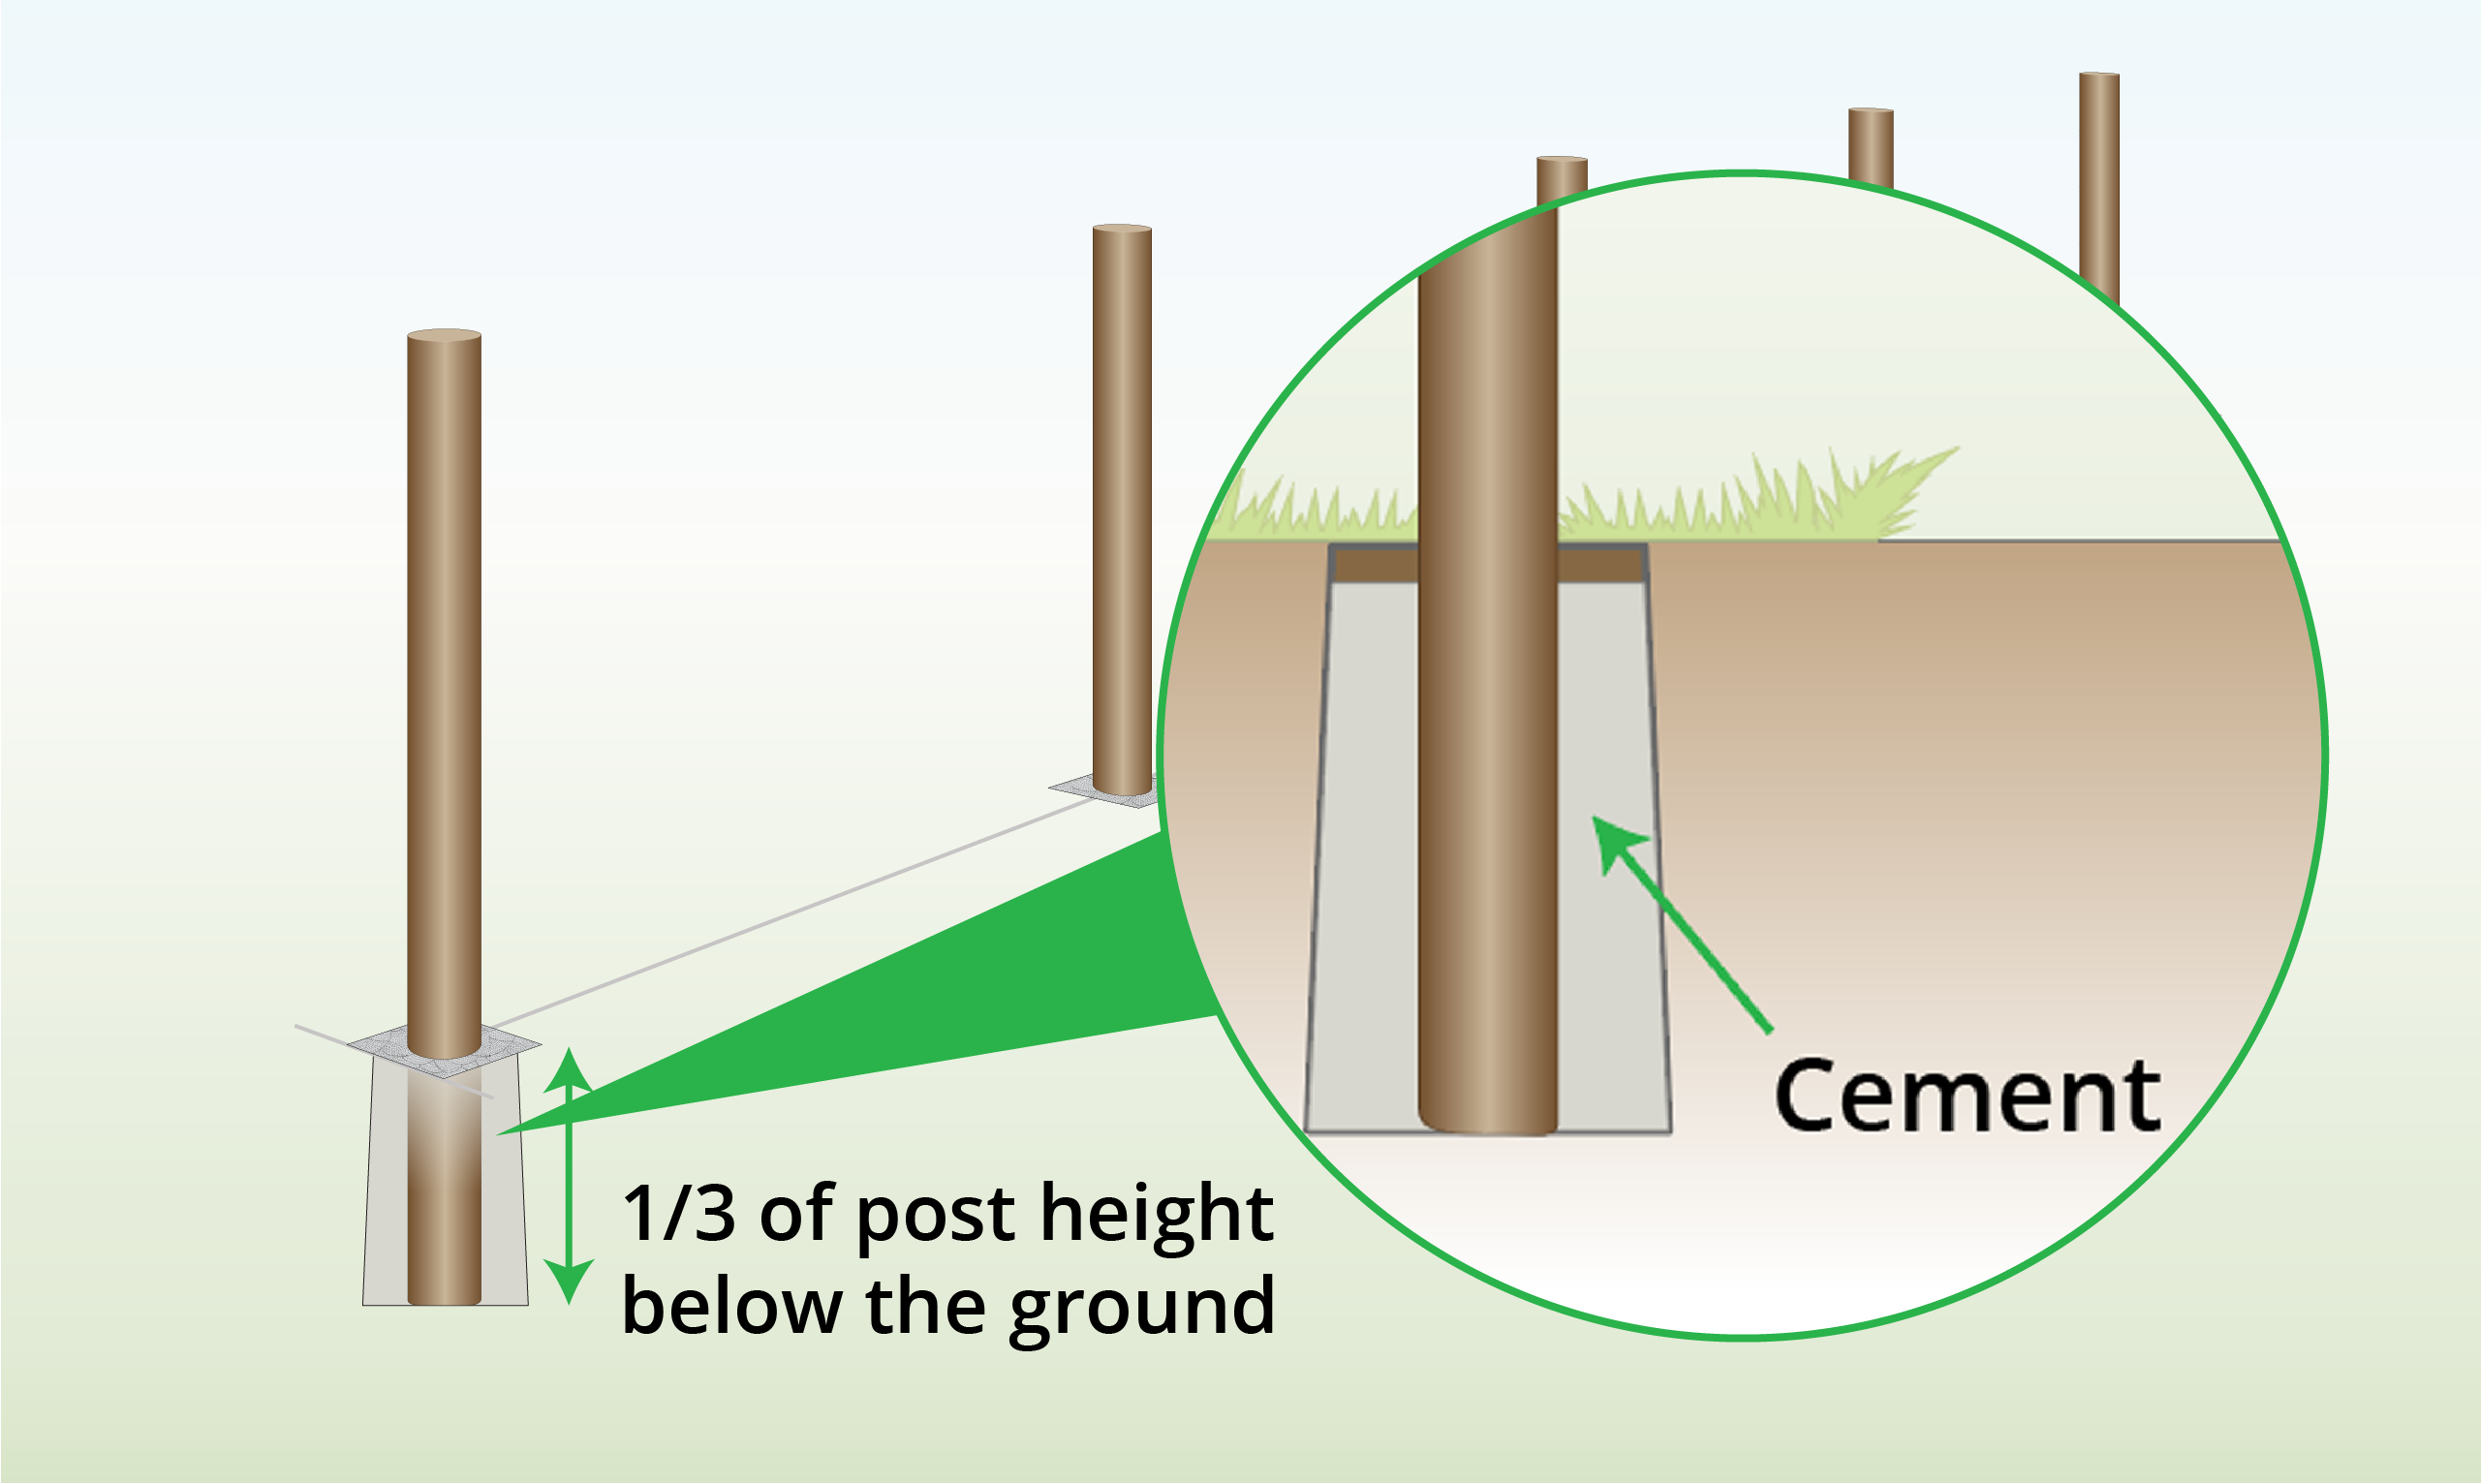
For a sturdier and more secure fence, dig a hole and set your posts in concrete by pouring cement for the post to rest in. |
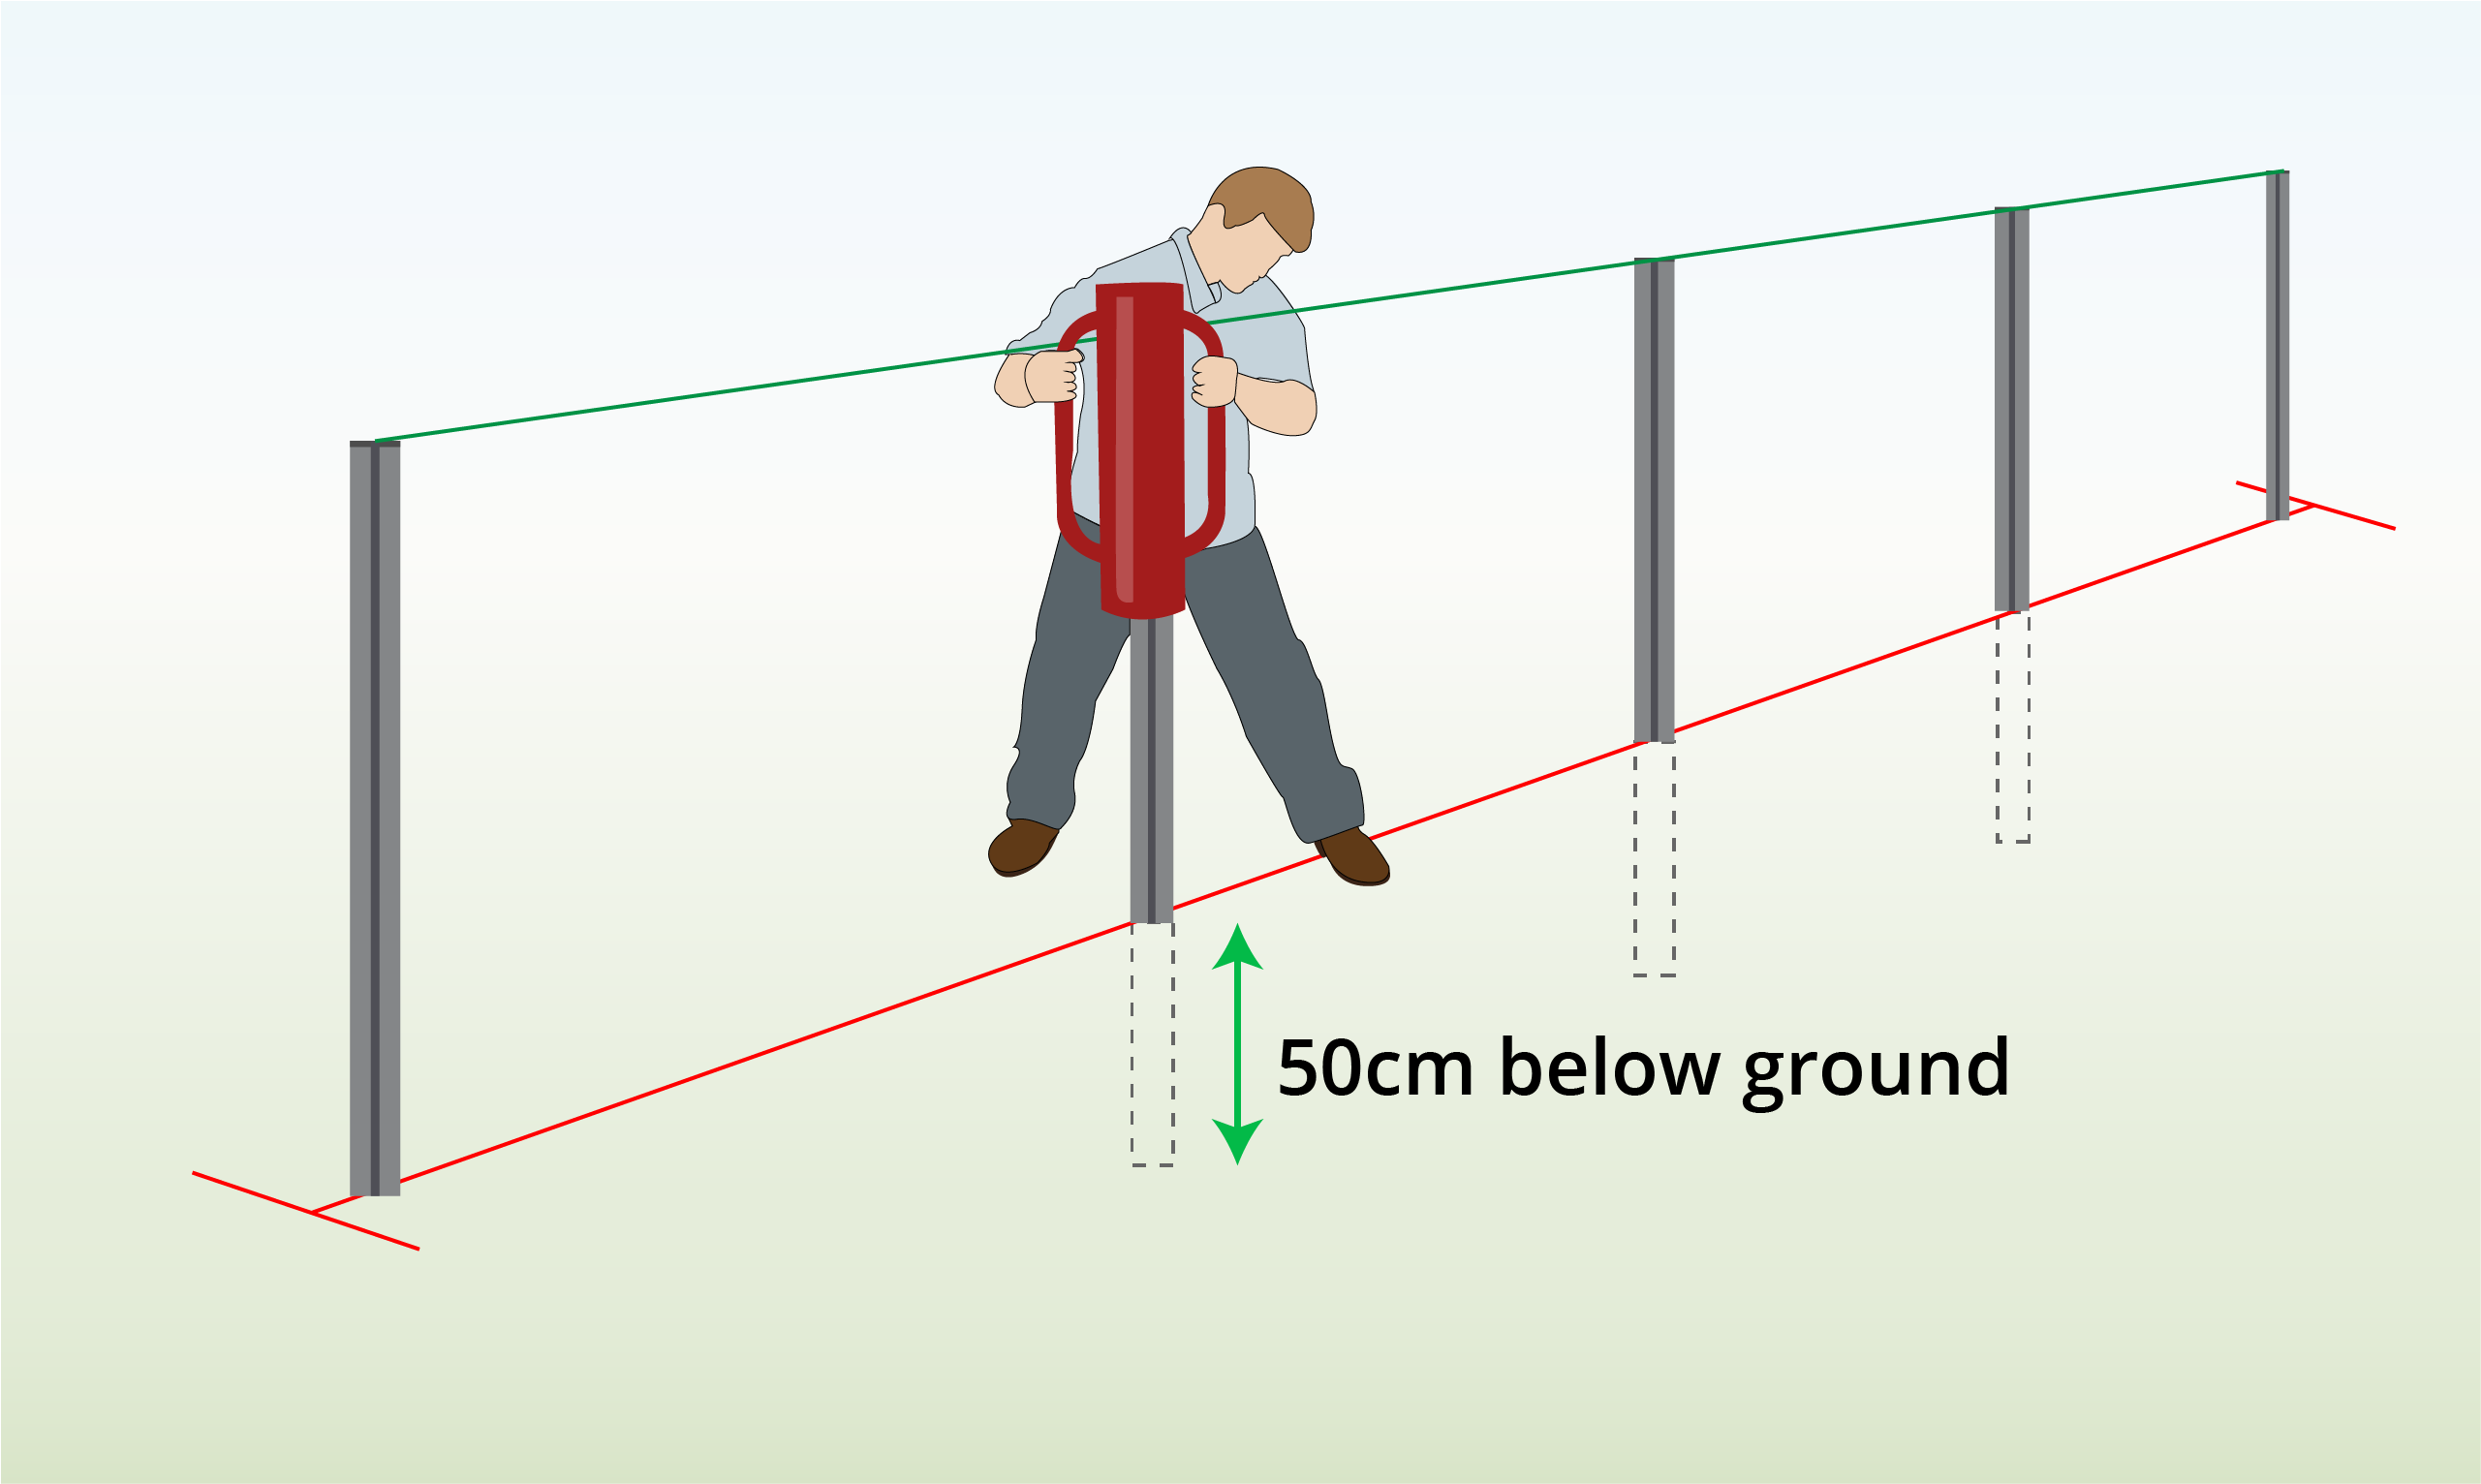
| Step 7 – Install Middle Posts
|
For middle post installation, repeat steps 3-6. |
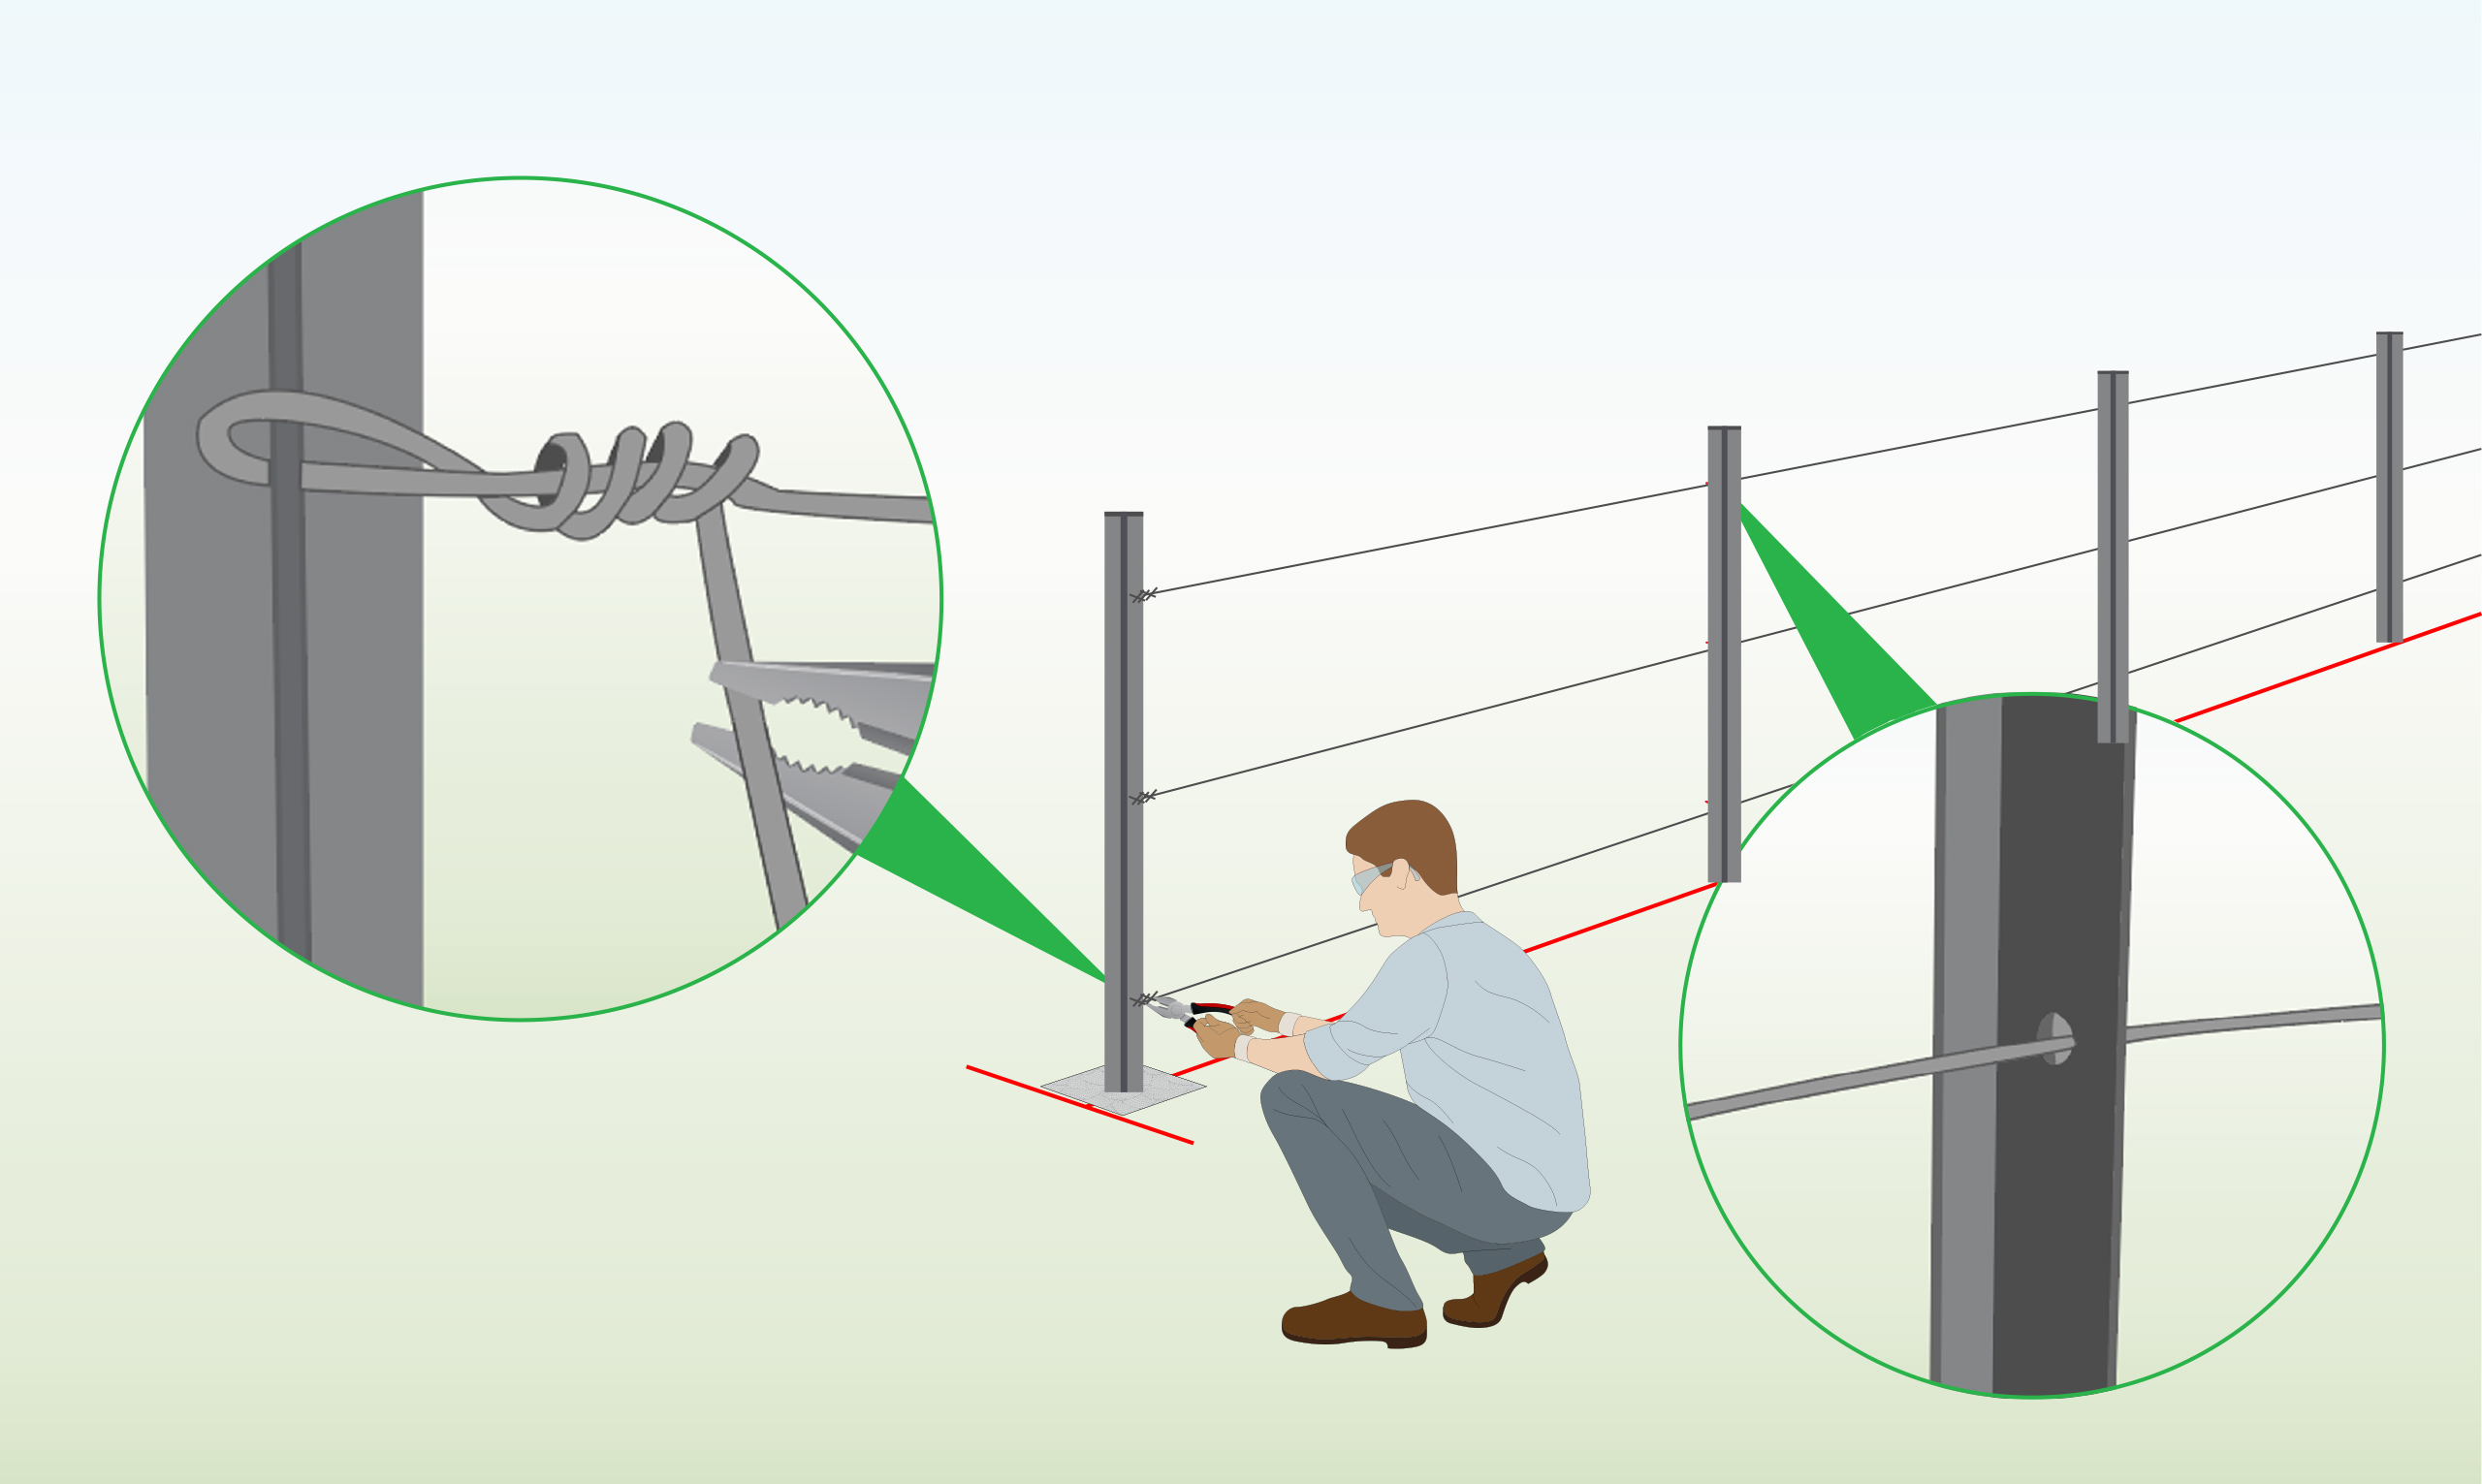
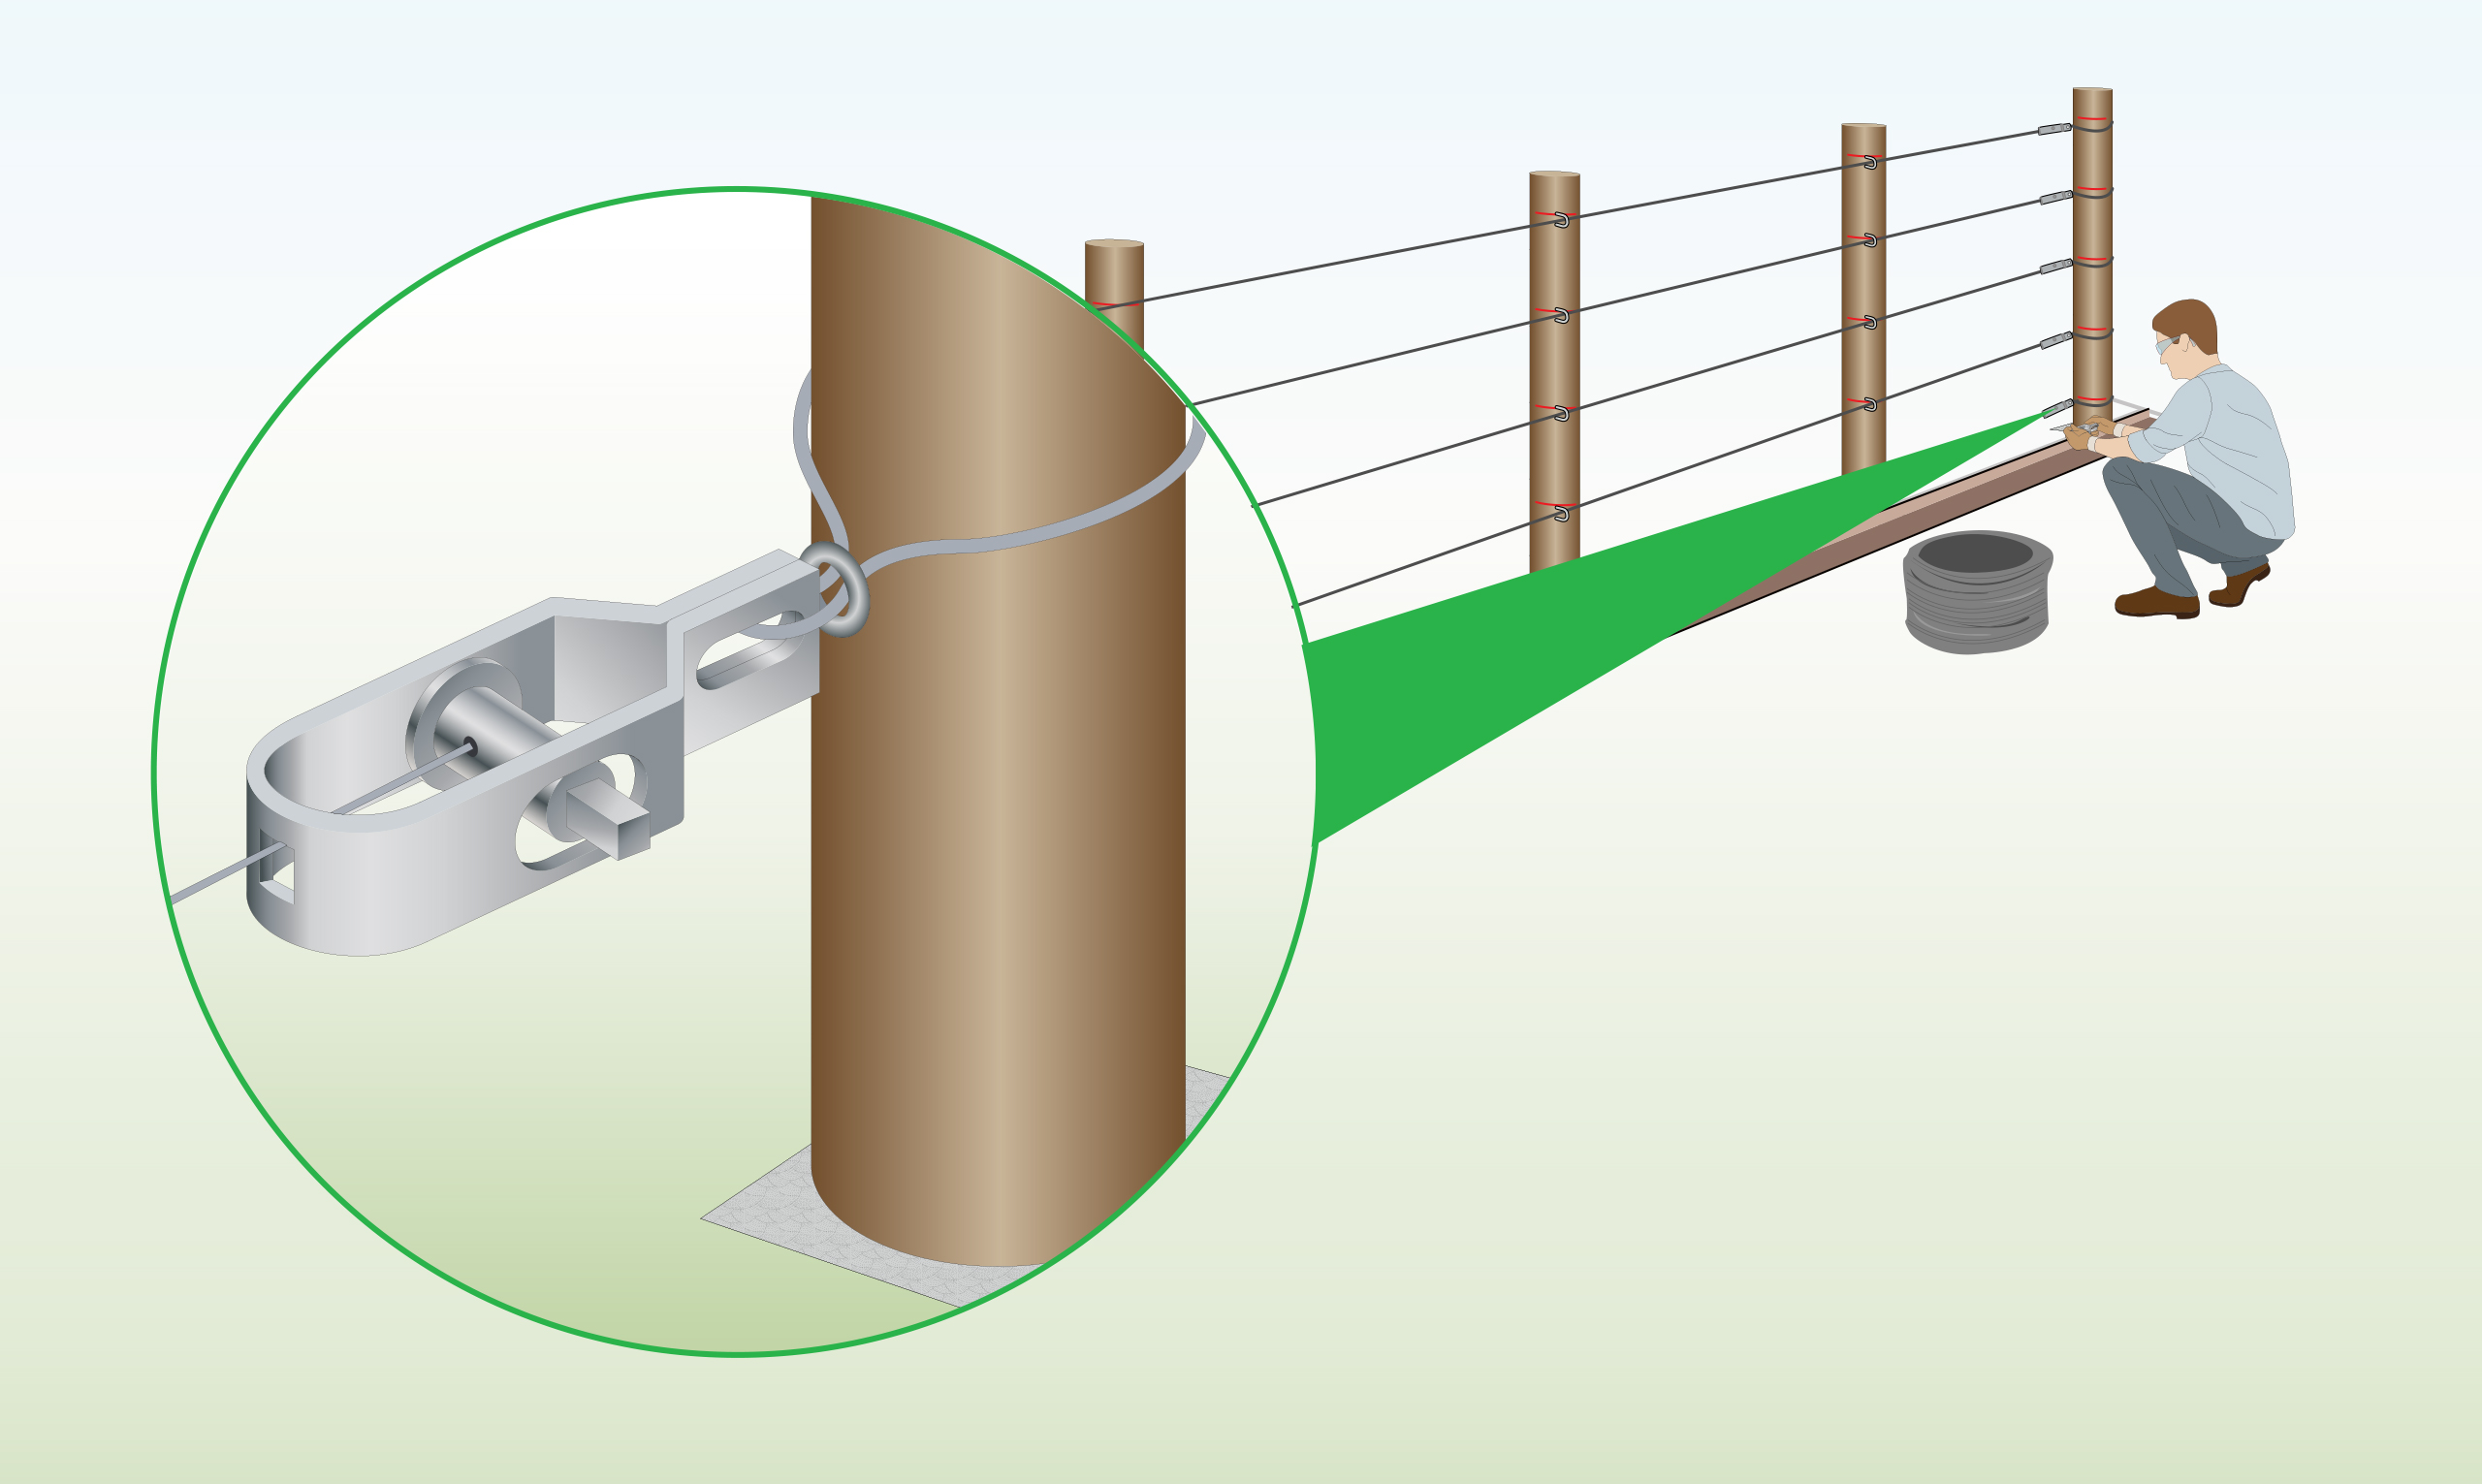
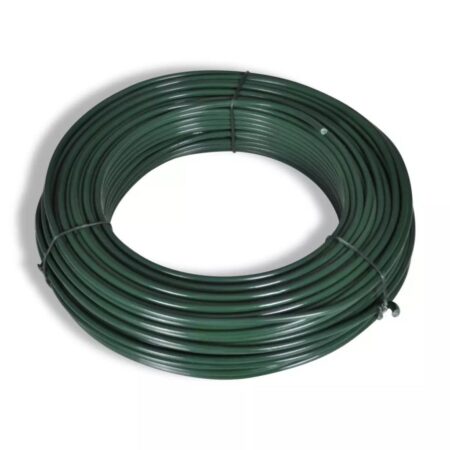
| Step 8 – Install Tension Wire (Optional)
|
To prevent any potential sagging, wrap the tension wire around the end post’s hole, and use a plier to secure it by twisting the wire’s end. |
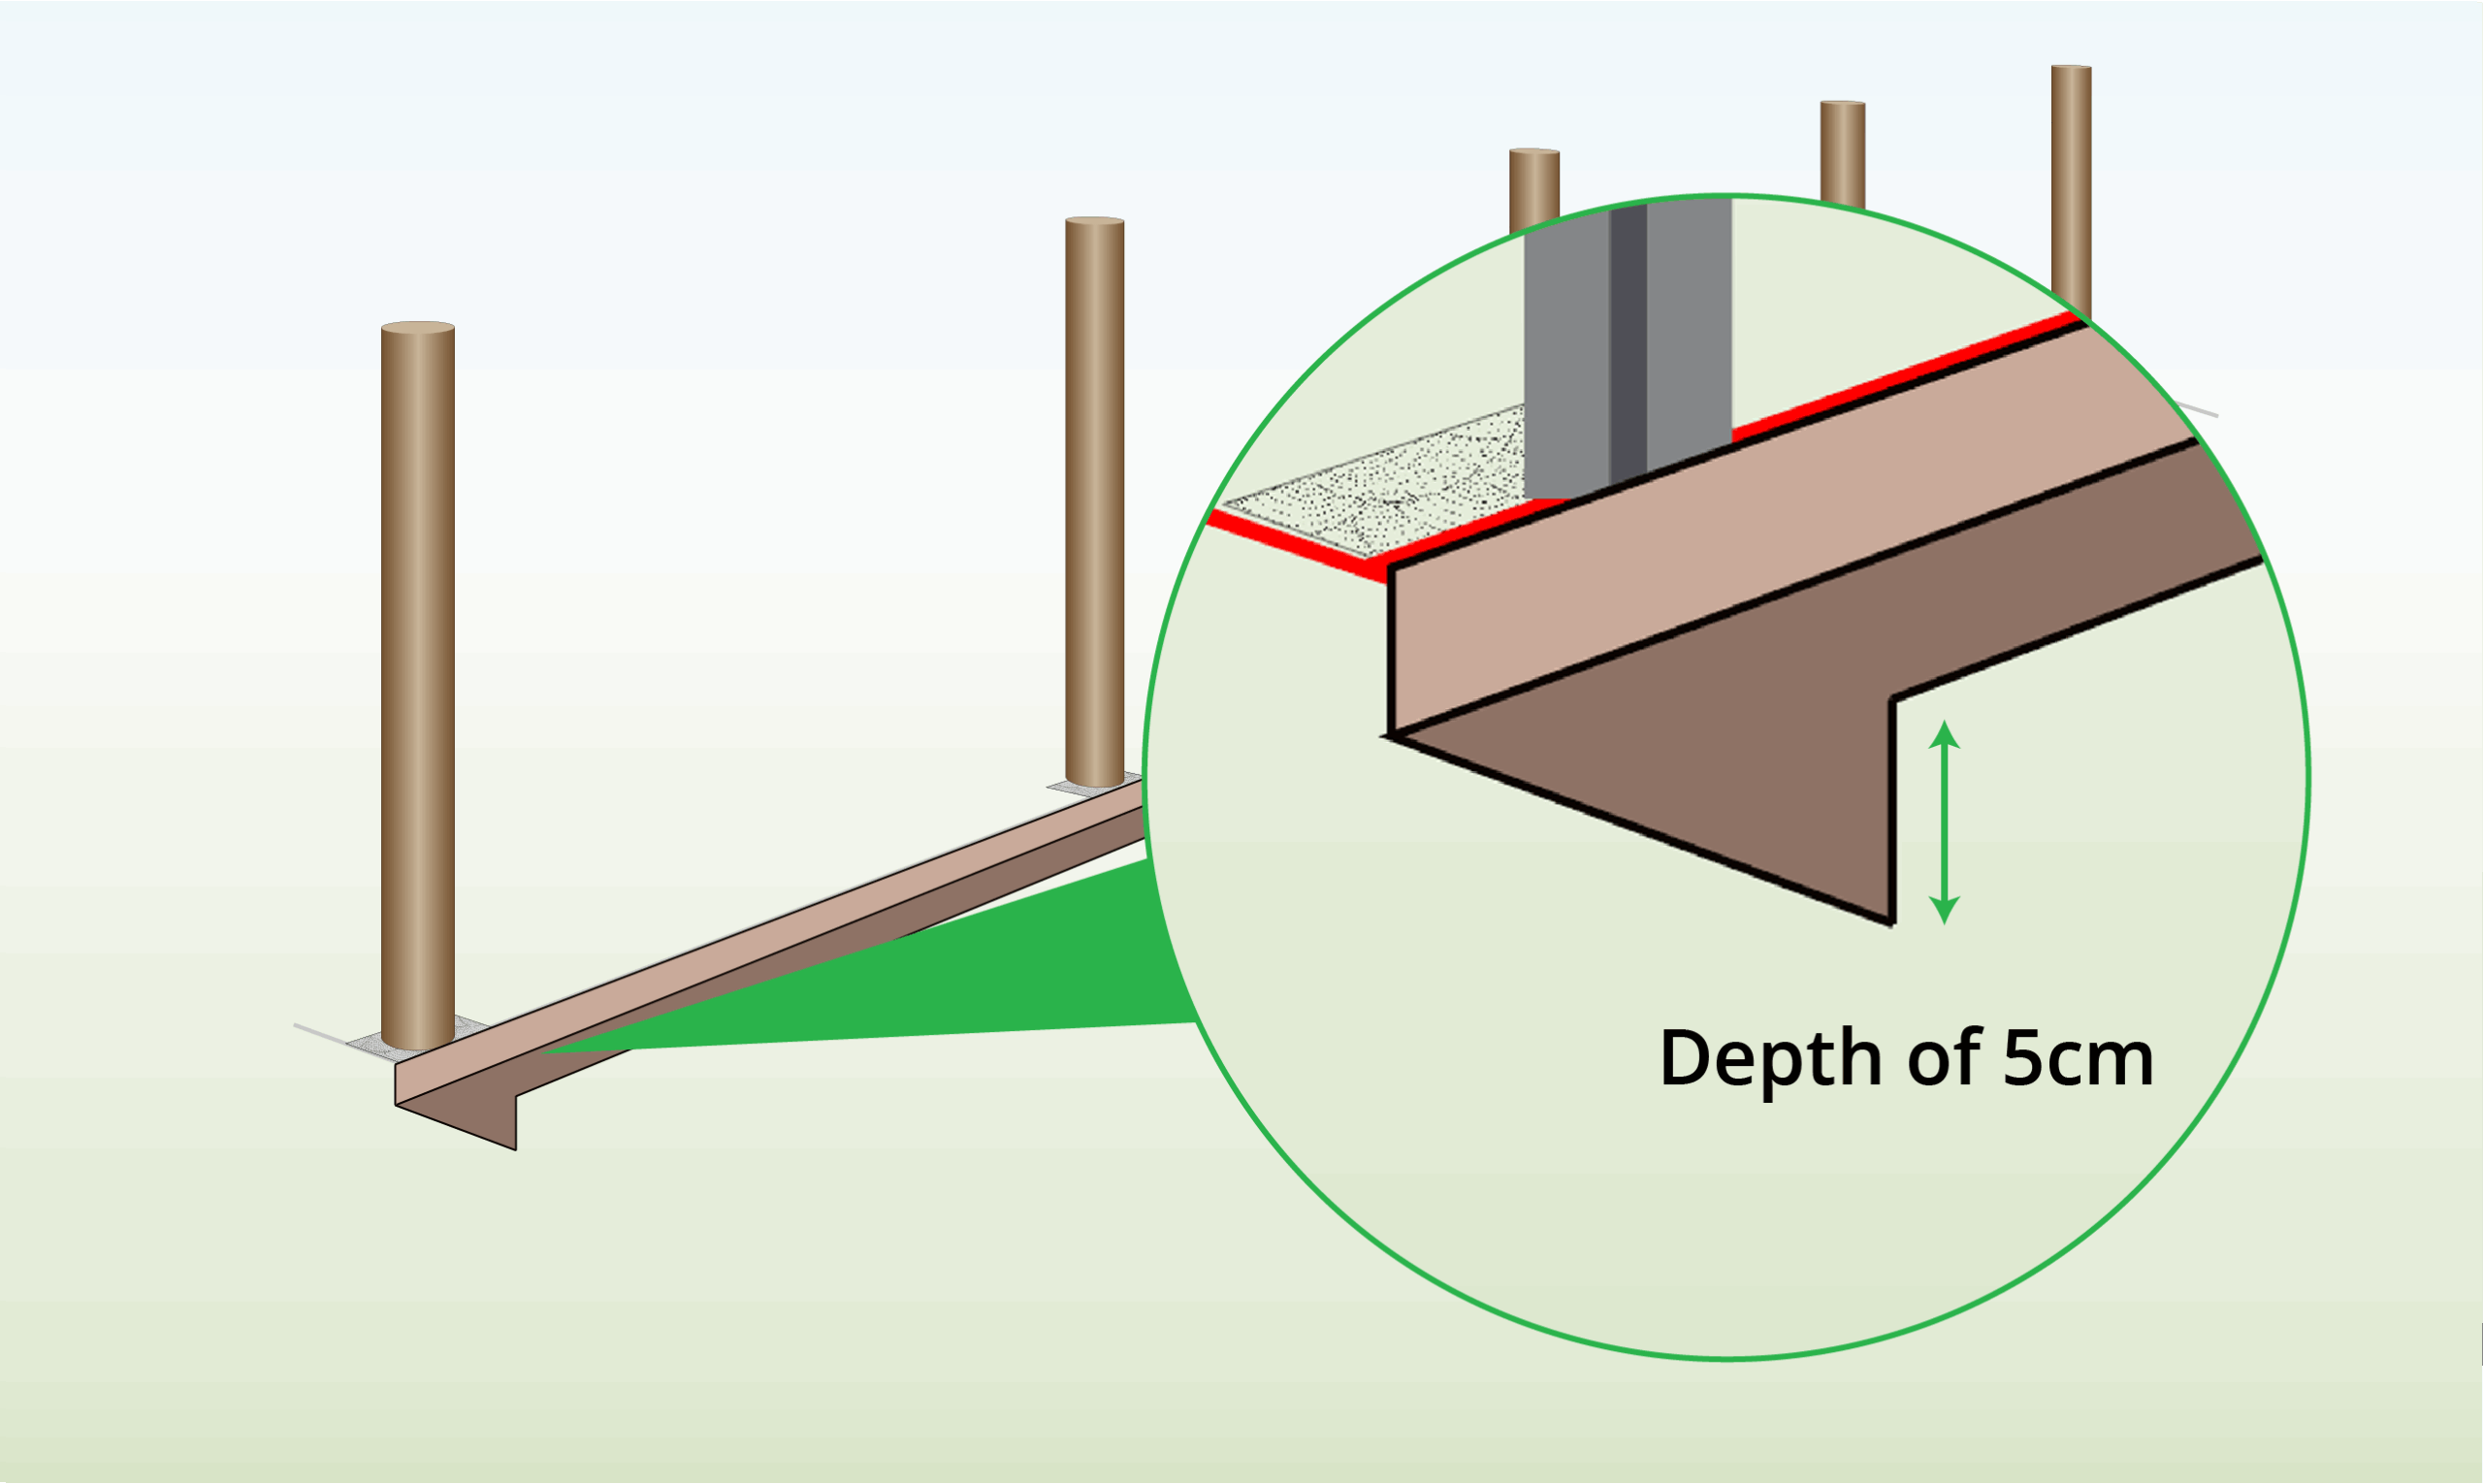
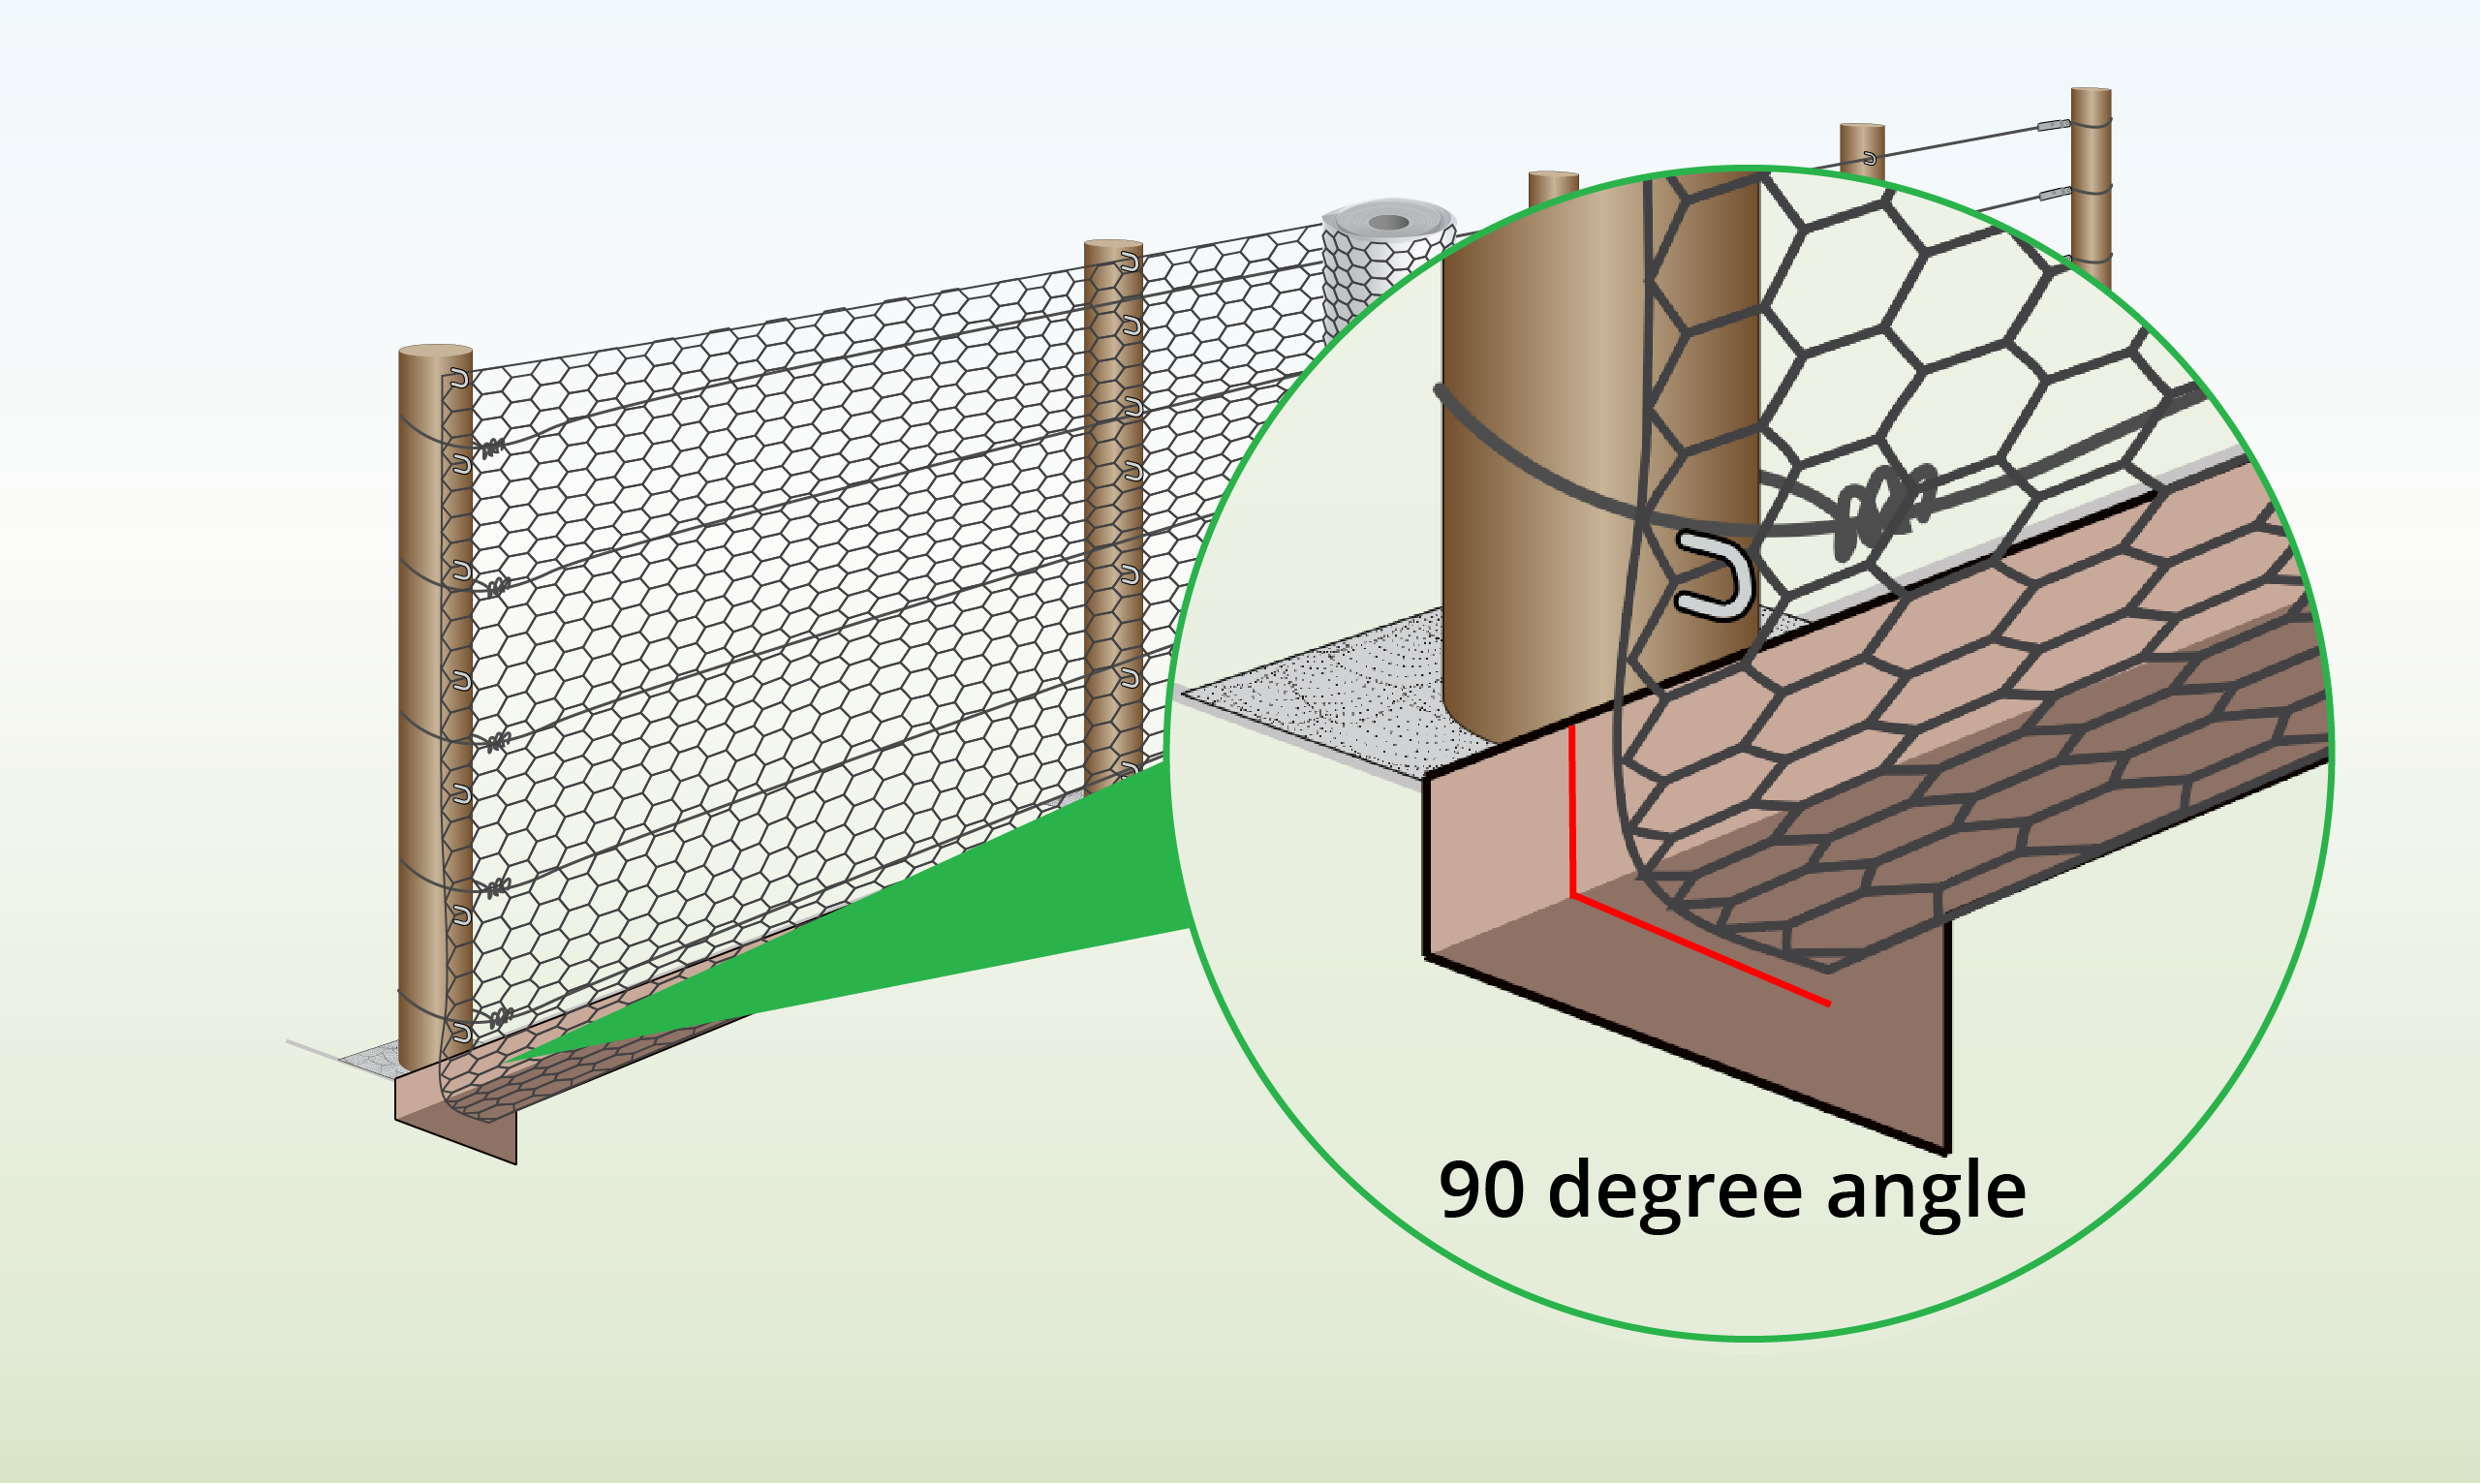
| Step 9 – Dig a Trench
|
Dig a trench along your fence line for the netting at a depth of 5cm. |
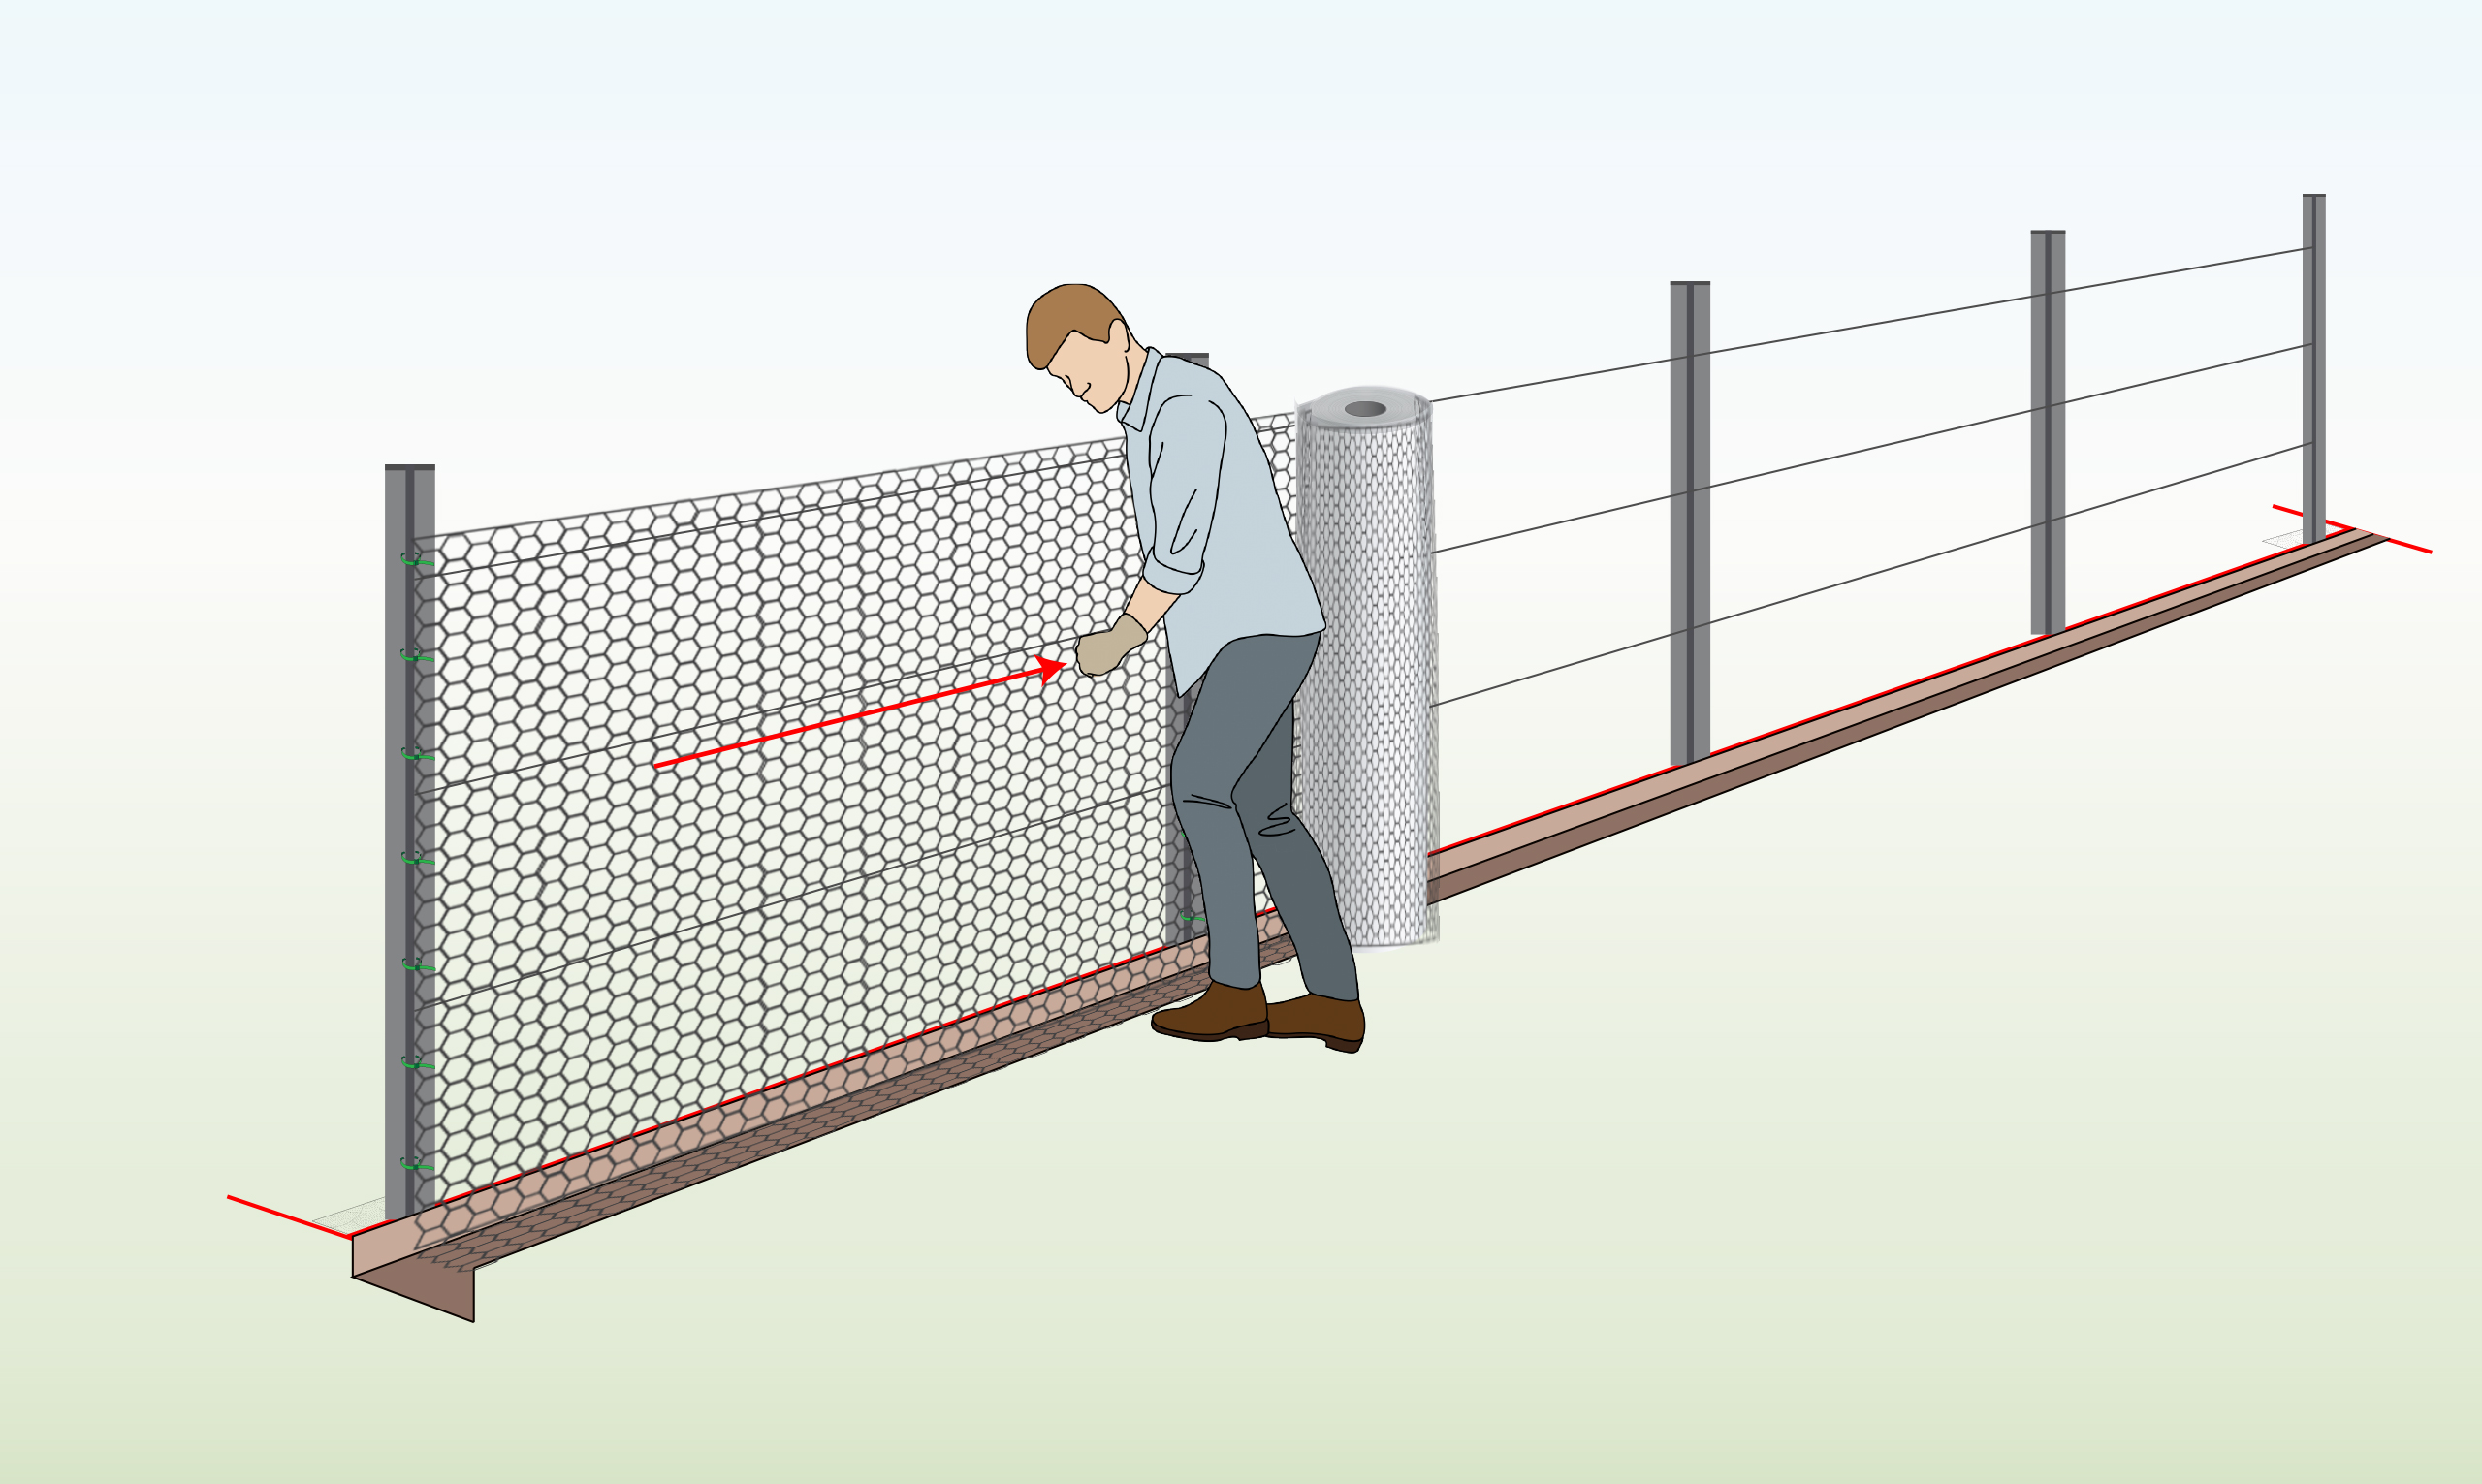
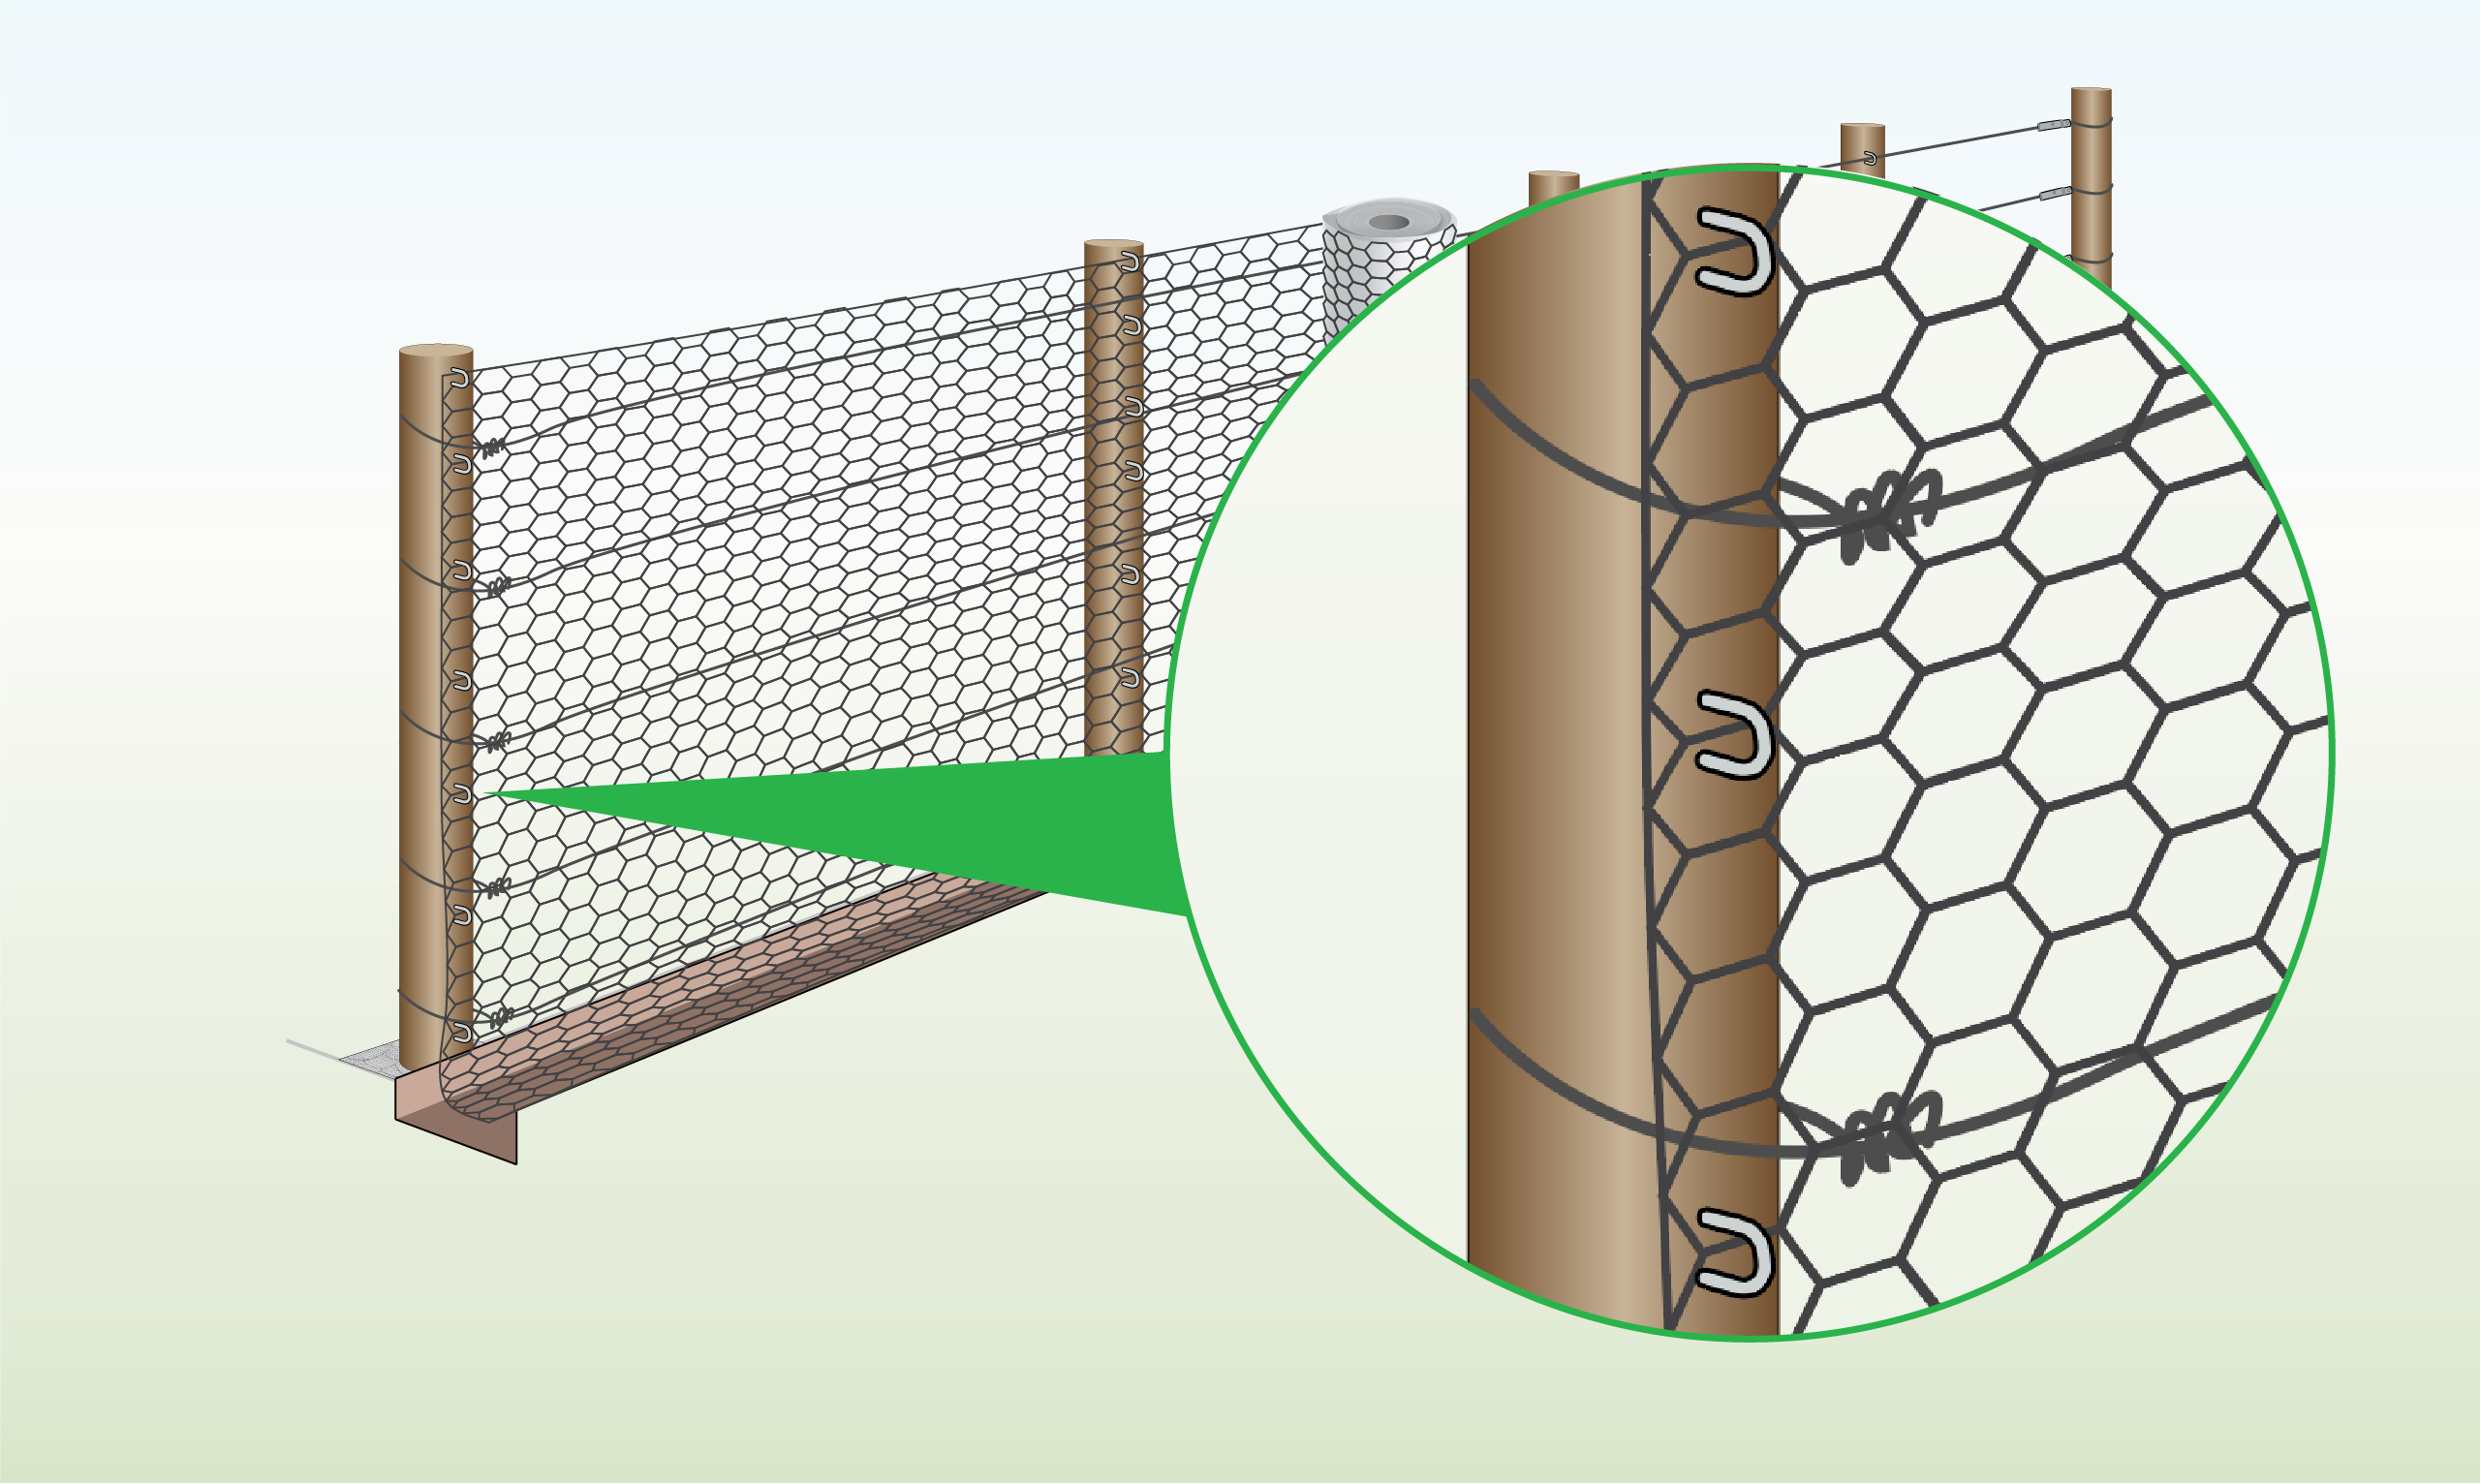
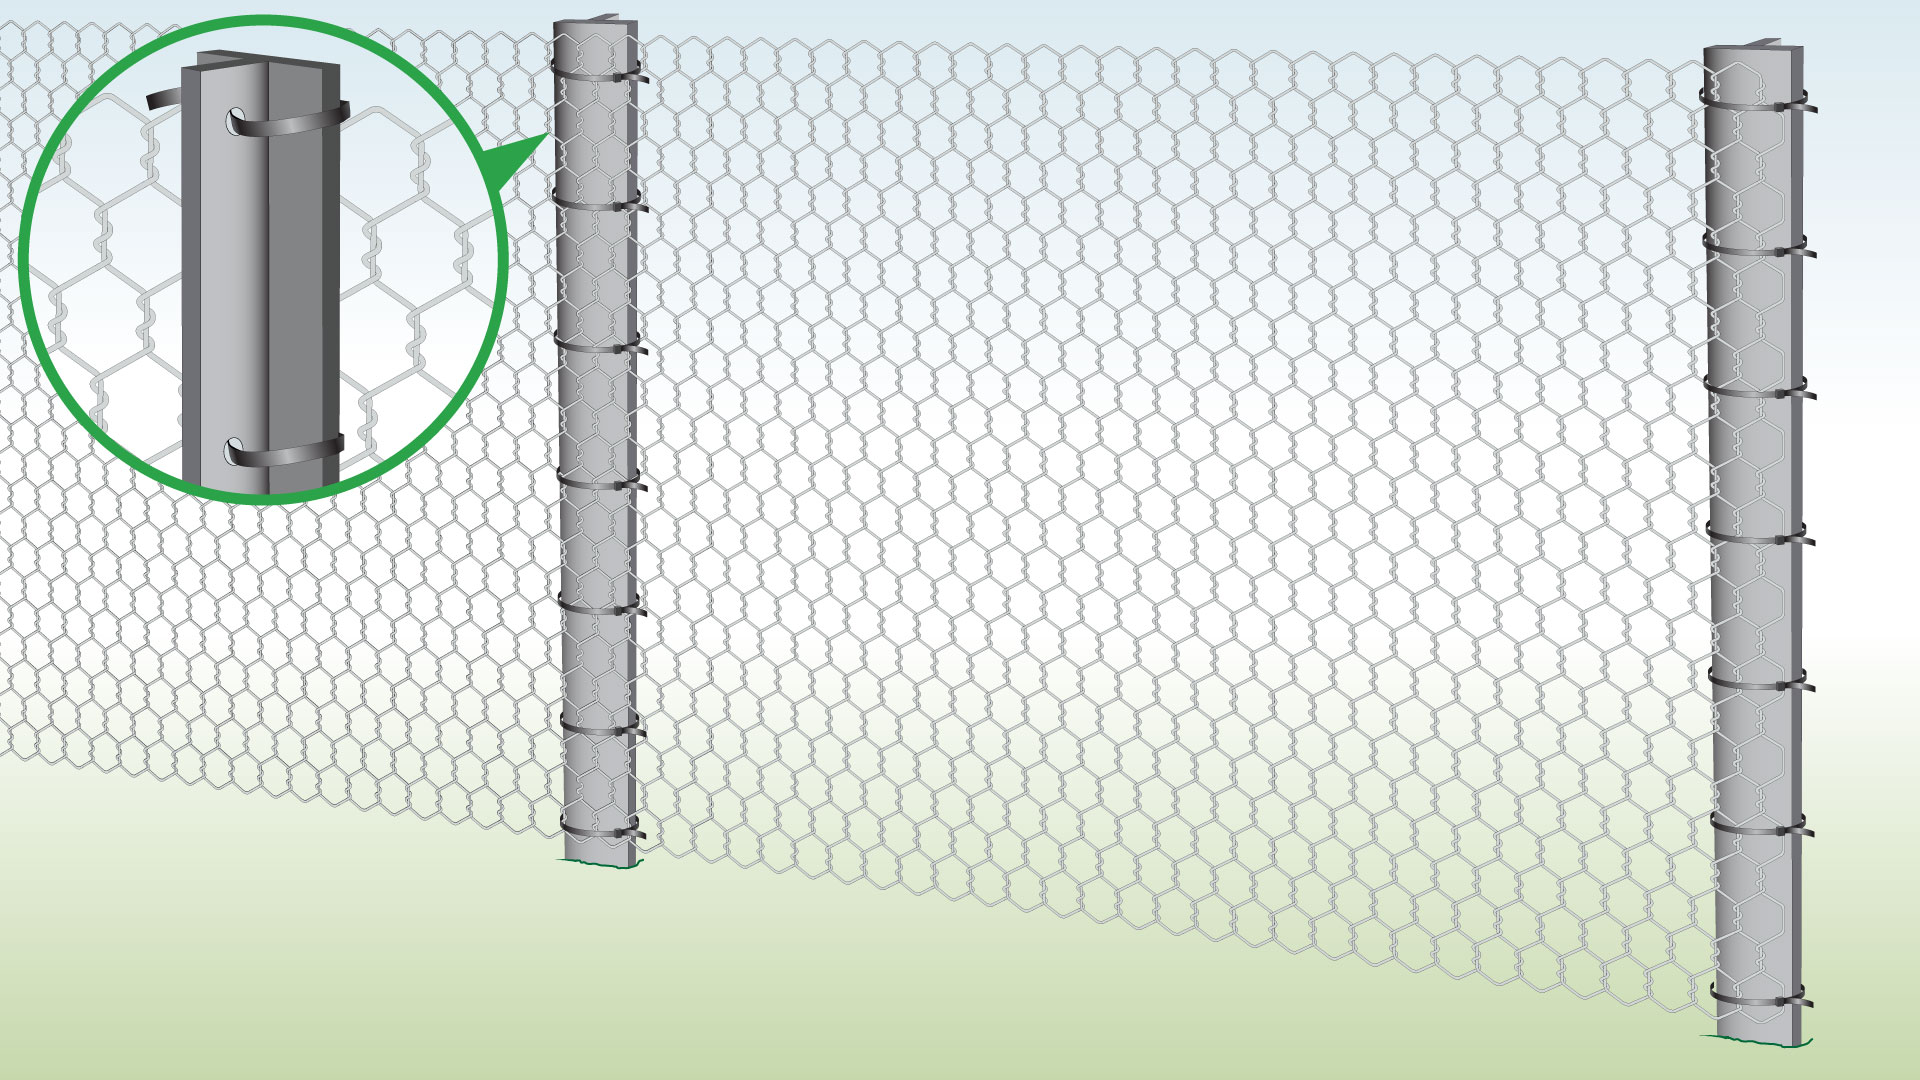
| Step 10 – Secure Mesh to End Post
|
Fasten the mesh to the end post with cable ties that can be threaded through the pre-drilled holes in the post.
|
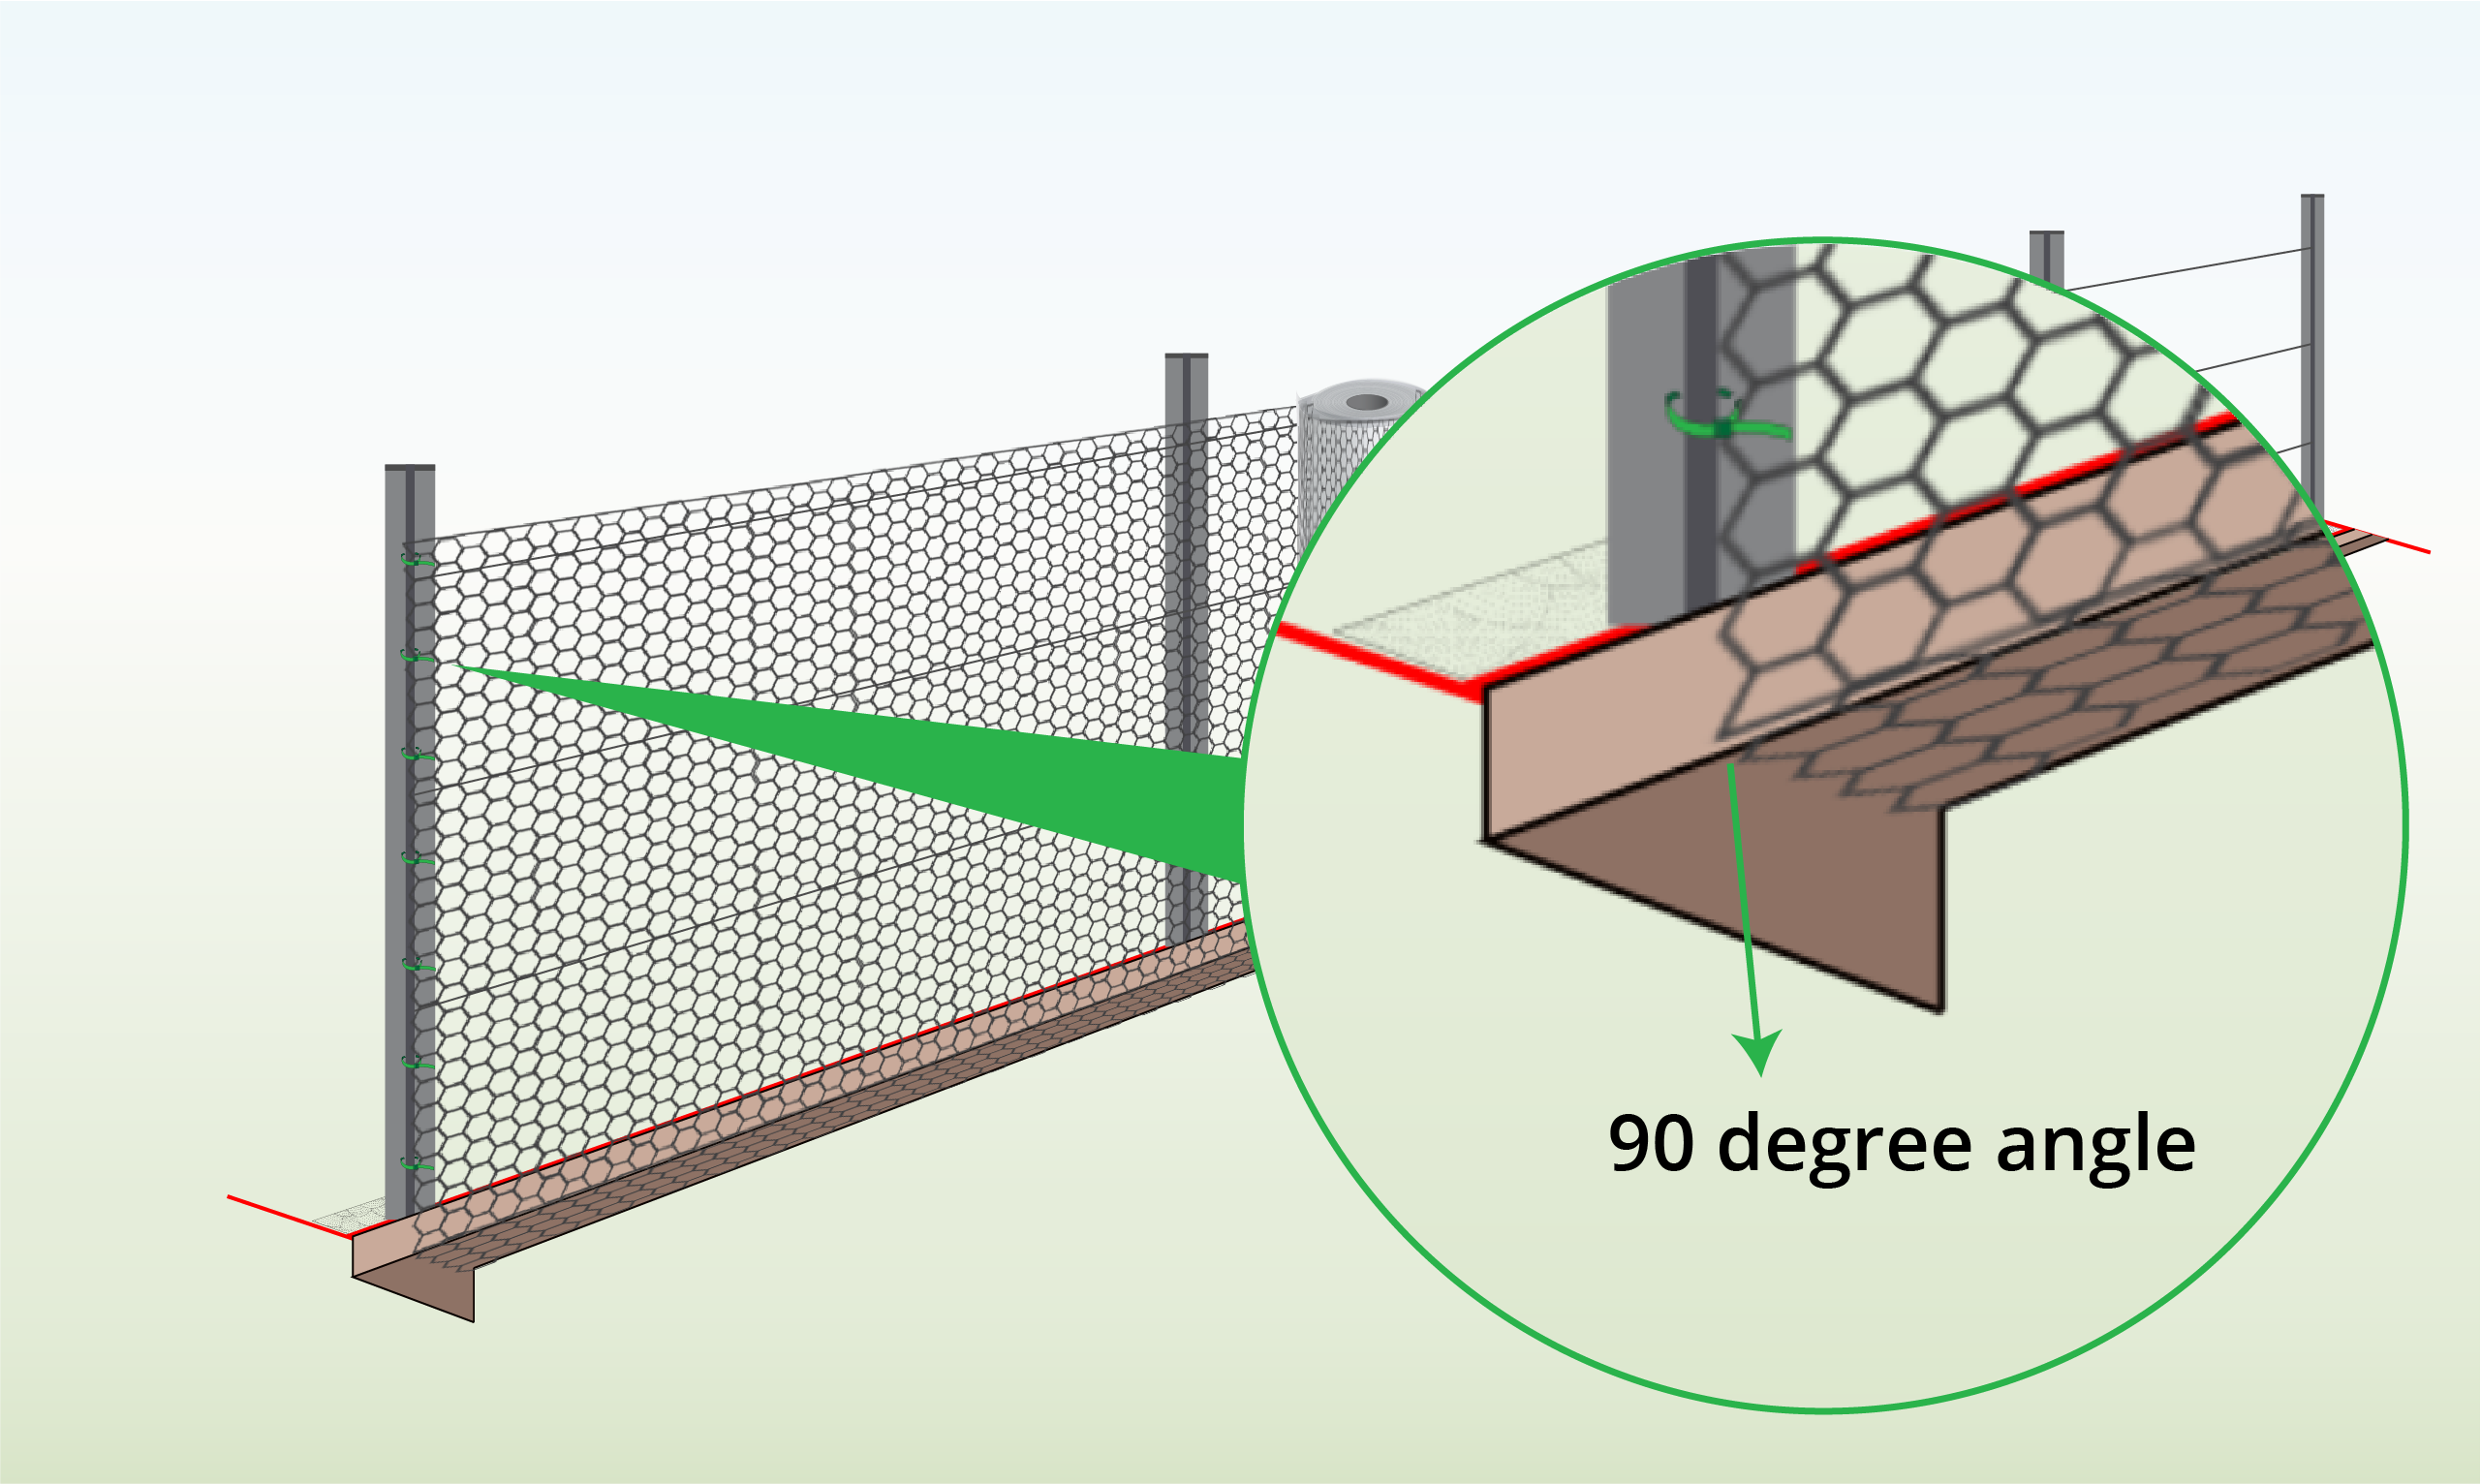
| Step 11 – Bend the Mesh
|
Fold the bottom of the mesh at a 90-degree angle to form a 15cm lip.
This extension will cover the trench’s bottom on the outside of your fence. |
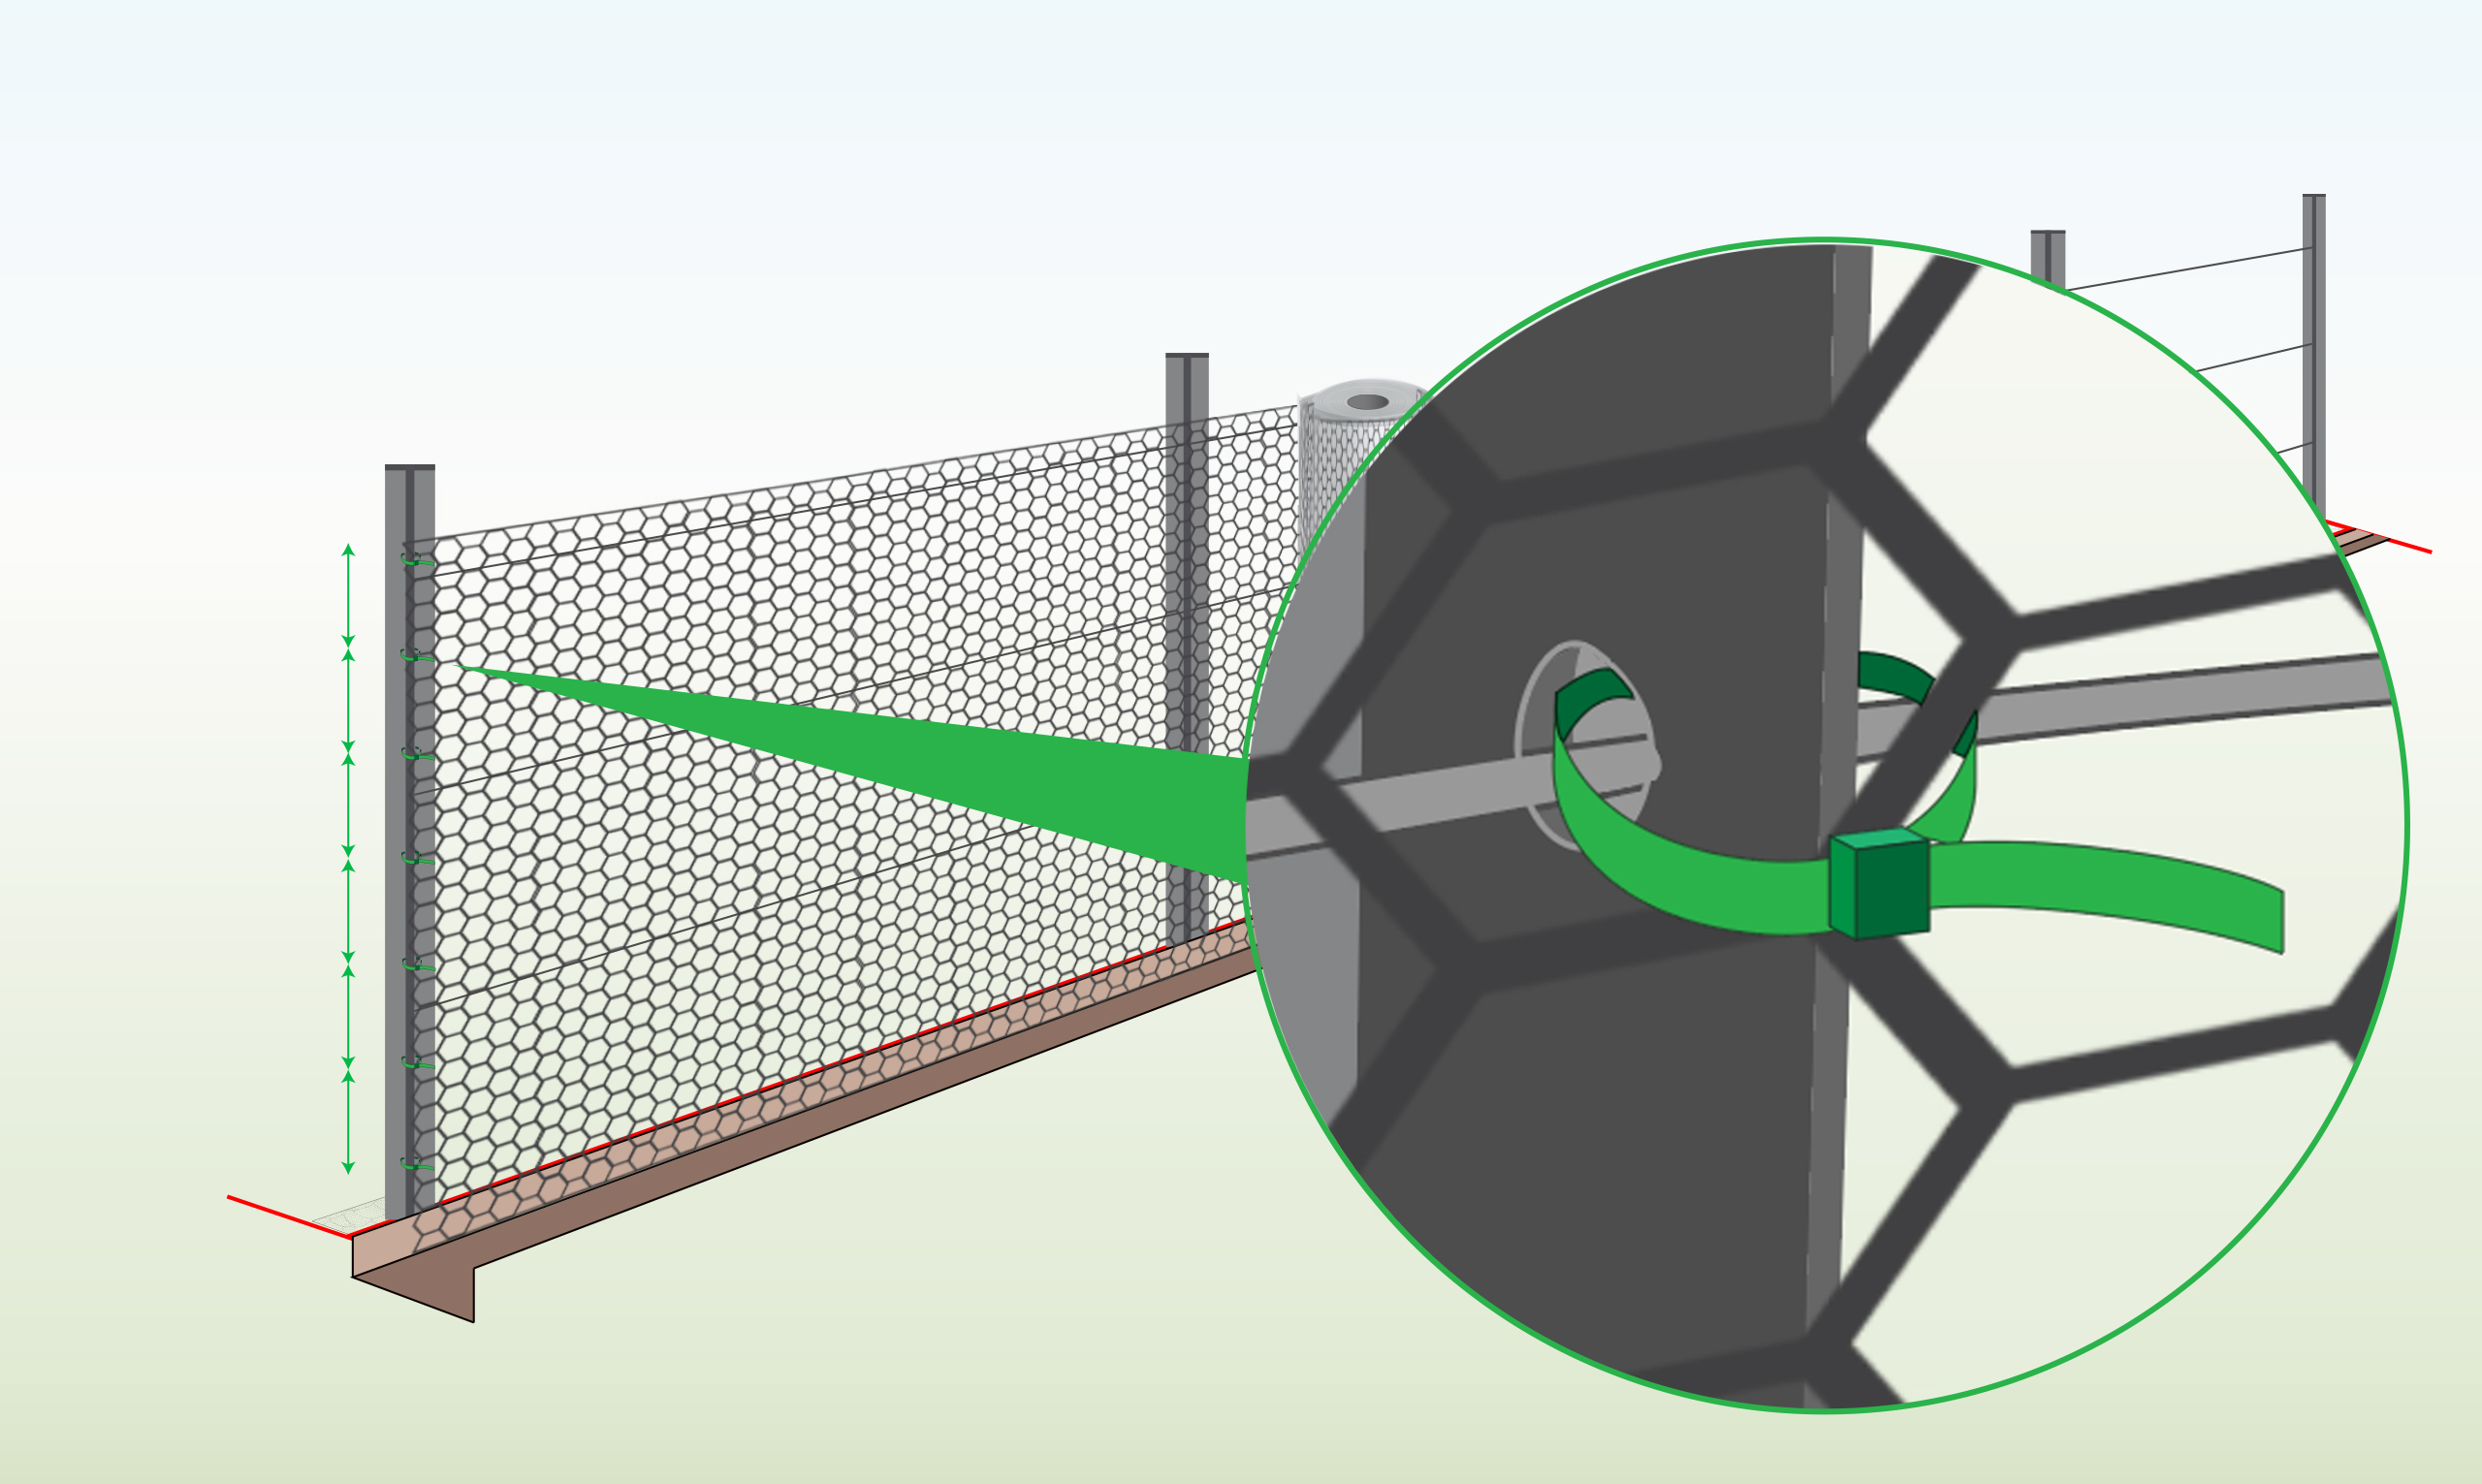
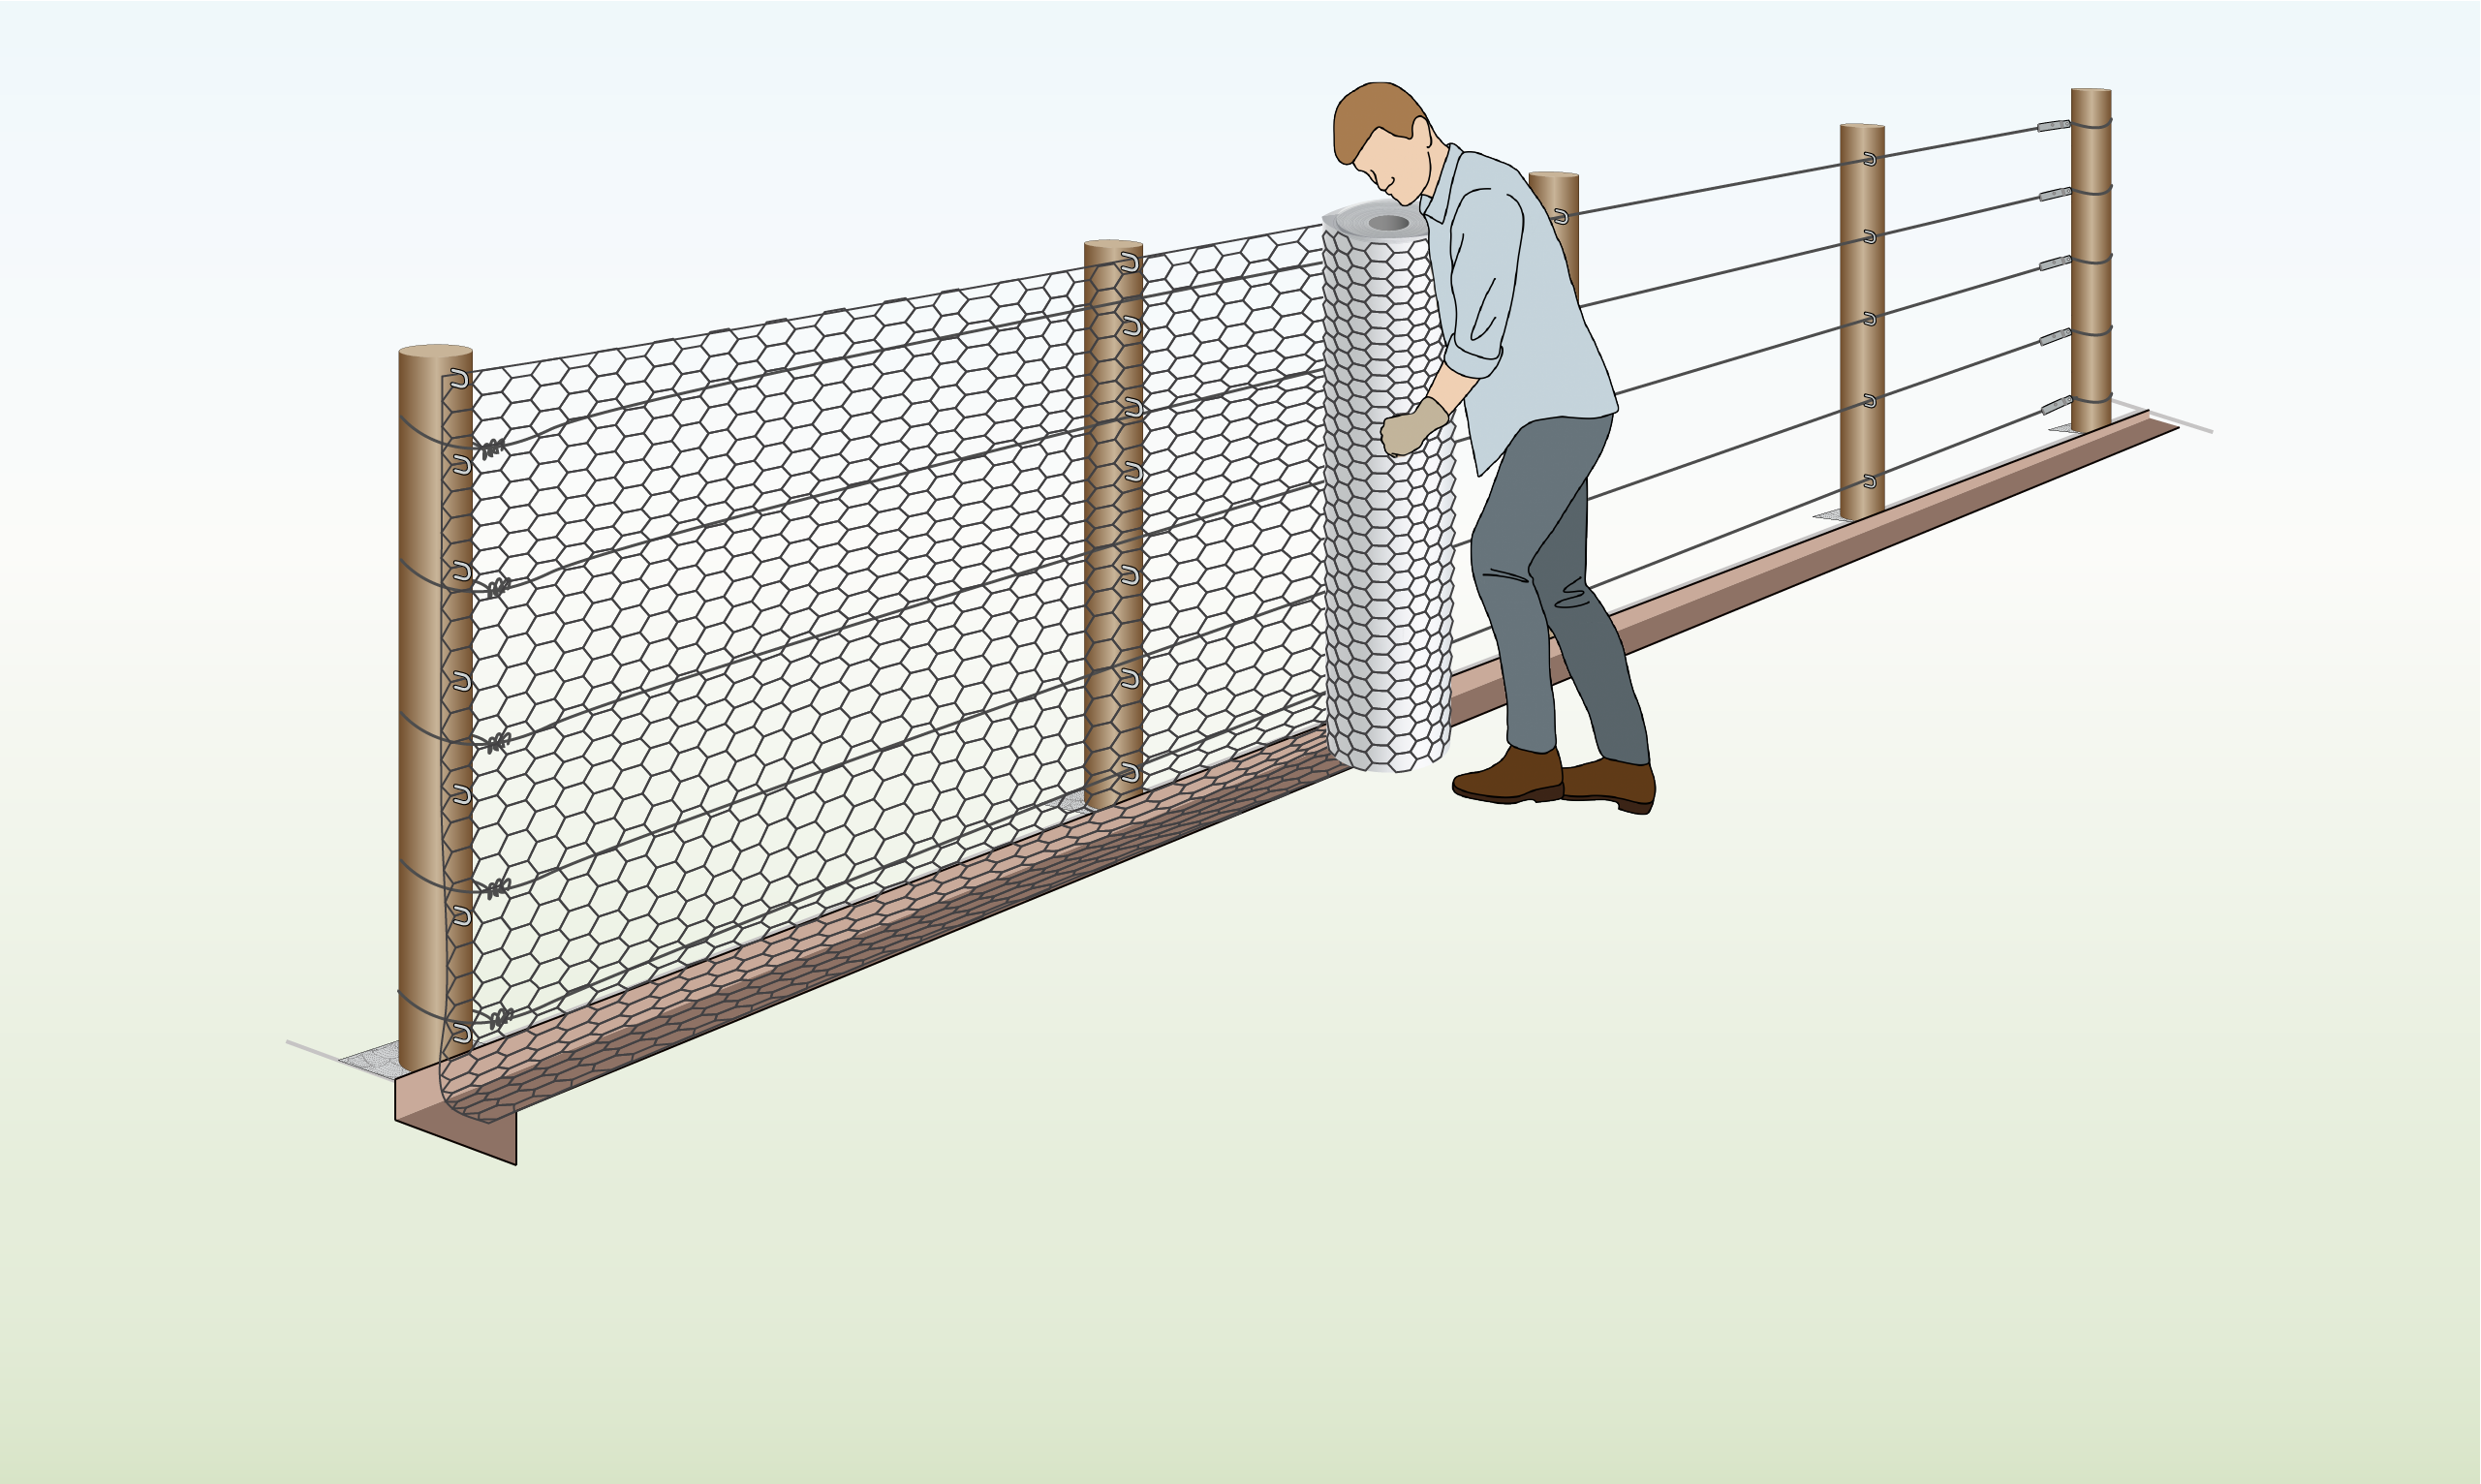
| Step 12 – Pull Tight
|
Pull the mesh tight and then fasten it to the second post using cable ties. Be careful not to over-tighten.
Repeat this procedure until you reach the end post. |
| Step 13 – Secure to Tension Wire (Optional)
|
In case you’ve installed a tension wire, use cable ties to secure the mesh to it, leaving about 30-45 cm between each tie. |
| Step 14 – Secure the Flap
|
Use pegs to secure the flap to the ground.
Staple it at the 90-degree angle and also at the outer edge of the lip, repeating this every 60cm. |
| Step 15 – Cover the Trench
|
Cover the outer flap by adding a layer of 5cm of soil or mulch over it.
Optional Add a layer of concrete into the trench to provide extra security against digging. |
How can I cut it?
The mesh is relatively easy to handle. However, we would recommend that you use side cutters and wear gloves to protect your hands.
Will I be able to shape it?
This mesh is not very rigid, so you will be able to shape it fairly easily into a tunnel, around a tree or any area that you want to protect from smaller animals.
Does it contain lead, will it contaminate the soil?
The galvanized coating is made of high purity grade zinc so you don’t have to worry – the netting will not contaminate the soil when coming in contact with it.


Wire Fence is part of the Super Magic Bean group - VAT Registered: 344 7643 83 - Company Registration No: 11290483