
Show video
25mm x 25mm
90cm (3ft)
6m (20ft)
1.6mm (16g)
£24.99 inc. VAT


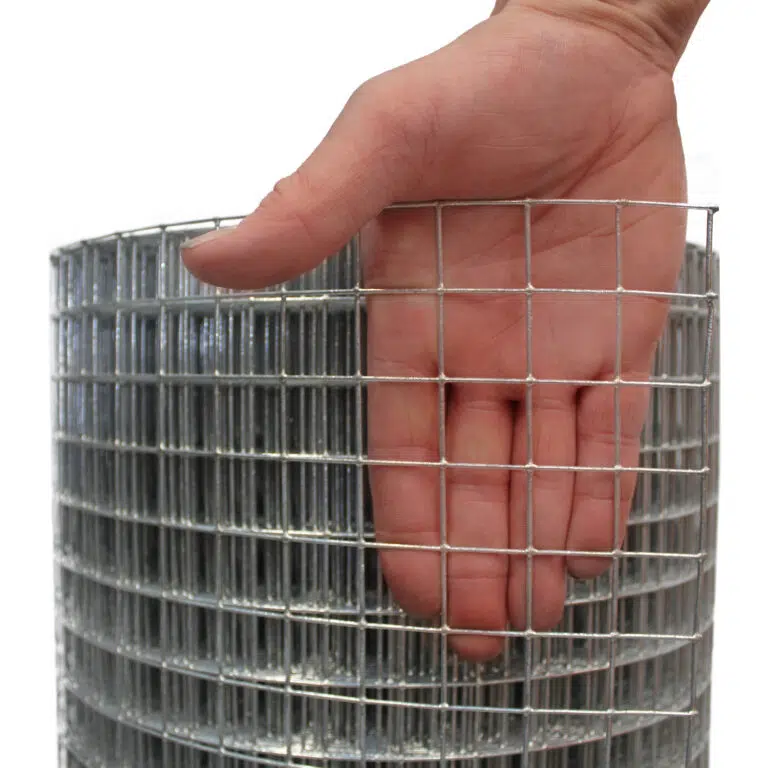
Buy strong, rigid wire mesh used by commercial catteries to construct cat cages and fences.


| Attach to: | How to: |
| T Posts | 
|
| Wood/ Wooden Posts(Staples) |
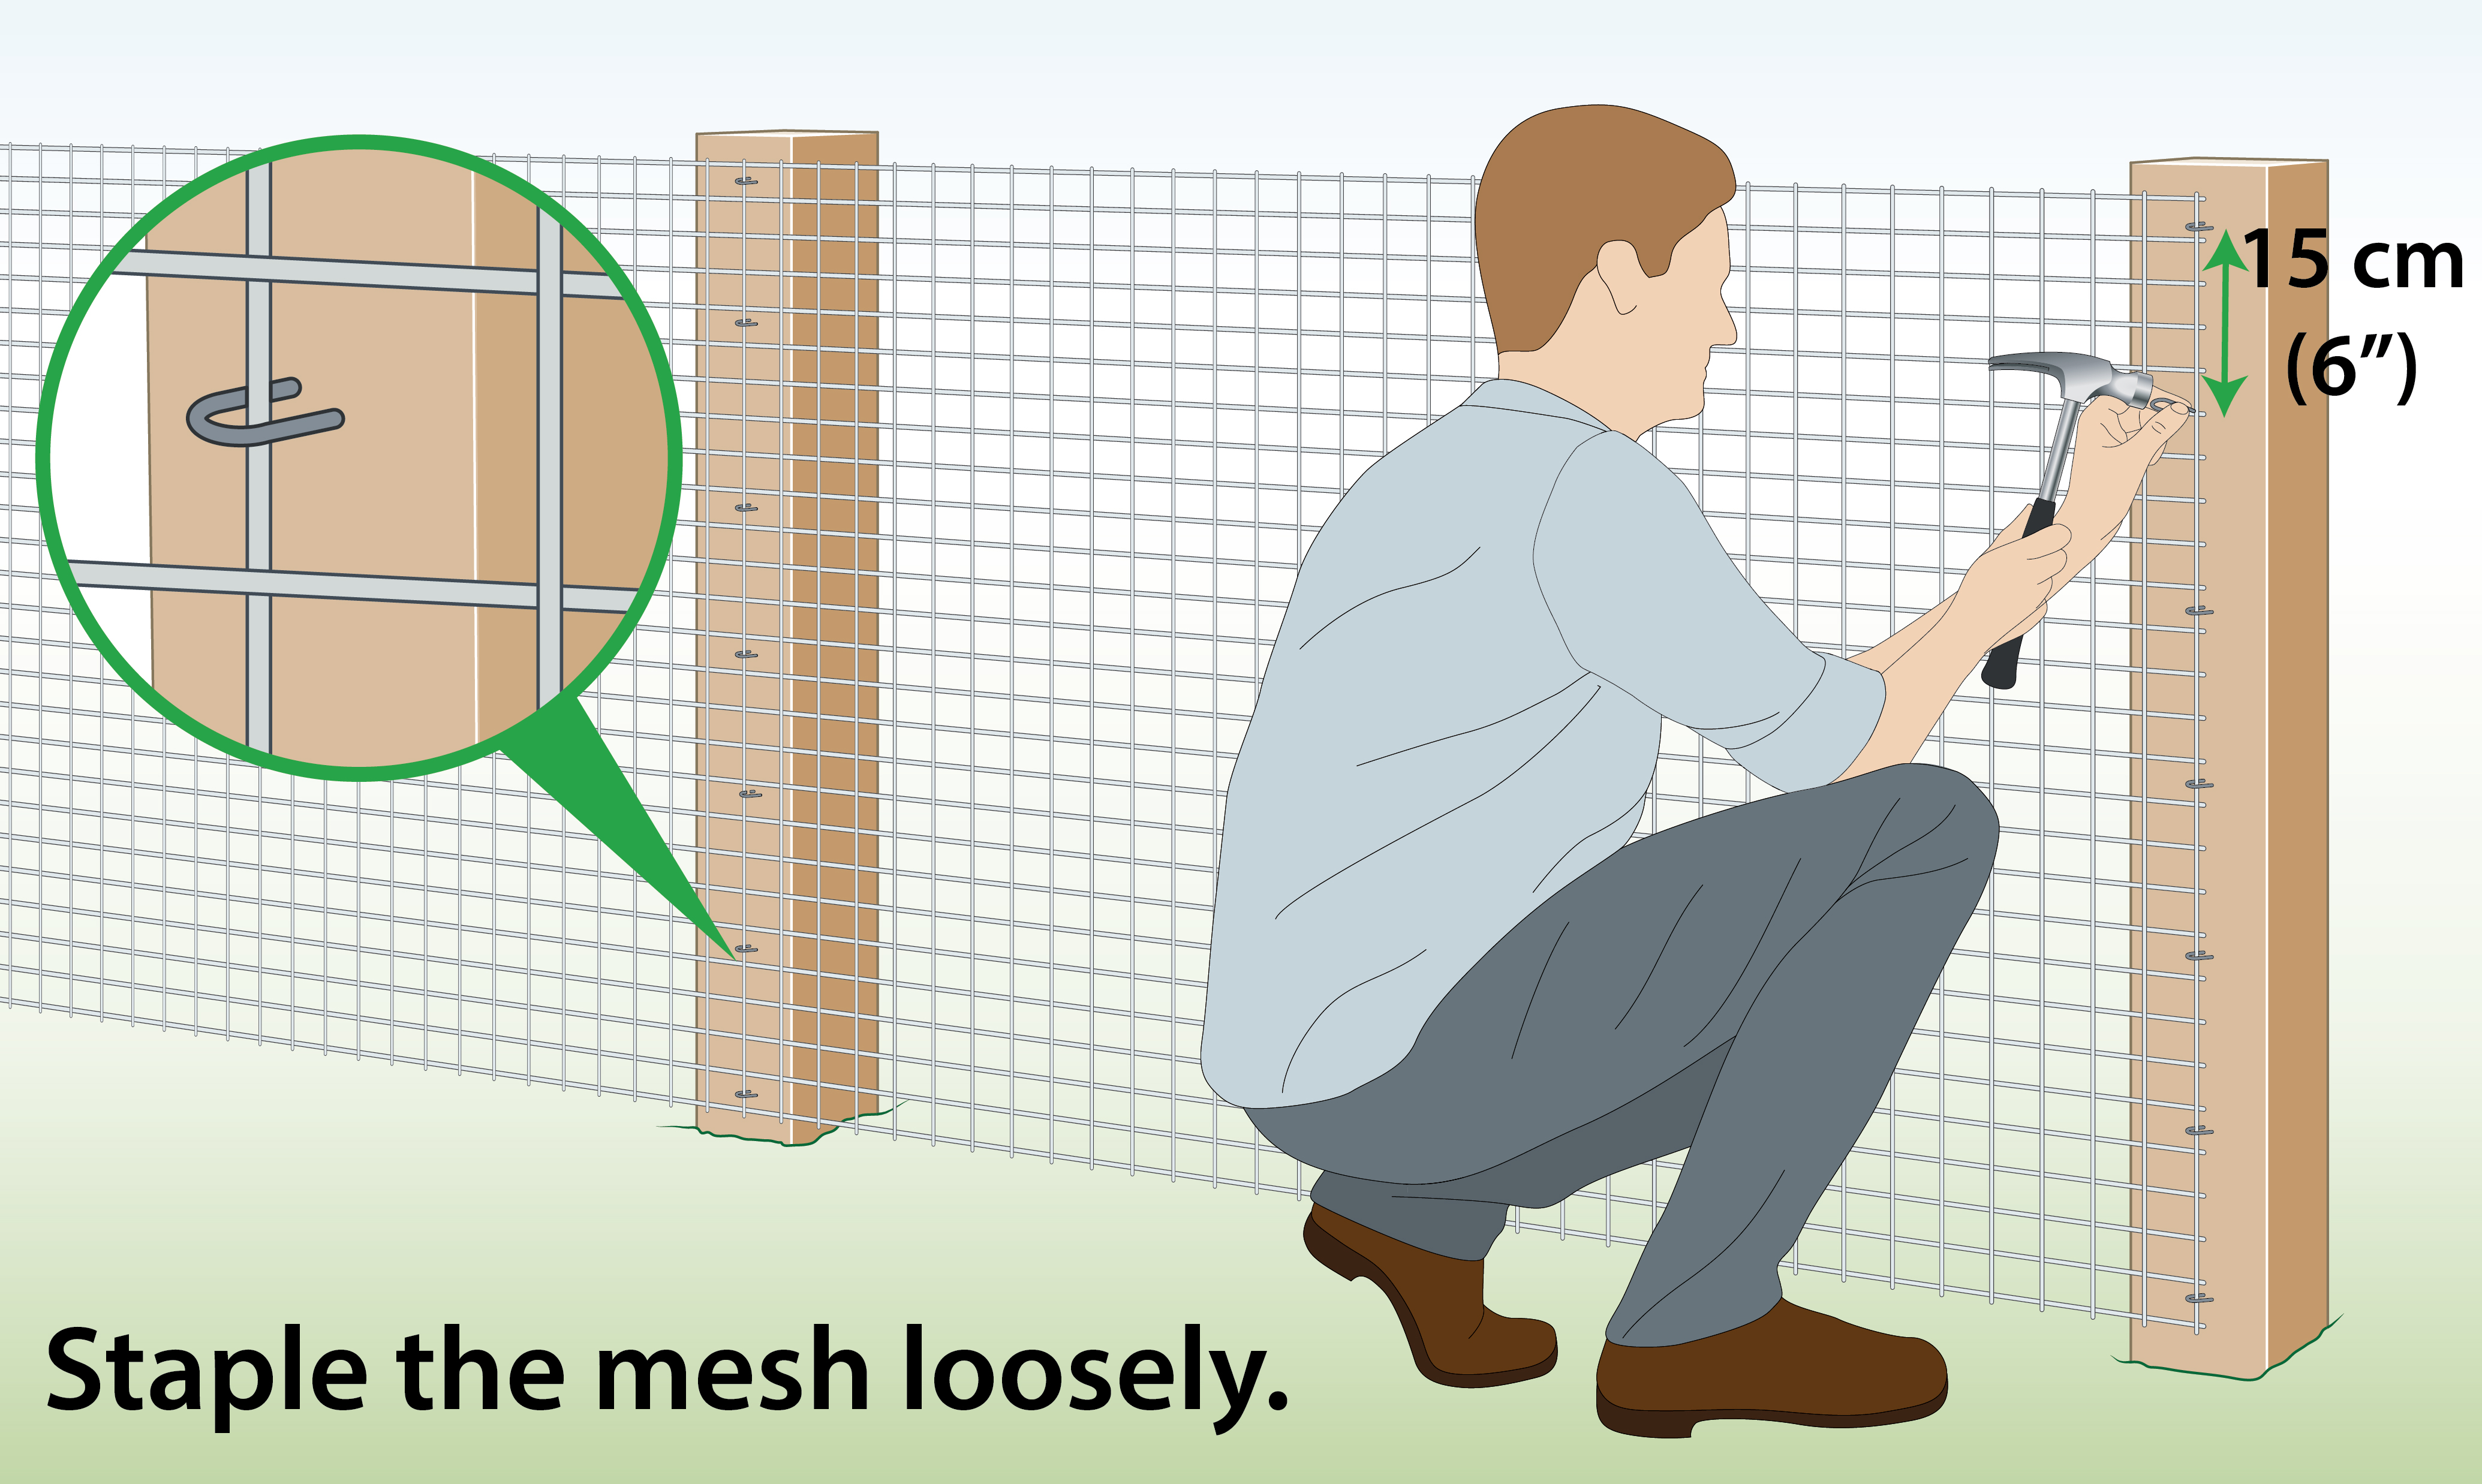 |
| Metal/ Metal Posts(Cable ties) |

|
| Concrete Posts | 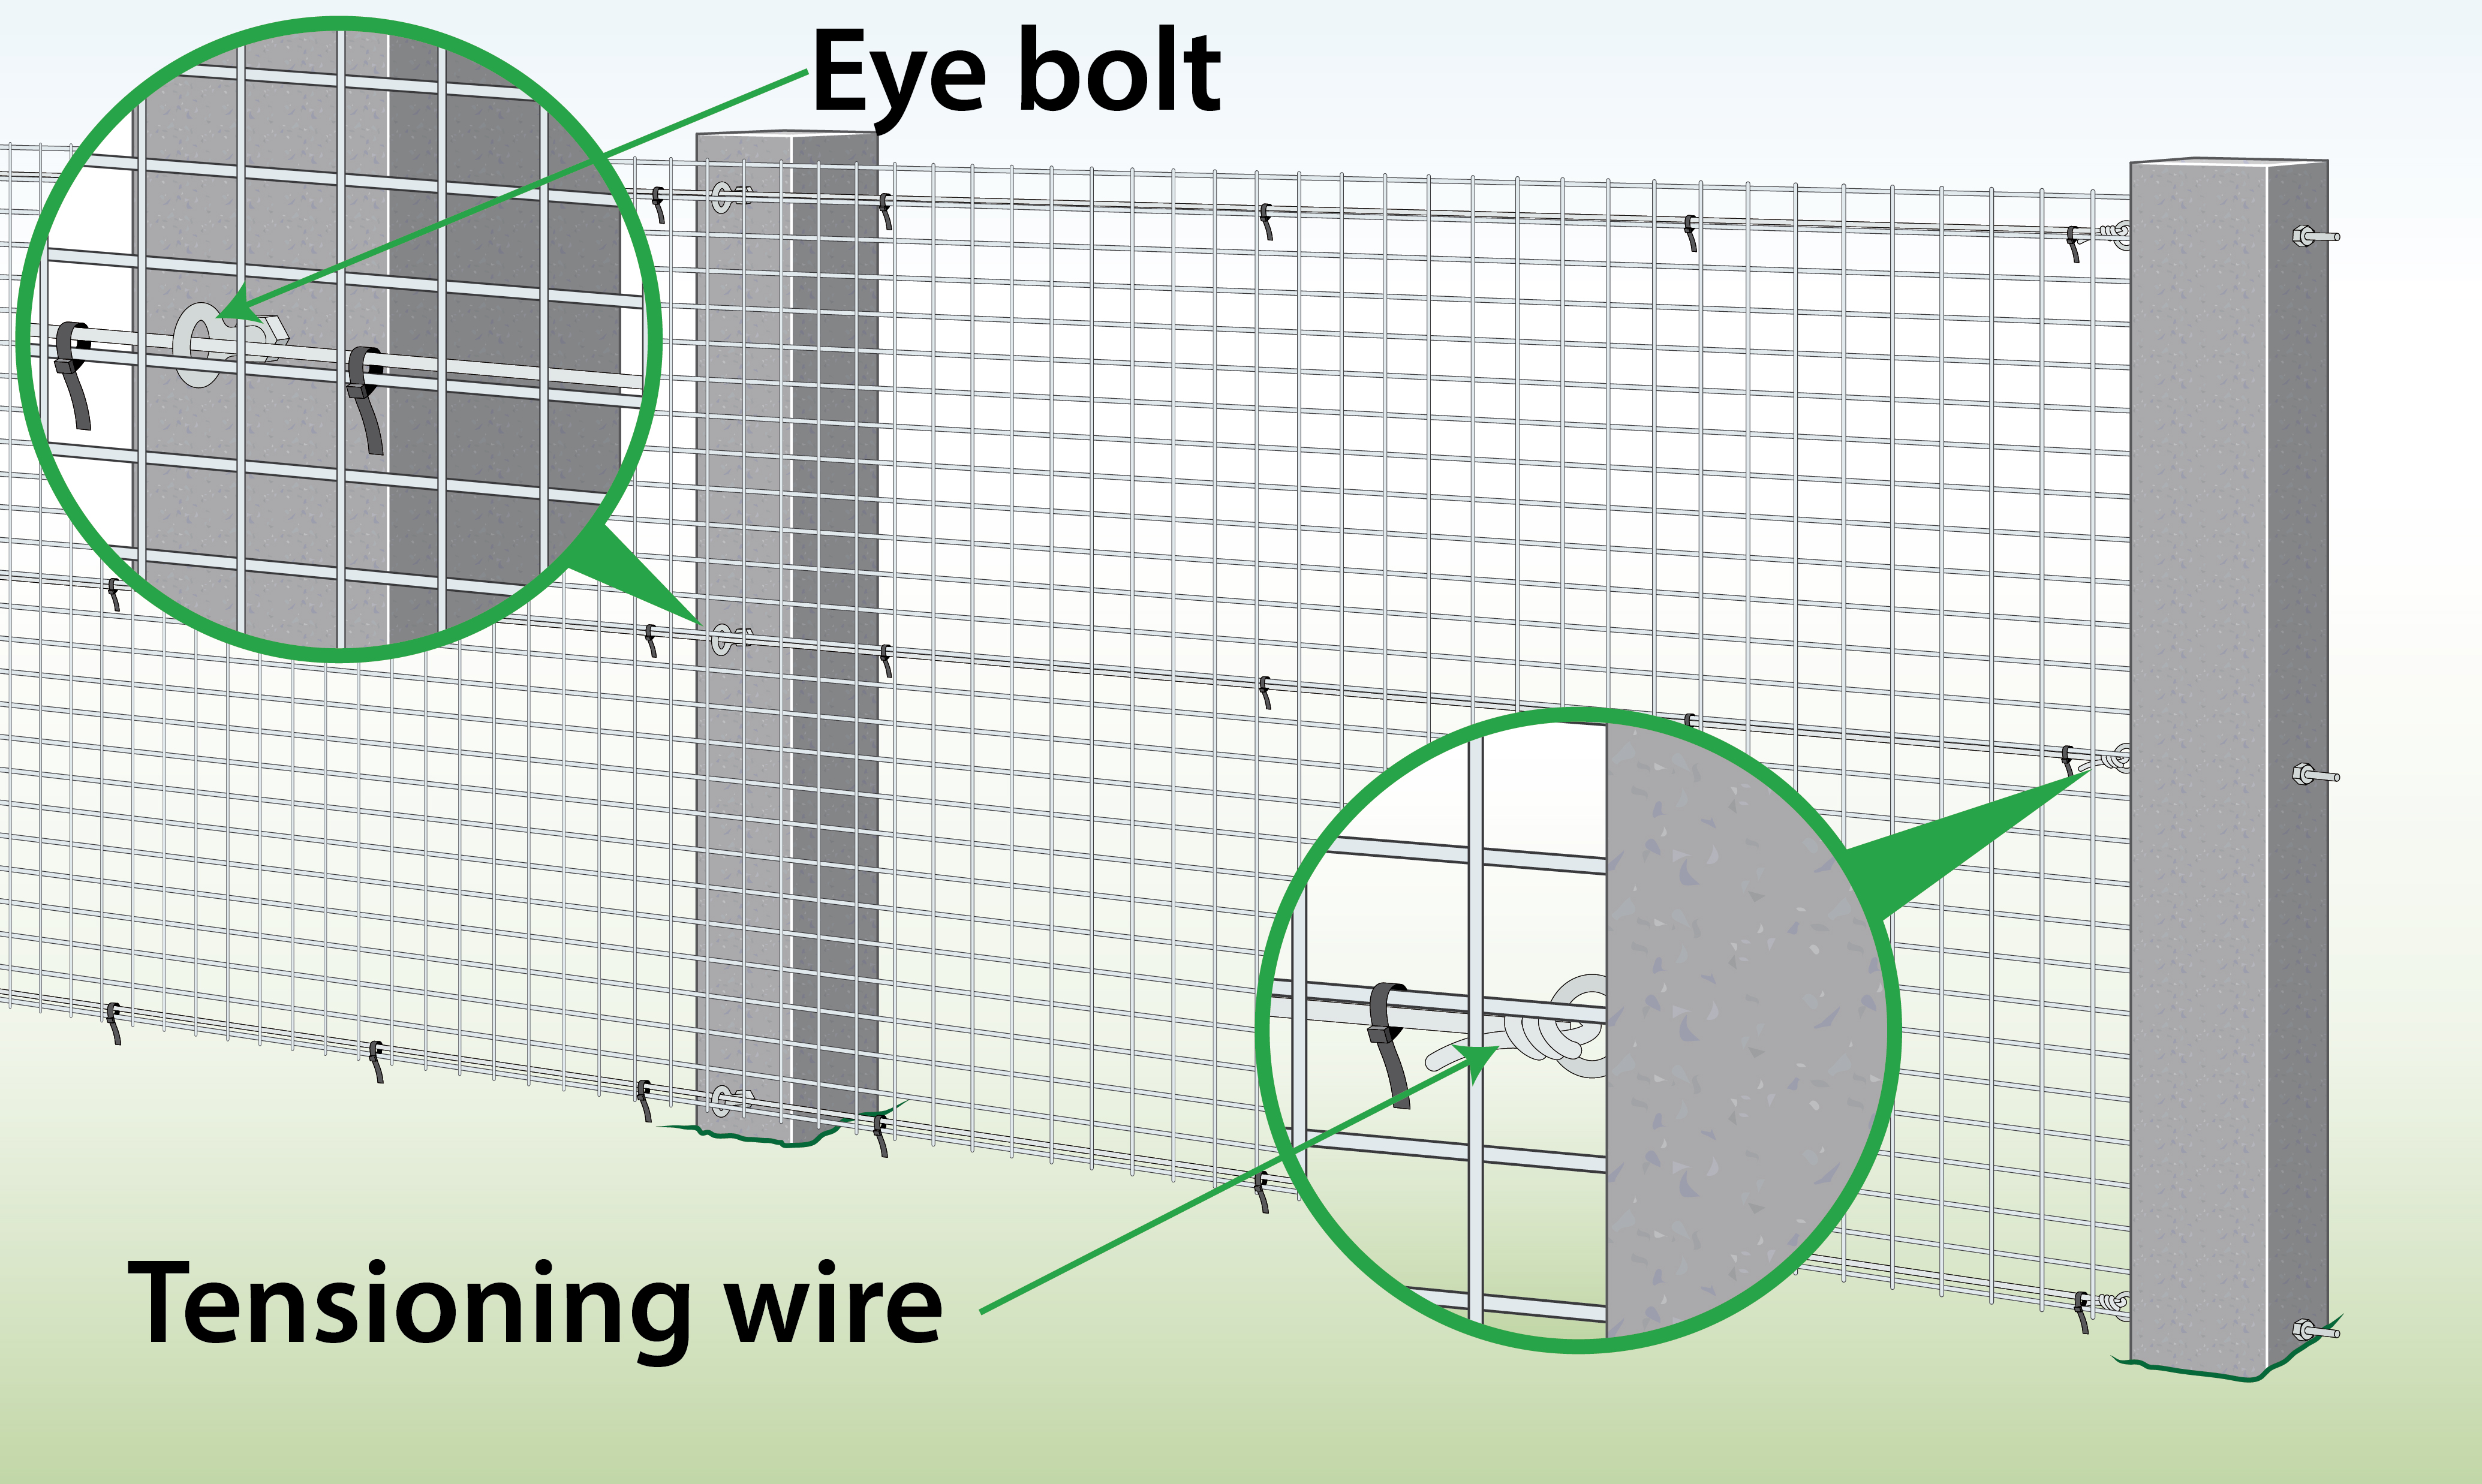 |
| Soil
(Pegs) |

|
| Wire Fence
|

|
Below you will find a typical installation of the products for sale in this category.
| Cat Fence Installation | Explanation |

|
Set T-posts 2-3 m apart and add brackets on top.
|
| Fence Overhang Installation | Explanation |
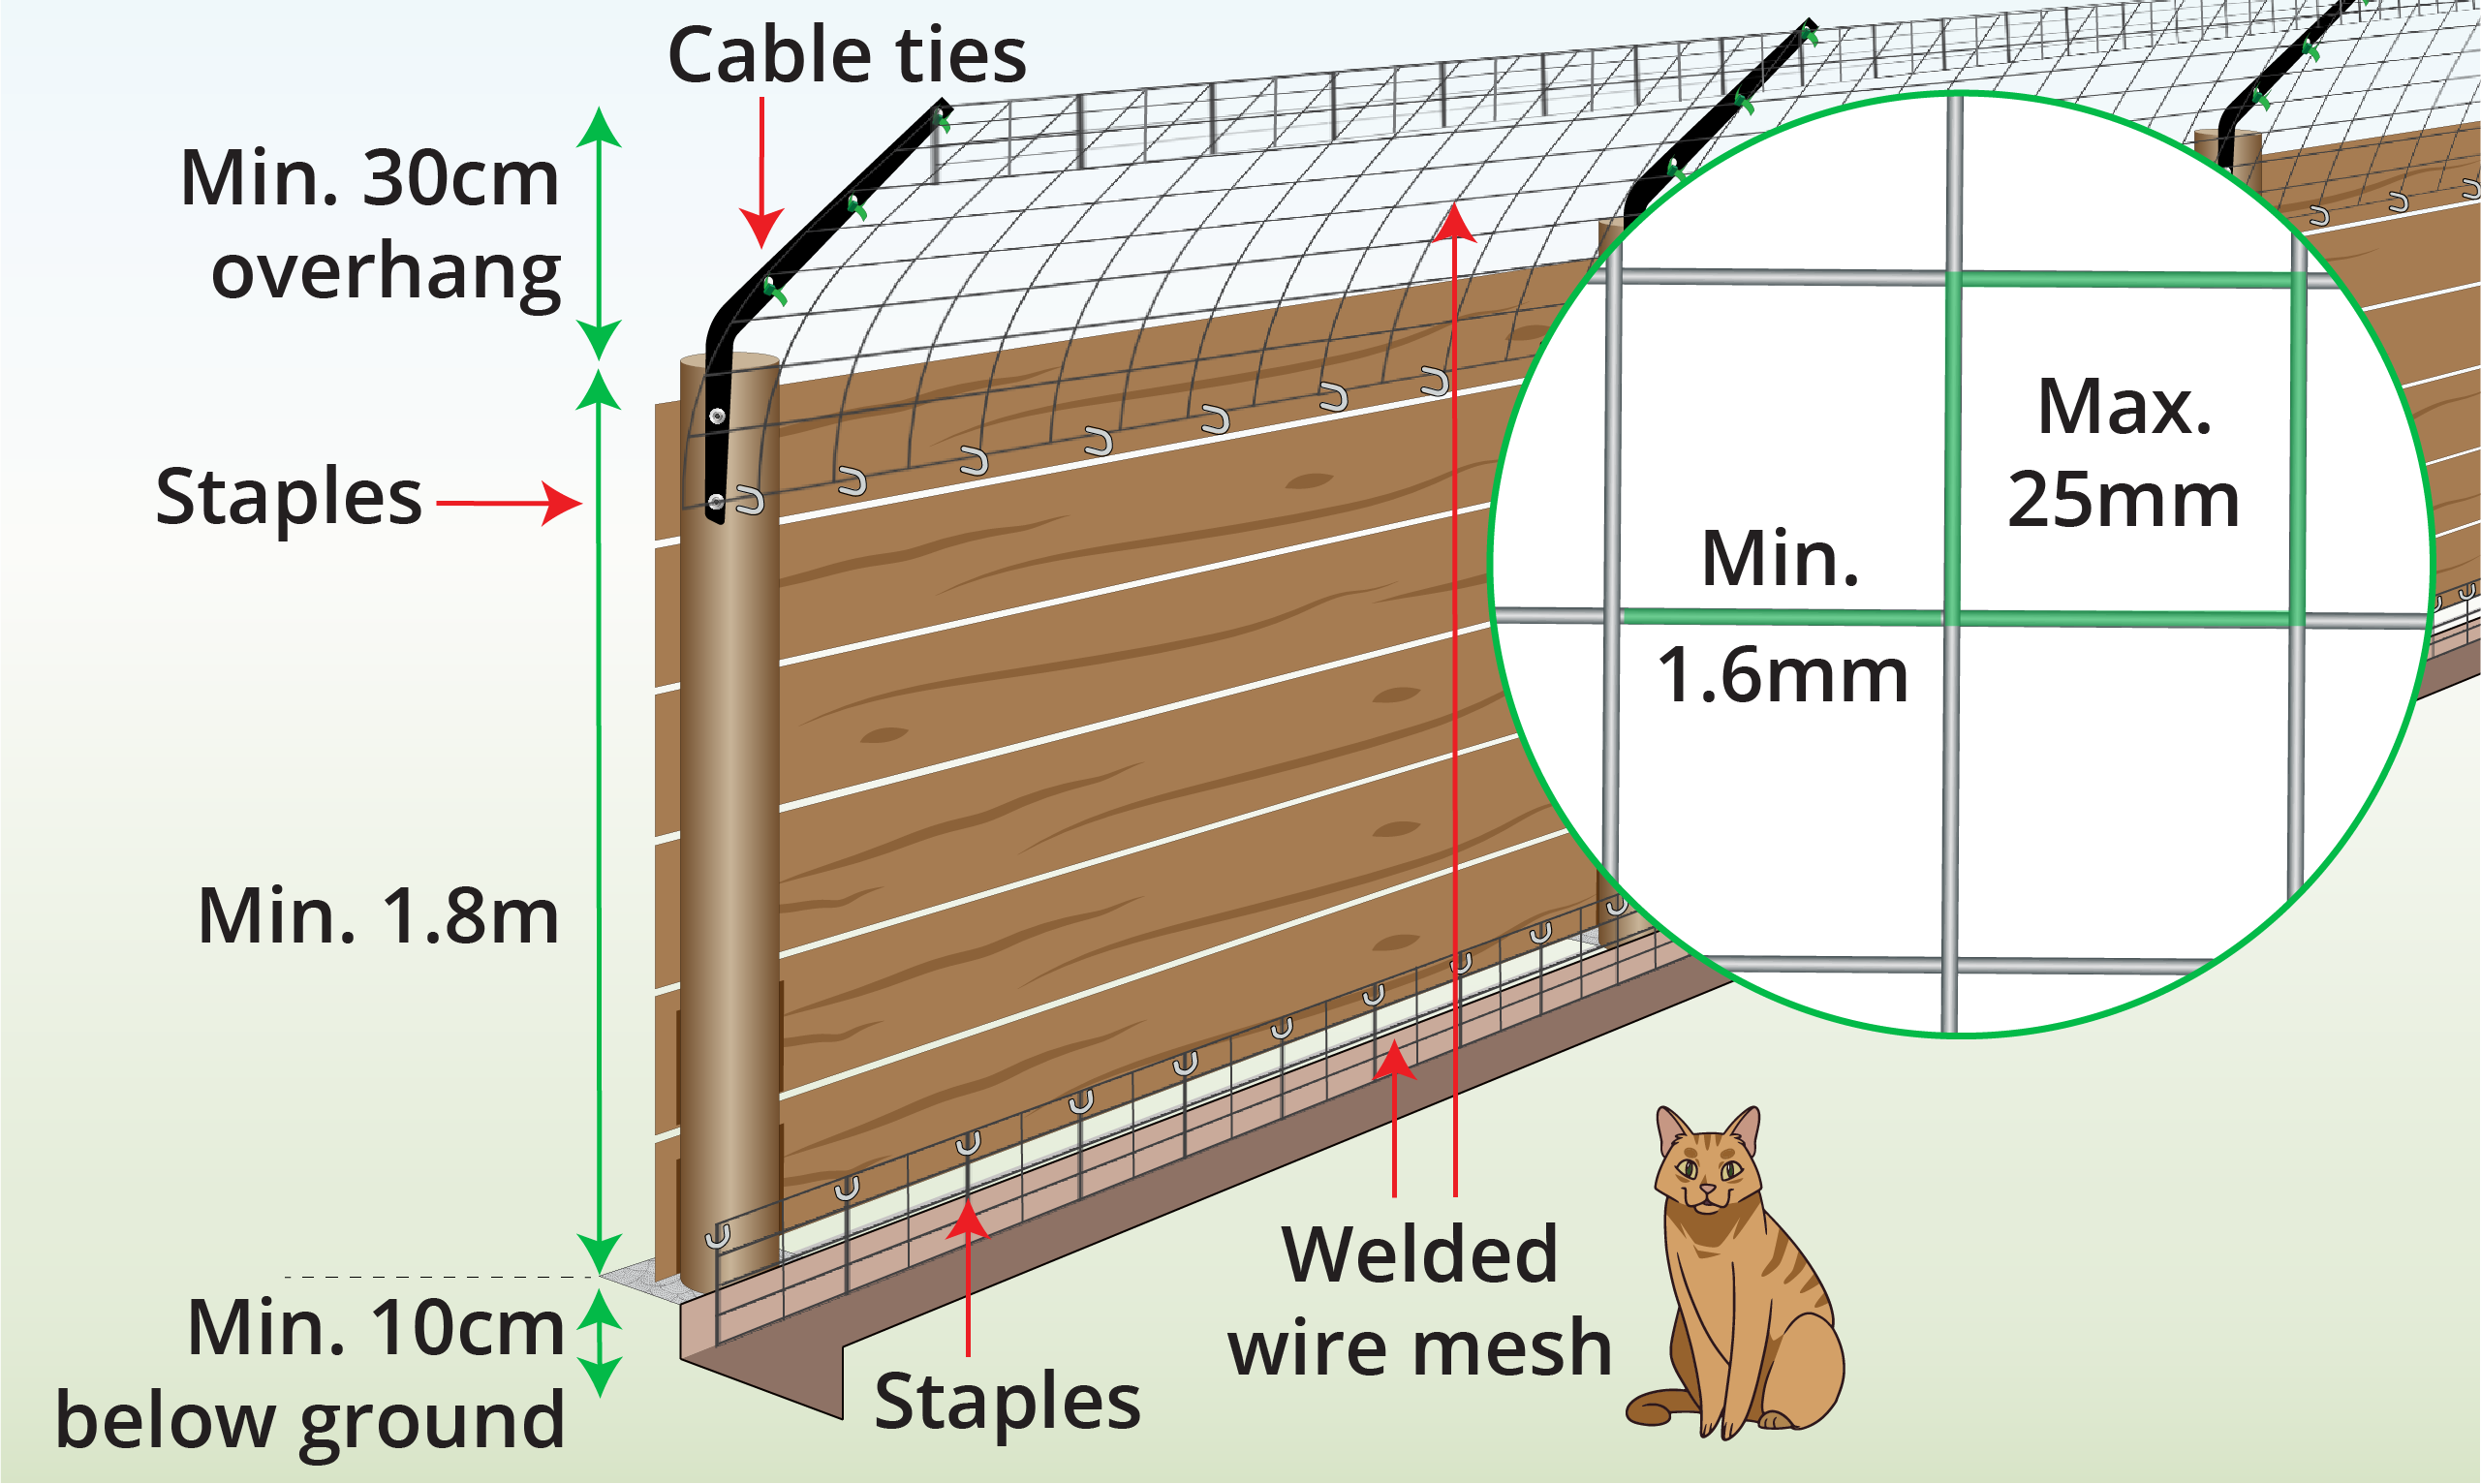 |
Attach the bracket to your posts using staples, cable ties or screws.
You can use something as simple as a large shelf bracket to create the overhang. No need for fancy, expensive brackets. |
| Catio Installation | Explanation |

|
If you are using the mesh to build a catio, simply attach it to the wood using staples or cable ties. |
Will a cat proof fence overhang stop my cat from climbing out of the garden?
Yes. Cats are agile climbers, but they rely on pulling their weight over the top edge of a fence or wall. Cat fencing systems use inward-angled brackets (set at a 45-degree angle). When a cat climbs to the top, the bracket forces them to hang upside down where they can’t get a foothold, safely causing them to drop back into the garden.
Can I install cat fencing brackets on existing wooden fence panels or brick walls?
Absolutely. You can use something as simple as a large shelf bracket, which is light and easy to attach to different materials.
What mesh/netting material is safest for cat fencing?
We recommend high-quality welded mesh or PVC-coated weld mesh. Lower quality cat fencing may have sharp stray wires that could injure your cat. All of the cat fencing rolls over 1.6mm that we sell in this category are European-made and conform to commercial cattery standards.
How many brackets and meters of netting do I need for my garden?
As a general rule of thumb:
How high does my existing fence need to be to install cat fencing?
For maximum effectiveness, we recommend installing overhang brackets on existing fences or walls that are at least 1.8m (6ft) tall. This height prevents cats from jumping directly over the angled bracket from the ground without attempting to climb first.
If your boundary fence is lower (e.g., 1.2m or 1.5m), we recommend extending the vertical post height before fitting the angled overhang.
These cat fencing FAQs were curated and answered by our customer support team members, Joy and Erno. They reflect the most common questions asked by cat owners looking to secure their gardens. If you need help calculating bracket quantities or choosing the right fixings for your walls, please get in touch with our team.
Looking for a complete step-by-step installation walkthrough? Visit our DIY Cat Proof Fence Installation Guide.

Wire Fence is part of the Super Magic Bean group - VAT Registered: 344 7643 83 - Company Registration No: 11290483


