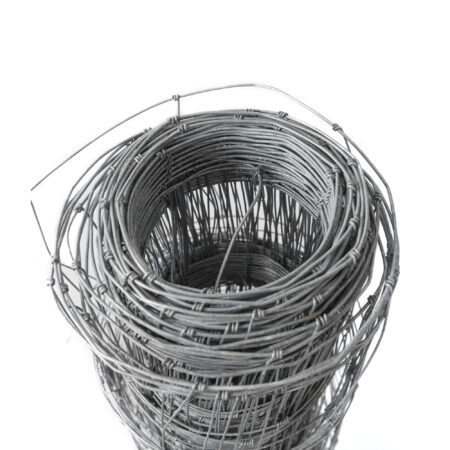
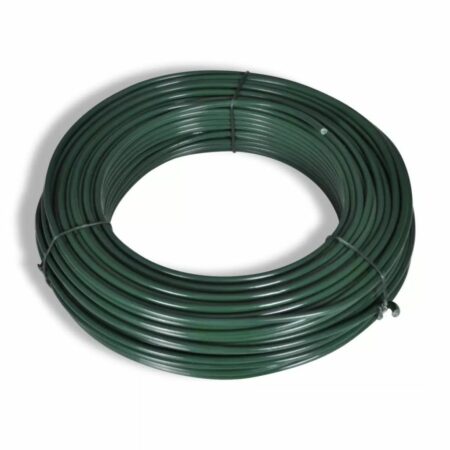
Dog Fencing for Large Areas
Economical plastic and metal dog fencing to cover large boundaries such as farmland, parks, and large gardens.
Installation Instructions
| To Do | Explanation |
|
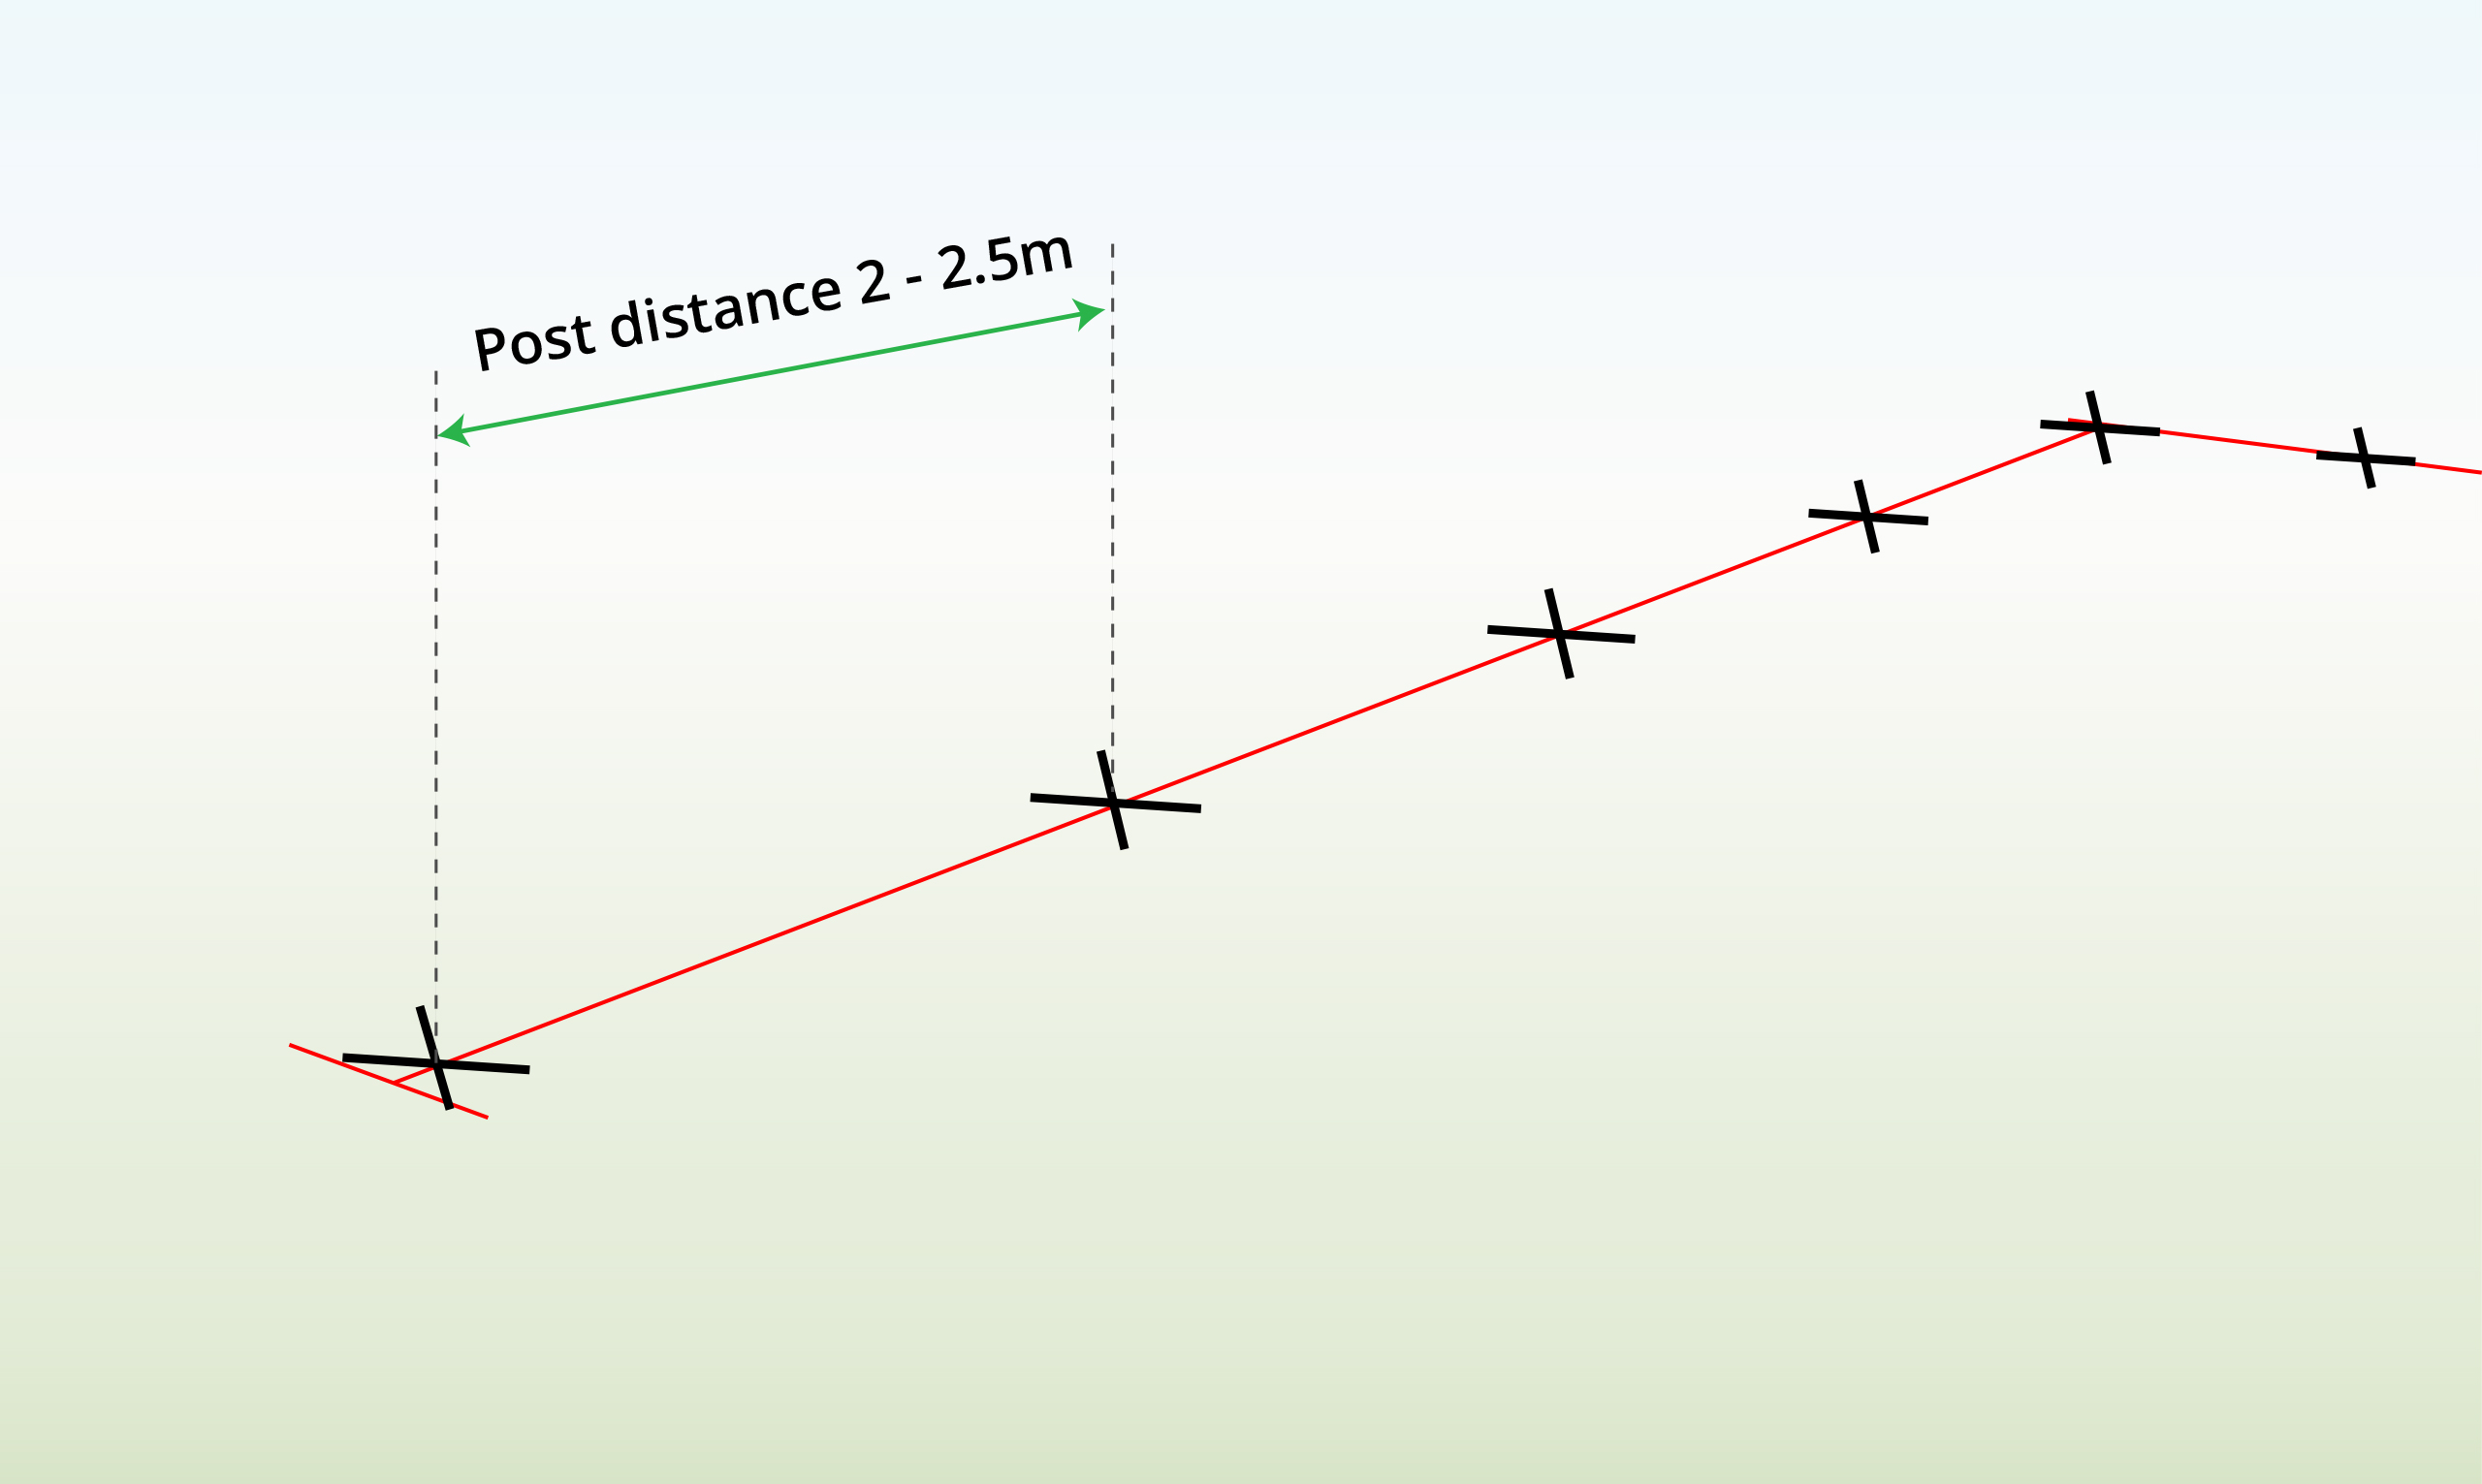
Step 1 – Mark the Post Location
|
Specify the post locations while maintaining a spacing of 2-2.5m between each post. |
|
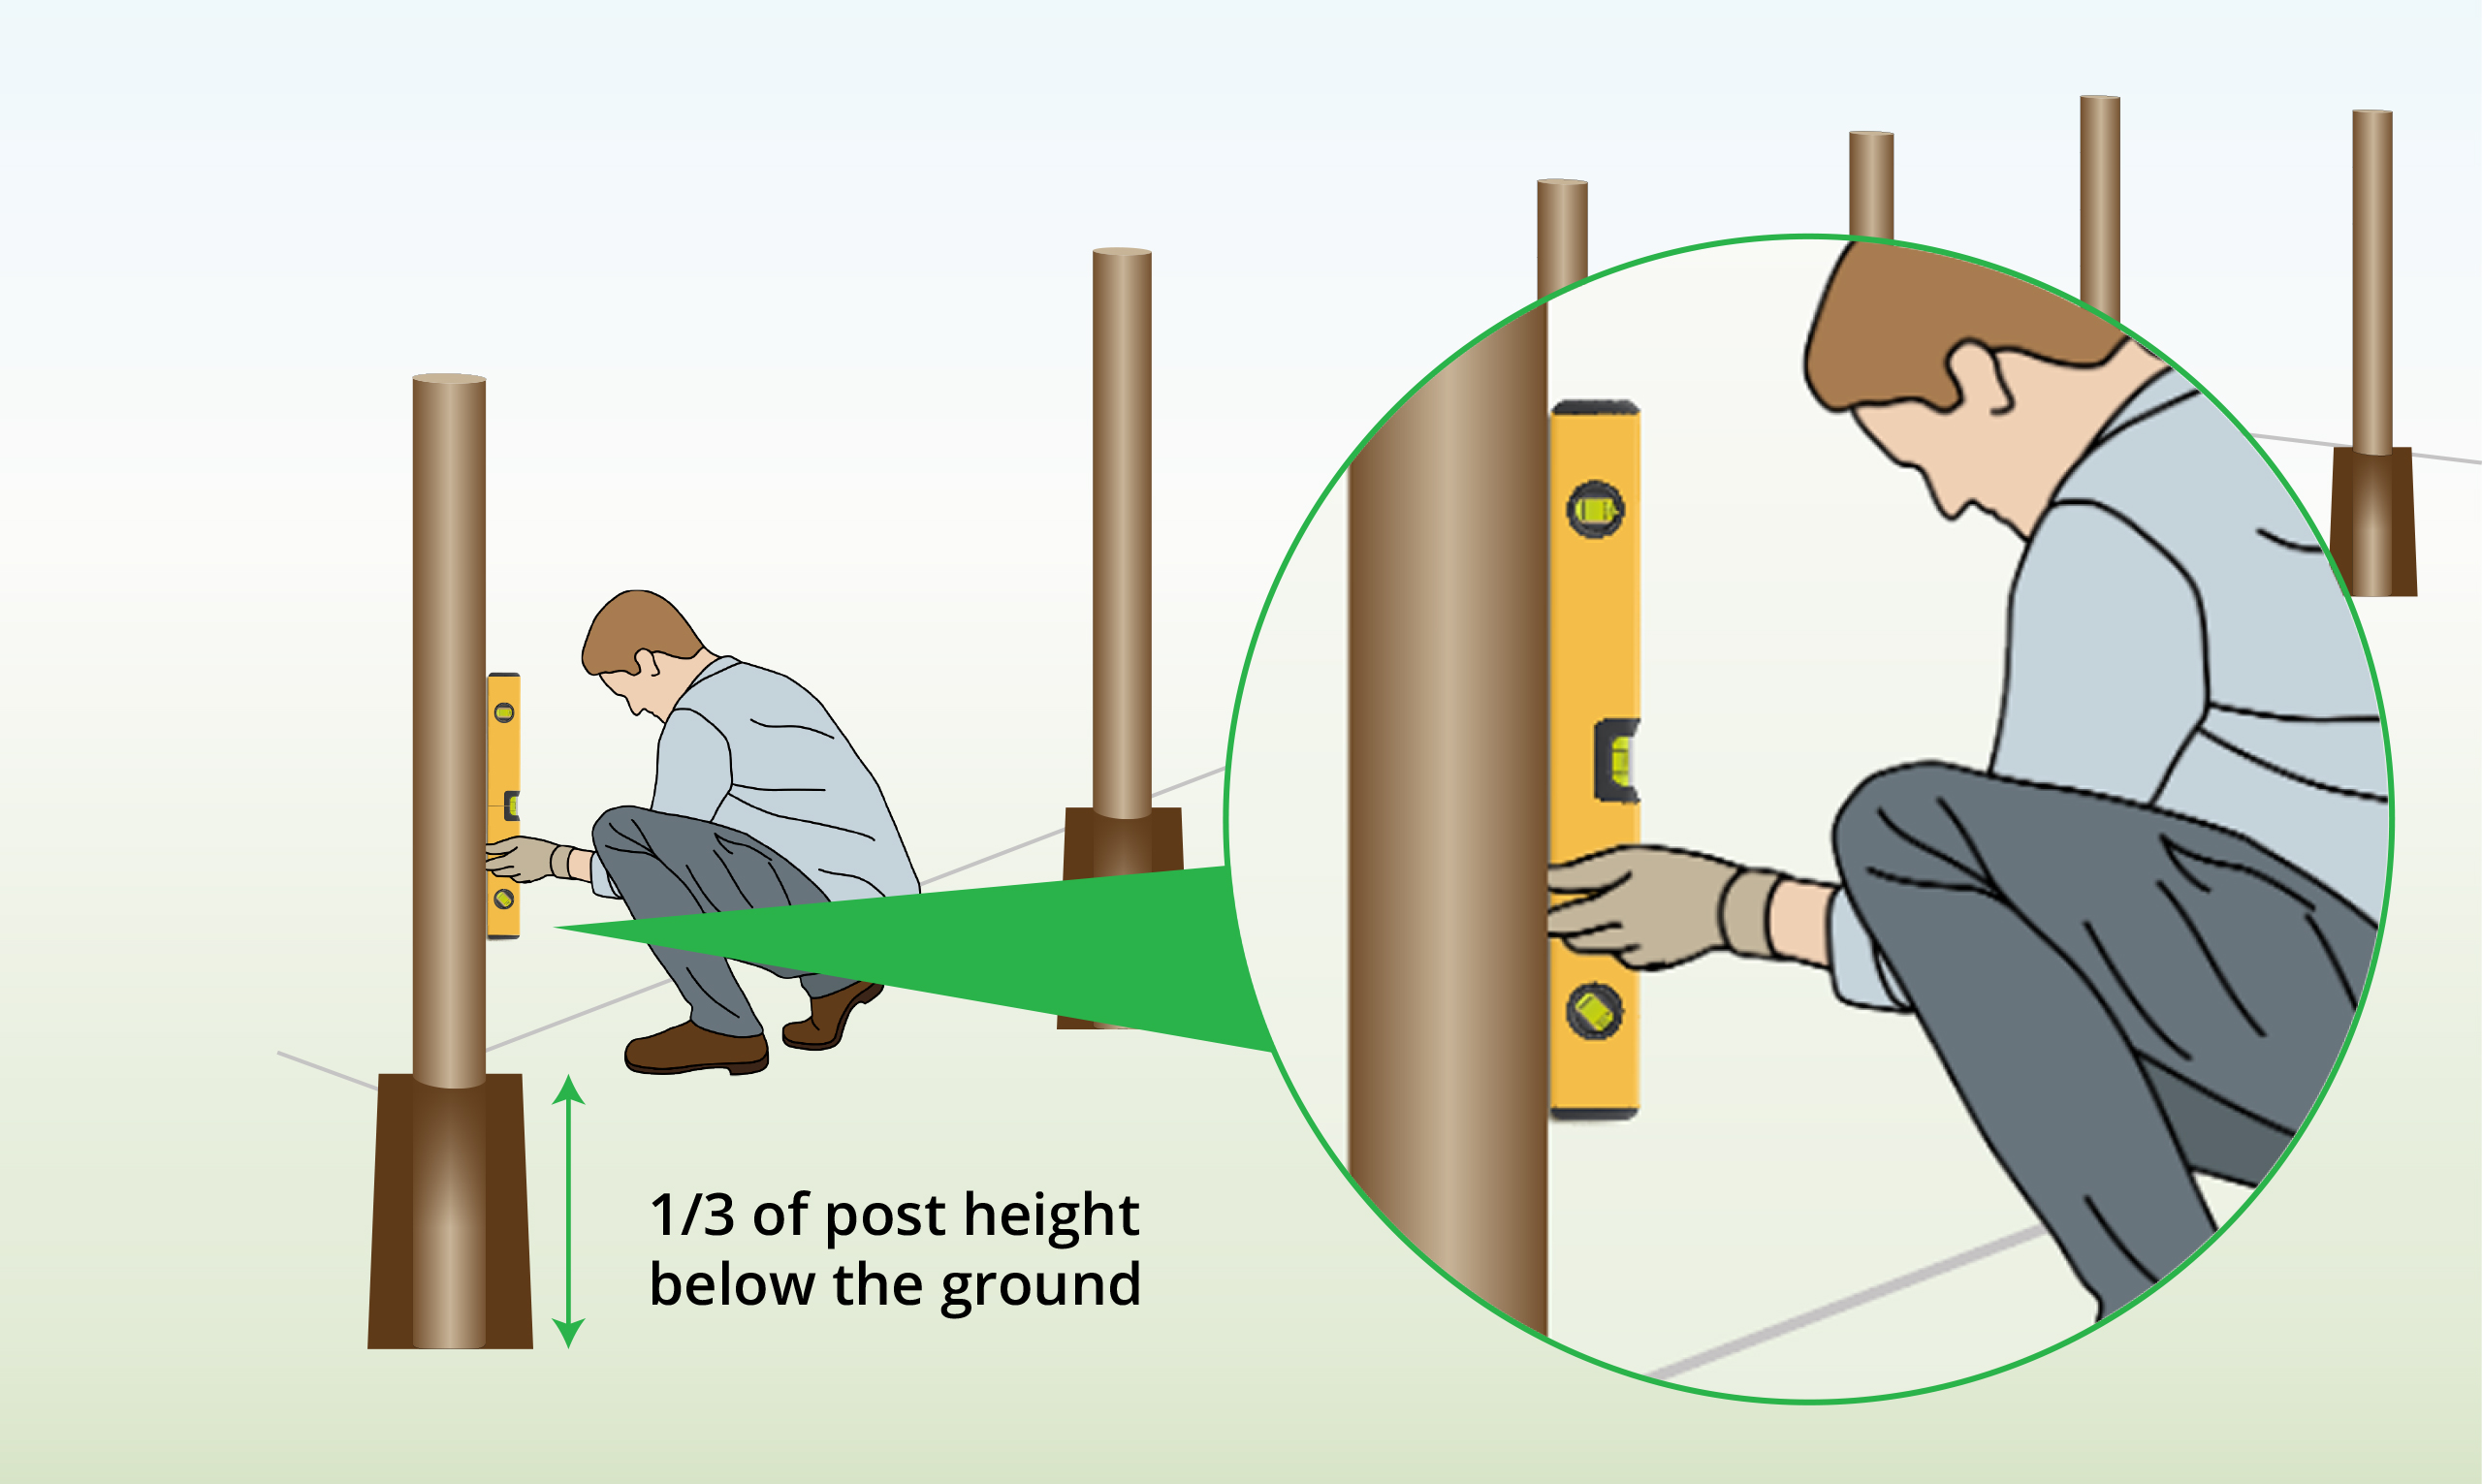
Step 2 – Dig Holes
|
Dig a hole for the posts, ensuring that the depth of the hole is approx. one-third of the post’s length.
Use a spirit level to verify that the posts are perfectly upright. |
|
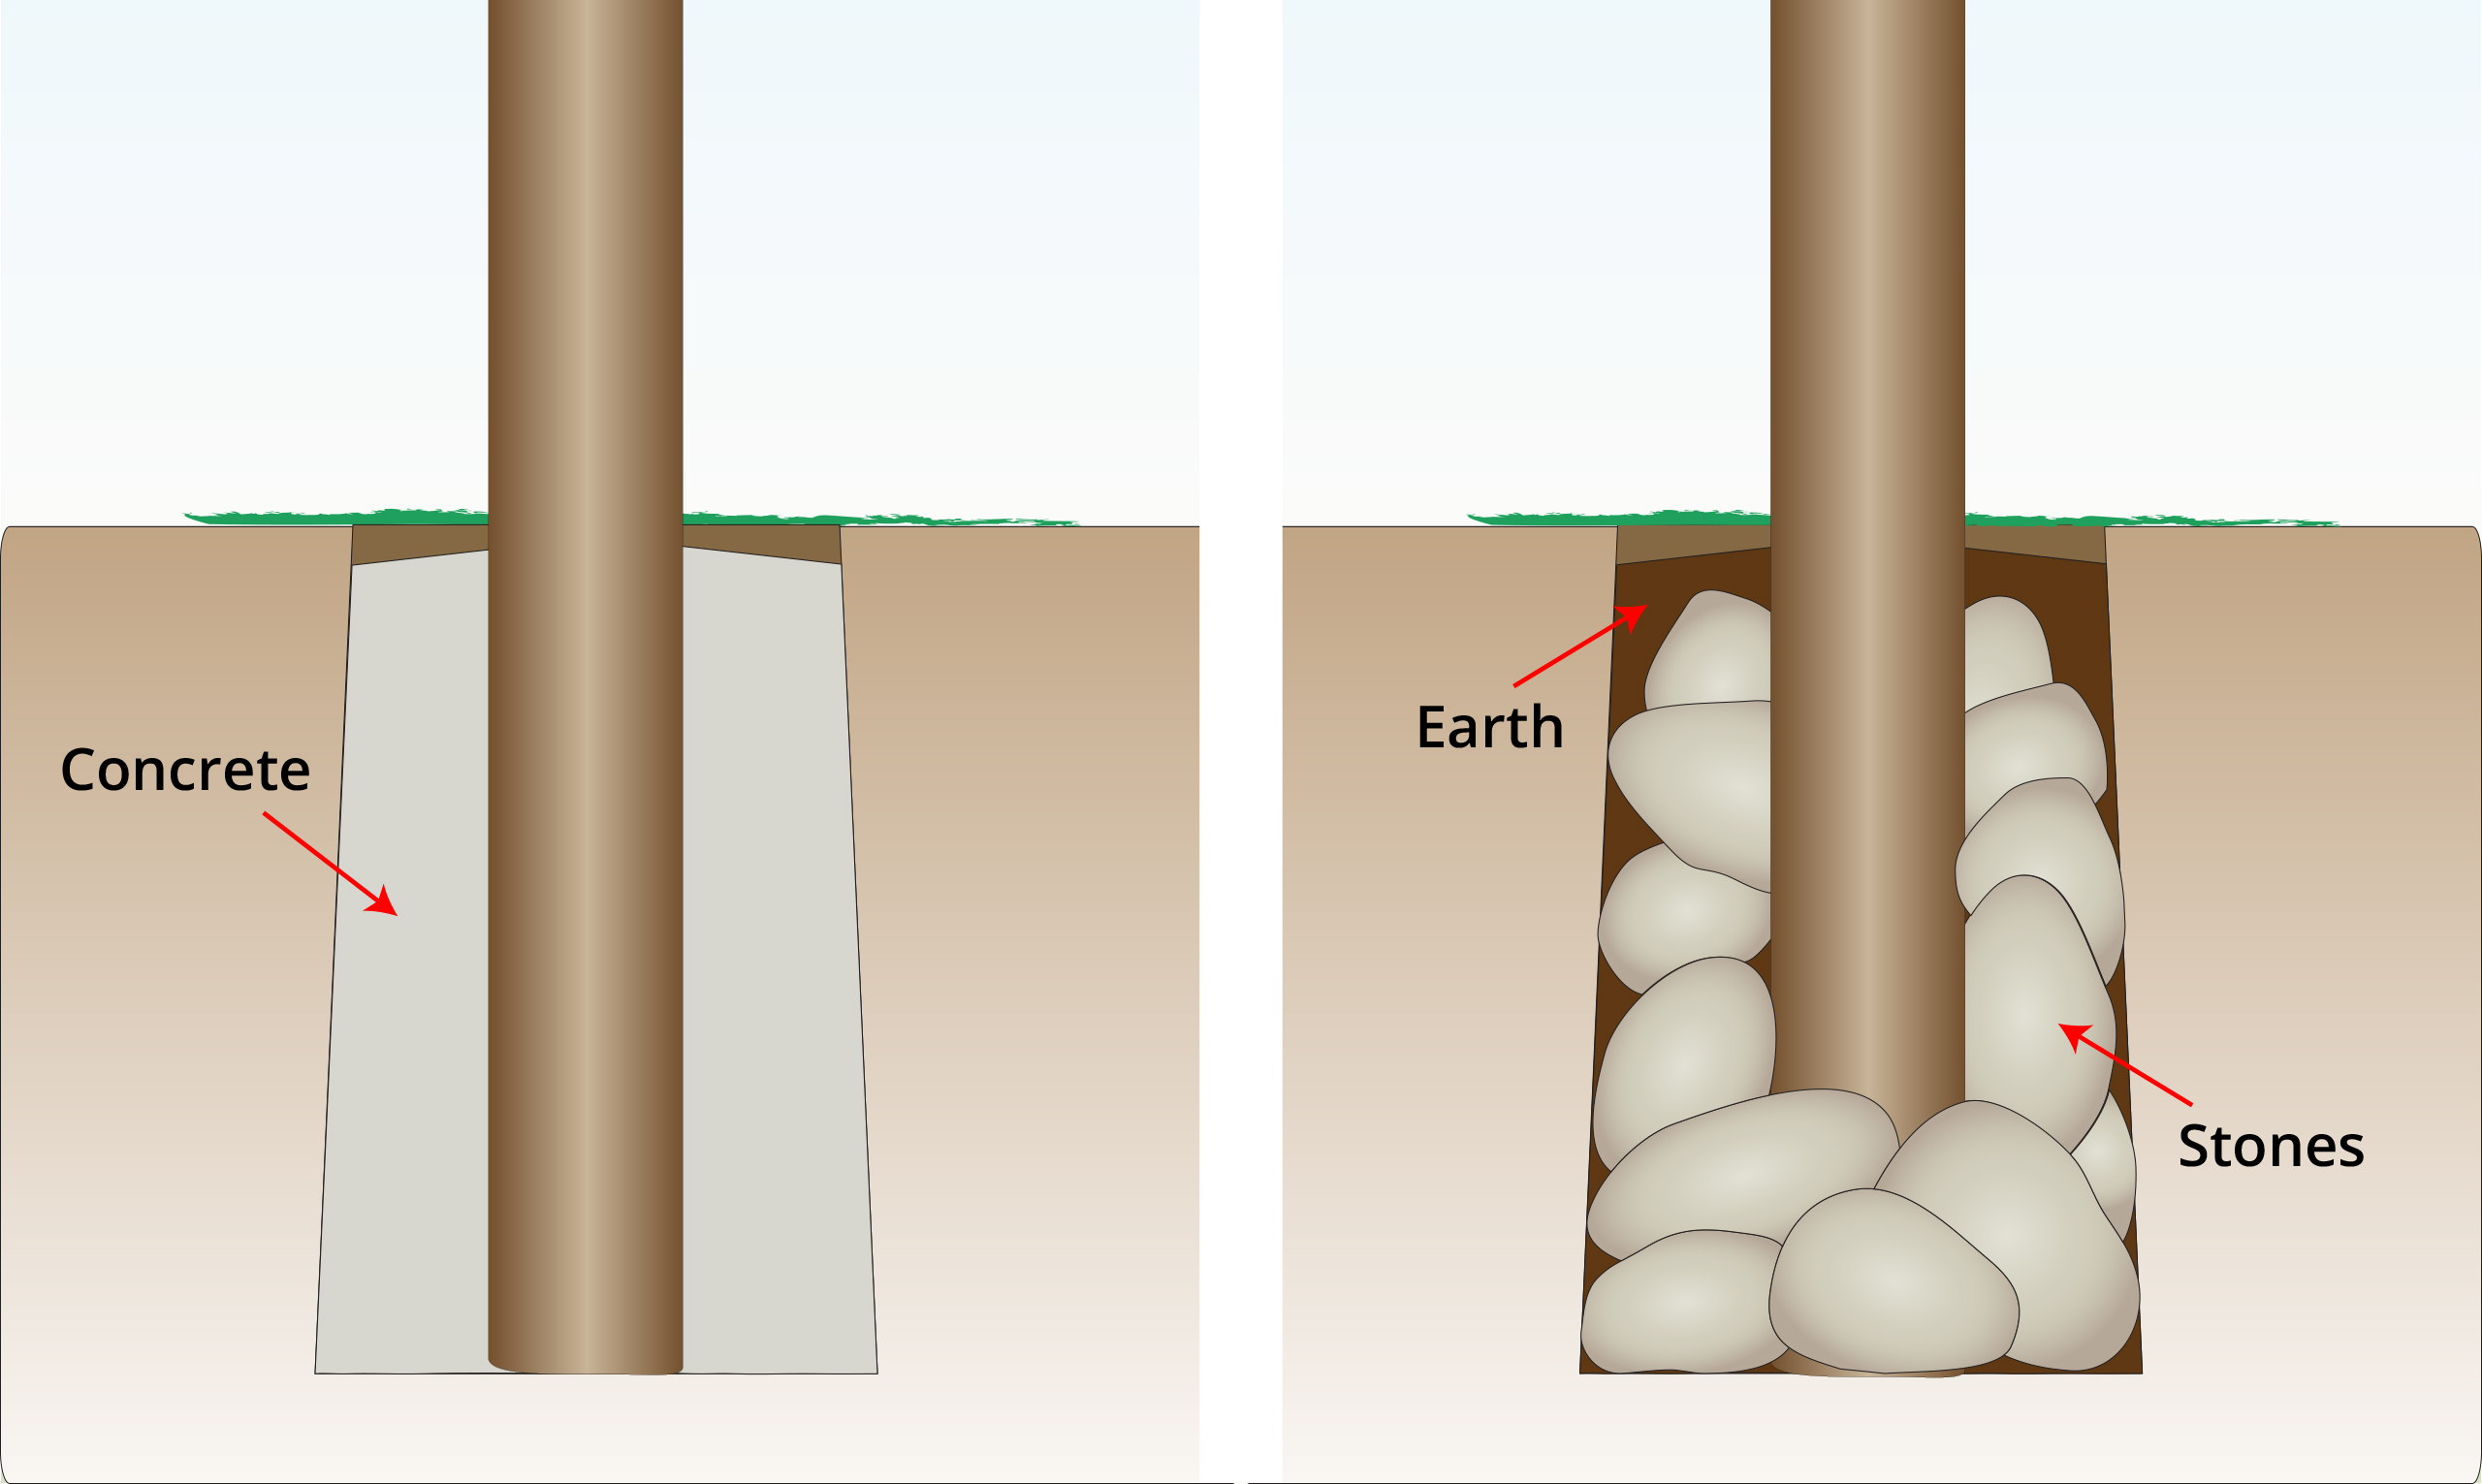
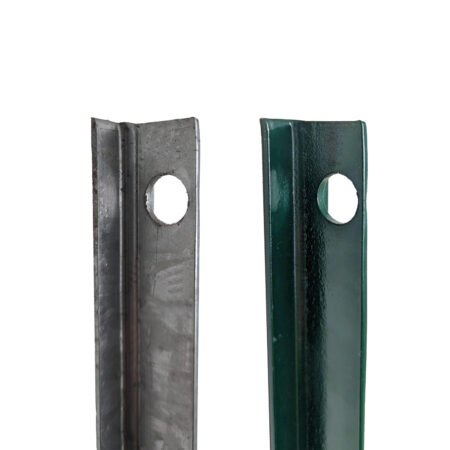
Step 3 – Position Upright Posts
|
With Concrete: Fill the holes with concrete, insert the poles into the wet concrete, and allow a min. of one day for the concrete to solidify. Cover the top of the hole with soil.
Without Concrete: Position them centrally within the holes, then fill the holes with sizable stones to secure the poles in position. Subsequently, add soil until firmly packed and compact. |
|
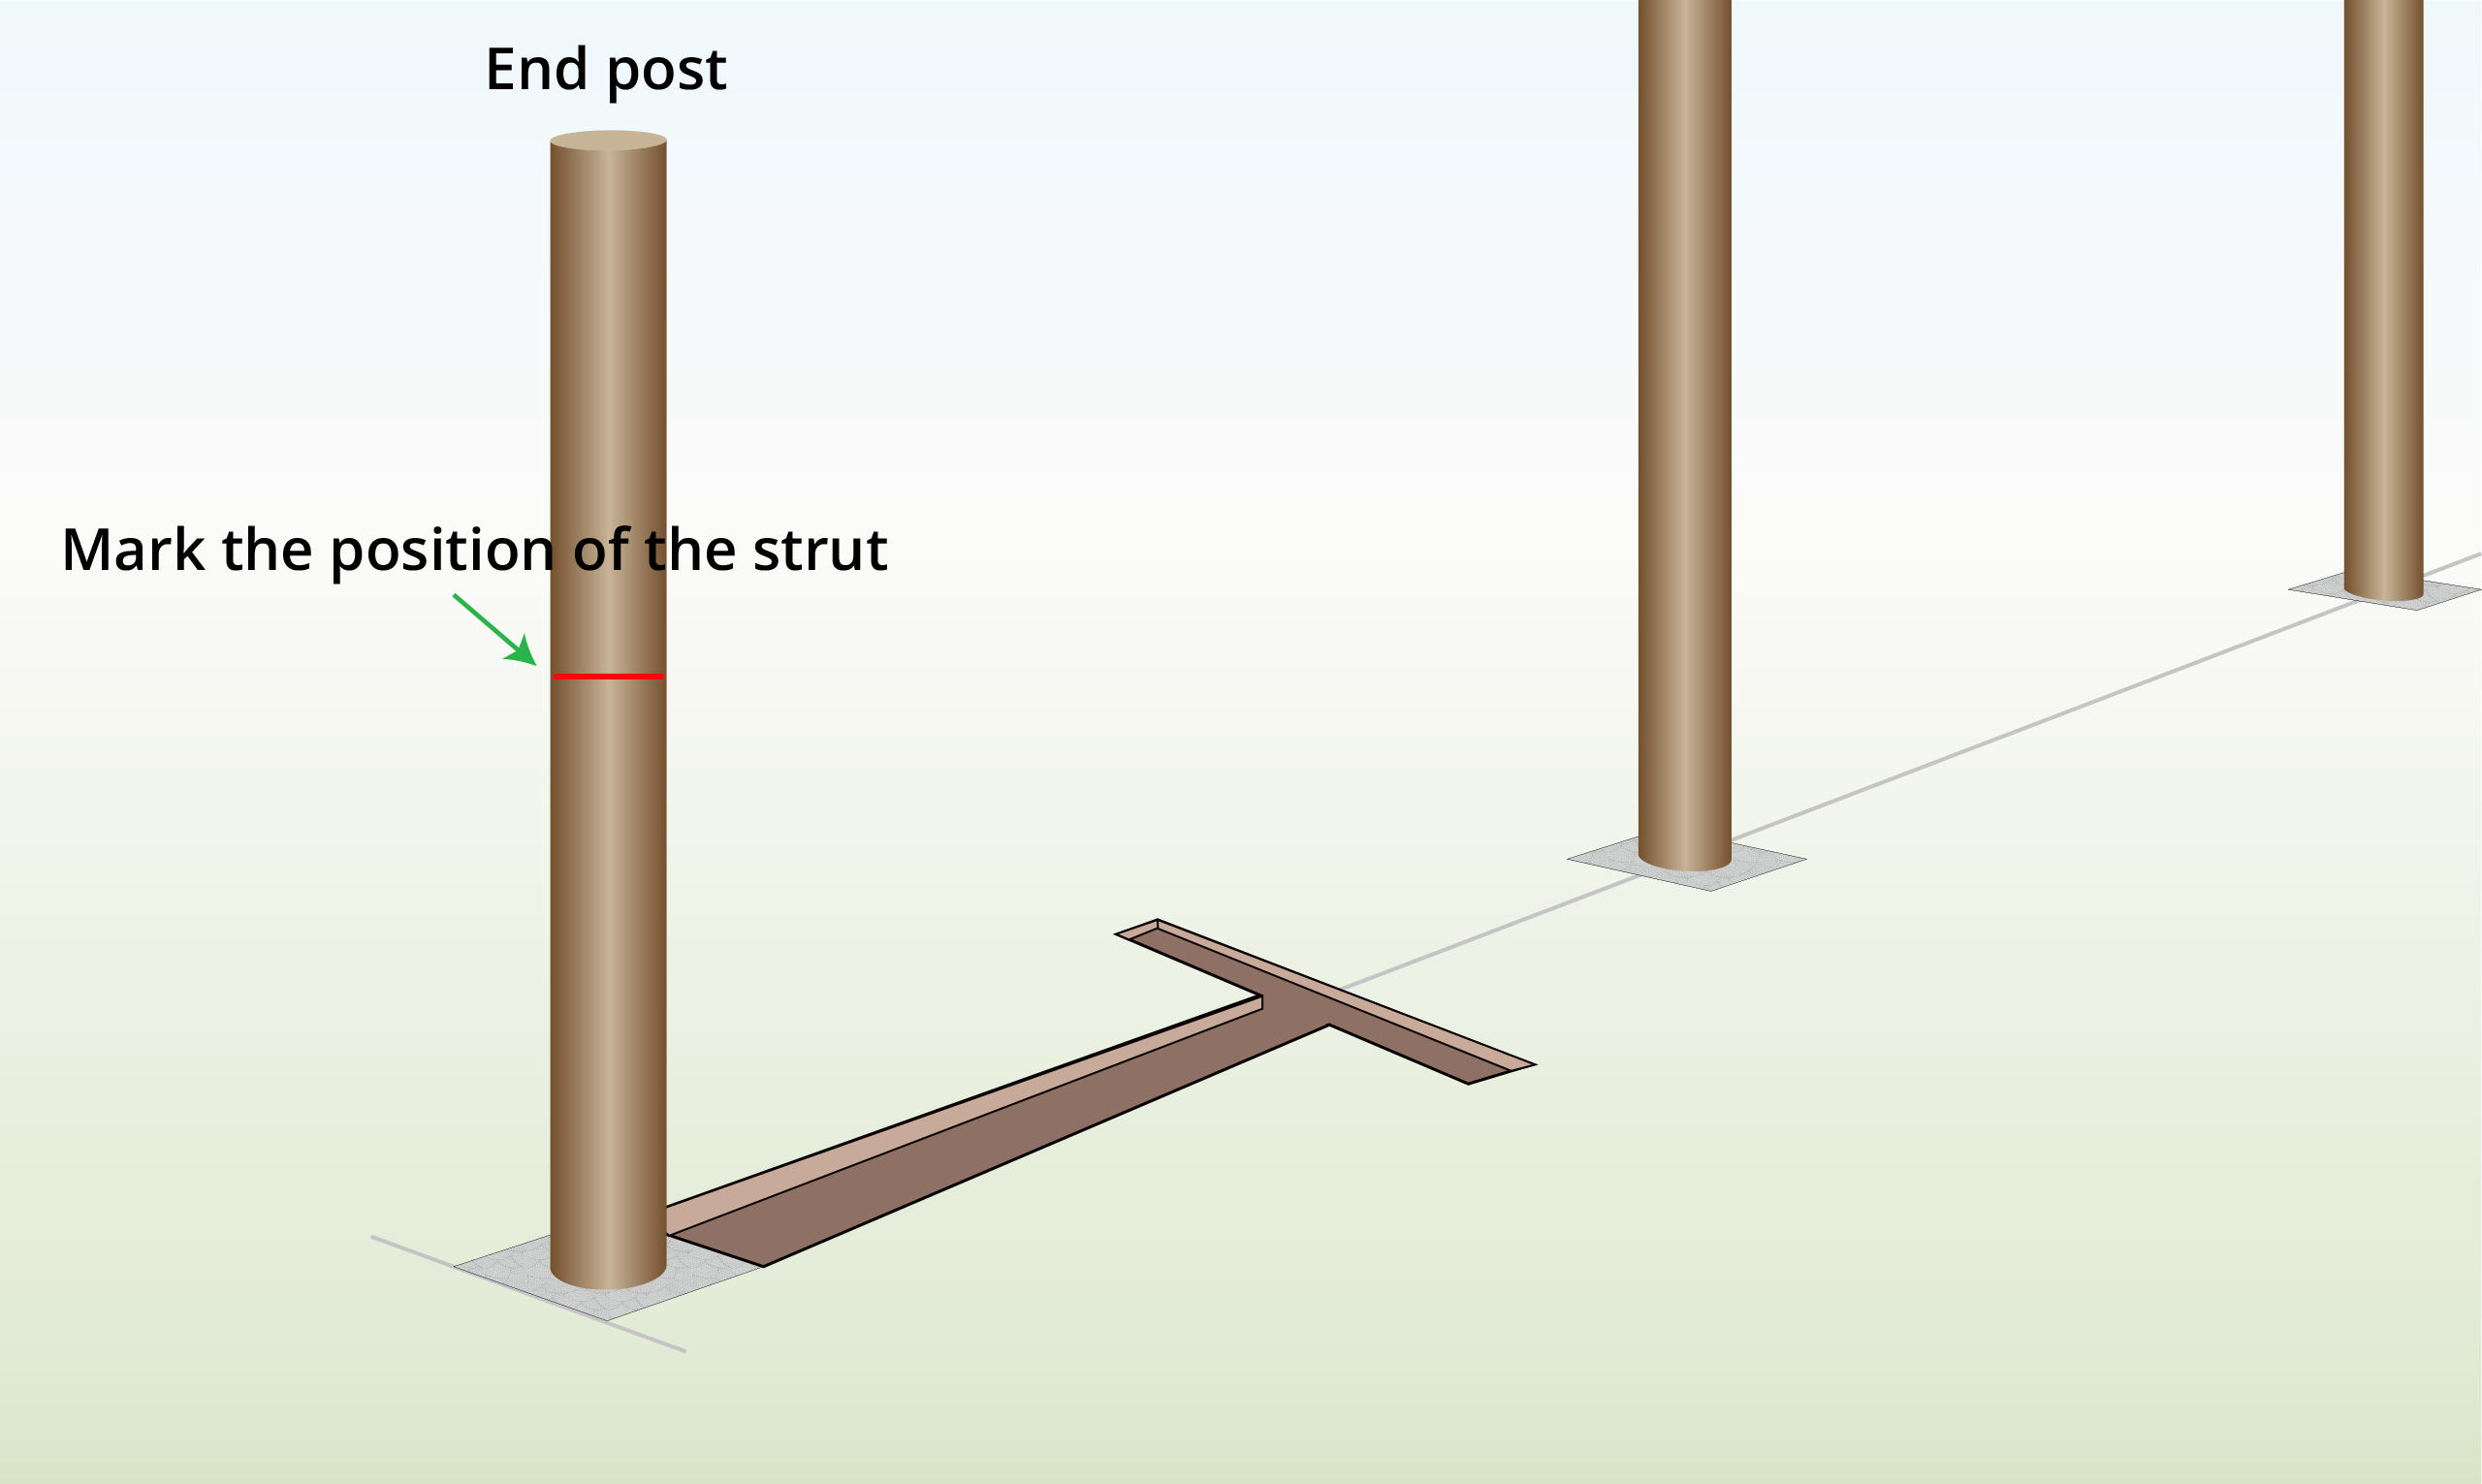
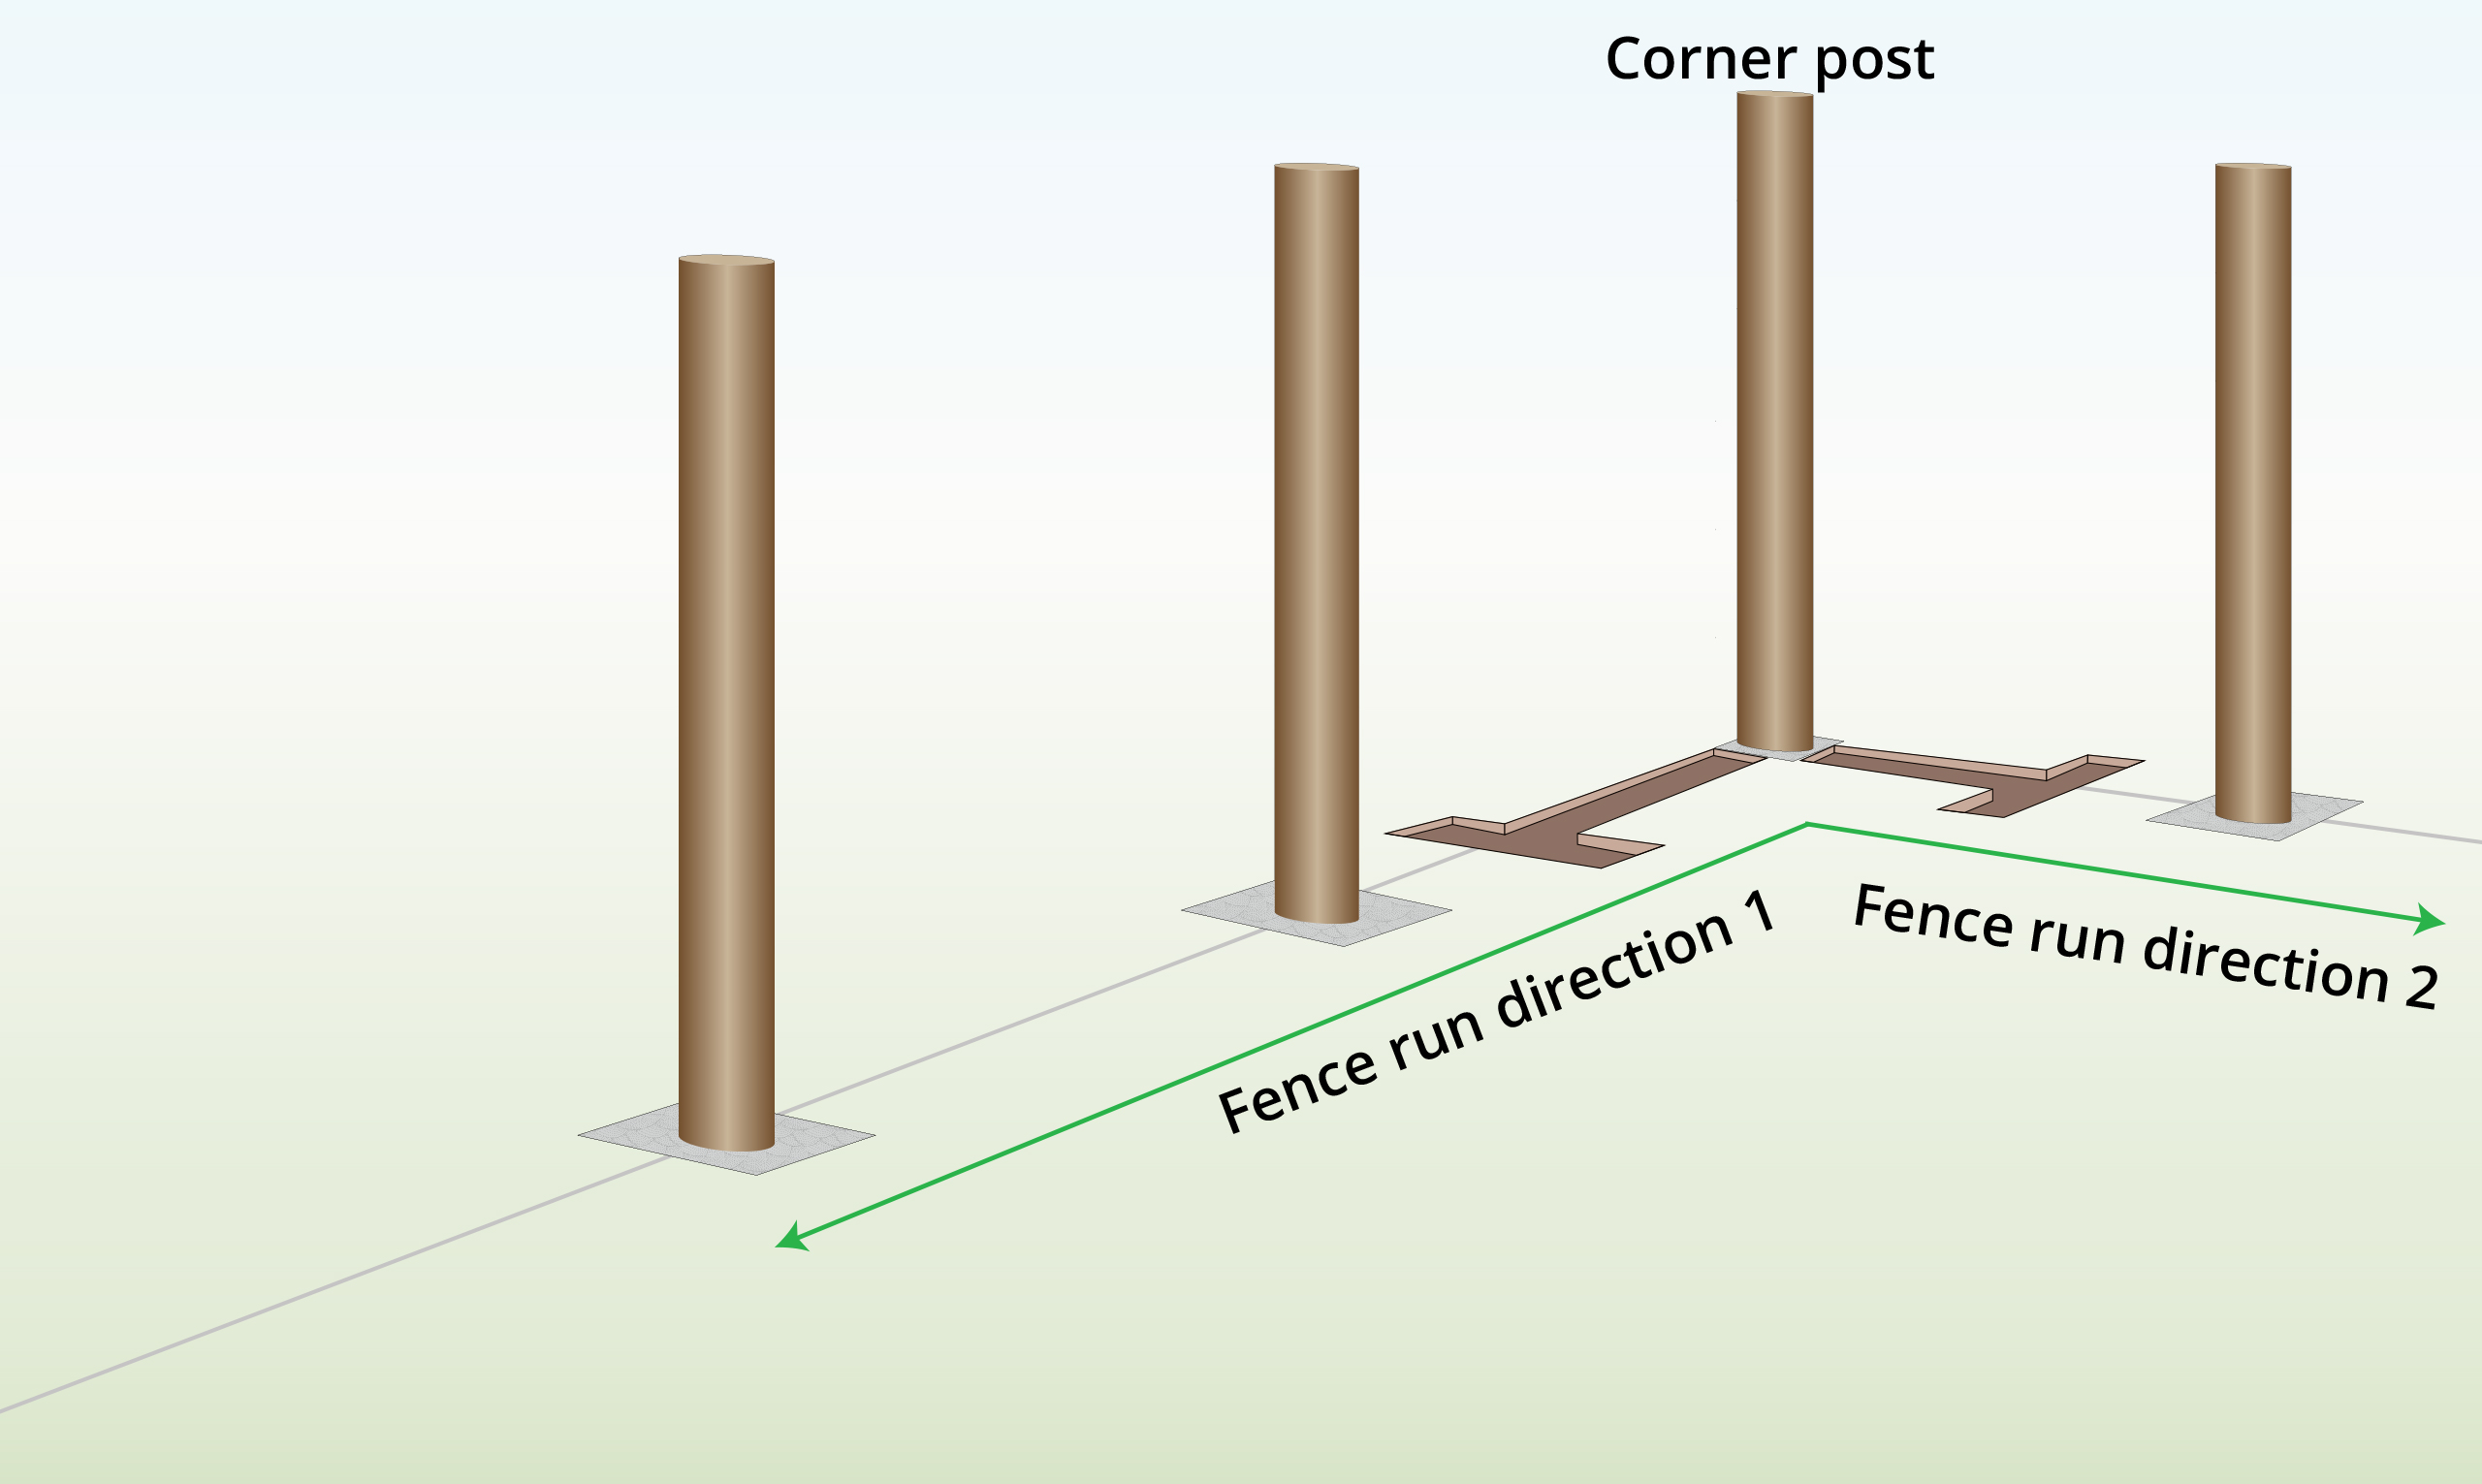
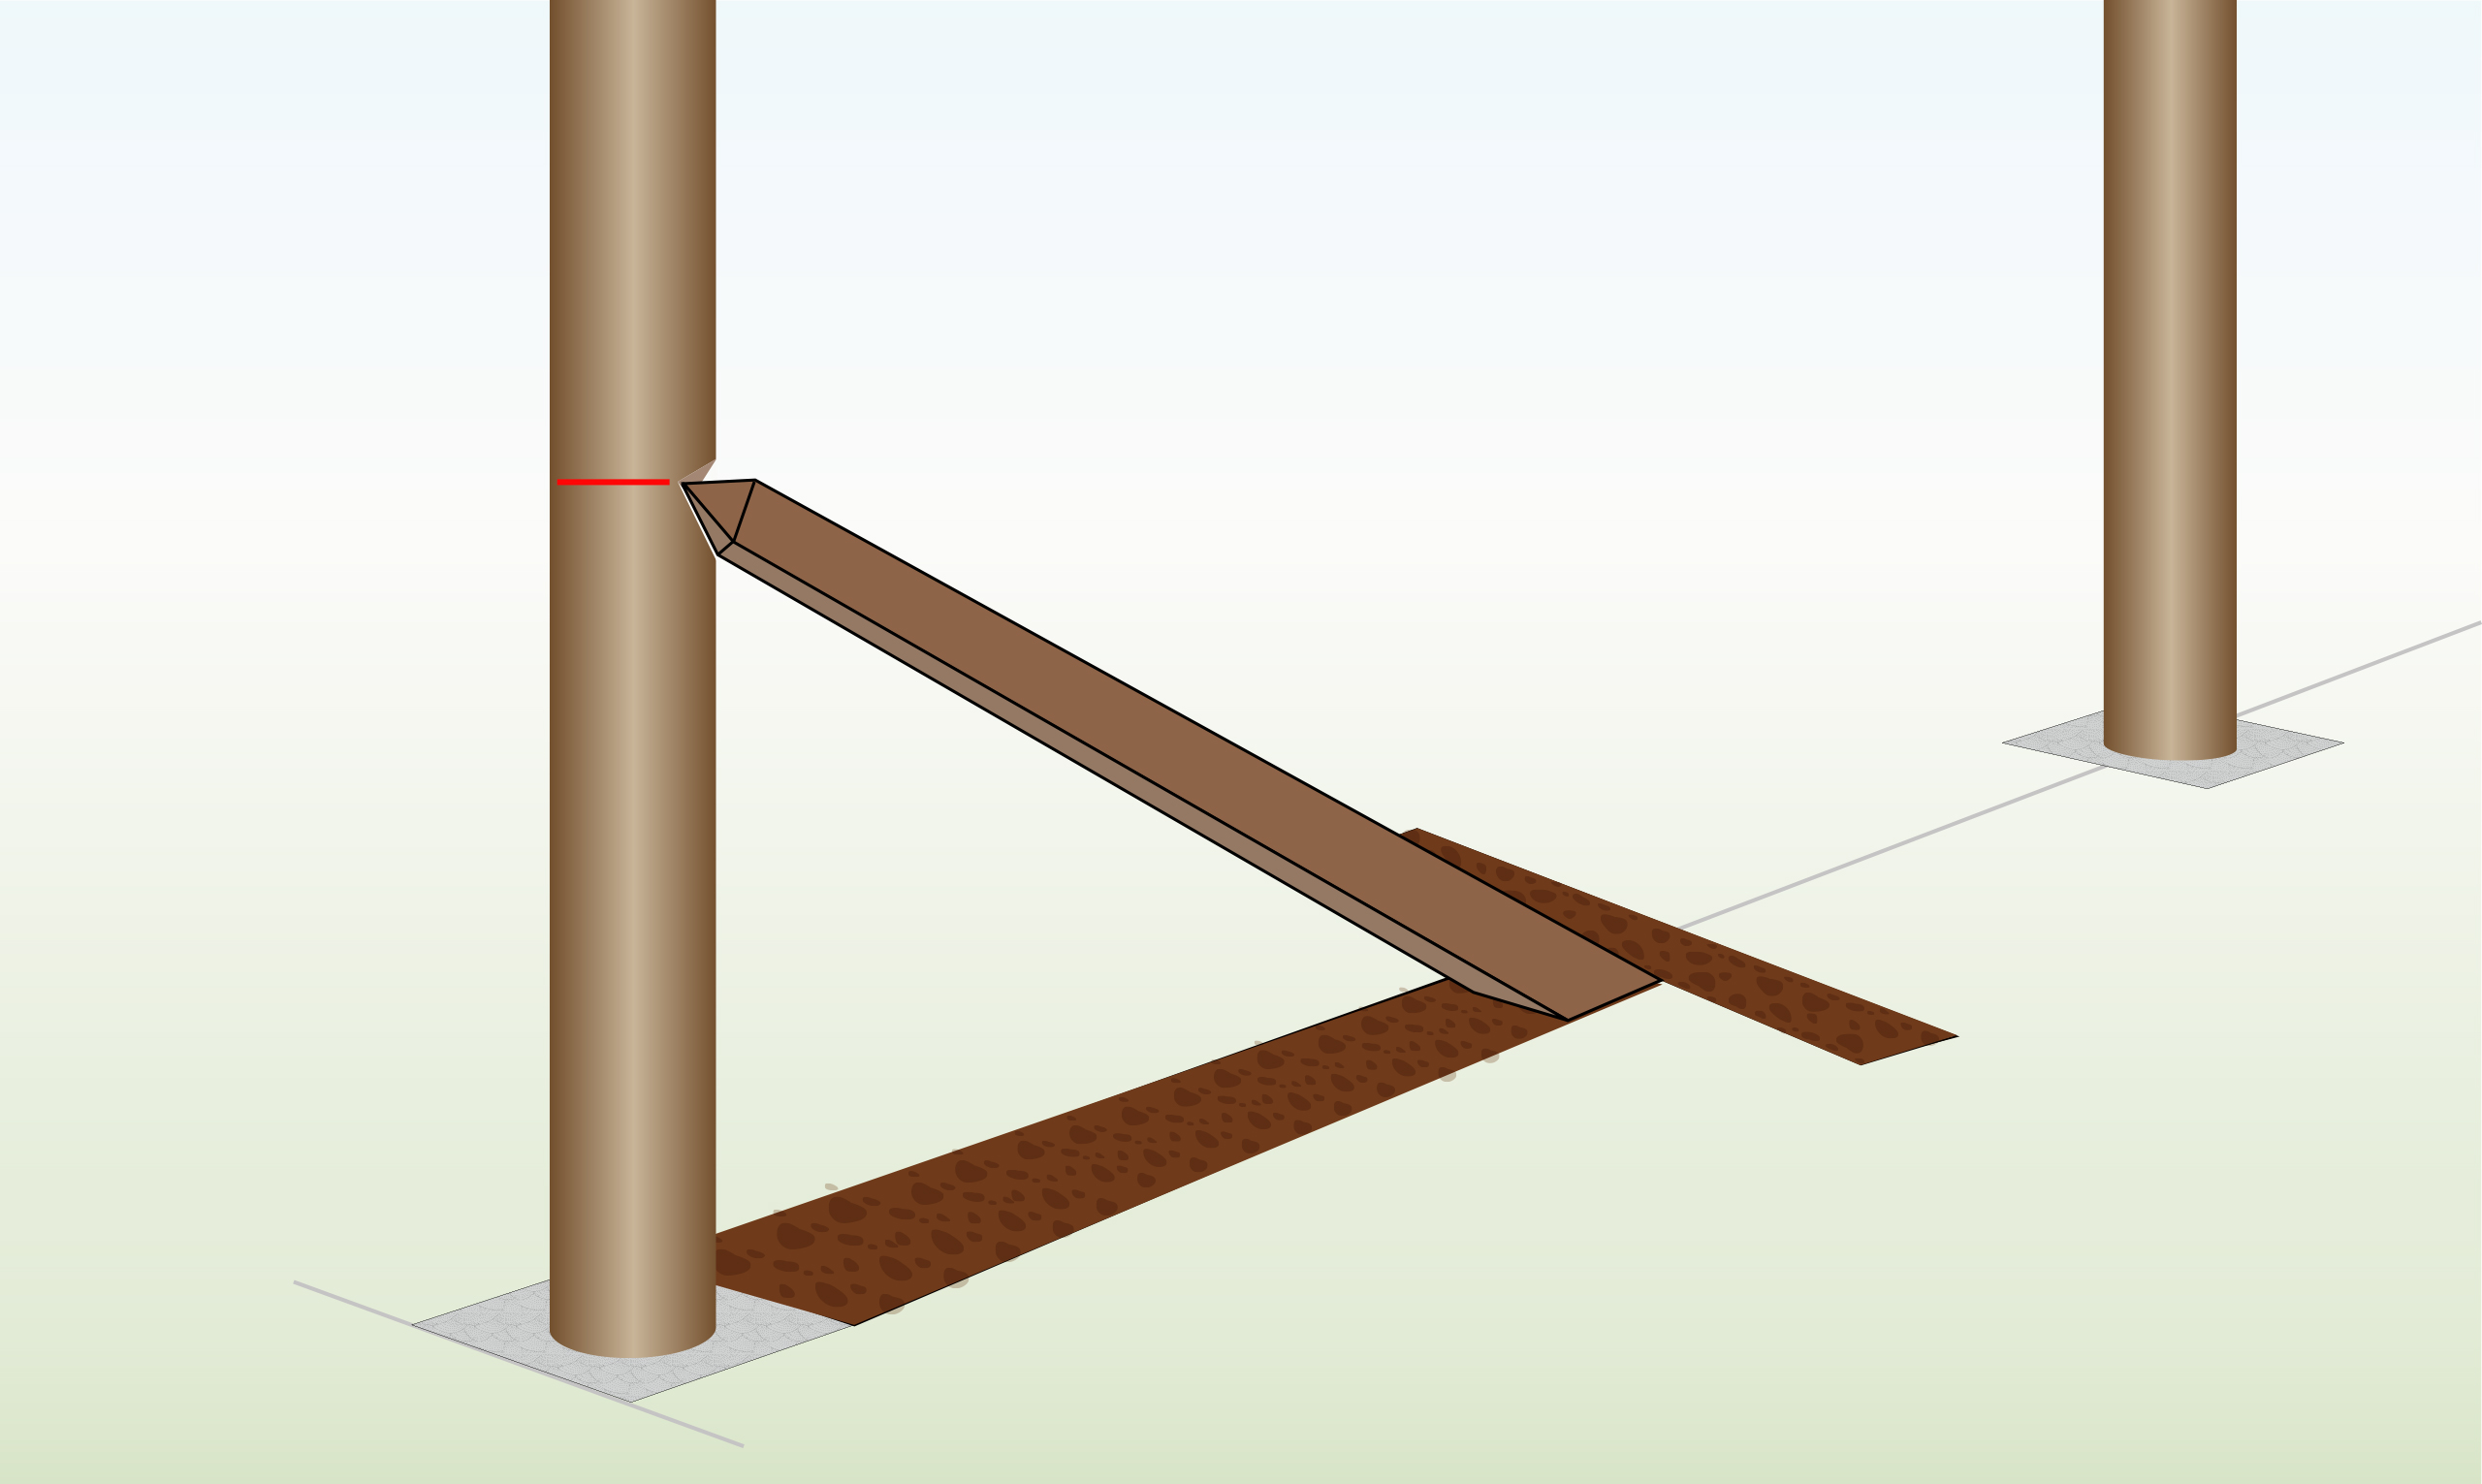
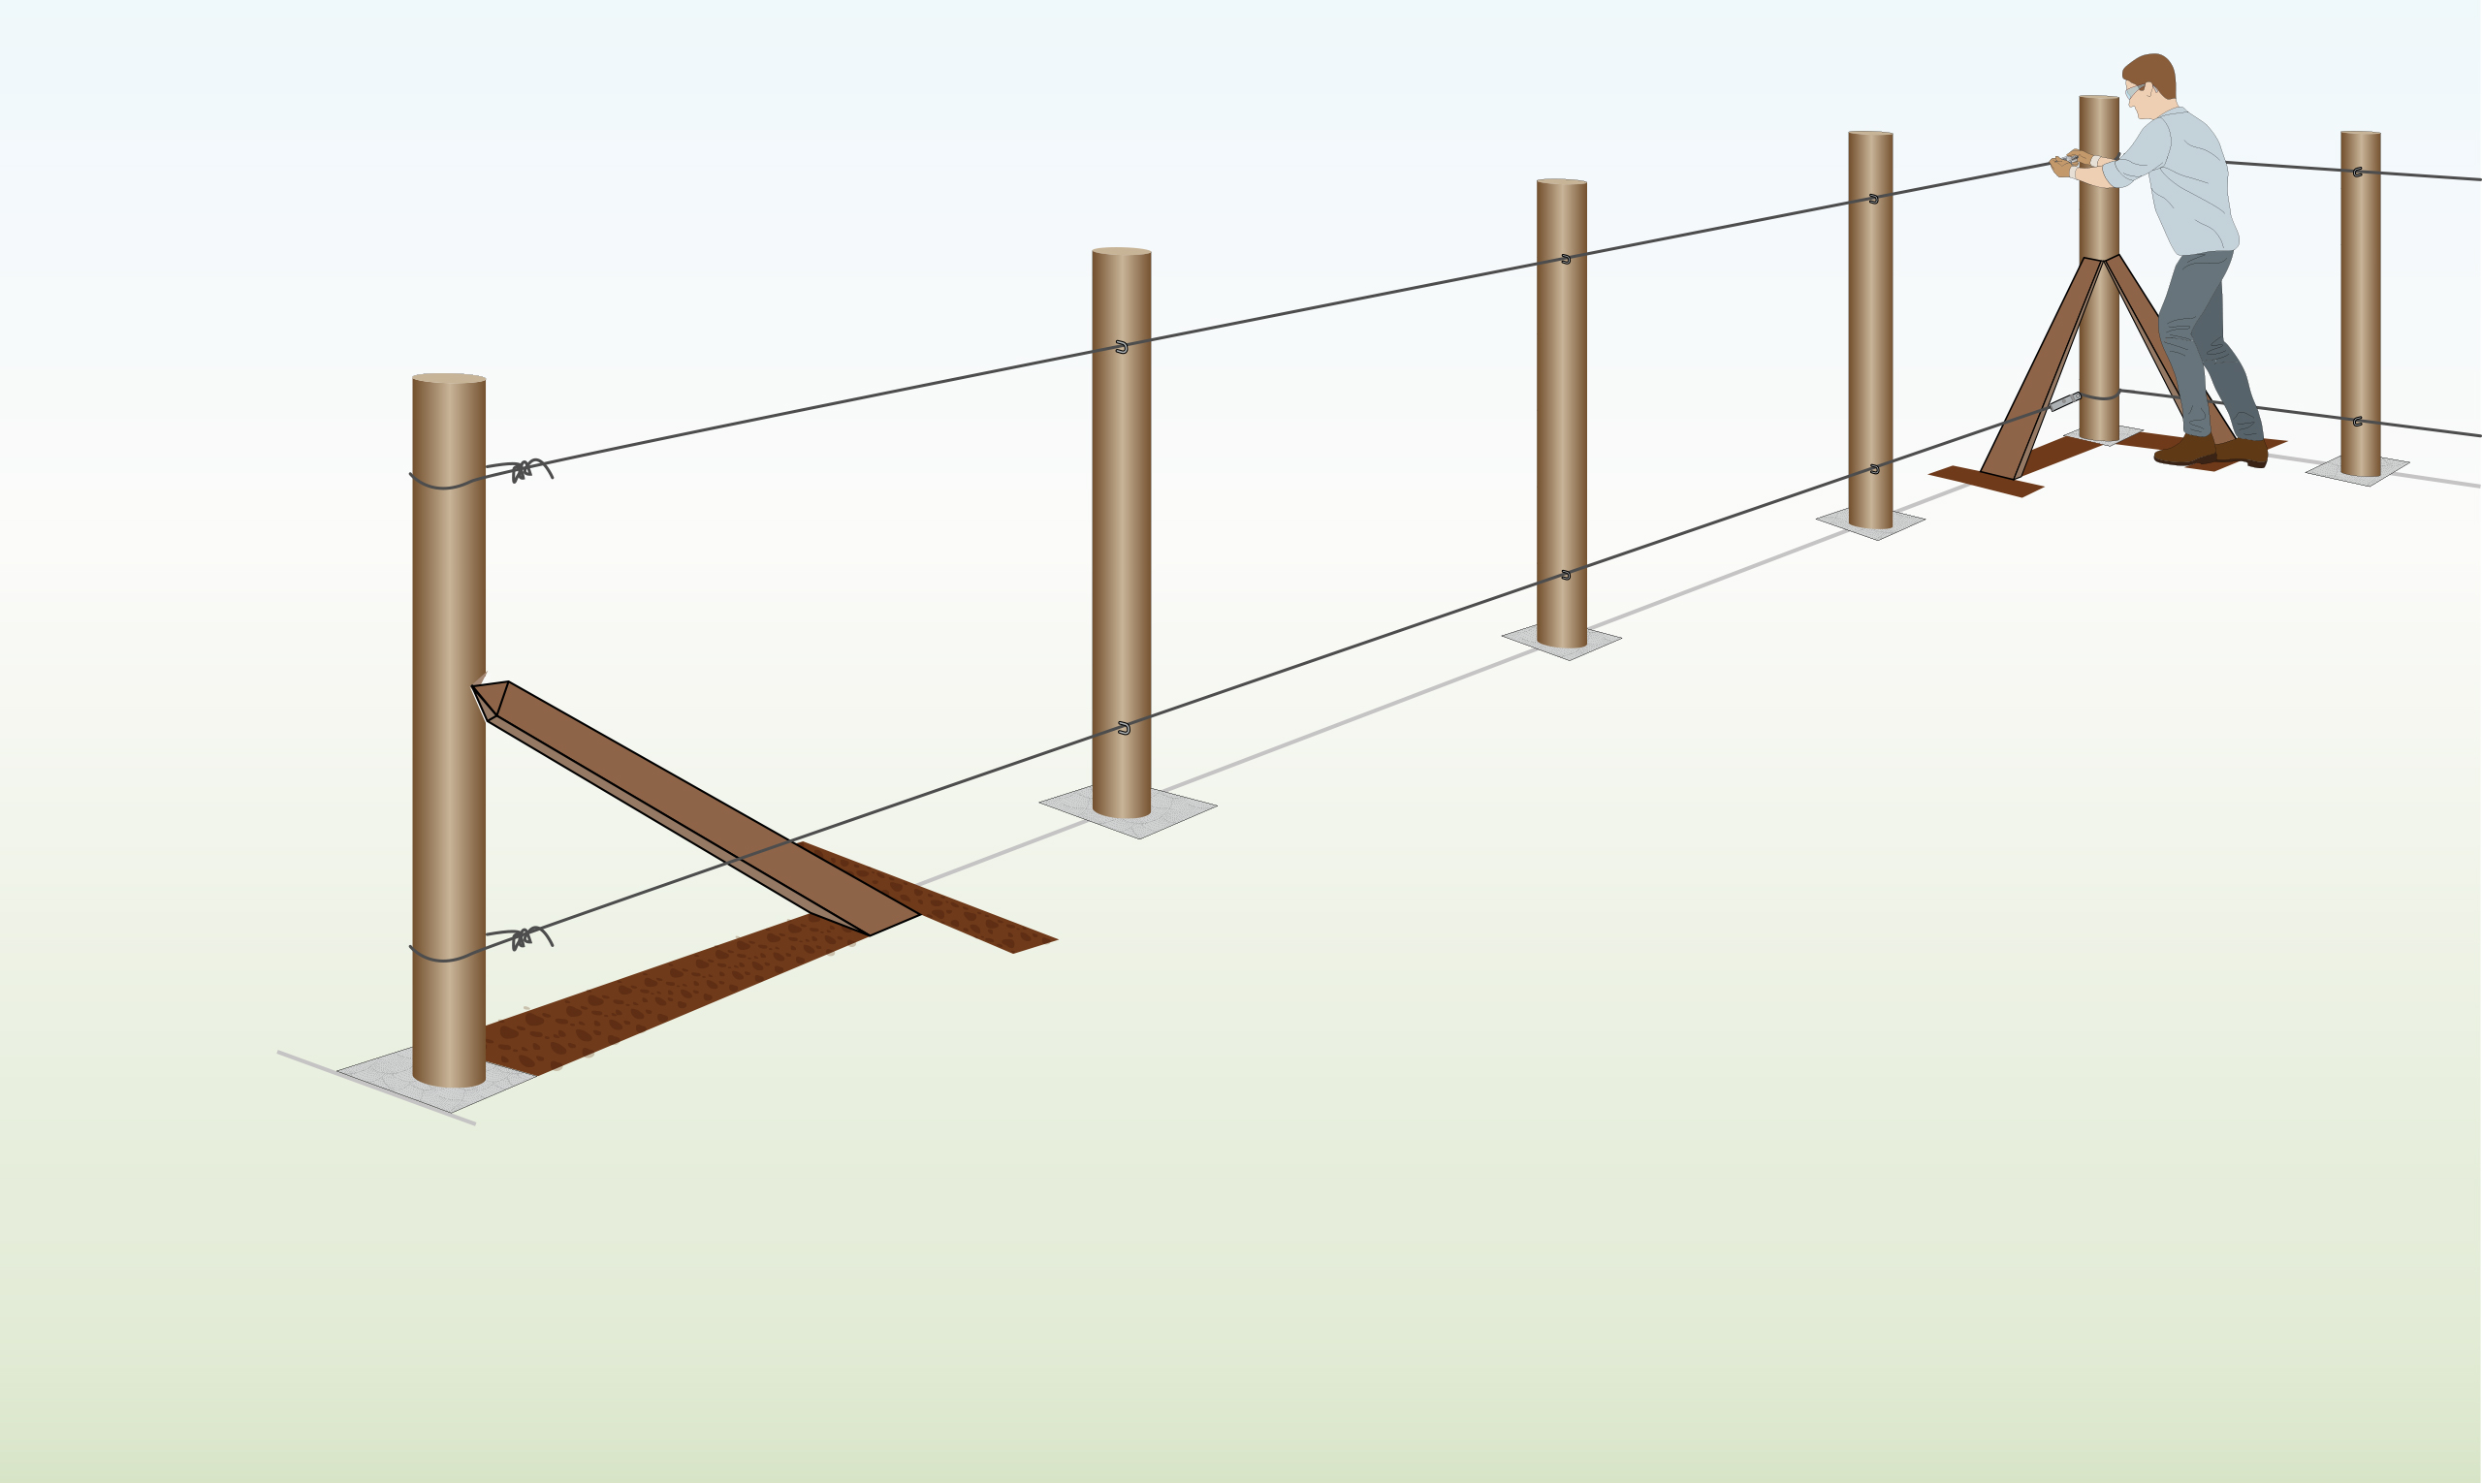
Step 4a – Dig Trench for End Posts
|
Measure and indicate the location for the strut, ensuring it is halfway off the ground for end and corner posts, and aligned with the fence run.
Excavate a T-shaped trench approximately 30cm deep for the end of the strut to rest in, and 30cm wide for the bearer. |
|
Step 4b – Dig Trench for Corner Posts
|
Duplicate step 4a for corner posts, where two strut posts should be present on adjacent sides.
These should be oriented towards the two fence runs that the corner post is connecting. |
|
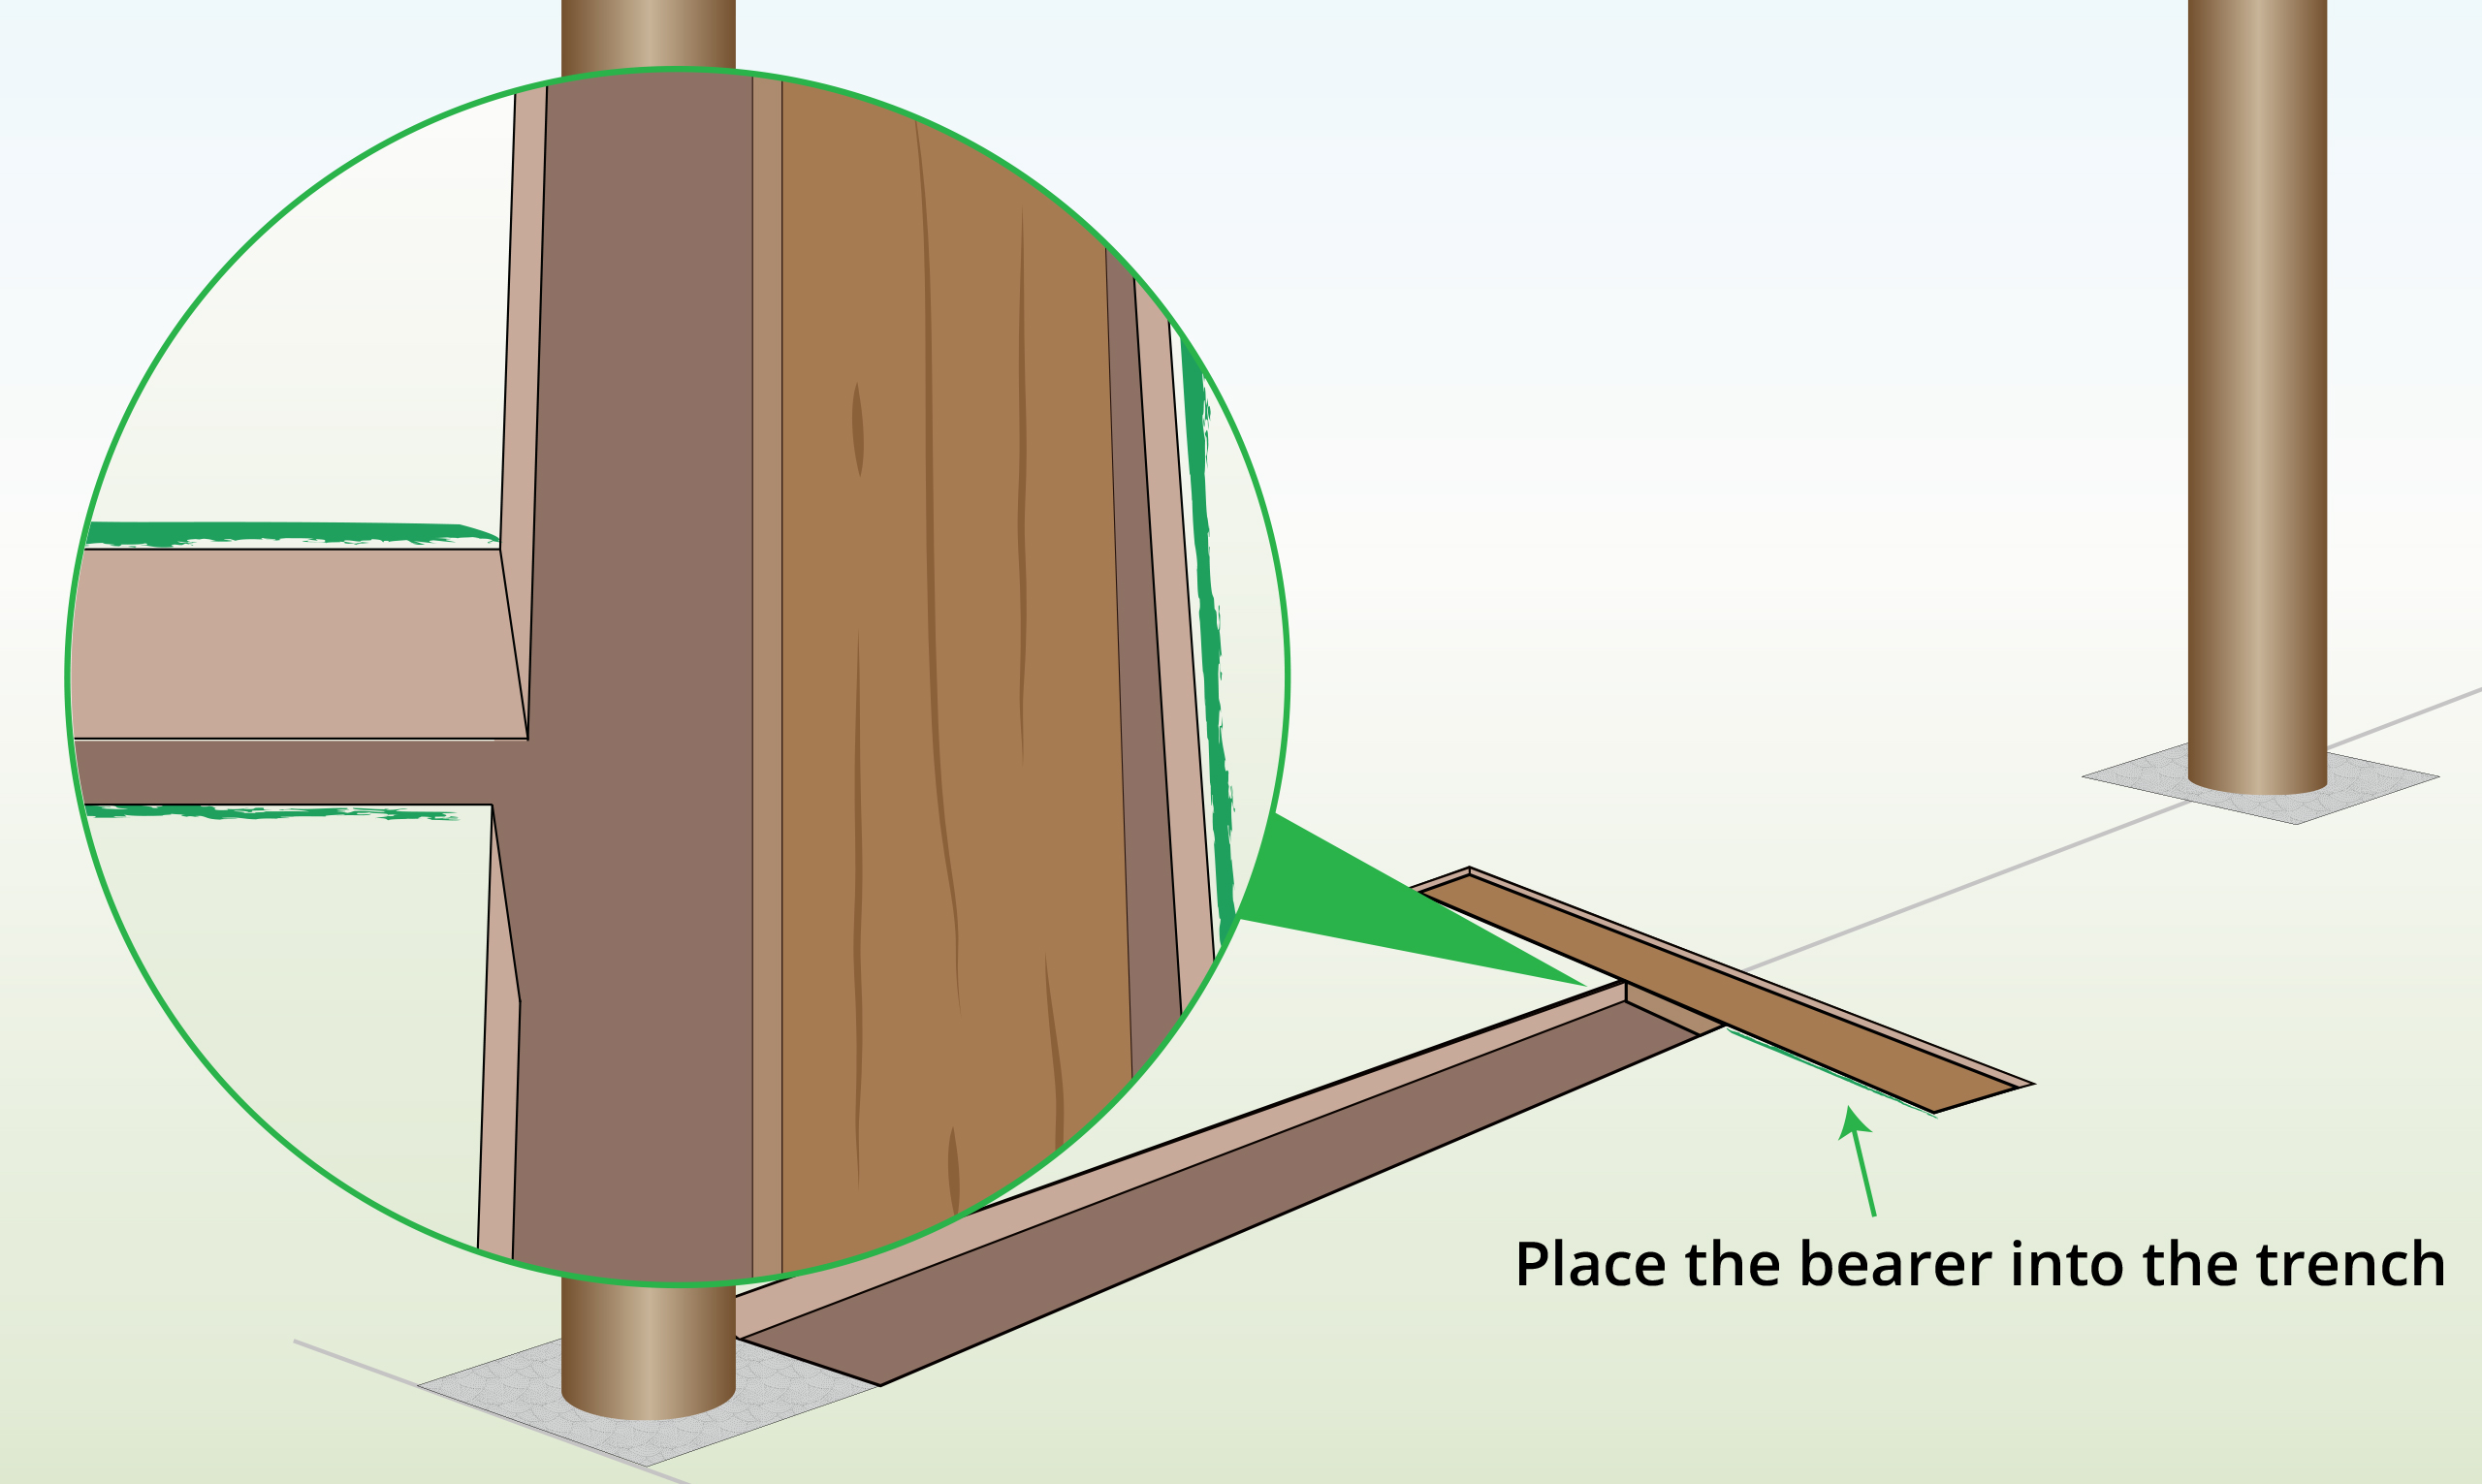
Step 5 – Cut & Position Bearers
|
You need to cut lengths of rail to serve as bearers for the strut posts.
The rail lengths should be 30cm long and fitted into the T-shaped trench to prevent the strut from slipping, thereby providing support for the ends and corners of the fence run.
Insert the bearers into the trench. |
|
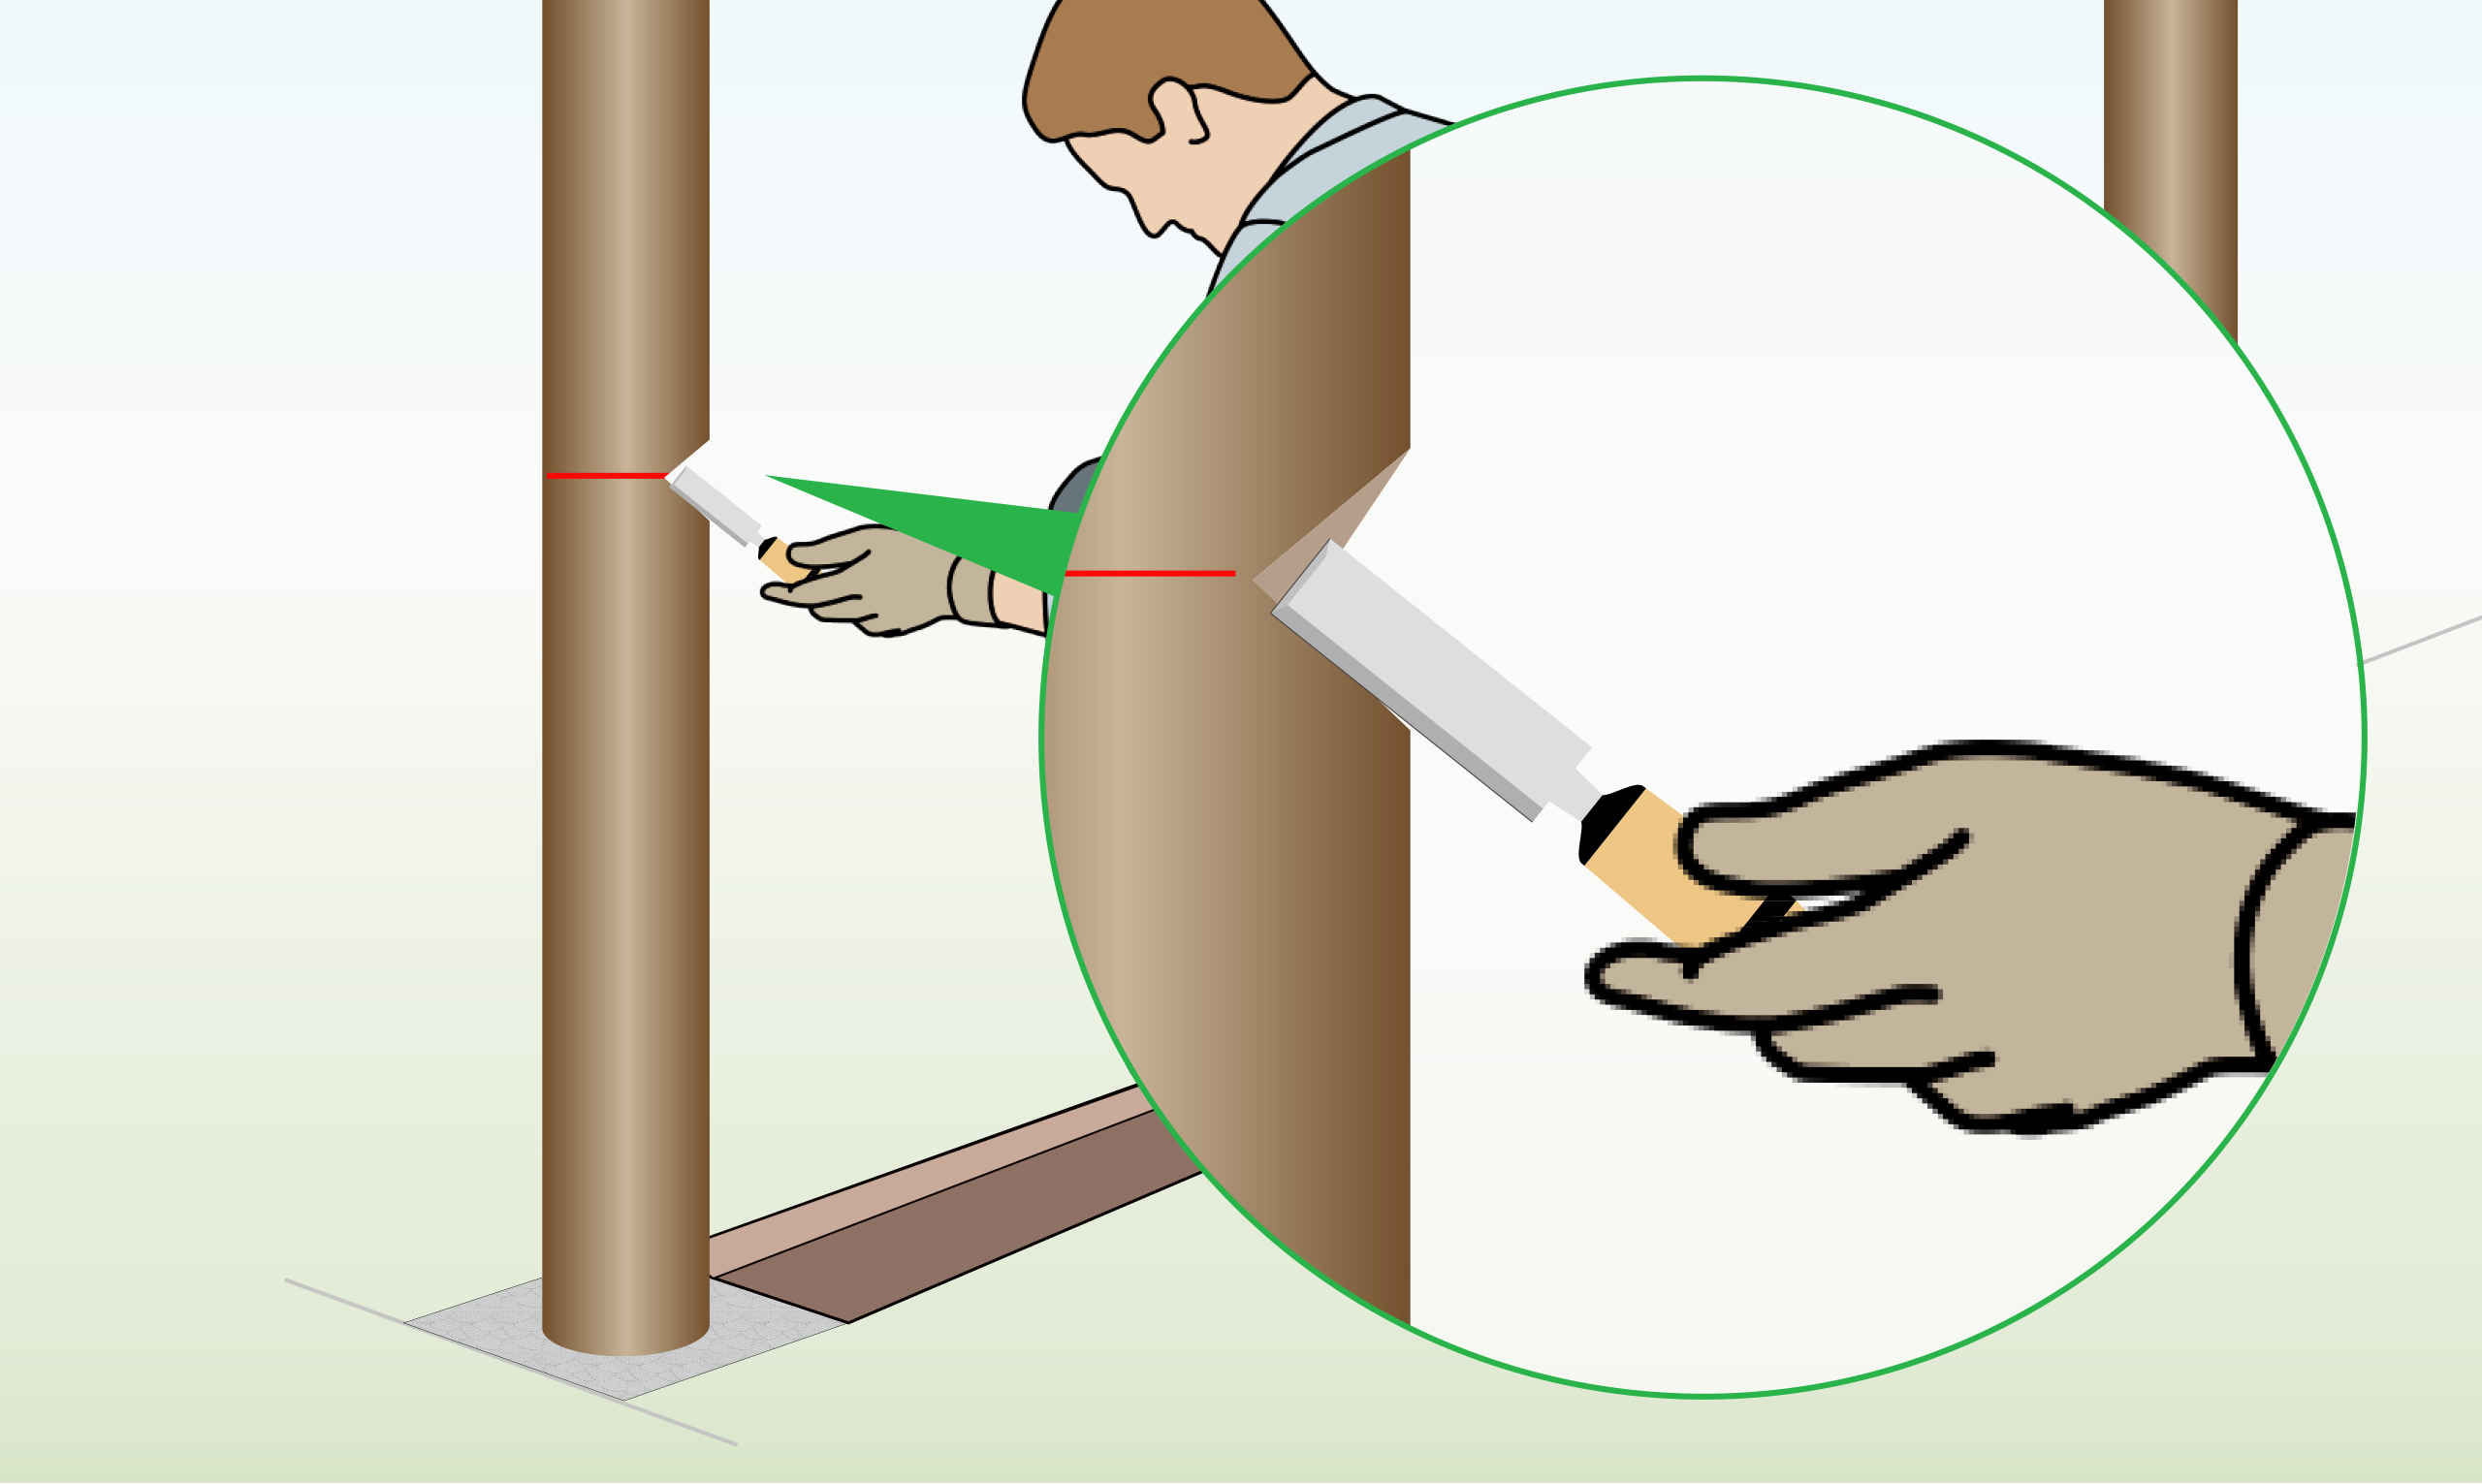
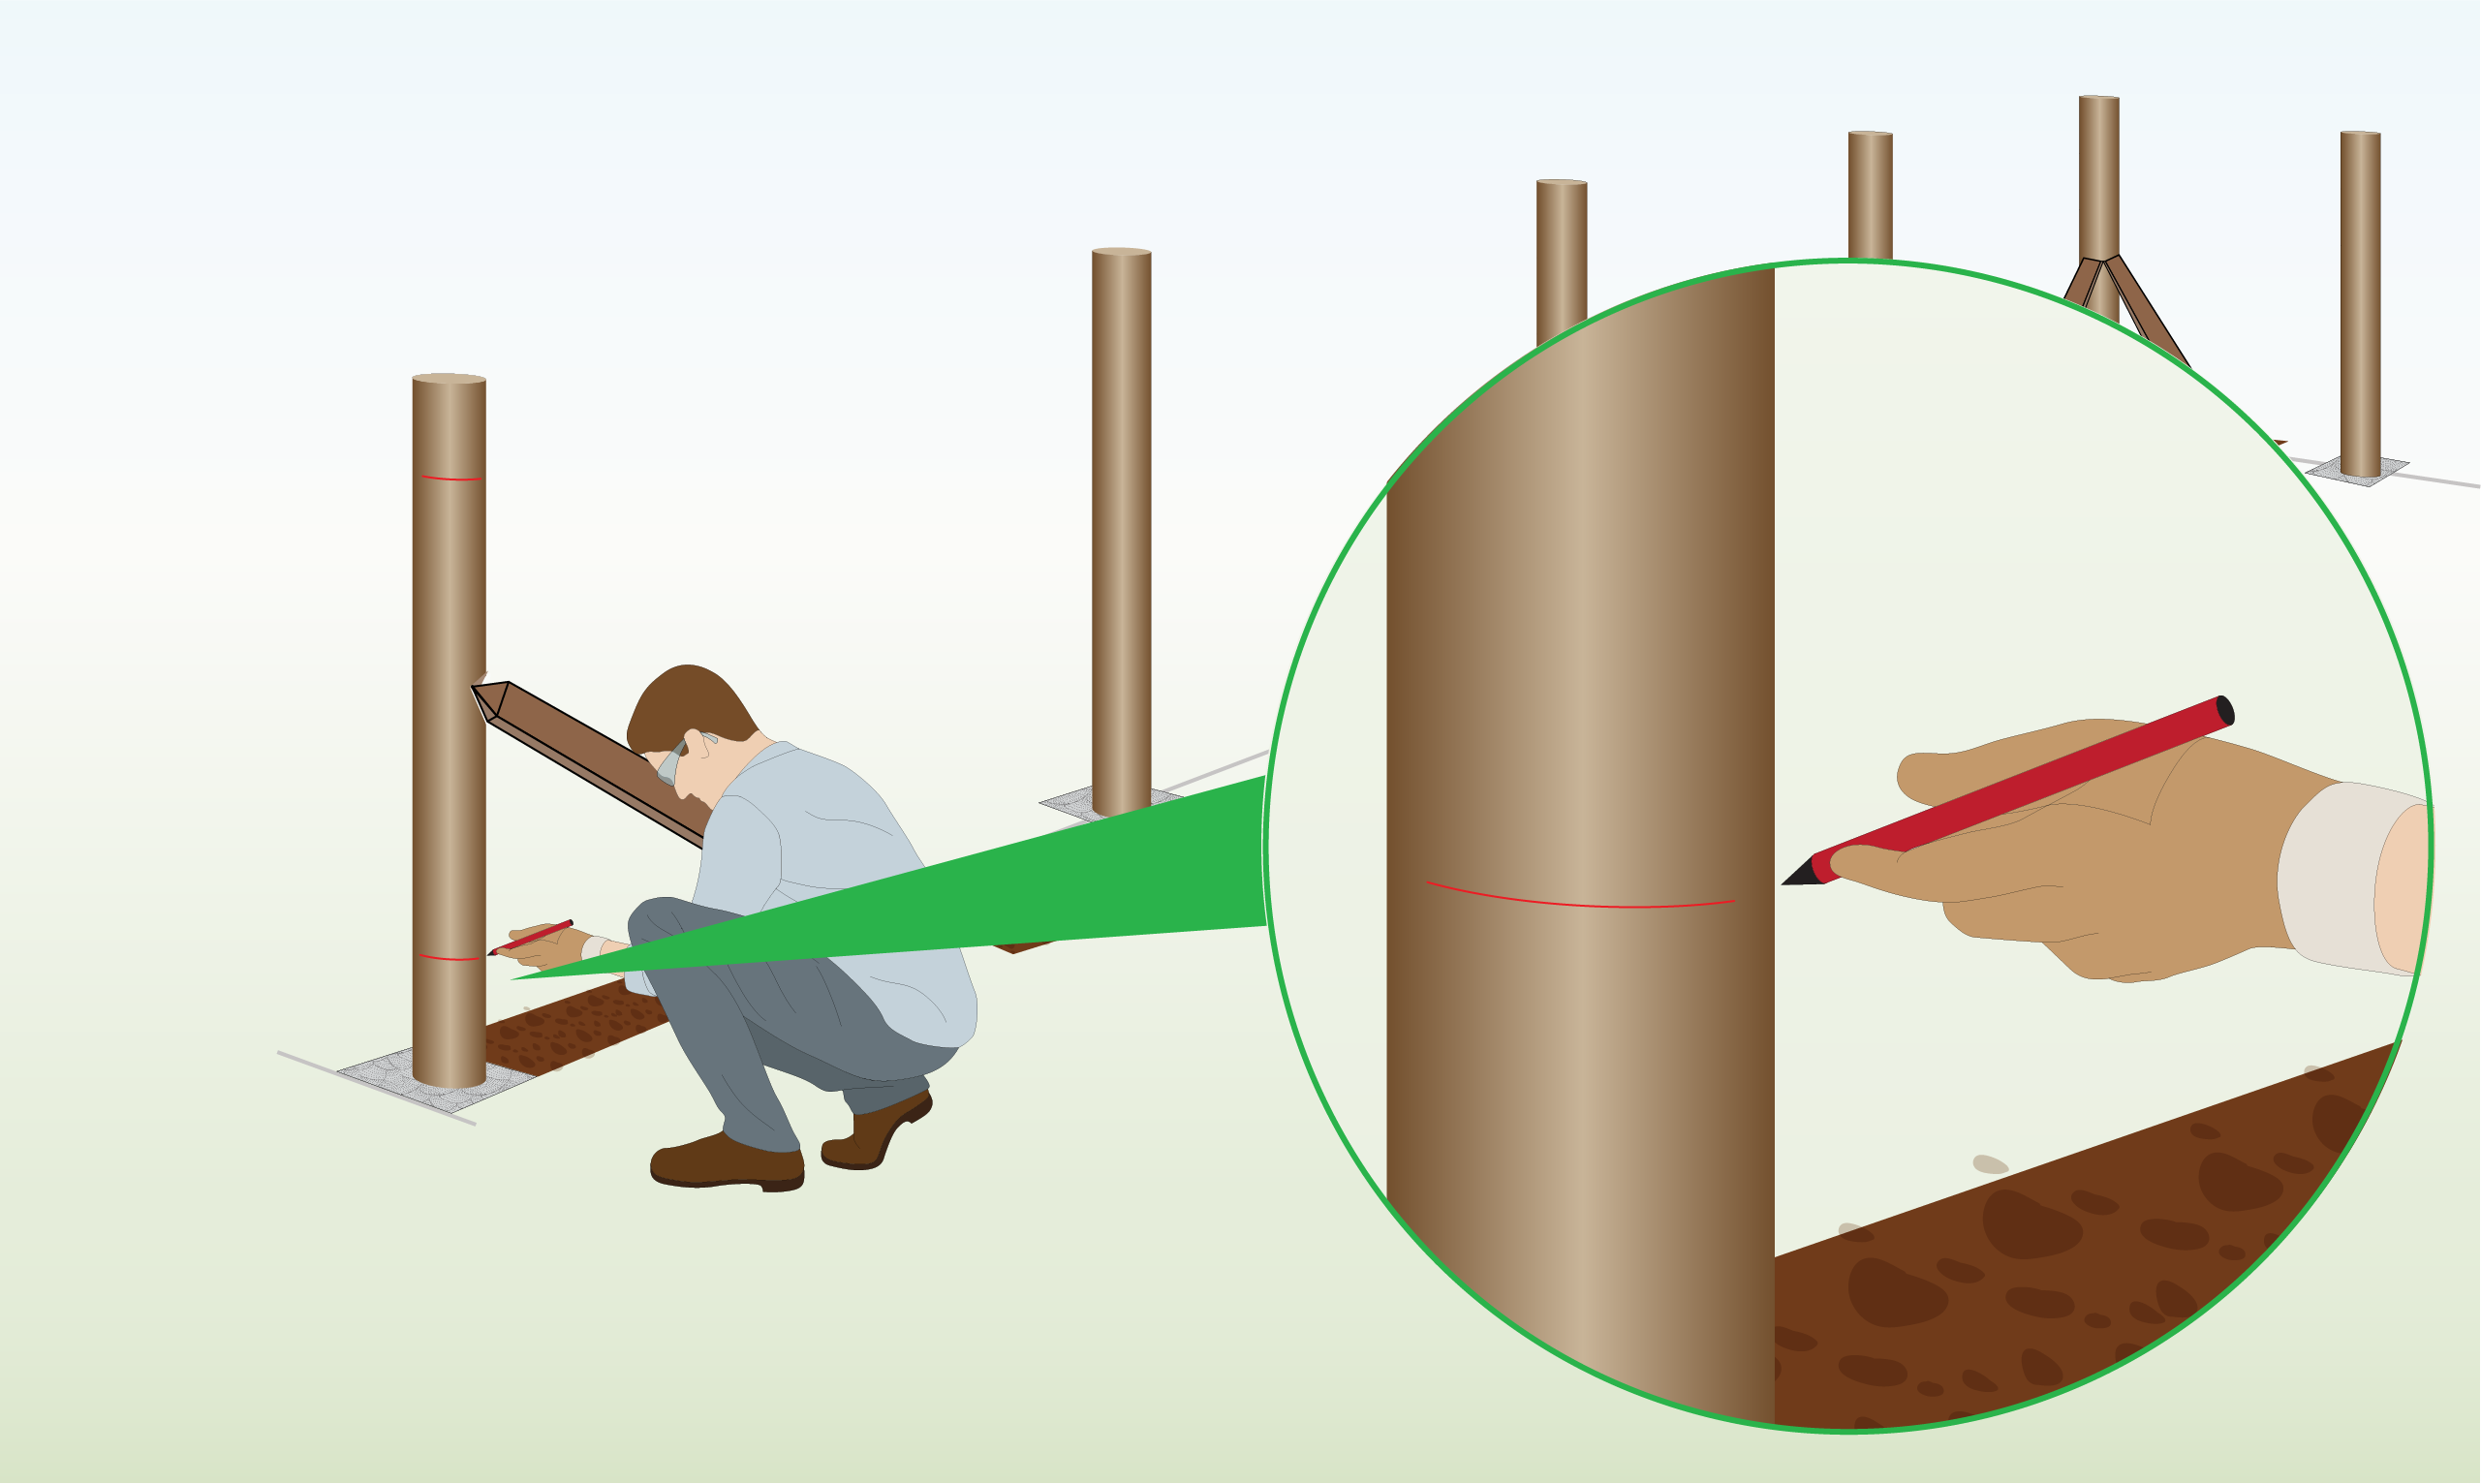
Step 6 – Cut Notches
|
Cut a shallow notch in the strainer post at the marked location.
Note: It’s crucial to ensure that the notch is shallow to maintain the strength of the post and avoid exposing the untreated core. |
|
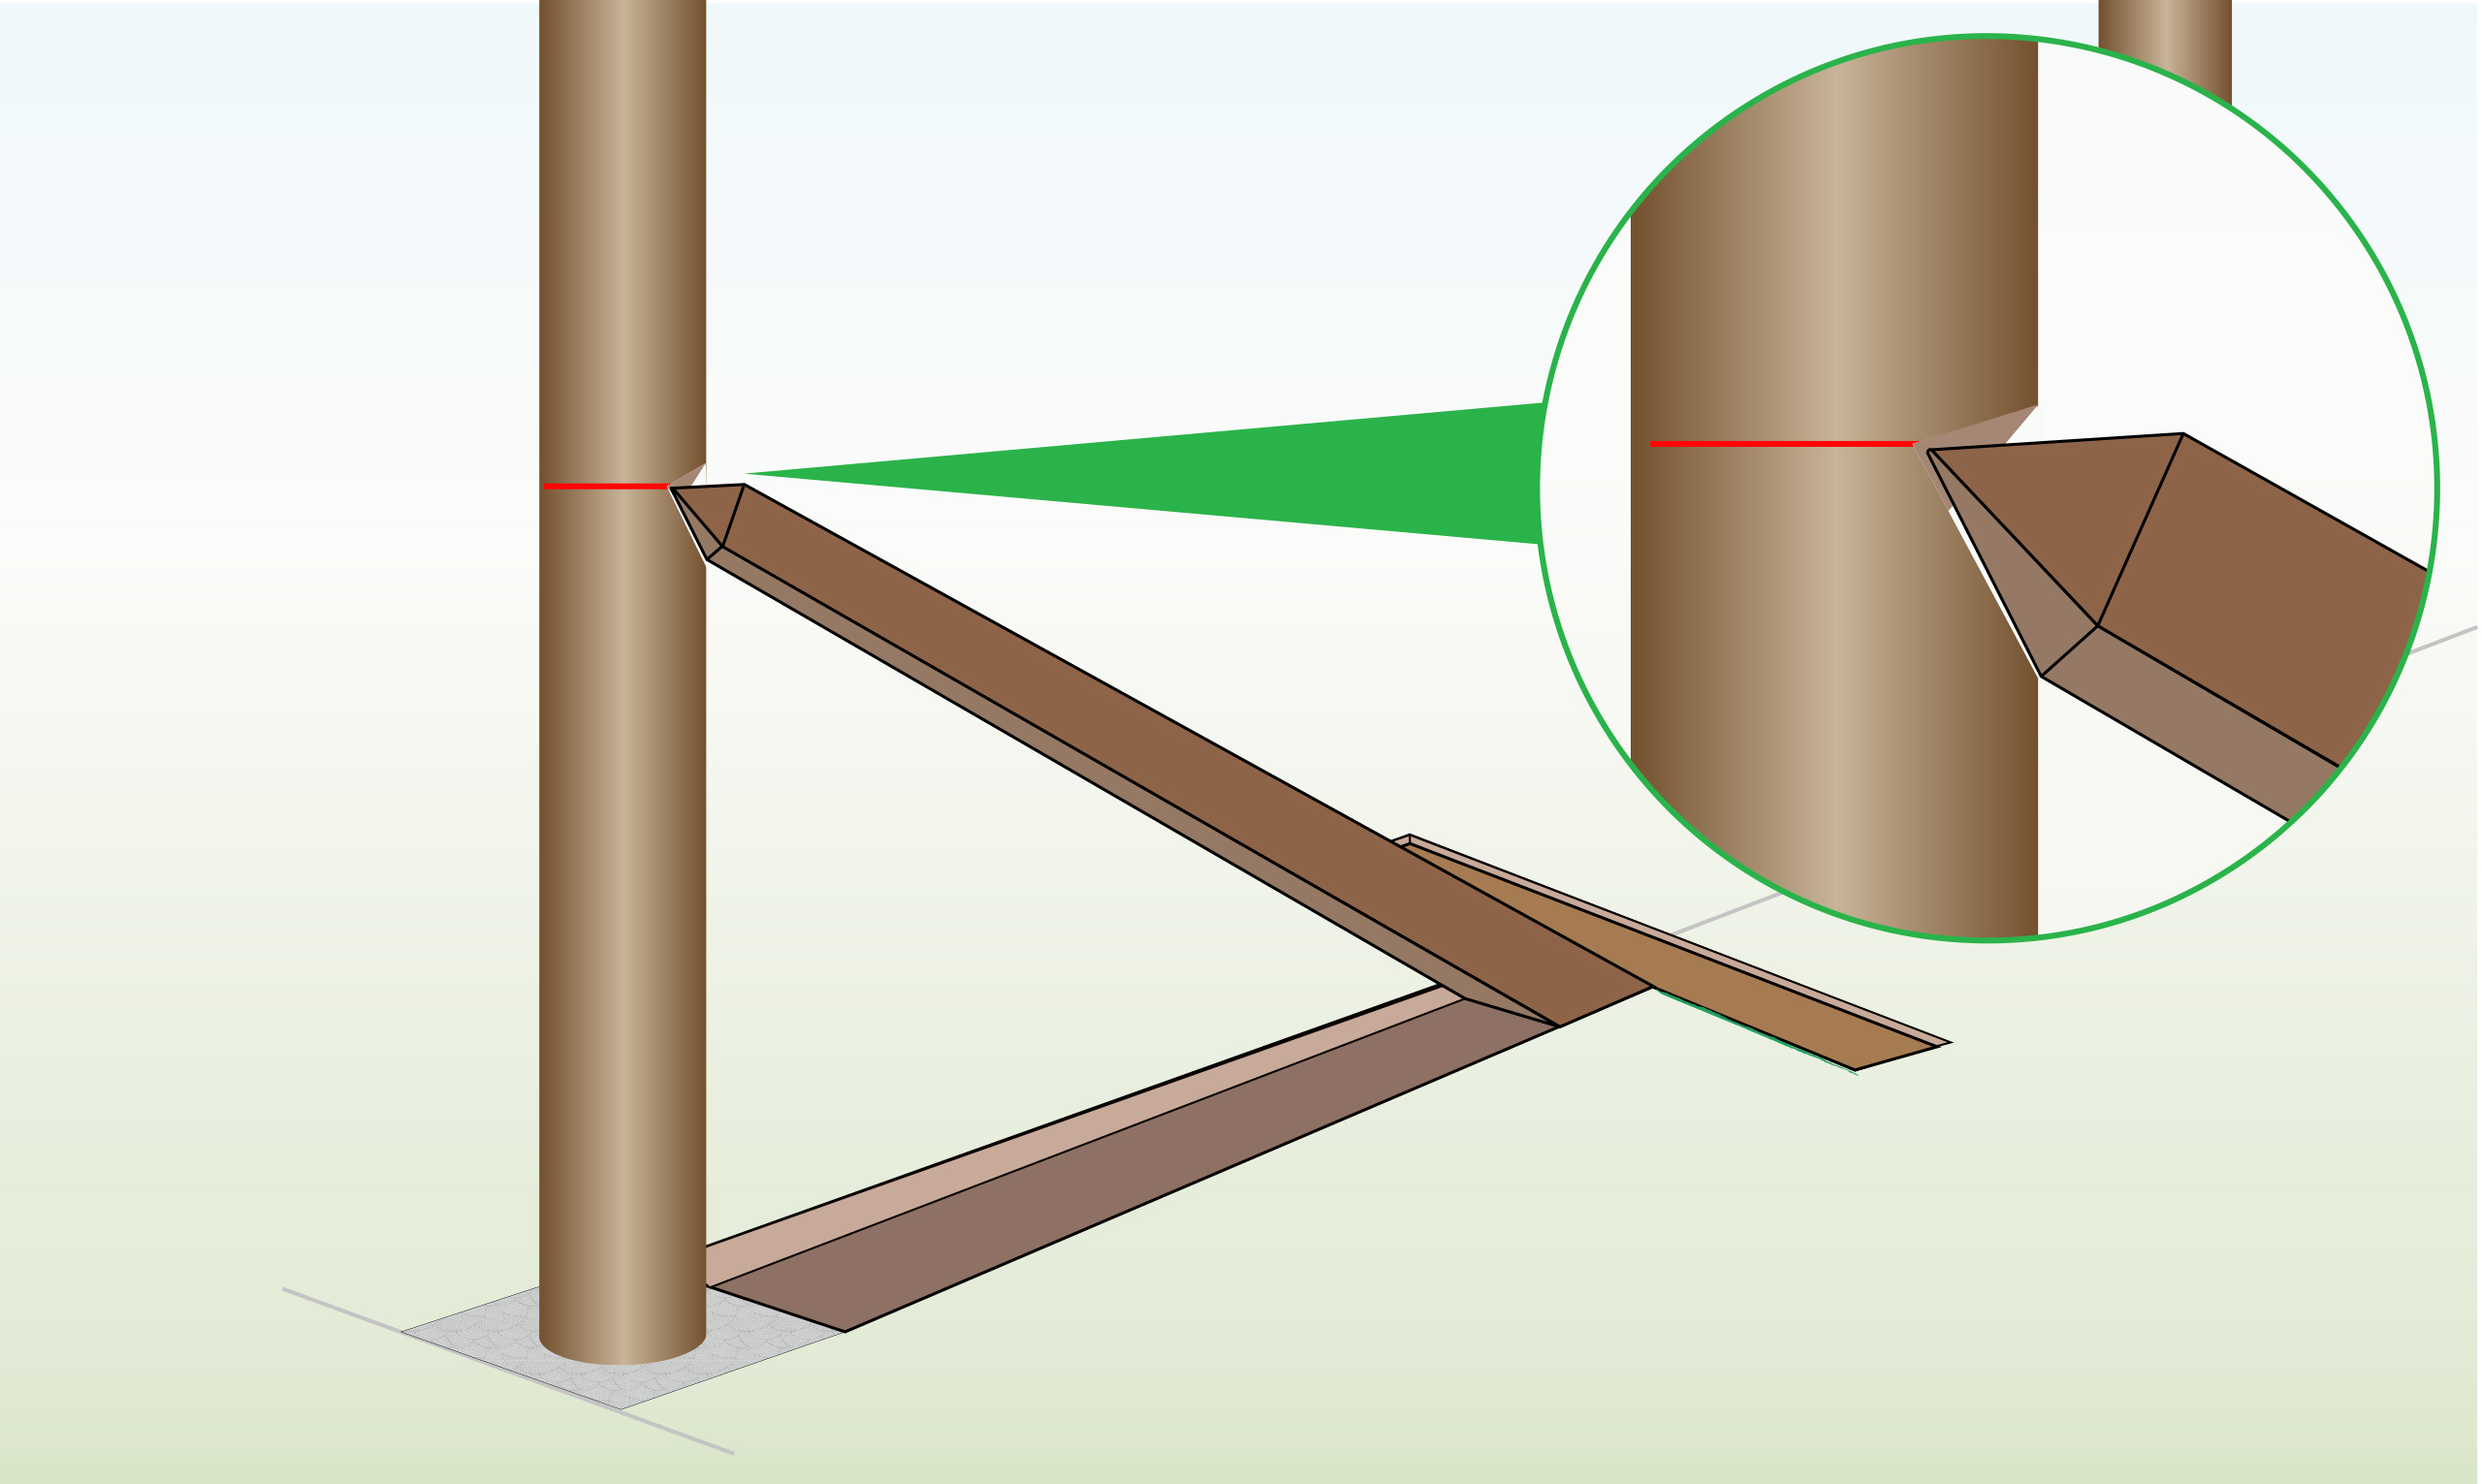
Step 7 – Attach the Strut Post
|
Shape the end of the strut to match the notch in the post.
Insert the sharpened end into the notch securely, while allowing the remainder of the strut to sink into the trench. |
|
Step 8 – Secure Strut
|
Position the strut snugly between the bearer and the strainer post to ensure a tight fit.
Cover the trench with soil and compact it by stomping down. |
|
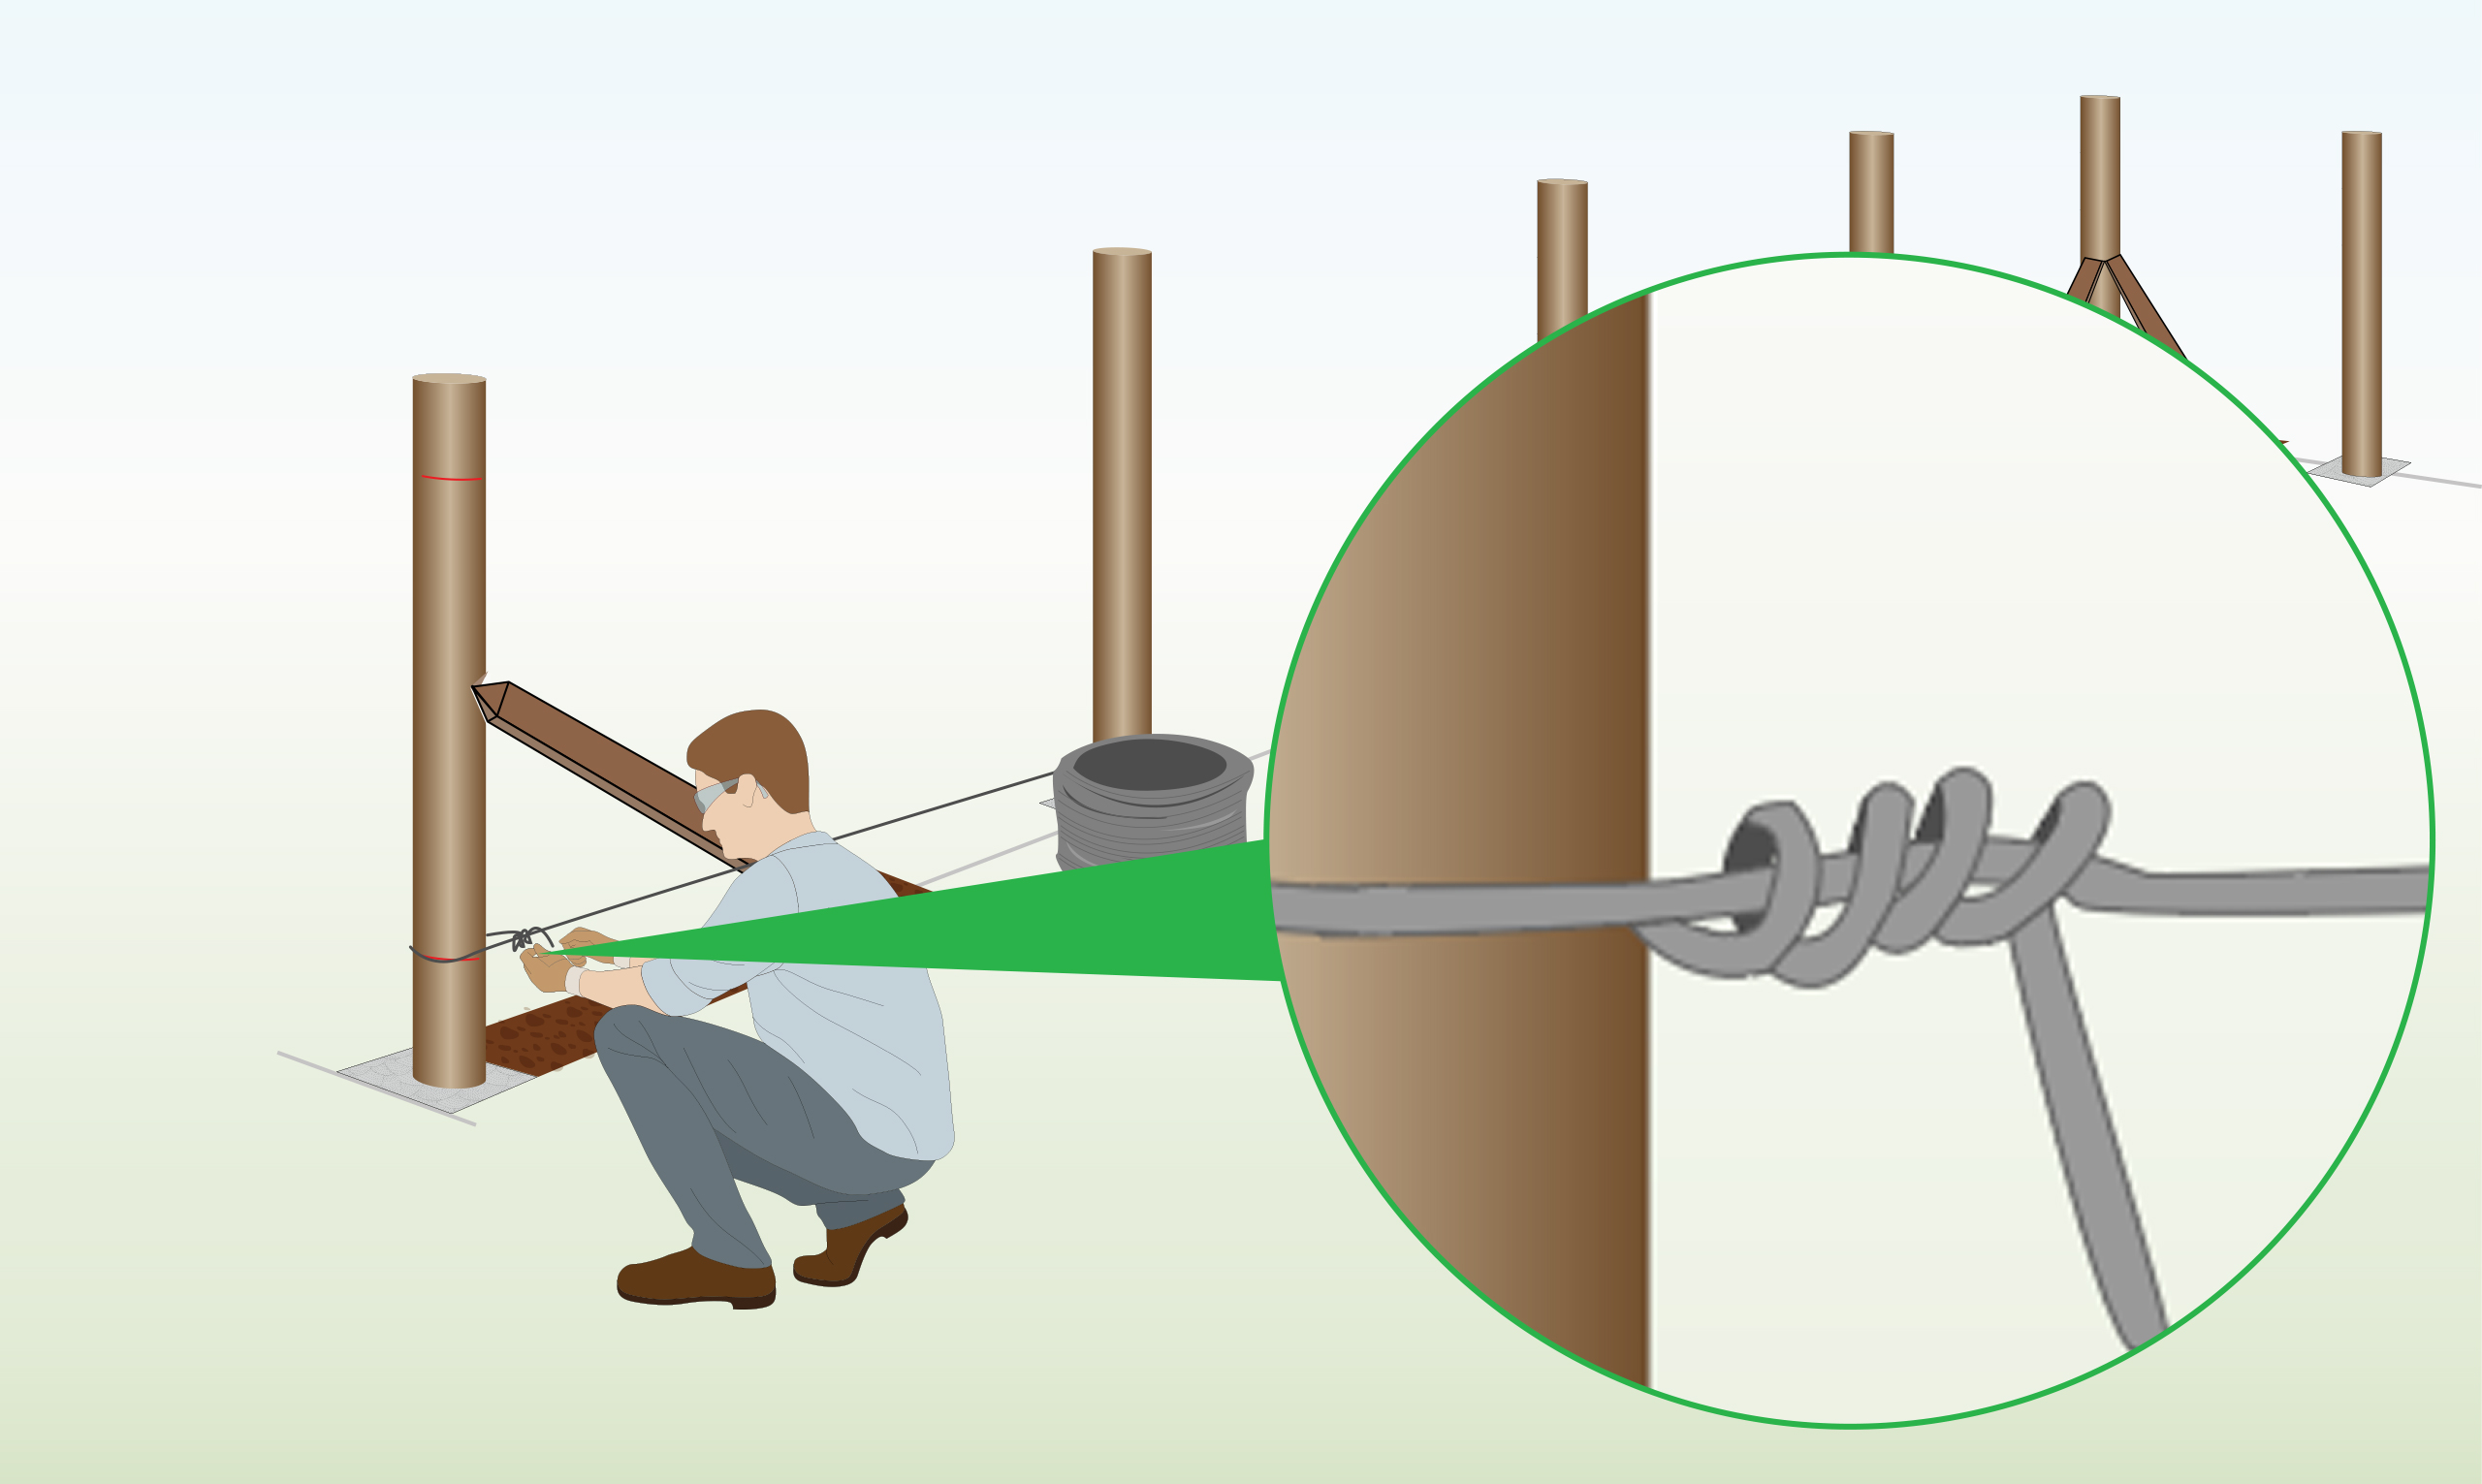
Step 9 – Mark Wire Location
|
Start by marking the positions for each wire strand on your posts.
You should have multiple lines of wire for a secure and taut fence as below: |
|
Step 10 – Attach Wire to First Post
|
Fasten the initial wire strand to the bottom part of the starting post.
Hook it around the post, twist it backward, and wind it around itself 4-5 times to secure the tension. |
|
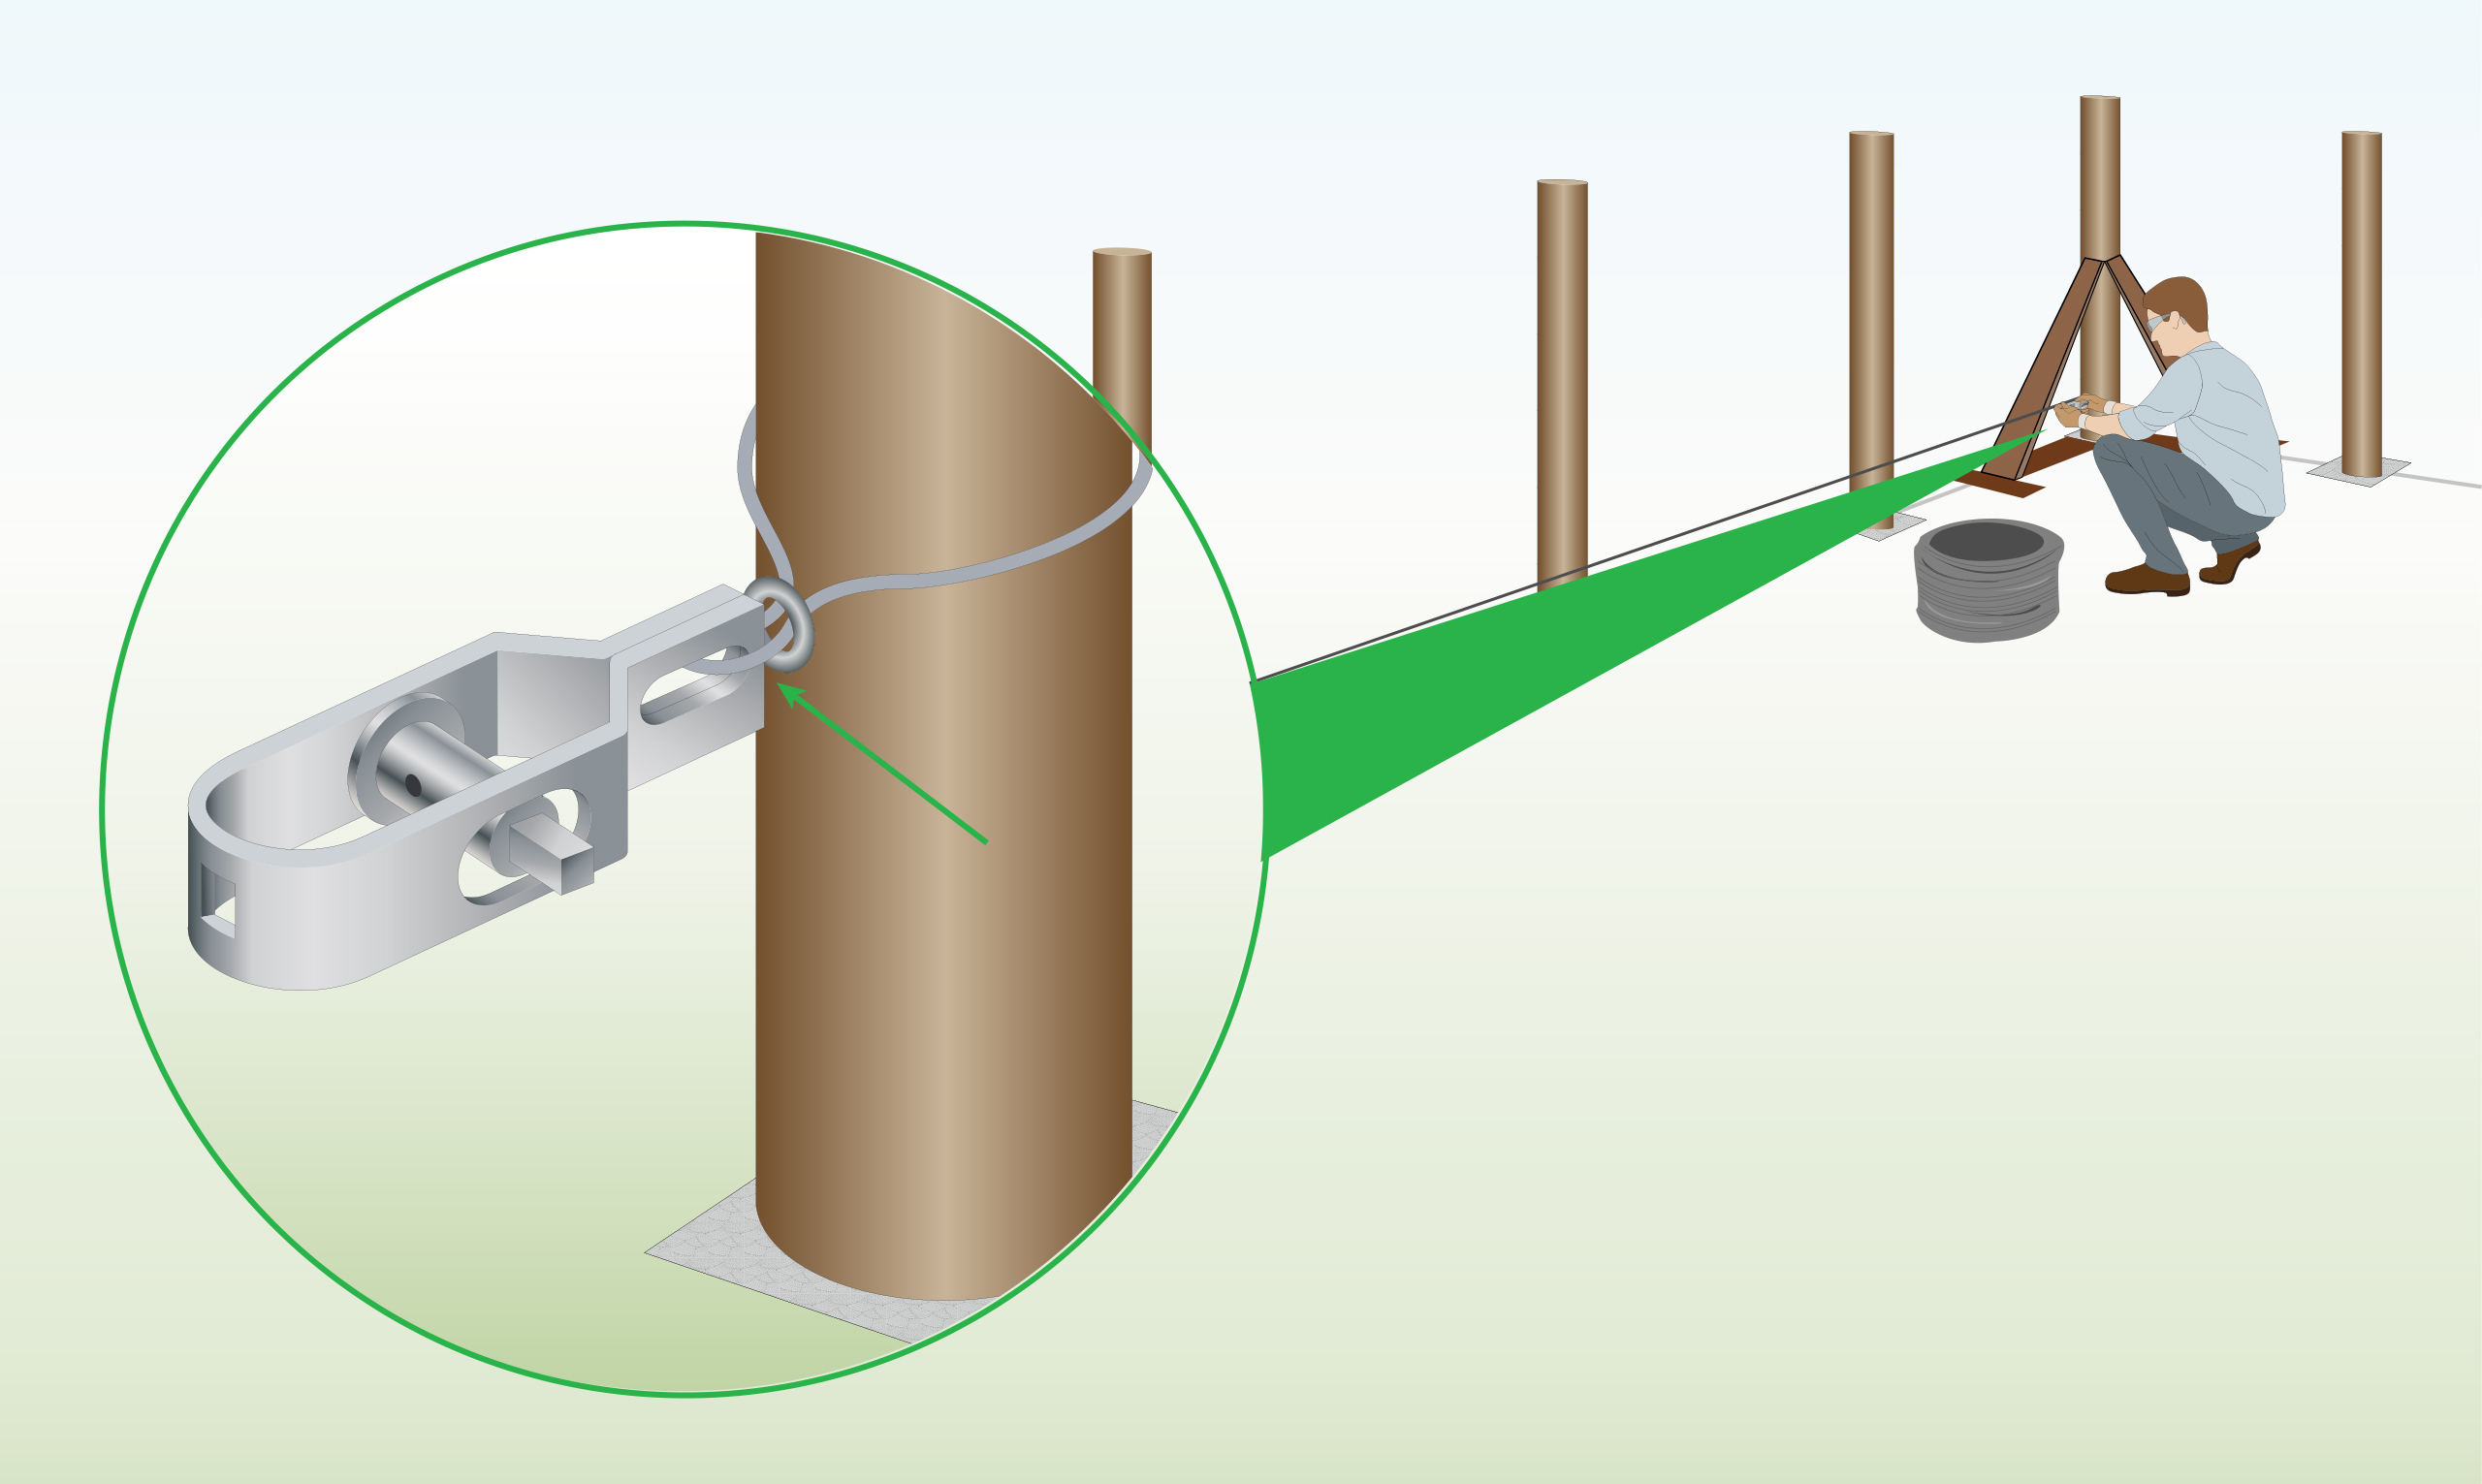
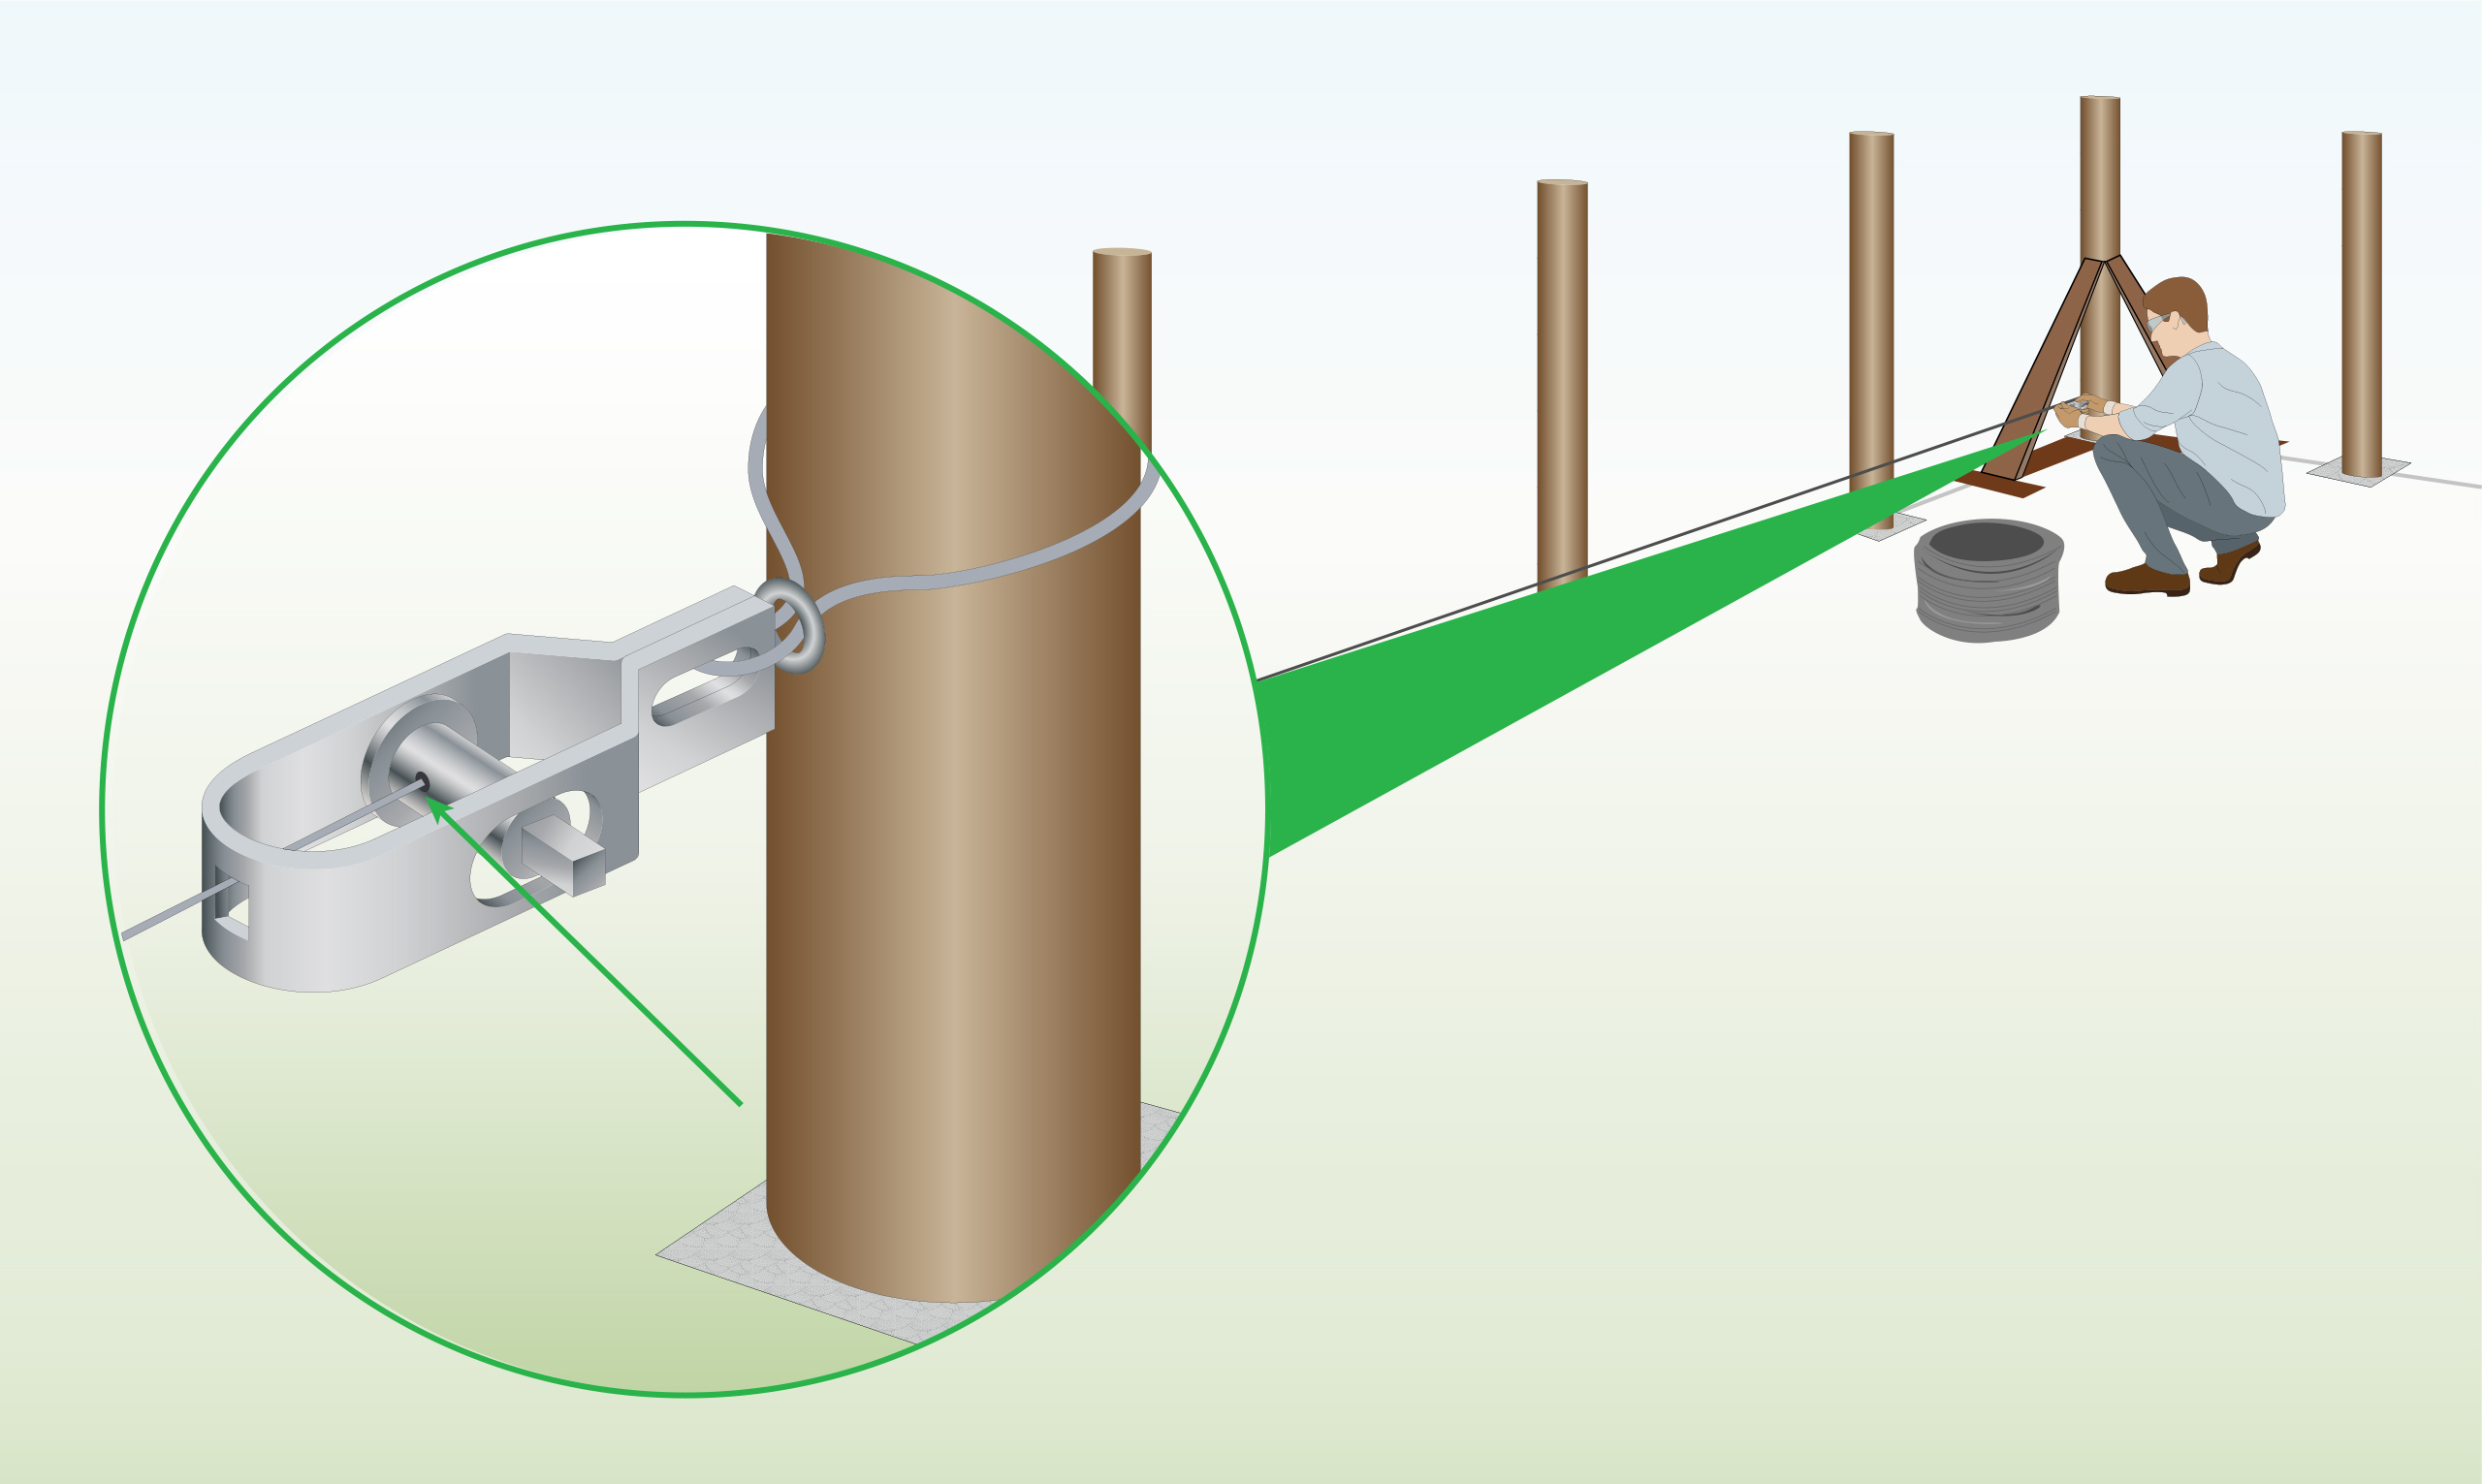
Step 11 – Secure Radisseur to Last Post
|
Use a separate piece of wire to secure a radisseur to the last post.
Note: skip ahead to step 14 if you don’t have a radisseur. |
|
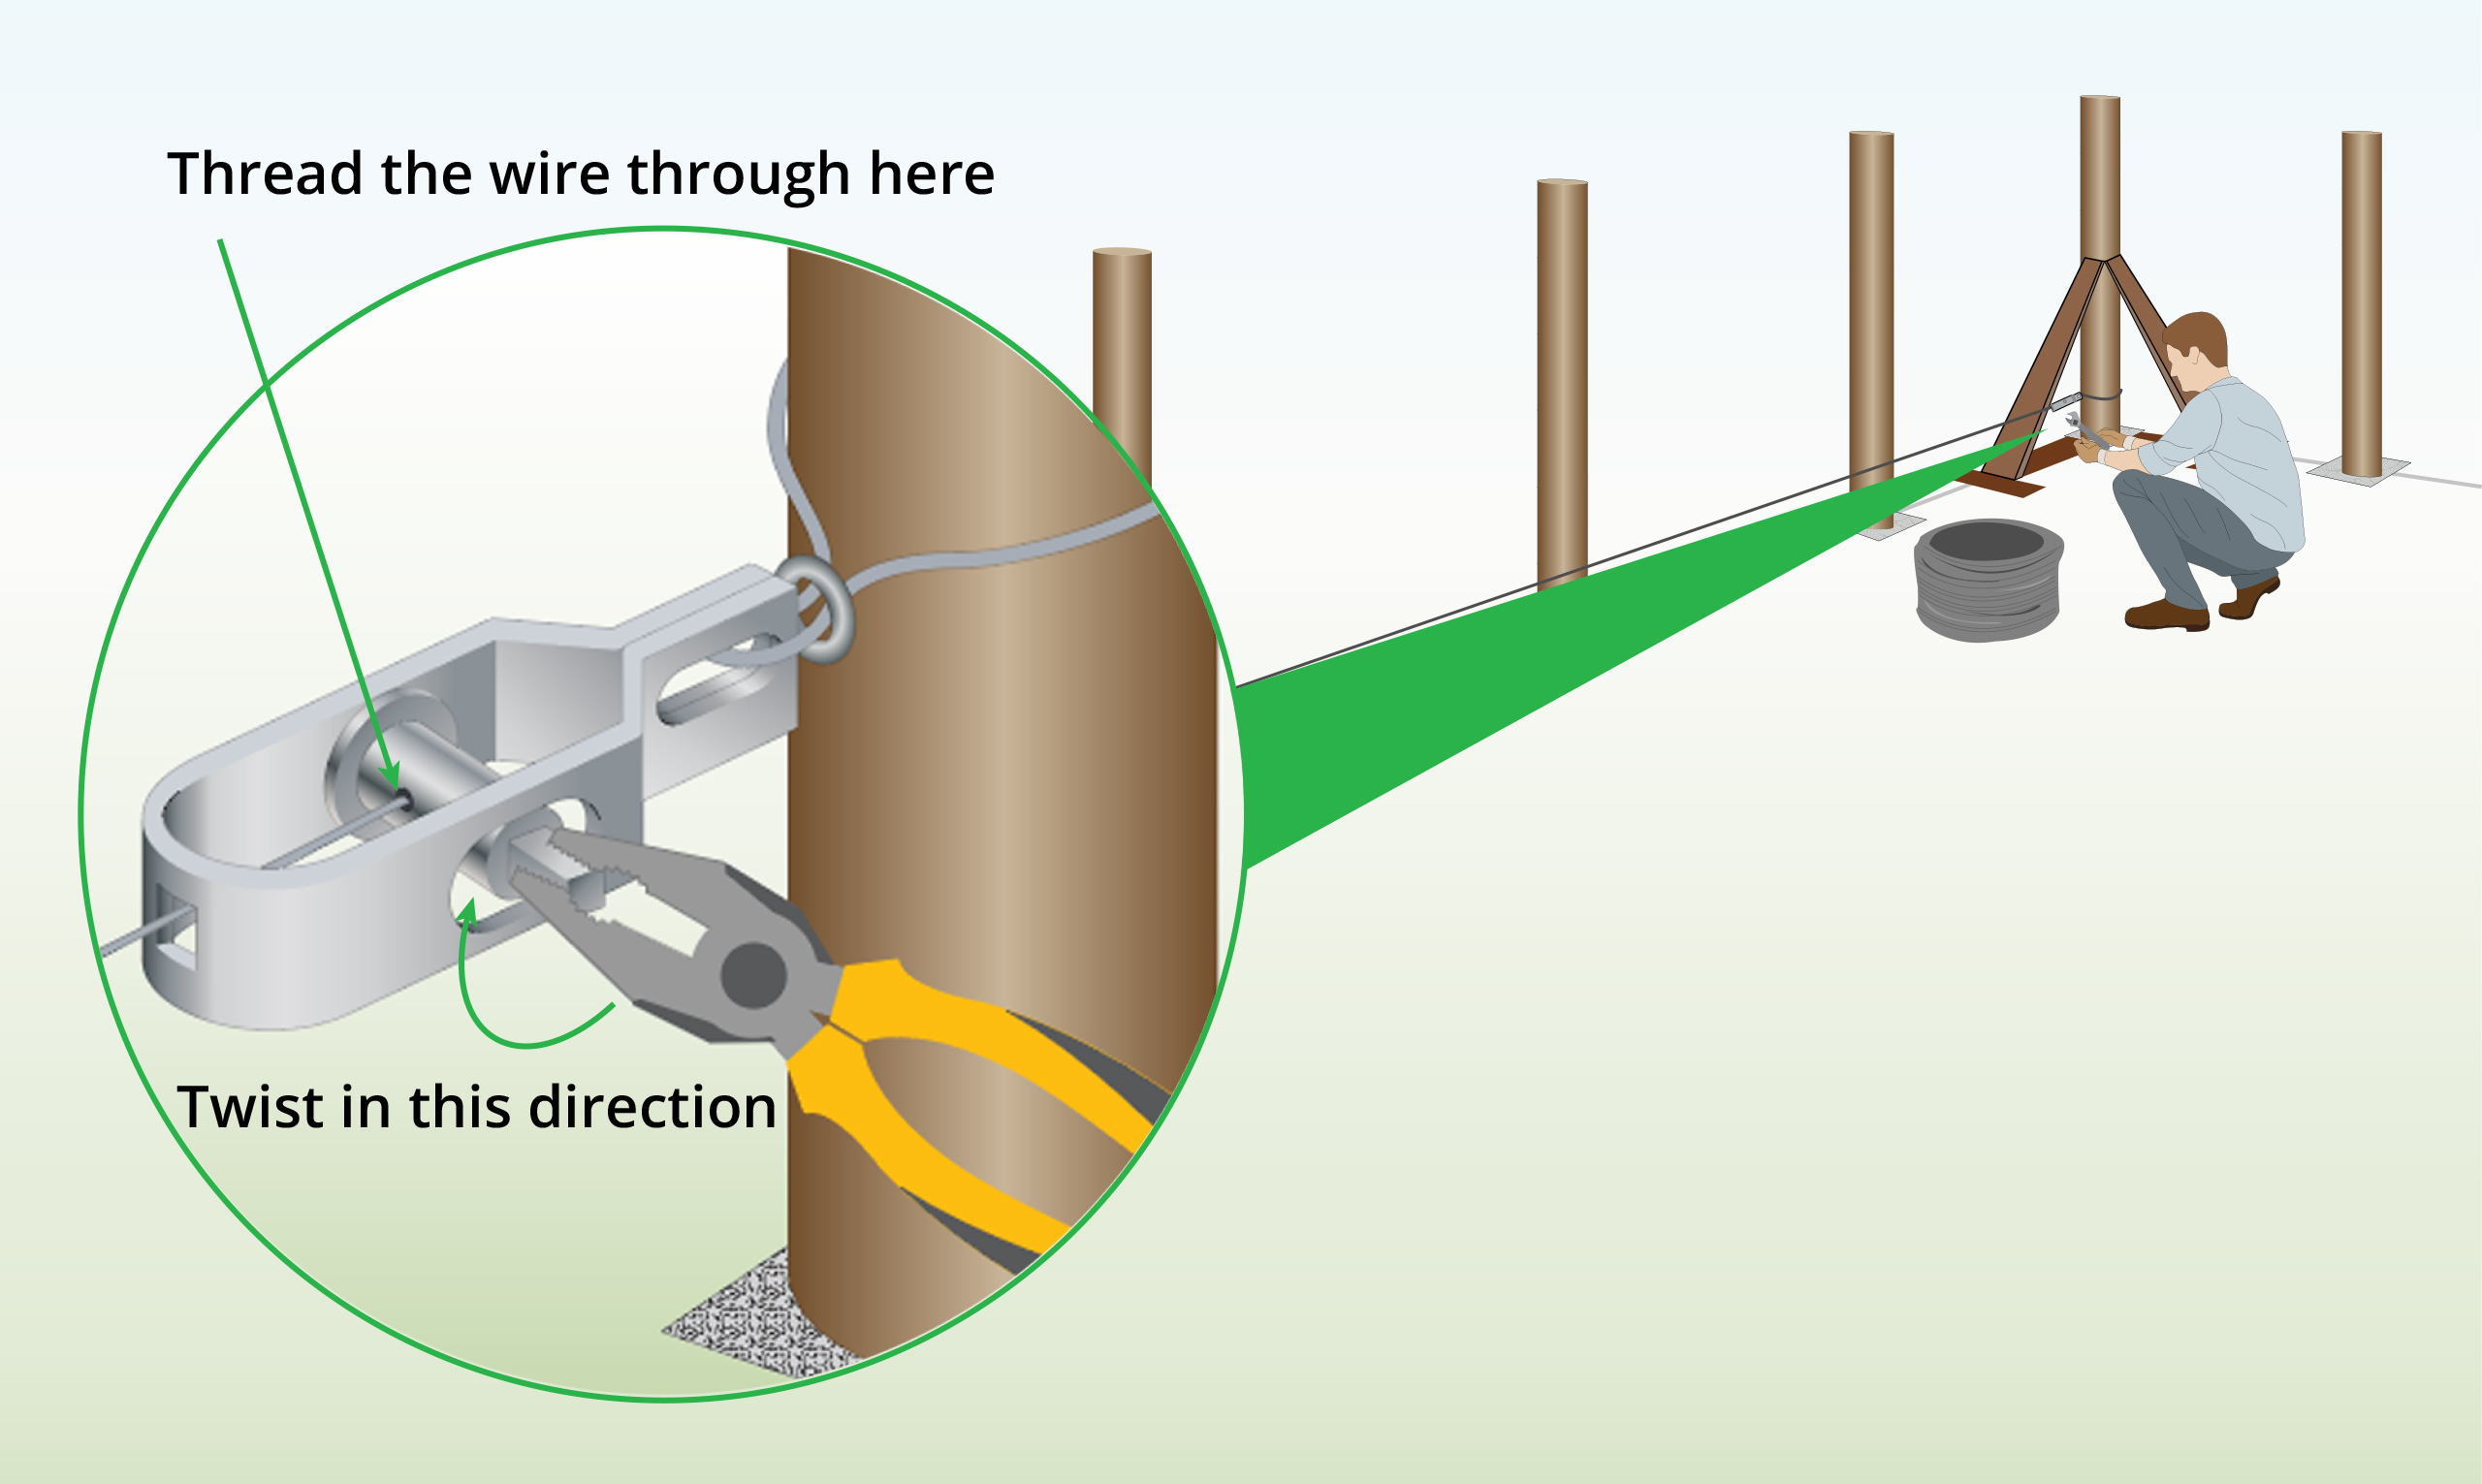
Step 12 – Secure Wire to Radisseur
|
Cut the first tensioning wire, leaving an extra 10cm of length for adjustment.
Thread the wire through the hole positioned in the center of the radisseur. |
|
Step 13 – Tension the Wire
|
Employ pliers to rotate the pin on the radisseur clockwise. |
|
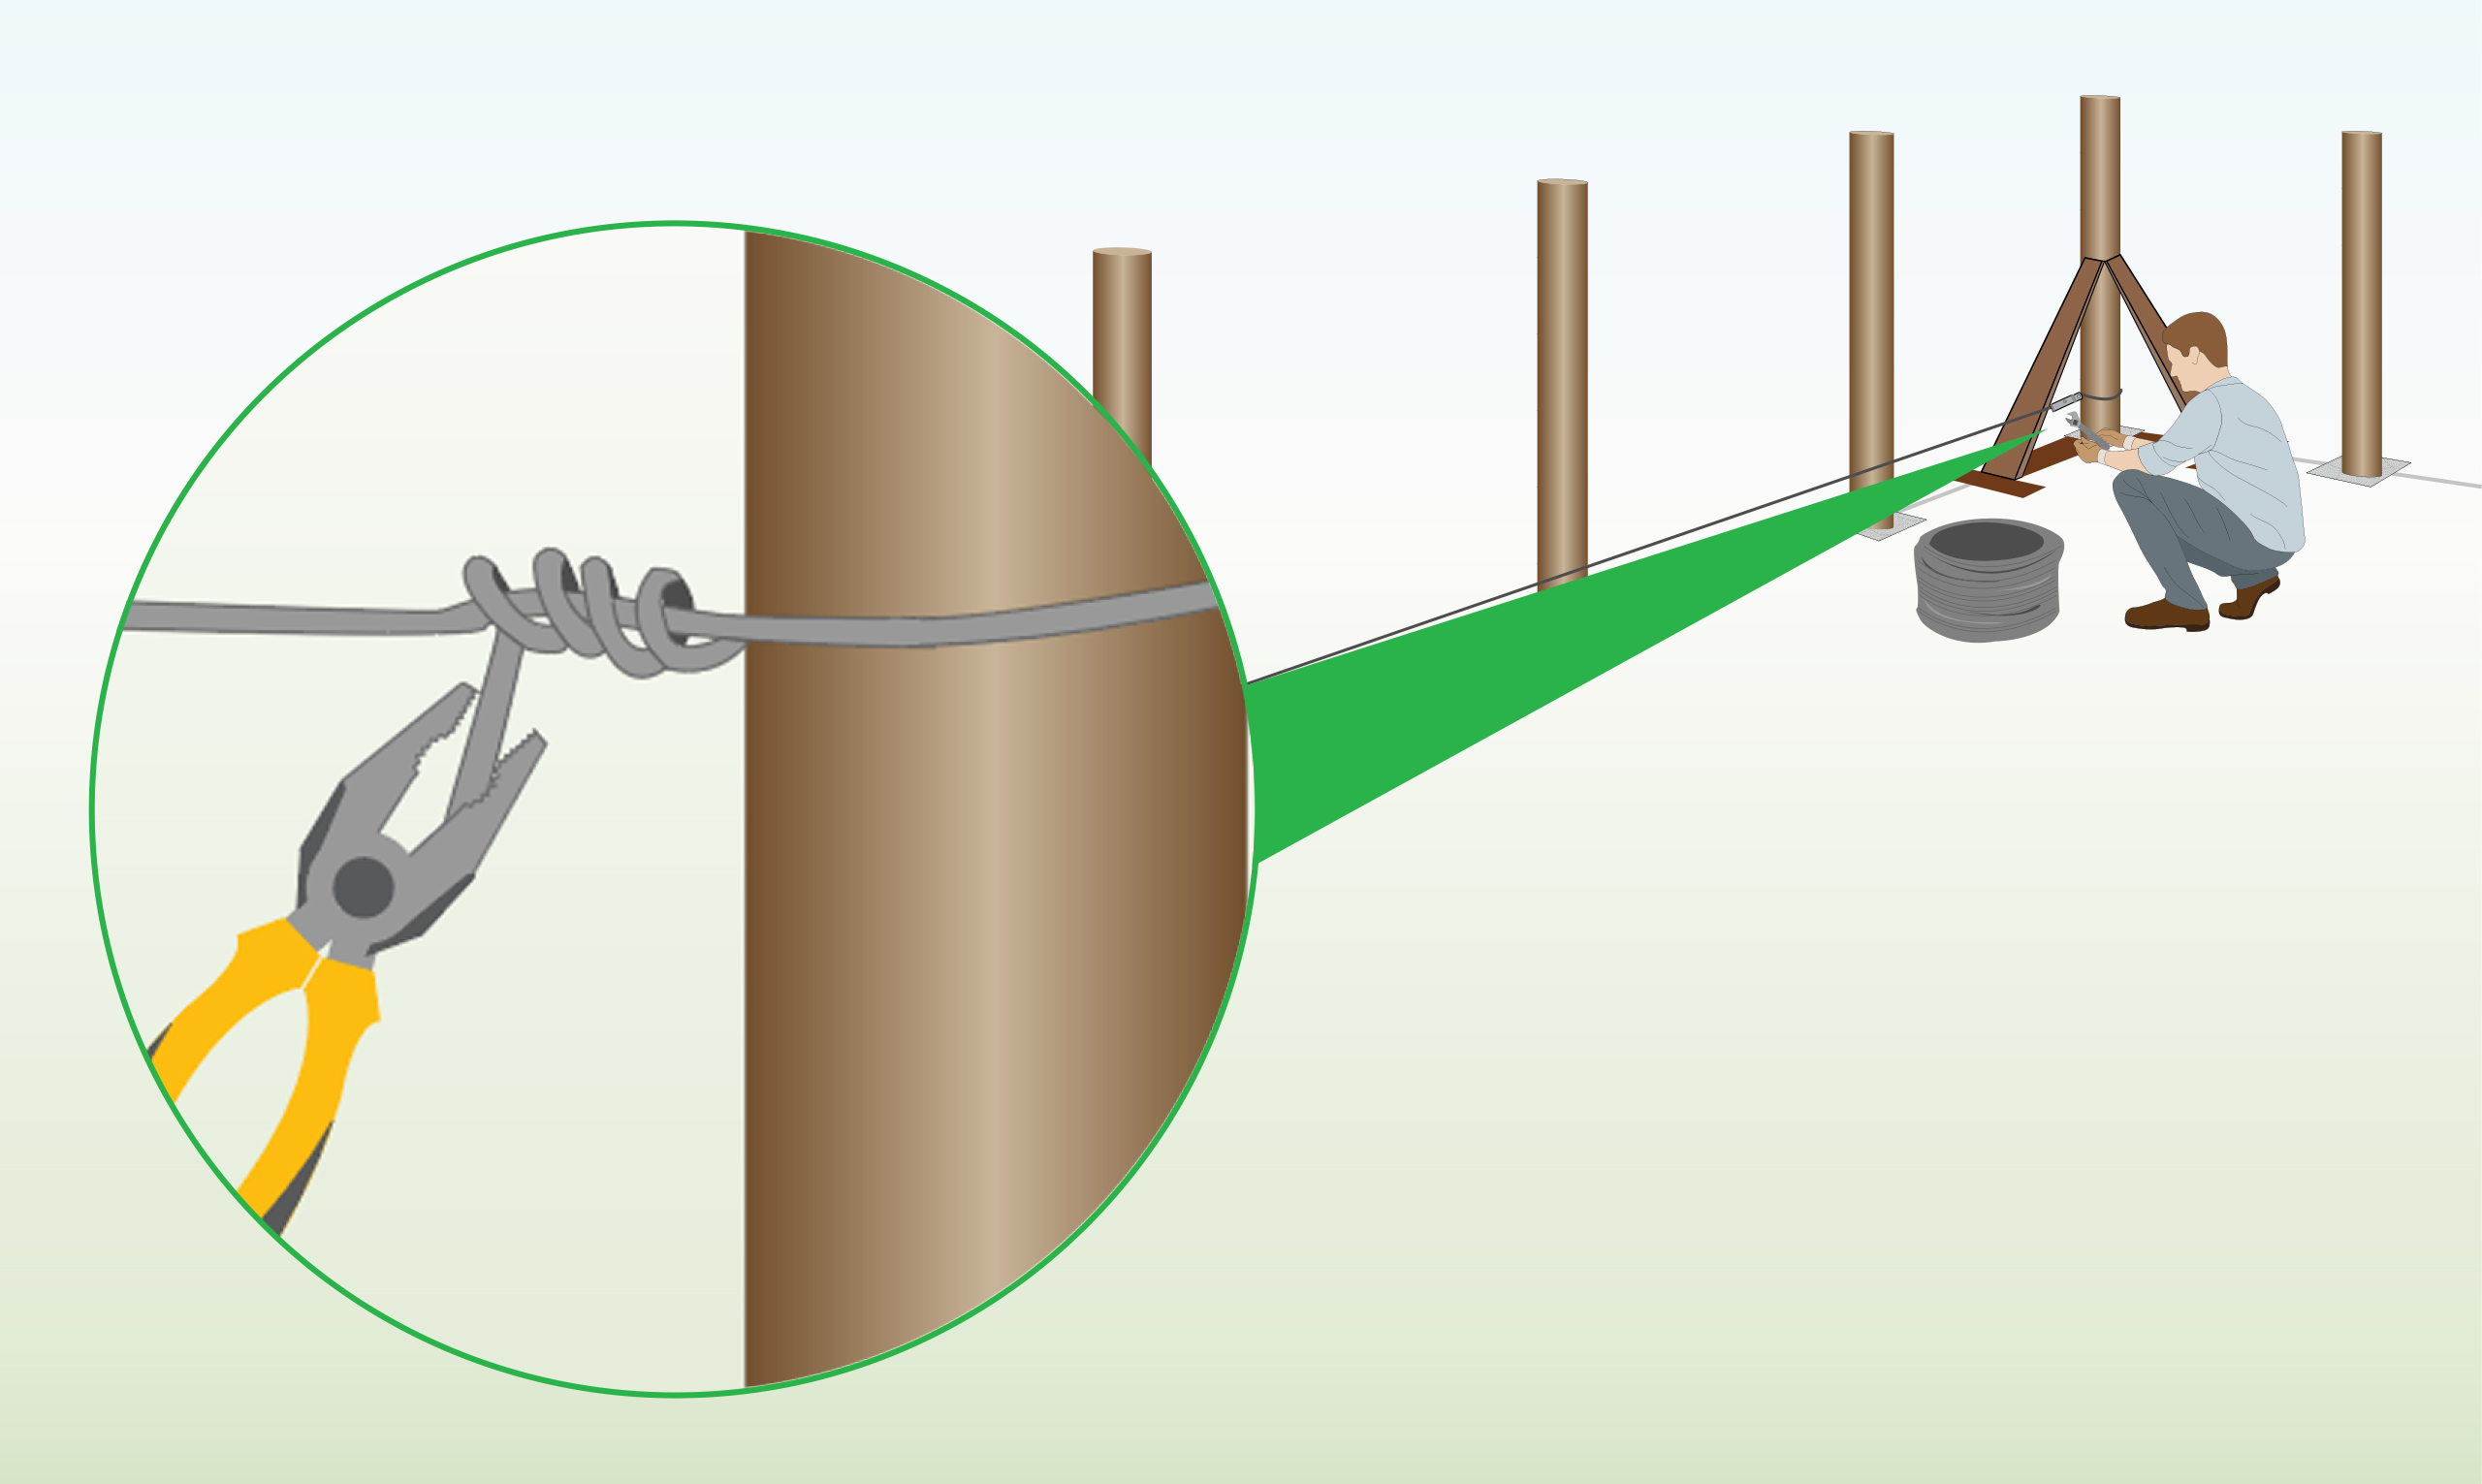
Step 14 – Tension Without Radisseur
|
In the absence of a radisseur, twist the wire around the post and wind it around itself 4-5 times as an alternative.
Using this method will result in less tension compared to utilizing a radisseur. |
|
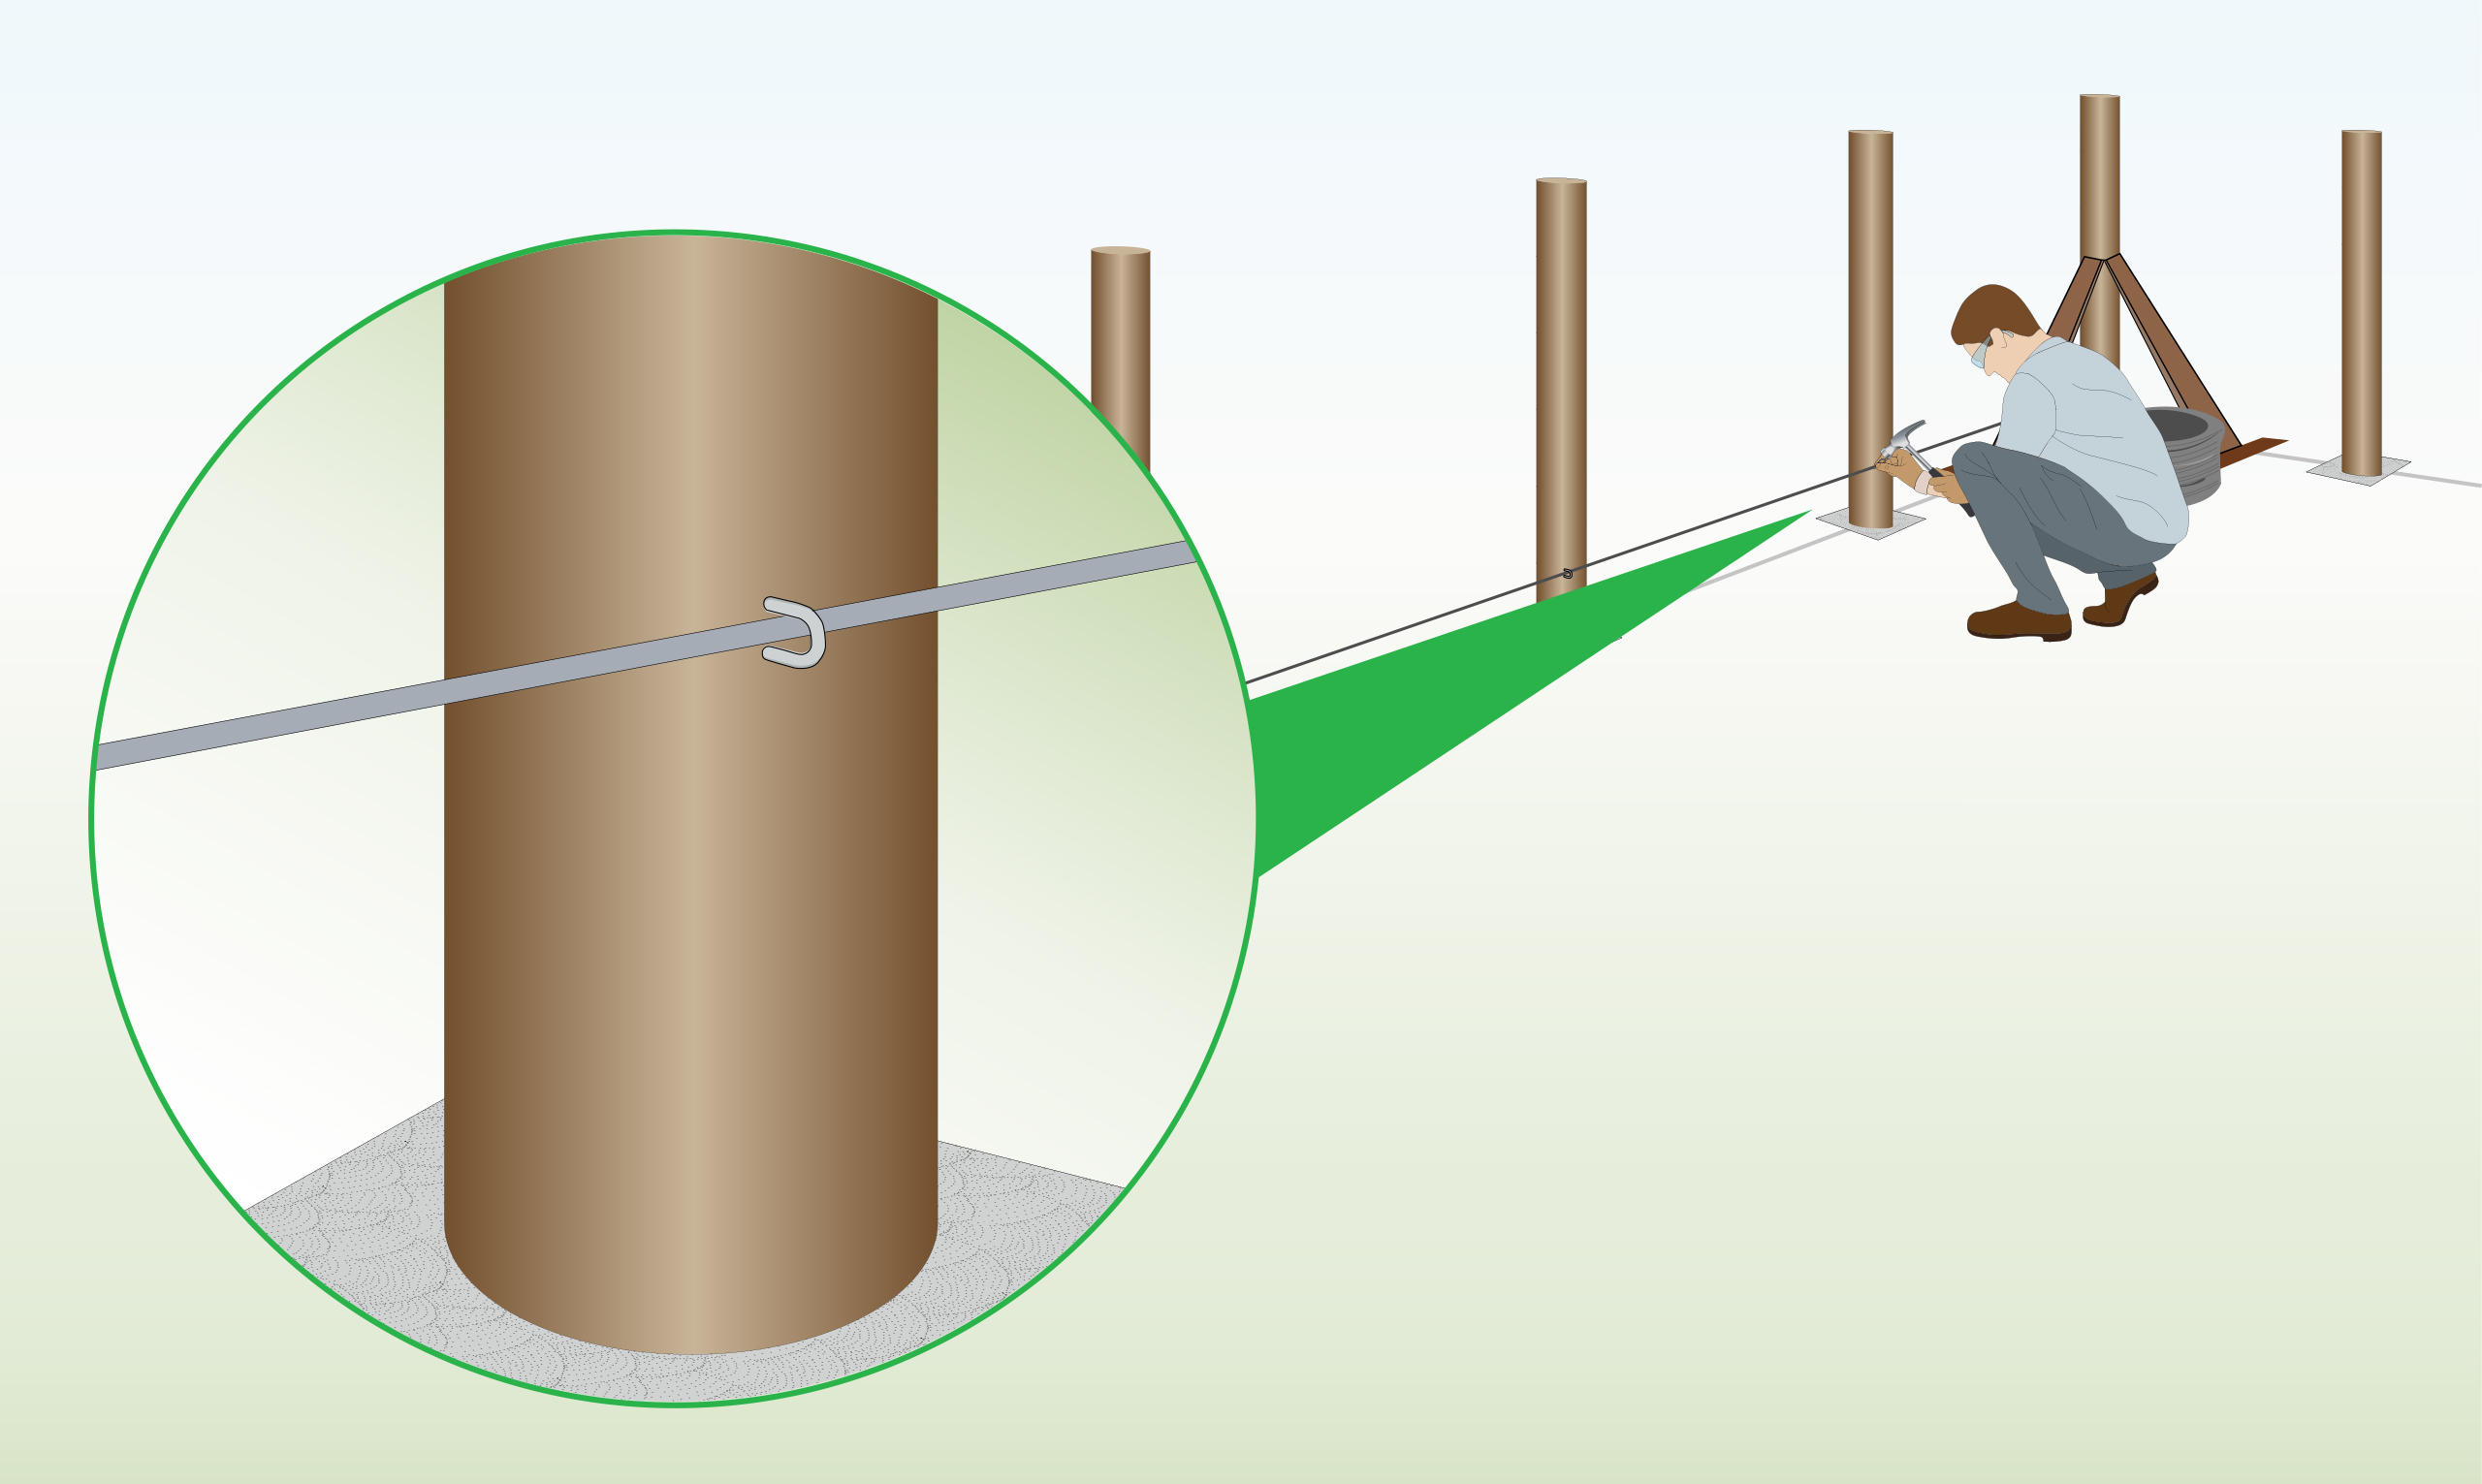
Step 15 – Secure to Middle Posts
|
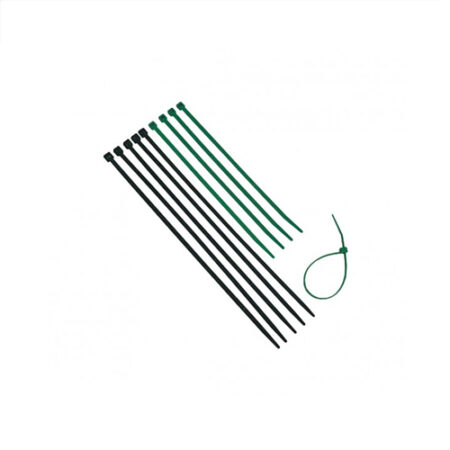
Fasten the wire to the middle posts using staples, leaving a slight gap to allow for some movement of the wire within the staple. |
|
Step 16 – Repeat Steps 11-15
|
Secure the remaining wire by repeating steps 11-15. |
|
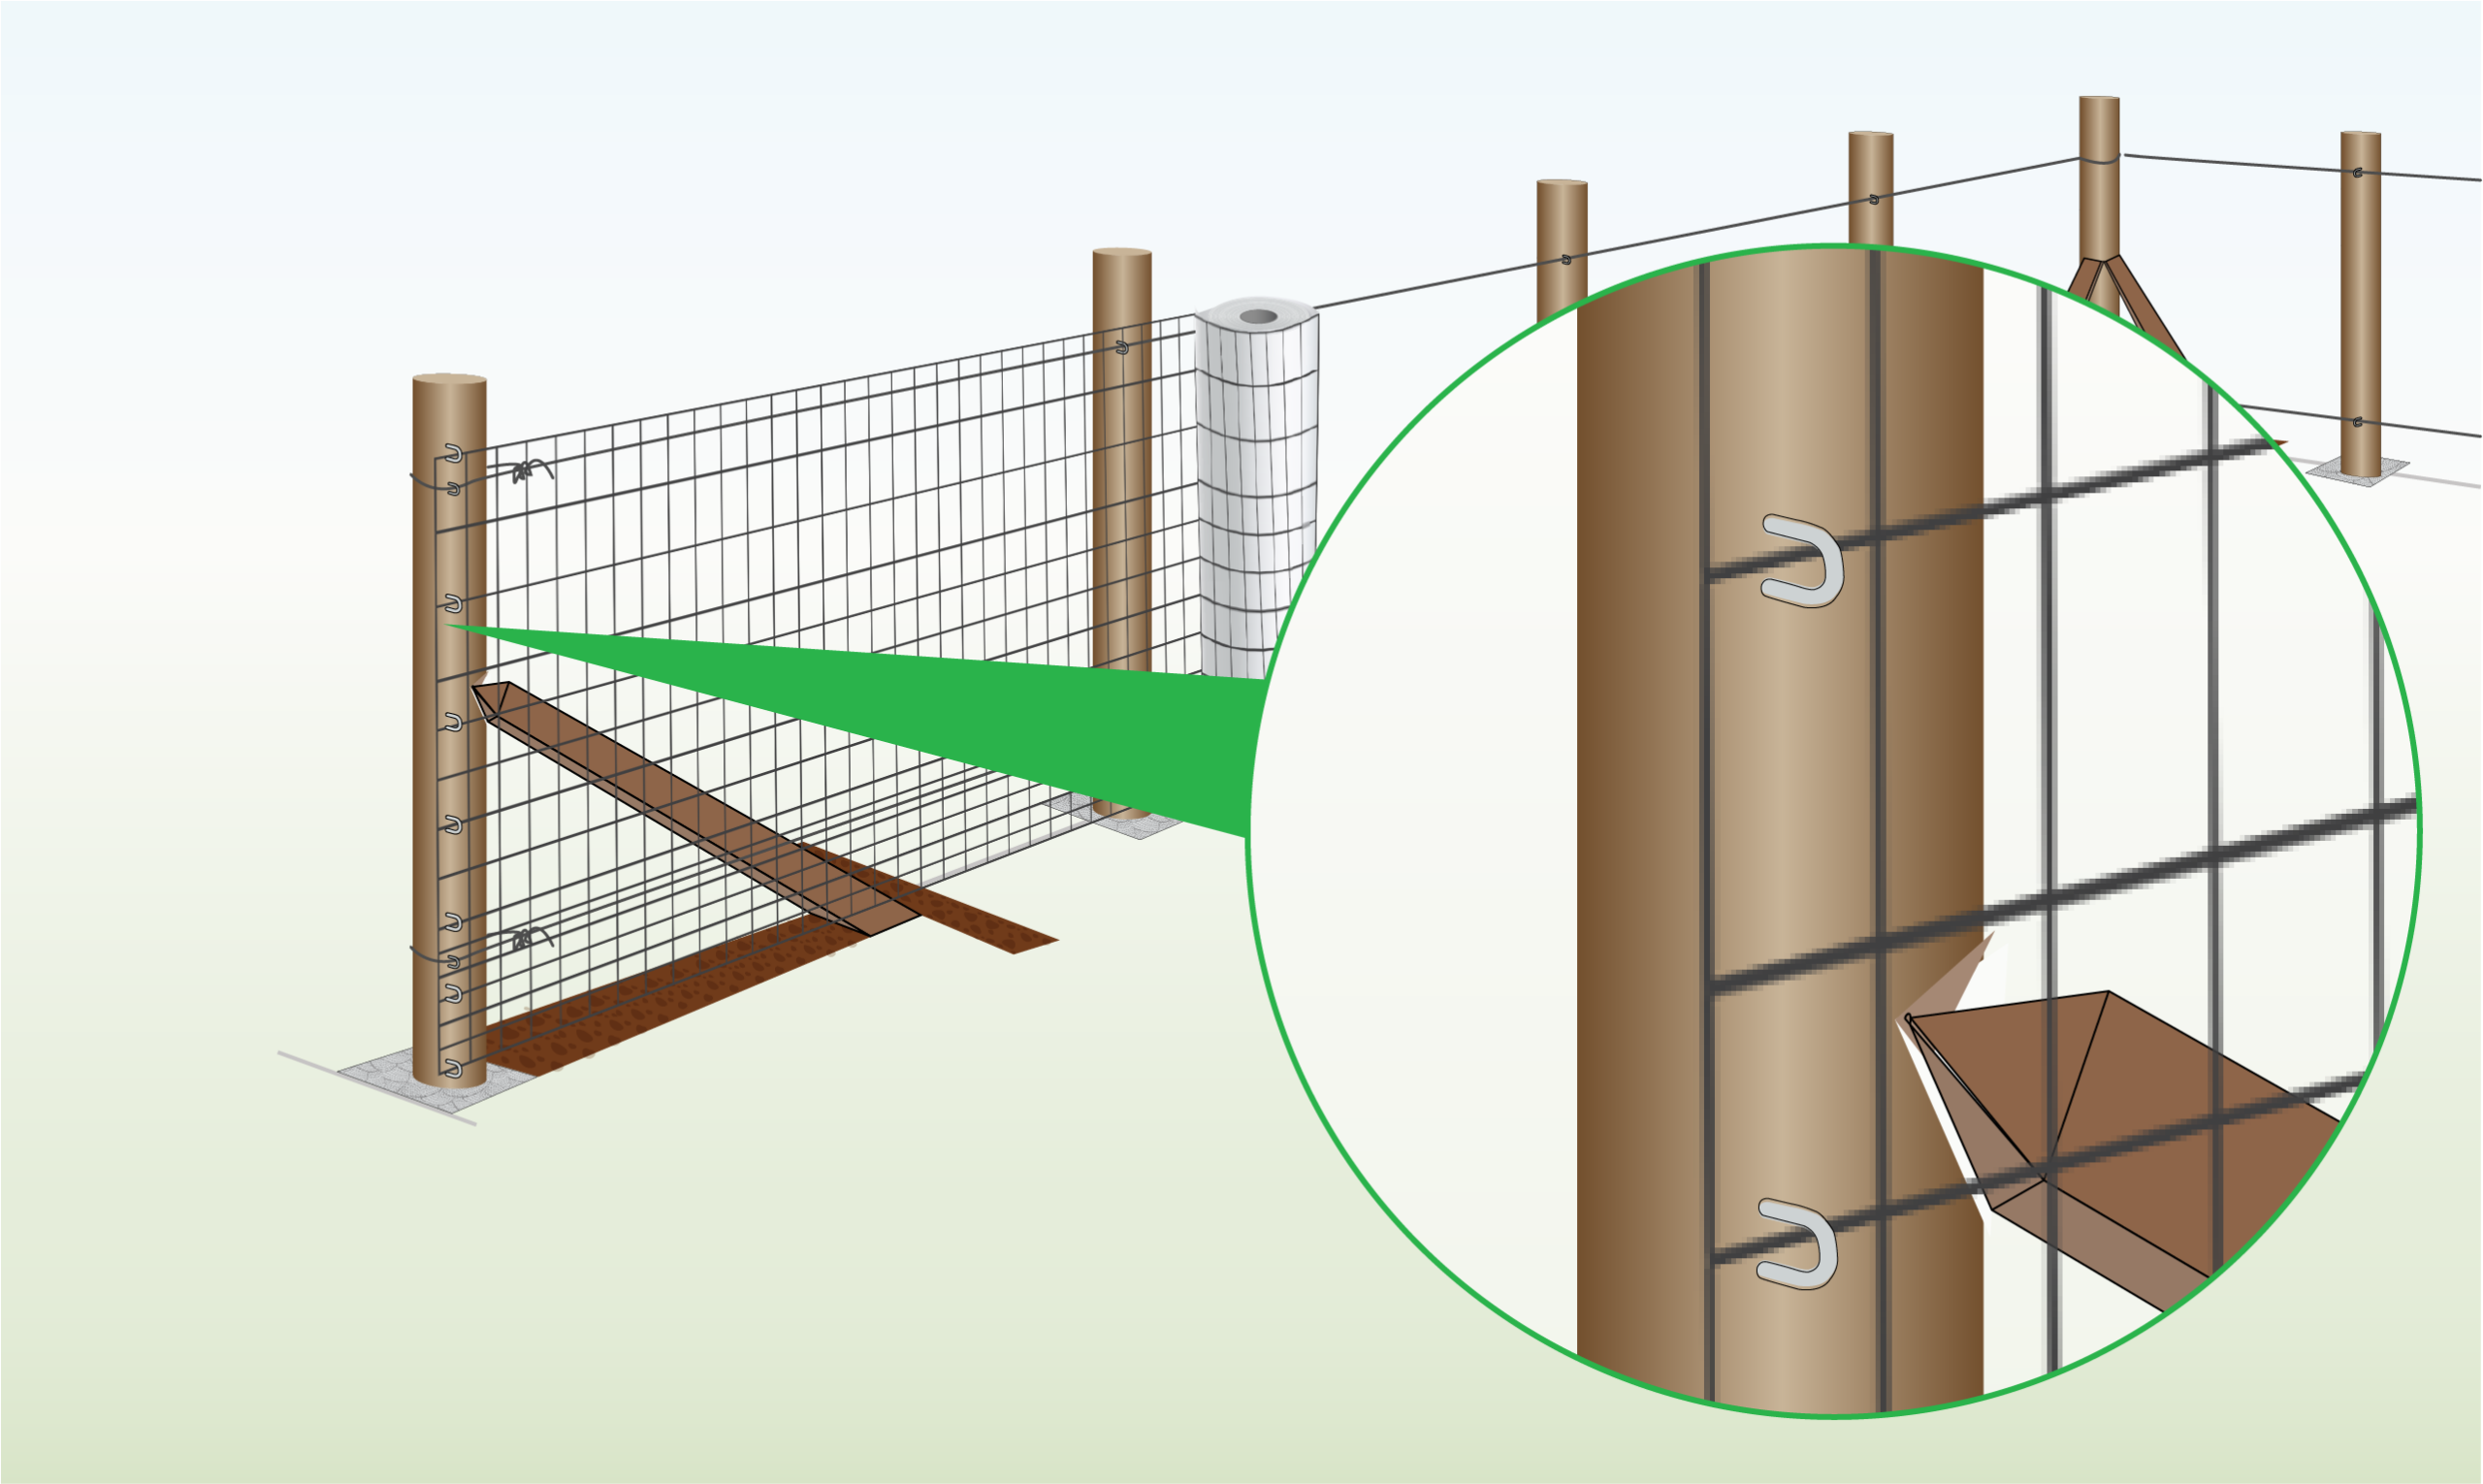
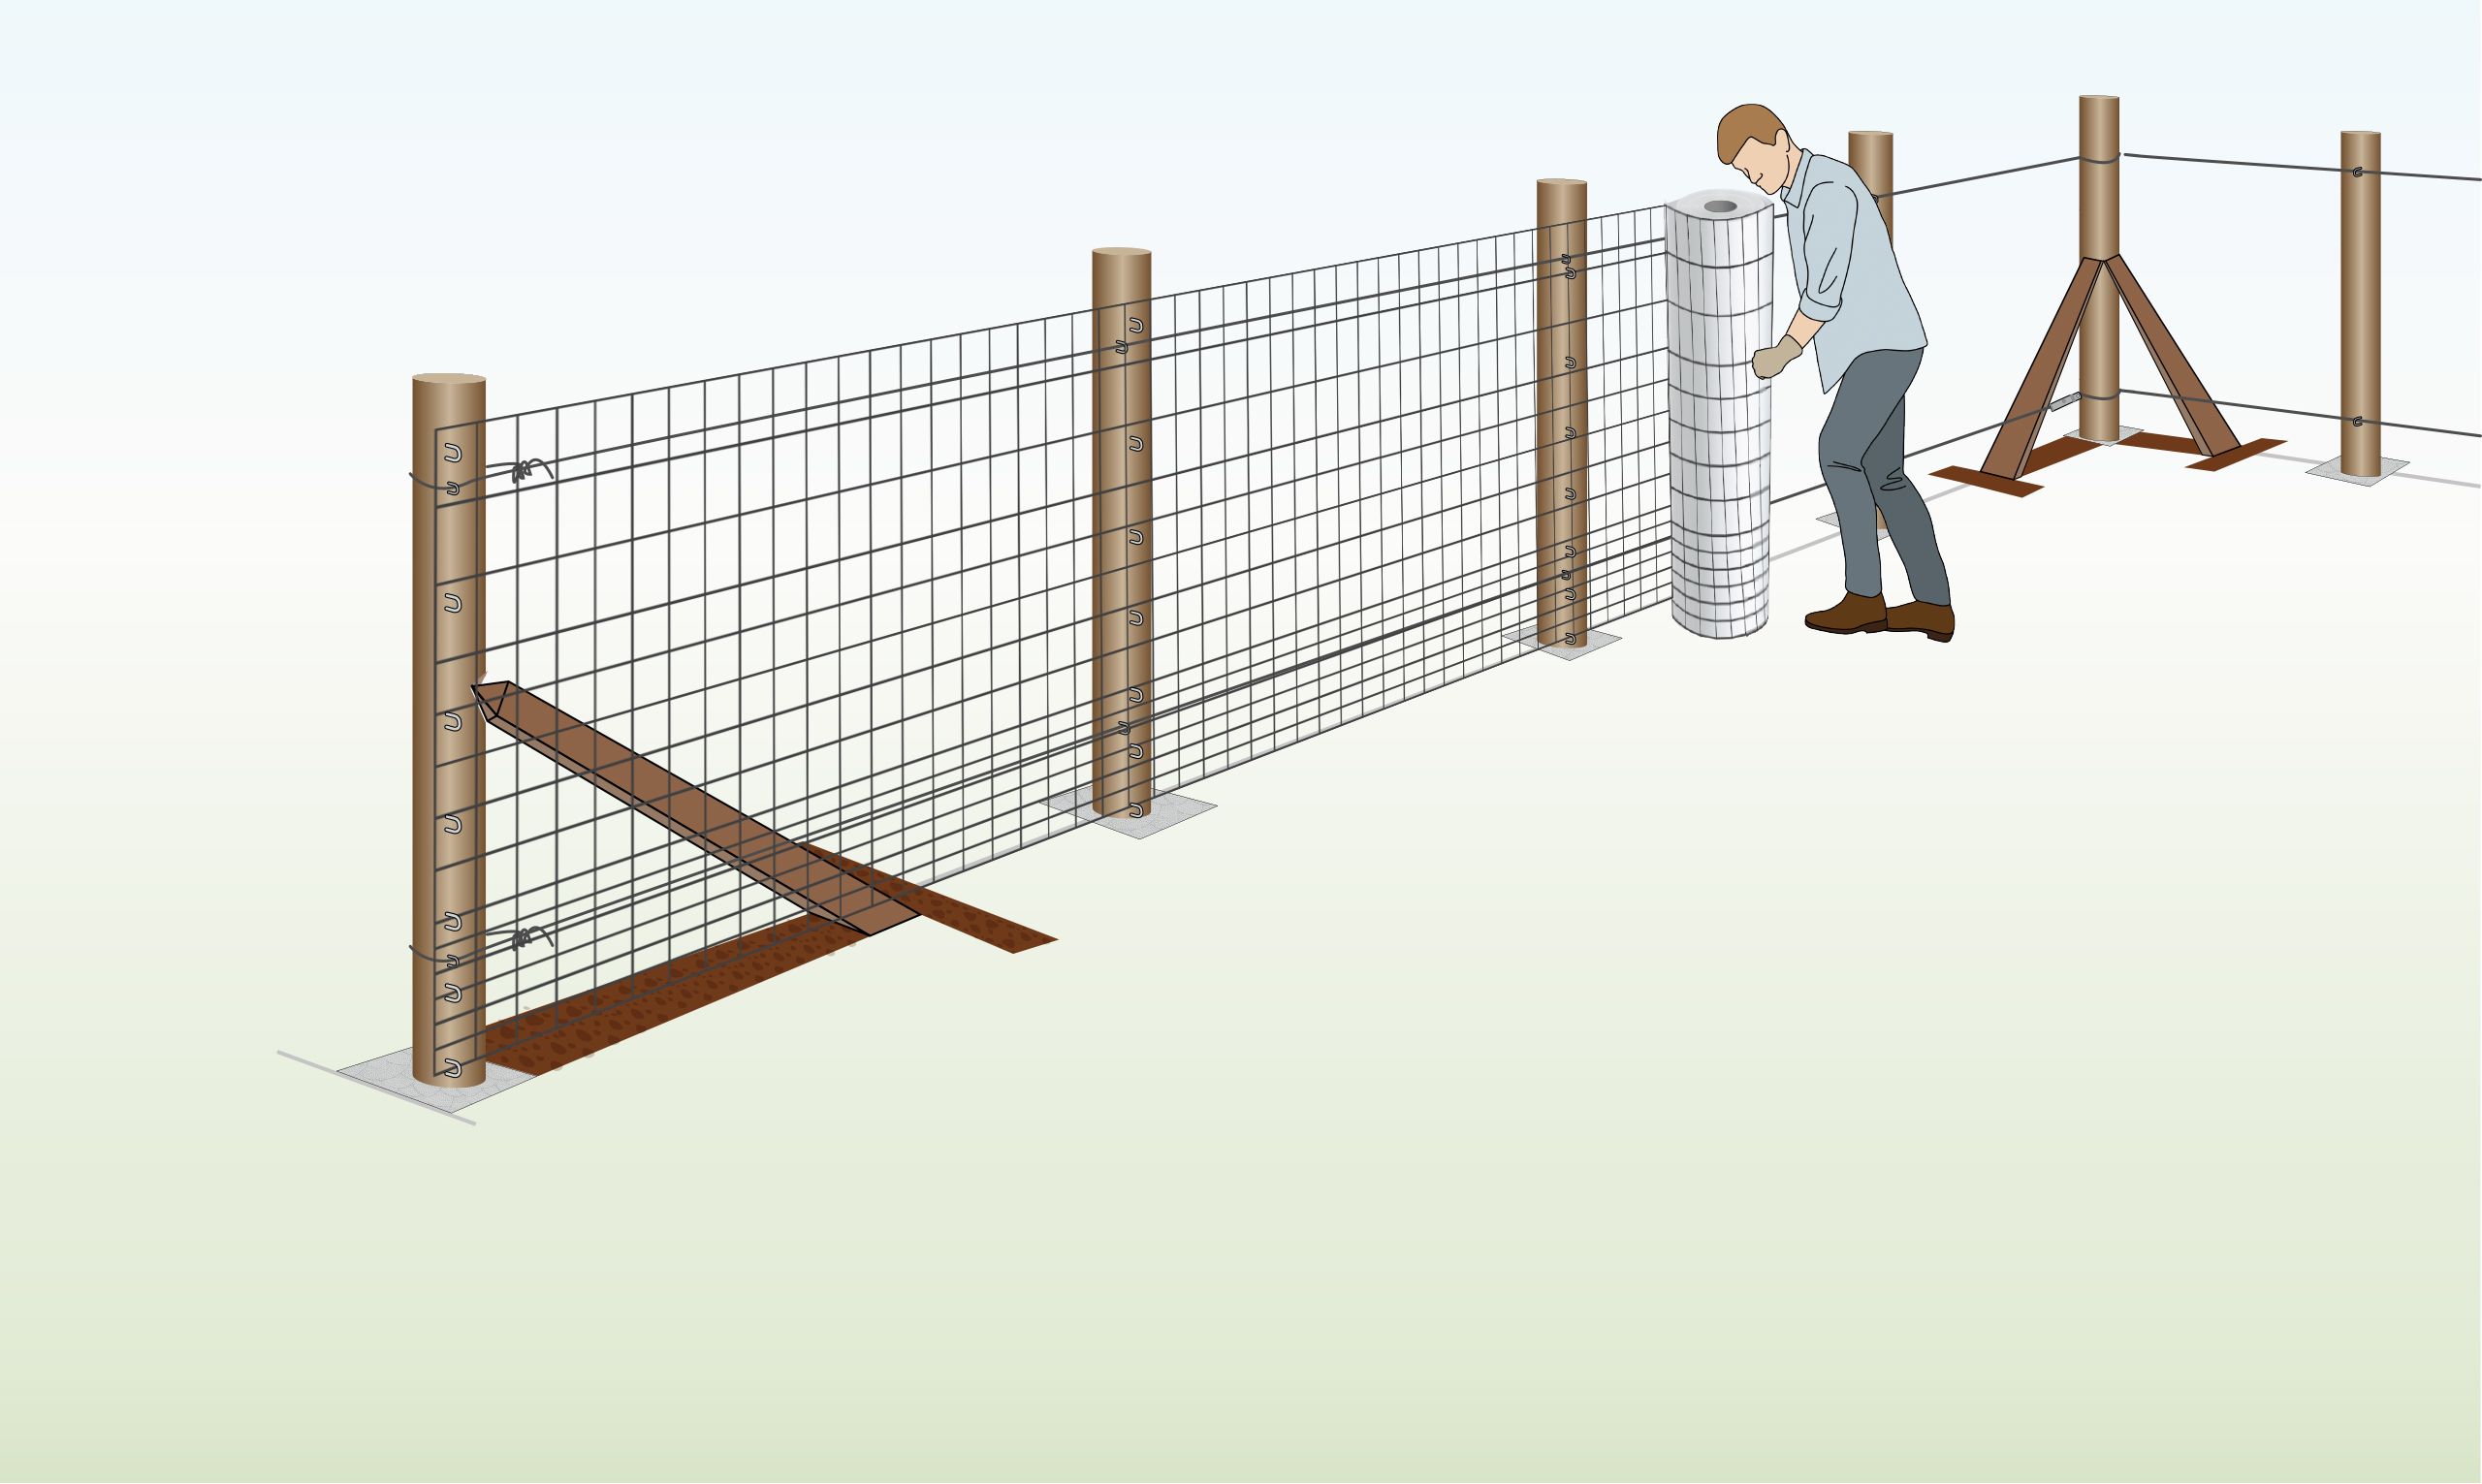
Step 17 – Attach Mesh to End Post
|
Take sufficient mesh to cover the distance between the initial two posts.
Secure the mesh to the posts using staples at 15cm intervals. |
|
Step 18 – Attach Mesh to Posts
|
Proceed with securing the remaining section of the mesh by following the process described in step 17. |
|
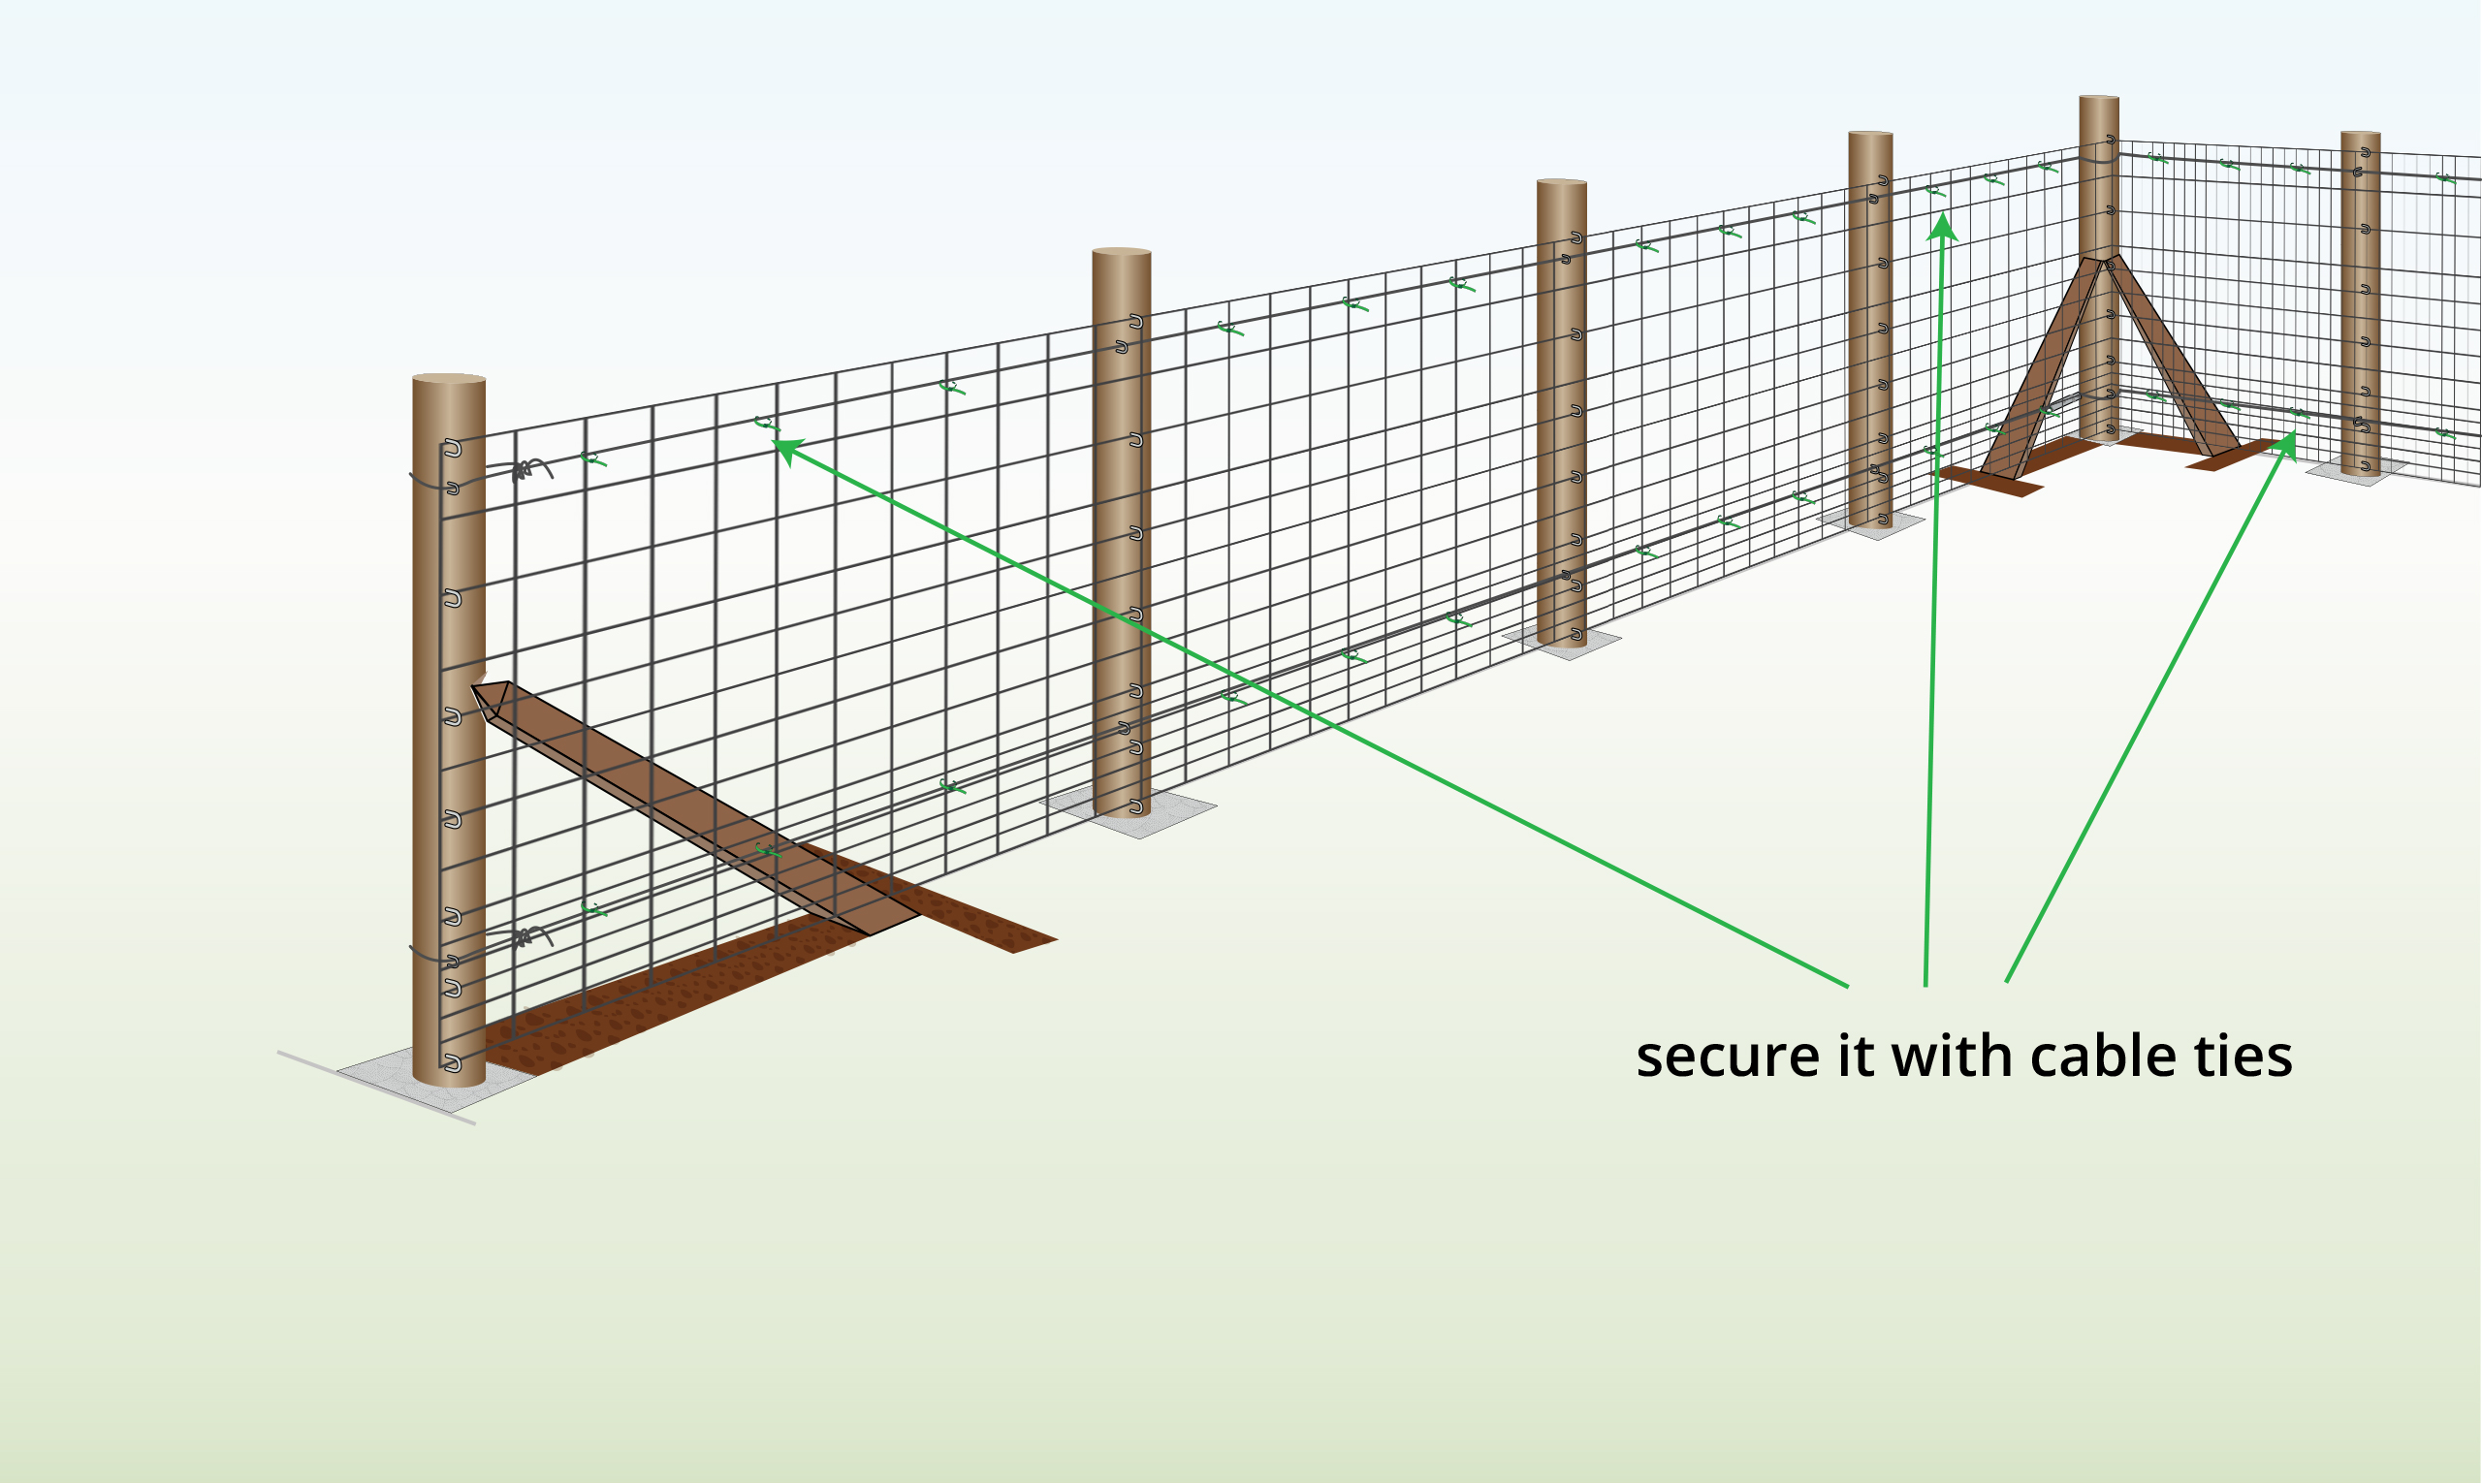
Step 19 – Secure to Tension Wire
|
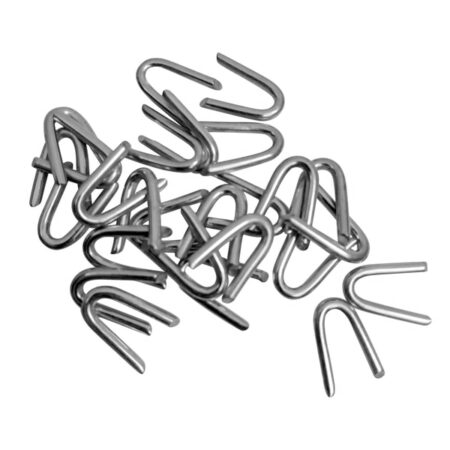
Make sure to secure the tensioning wire to the fence at various points to maintain the tension of the fence. |