Show video
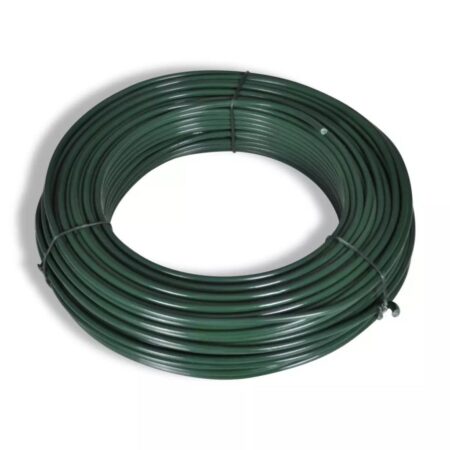
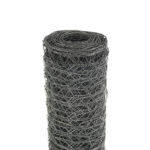
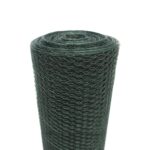
50mm x 50mm
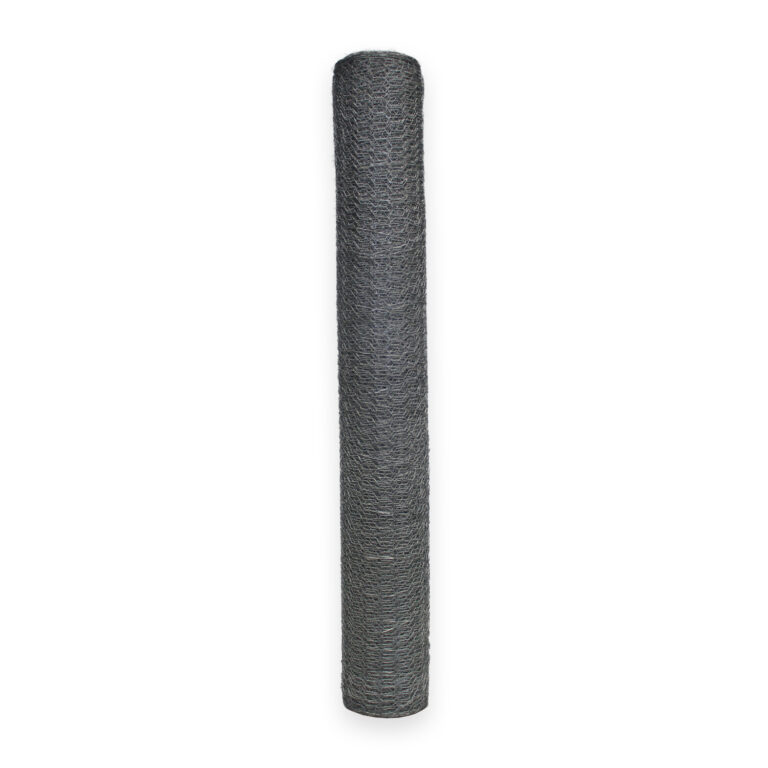
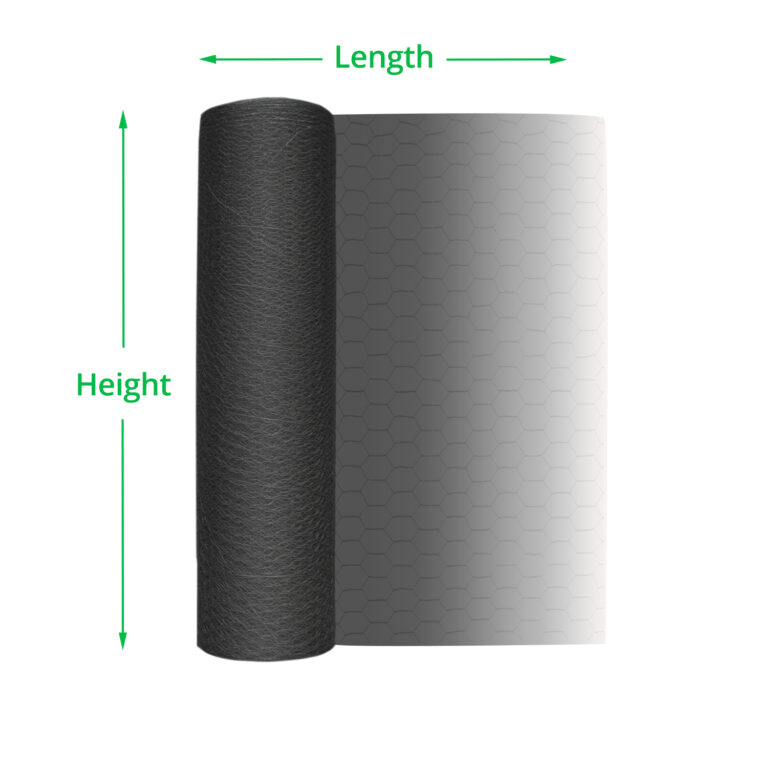
60cm (2ft)
10m (33ft)
1mm (19g)
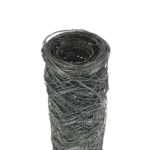
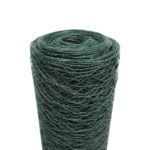
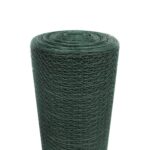
BUDGET
£13.99 inc. VAT
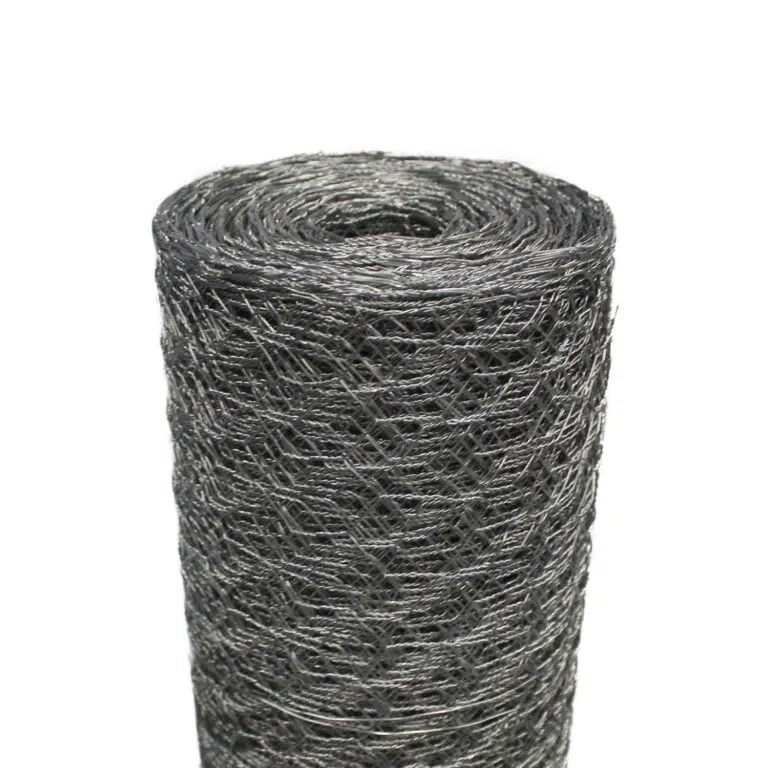

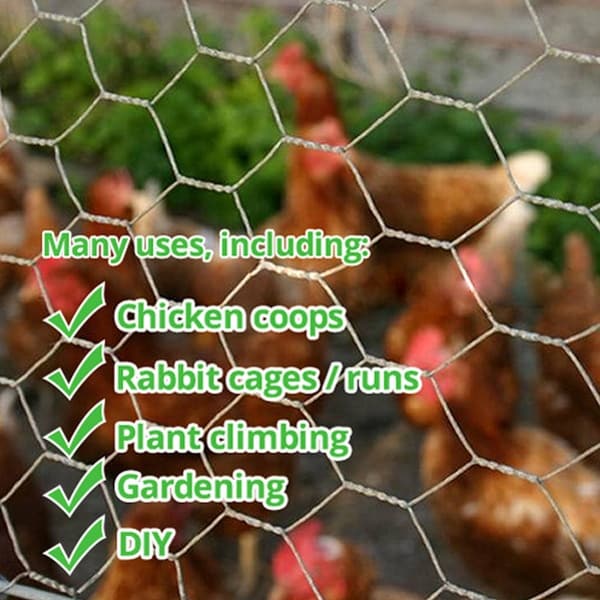
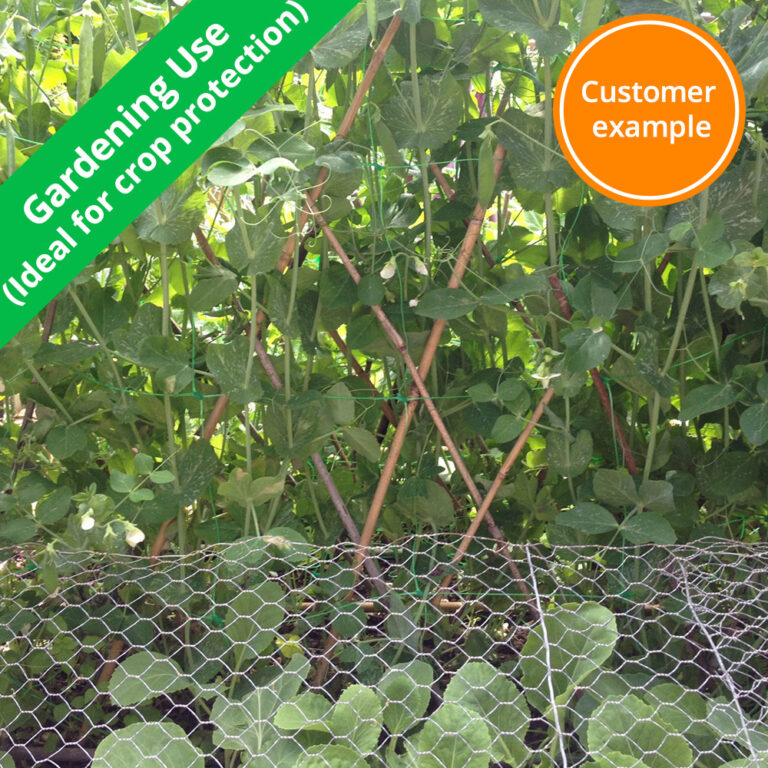
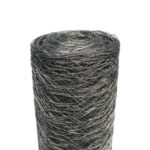
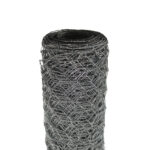
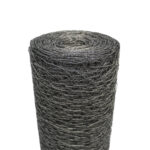
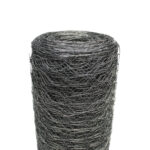
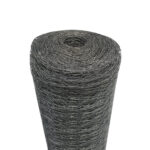
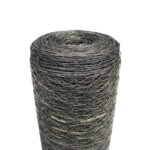
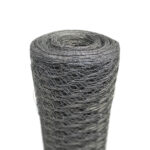
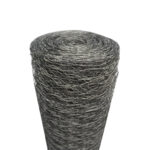
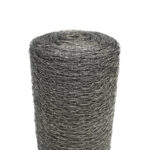
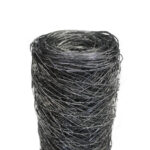
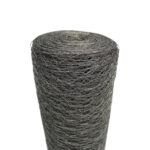
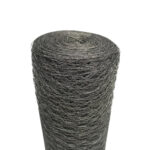
High quality chicken wire mesh. Use for small animal enclosures, chicken coops, fruit cages, general gardening & DIY.


| Type | Galvanisation Method | Properties |
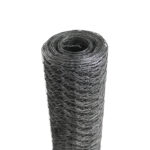
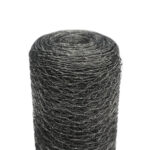
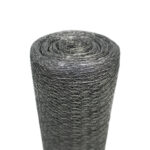
| BUDGET | Steel wires are pre-galvanised before being woven together to create the netting. | Thinner coating. Lower abrasion & corrosion resistance. |
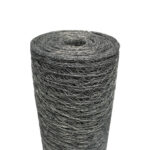
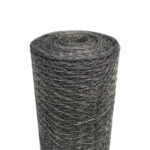
| STANDARD | Mesh is manufactured, then hot dip galvanised in a protective zinc layer. | Thicker, continual coating in all areas, higher strength, higher abrasion & corrosion resistance. |
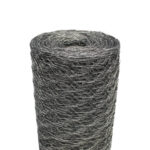
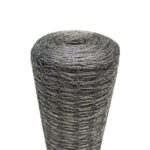
| PREMIUM | Mesh is manufactured, then hot dip galvanised in a thicker protective zinc layer. | Best quality for professional use. Increased abrasion & corrosion resistance to withstand harsh conditions, incl. beneath the soil. Long lifespan. |
|
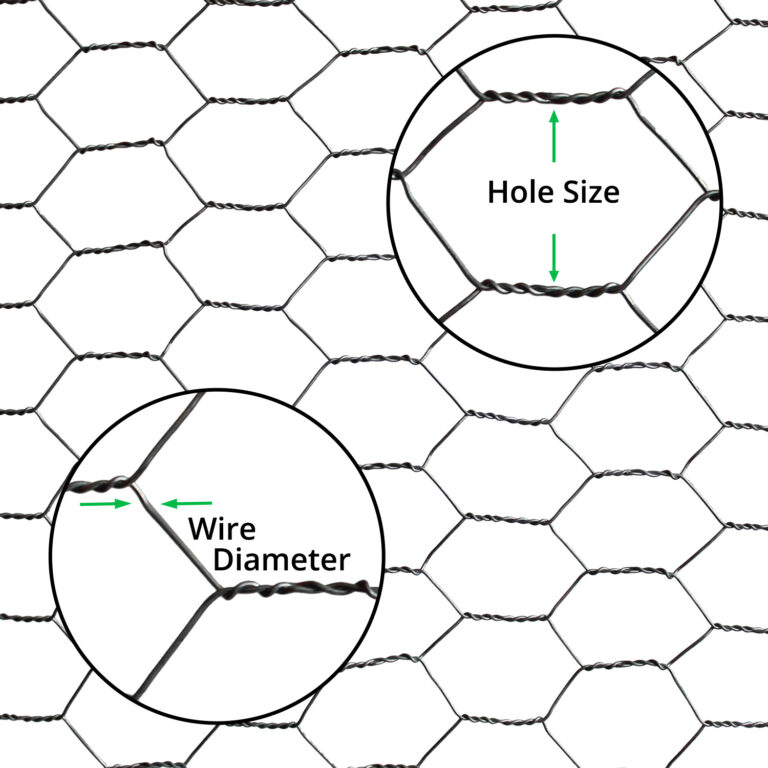
Hole Size Required |
Diameter Required |
Coating Required |
|
| Animal Applications | |||
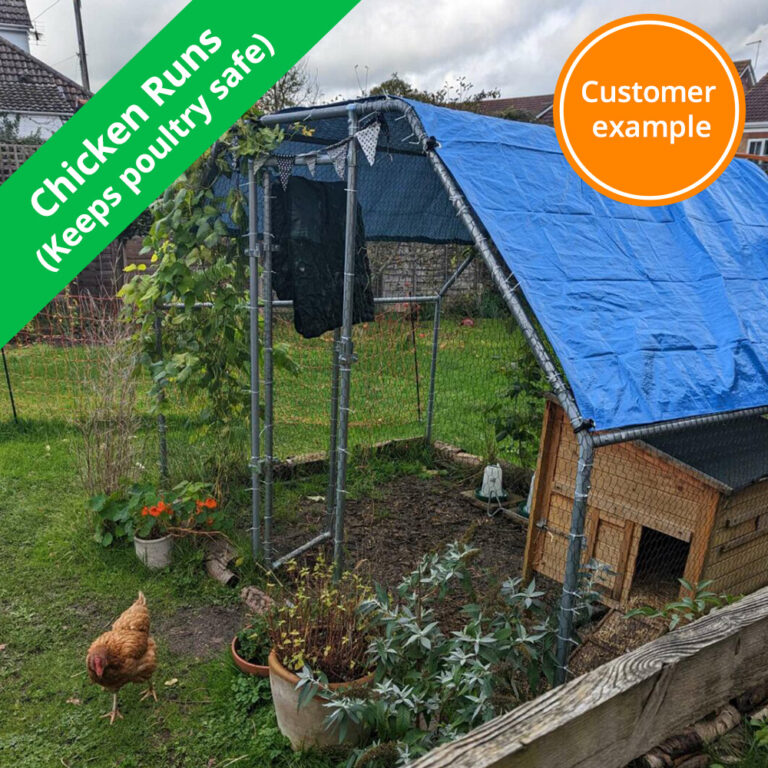
| Chicken enclosures | 50mm x 50mm | 1mm (19g) | Any |
| Dog fence | 25mm x 25mm+ | Any | PVC |
| Rabbit proofing | 31mm x 31mm | 1mm+ (19g) | Any |
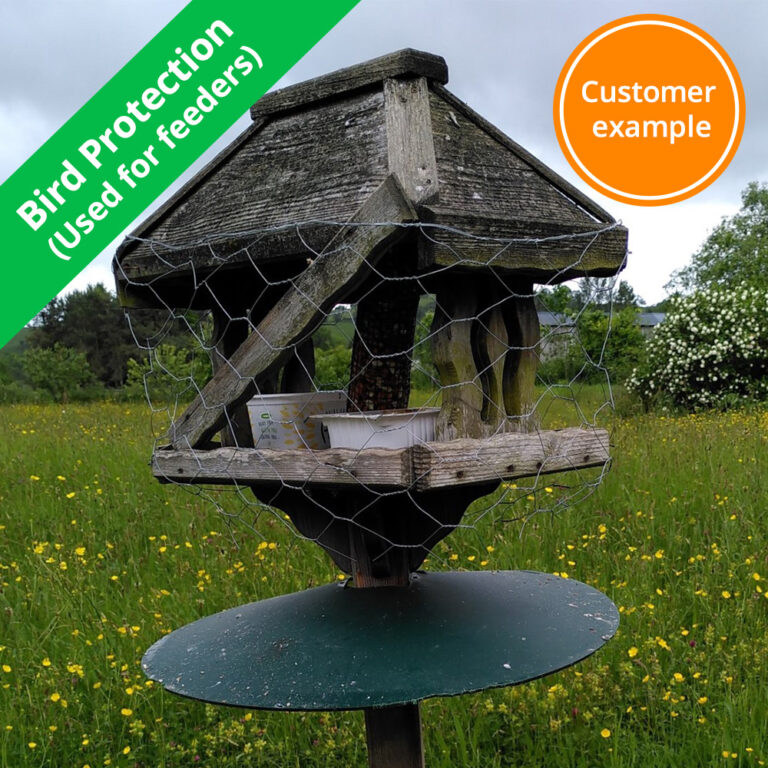
| Bird proofing | 13mm x 13mm+ | 1mm (19g)+ | Galvanised |
| Deer proofing |
Any |
Any |
Any |
| Fox proof | A stronger option is required. See Fox proof fence | ||
| Mouse & Rat proof | 6mm x 6mm holes required. See Rodent Mesh | ||
| See all animal fencing options | |||
| Fencing Applications | |||
| Multi-purpose fencing |
Any |
Any |
Any |
| Garden border fence |
– |
– |
– |
| Garden Applications | |||
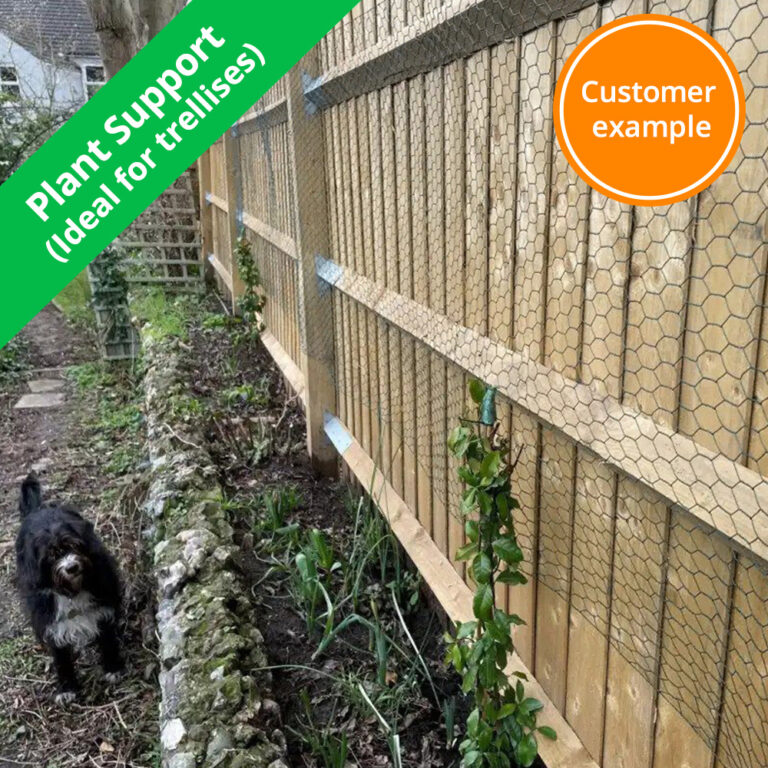
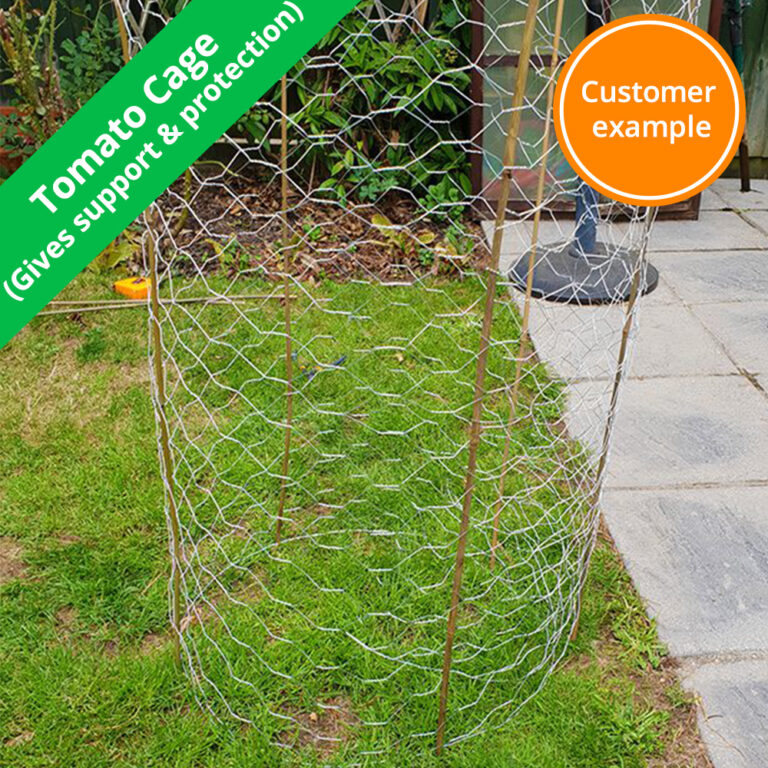
| Plant support |
50mm x 50mm+ |
0.7mm+ |
Any |
| Trellis |
50mm x 50mm |
Any |
Any |
| Compost bin |
13mm x 13mm |
1mm (19g)+ |
Any |
| Anti slip |
25mm x 25mm+ |
1.6mm (16g) |
Galvanised |
| Fruit cages |
13mm x 13mm |
Any |
Any |
| Arts & Crafts Applications | |||
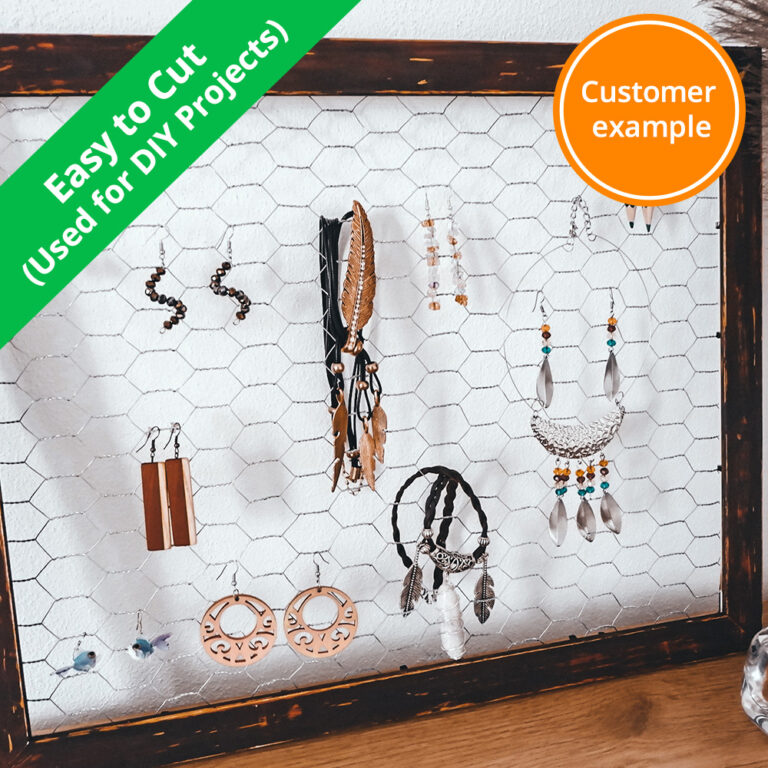
| Sculpture |
13mm x 13mm+ |
1mm (19g) |
Galvanised |
| Paper Mache |
13mm x 13mm+ |
1mm (19g) |
Galvanised |
| Flower arranging |
13mm x 13mm+ |
1mm (19g) |
Galvanised |
| Attach to: | How to: |
|
|
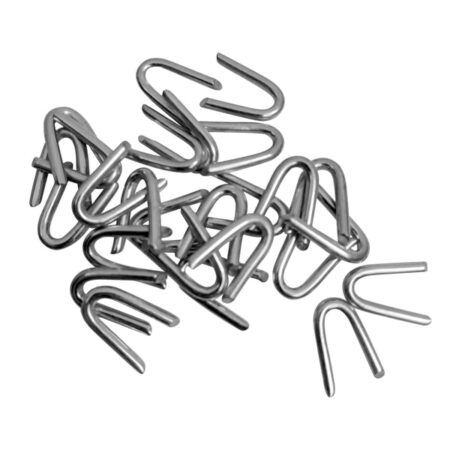
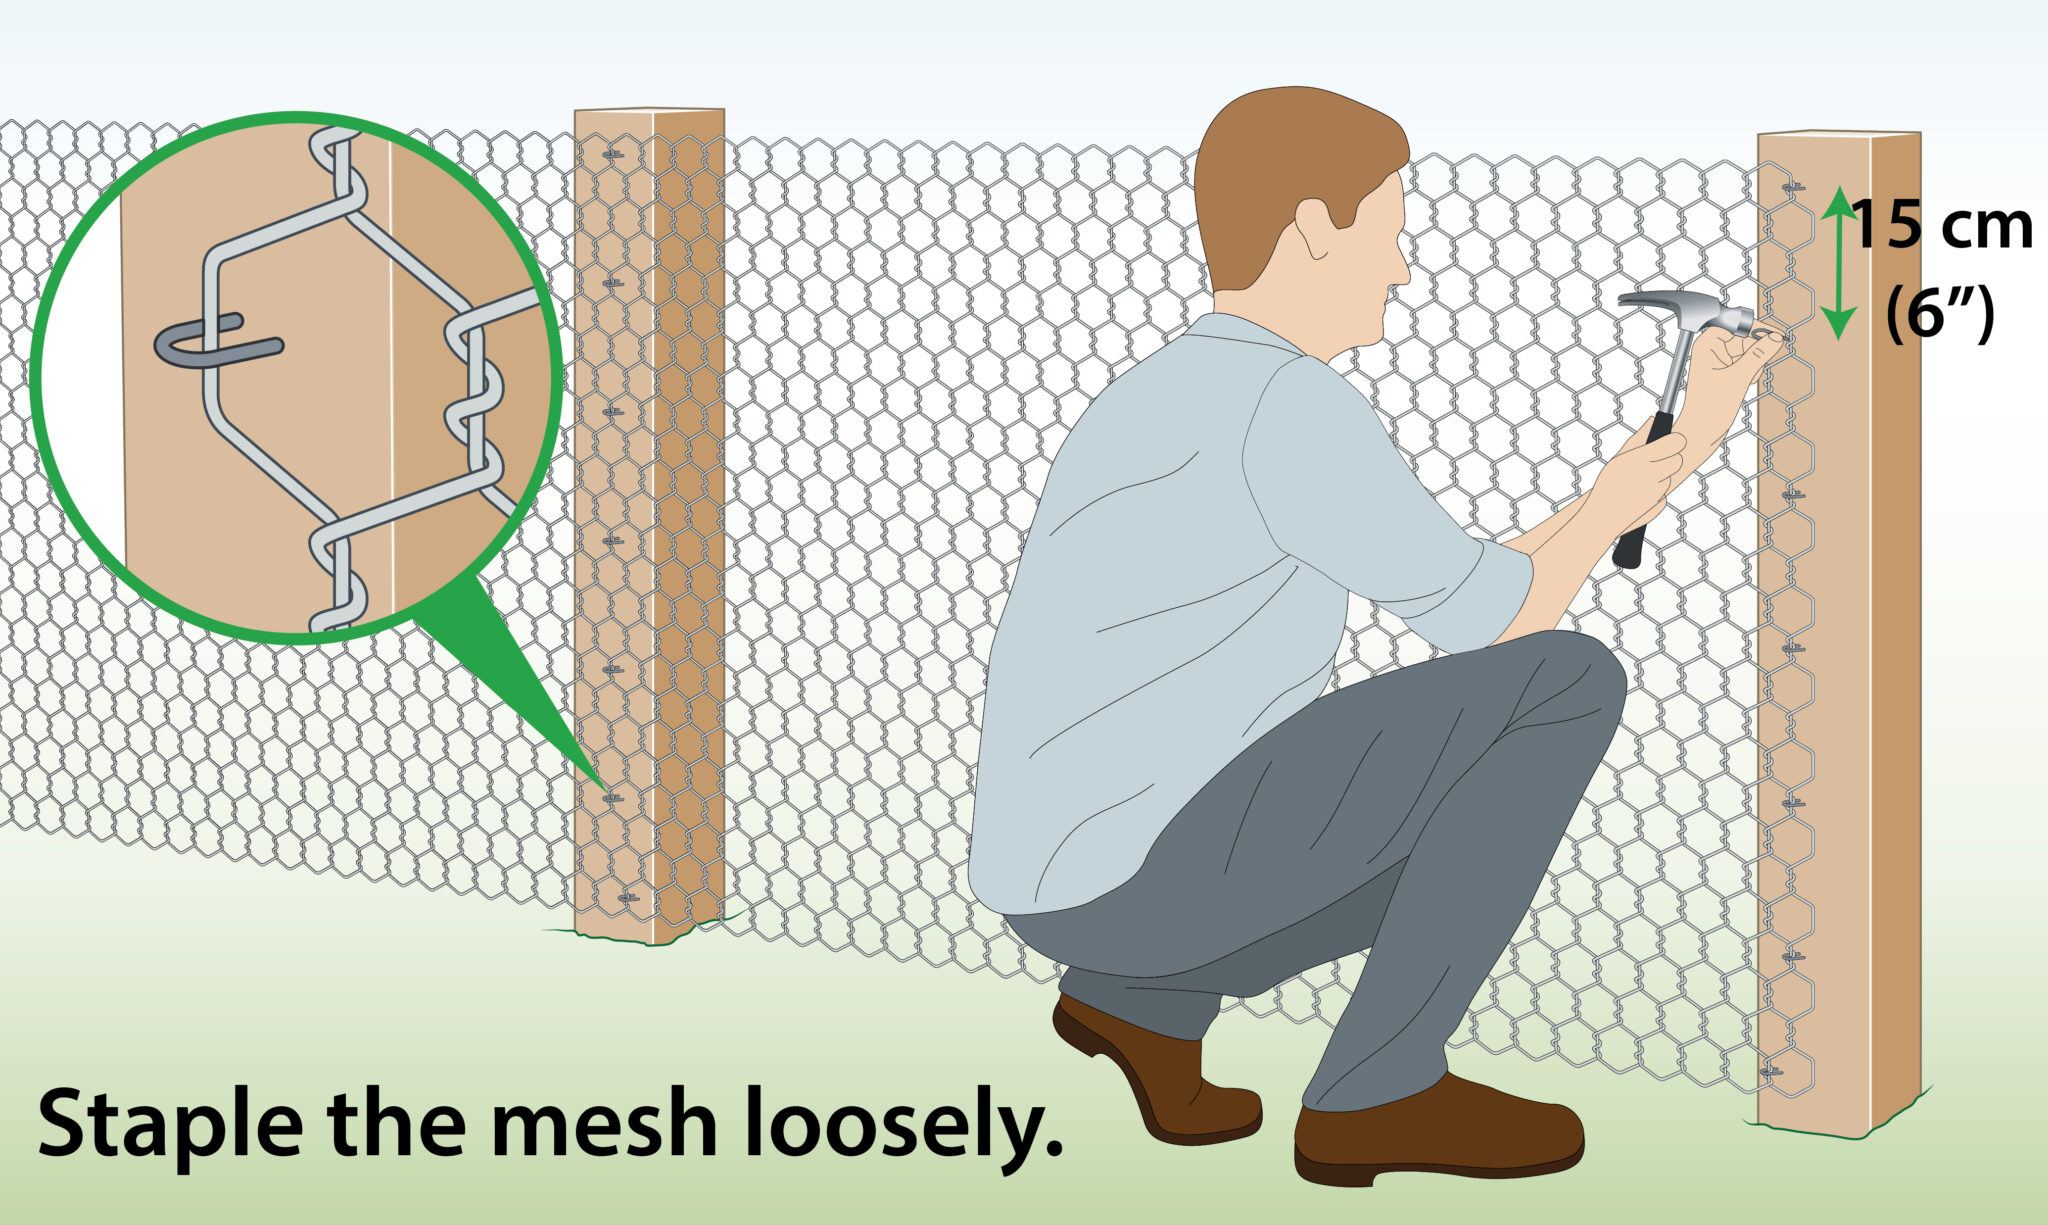
| Wood/ Wooden Posts (Staples) |
|
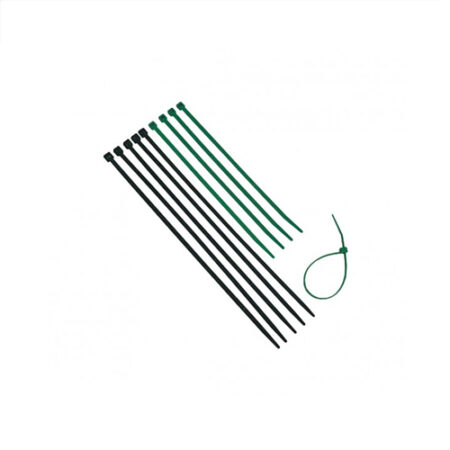
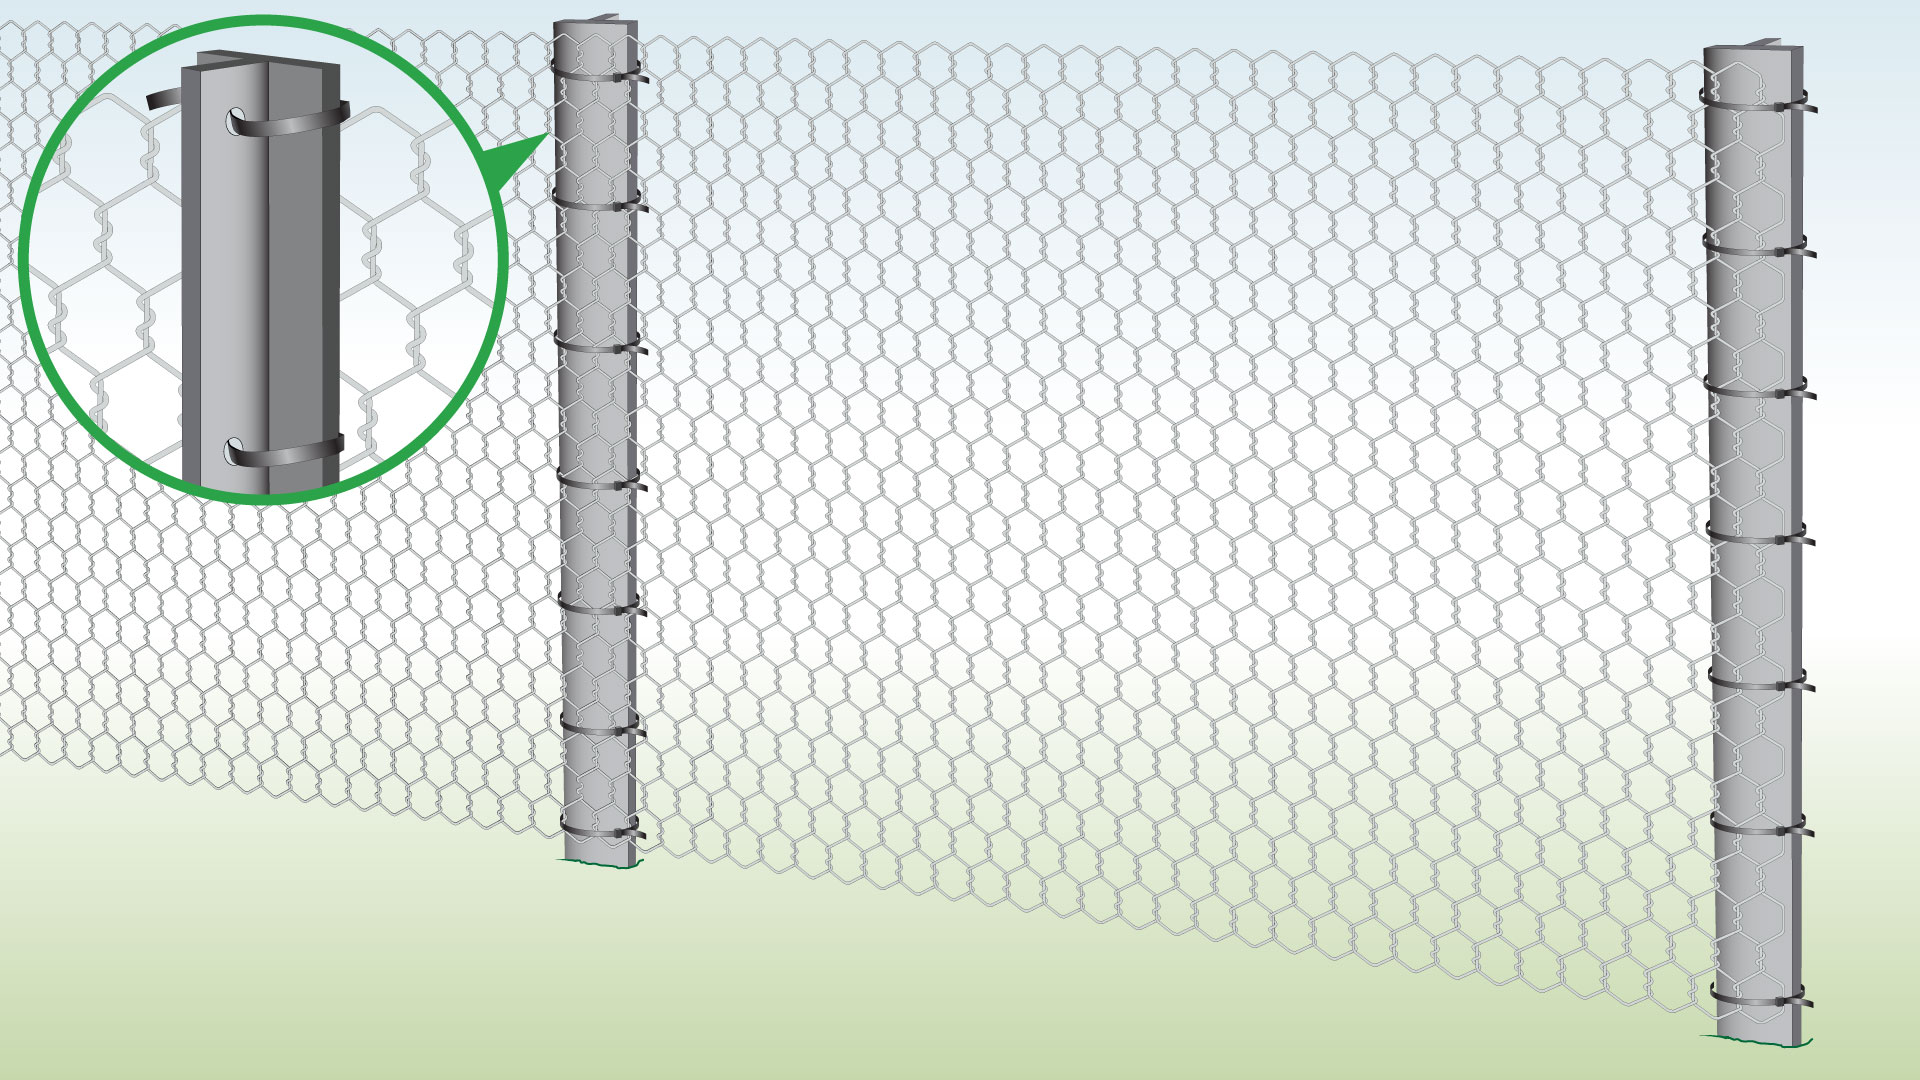
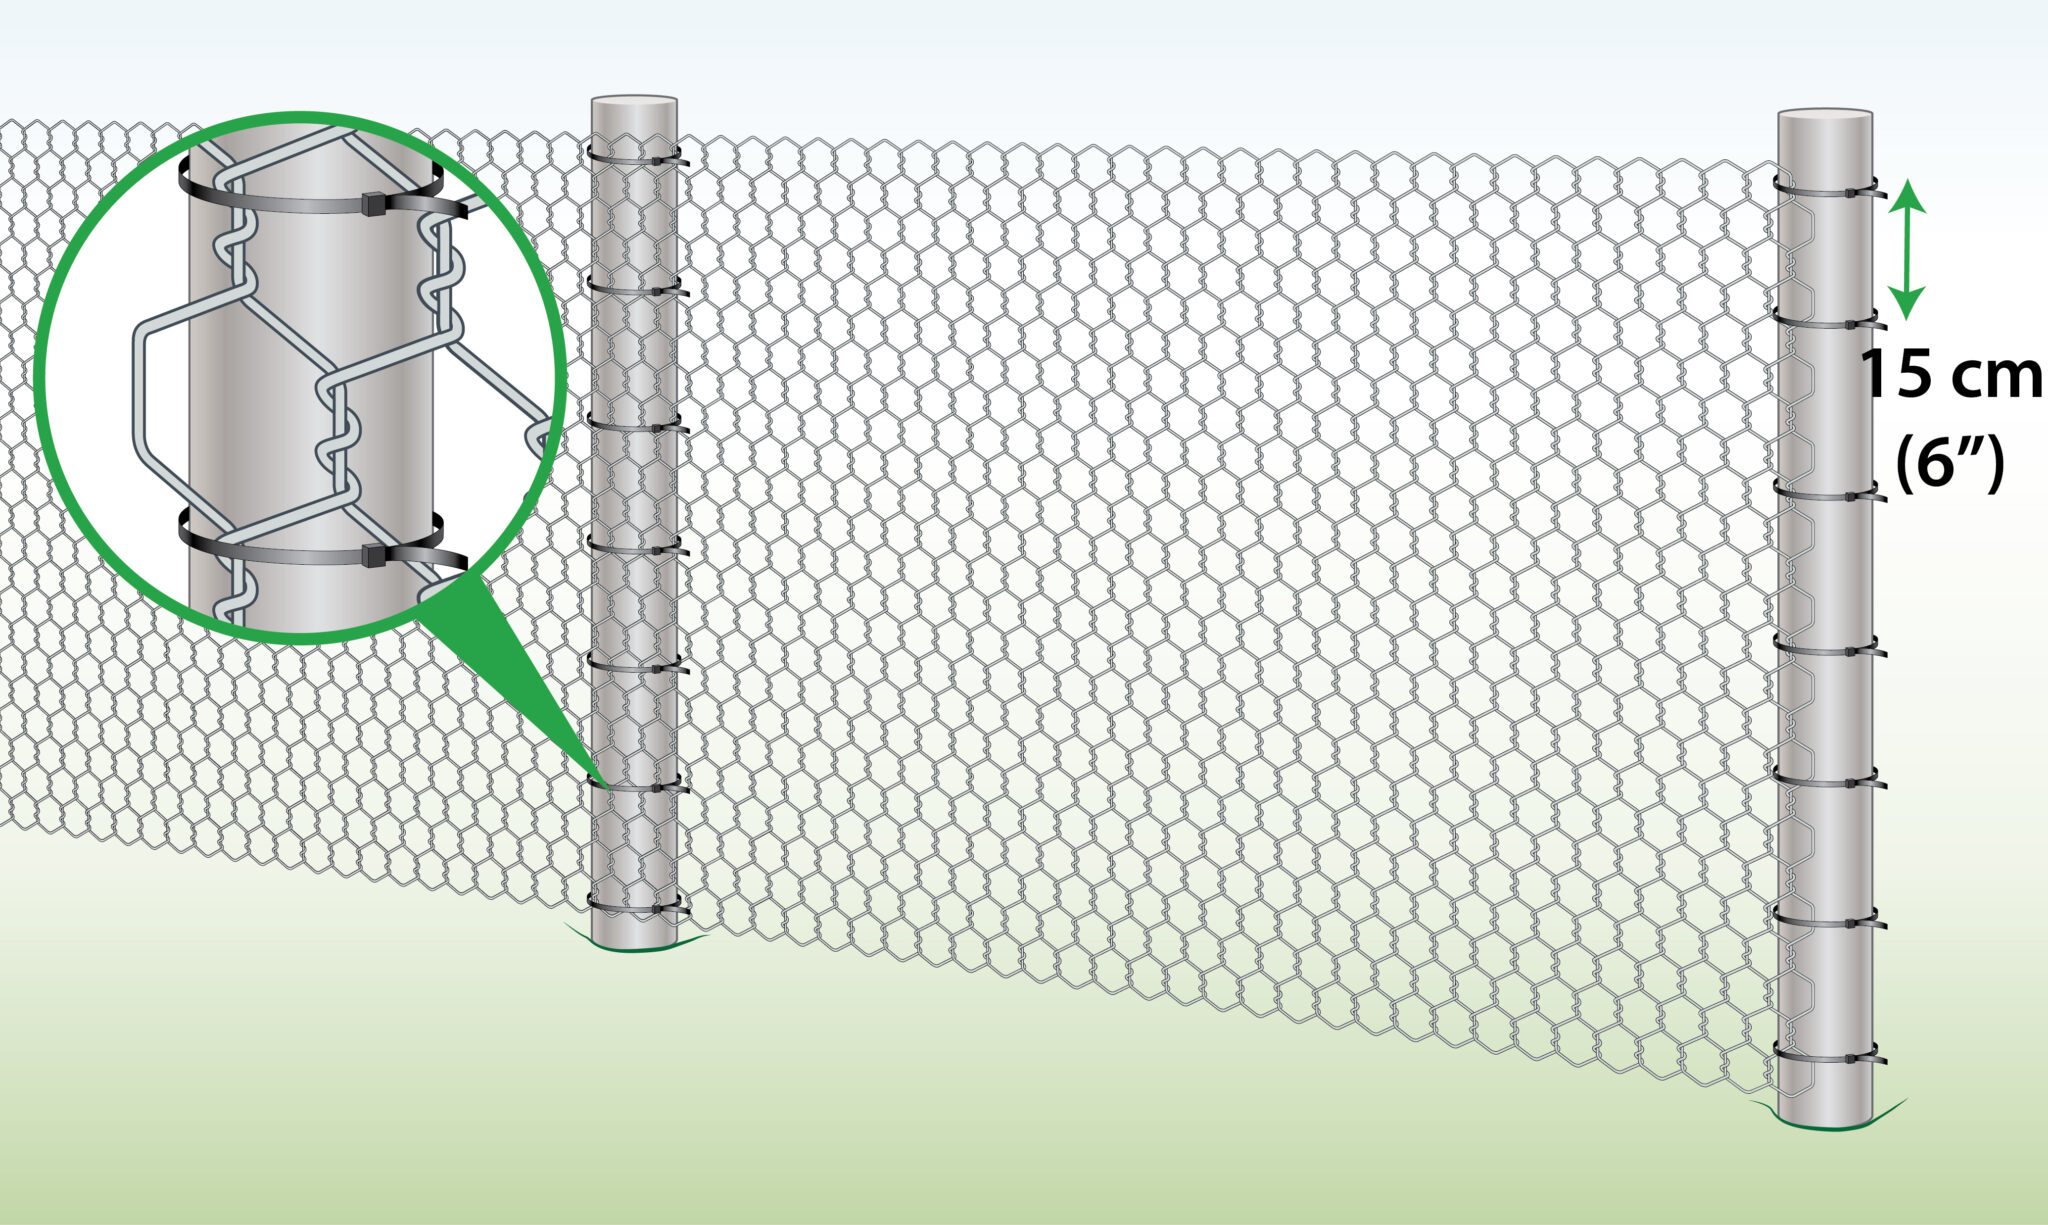
| Metal/ Metal Posts (Cable ties) |
|
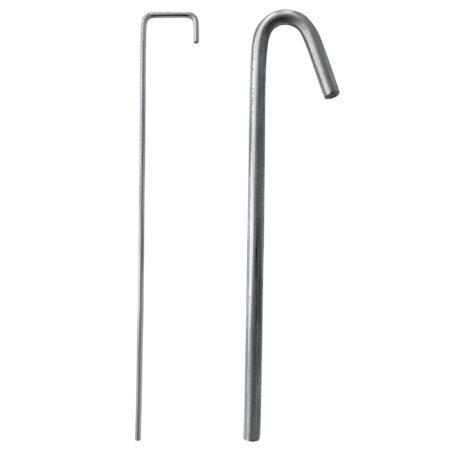
| Soil
(Pegs) |
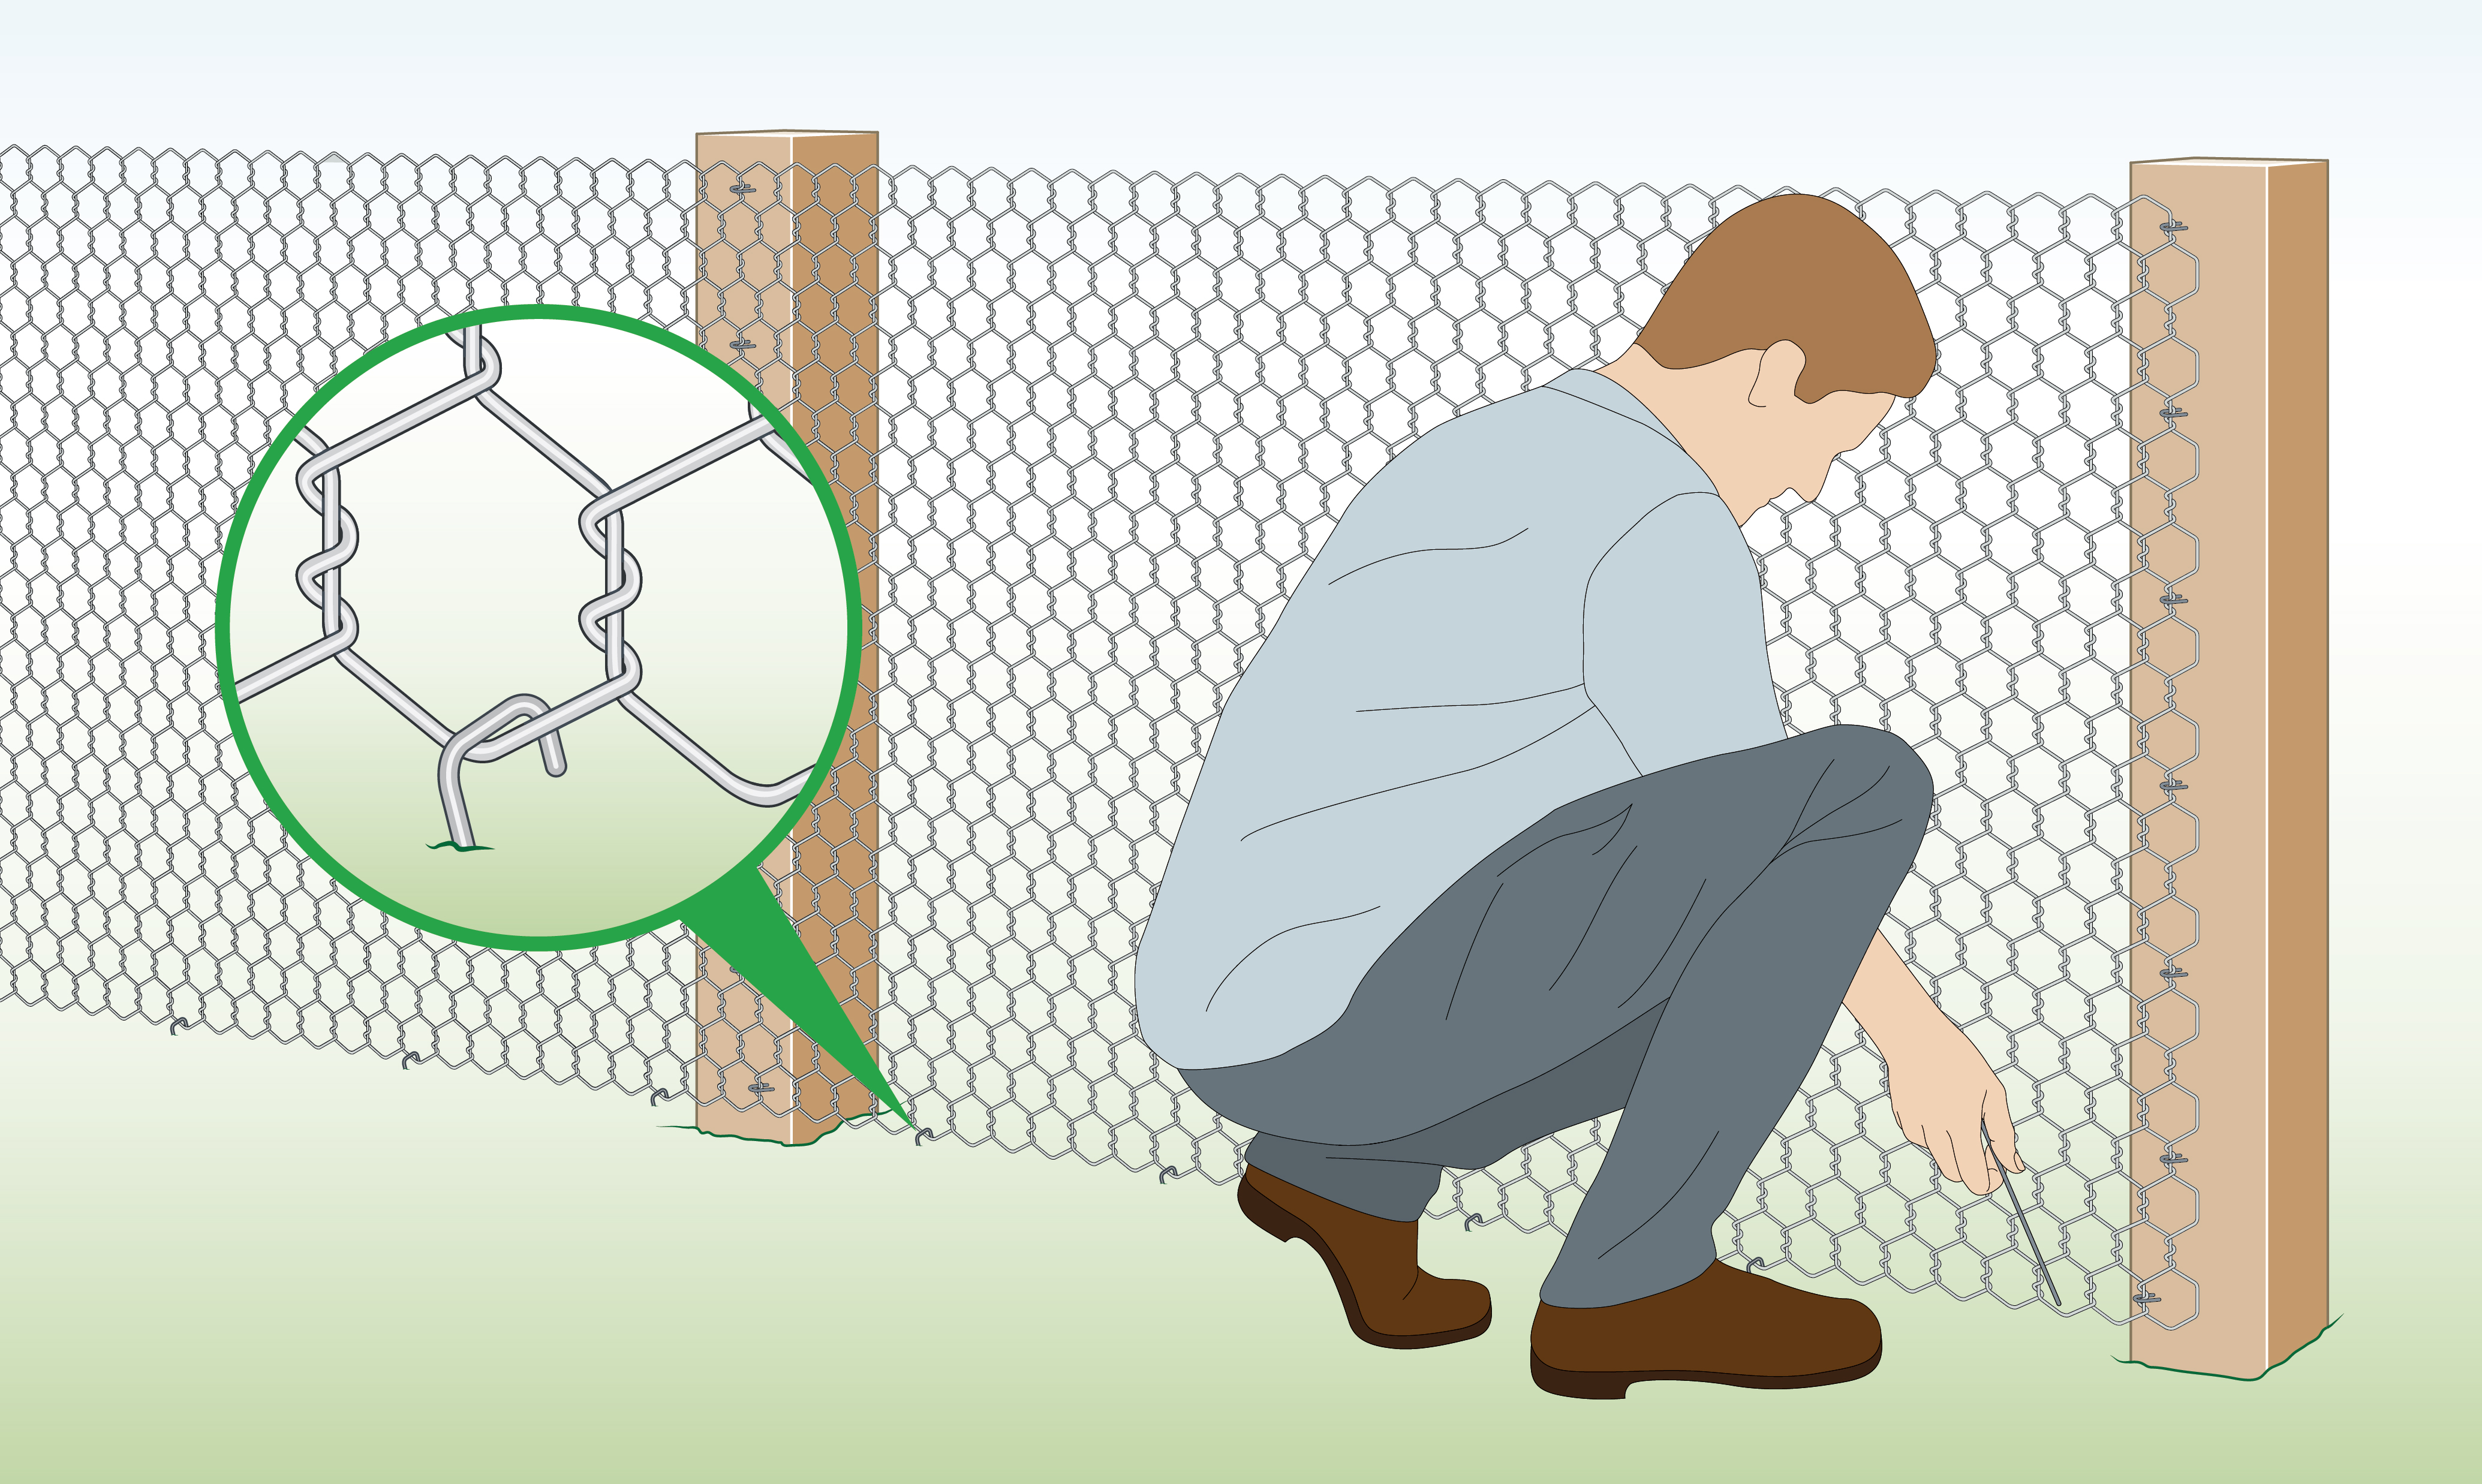 |
| Wire Fence
|
 |
| Explanation | How To |
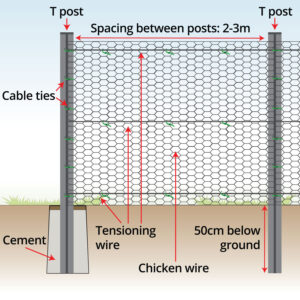
| Overview
|
Space T Posts 2-3 meters apart. Add cement and struts if you would like to increase the strength. Use tension wire to stop sagging over time.
Full instructions below or watch this video
|
| Step 1 – Mark Area
|
Mark a straight line between the two end posts.
|
| Step 2 – Measure Post Distance
|
The posts should be 2-3m apart. The shorter the distance, the more stable the fence will be.
|
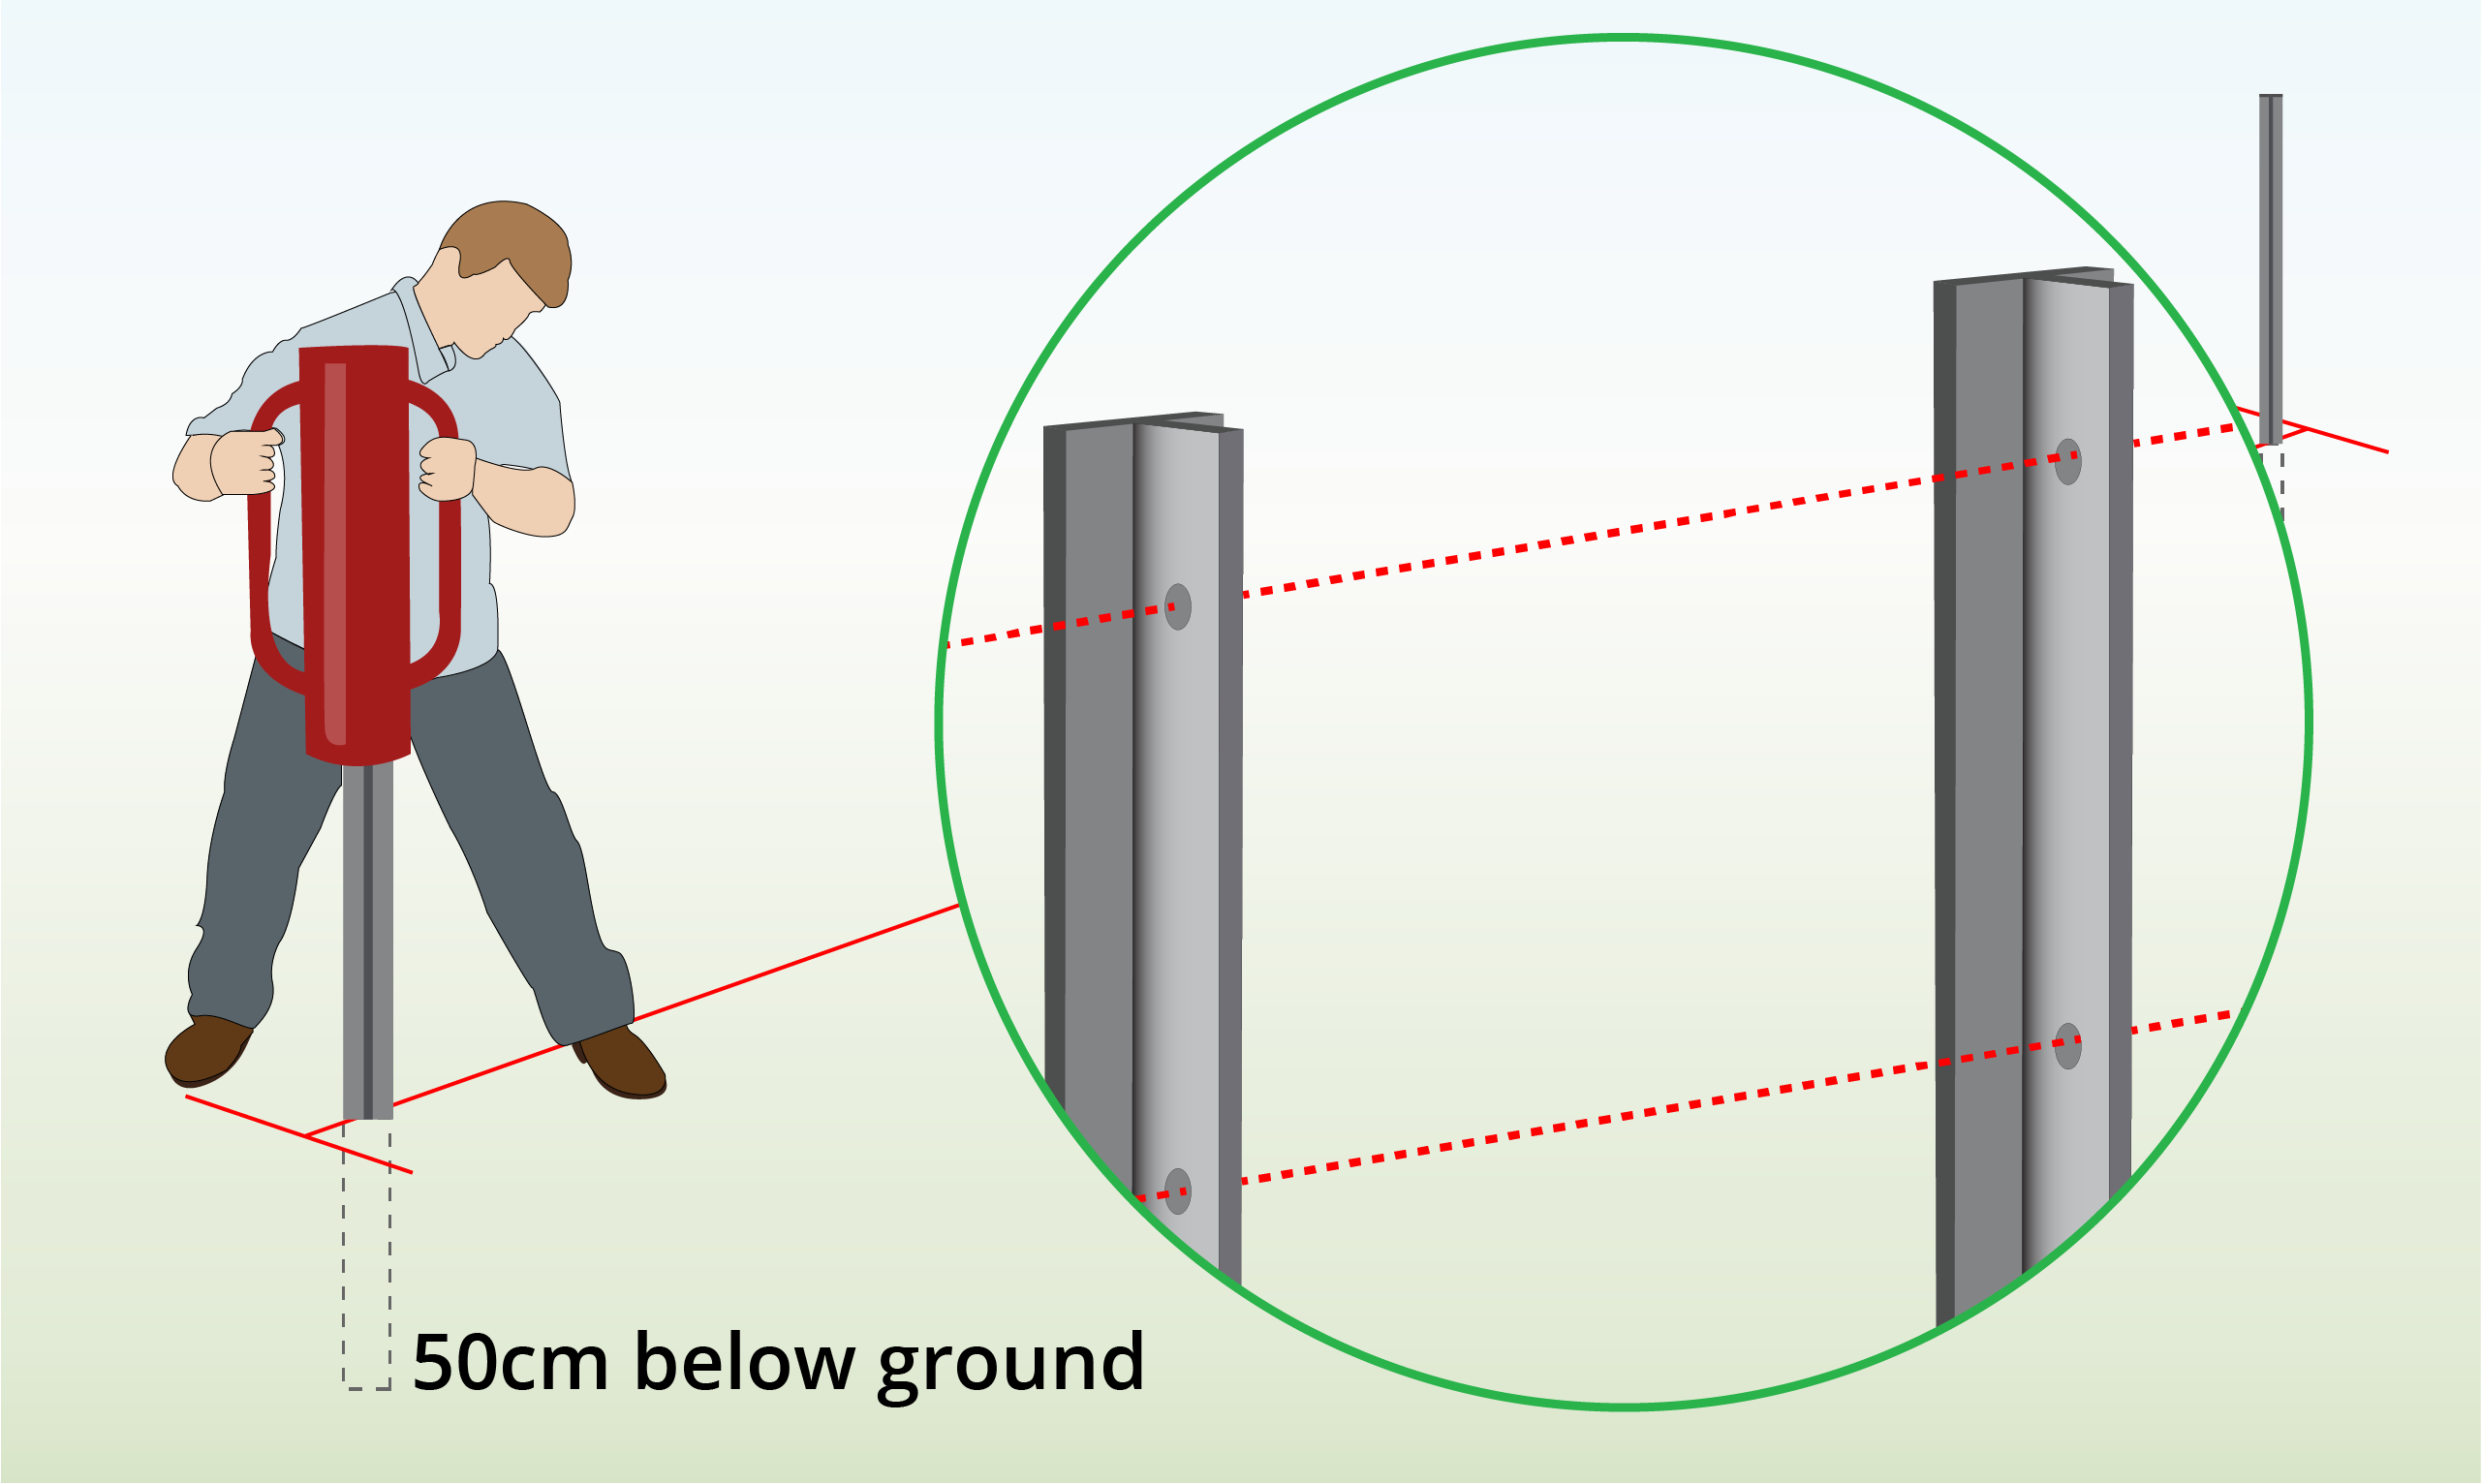
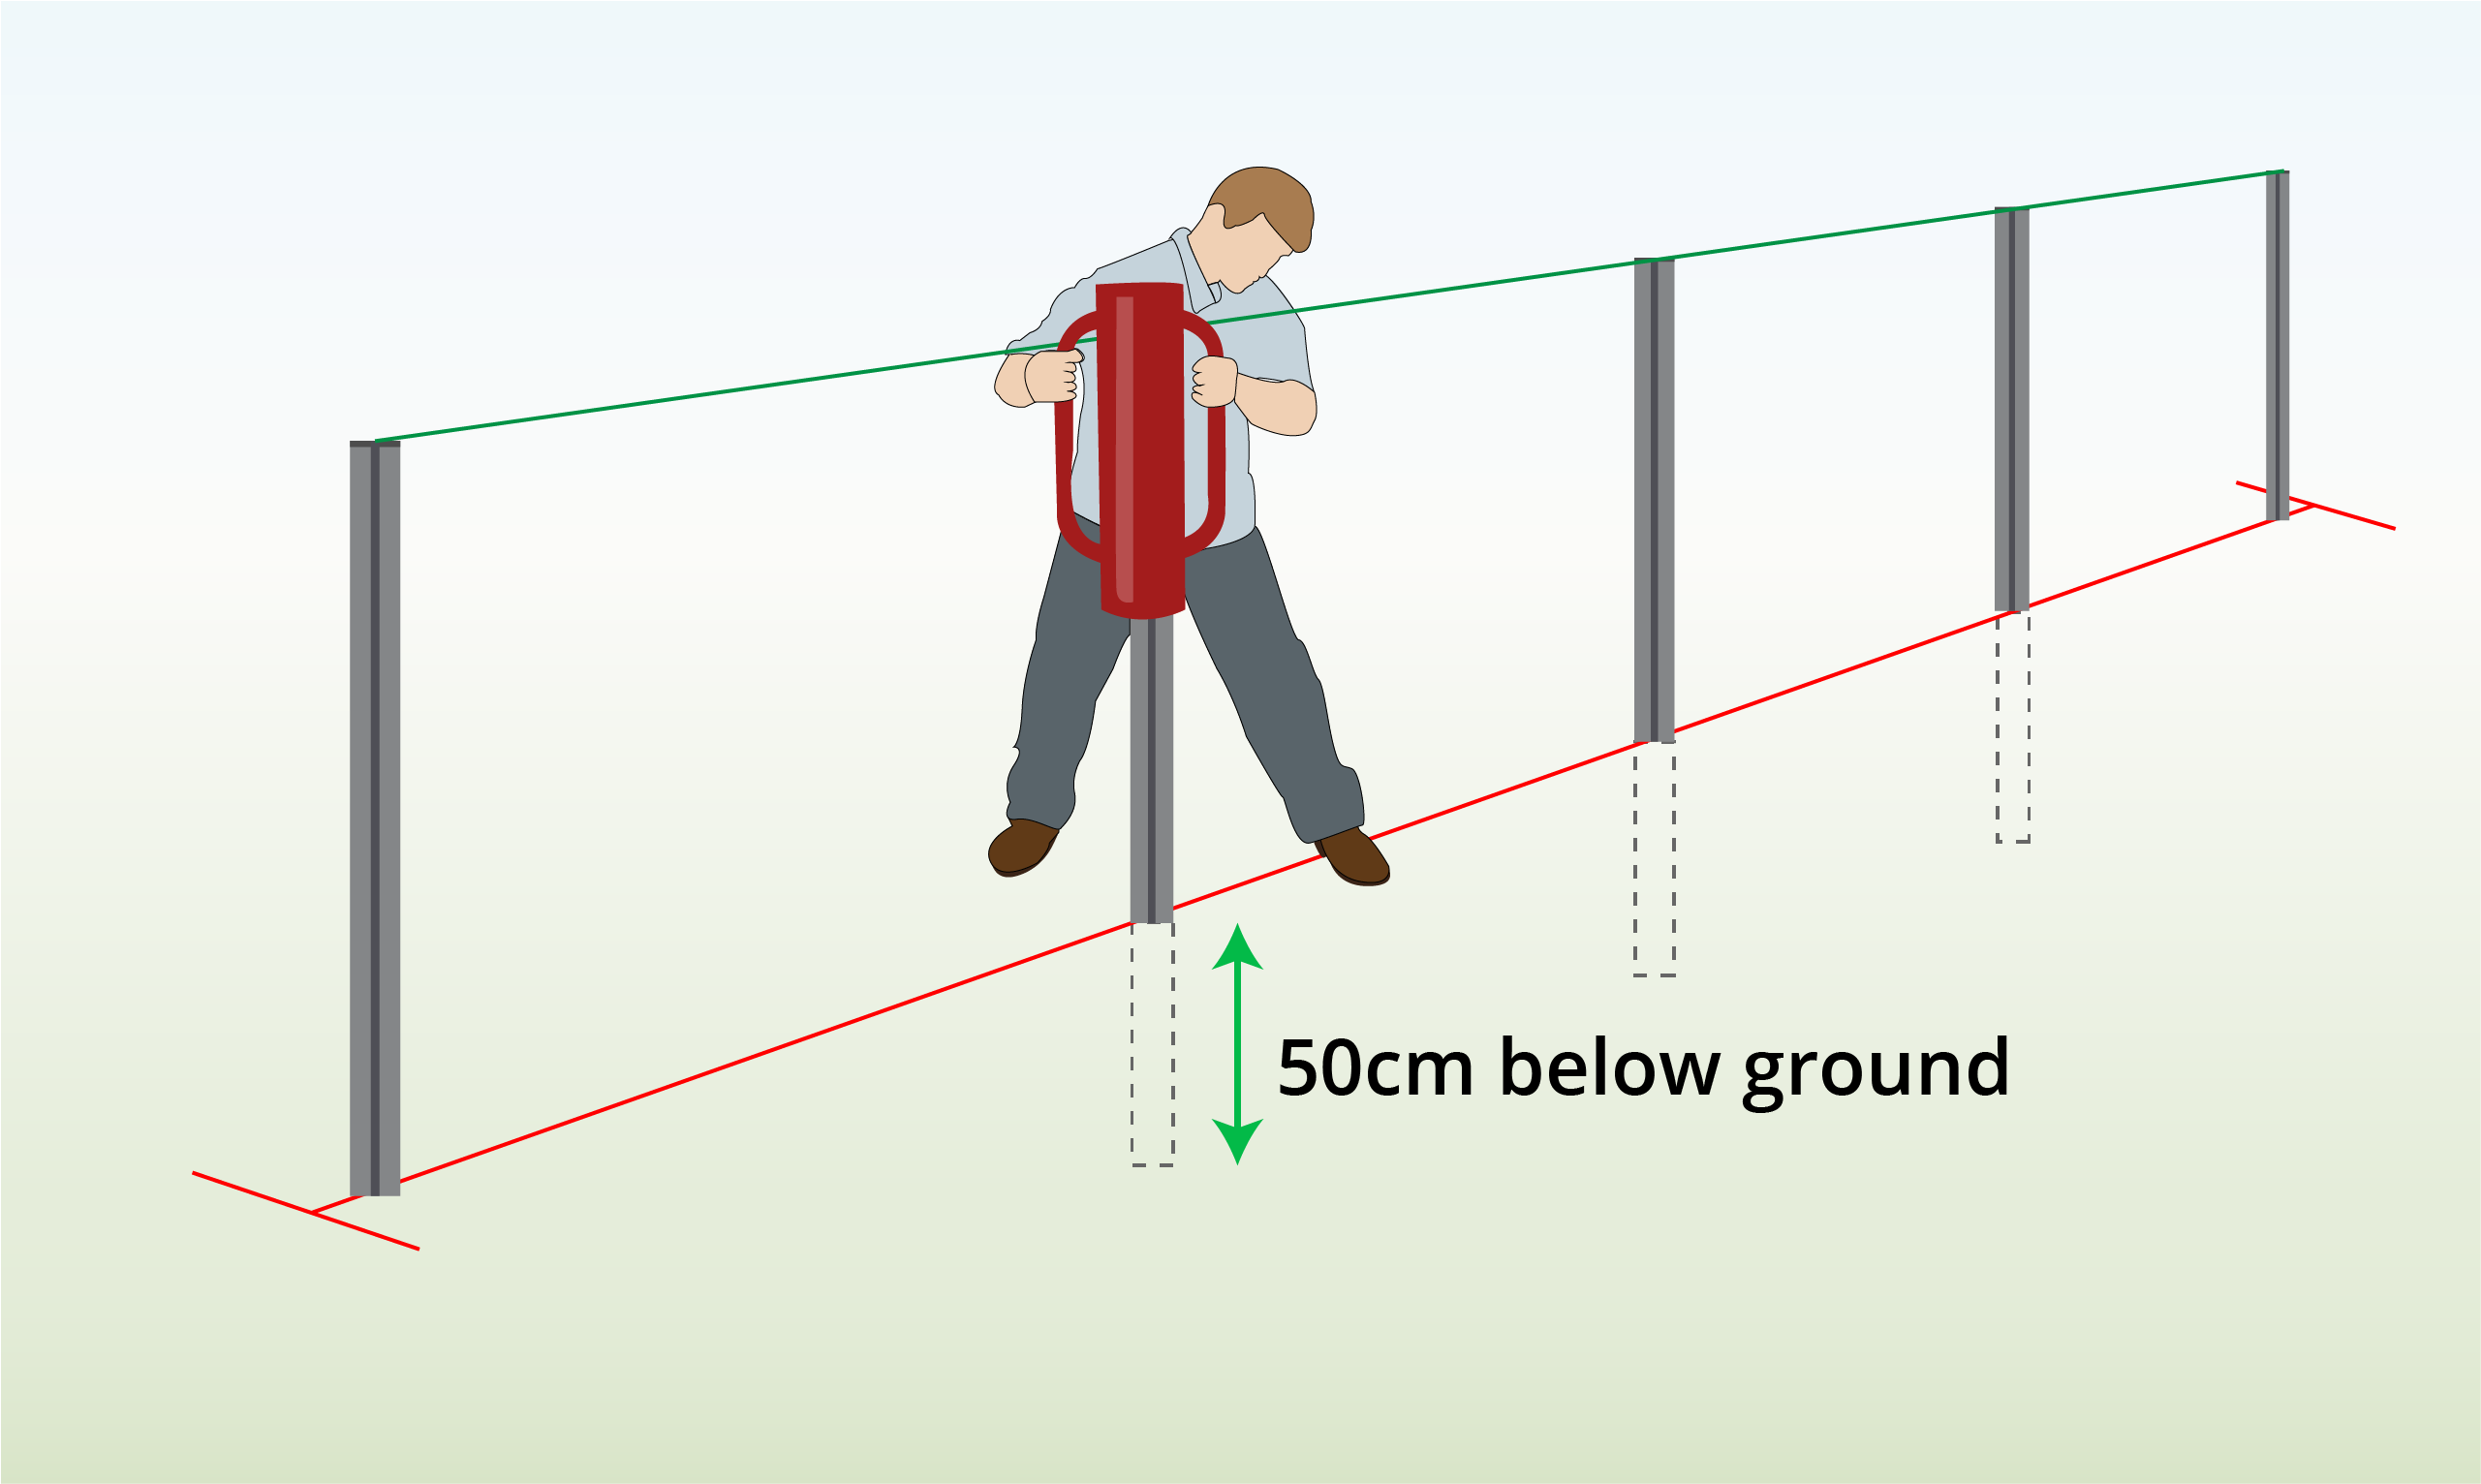
| Step 3 – Install End Posts
|
Use a post driver or mallet to sink the posts 50cm into the ground.
Make sure the holes in the posts are facing each other.
|
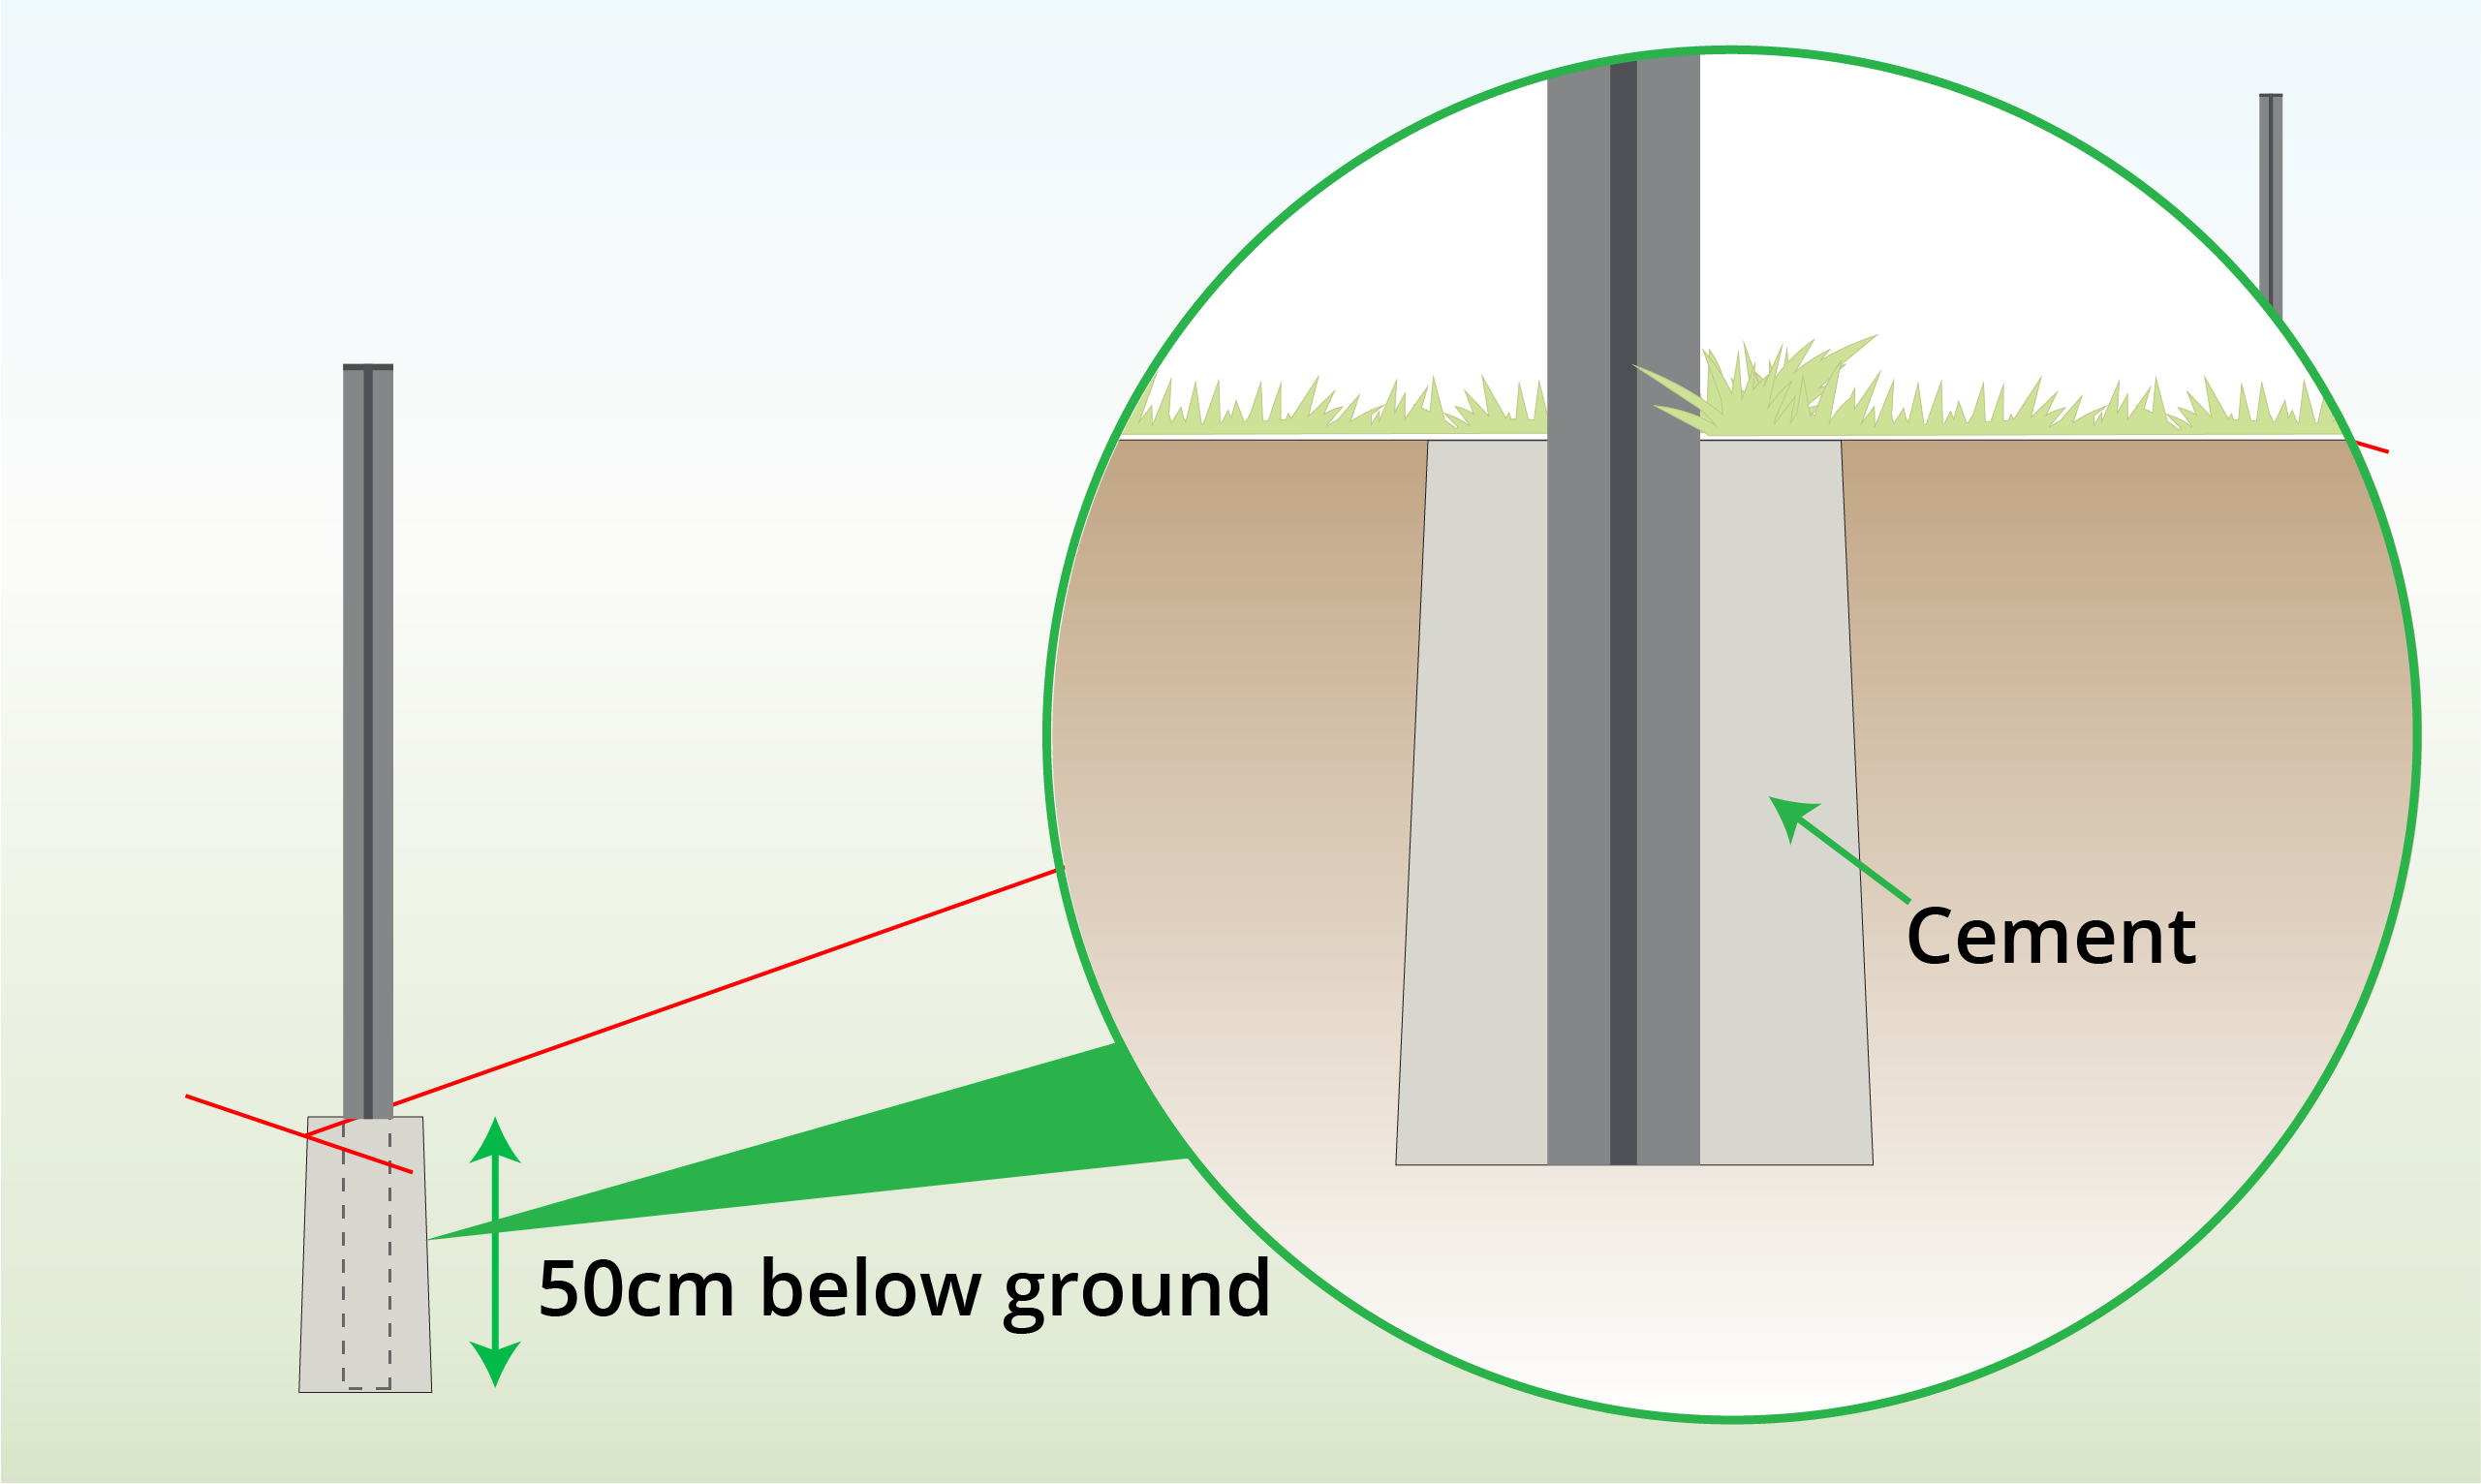
| Step 4 – Set in Concrete (optional)
|
Optional: for a stronger fence, set your posts in cement.
|
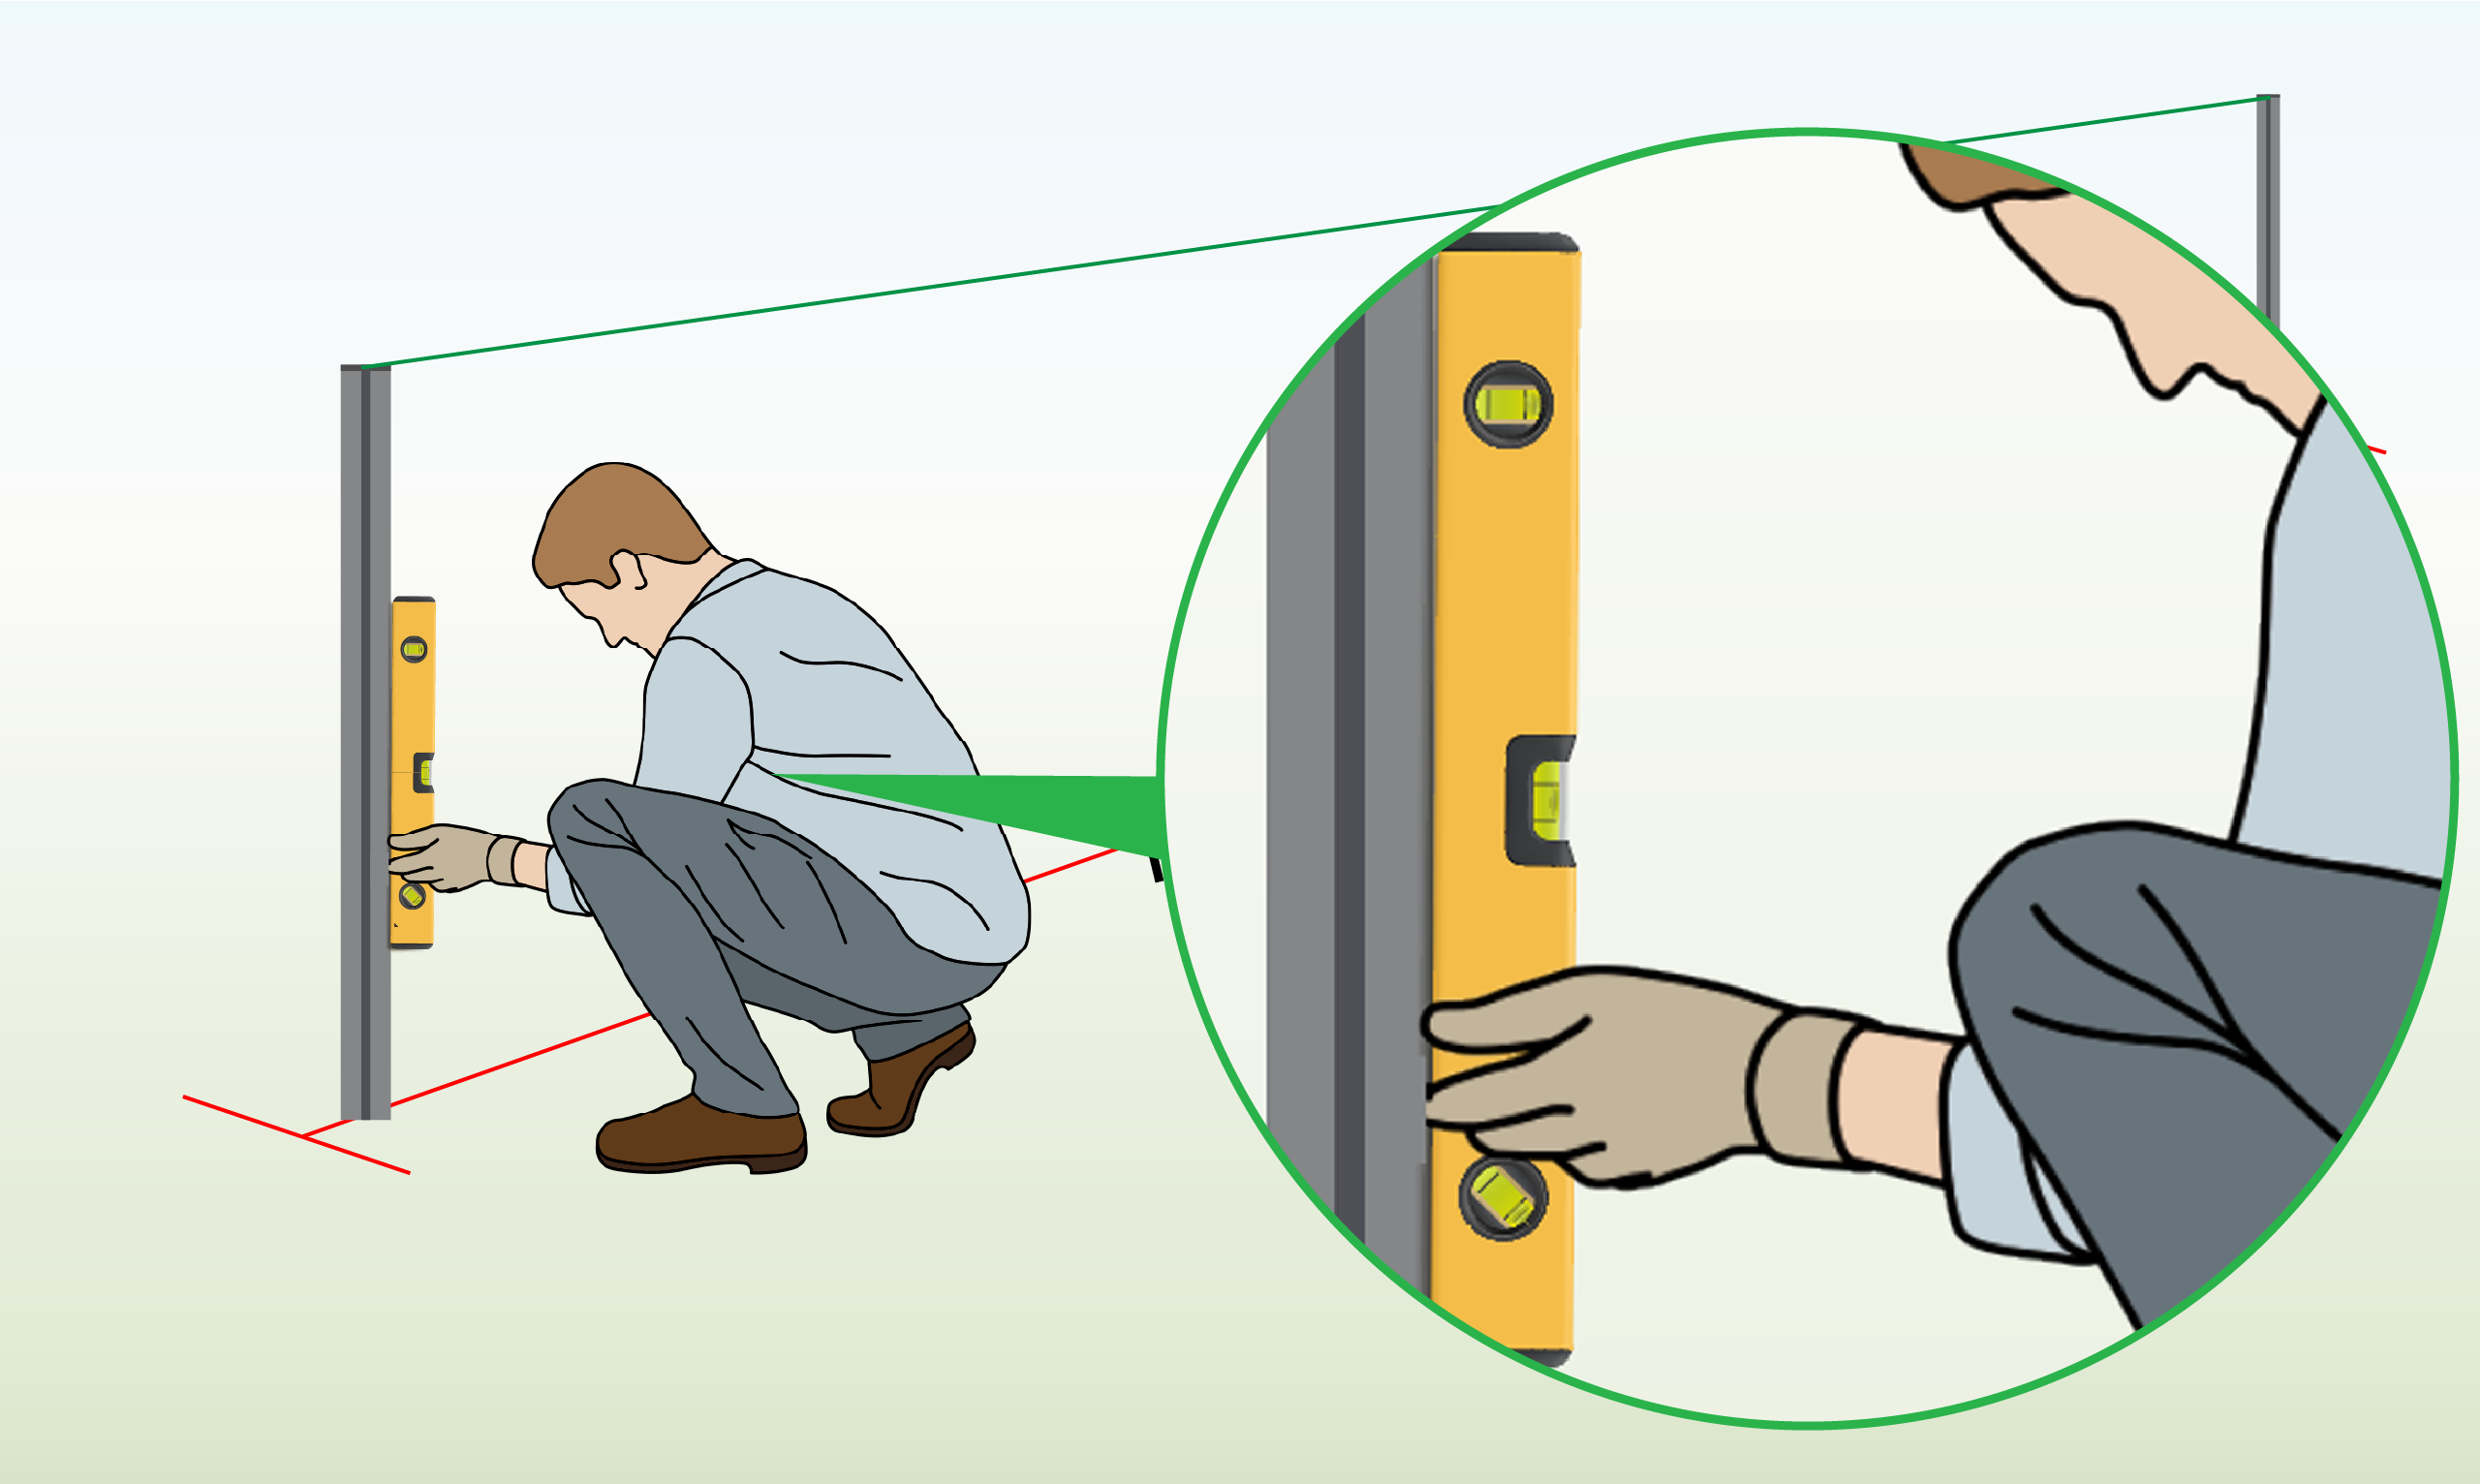
| Step 5 – Check for Same Height
|
Attach a string between the end posts. Use a spirit level to ensure that posts have been installed at the same height.
|
| Step 6 – Check for Straightness
|
Also check that the posts are stright.
|
| Step 7 – Install Middle Posts
|
For the installation of middle posts, repeat steps 3-6.
|
| Step 8 – Install Tension Wire (Optional)
|
Optional: To prevent the fence from sagging over time, attach tension wire to the holes in the end posts. Fasten it by twisting the wire’s end with pliers.
|
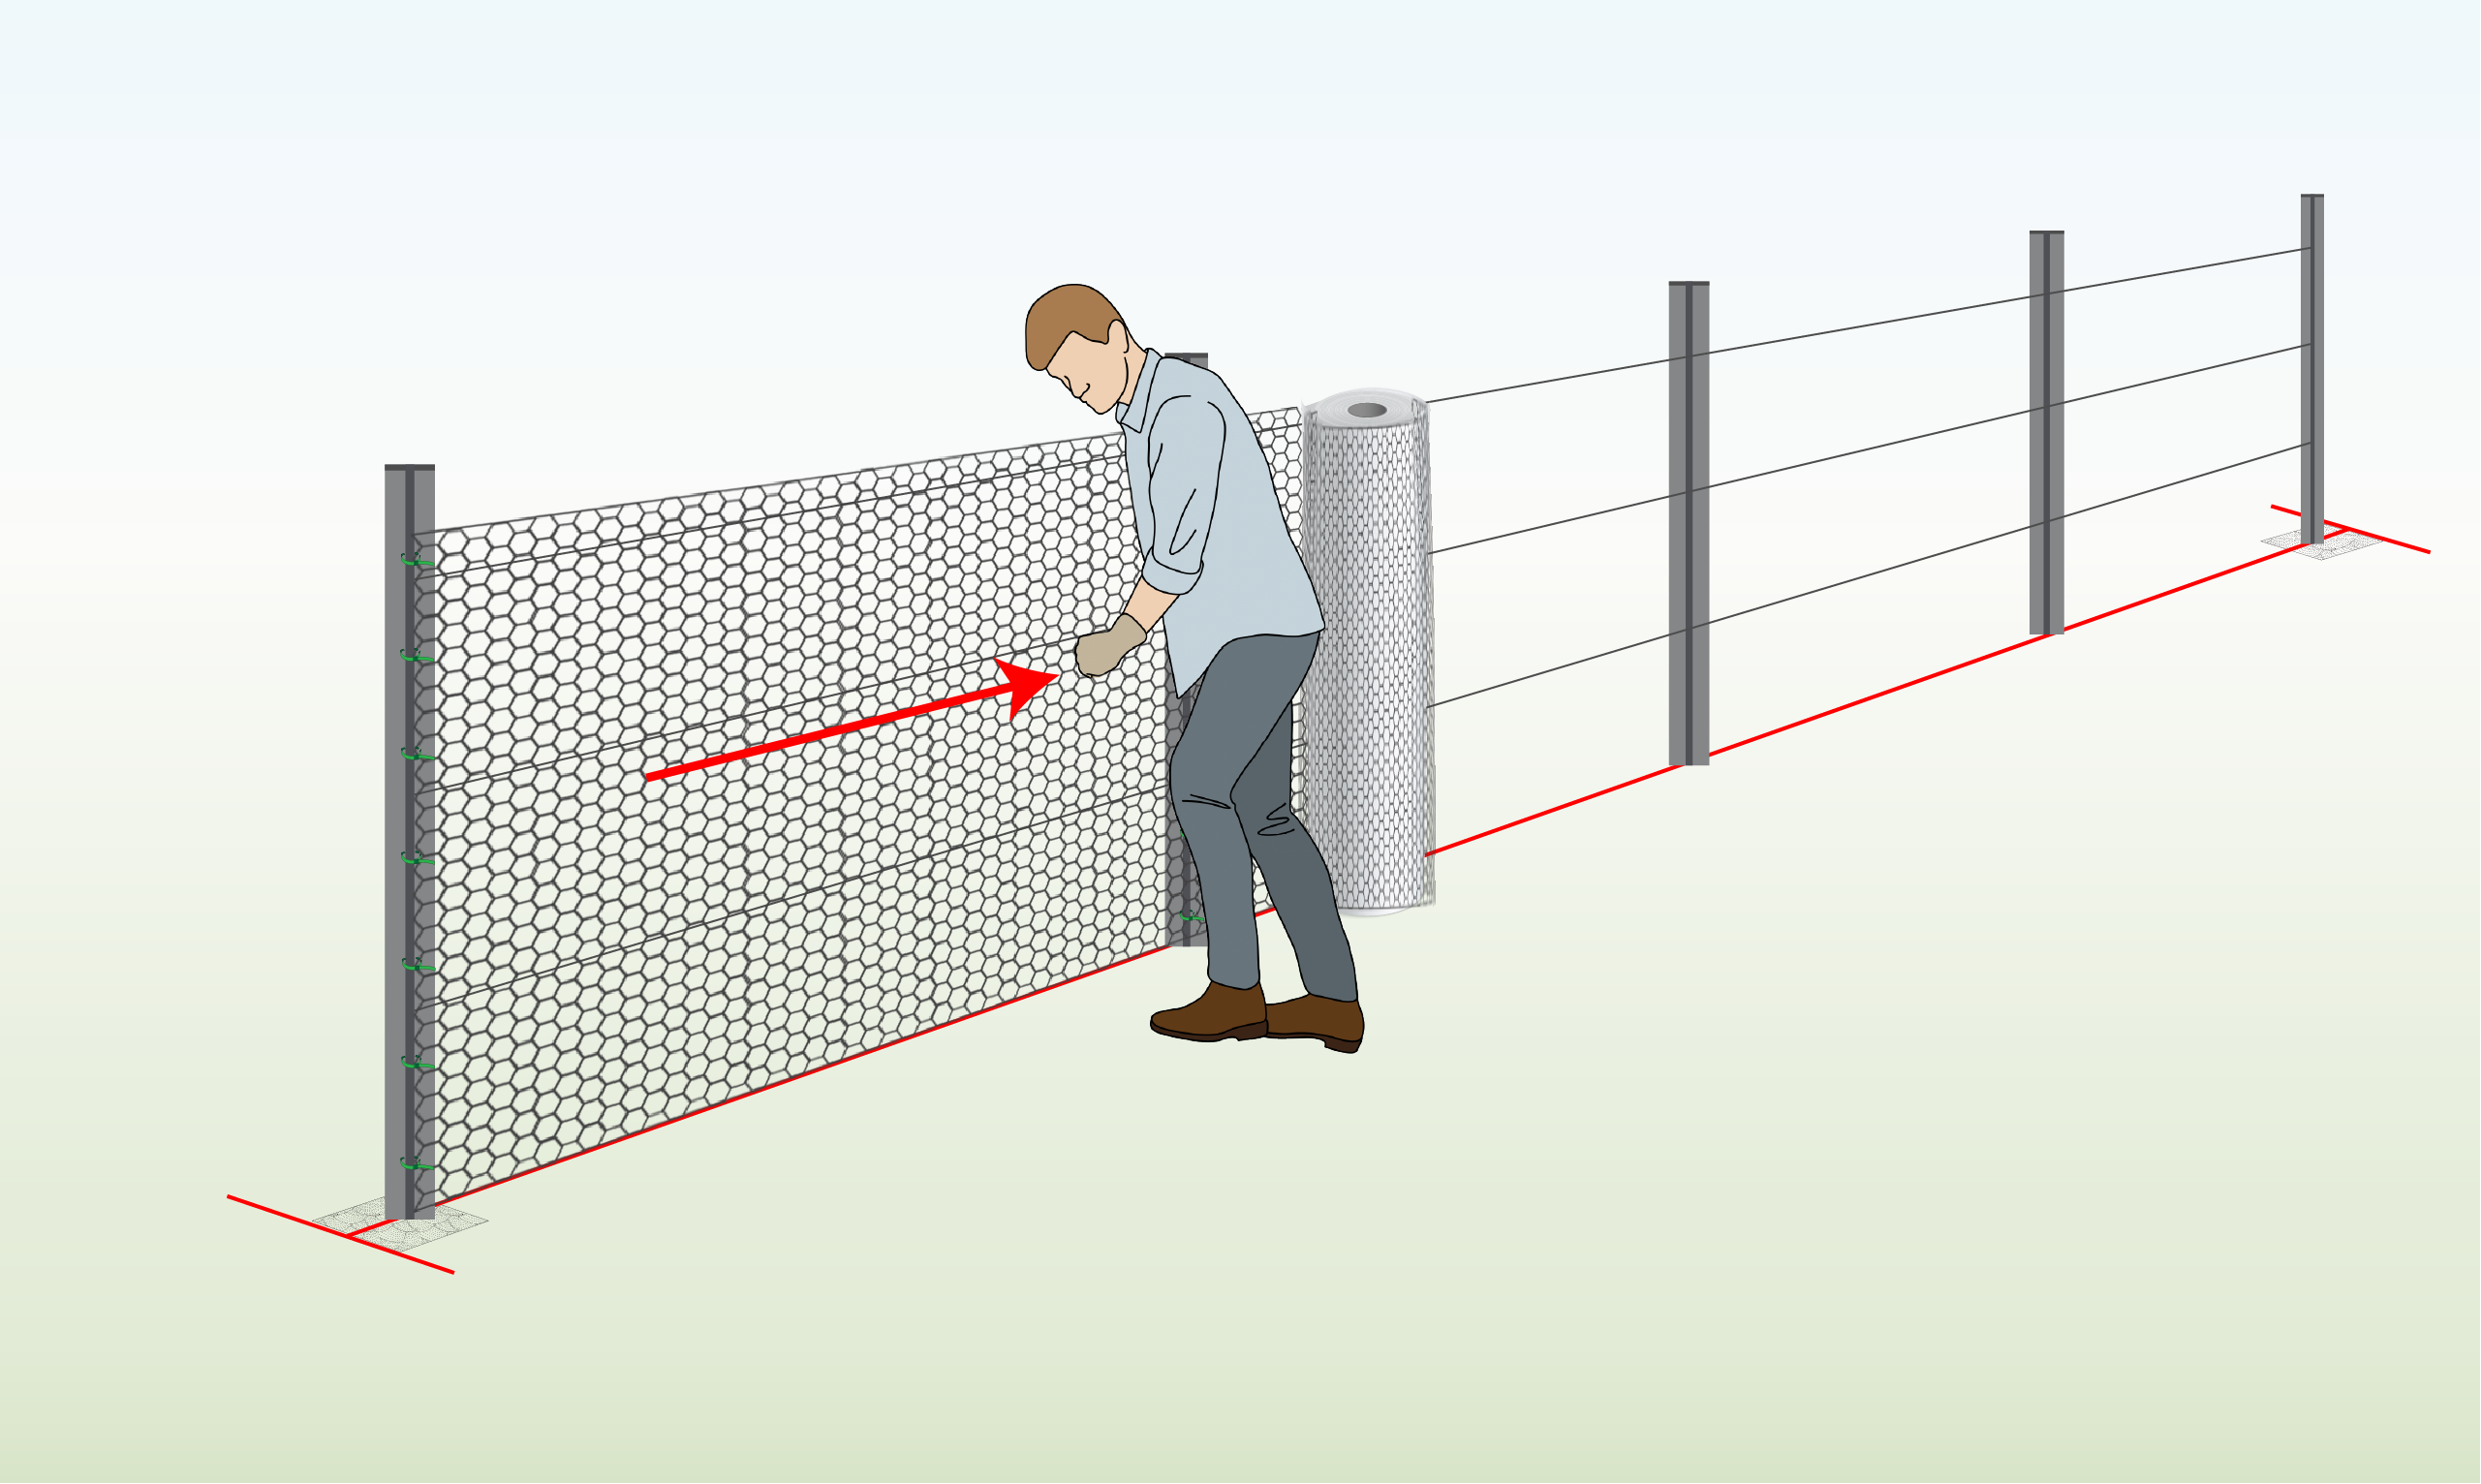
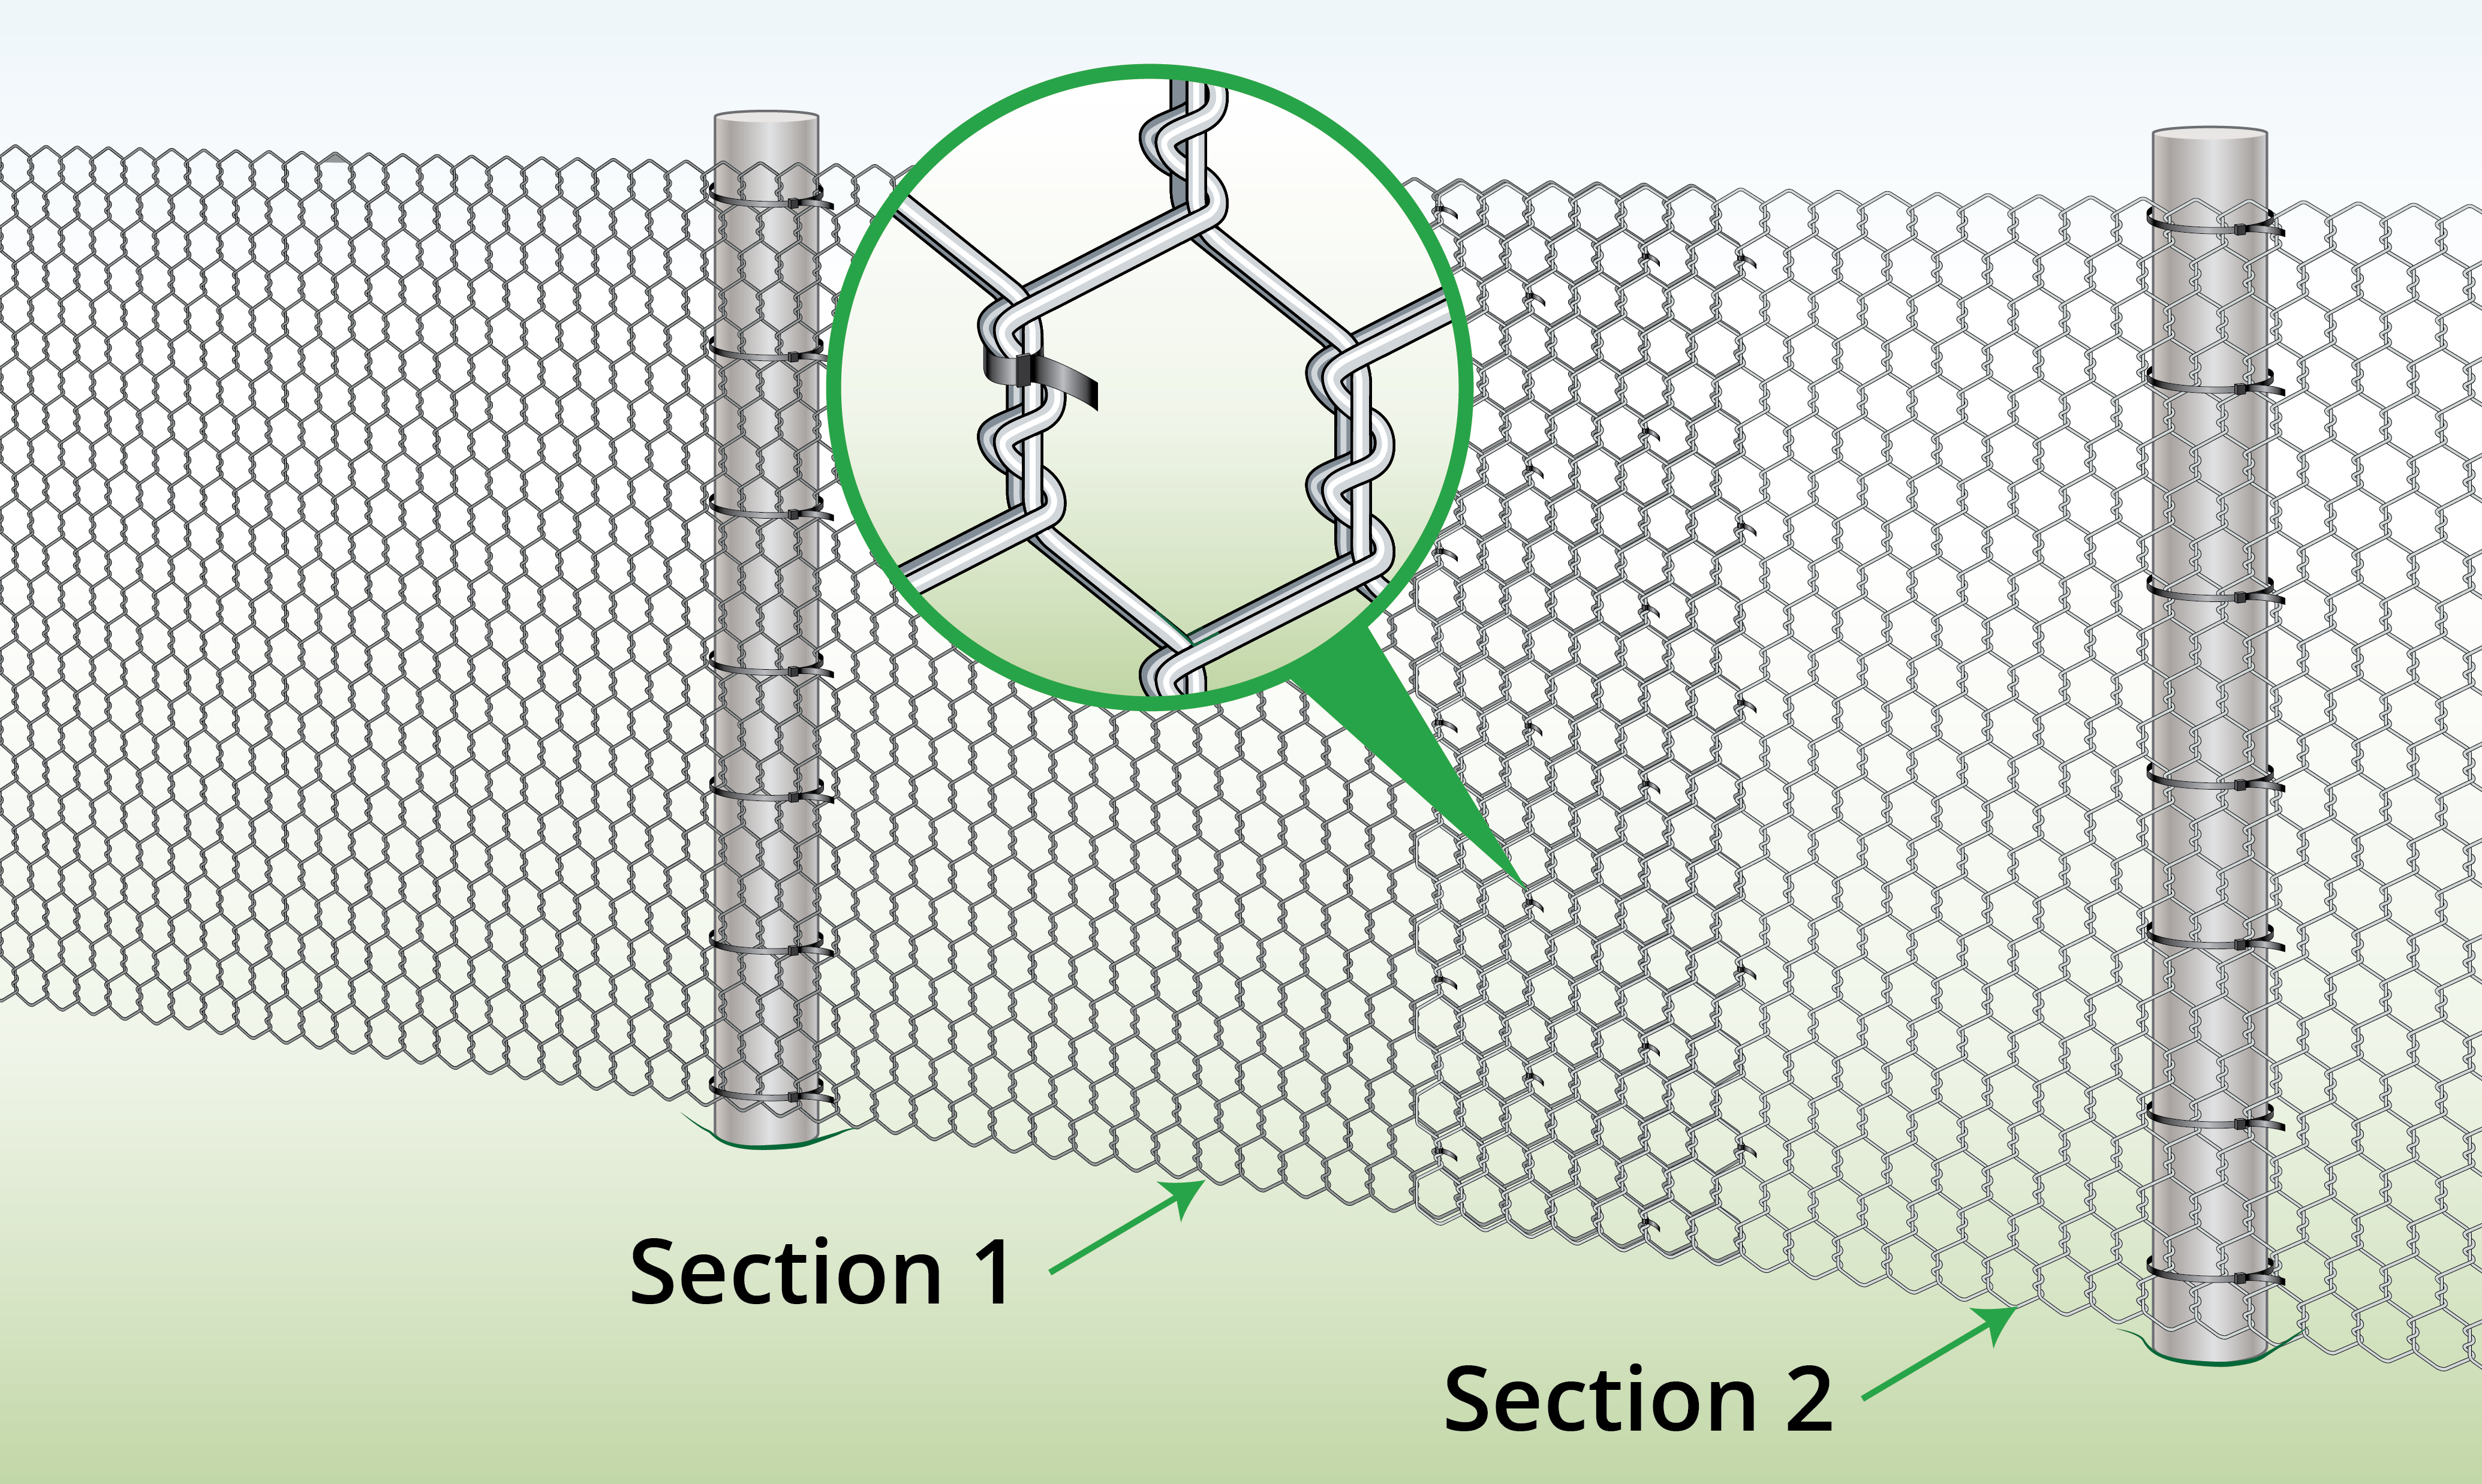
| Step 9 – Attach Mesh to End Post
|
Attach the mesh to the end post using cable ties.
|
| Step 10 – Unroll
|
Unroll the mesh until you reach the second post. Pull to remove any slack, then attach with cable ties.
Continue until you reach the end post.
|
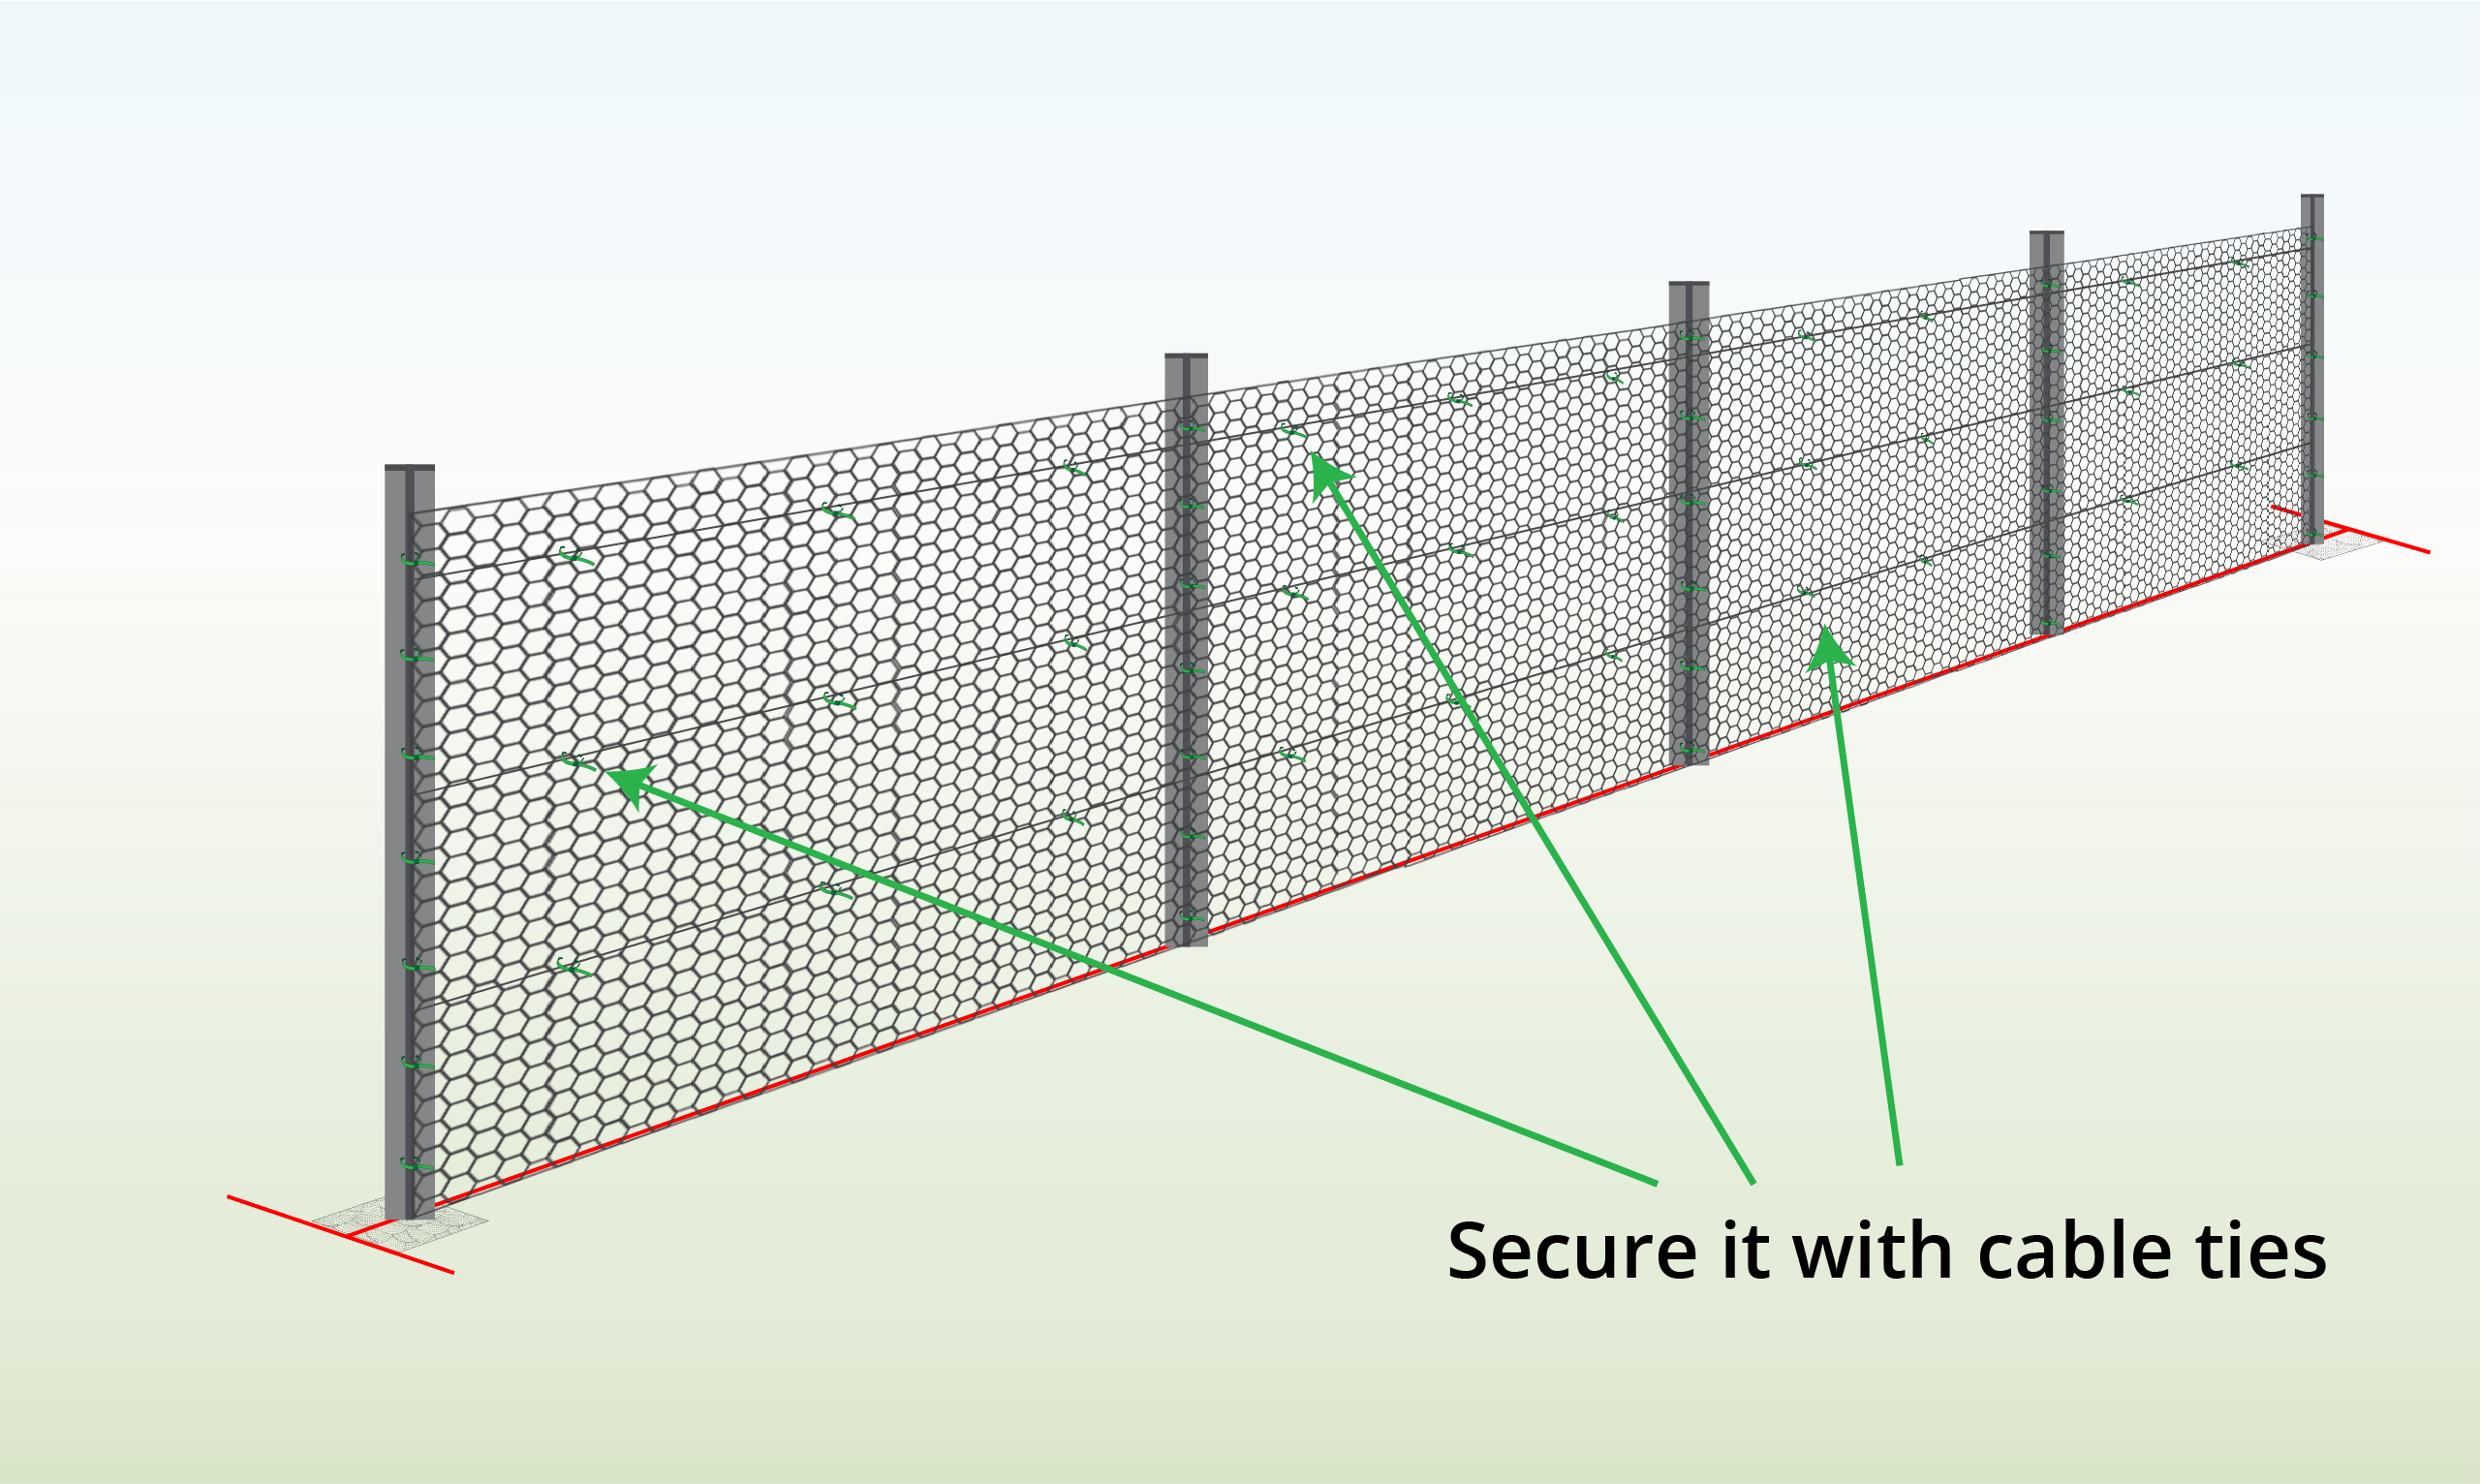
| Step 11 – Attach to Tension Wire (Optional)
|
Optional: If you have installed a tension wire, attach the mesh using cable ties at intervals of 30-45cm.
|
Can I use galvanised chicken mesh to protect my flowerbeds from digging animals and defecating cats?
Yes. We’d recommend the Premium option. Either attach it to posts and surround the flowerbed, or lie the netting flat on the soil and cover with dirt. Once detected by the animal it will likely stop digging.
How do I attach the mesh to my coop?

Wire Fence is part of the Super Magic Bean group - VAT Registered: 344 7643 83 - Company Registration No: 11290483