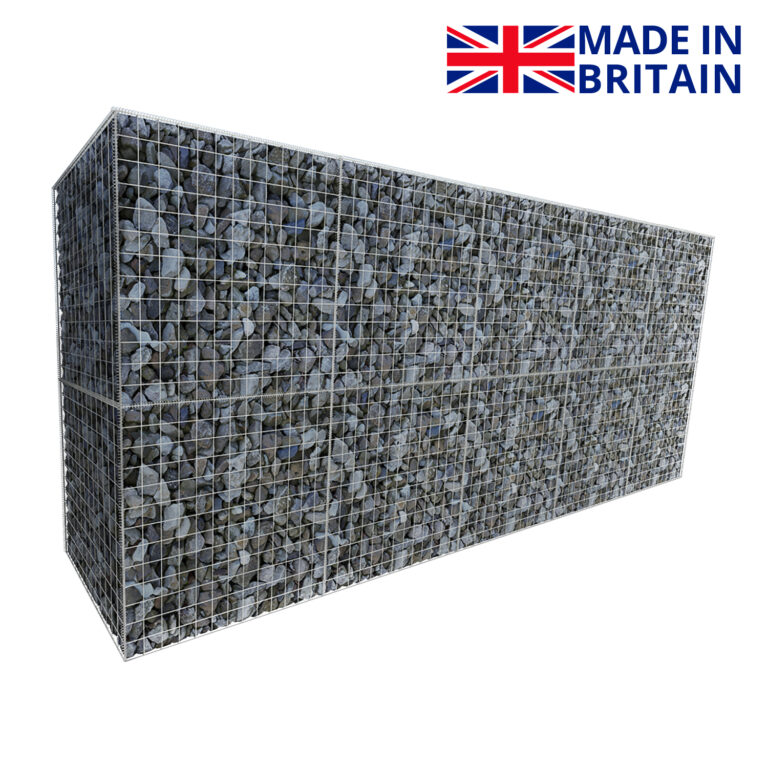
Gabion Wall (2m Tall)
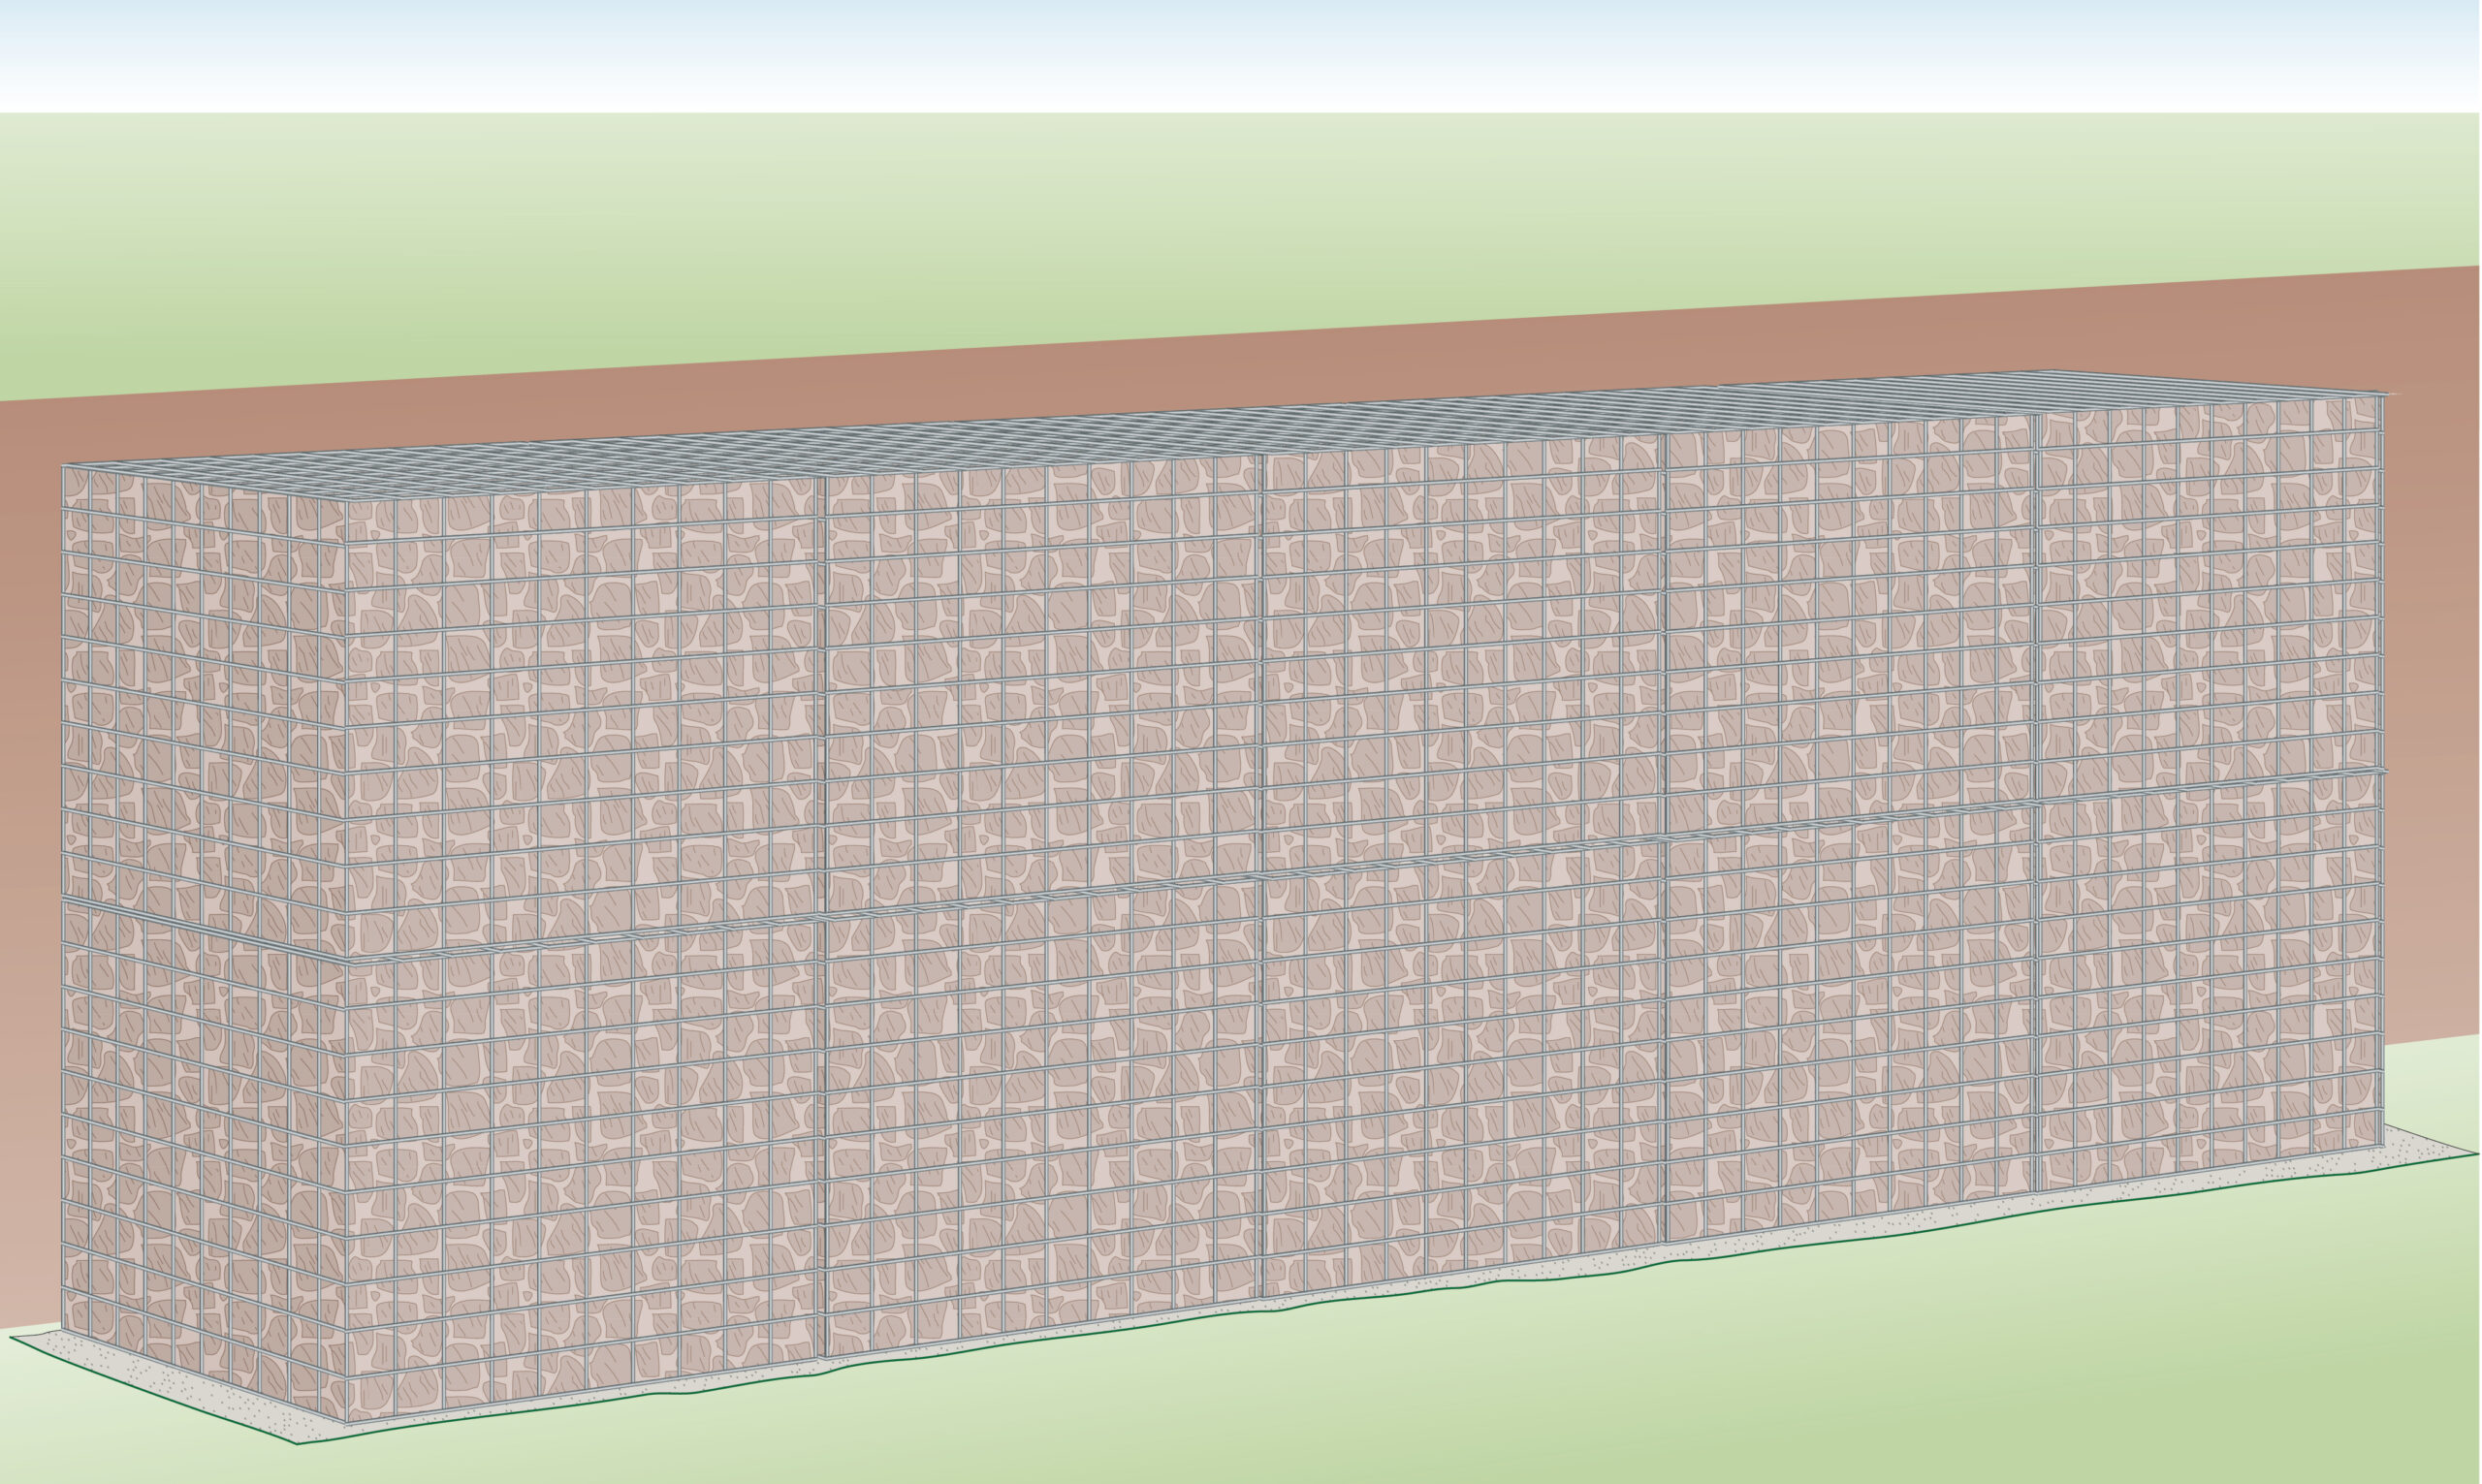
Gabion wall kits include all equipment and instructions needed to create a 2m tall gabion wall.
- Easy to install, no DIY experience necessary
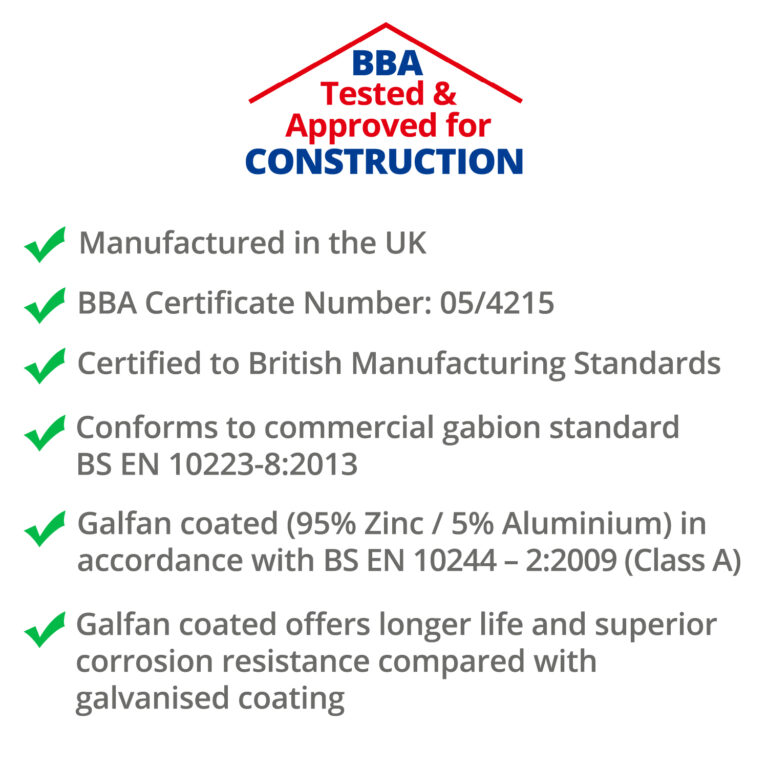
- Manufactured in the UK, to BS EN standards
RELATED: cut to size gabions – wall builder – 1m walls
No products were found matching your selection.
Helpful Information
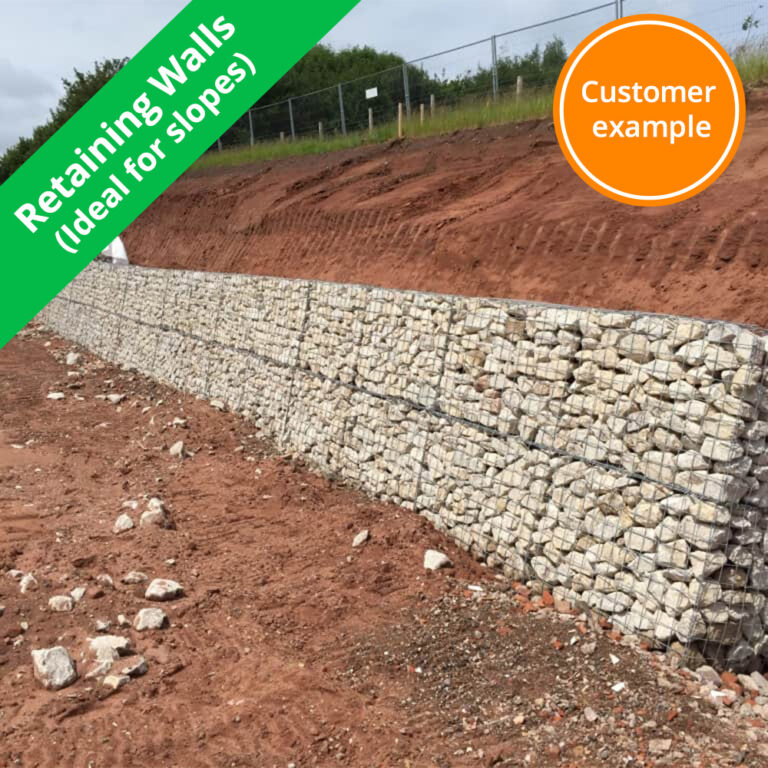
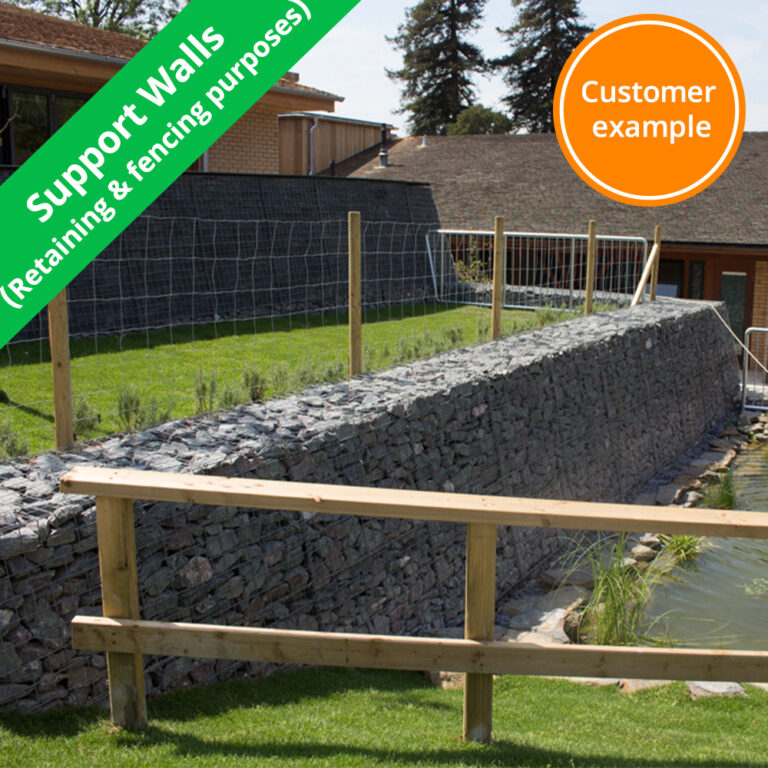
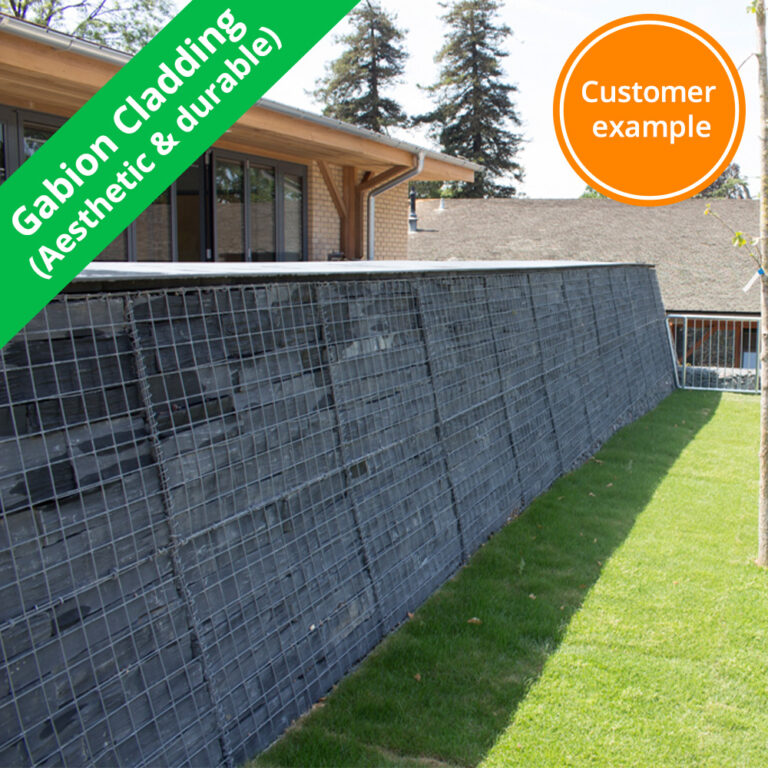
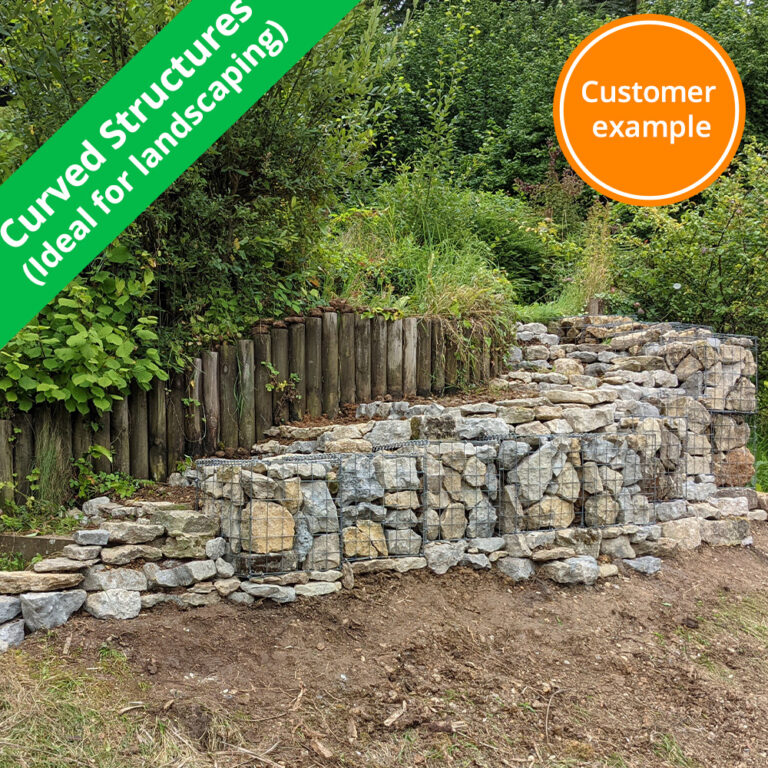
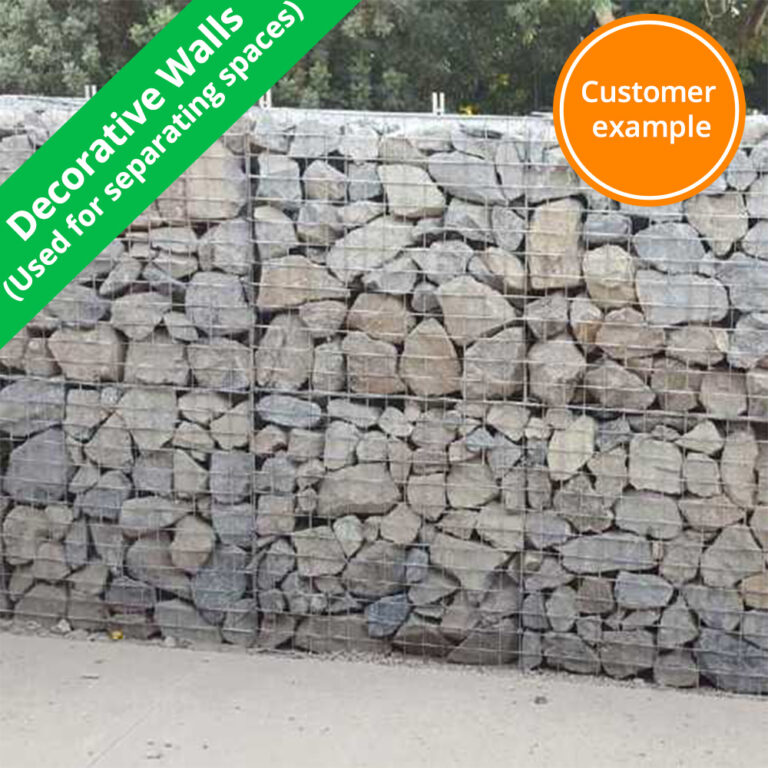
Customer Images
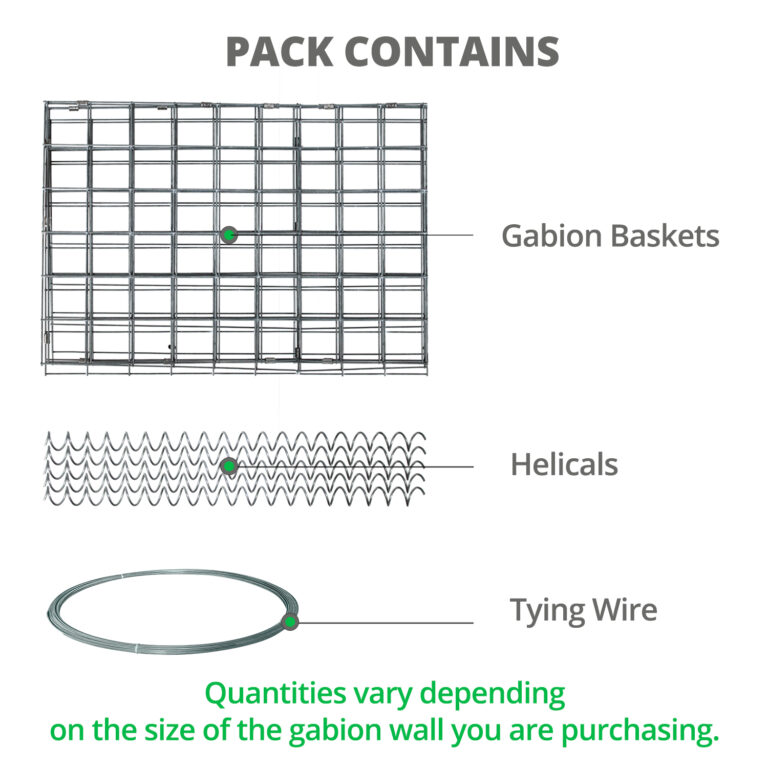
Gabion Kit Includes
| Included | Explanation |
| Full Installation Instructions | |
| Gabion Baskets |
– 2x 97.5cm long gabion basket will be included in your pack for every 97.5cm length of gabion wall ordered
|
| Helicals |
– Helicals will be included so you can attach the corners and lids for all gabion baskets in your order.
|
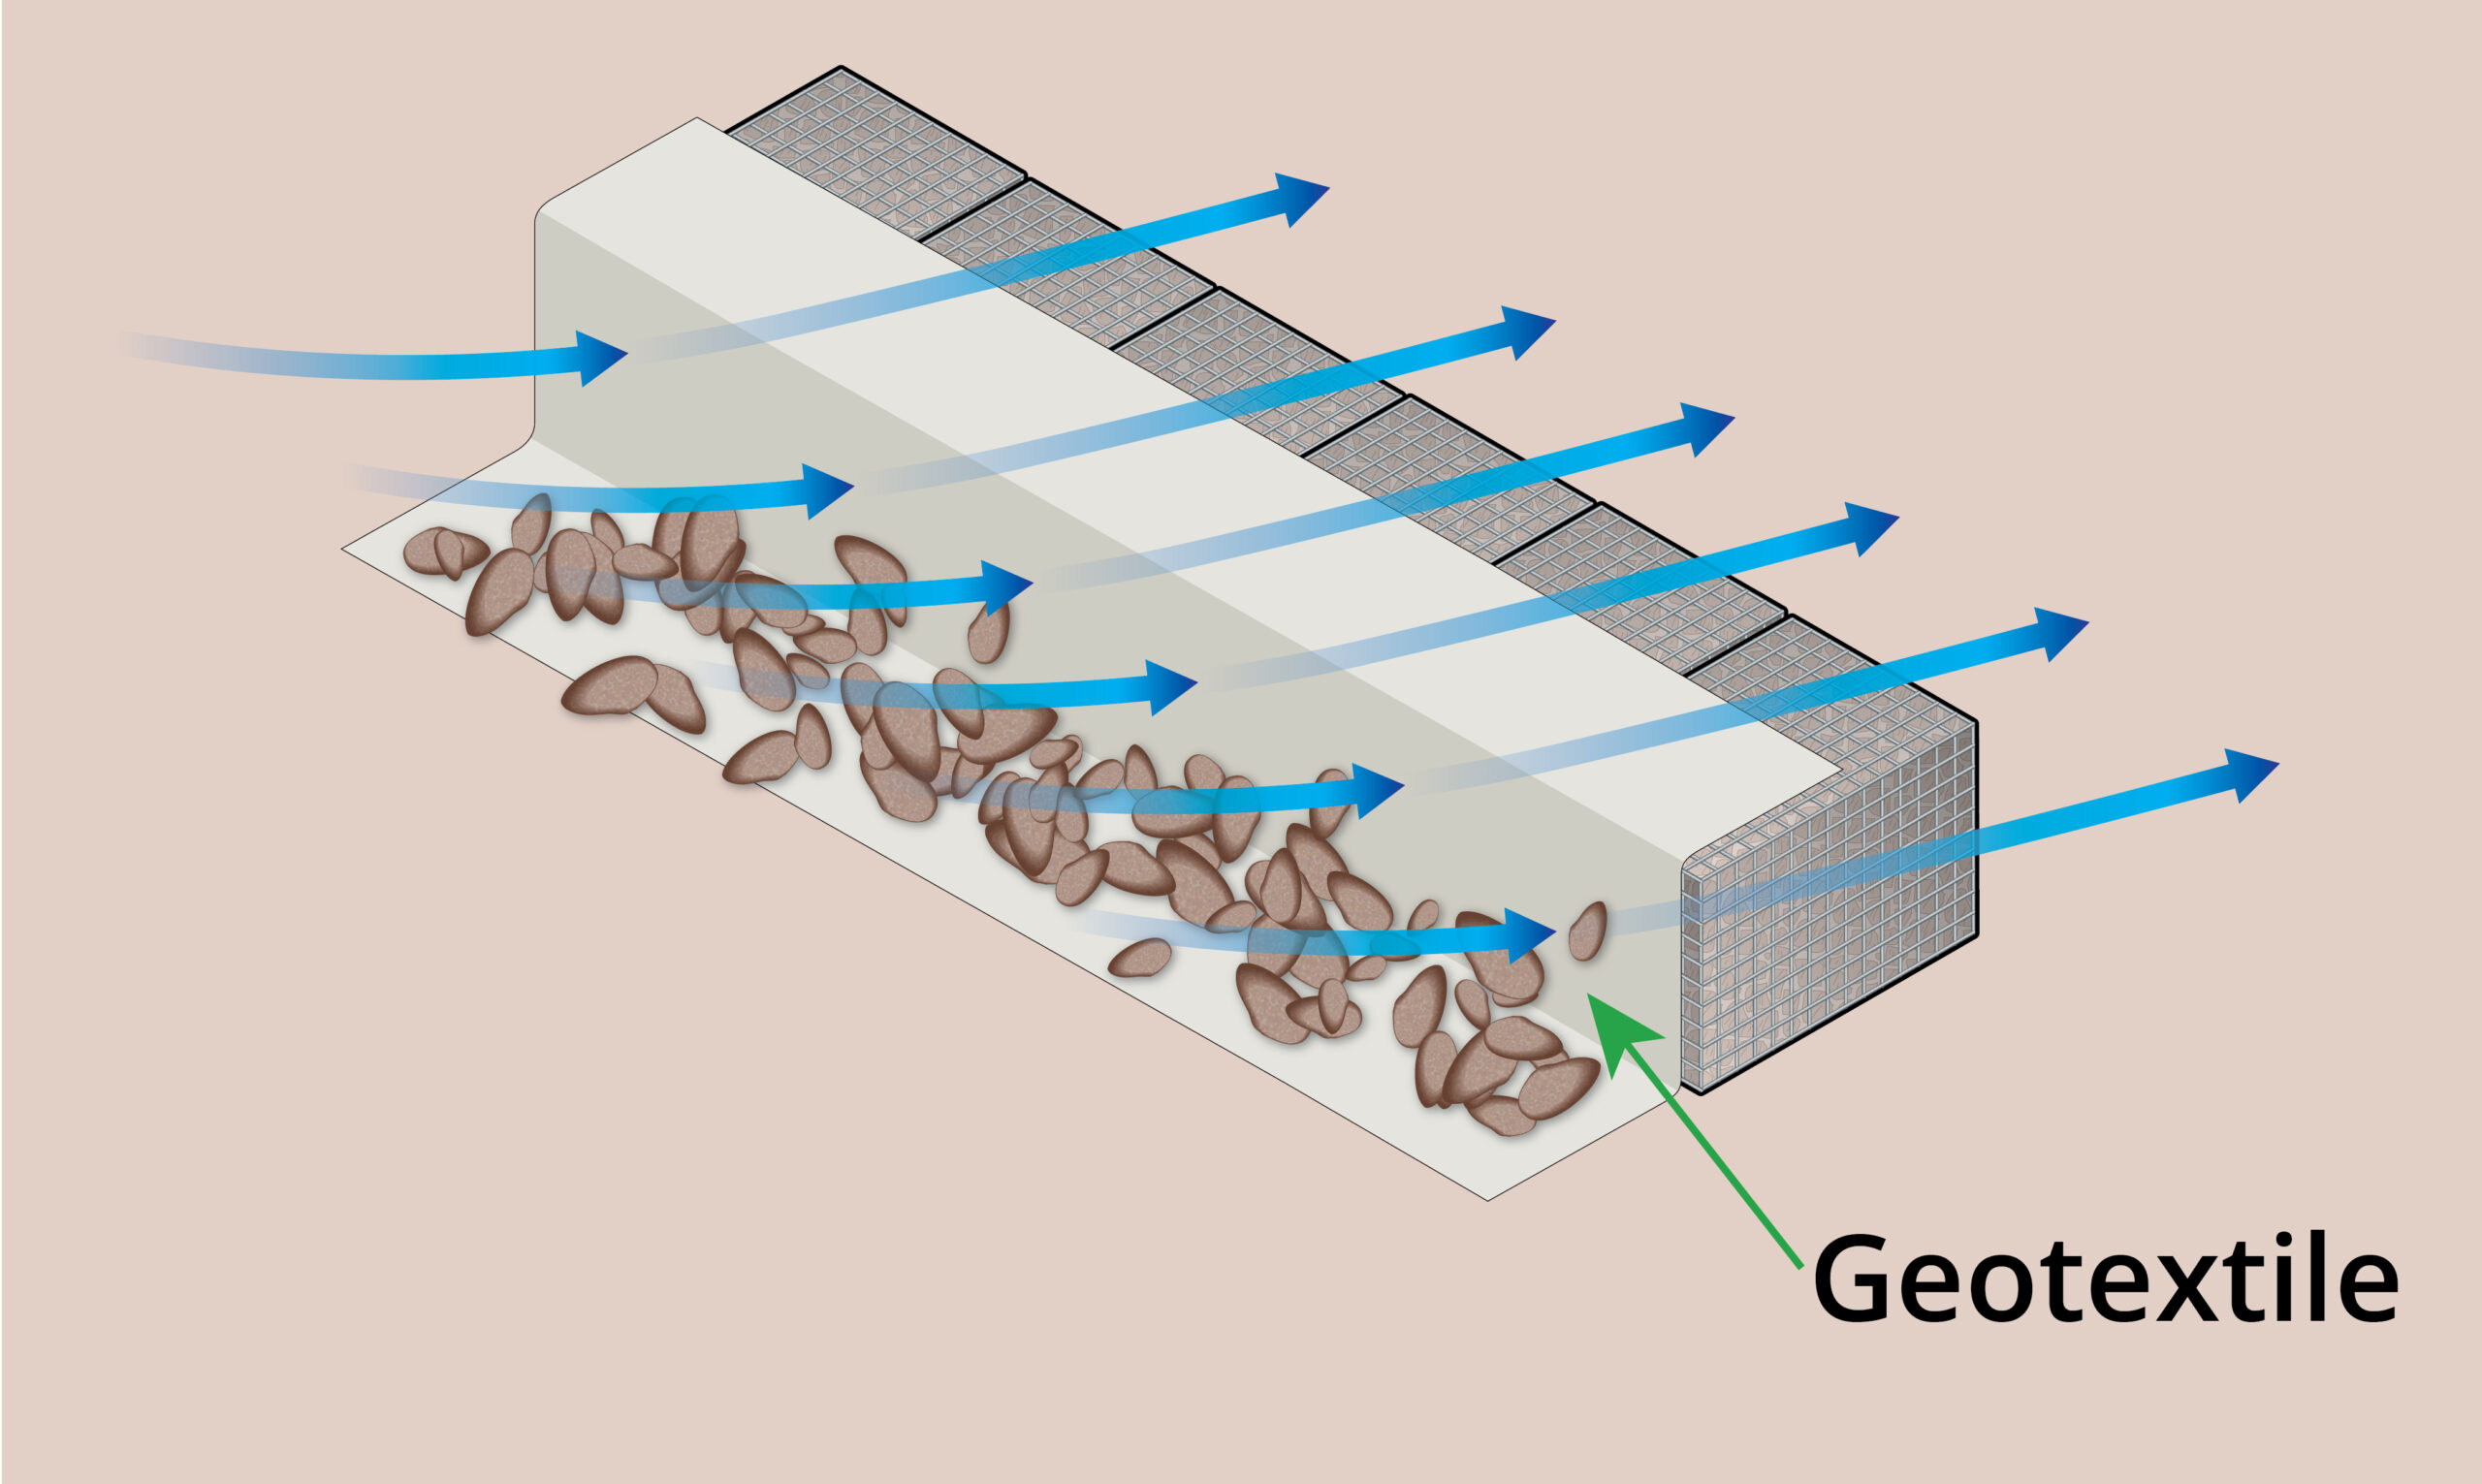
| Geotextile | If required, geotextile is ordered separately. Jump to quantity guide |
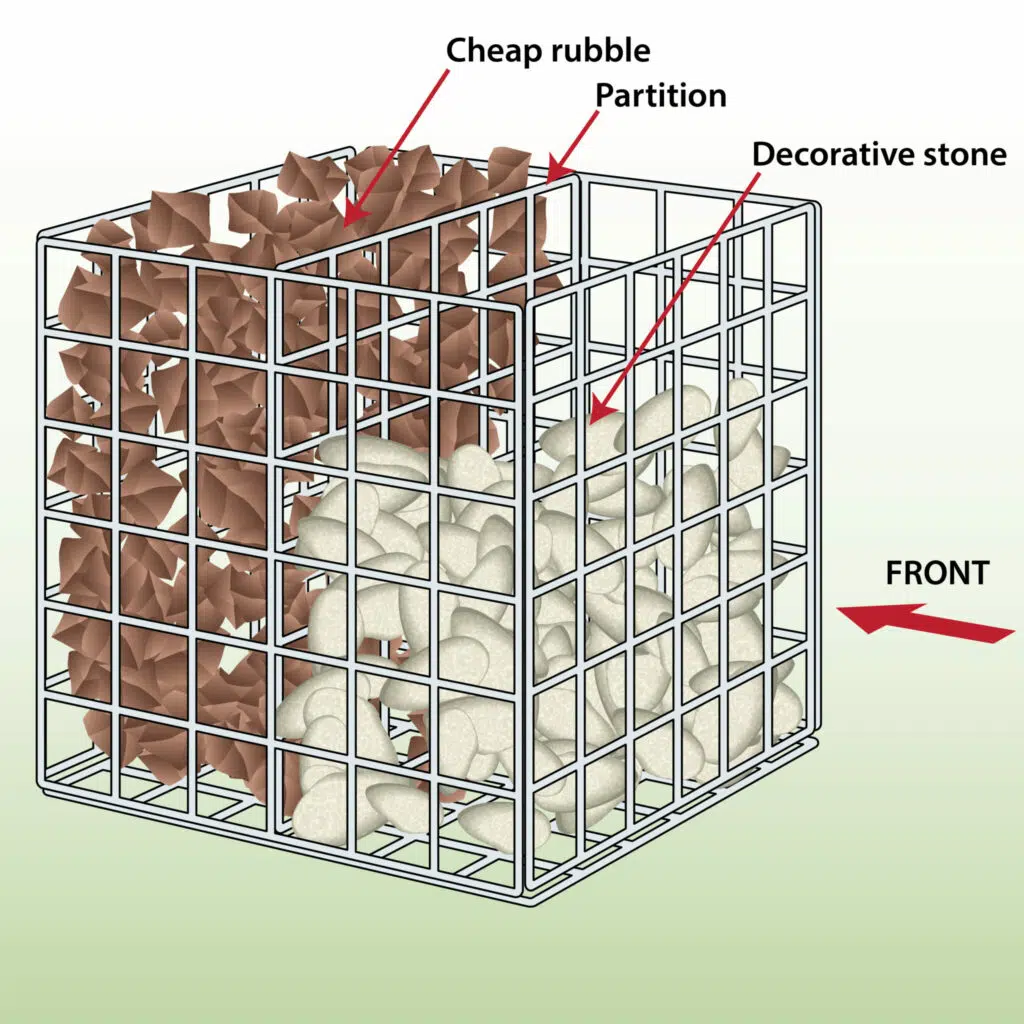
| Stone separating panels | If required, stone separating panels can be ordered separately |
| Stones | If required, gabion stone provided separately. Jump to quantity guide |
| Tools | None required but you may need a spade and some gravel depending on the way you plan to install. For more information, jump to installation instructions |
Gabion Wall Overview
| Galfan Coated | PVC Coated | ||
| 4mm Wire Diameter | 5mm Wire Diameter | 4.3mm Wire Diameter | |
| Freestanding wall | |||
| Retaining wall | |||
| Can be walked on | |||
| Can be sat on | |||
| No bulges when filled with rocks | |||
| Erosion control | |||
| Residential areas | |||
| Public leisure area | Best | ||
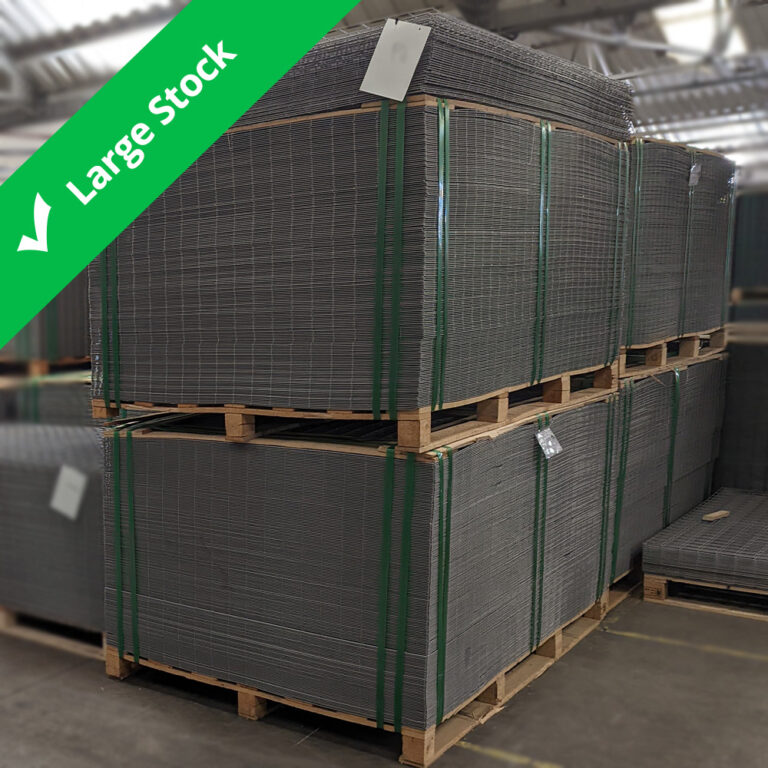
| Delivered as | Flat packed, strapped to a wood pallet with option of small or large truck | ||
| Can wires be cut | Yes – with a good wire cutter | ||
| Made in UK | Yes | ||
| Conforms to British manufacturing standard | BS EN 10223-8:2013 | ||
| Certificate of conformity | Yes – download | ||
| Construction | |||
| Mesh Hole Size | 75mm x 75mm | 75mm x 75mm | 75mm x 75mm |
| Mesh Material | Galfan coated steel | Galfan coated steel | Galfan coated steel with PVC coating |
| Mesh Construction | Welded | Welded | Welded |
| Mesh panels joined together by | Stainless steel C Clips | ||
| Strength and environment | |||
| Tensile strength range | 540-770 N/mm² | 540-770 N/mm² | 540-770 N/mm² |
| Corrosion resistance | Yes, conforms to British standard BS EN 10244-2:2009 | ||
| Abrasion resistance | Yes, conforms to EN 60229:2008 | ||
| Life Expectancy | 50 – 100 years | 50 – 100 years | 120 years |
| Suited to Environments | C2 – C4 | C2 – C4 | C2 – C5 |
| Rocks / Filling / Installation | |||
| Speed of installation | 2-5 mins each | ||
| Experience required to install | Easy install | ||
| Rock size required | Minimum 80mm x 80mm | ||
| Requires angular, interlocking rocks | No – these commercial grade gabions can be filled with any shape of stone without bulging. | ||
| Can be filled with crushed concrete | |||
| Can fill with rounded rocks | |||
| Save money | Stone separating panel (ordered separately). Allows you to backfill the cages with cheaper stone or rubble | ||
Installation Instructions
Please use the following information as guidance only. If you are unsure about how to install your retaining wall please contact a Civil Engineer.
Freestanding Wall Instructions
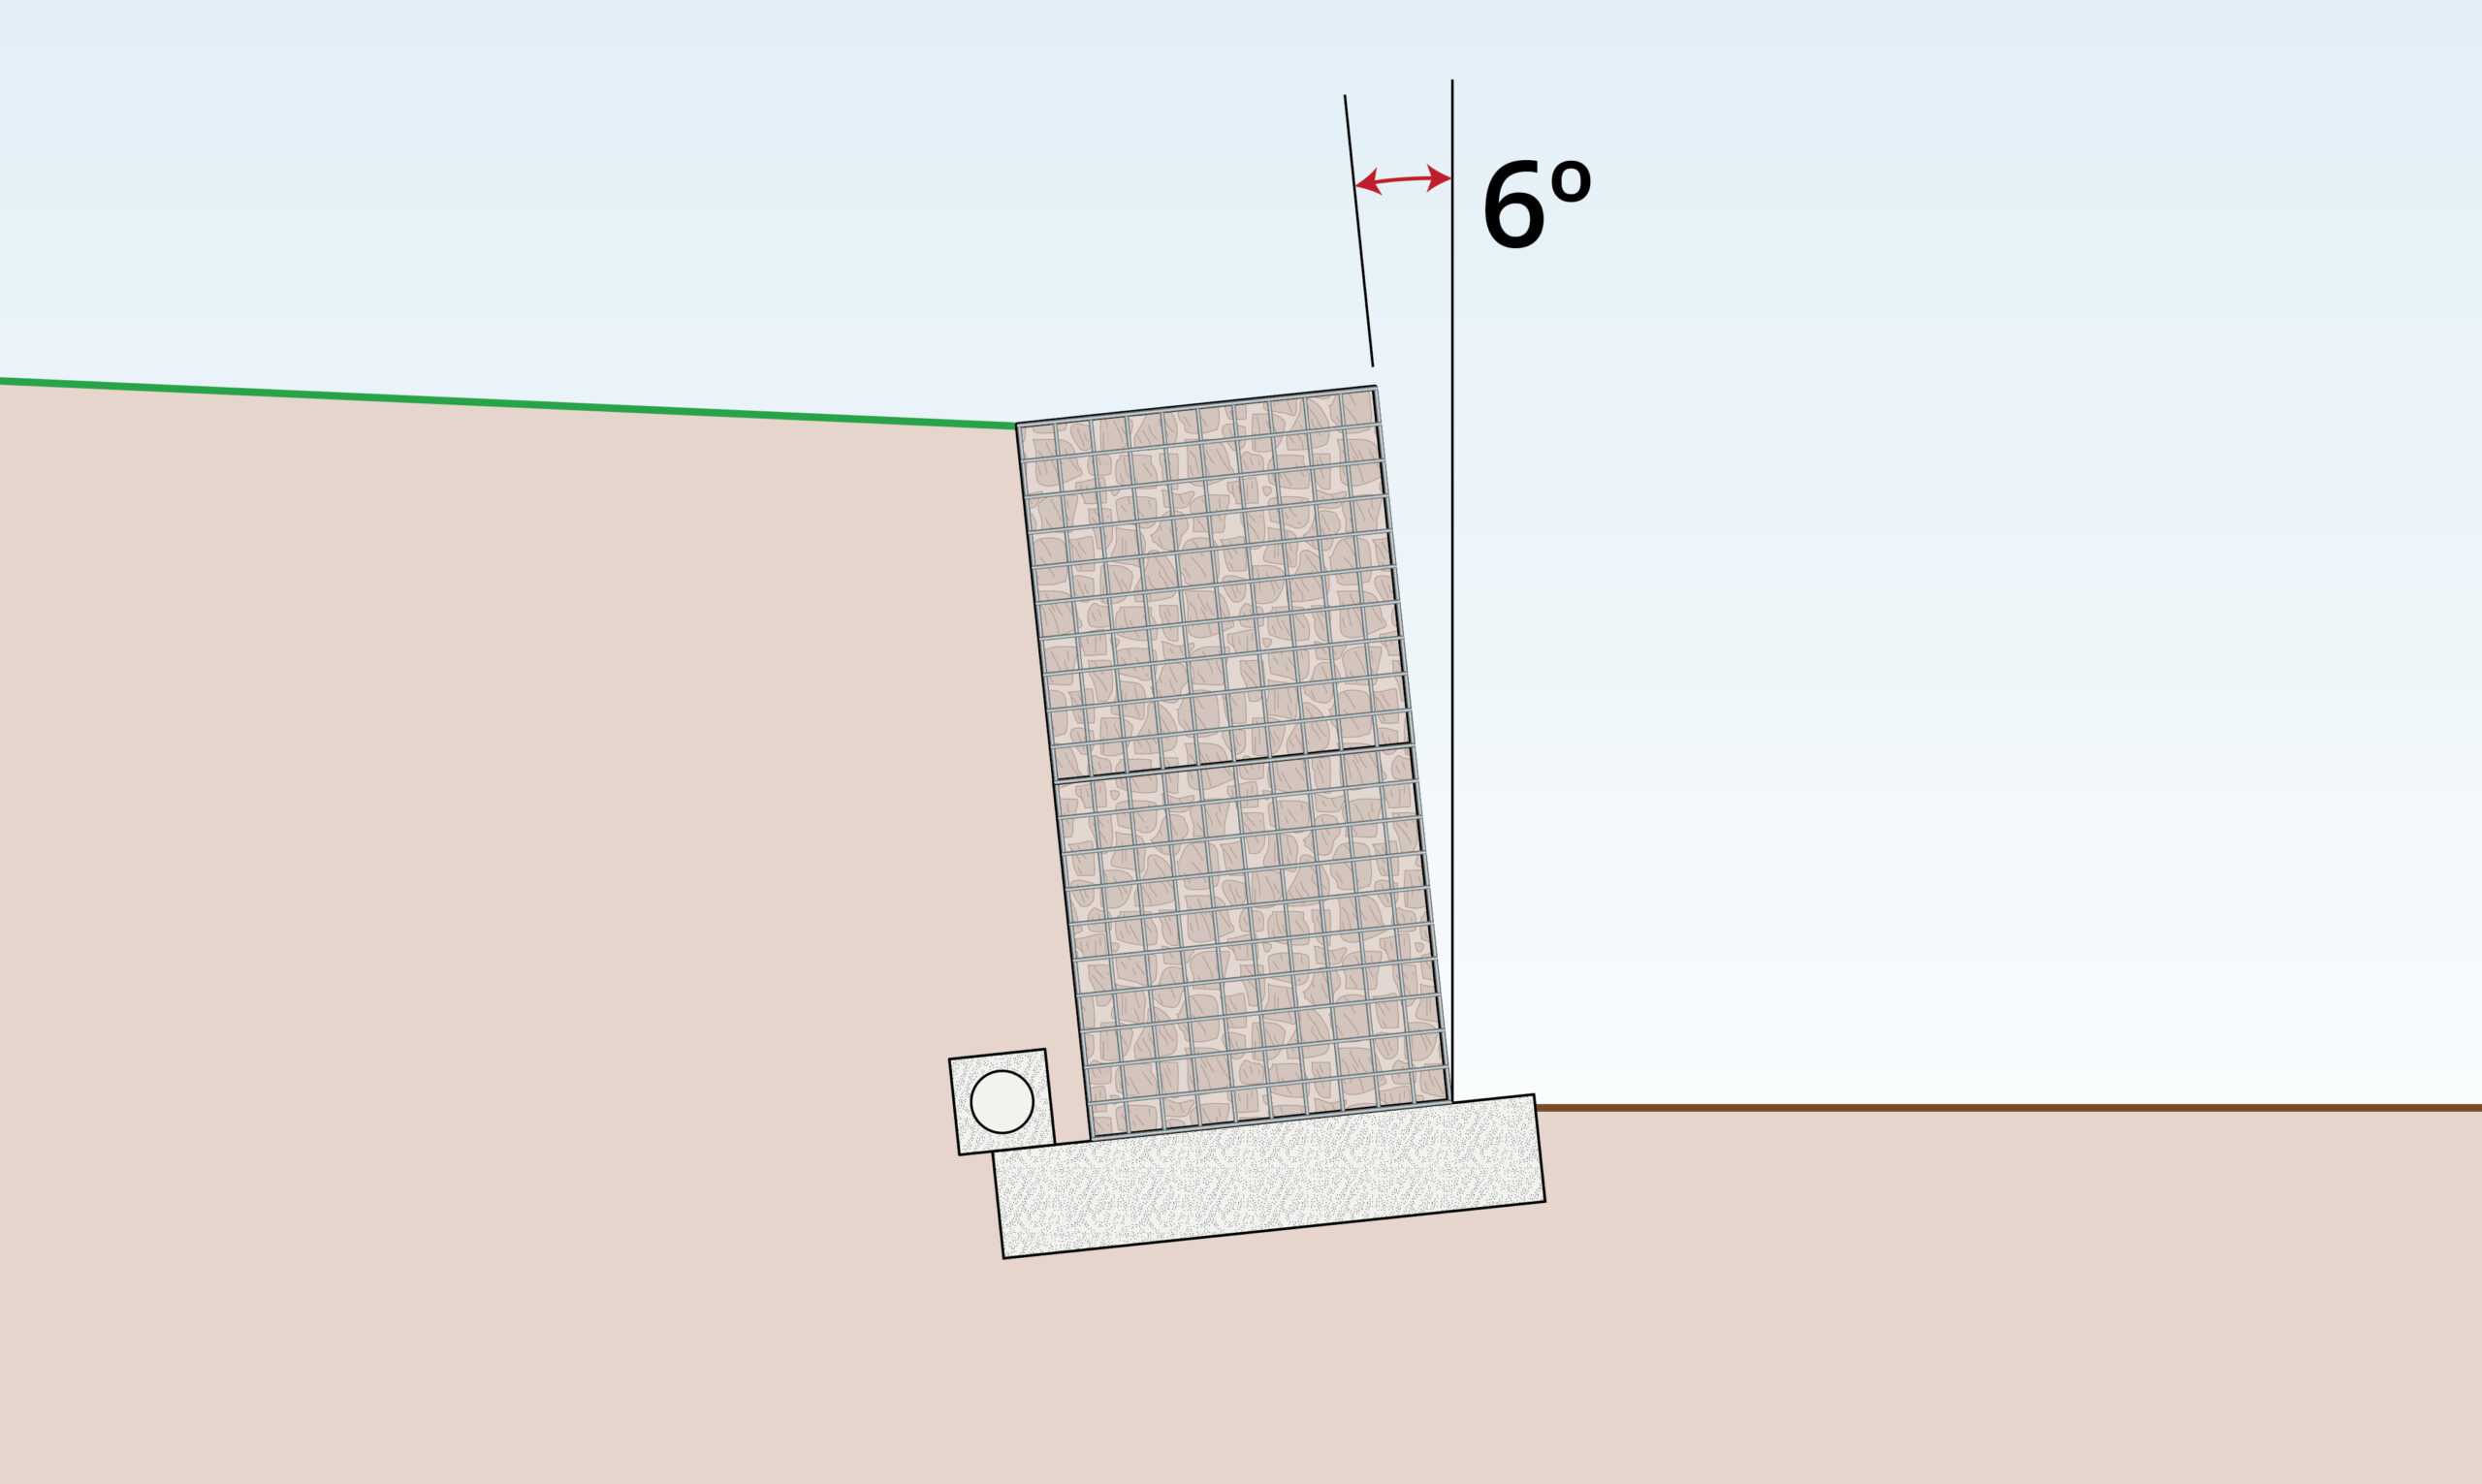
Retaining Wall Instructions
| To Do | Explanation |
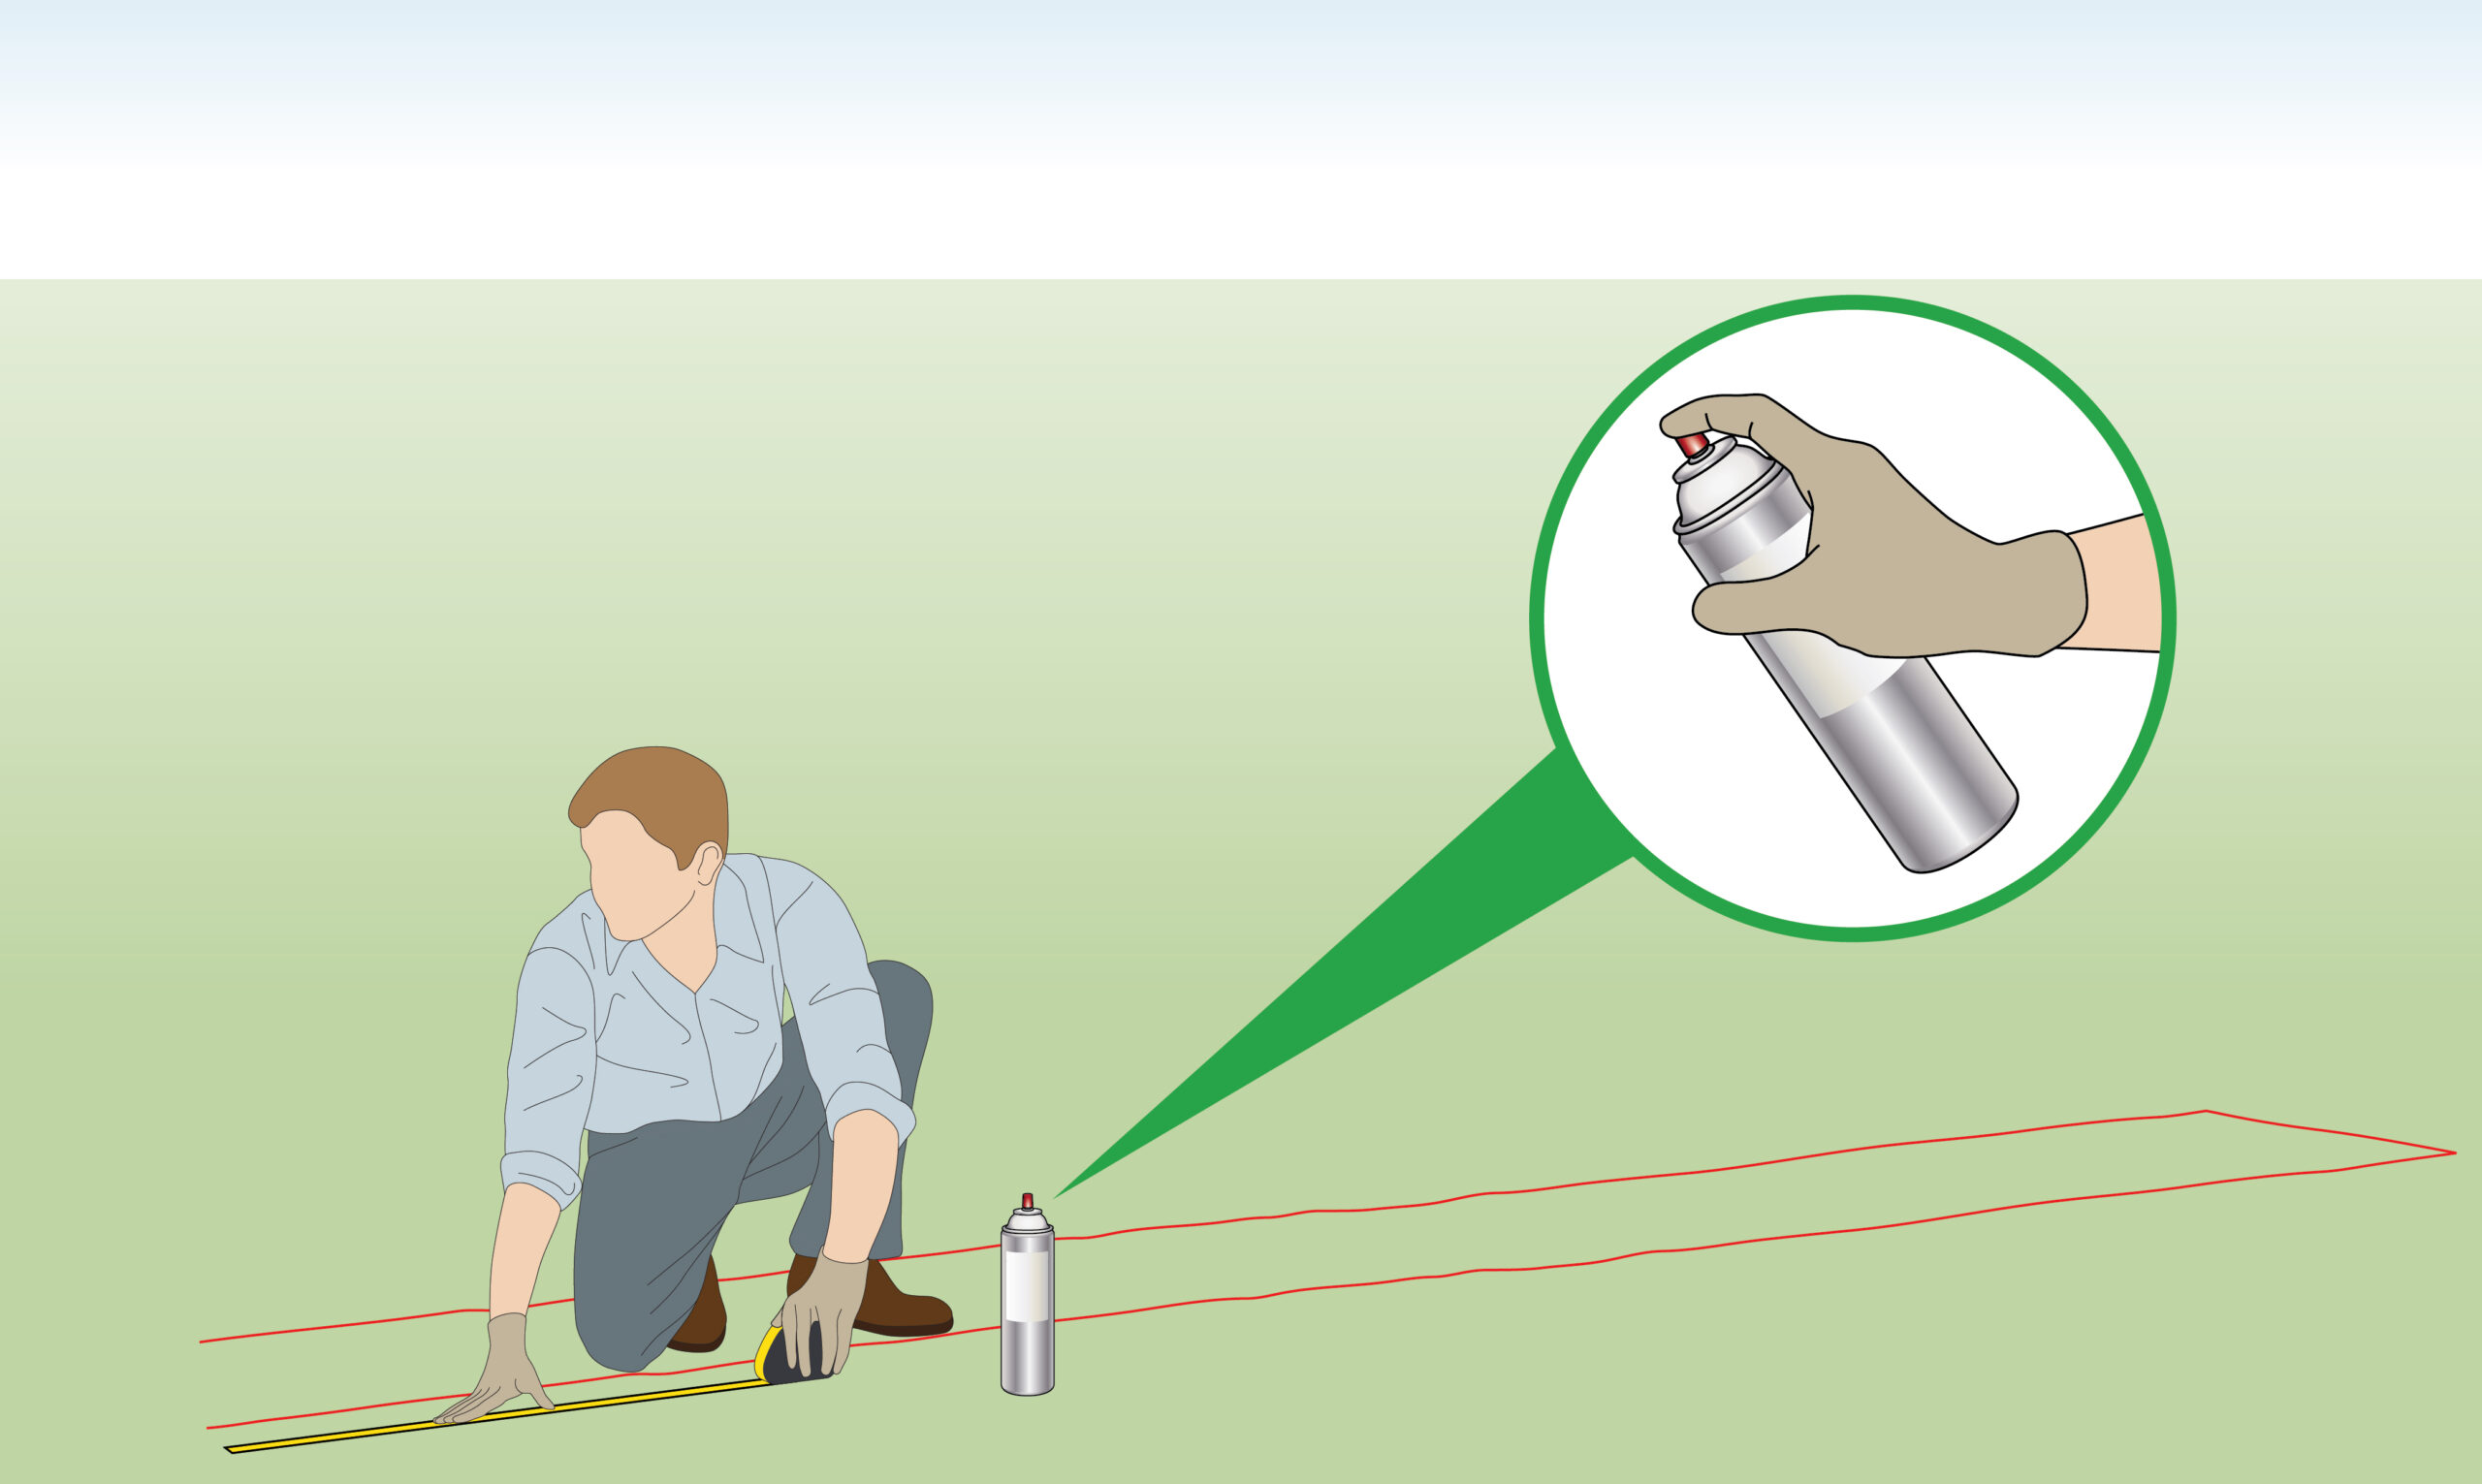
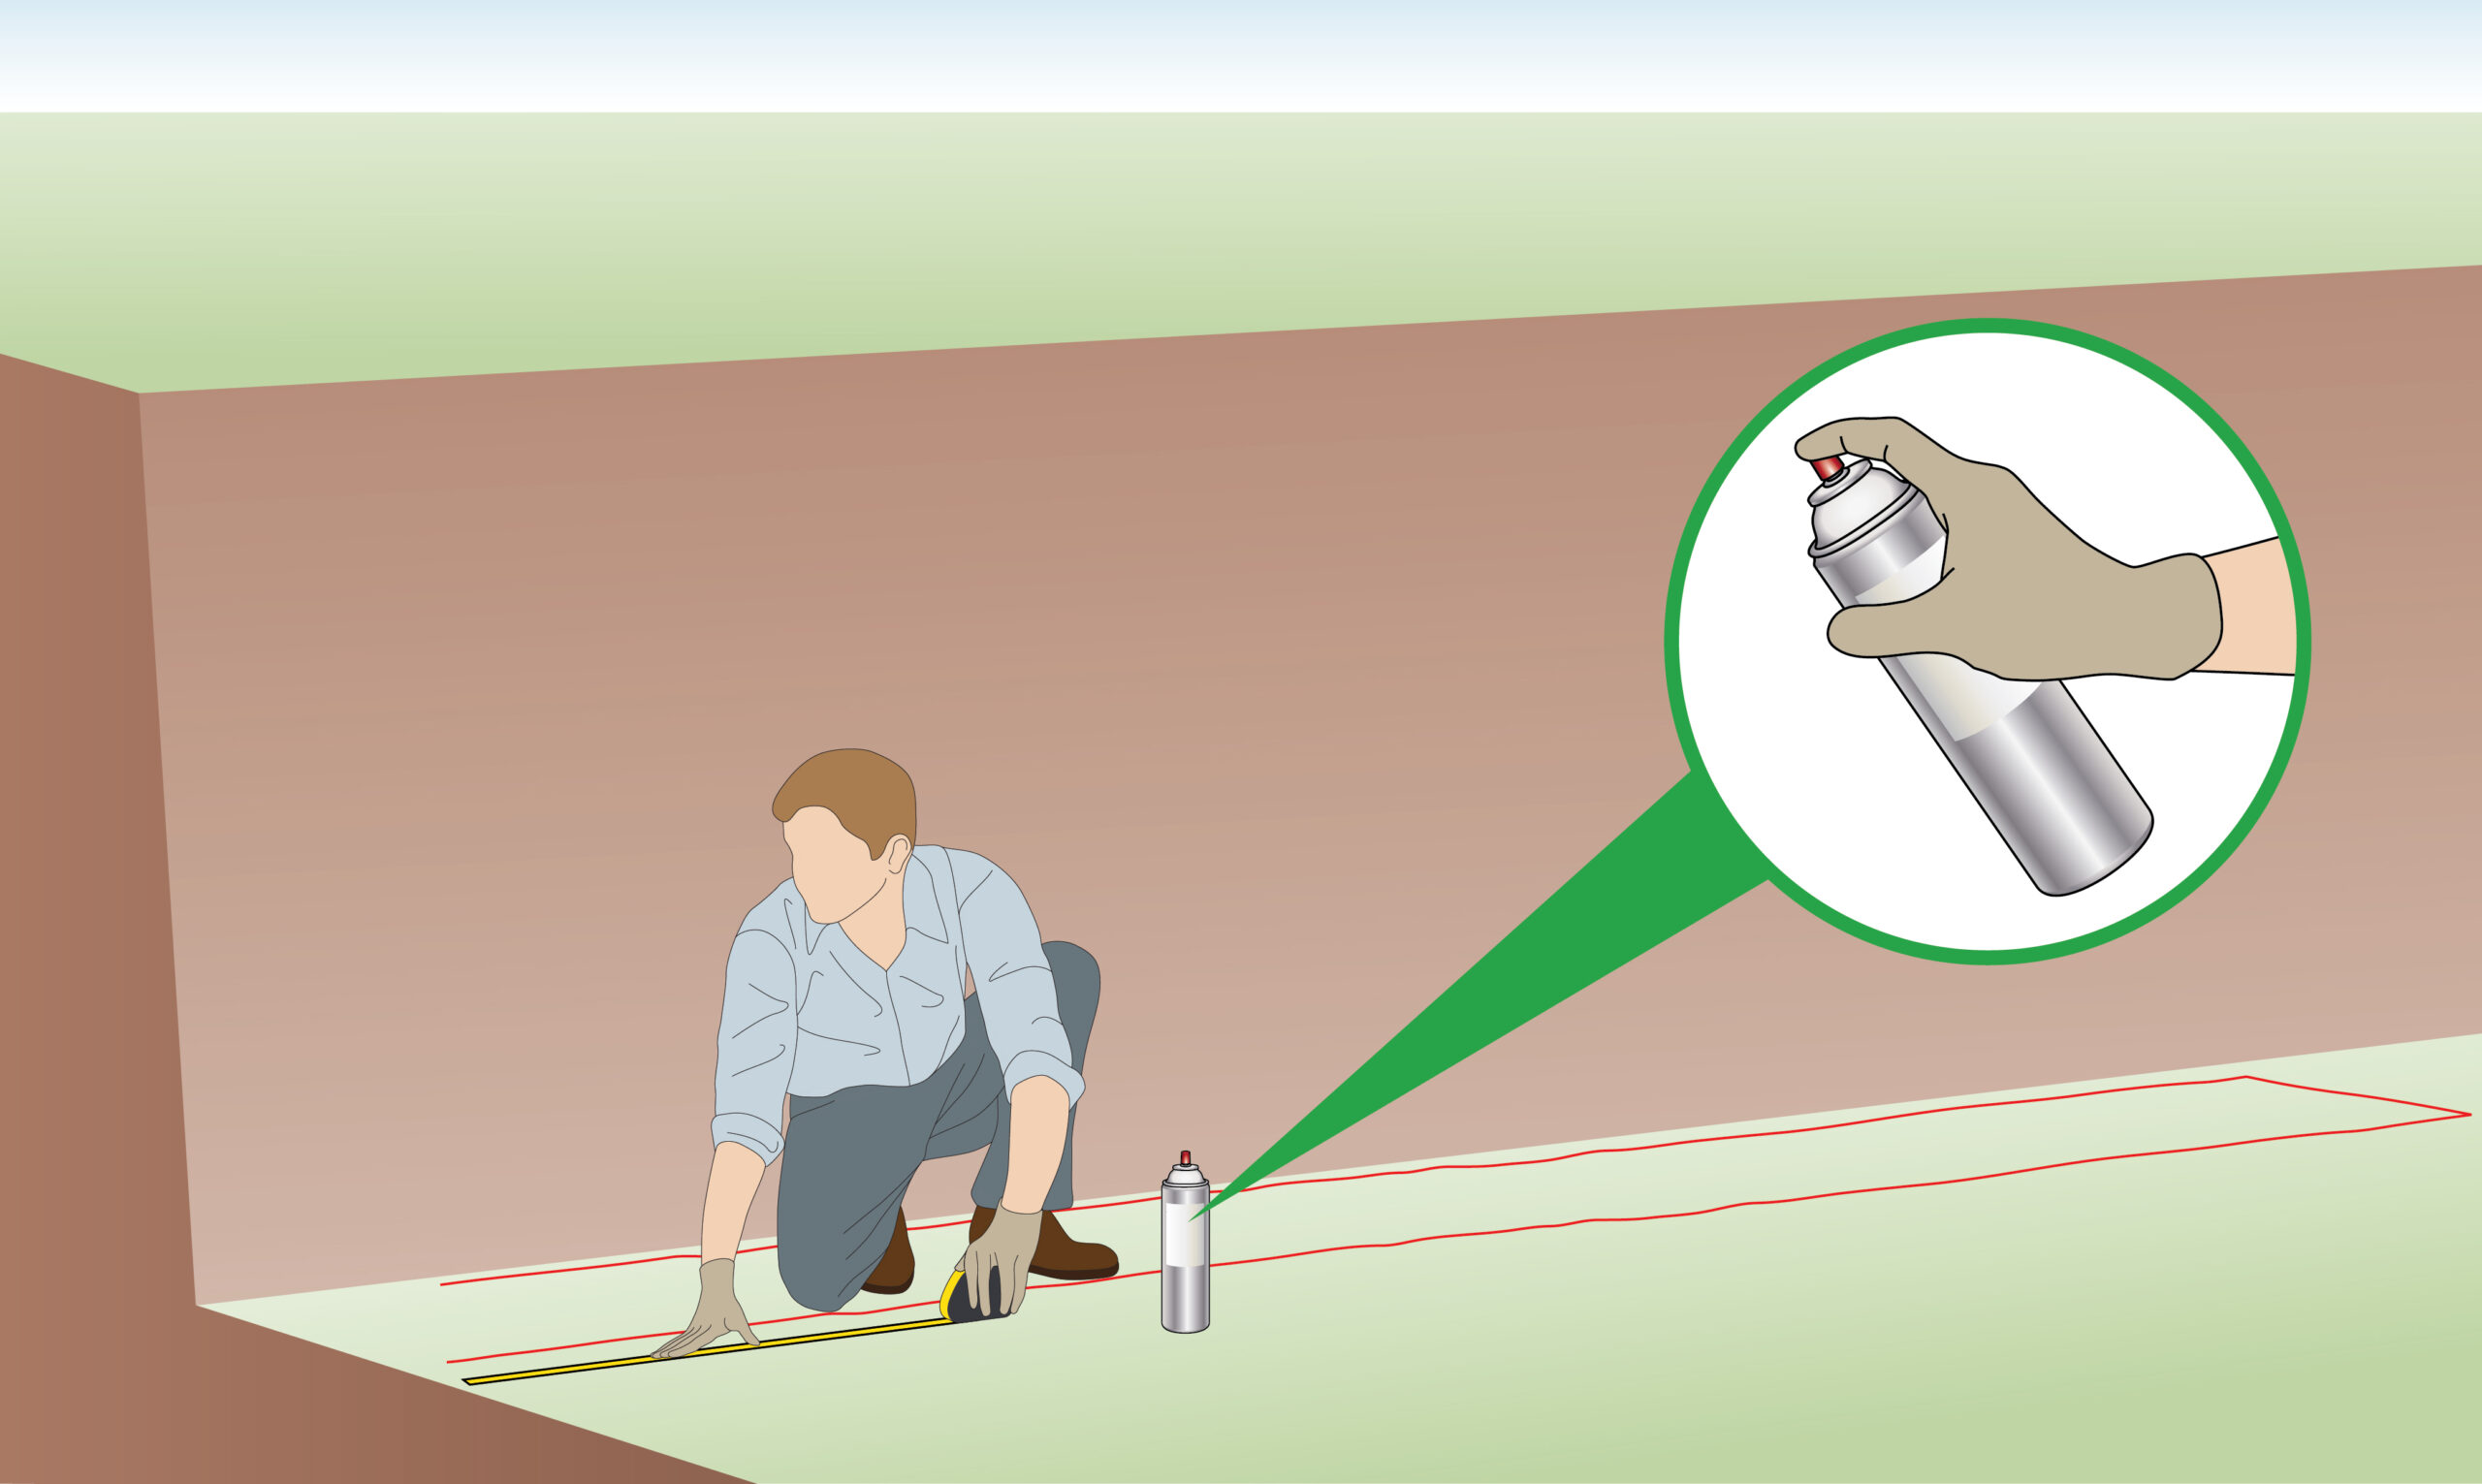
| Step 1 – Identify Location
|
Use spray paint, stones or other materials to mark the location where you plan to construct your wall. |
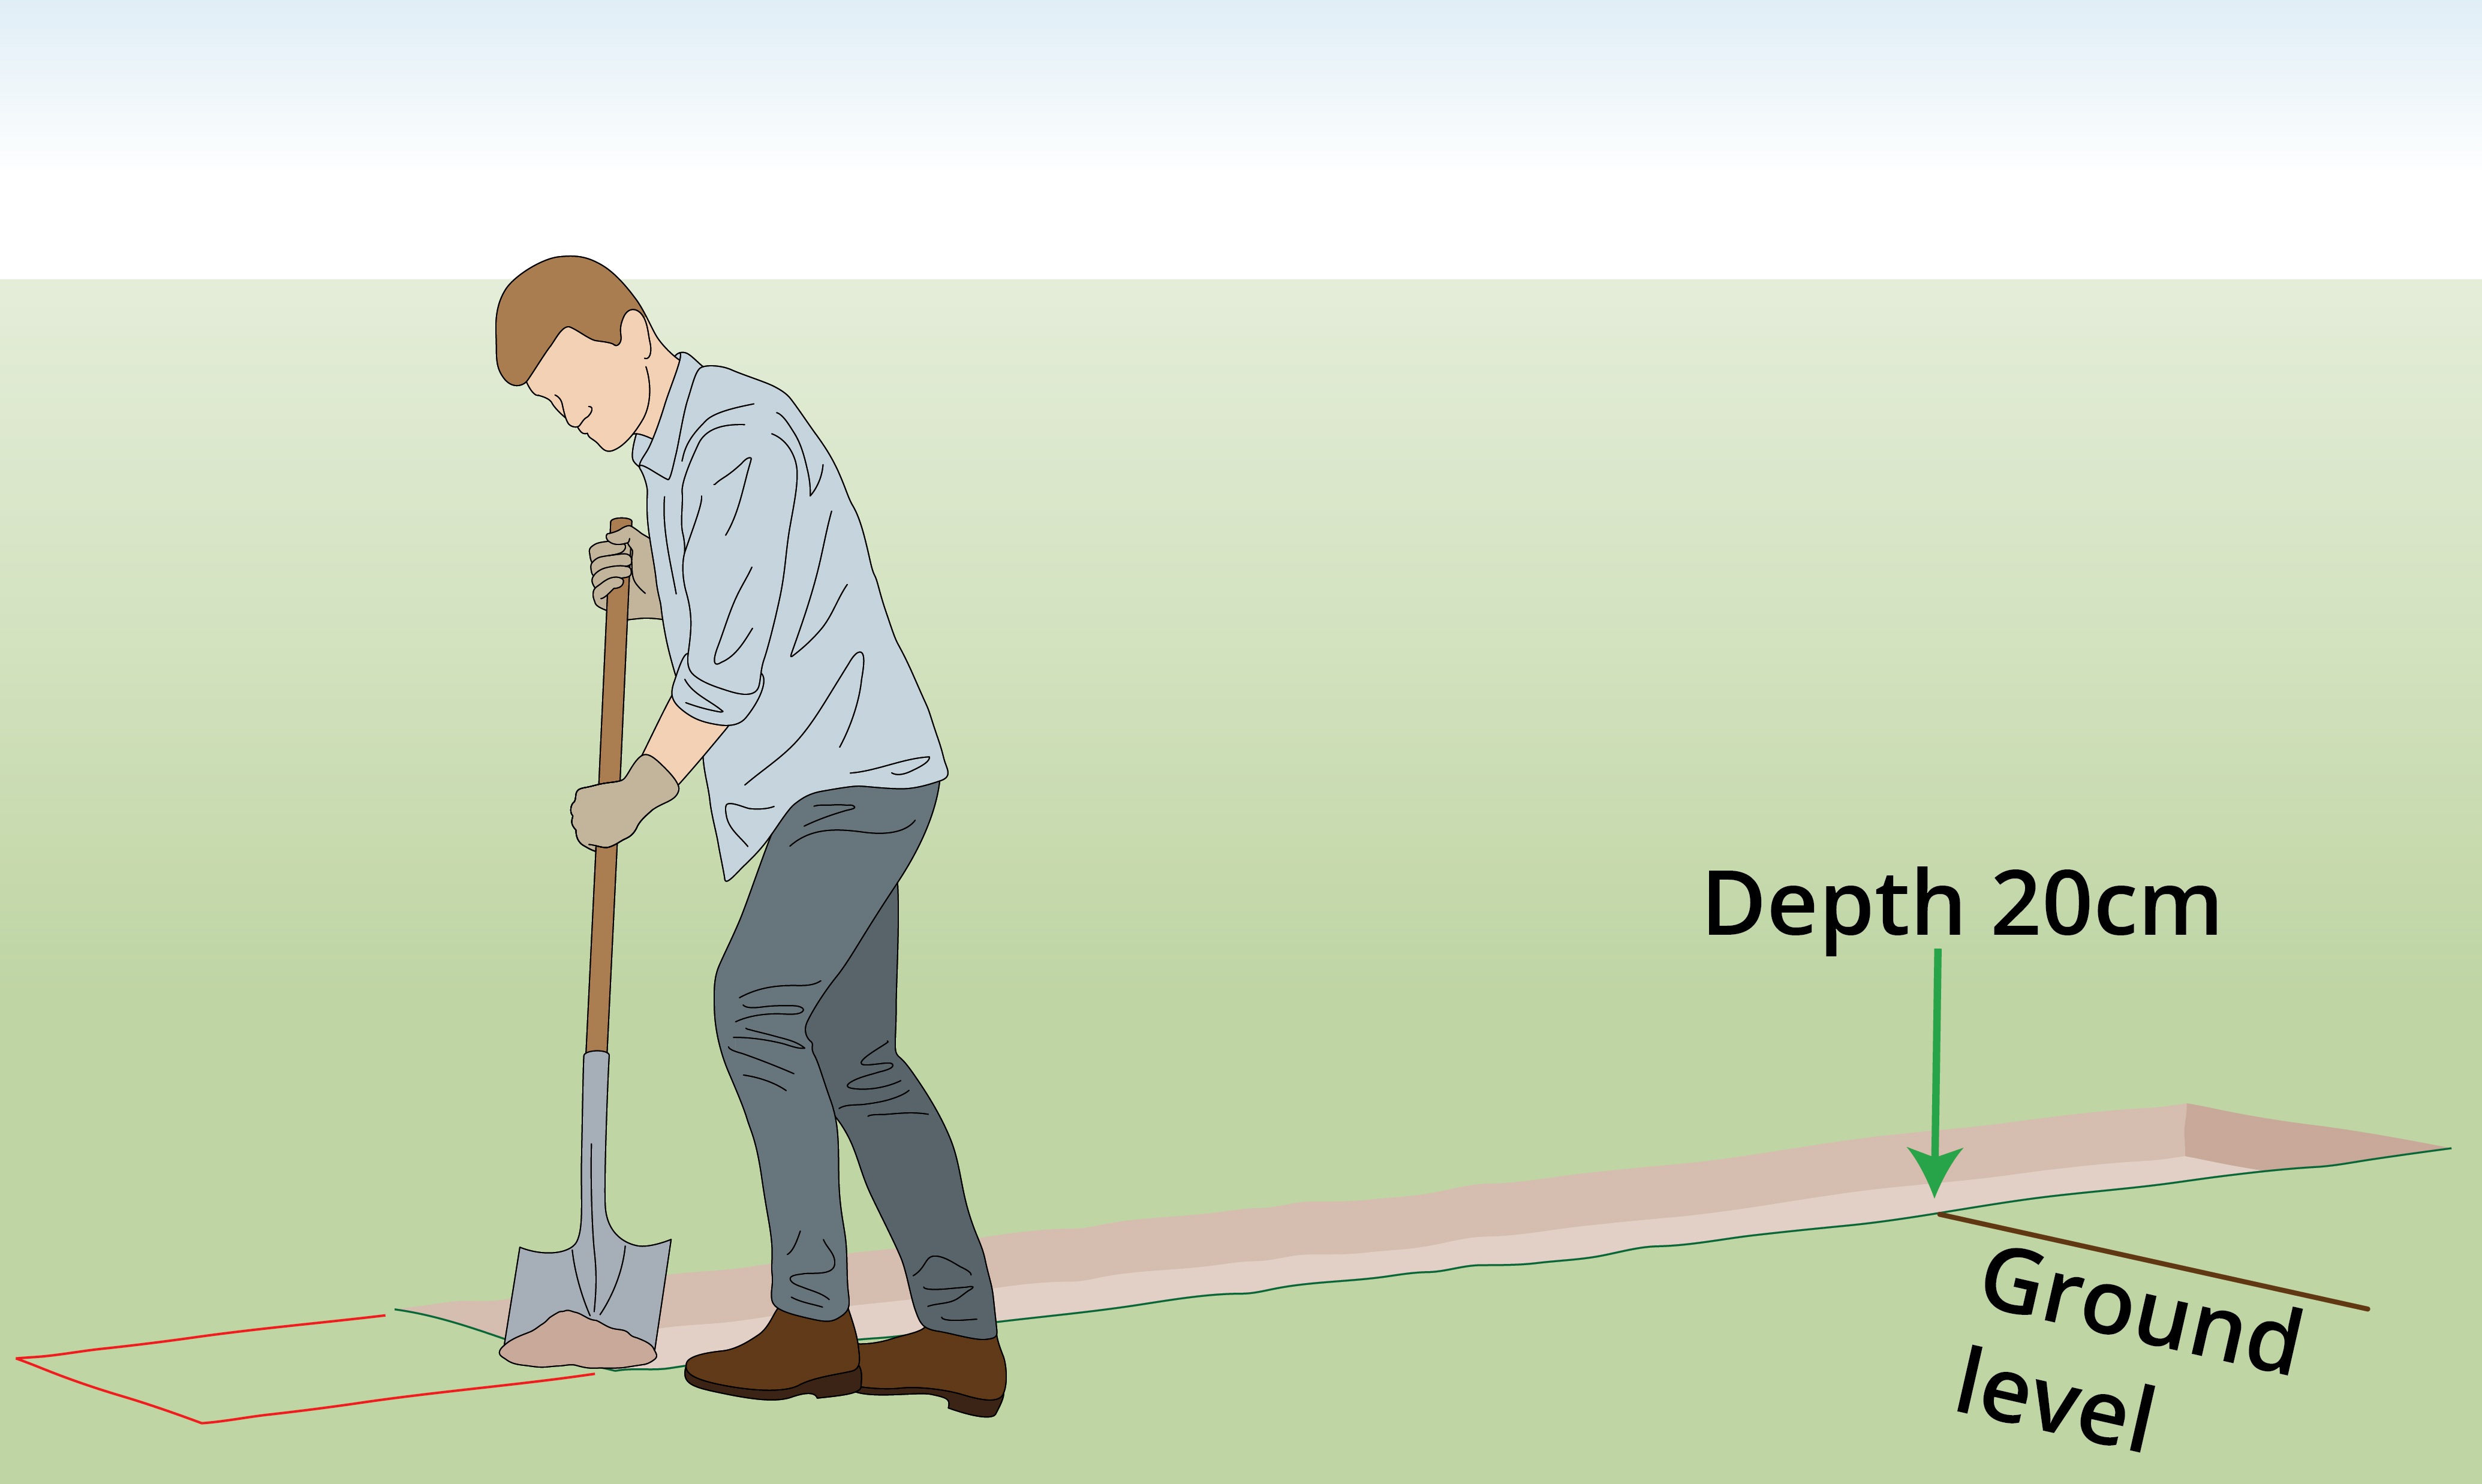
| Step 2 – Dig
|
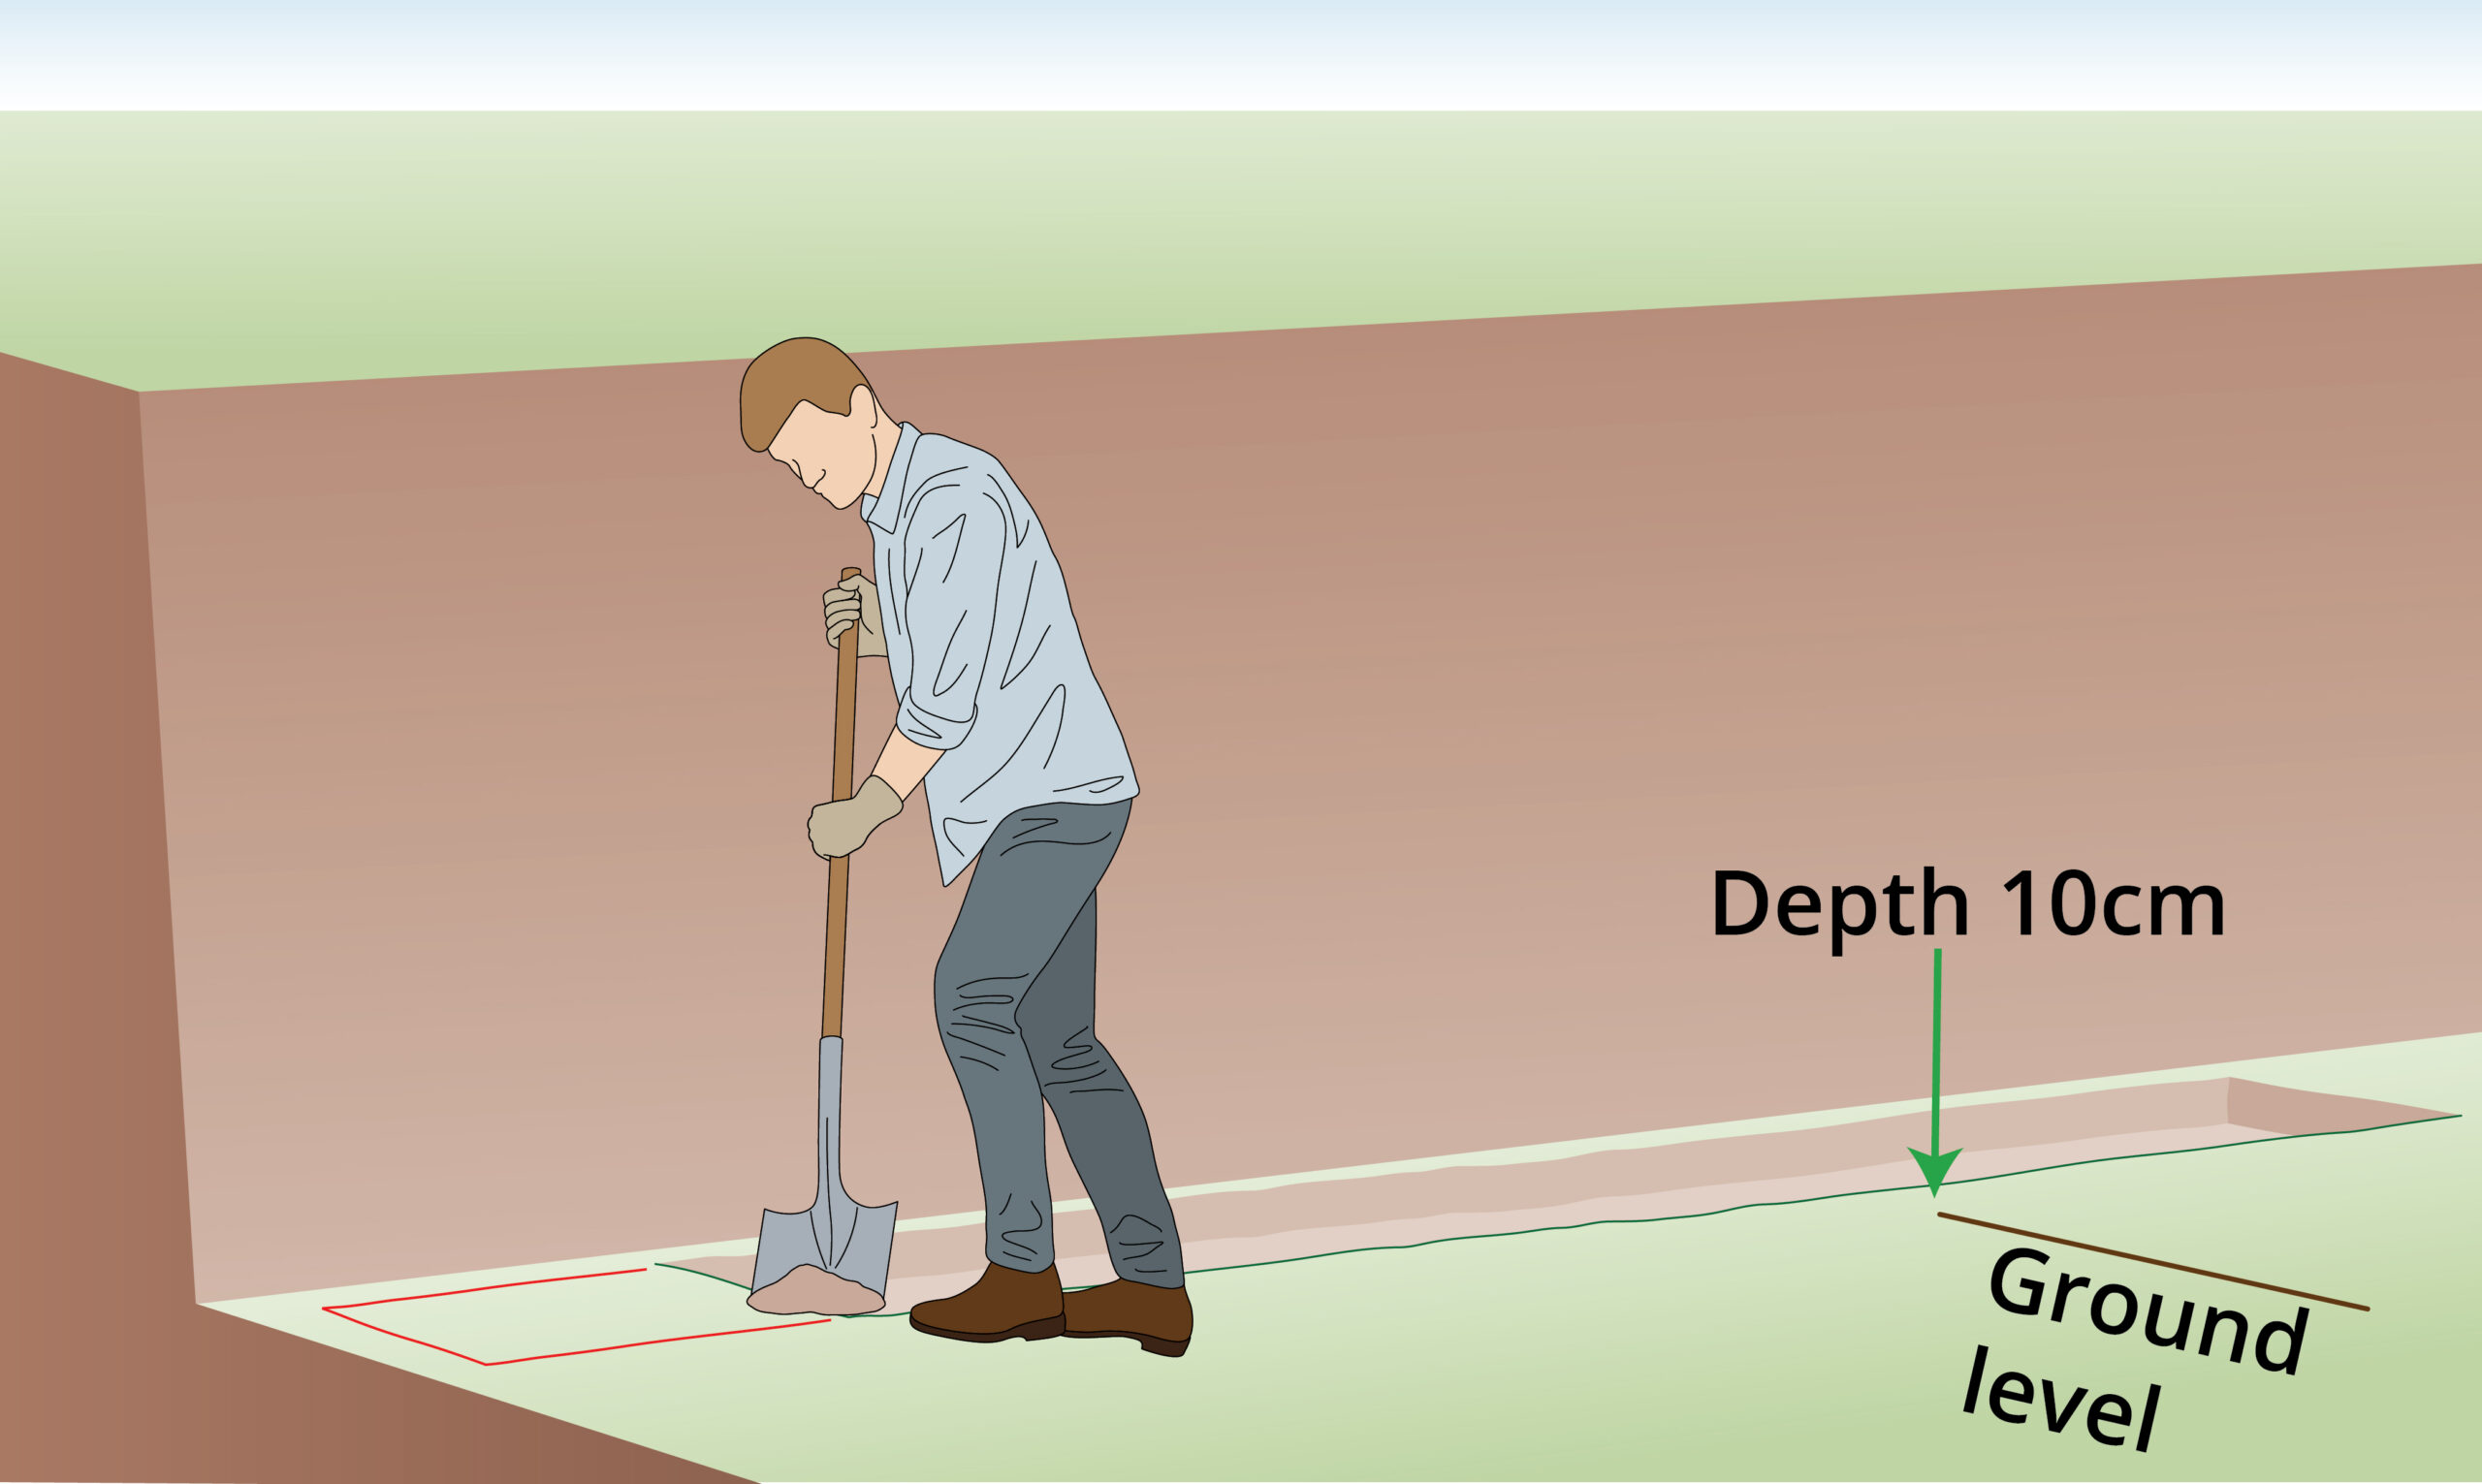
Dig 20cm or until the ground is firm. |
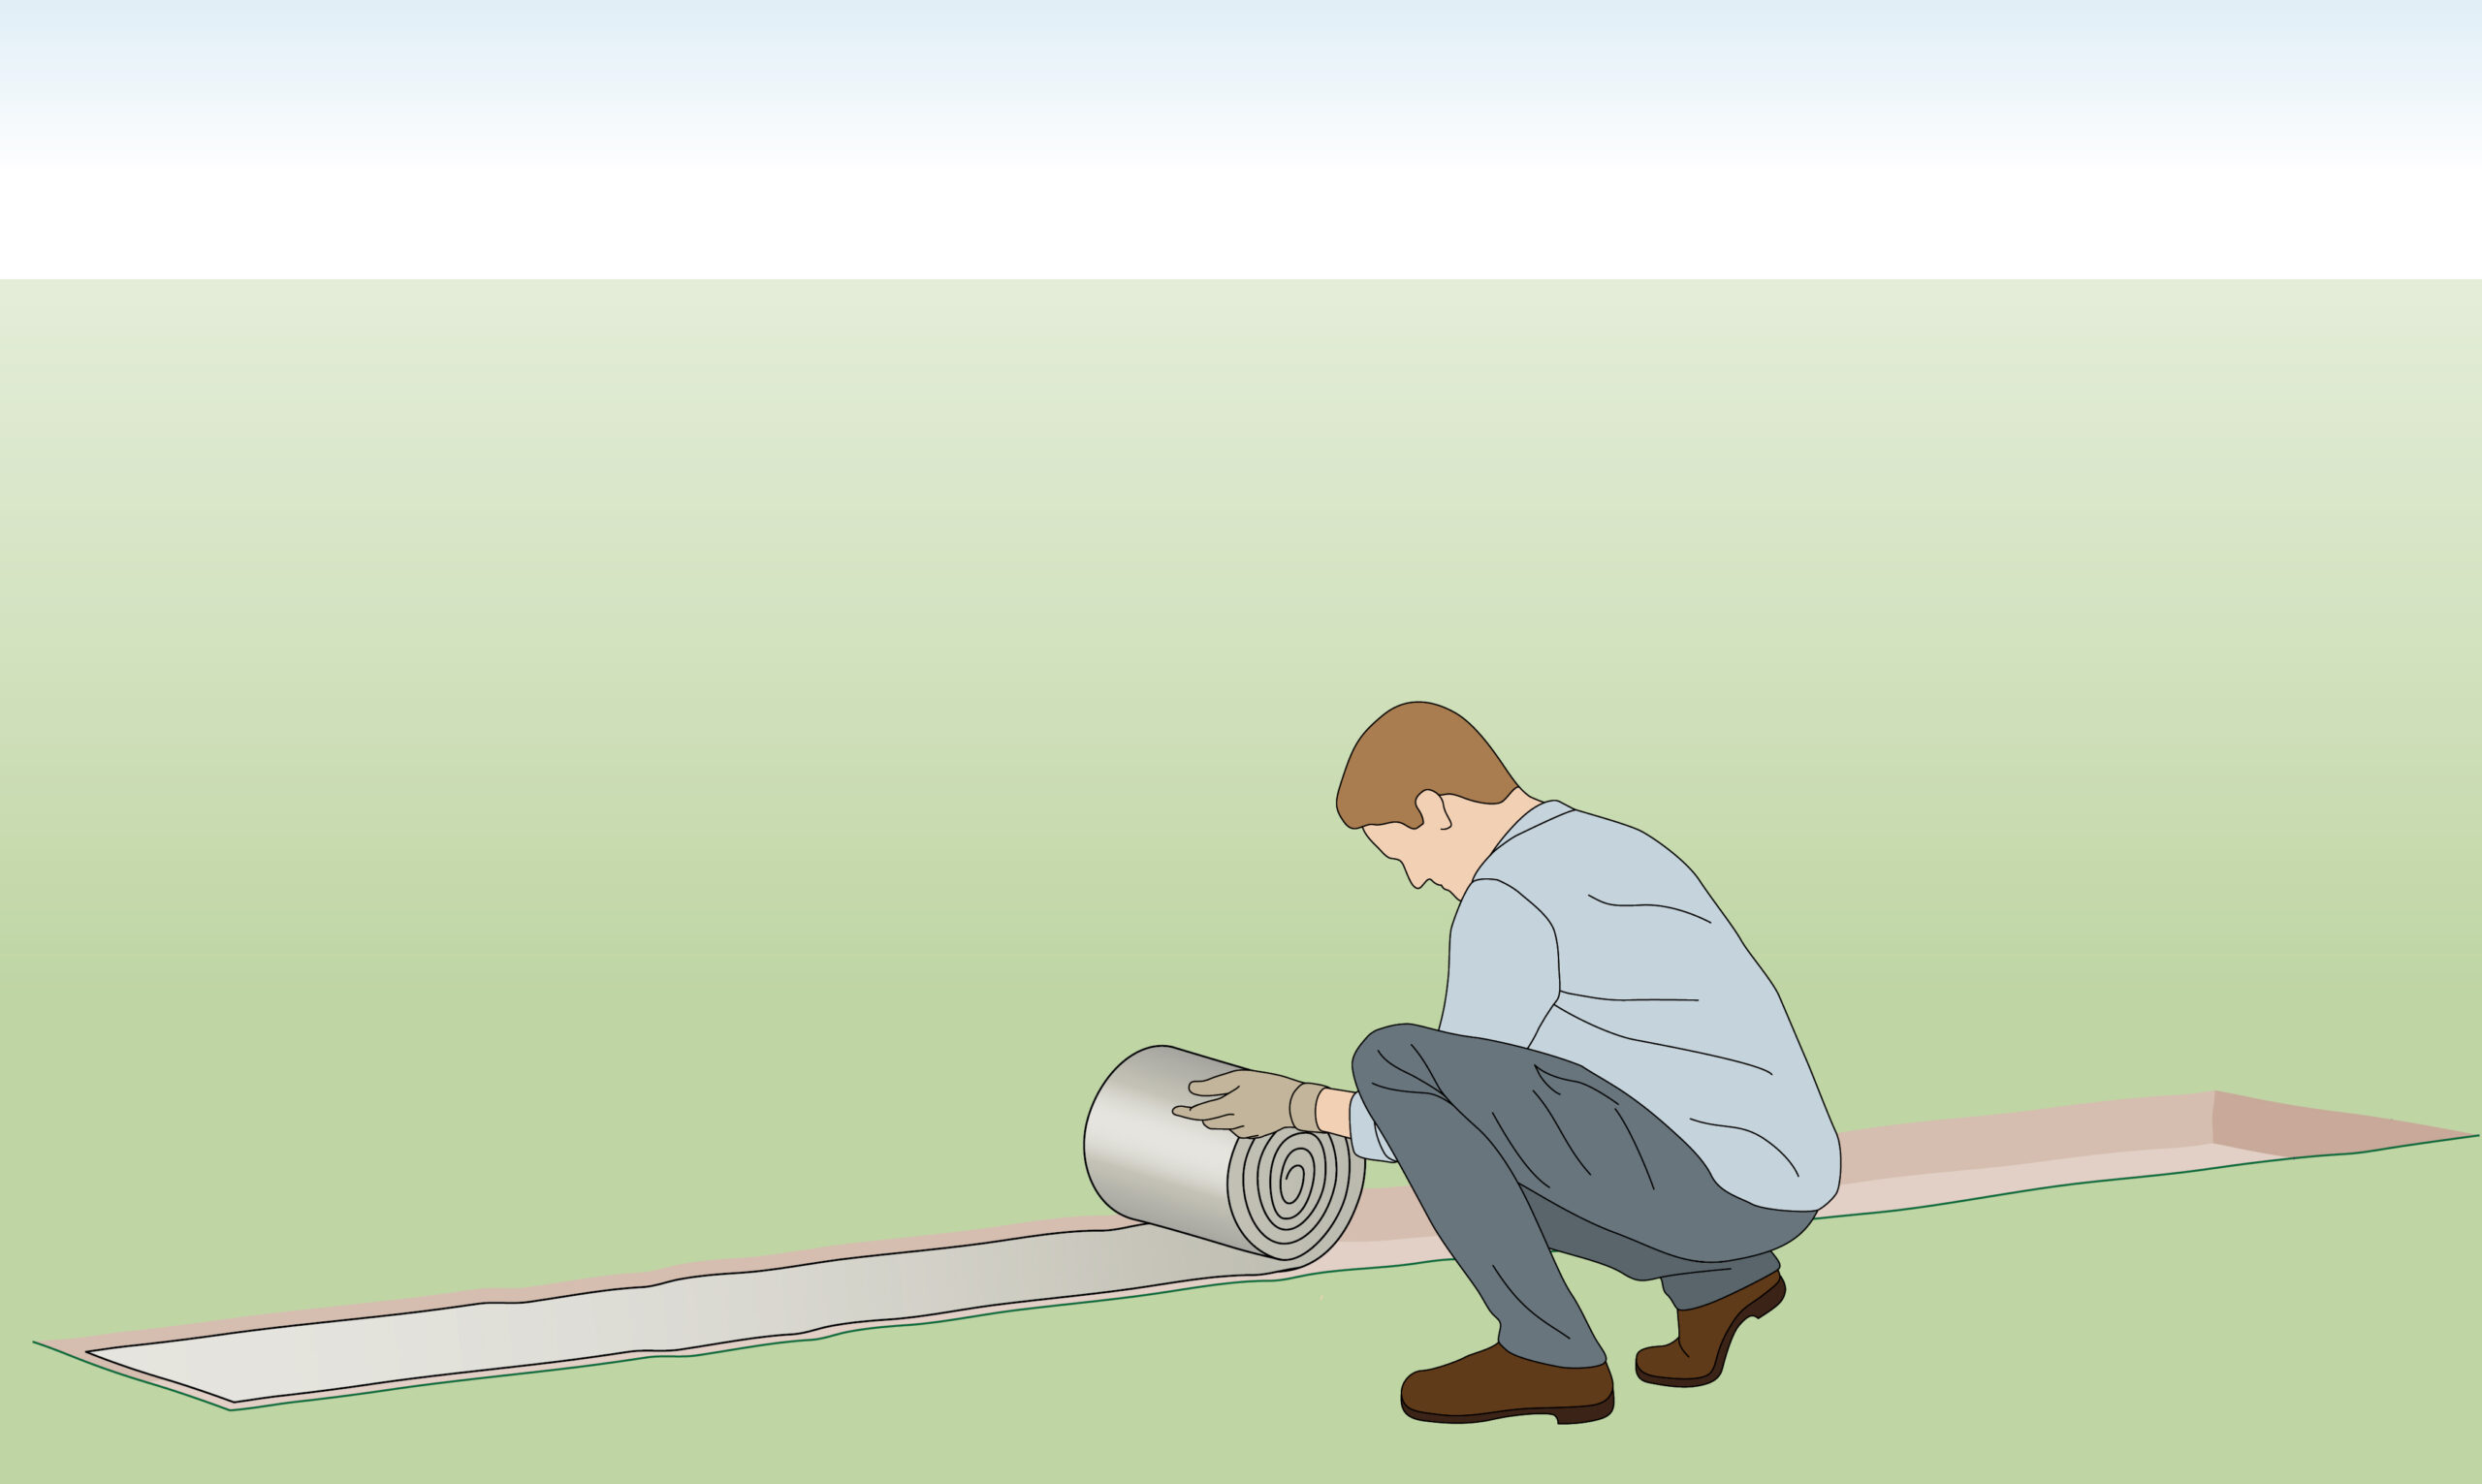
| Step 3 – Geotextile
|
Place a layer of geotextile or weed mat to prevent soil to prevent weeds from growing up and through your gabions. |
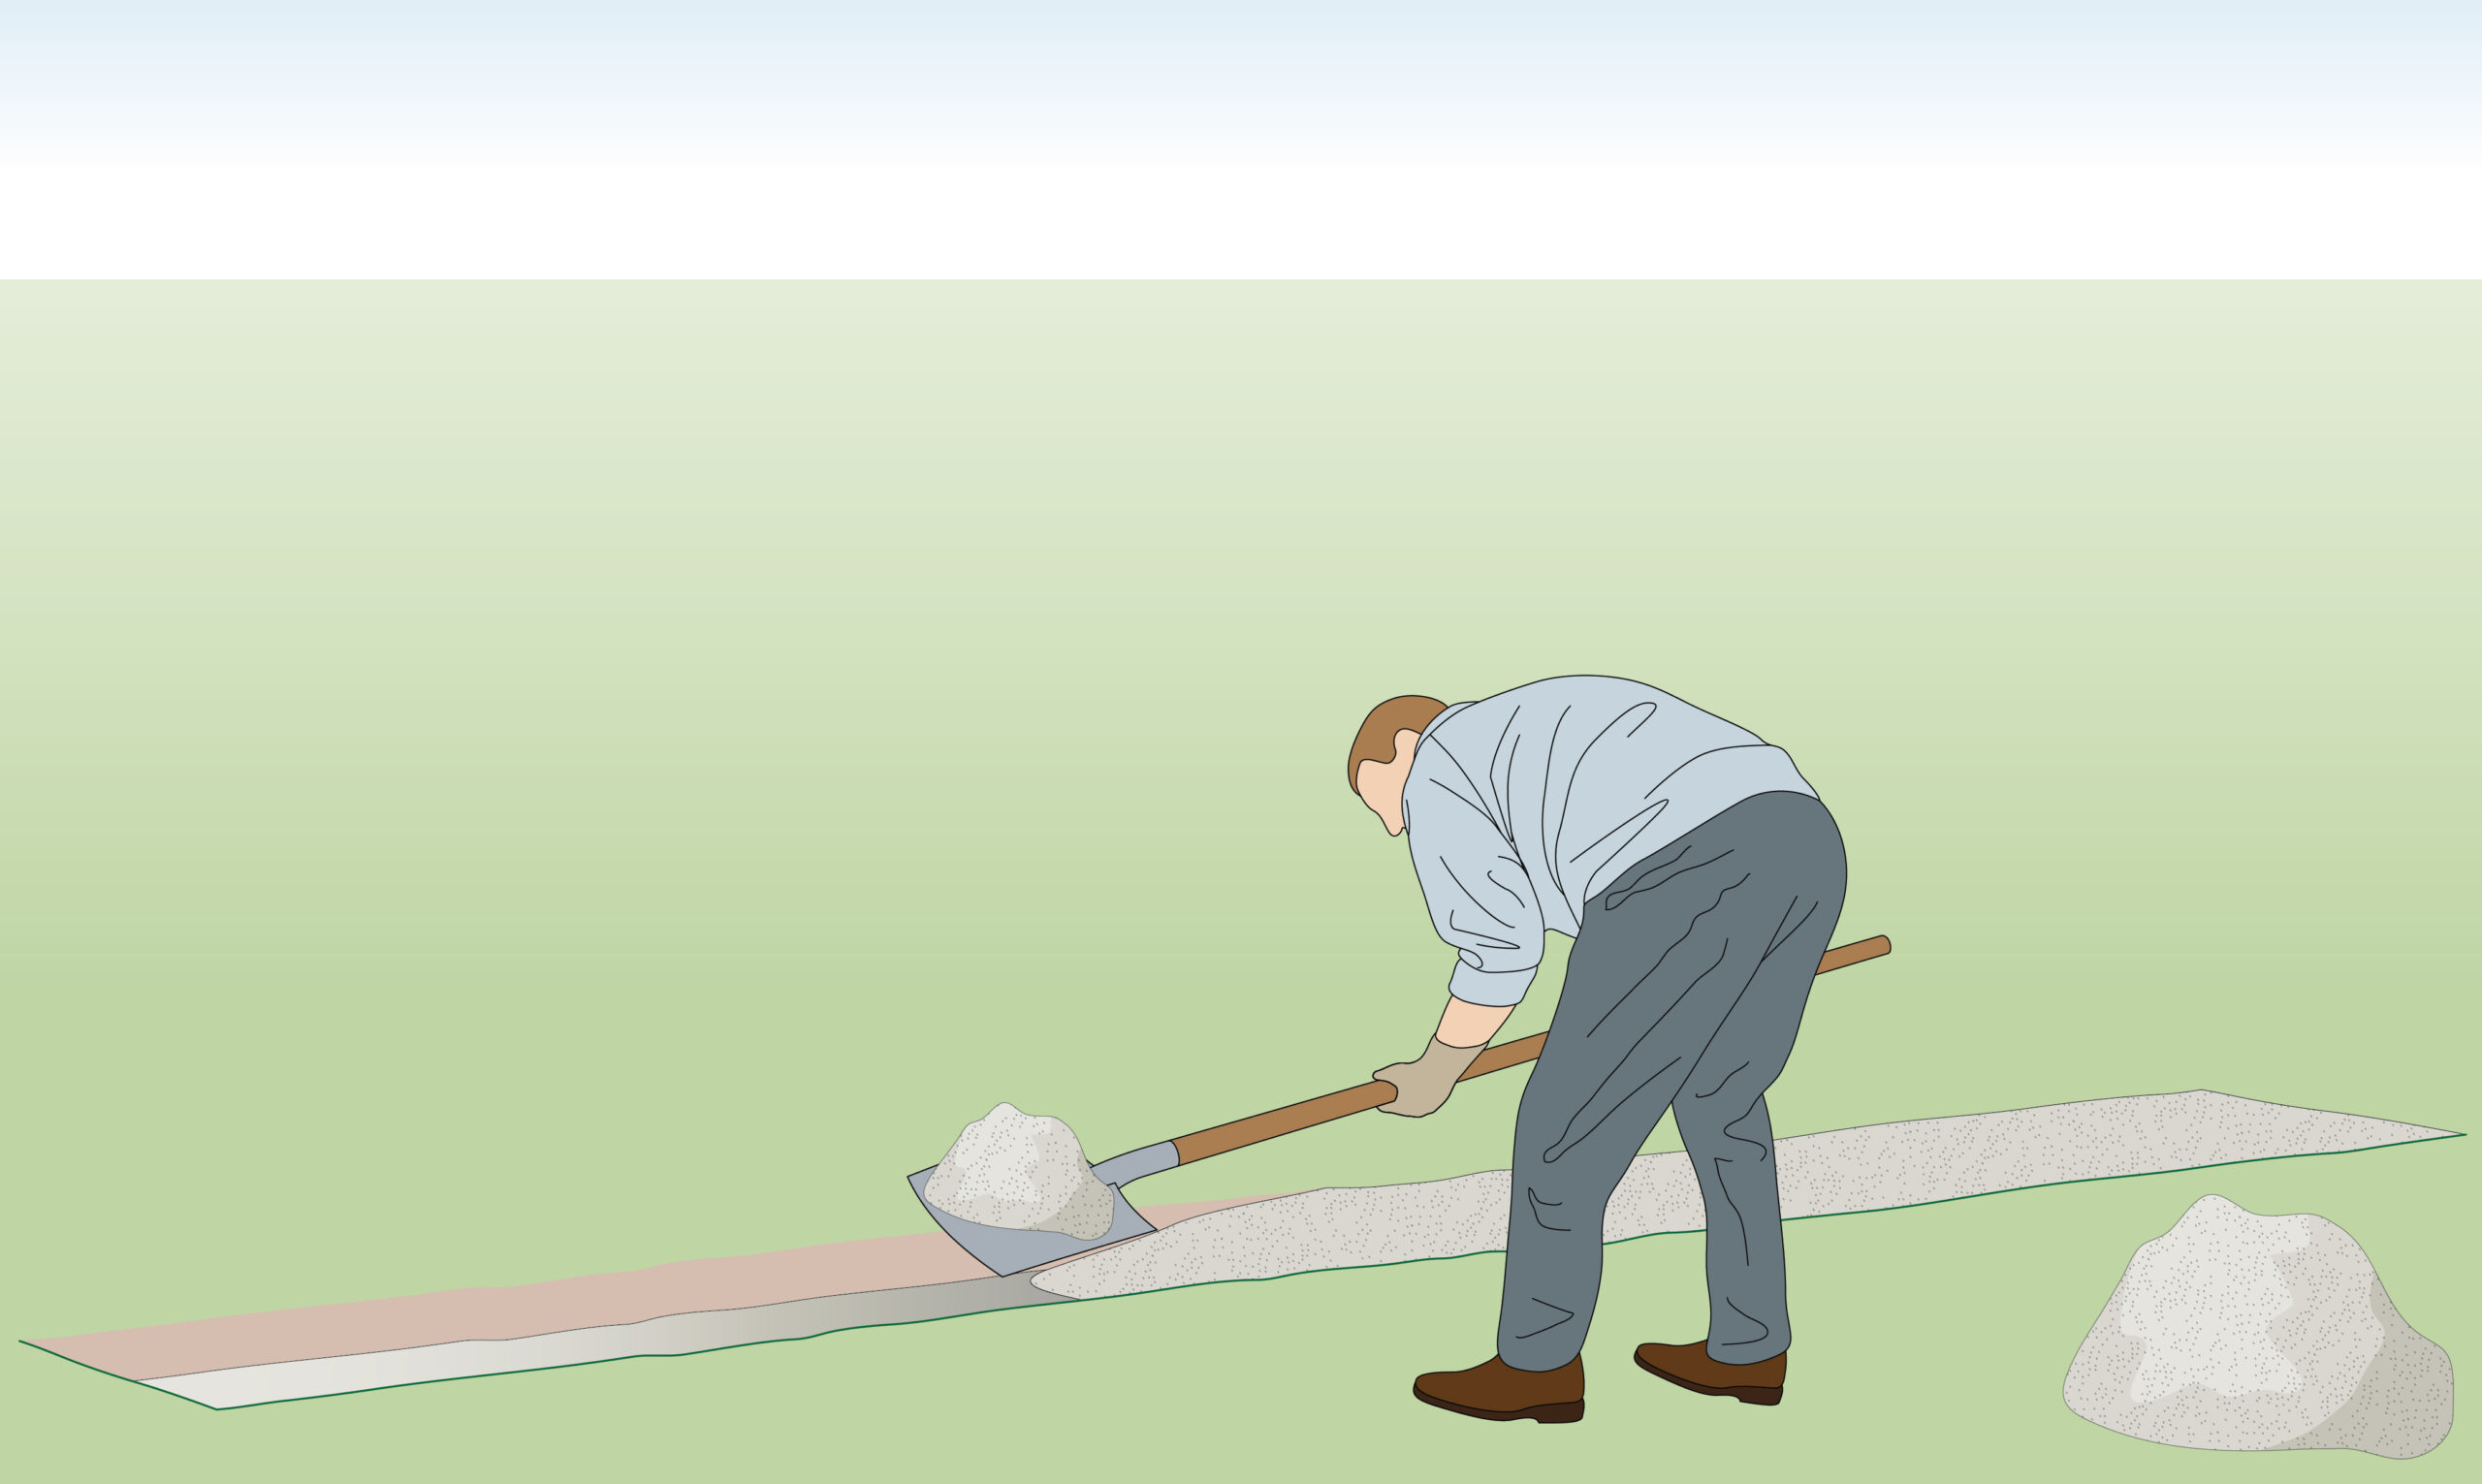
| Step 4 – Add Basecourse
|
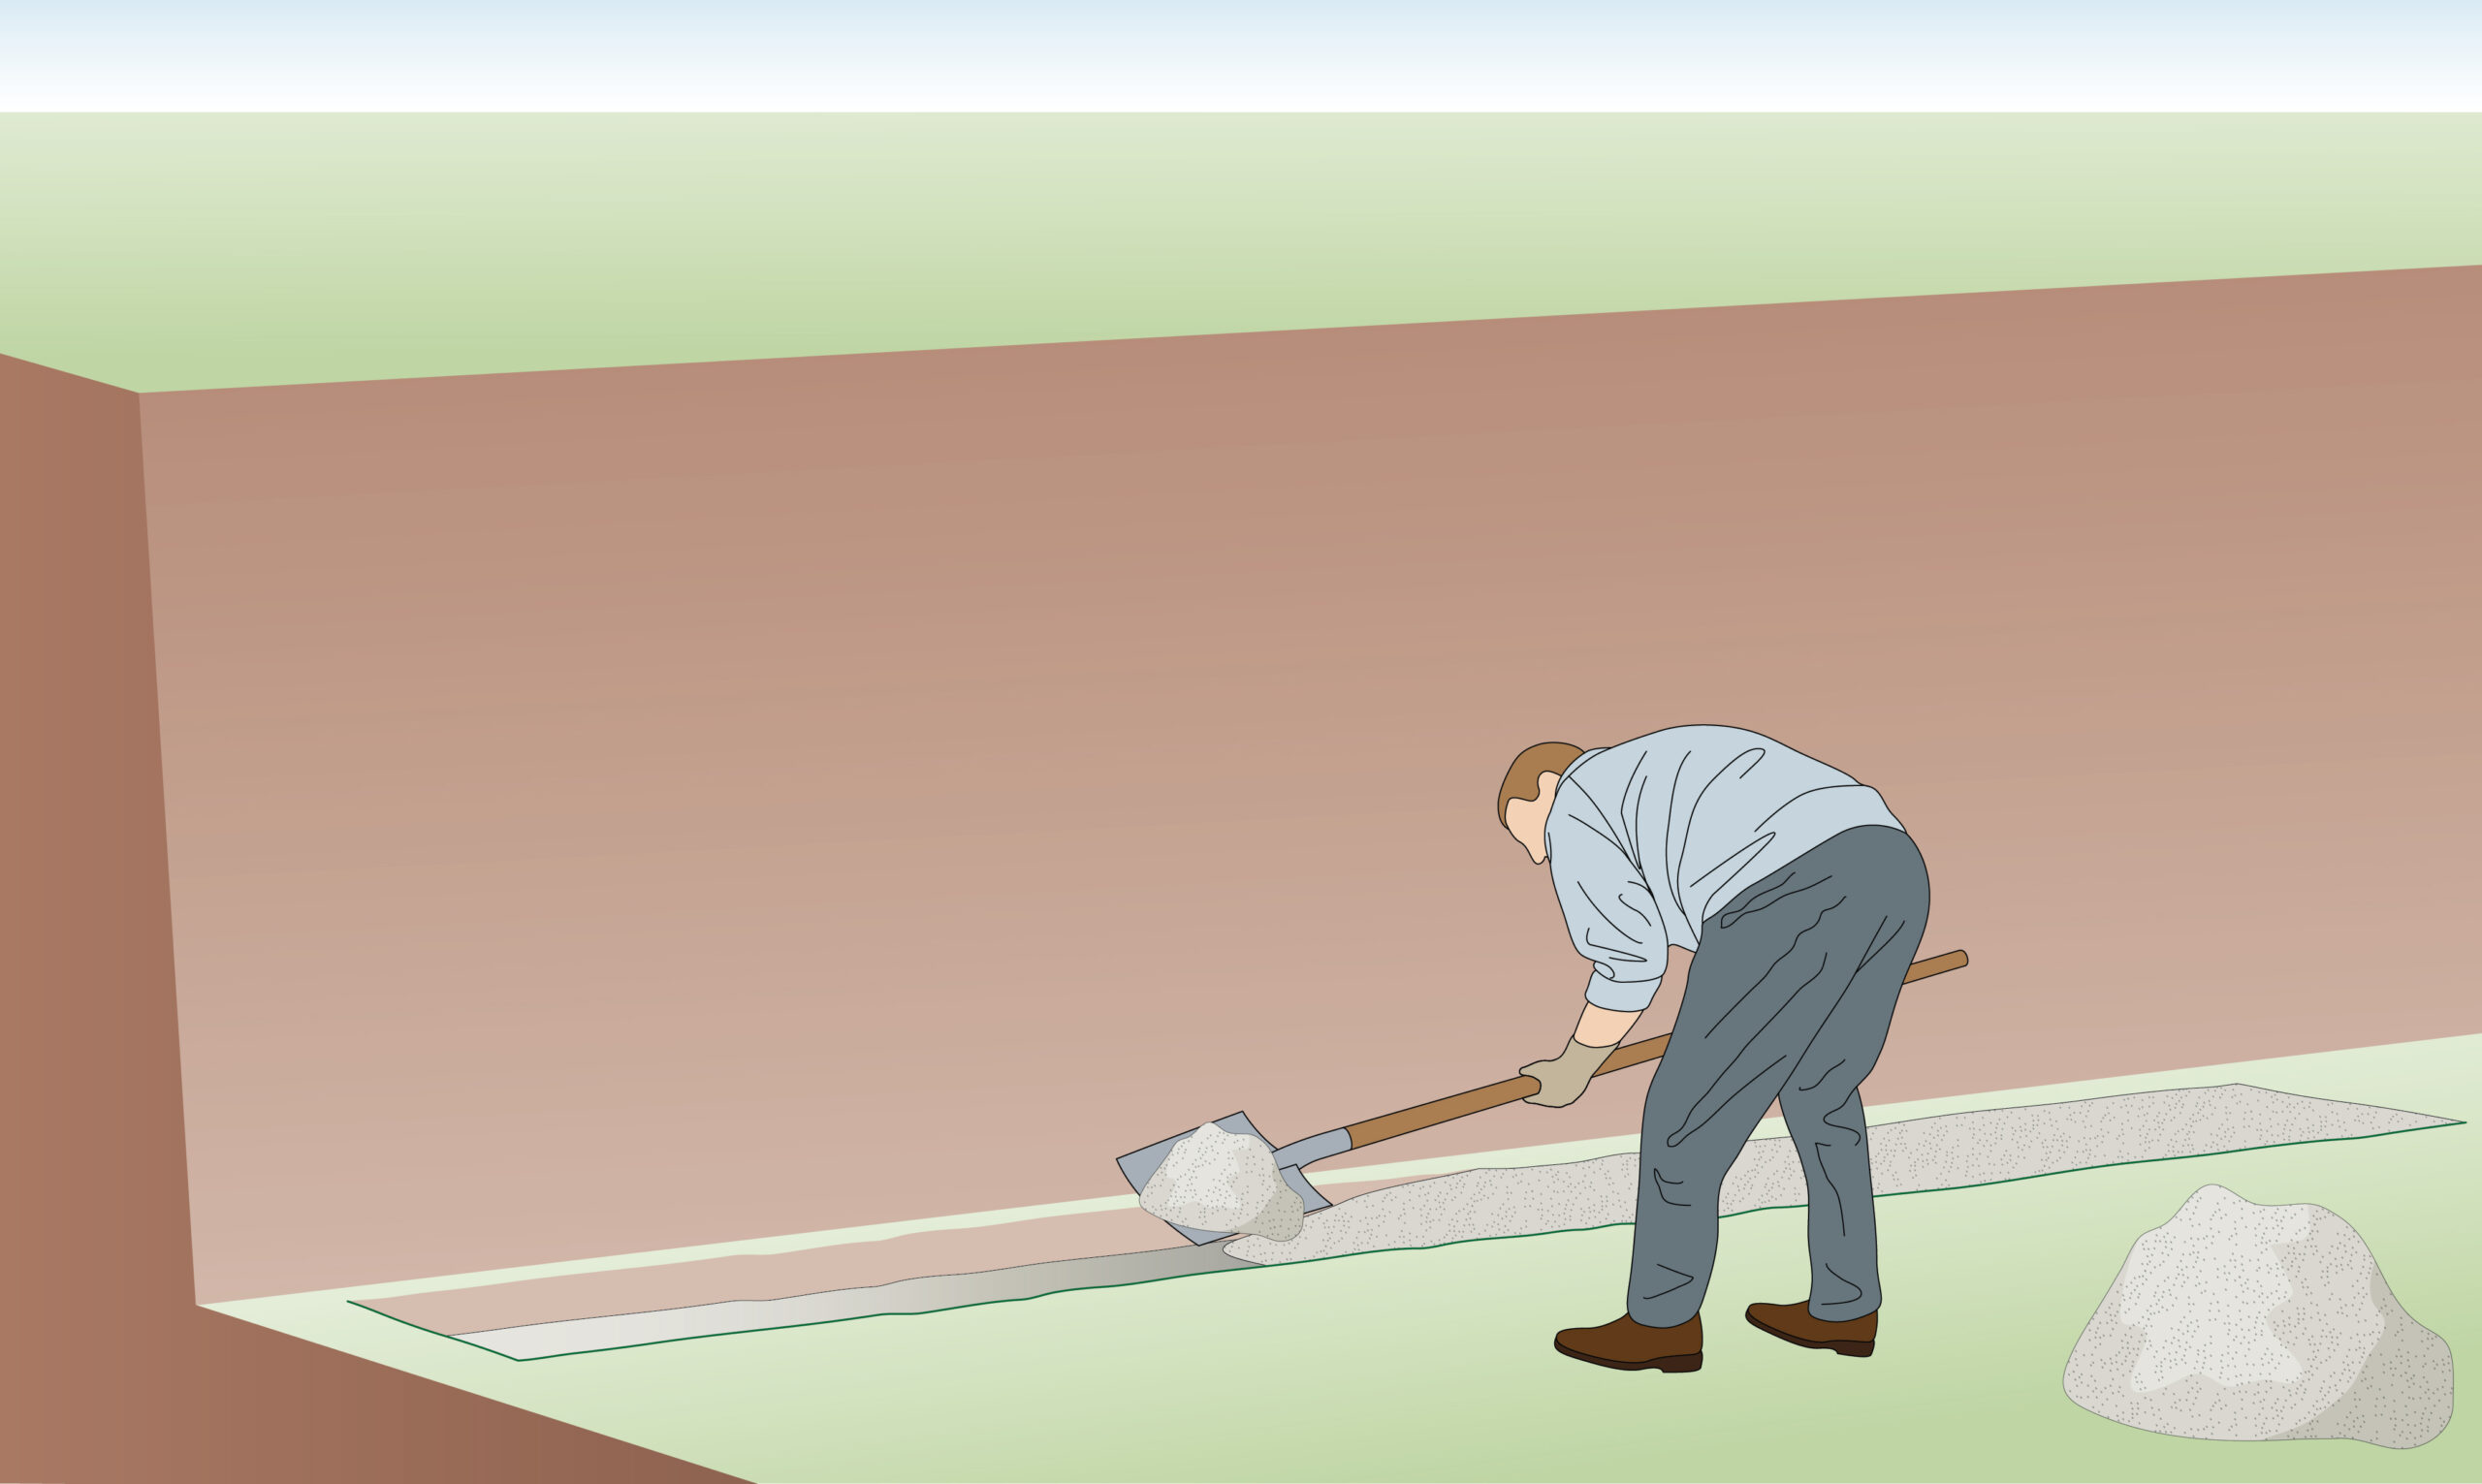
Add a 20cm layer of gravel or basecourse on top of the geotextile. |
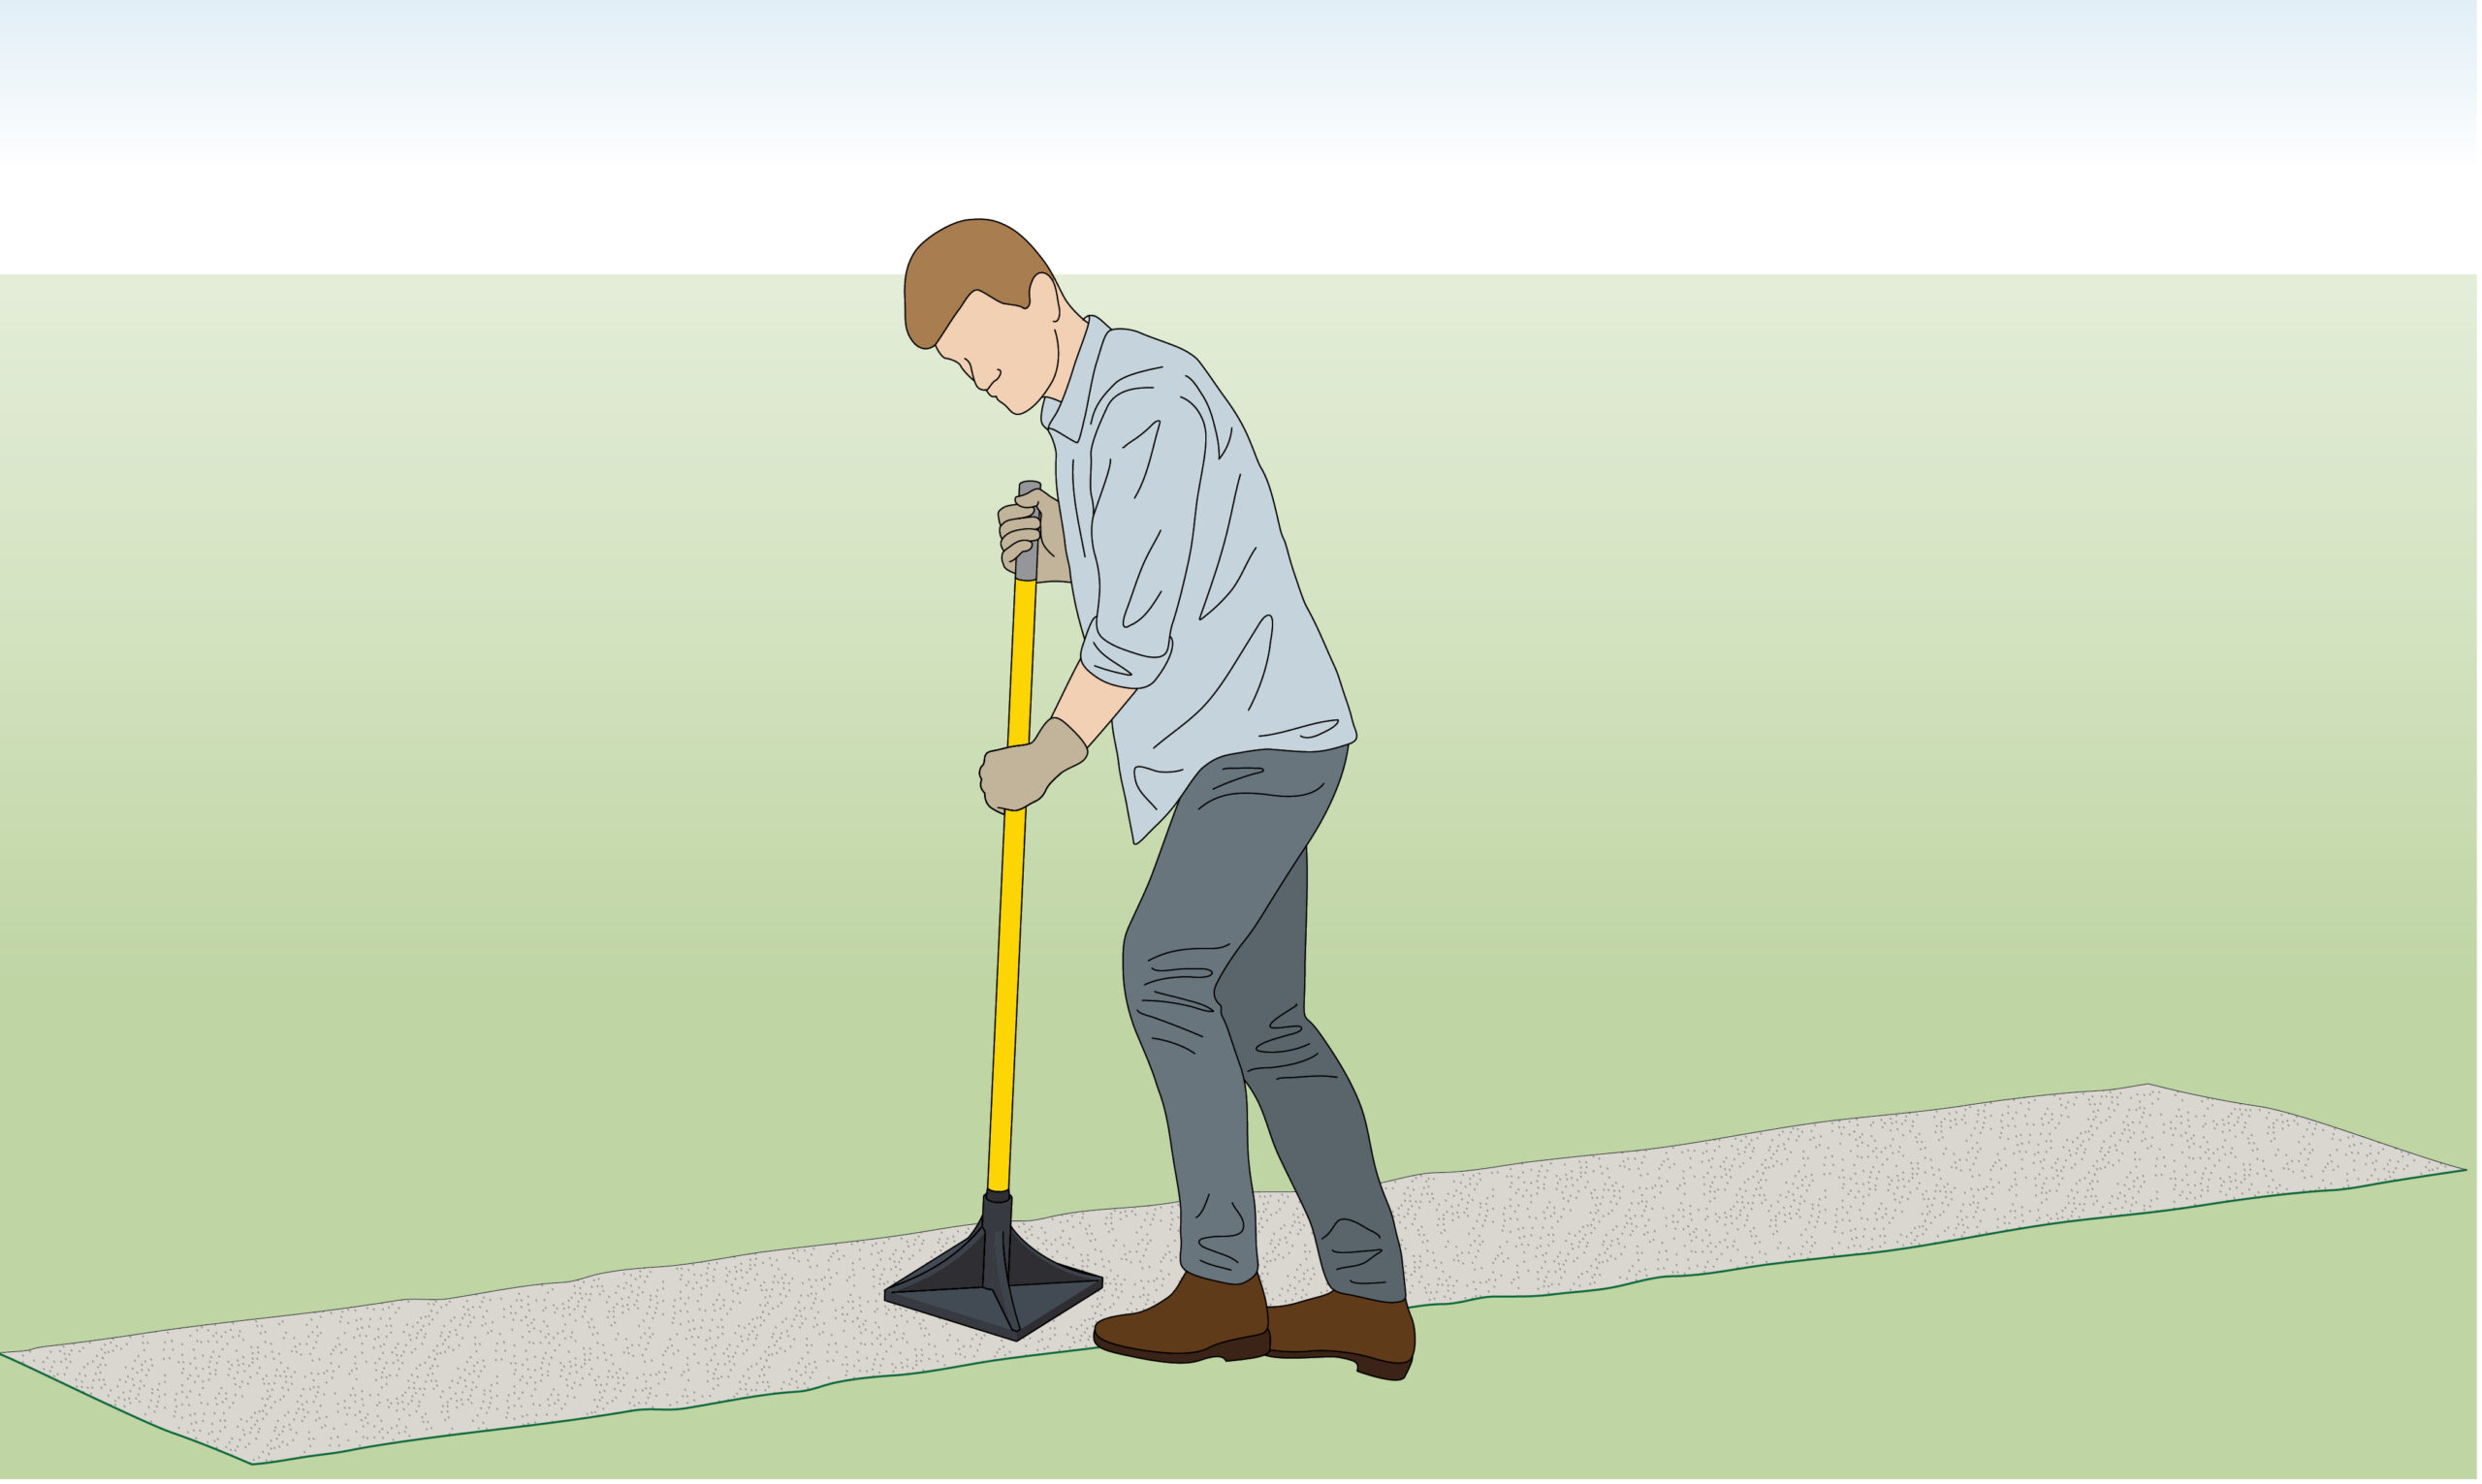
| Step 5 – Compact Gravel
|
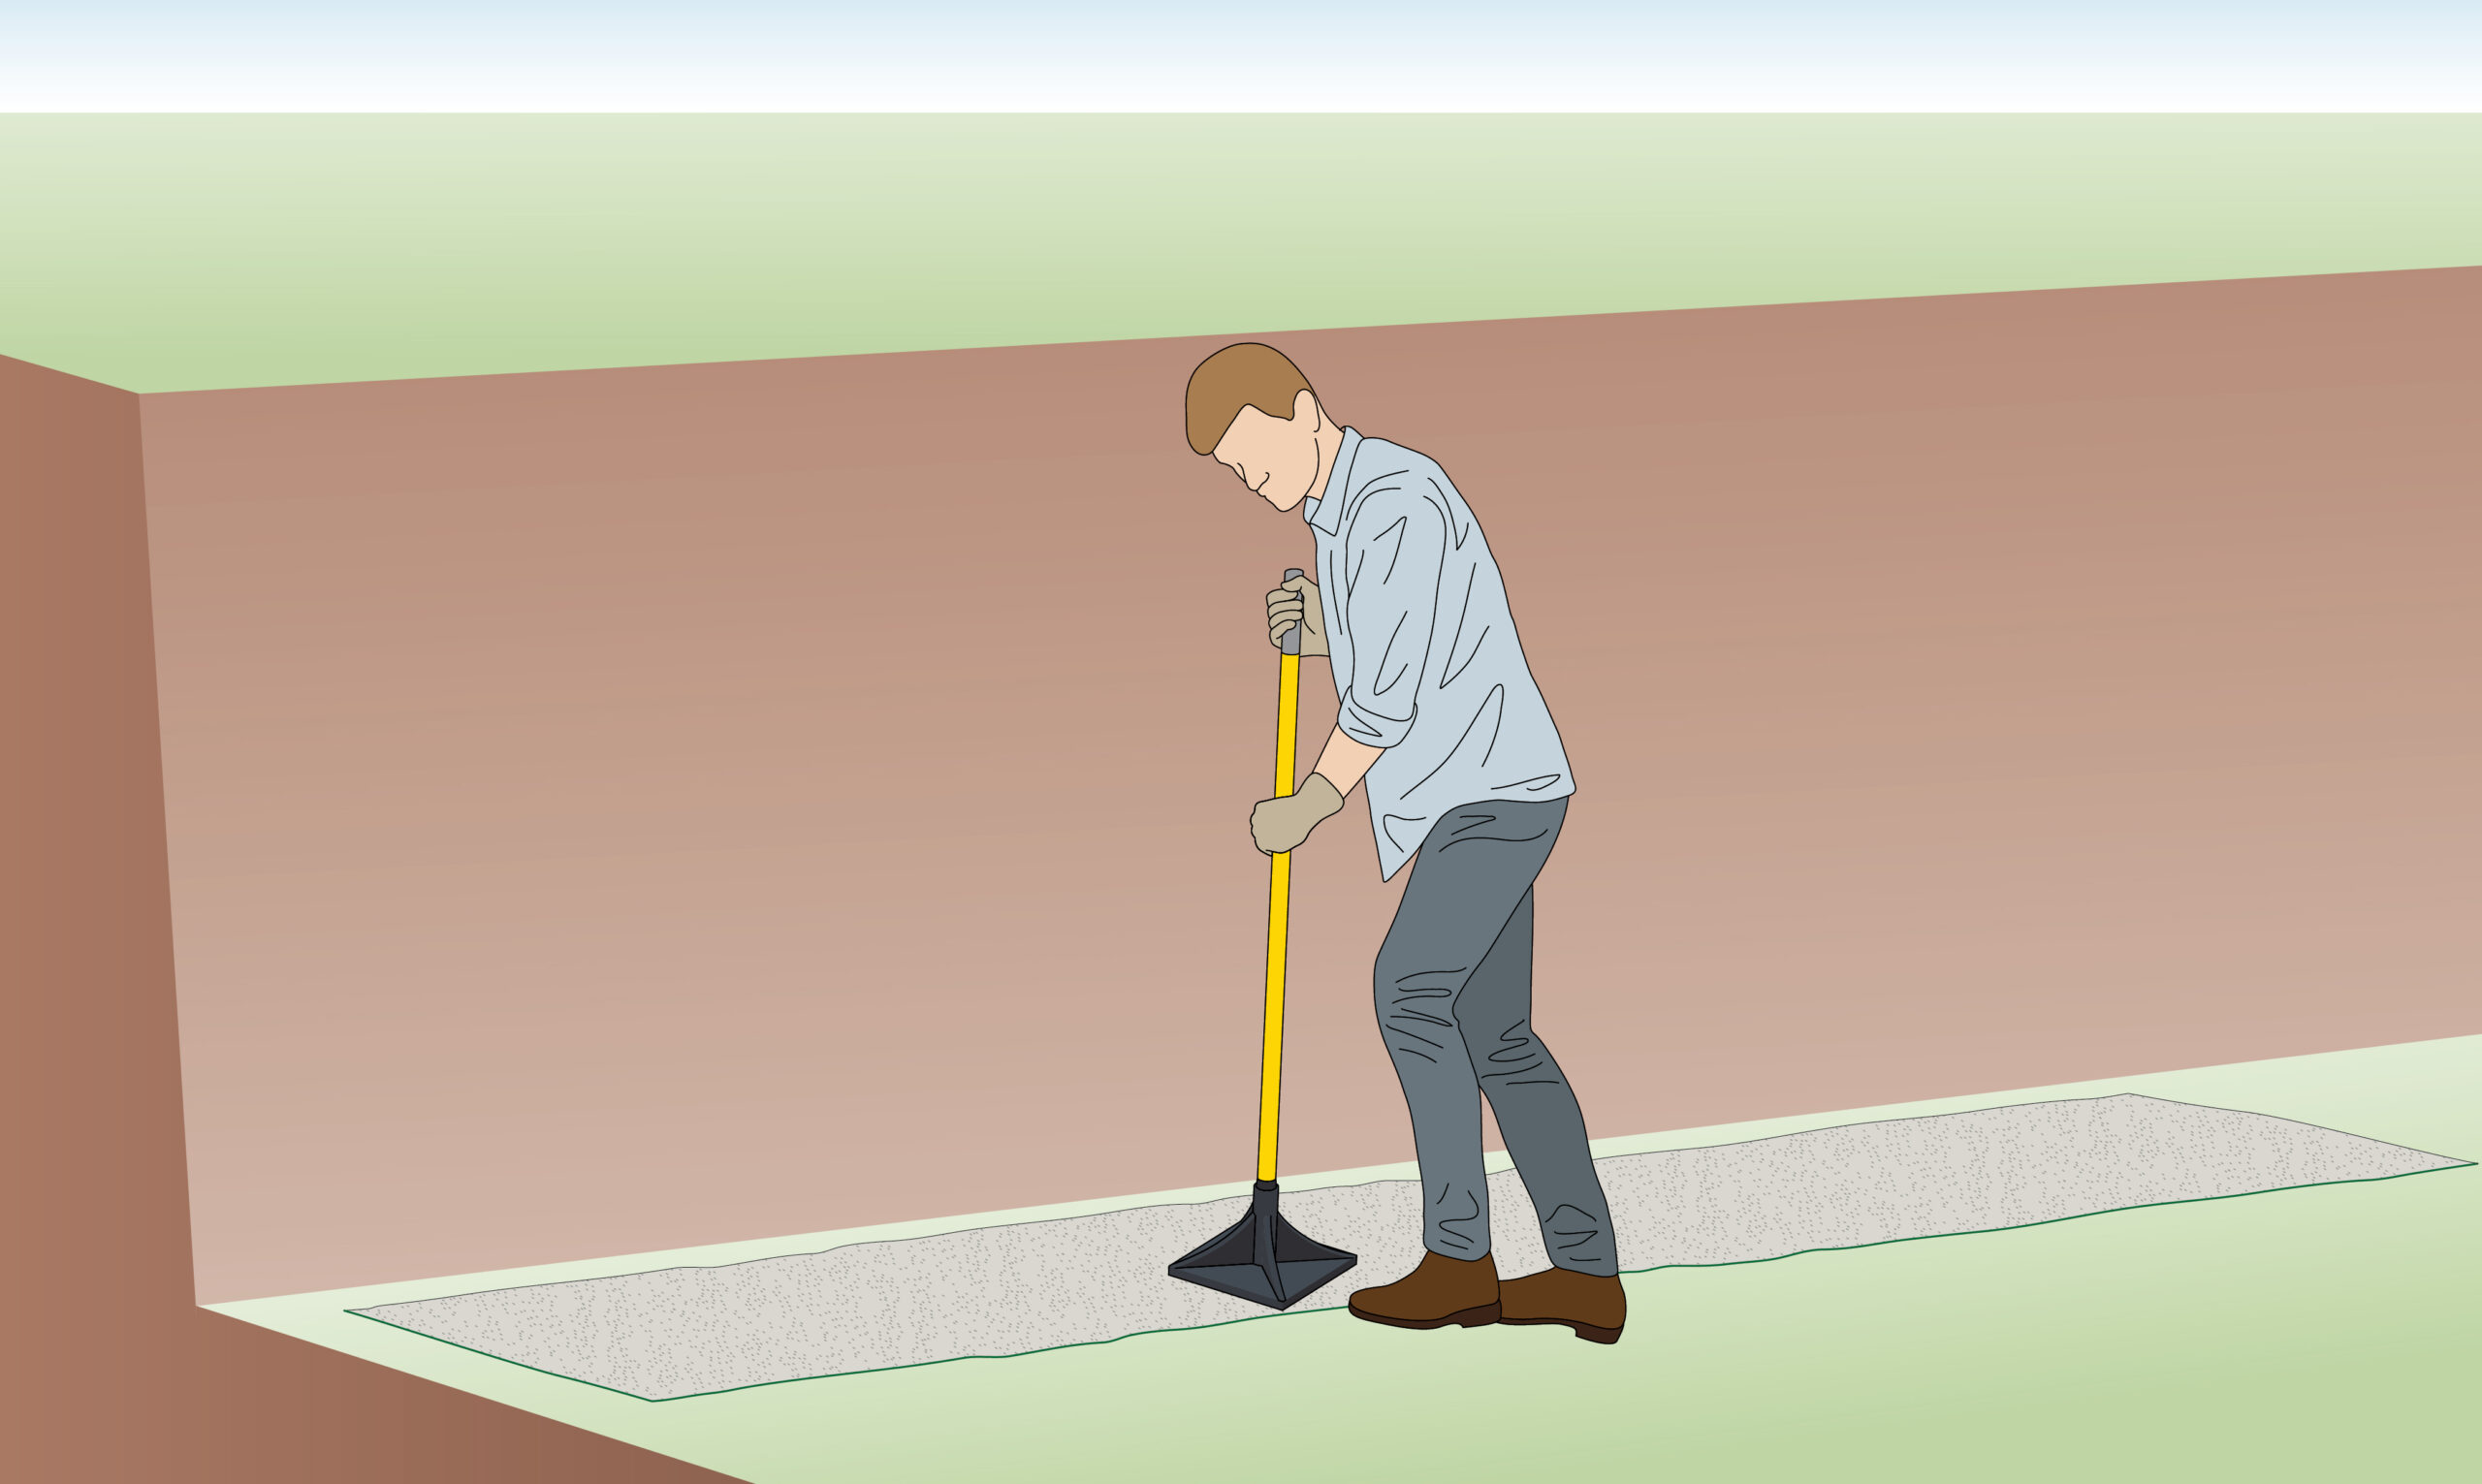
Walk and stomp on the gravel to make it compact. |
| Optional – Concrete Foundation (If Required) | Most low-level gabion walls do not require a foundation but if you have a large amount of groundwater or the soil is weak it may be needed.
|
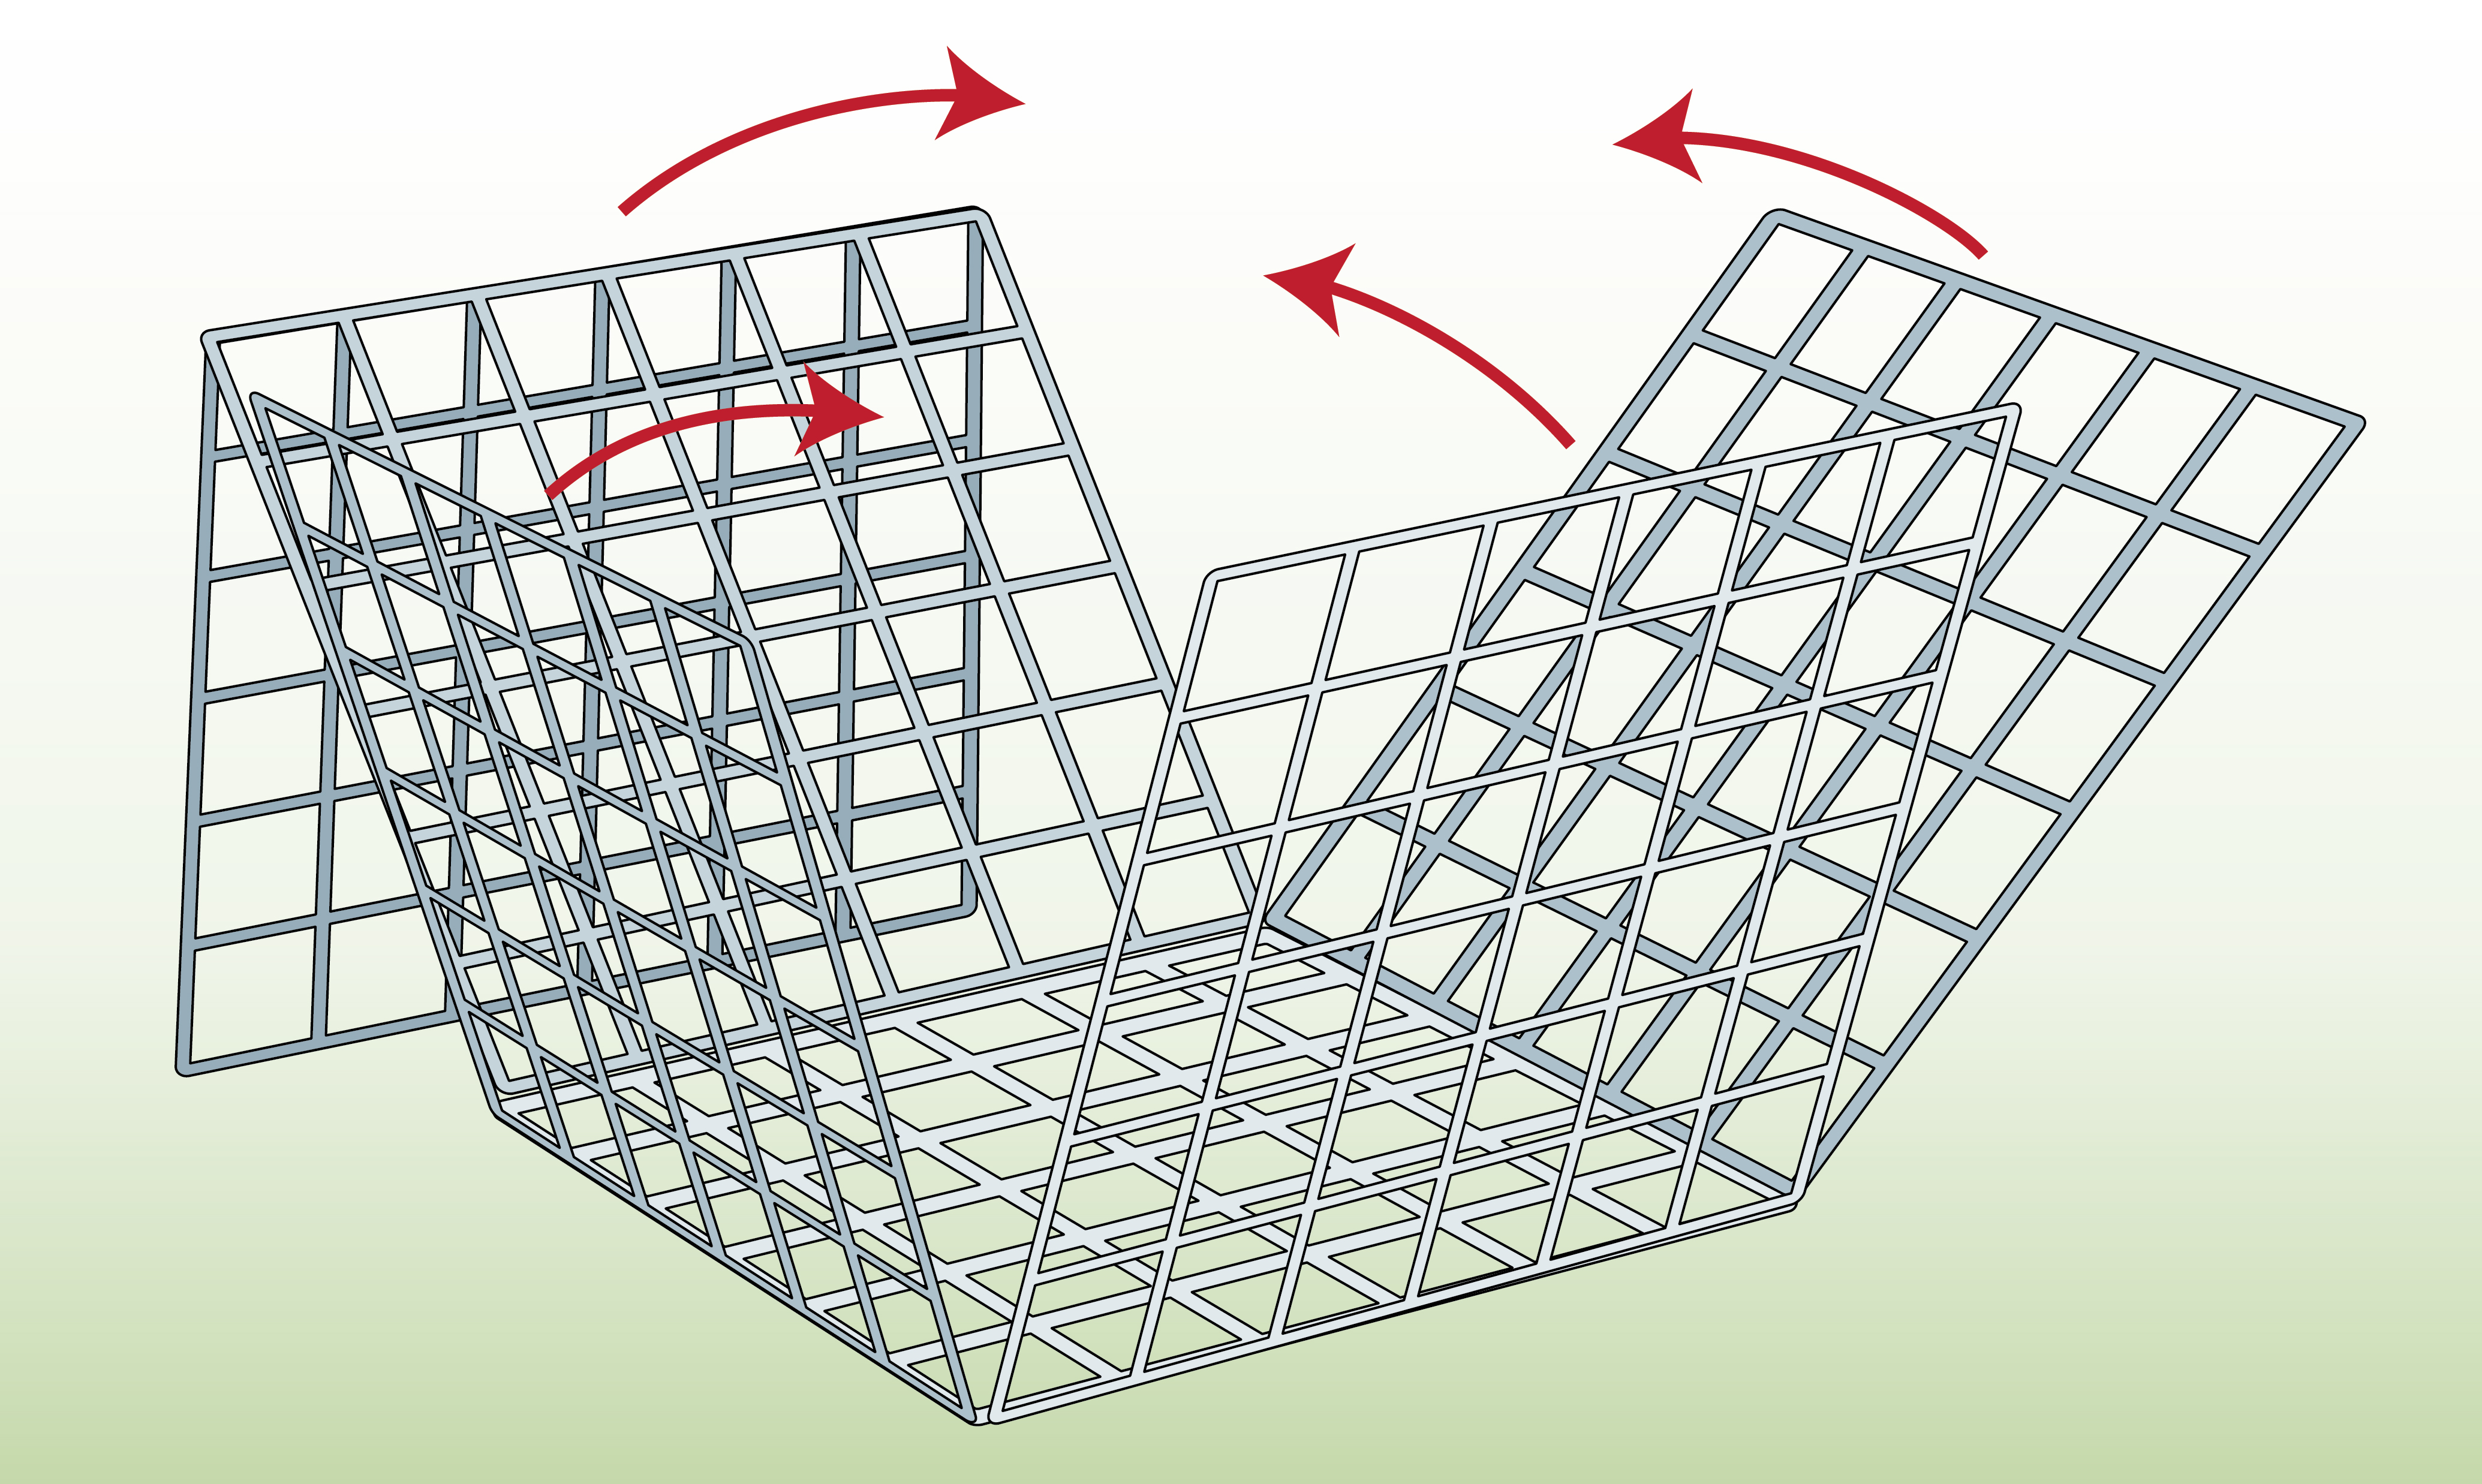
| Step 6 – Unfold the Baskets
|
Unfold and lift up the sides of the baskets. |
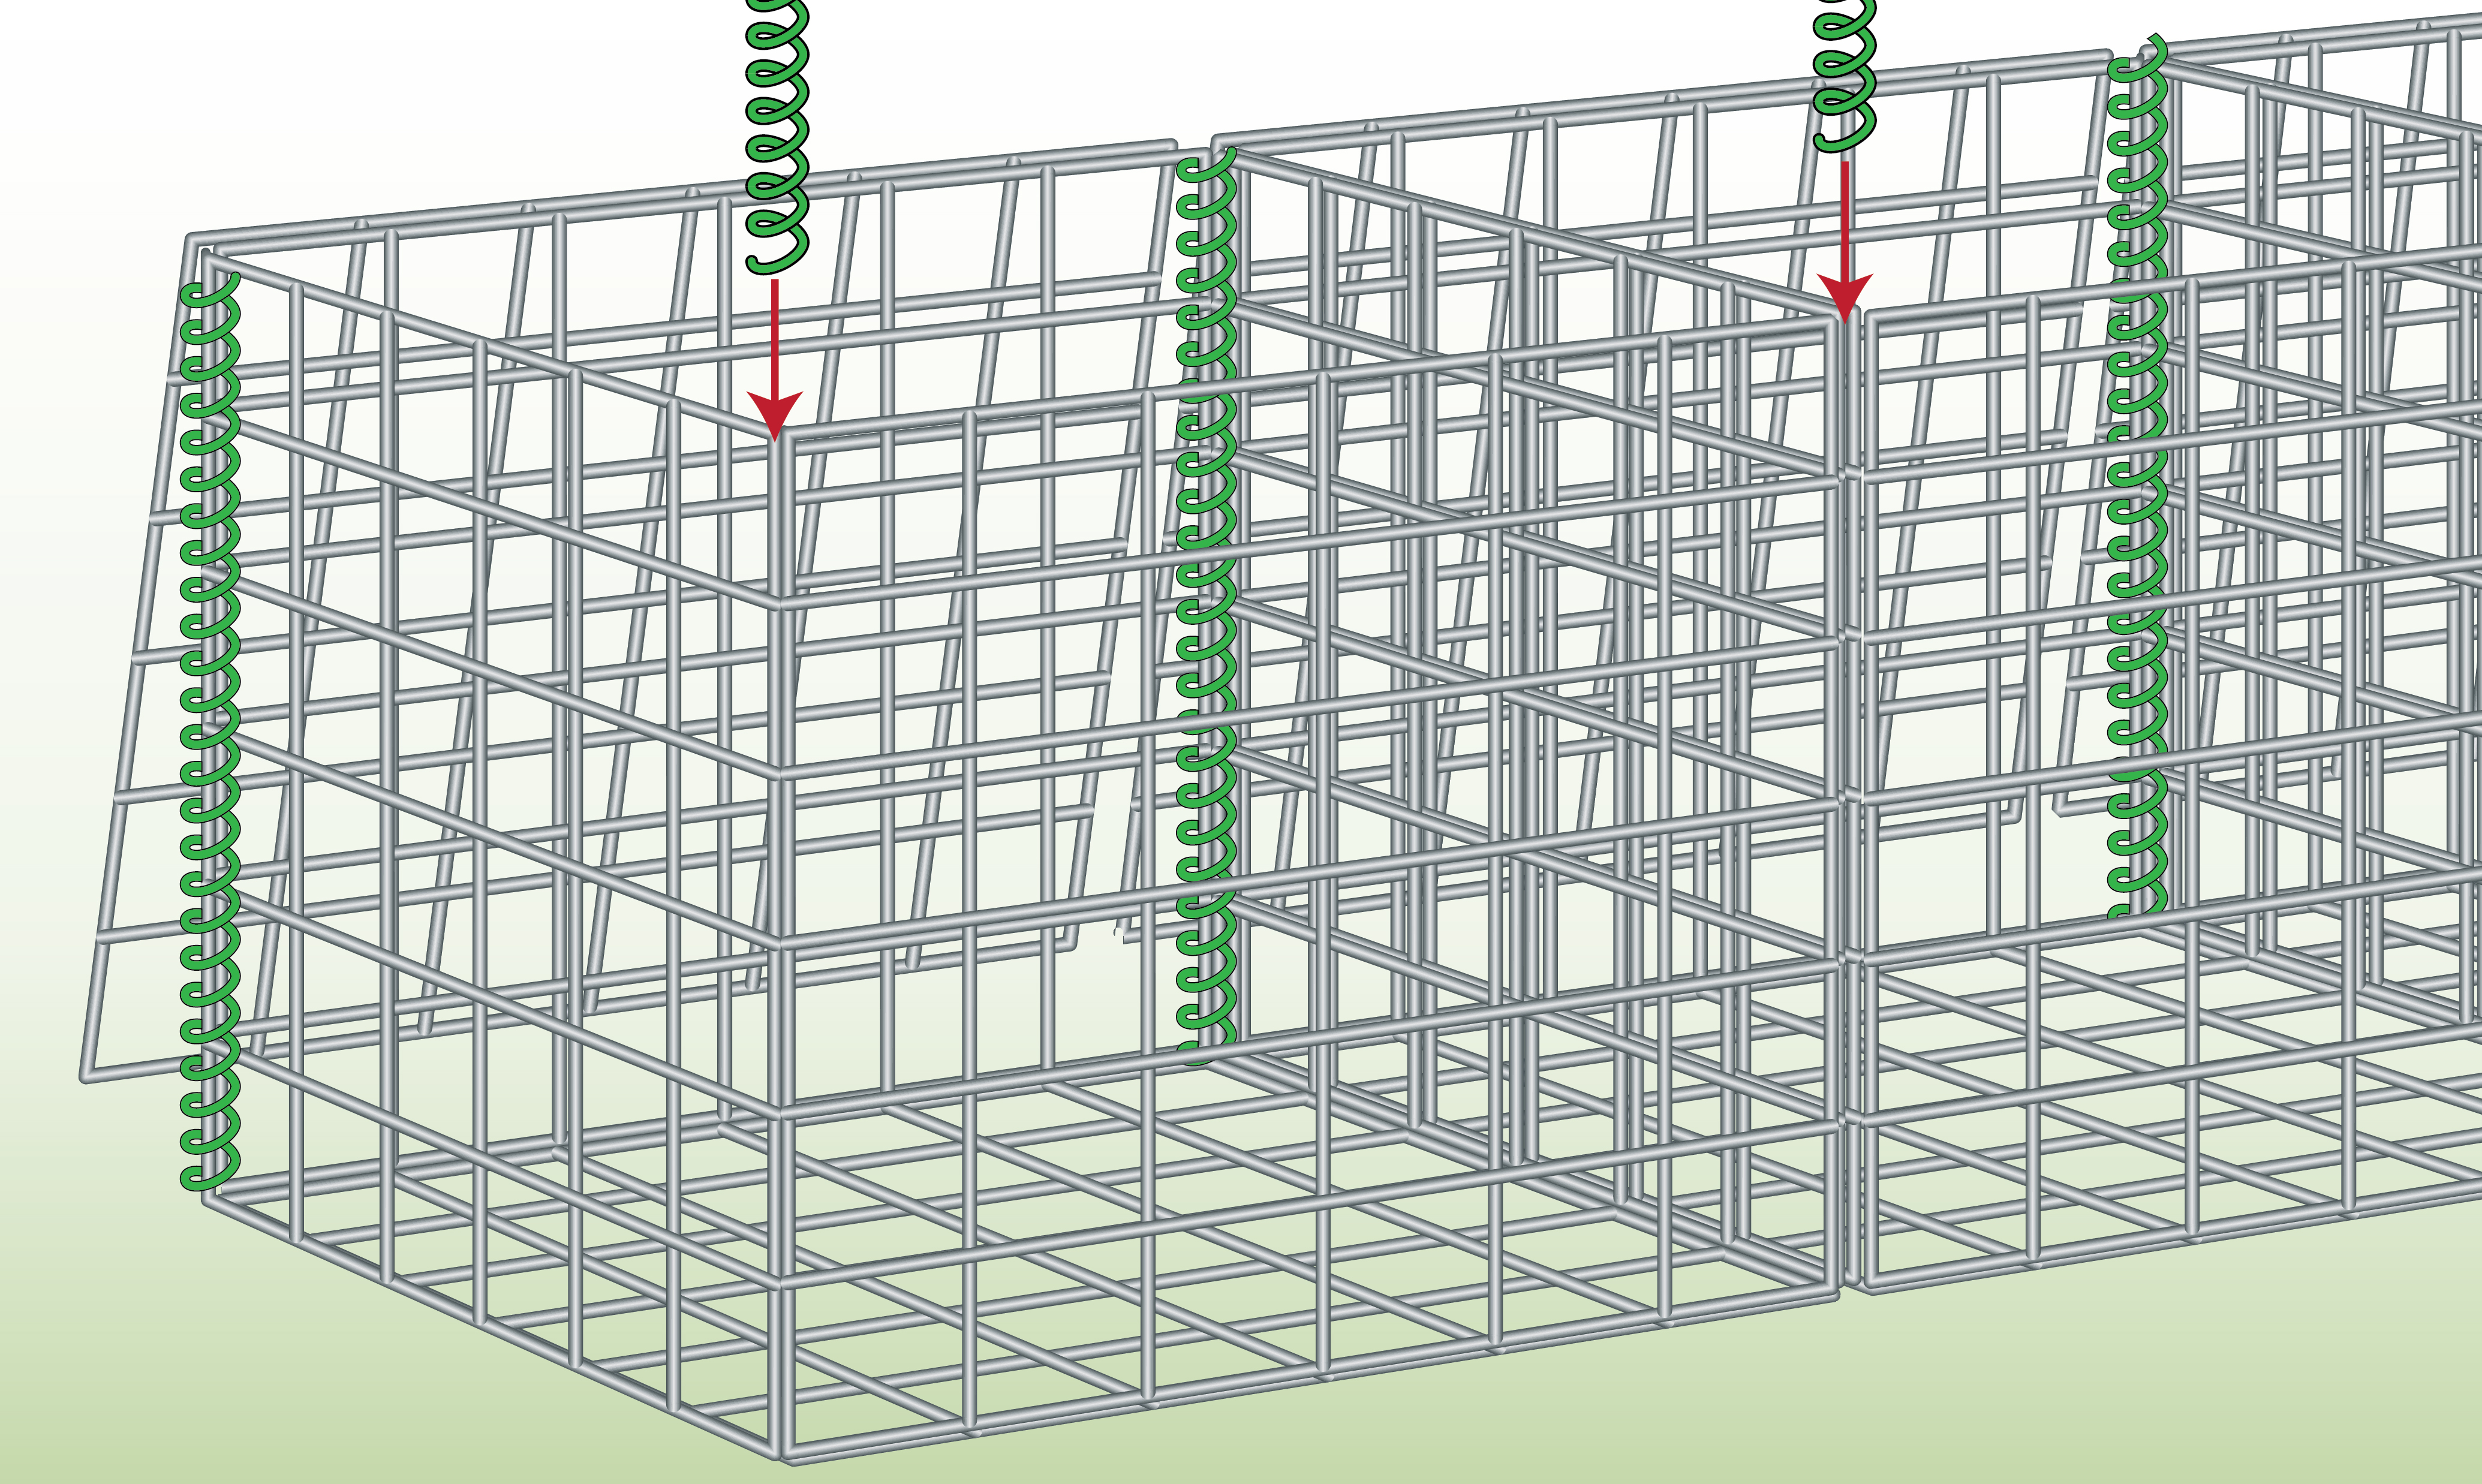
| Step 7 – Join the Cages
|
Assemble and attach the baskets together with the helicals included in the kit. |
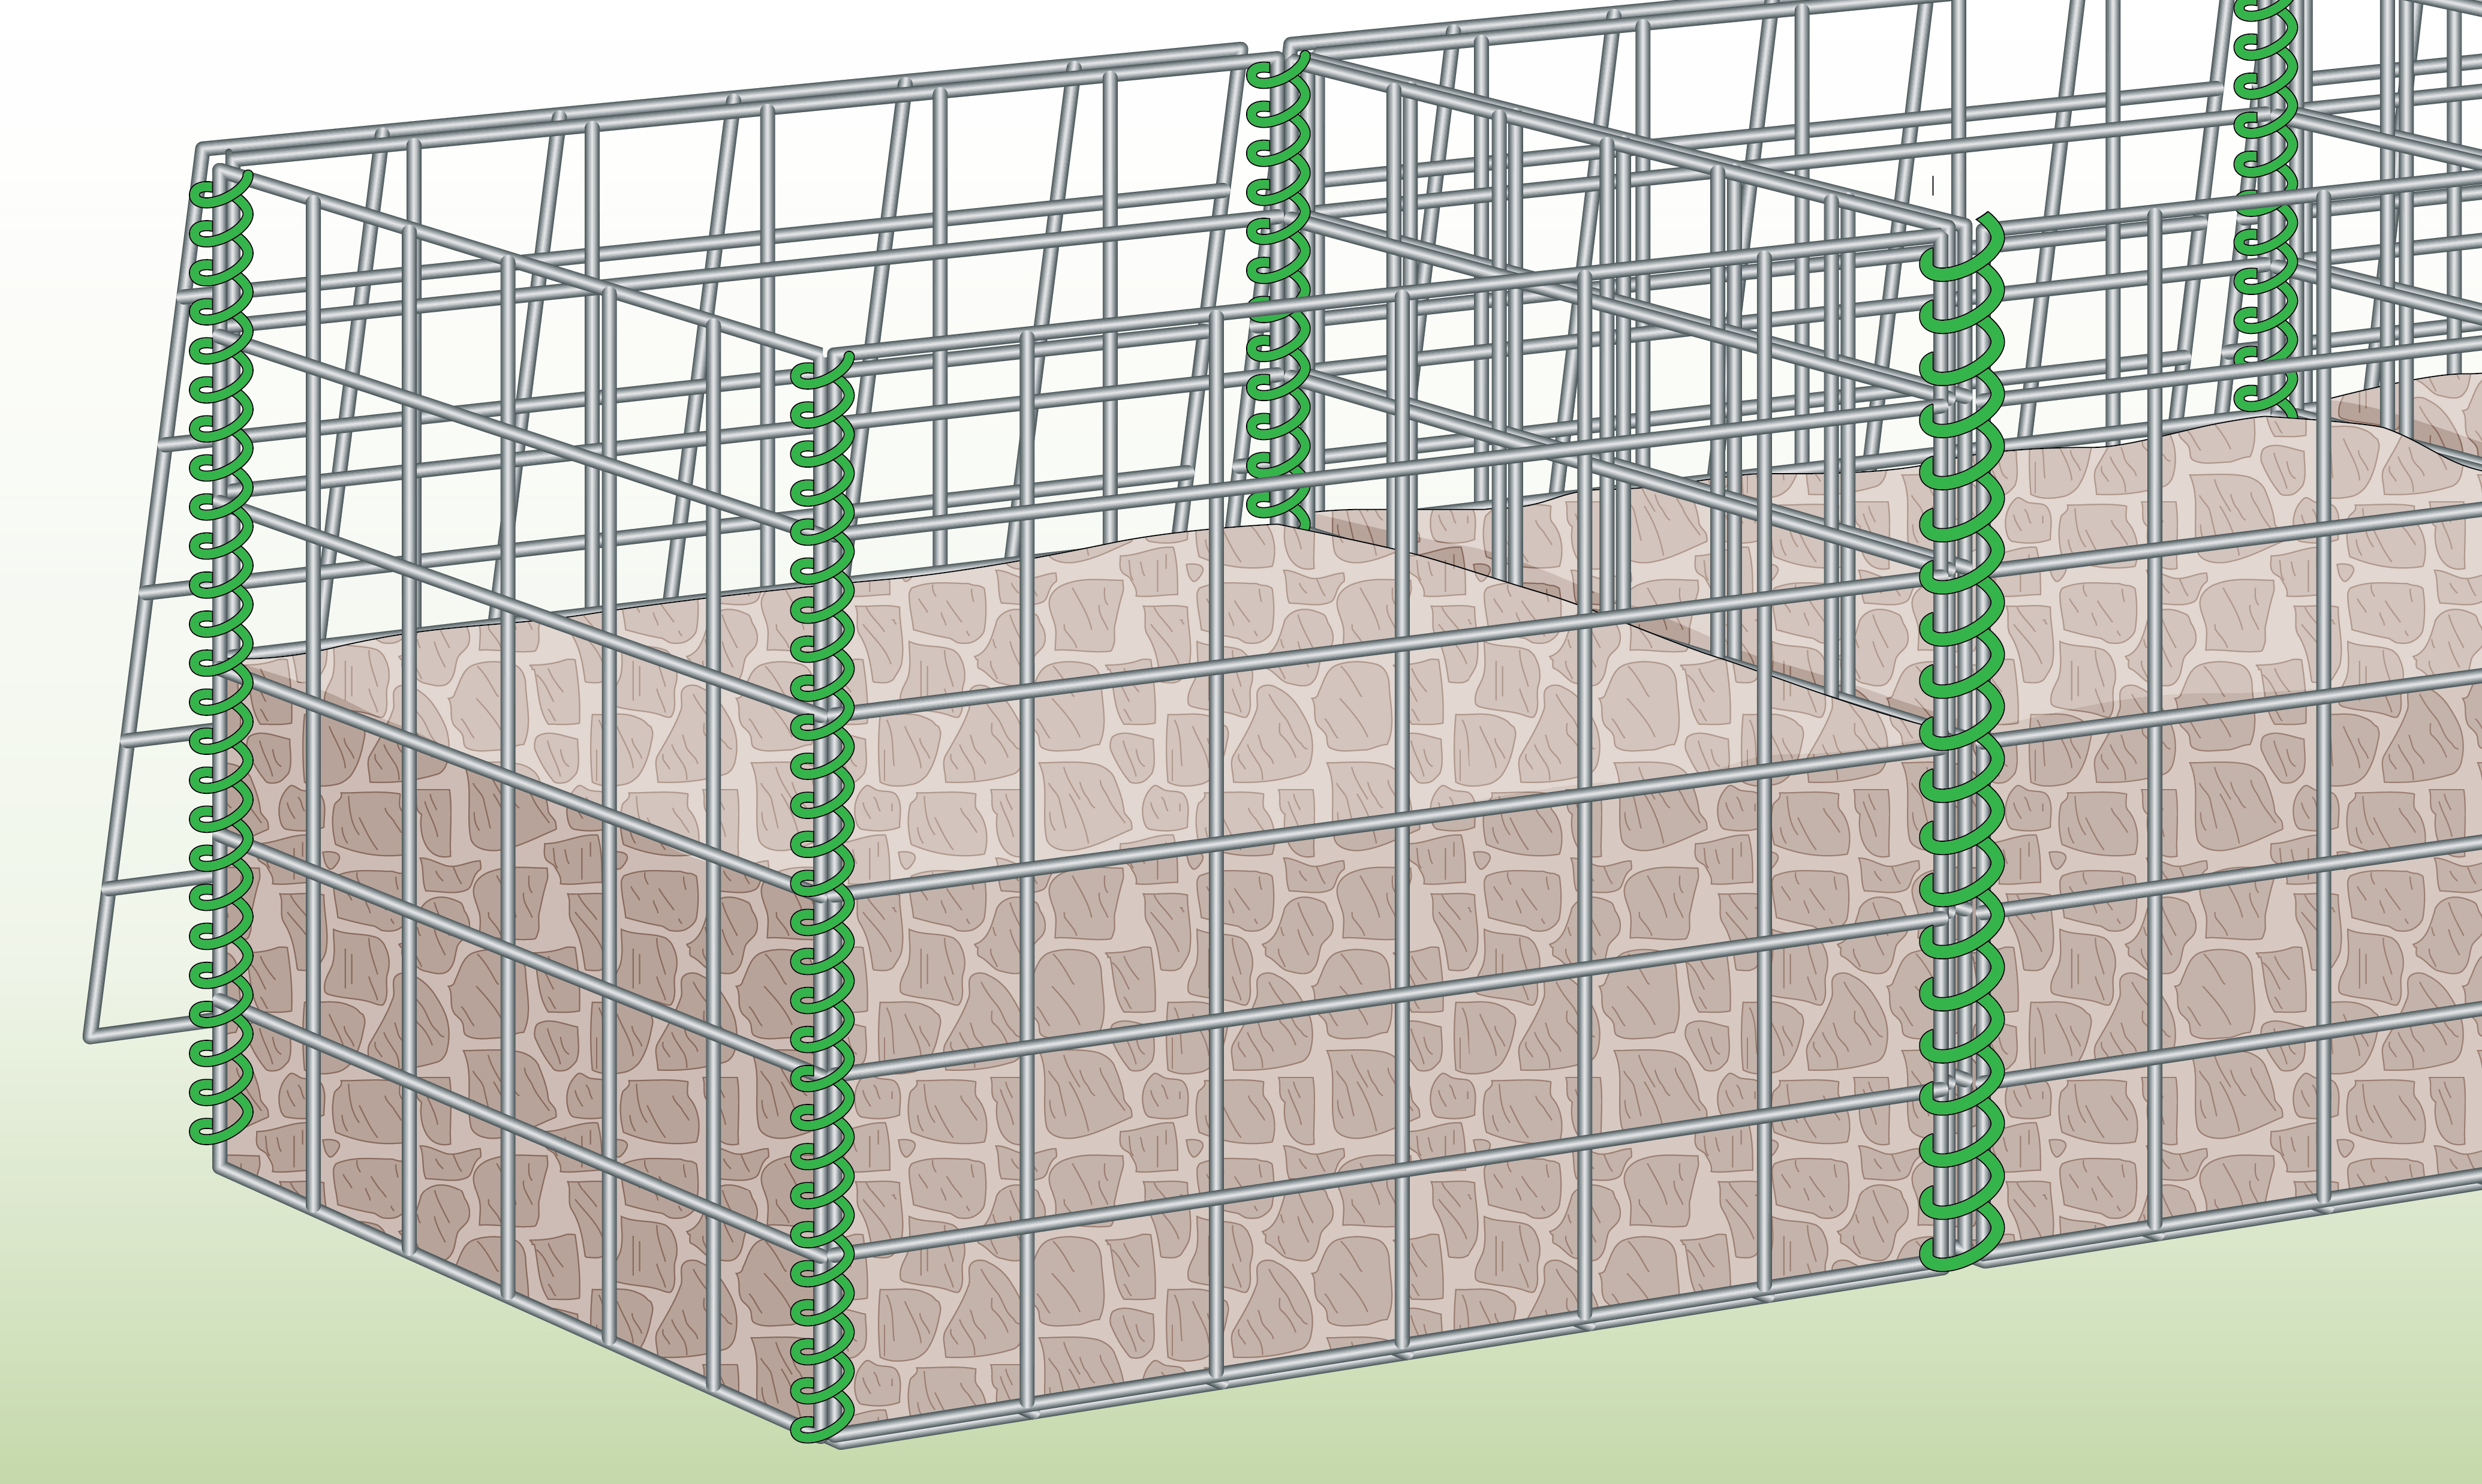
| Step 8 – Fill with Stone
|
Fill the gabions with your choice of stone. |
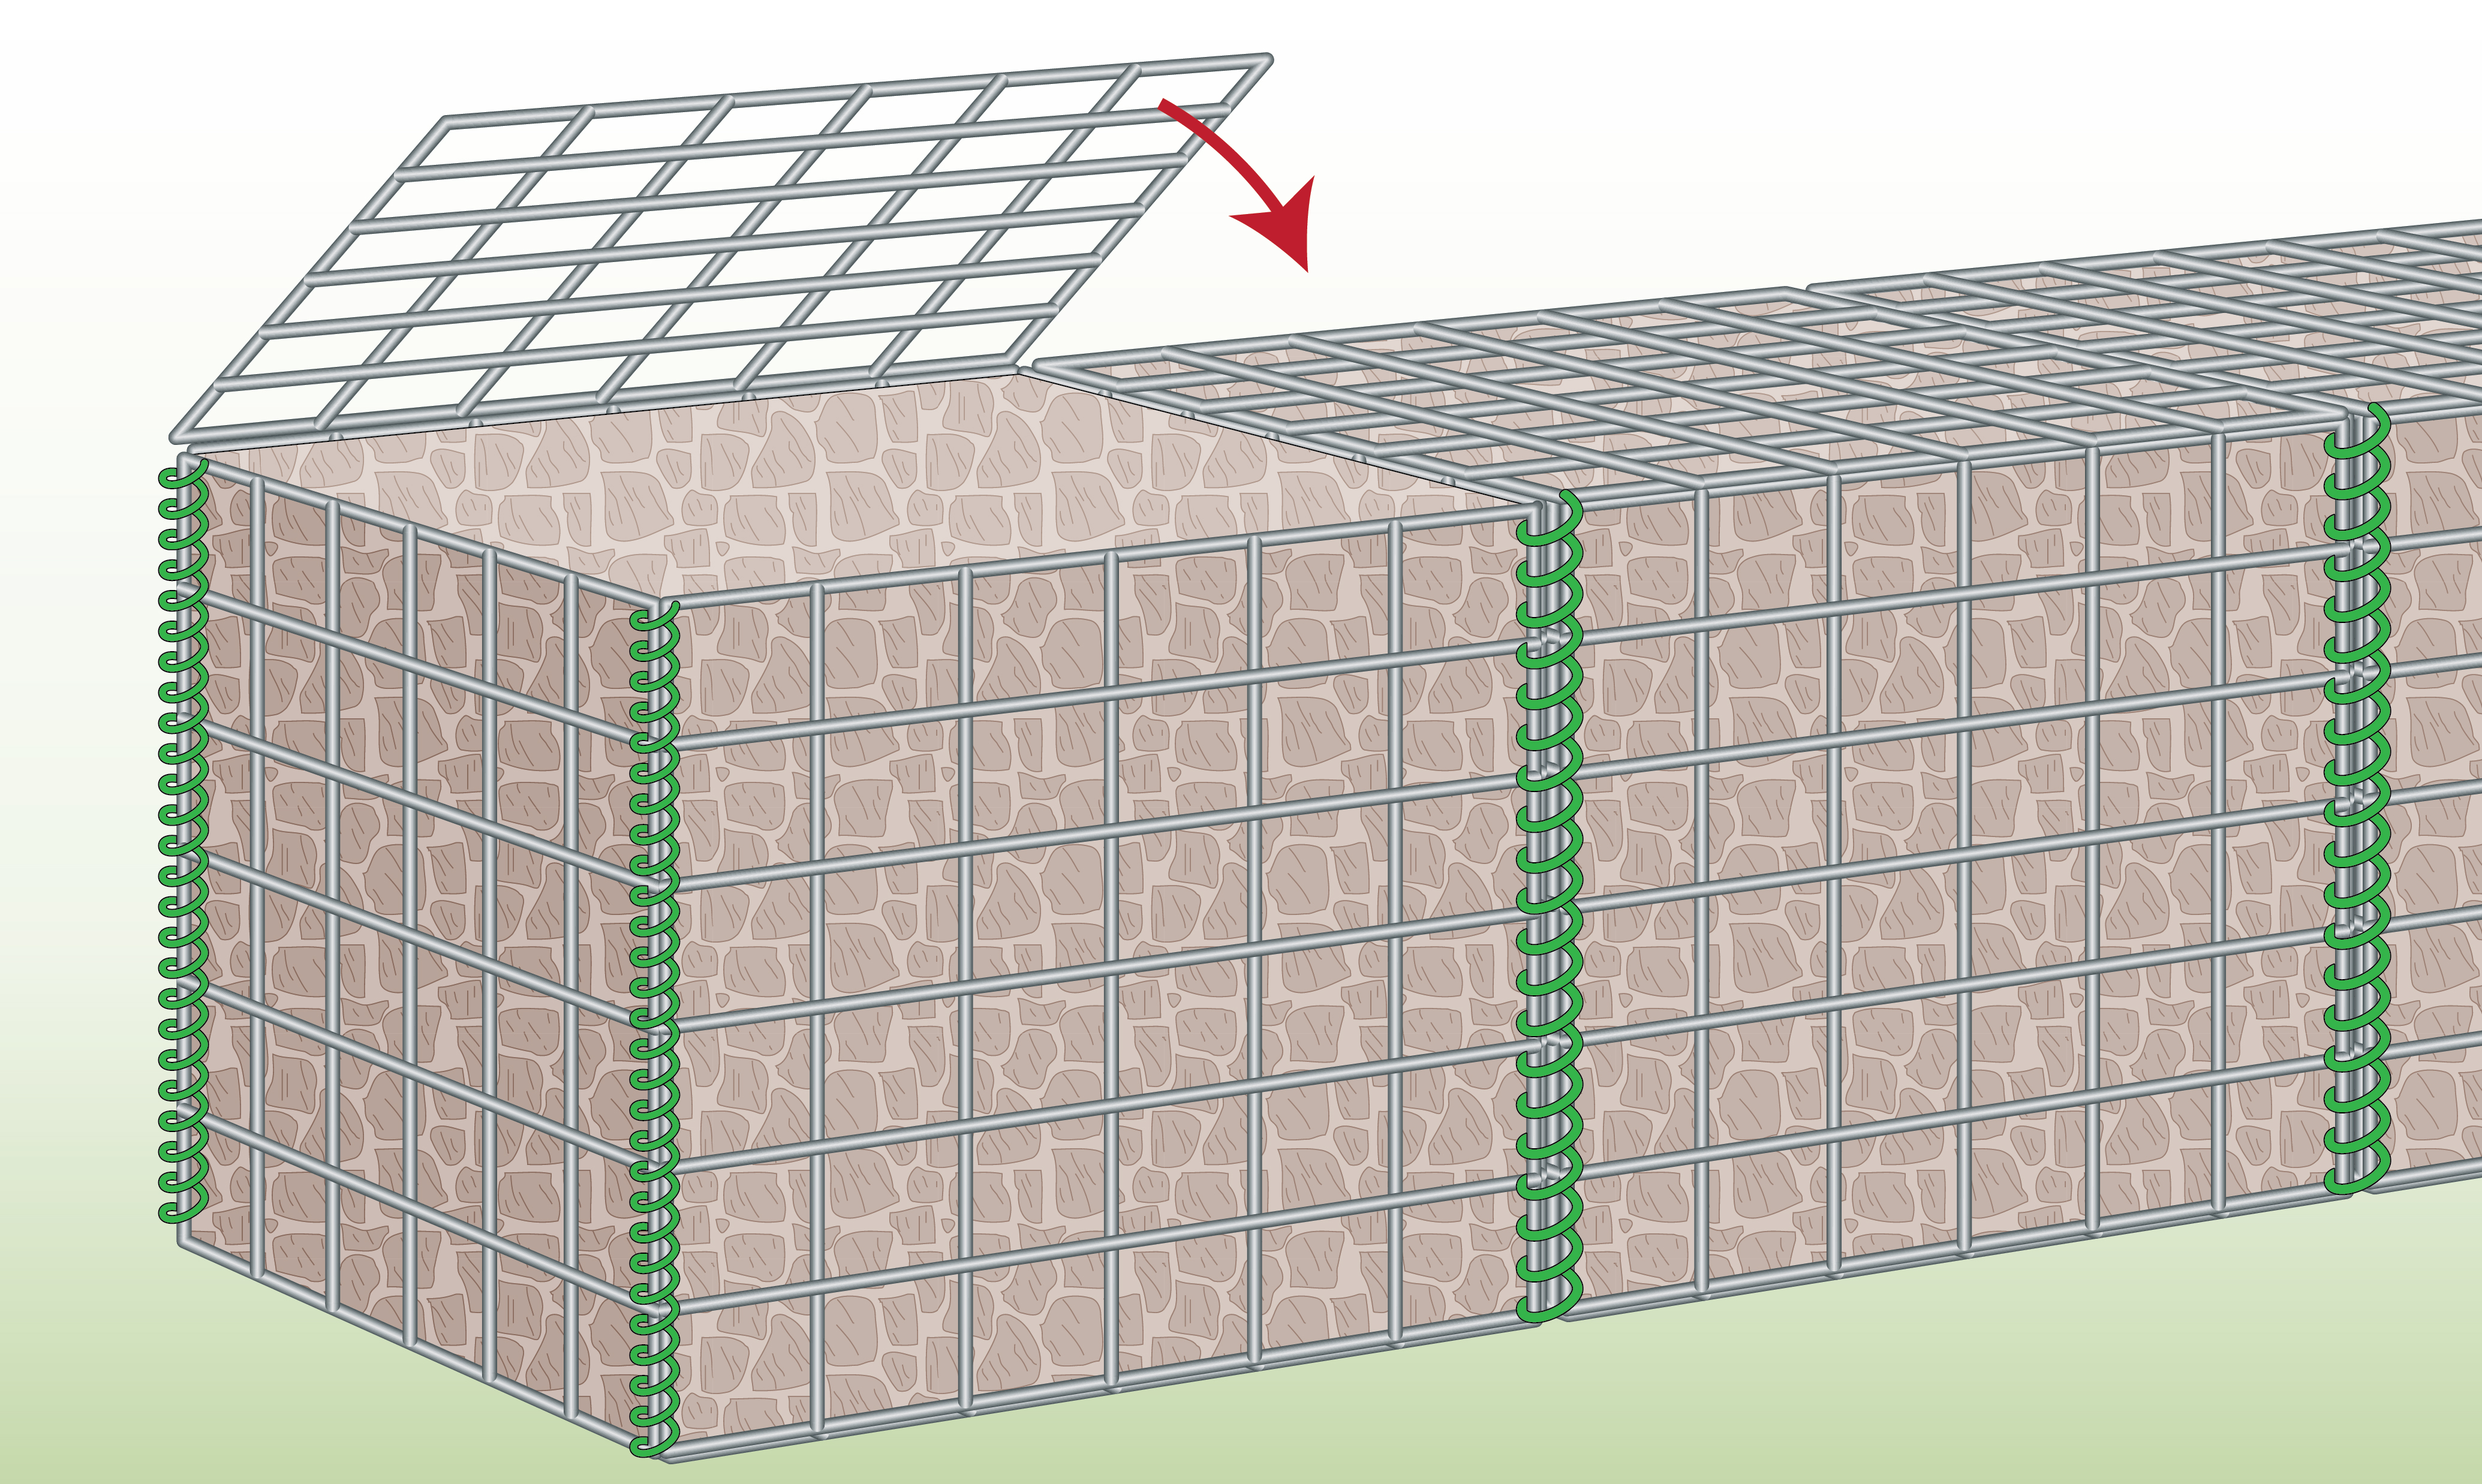
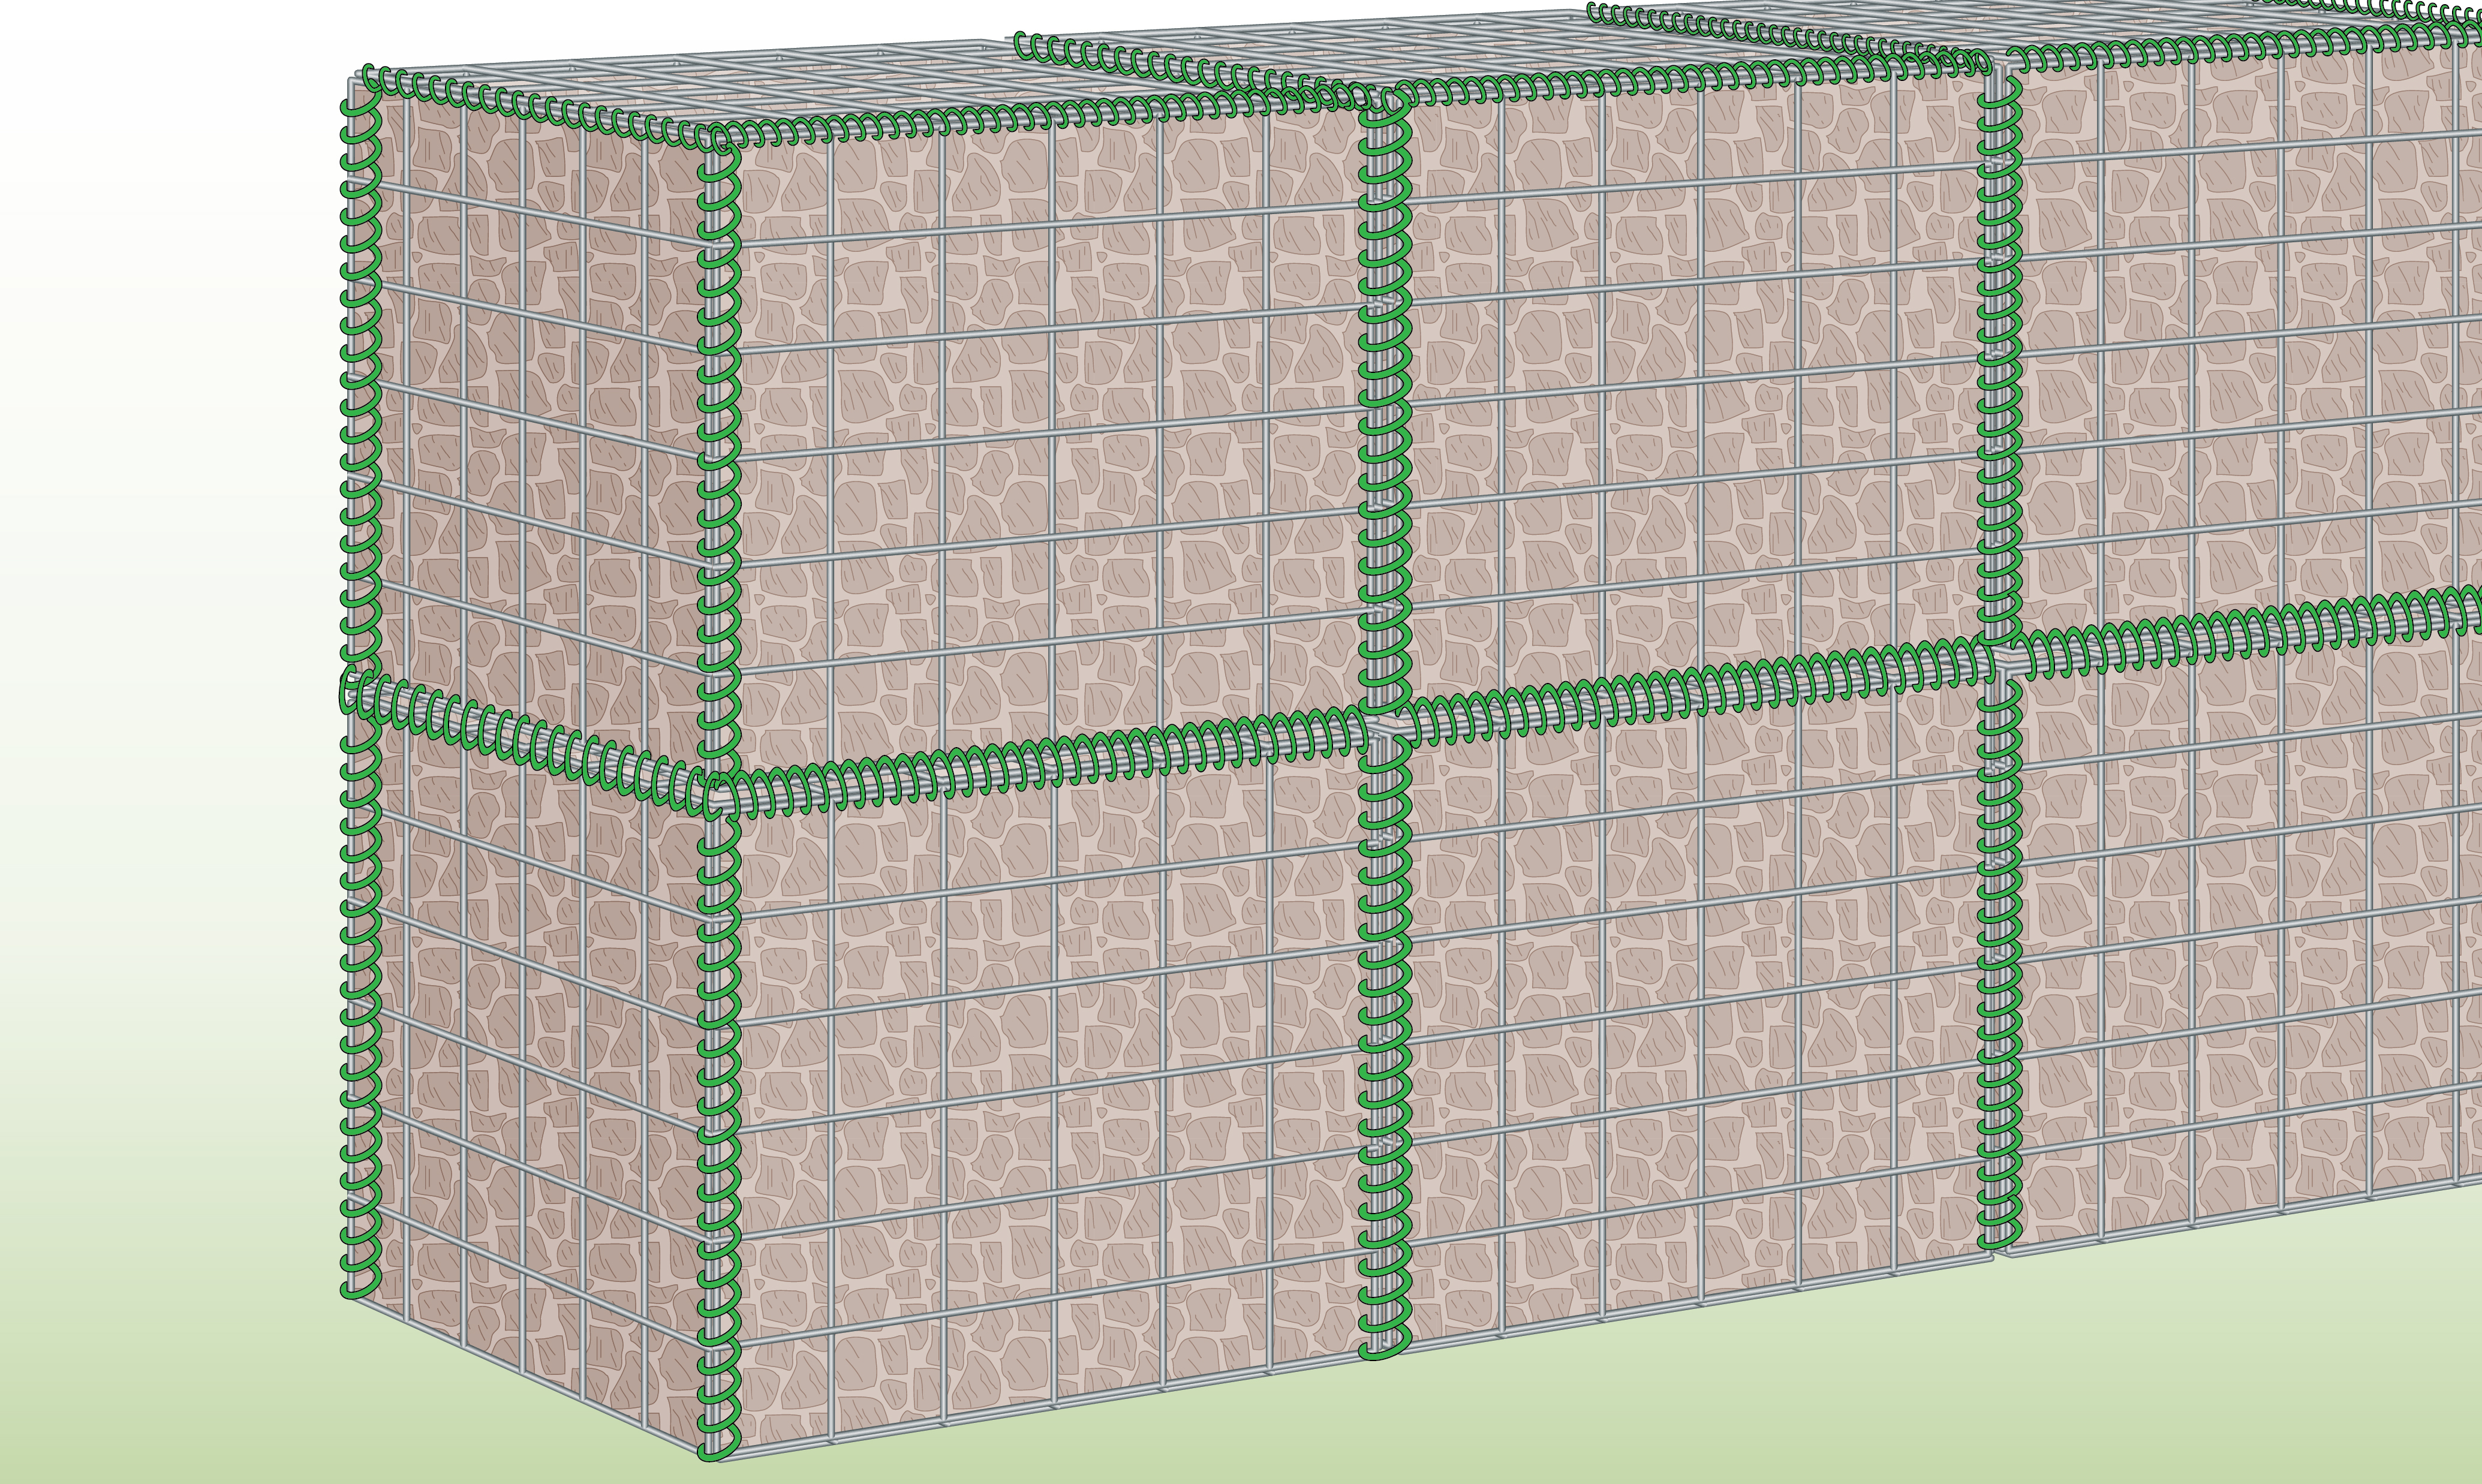
| Step 9 – Close Lids
|
Fold the lids down to close your baskets. |
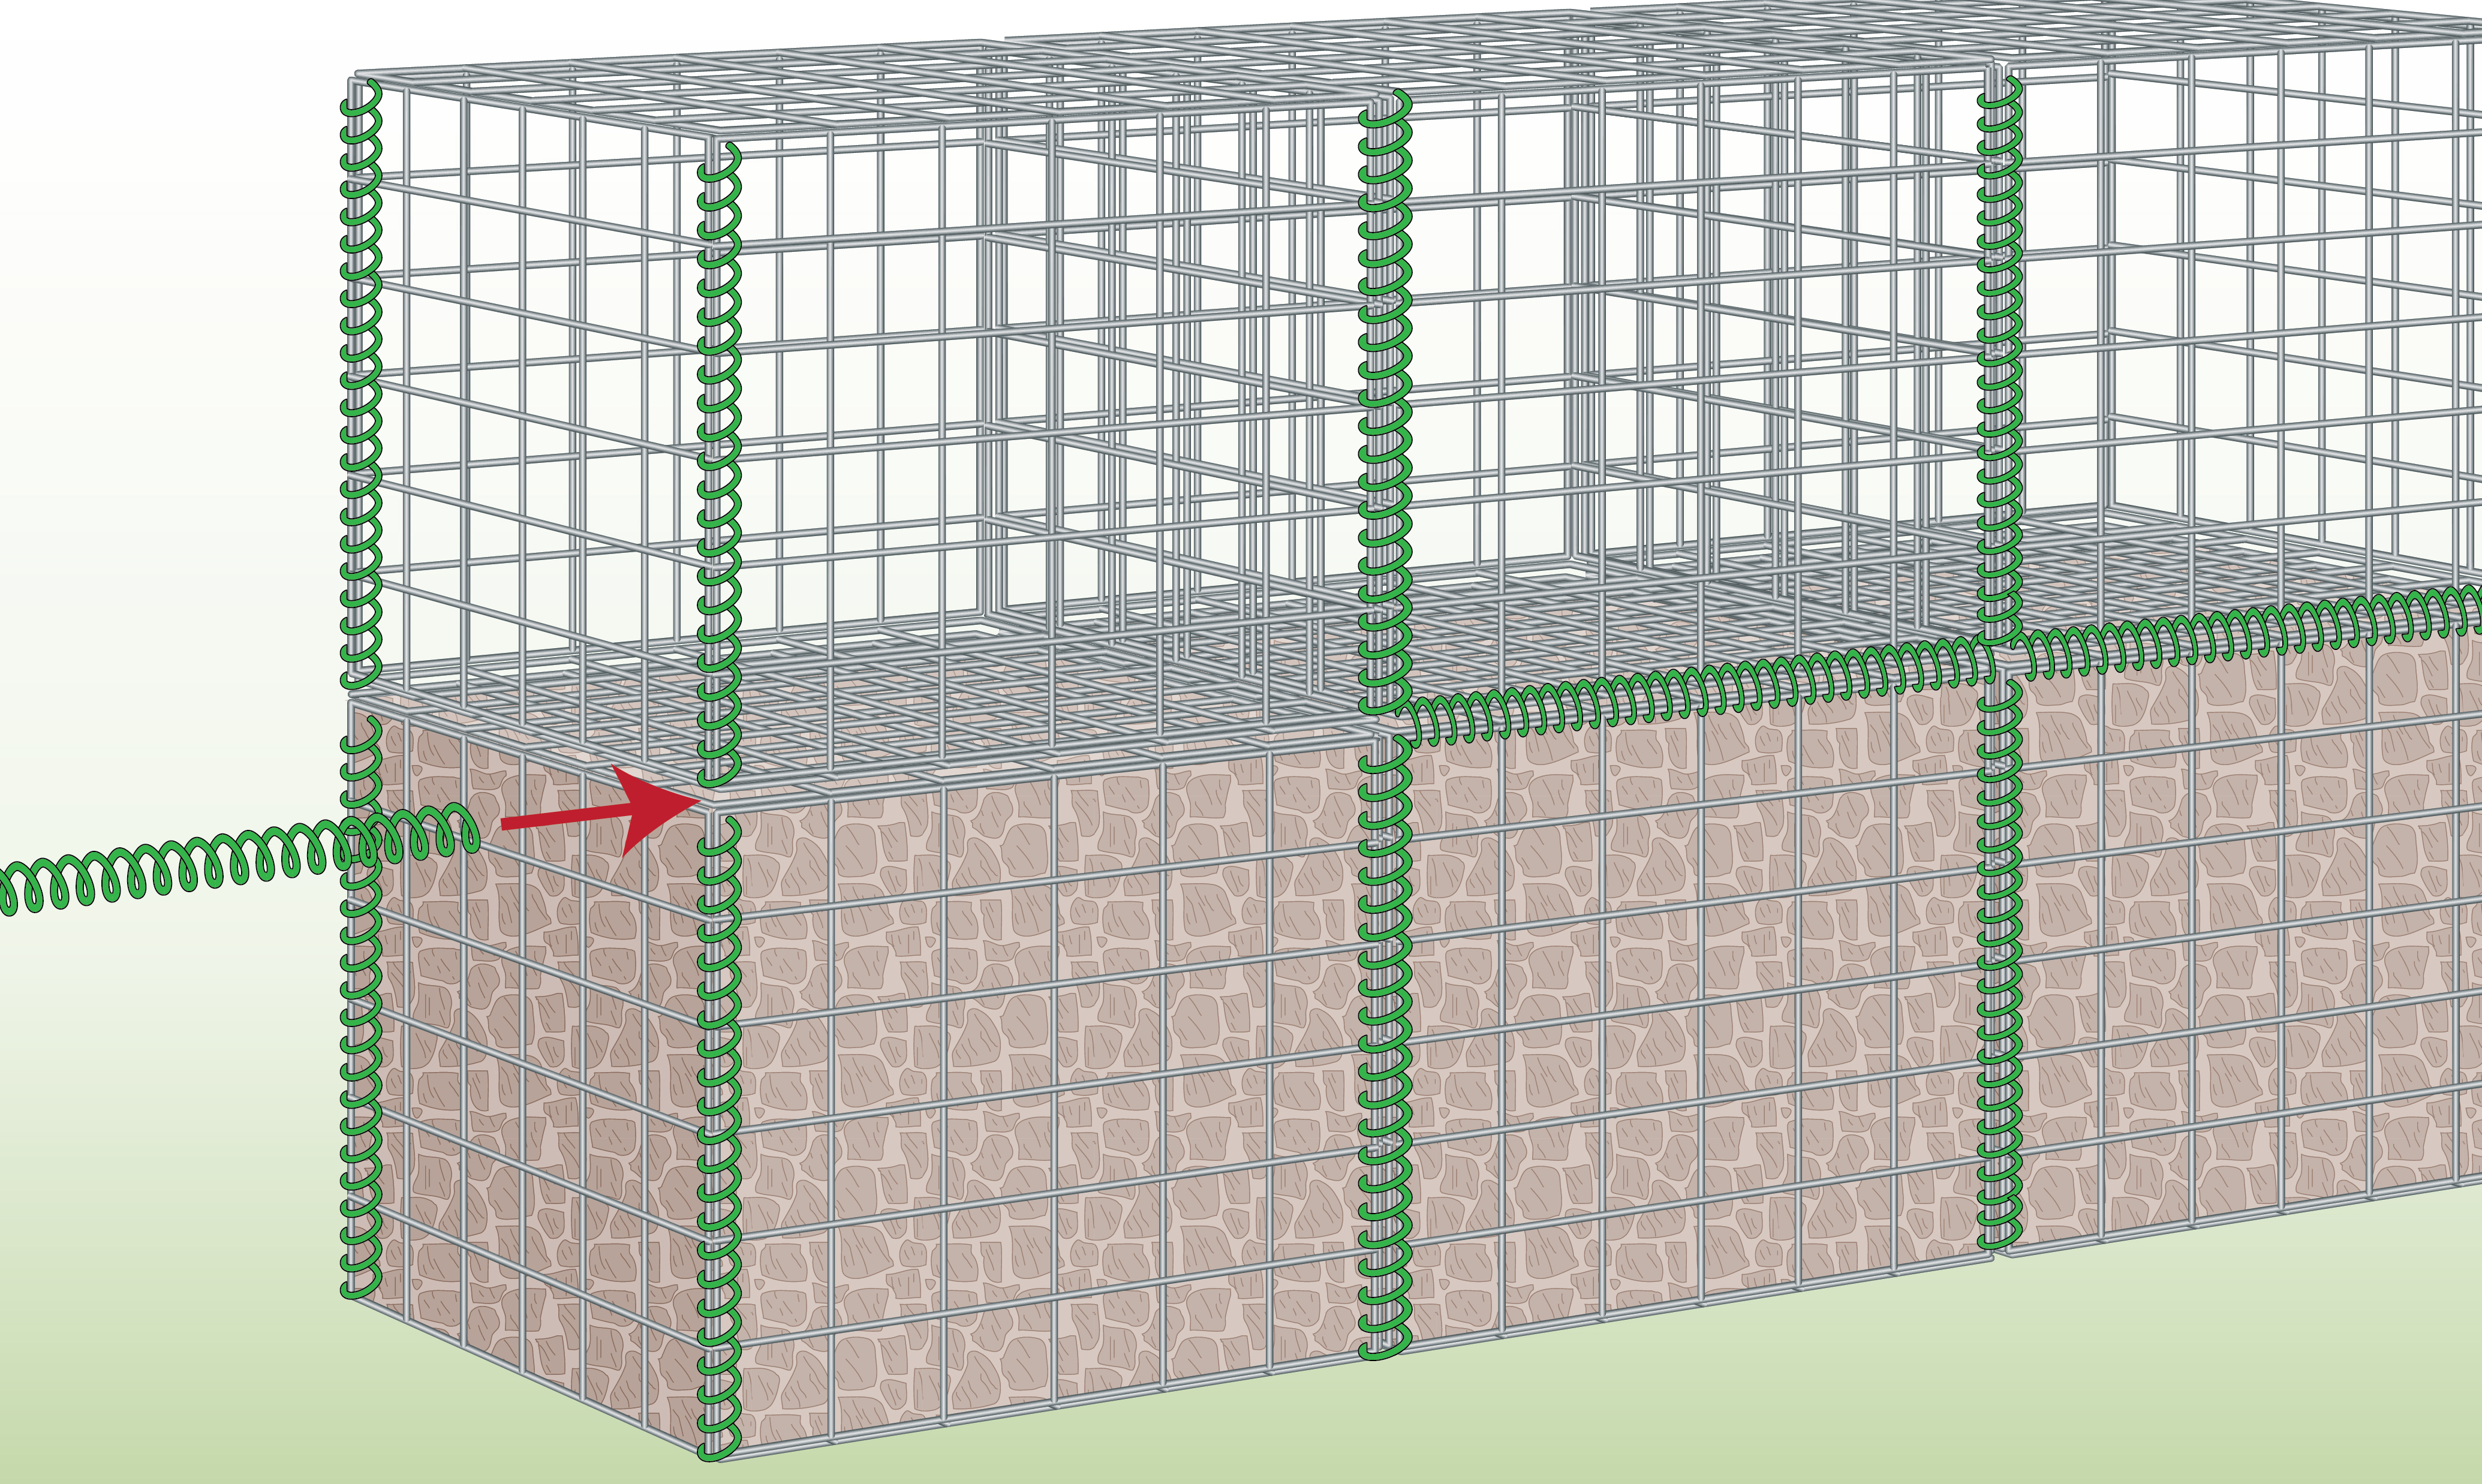
| Step 10 – Add Second Row
|
Place the second row of baskets on top of the first one and connect them together with helicals at the front. |
| Step 11 – Fill and Join
|
Fill the top baskets with rocks as well.
For added security, you can join the baskets with helicals from front to back. You may need to cut some of them to fit the depth of your wall. |
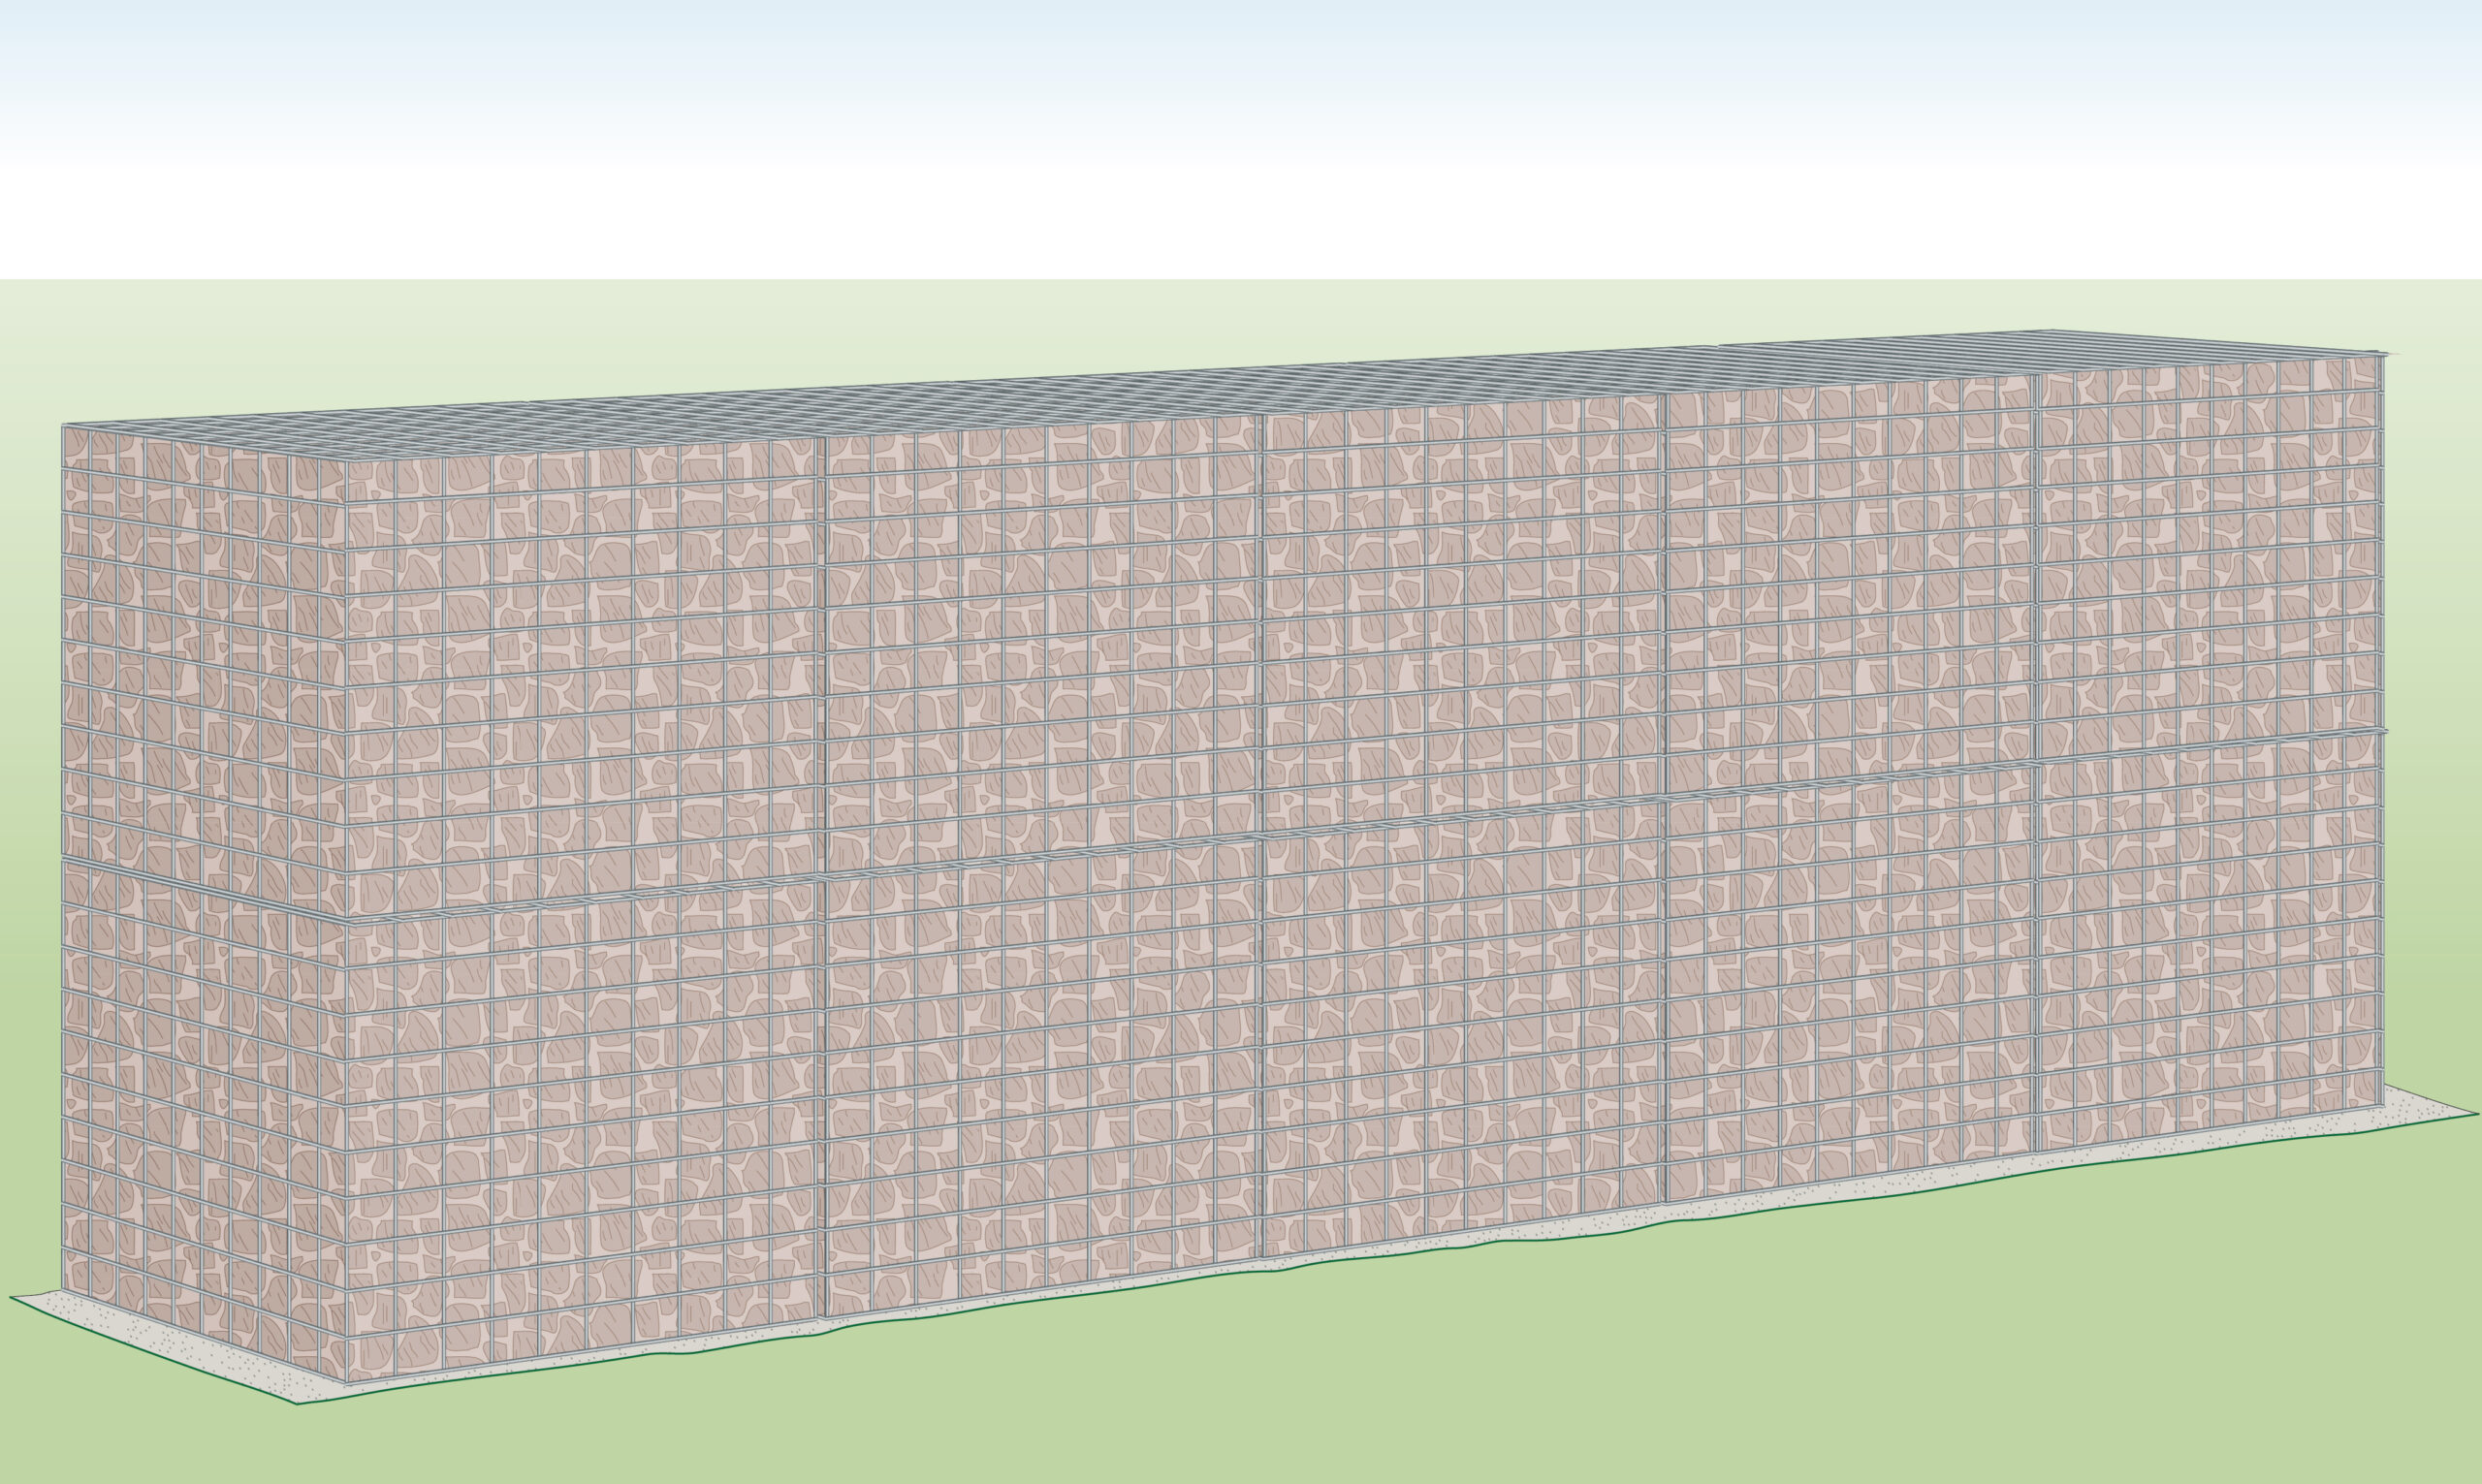
| Step 12 – Finished Project
|
Your 2m tall freestanding gabion wall is done! |
Calculate Stone Quantity
- Use the guide below to calculate the amount of stone that you need to fill your gabion wall
- You can use stone separating panels to reduce the amount of decorative rocks required and save money
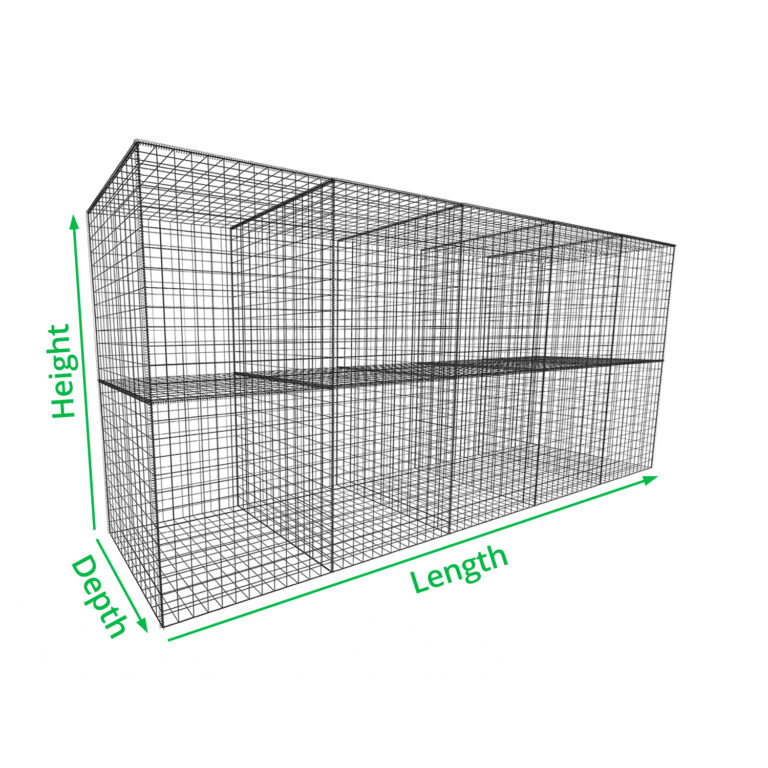
| Gabion Wall Dimensions (cm) | Bulk Bags of Stone Required | Bulk Bags of Stone Required if using Partitions | ||
| 97.5cm | 22.5cm | 195cm | 1 | – |
| 195cm | 22.5cm | 195cm | 2 | – |
| 292.5cm | 22.5cm | 195cm | 3 | – |
| 390cm | 22.5cm | 195cm | 4 | – |
| 487.5cm | 22.5cm | 195cm | 5 | – |
| 97.5cm | 45cm | 195cm | 2 | 1 |
| 195cm | 45cm | 195cm | 4 | 2 |
| 292.5cm | 45cm | 195cm | 6 | 3 |
| 390cm | 45cm | 195cm | 8 | 4 |
| 487.5cm | 45cm | 195cm | 10 | 5 |
| 97.5cm | 97.5cm | 195cm | 4 | 2 |
| 195cm | 97.5cm | 195cm | 8 | 4 |
| 292.5cm | 97.5cm | 195cm | 12 | 6 |
| 390cm | 97.5cm | 195cm | 16 | 8 |
| 487.5cm | 97.5cm | 195cm | 20 | 10 |

