Gabion Baskets
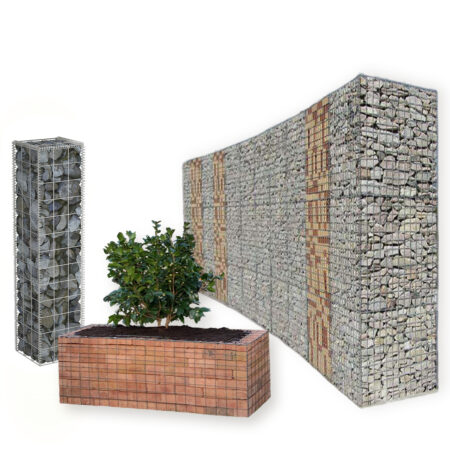
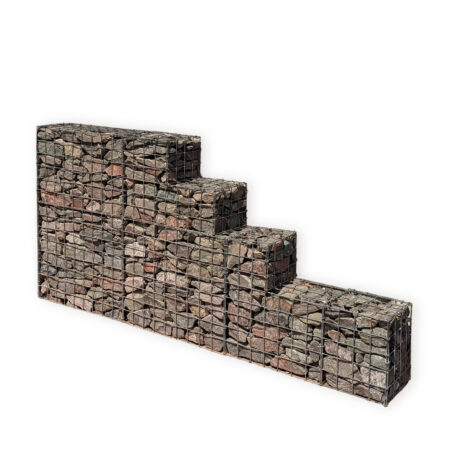
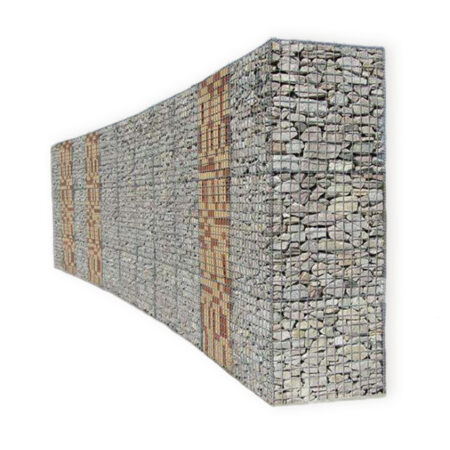
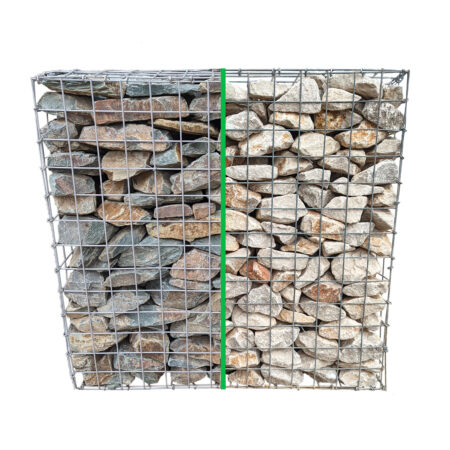
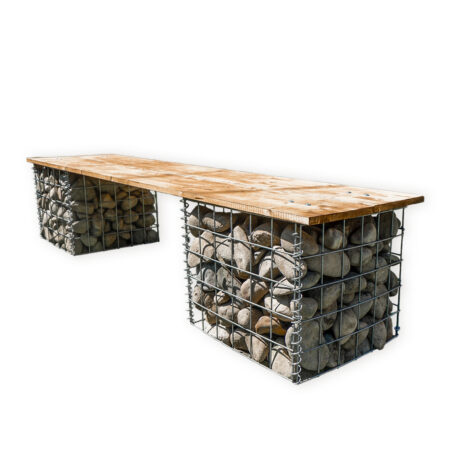
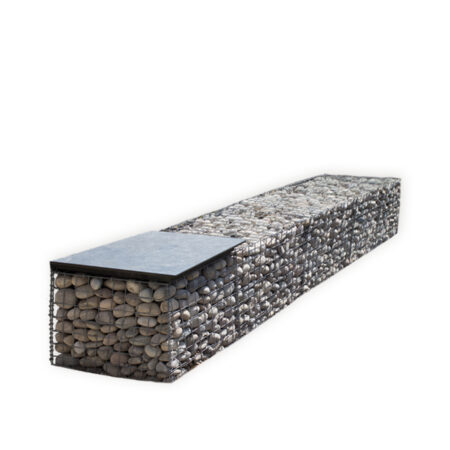
BBA approved Gabion baskets are made to last up to 120 years. Cost-effective, robust and easy to install, they are a great solution for commercial and domestic landscaping through to retaining walls.
- Manufactured in the UK, to BS EN standards.
- BBA Approved
Helpful Gabion Basket Information
Customer Images
Videos
Installation Instructions
Behind the scenes
| What’s Included? | Play Video |
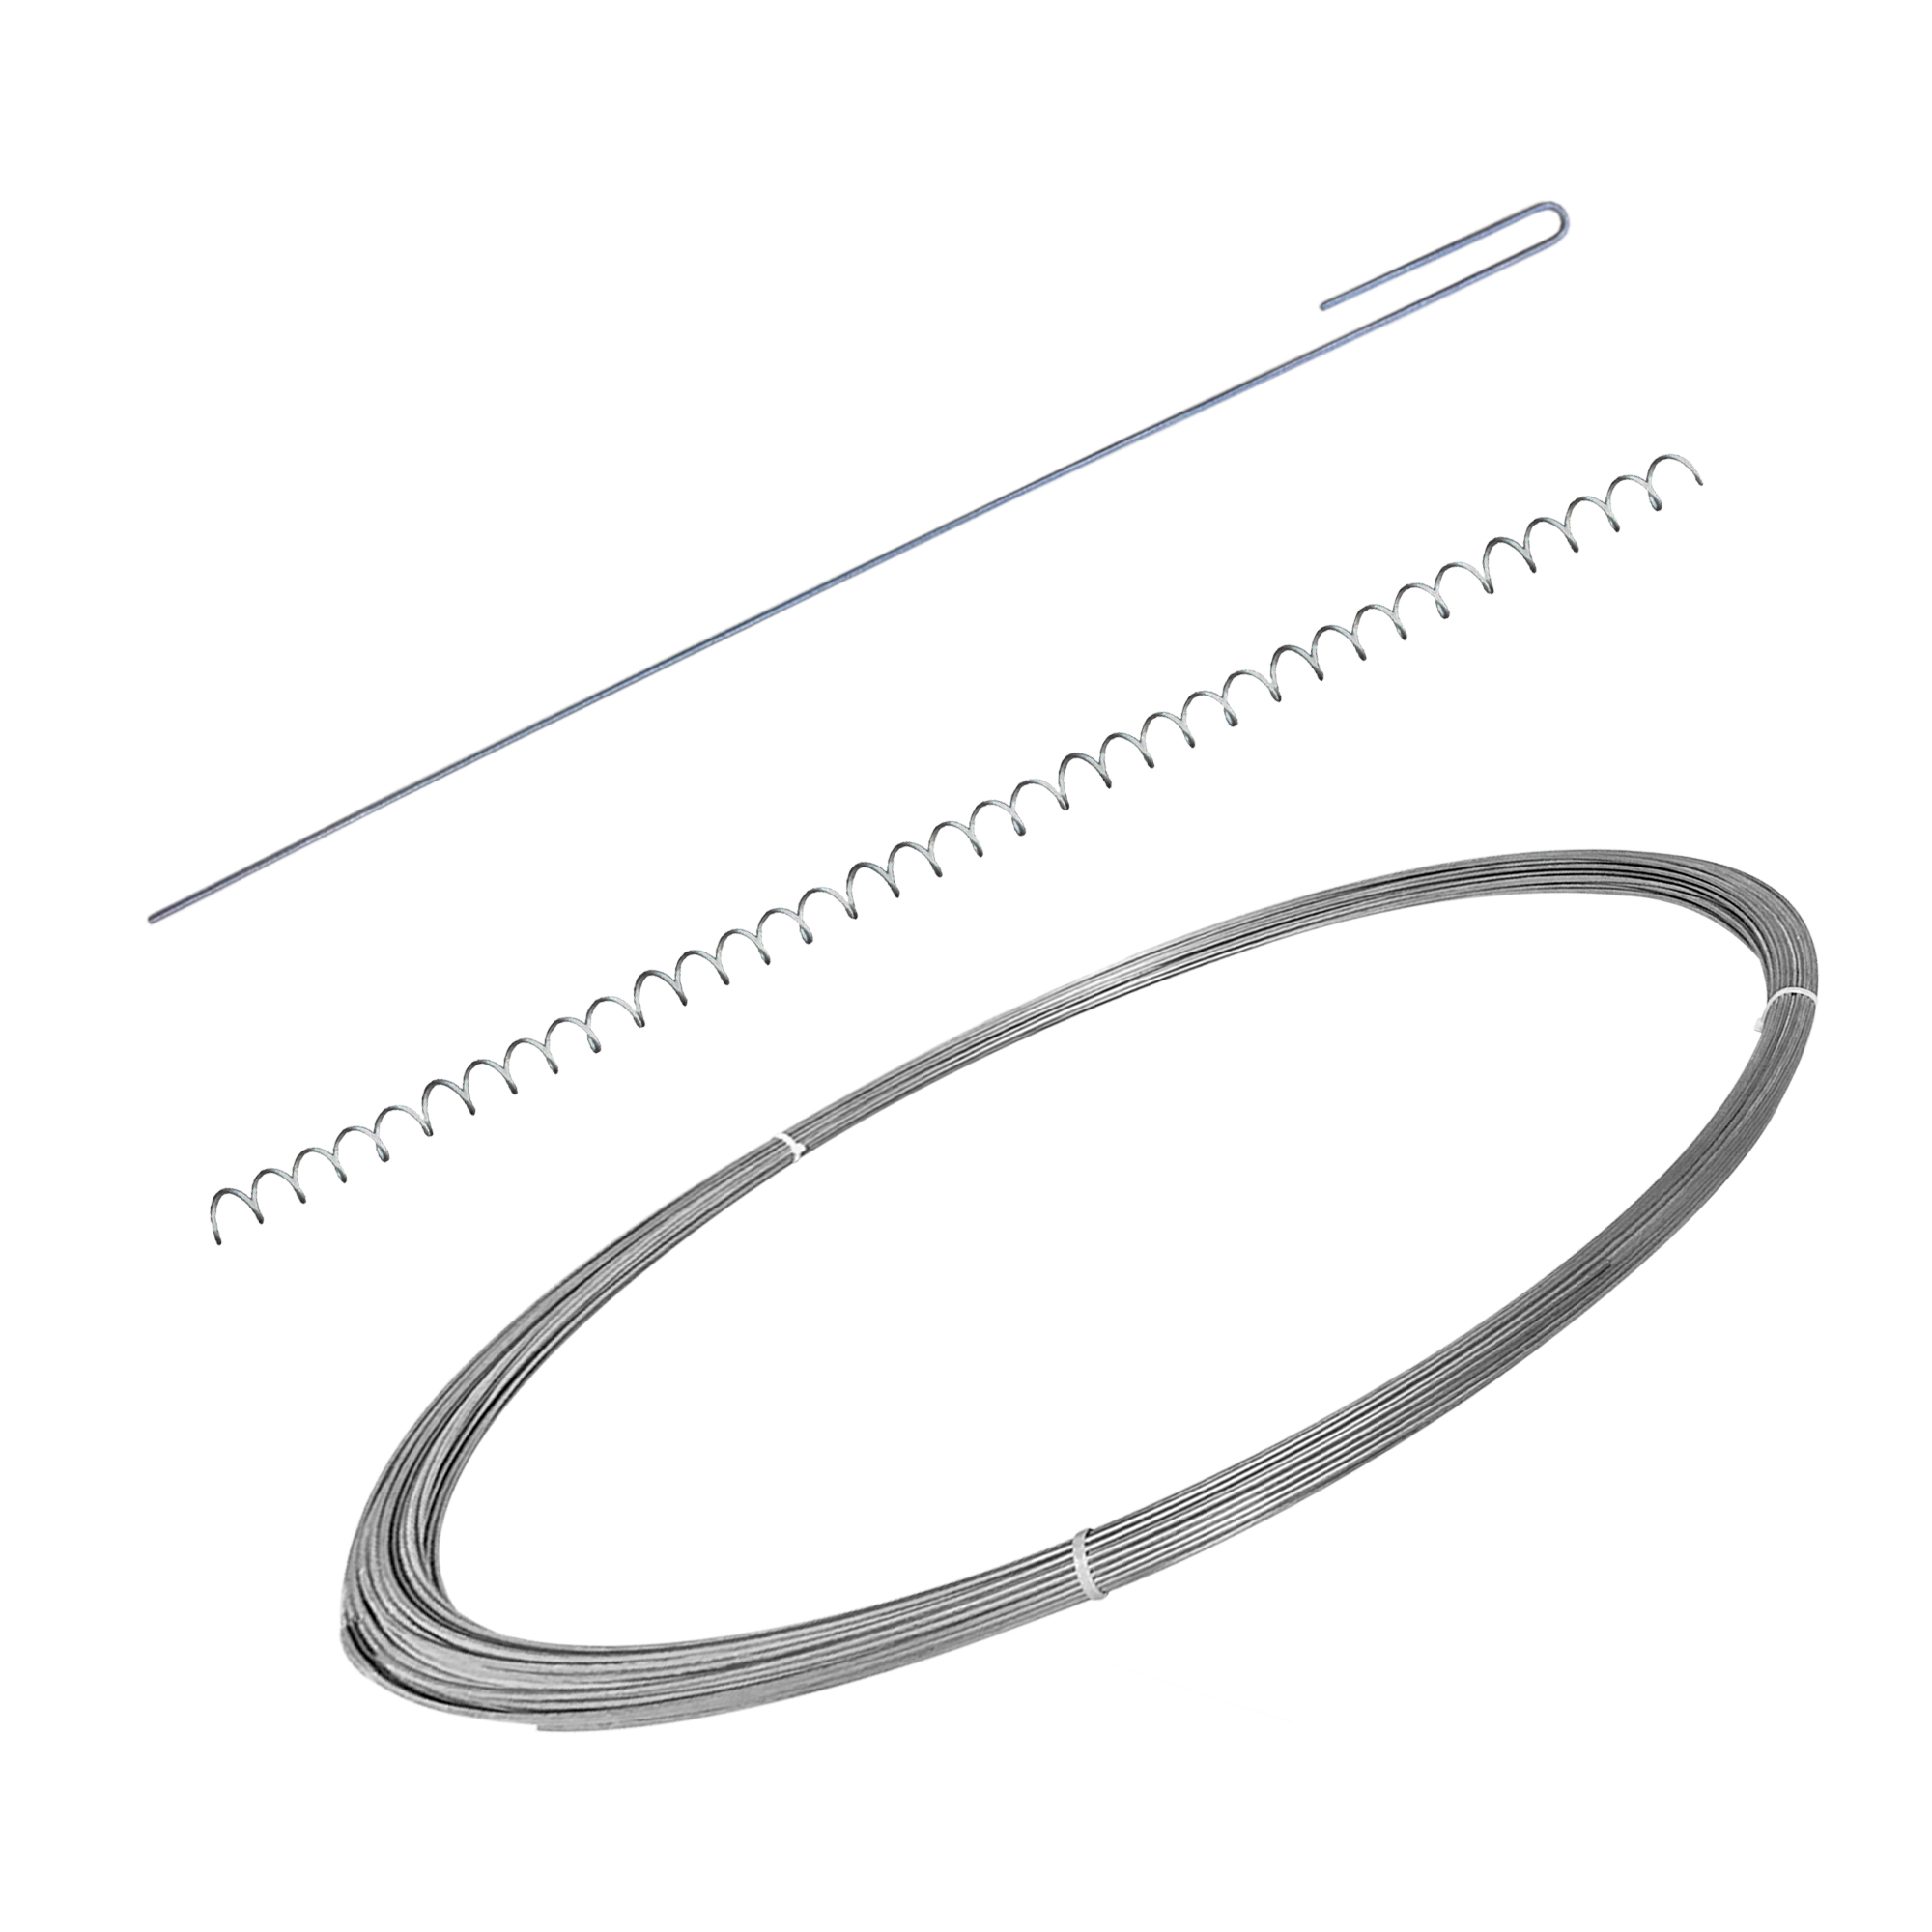
| How to assemble a gabion cage with Helicals | |
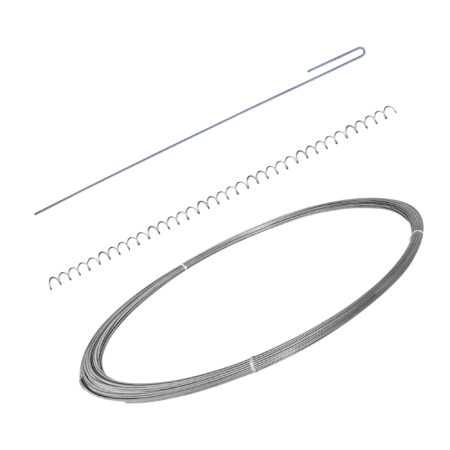
| How to assemble a gabion cage with Tying Wire | |
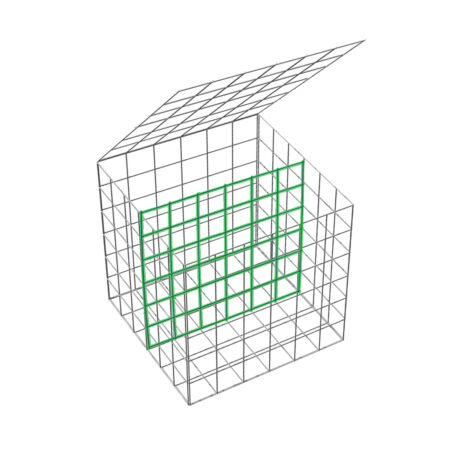
| How to install and save money with a stone separating panel | |
| How to stop bulging with corner ties | |
| Strength difference between 3mm, 4mm and 5mm |
More videos and helpful information can be found on our Gabion Hub page
Which Wire Thickness?
| Wire Diameter | Use For: |
| 3mm | Standard wire thickness for walls up to 5m. Low-cost option. Will result in minor bulges when filled with rocks. Suitable if architectural, straight edge finish is not required. |
| 4mm | 5m+ high & free-standing walls. Use for seating or surfaces that will be walked on. Will give an architectural, straight edge finish when filled carefully with interlocking rocks. |
| 5mm | 5m+ high walls & free-standing walls. Use for seating or surfaces that will be walked on. Best for an architectural, uniform and precise finish. For use in public parks. Can be used with rounded stone fill. |
Applications & Uses
| Galfan Coated | PVC Coated | |||||
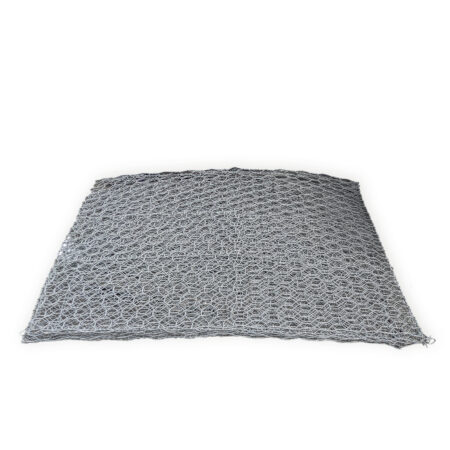
| 3mm Wire Diameter | 4mm Wire Diameter | 5mm Wire Diameter | 3.2mm Wire Diameter | 4.3mm Wire Diameter | 2mm Hexagonal Woven Mattress | |
| Furniture: can be walked on | ||||||
| Furniture: can be sat on | ||||||
| Fences: tall / thin structures | ||||||
| Freestanding wall | ||||||
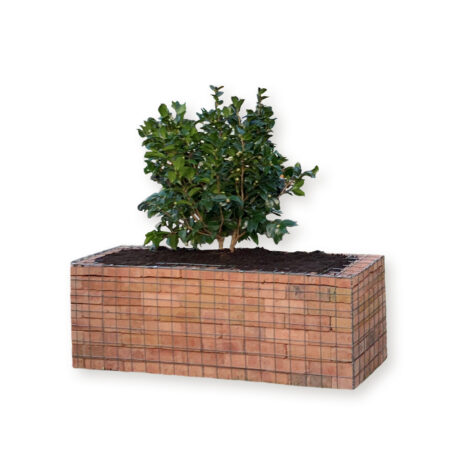
| Planters | ||||||
| Landscaping: no bulges when filled with irregularly shaped rocks | ||||||
| Landscaping: no bulges when filled with rounded rocks | ||||||
| Retaining walls (up to 5m) | ||||||
| Retaining walls (5m and over) | ||||||
| Public leisure areas | ||||||
| Cladding (up to 4m) | ||||||
| Cladding (over 4m) | ||||||
| Erosion control | ||||||
| Erosion control: river beds | ||||||
| Erosion control: reservoirs beds | ||||||
| Erosion control: canals beds | ||||||
| Sea Defence | ||||||
| General | ||||||
| Delivered as | Flat packed in small to large truck depending on order quantity | |||||
| Delivered with | Delivered with FREE tying wire | |||||
| Also available | Helicals for quicker assembly of the 4 vertical corners (ordered separately) | |||||
| Also available | Corner ties to prevent bulging (ordered separately) | |||||
| Made in UK | Yes | |||||
| Conforms to British manufacturing standard | BS EN 10223-8:2013 | |||||
| Certificate of conformity | Yes – download | |||||
| Construction | ||||||
| Mesh Hole Size | 75mm x 75mm | 75mm x 75mm | 75mm x 75mm | 75mm x 75mm | 75mm x 75mm | 60mm x 80mm |
| Mesh Material | Galfan coated steel | Galfan coated steel | Galfan coated steel | Galfan coated steel with PVC coating | Galfan coated steel with PVC coating | Galfan coated steel with PVC coating |
| Mesh Construction | Welded | Welded | Welded | Welded | Welded | Woven |
| Mesh panels joined together by | Stainless steel C Clips | |||||
| Strength and environment | ||||||
| Tensile strength range | 540-770 N/mm² | 540-770 N/mm² | 540-770 N/mm² | 540-770 N/mm² | 540-770 N/mm² | 350 to 500N/mm² |
| Corrosion resistance | Yes, conforms to British standard BS EN 10244-2:2009 | |||||
| Abrasion resistance | Conforms to EN 60229:2008 | |||||
| Life Expectancy | 50 – 100 years | 50 – 100 years | 50 – 100 years | 120 years |
120 years |
120 years |
| Suited to Environments | C2 – C4 | C2 – C4 | C2 – C4 | C2 – C5 | C2 – C5 | C2 – C5 |
| Rocks / Filling / Installation | ||||||
| Speed of installation | 2-5 mins each | |||||
| Experience required to install | None – Download installation PDF | |||||
| Speed up installation | Helicals (ordered separately) – use on 4 vertical corners instead of tying wire. Can also be used to attach the cages together | |||||
| Save money | Stone separating panel (ordered separately) – allows you to backfill the cages with cheaper stone or rubble | |||||
| Prevent bulging | Corner ties (ordered separately) – will brace the corners of the baskets together reducing bulging caused by rocks putting pressure on the metal panels | |||||
| Rock size required | Minimum 80mm x 80mm | |||||
| Requires angular, interlocking rocks | ||||||
| Can be filled with crushed concrete | ||||||
| Can fill with rounded rocks | ||||||
Calculate Stone Qty
- Use the guide below to calculate the amount of stone that you need to fill your gabion wall
- You can use partitions/stone separating panels to reduce the amount of decorative rocks required by at least half
- You can also save money by filling the middle of your cage with rubble bags
| Gabion Dimensions (cm) | Gabion Volume (m3) | Bulk Bags of Stone Required | Weight of Stone Required (kg) | ||
| 45 | 45 | 45 | 0.09 | 1 | 164 |
| 97.5 | 45 | 45 | 0.20 | 1 | 197 |
| 97.5 | 97.5 | 45 | 0.42 | 1 | 770 |
| 97.5 | 97.5 | 97.5 | 0.92 | 2 | 1,668 |
| 150 | 45 | 45 | 0.30 | 1 | 546 |
| 150 | 97.5 | 45 | 0.66 | 2 | 1,185 |
| 150 | 97.5 | 97.5 | 1.43 | 3 | 2,567 |
| 202.5 | 45 | 45 | 0.41 | 1 | 738 |
| 202.5 | 97.5 | 45 | 0.89 | 2 | 1,599 |
| 202.5 | 97.5 | 97.5 | 1.93 | 4 | 3,465 |
FAQ’s
What is a gabion?
A modular containment system (called a gabion basket or cage) made from wire mesh and filled with rock, stone or other non-degradable materials.
Usually square, rectangular or trapezoidal in shape, these stone-filled units can be placed side by side and on top of each other for use in a range of construction projects e.g. gravity retaining walls.
How long will they last?
In normal environmental conditions, you can expect 50 to 100 years if the gabions meet the Bristish Manufacturing standards for abrasion (EN 60229:2008) and corrosion protection (BS EN 10244-2:2009). There are a lot of cheaper products entering the market which are made with inferior materials offering far last corrosion resistance and a much shorter lifespan.
Are they sometimes called stone cages?
Yes. Sometimes our customers refer to them as stone cages. They have also been referred to as, wire cages, rock cages.
How do I fill them?
- Choose a hard, durable, non-degradable and free-draining material
- Usually between 100mm-200mm diameter
- Or at least larger than 75mm x 75mm mesh aperture
- Pick angular stone for best interlocking potential = less deformation of the face
- Quarried stone is preferred due to angular properties
- Rounded stone has less interlocking potential. Use 4 or 5mm wire mesh
- Ideally, all exposed faces should be hand-packed
- If machine filling, take care to minimise large voids

