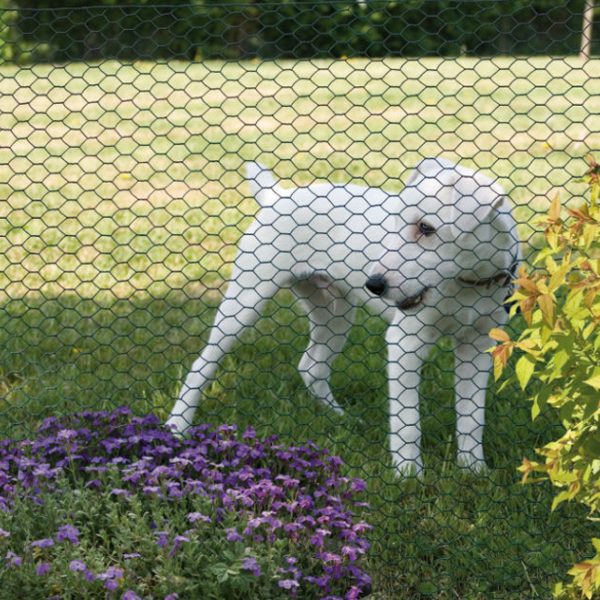
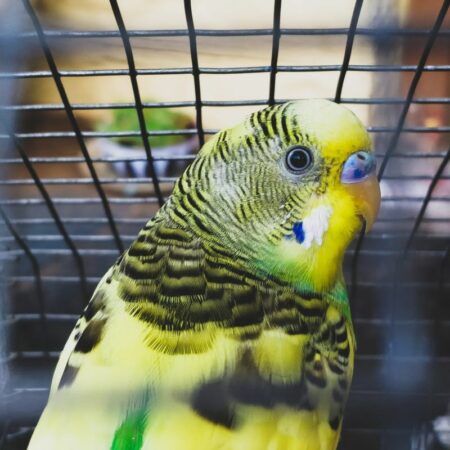
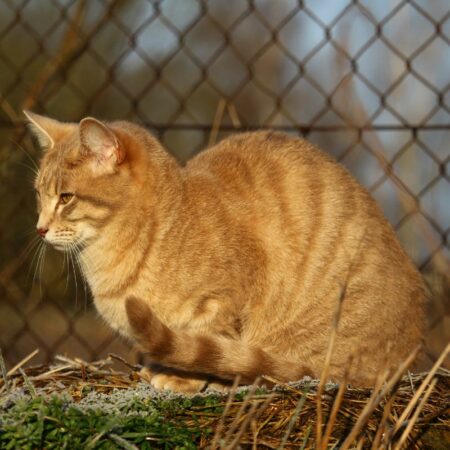
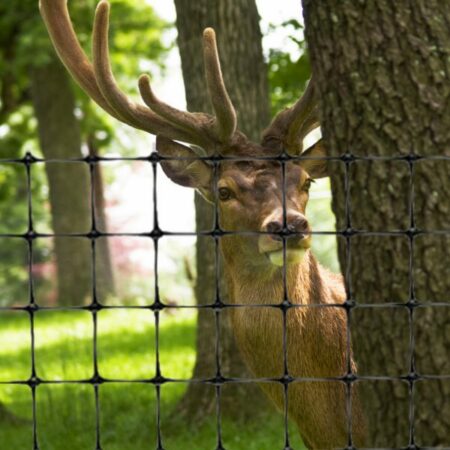
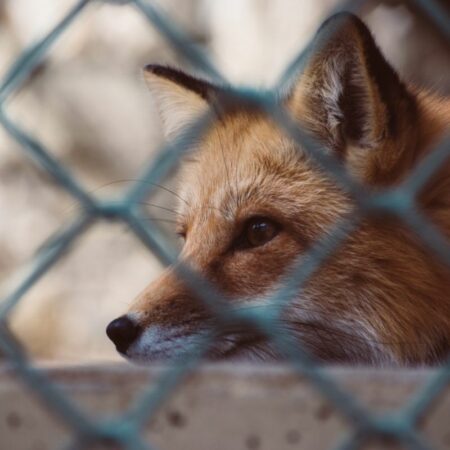
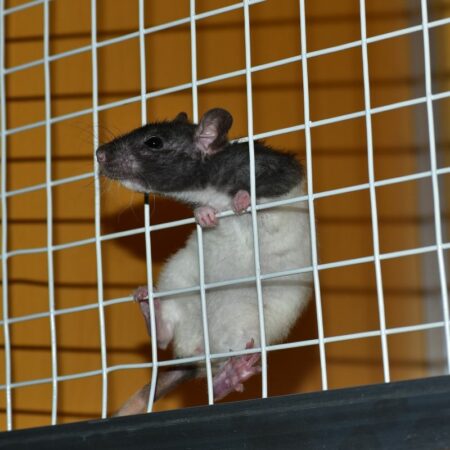
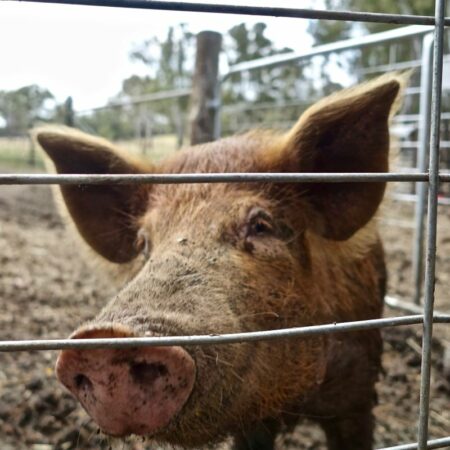
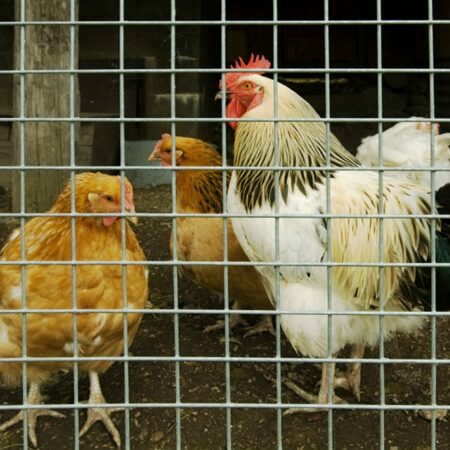
Animal & Pet Fencing
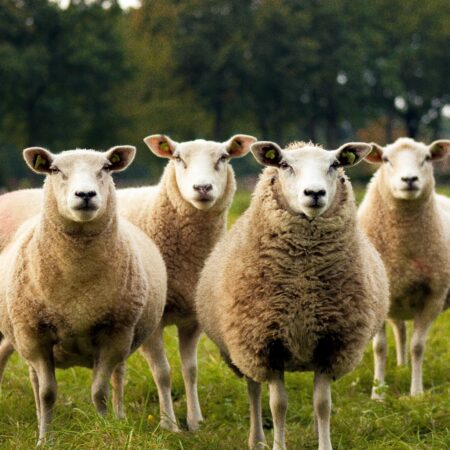
Large range of items in stock available for large animal perimeter fencing jobs or rolls of mesh for smaller residential pet fence solutions.
- 1,000s of items in stock
- Next day delivery
- Multi purchase discounts
Large range of items in stock available for large animal perimeter fencing jobs or rolls of mesh for smaller residential pet fence solutions.

Wire Fence is part of the Super Magic Bean group - VAT Registered: 344 7643 83 - Company Registration No: 11290483