Show video
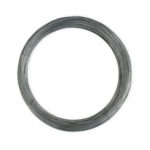
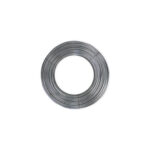
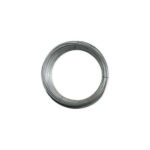
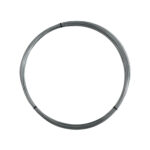
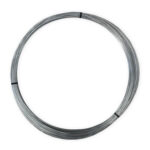
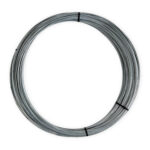
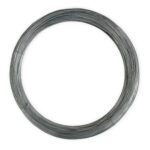
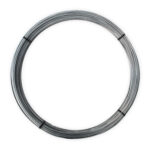
32m (105ft)
1.6mm (16g)
Hot dip galvanised
Silver / grey
£5.32 inc. VAT
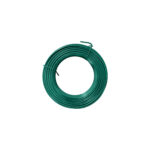
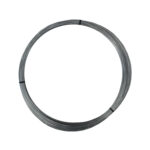
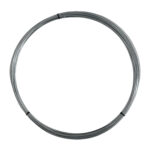
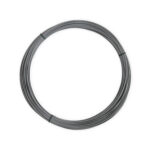
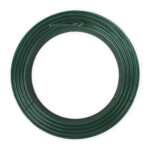
High-grade, galvanised and green plastic coated line tensioning wire available.
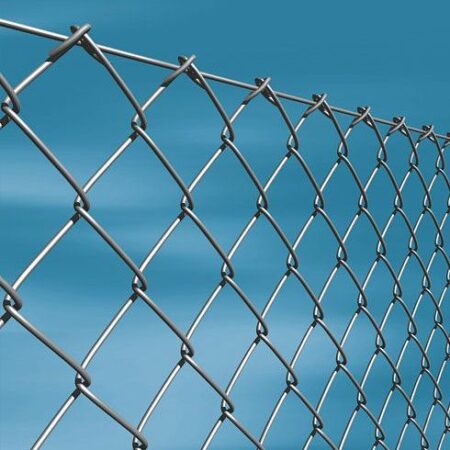
Used to create tension between posts in many types of fencing including: chain link fencing, stock fence, hexagonal wire fencing, rabbit fencing and wire mesh.


| Galvanised | 3.5mm (9g) |
3mm (10g) |
2.5mm (12g) |
1.6mm (16g) |
0.7mm (22g) |
| Best for Tensioing Fences | |||||
| Can be bent Refers to the ability of the mesh to be bent out of shape by hand | |||||
| Holds shape when bent Confirms whether the mesh will hold its shape after bending it | |||||
| Sags over time Refers to whether the mesh will droop over time if it is stood up | |||||
|
Can be cut using Refers to the tool that is required as a minimum to cut the mesh |
Mini Bolt Cutters | Mini Bolt Cutters |
Mini Bolt Cutters |
Wire Cutters | Wire Cutters |
| PVC Coated | 3.8mm (9g) |
3.5mm (9g) |
3.15mm (10g) |
2mm (14g) |
| Best for Tensioing Fences | ||||
| Can be bent Refers to the ability of the mesh to be bent out of shape by hand | ||||
| Holds shape when bent Confirms whether the mesh will hold its shape after bending it | ||||
| Sags over time Refers to whether the mesh will droop over time if it is stood up | ||||
|
Can be cut using Refers to the tool that is required as a minimum to cut the mesh |
Mini Bolt Cutters |
Mini Bolt Cutters |
Mini Bolt Cutters |
Wire Cutters |


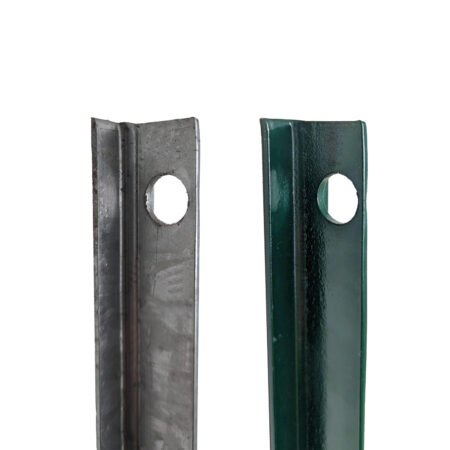
T Post
Wood Post
| To Do | Explanation |
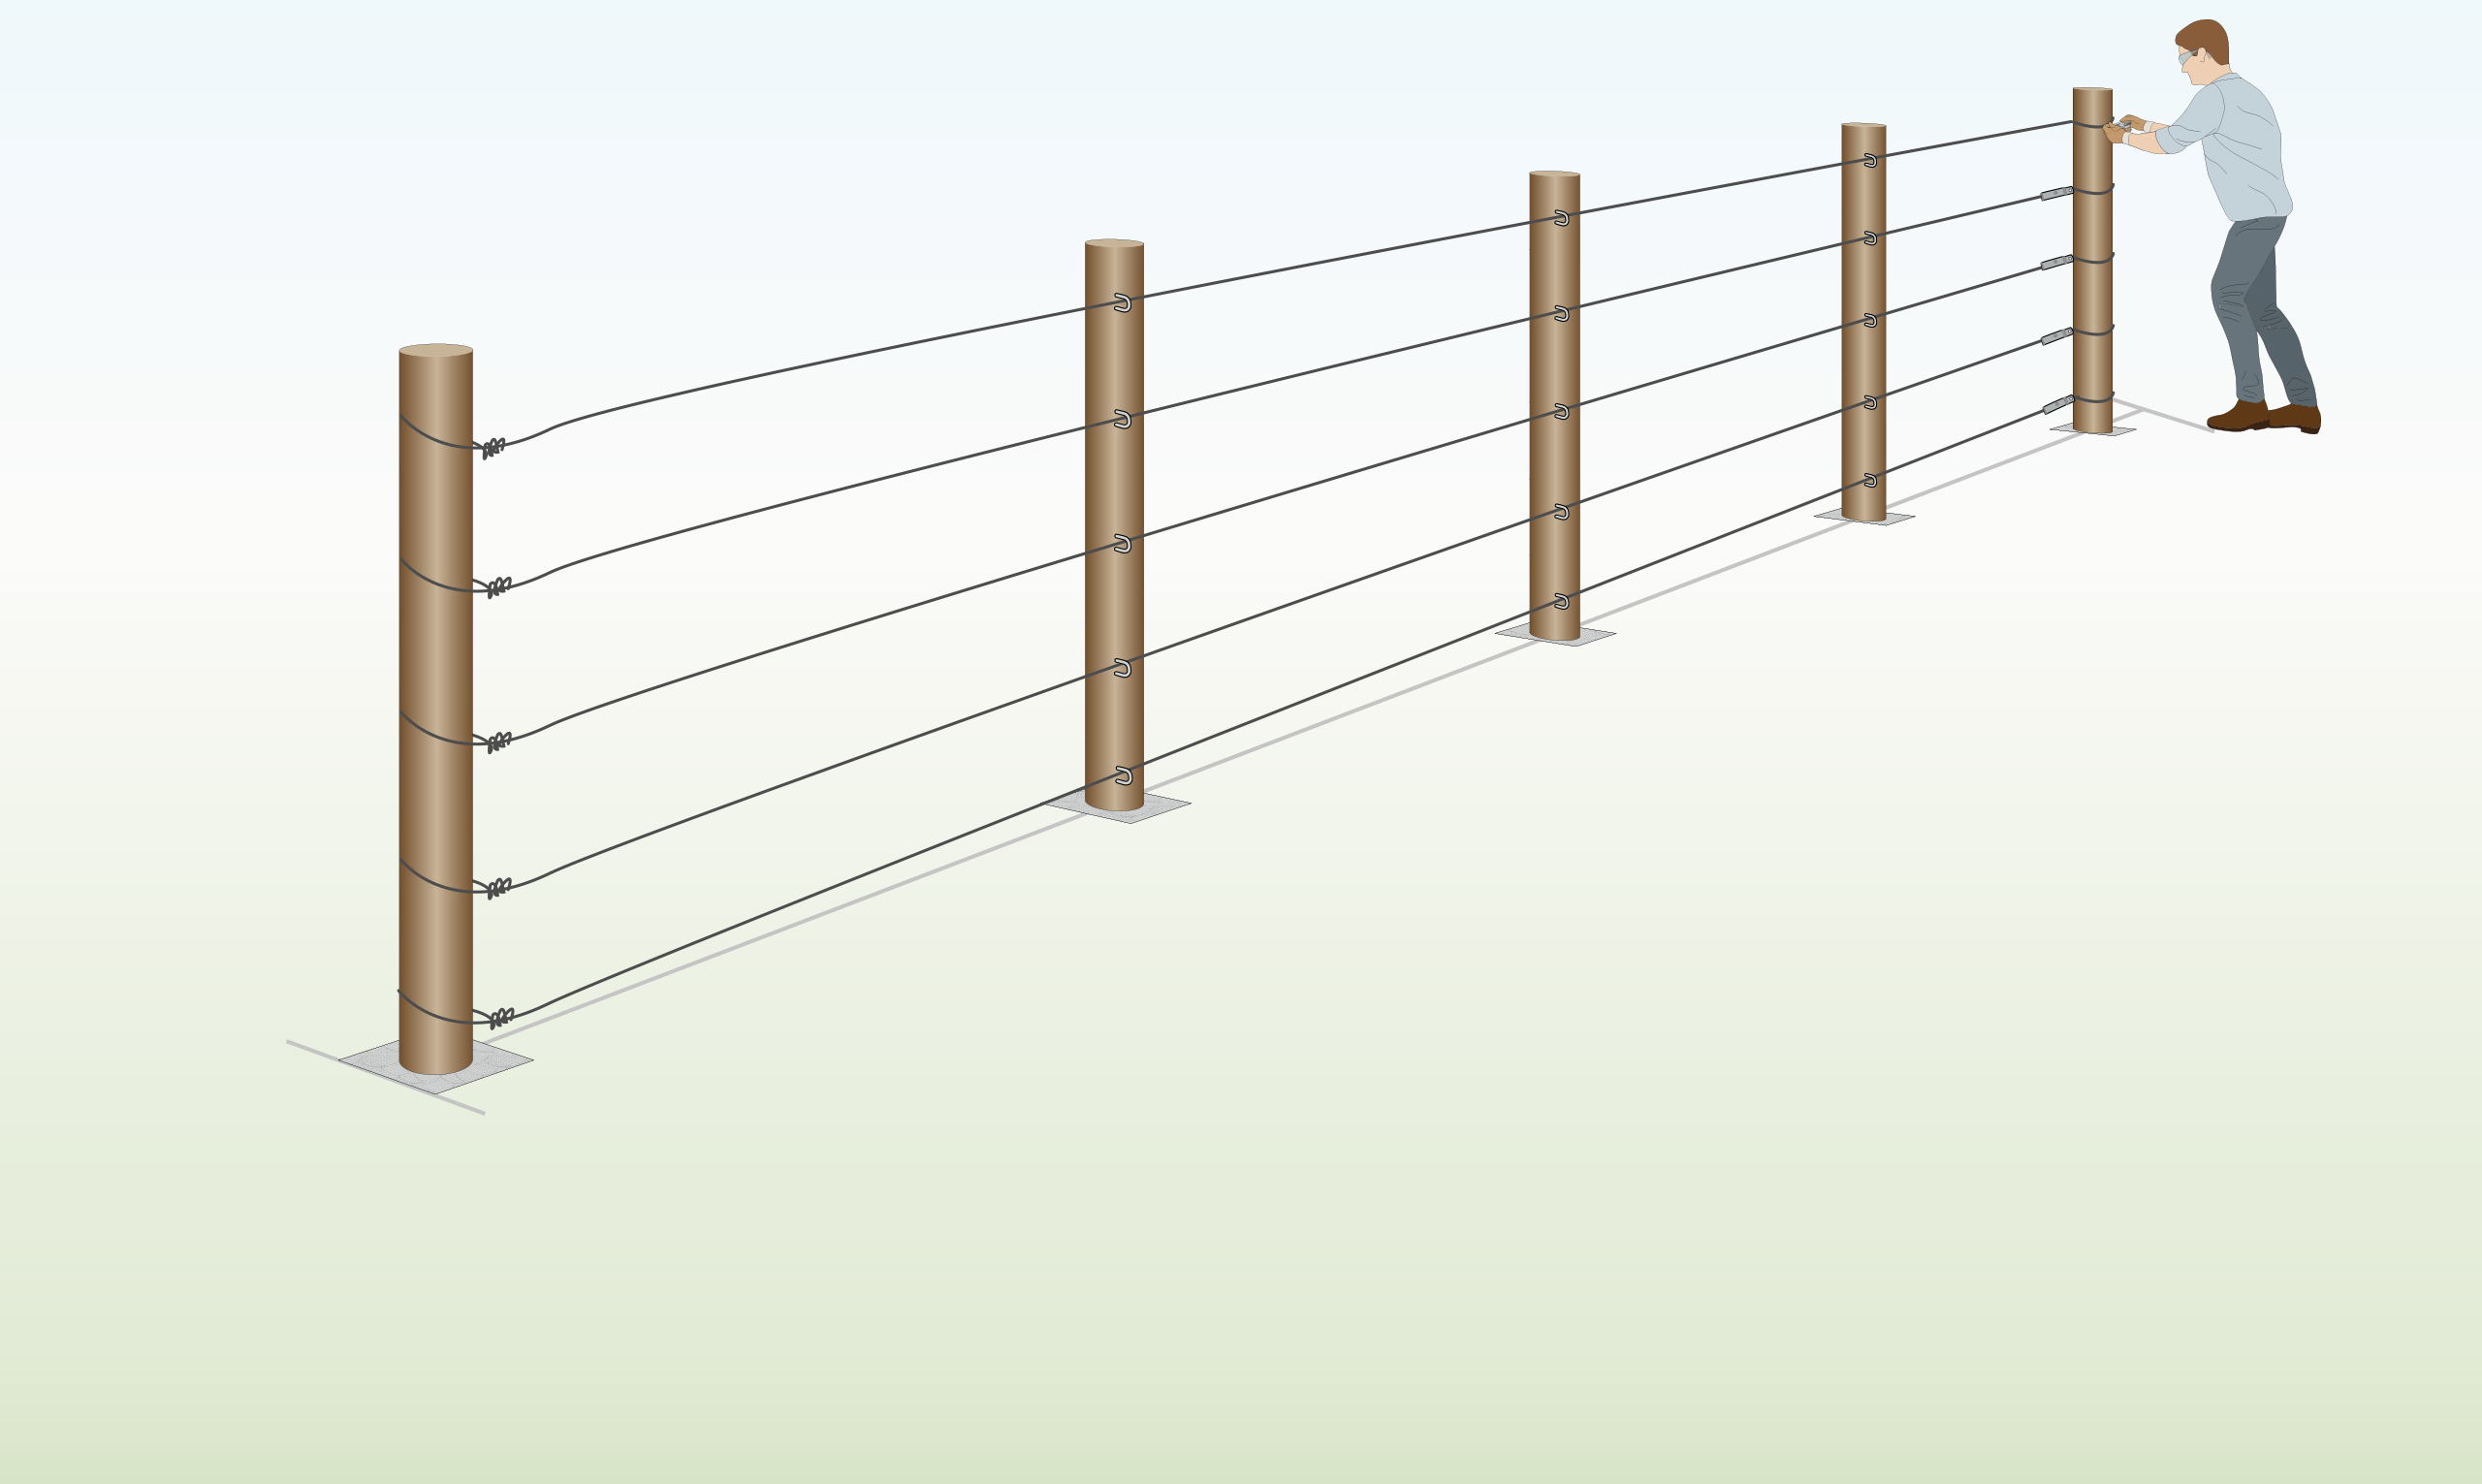
| Completed Installation
|
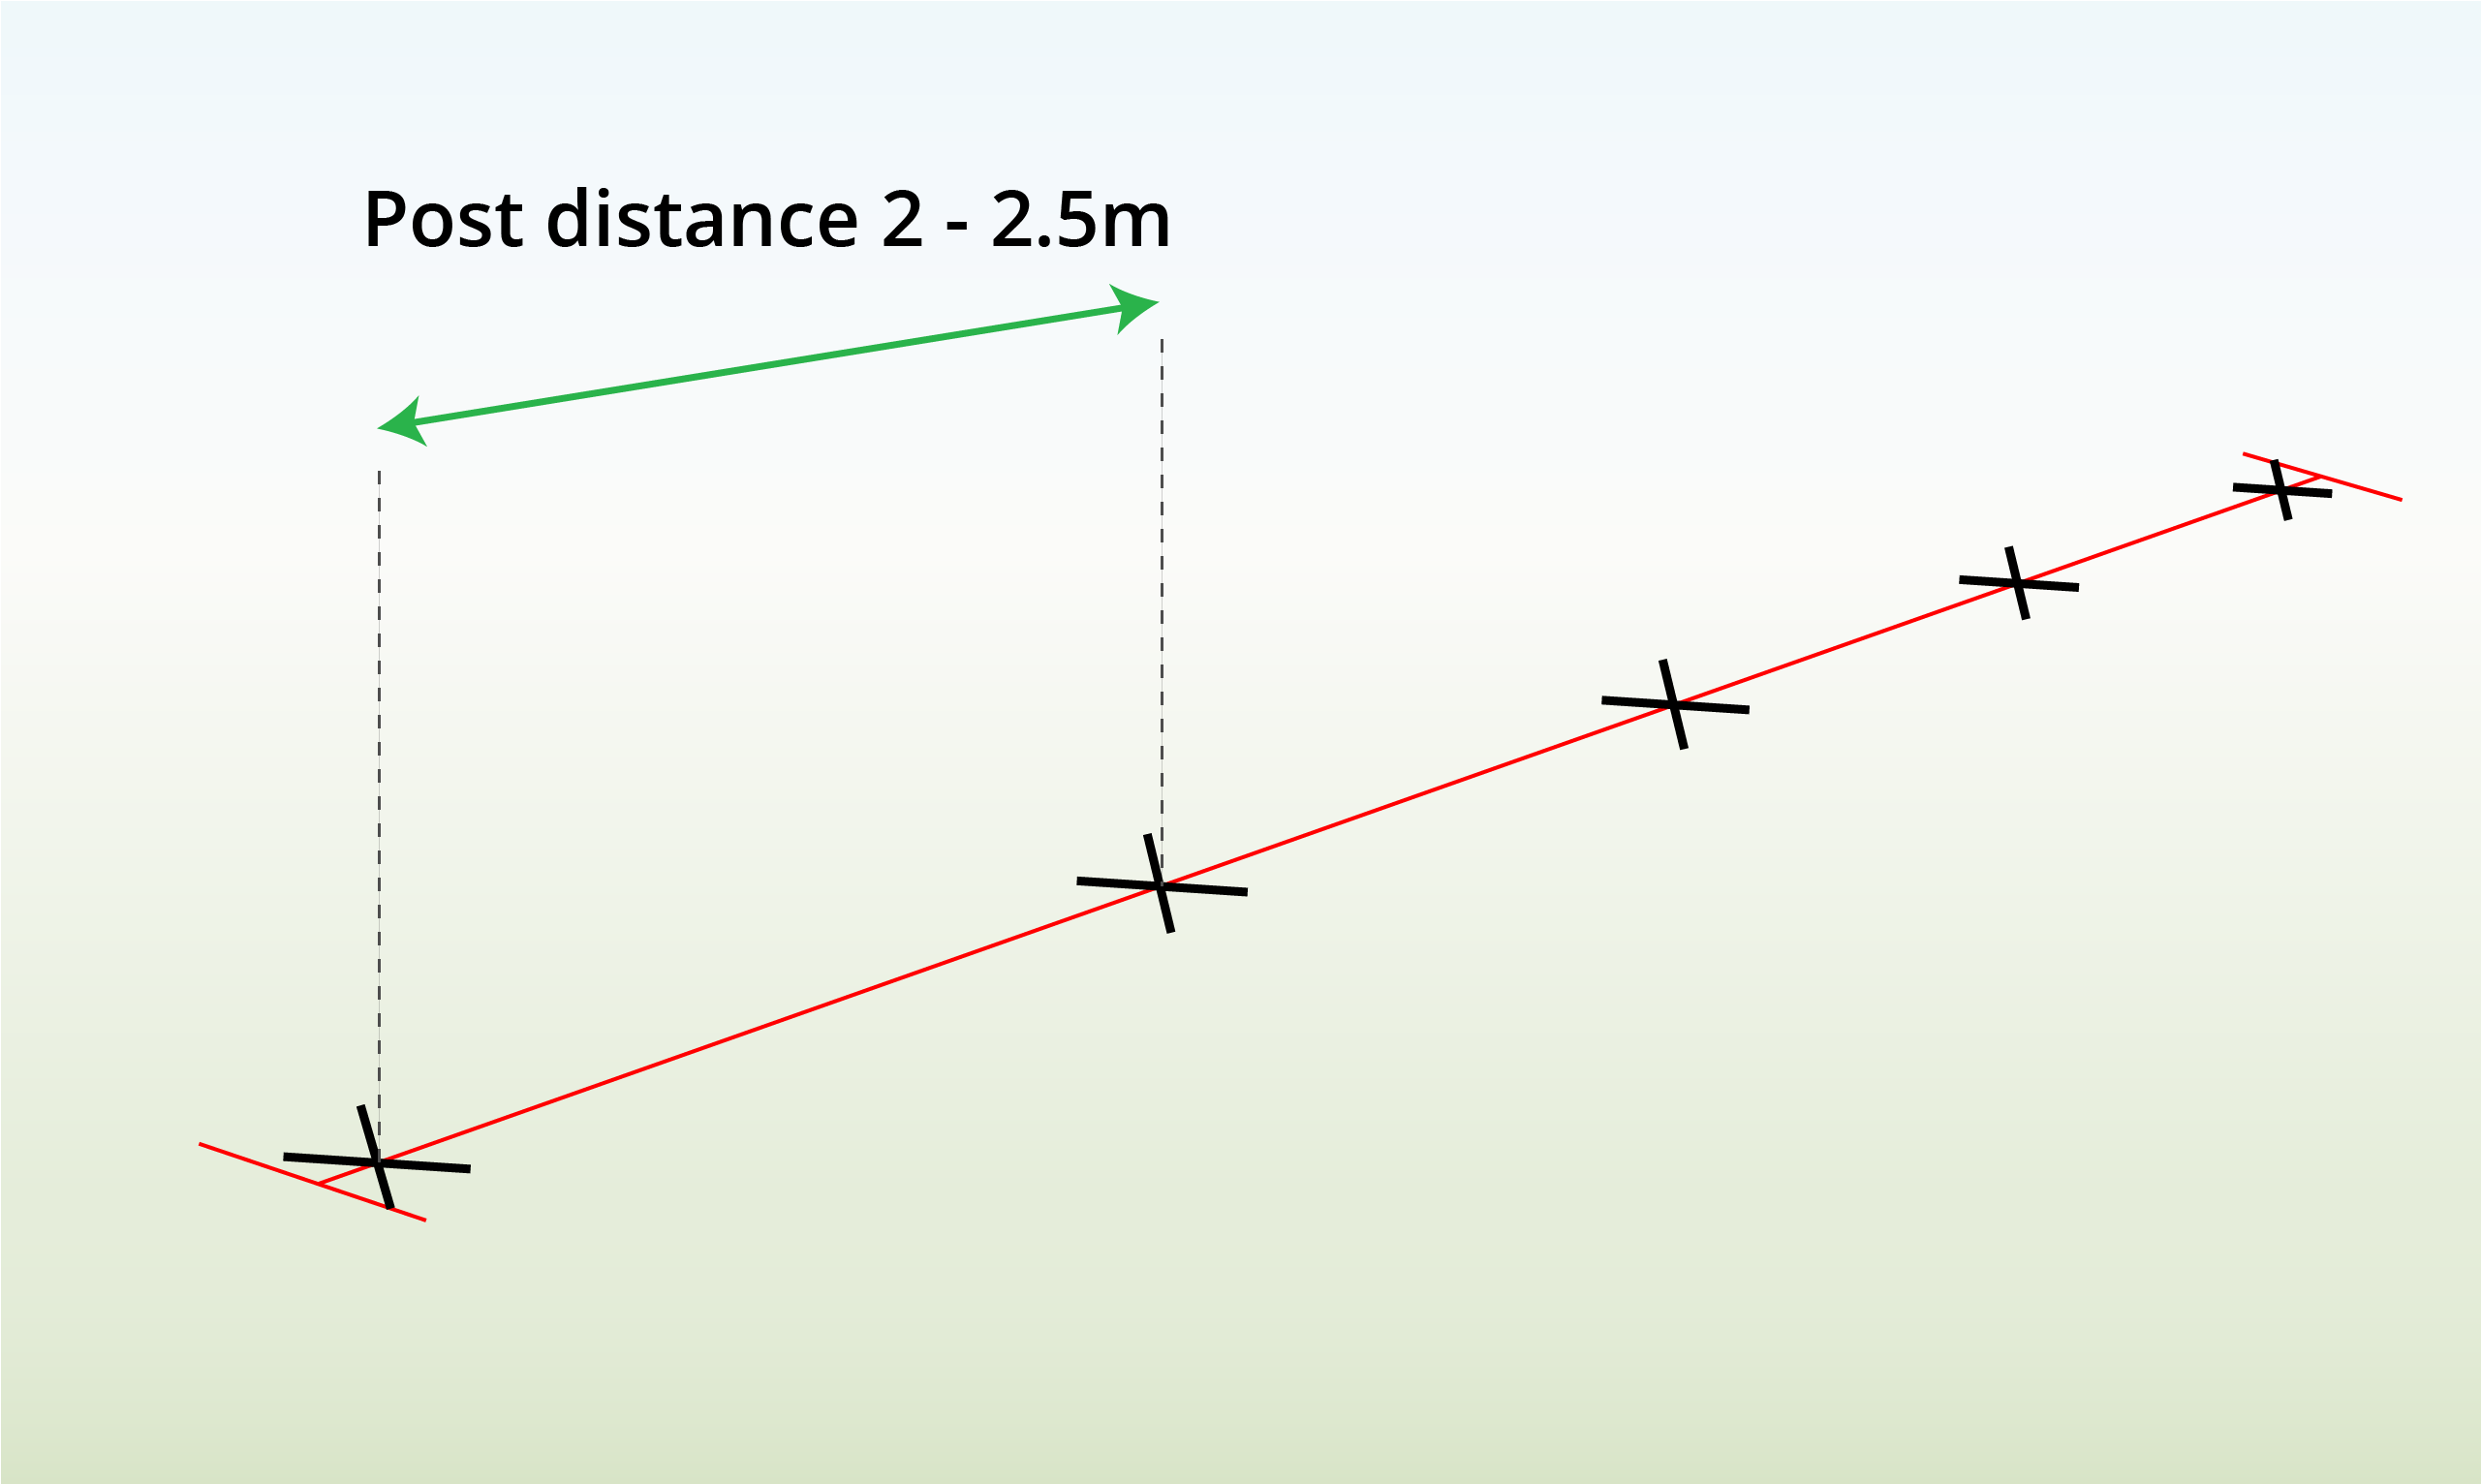
Install t-posts 2–3 m apart and secure them with concrete.
Add reinforcement struts and radisseurs, run and tighten the tension wires, threading it through the intermediate posts to complete the fence.
Watch video |
| Step 1 – Measure Post Distance
|
Measure the distance between the posts, spacing them about 2–3 meters apart. |
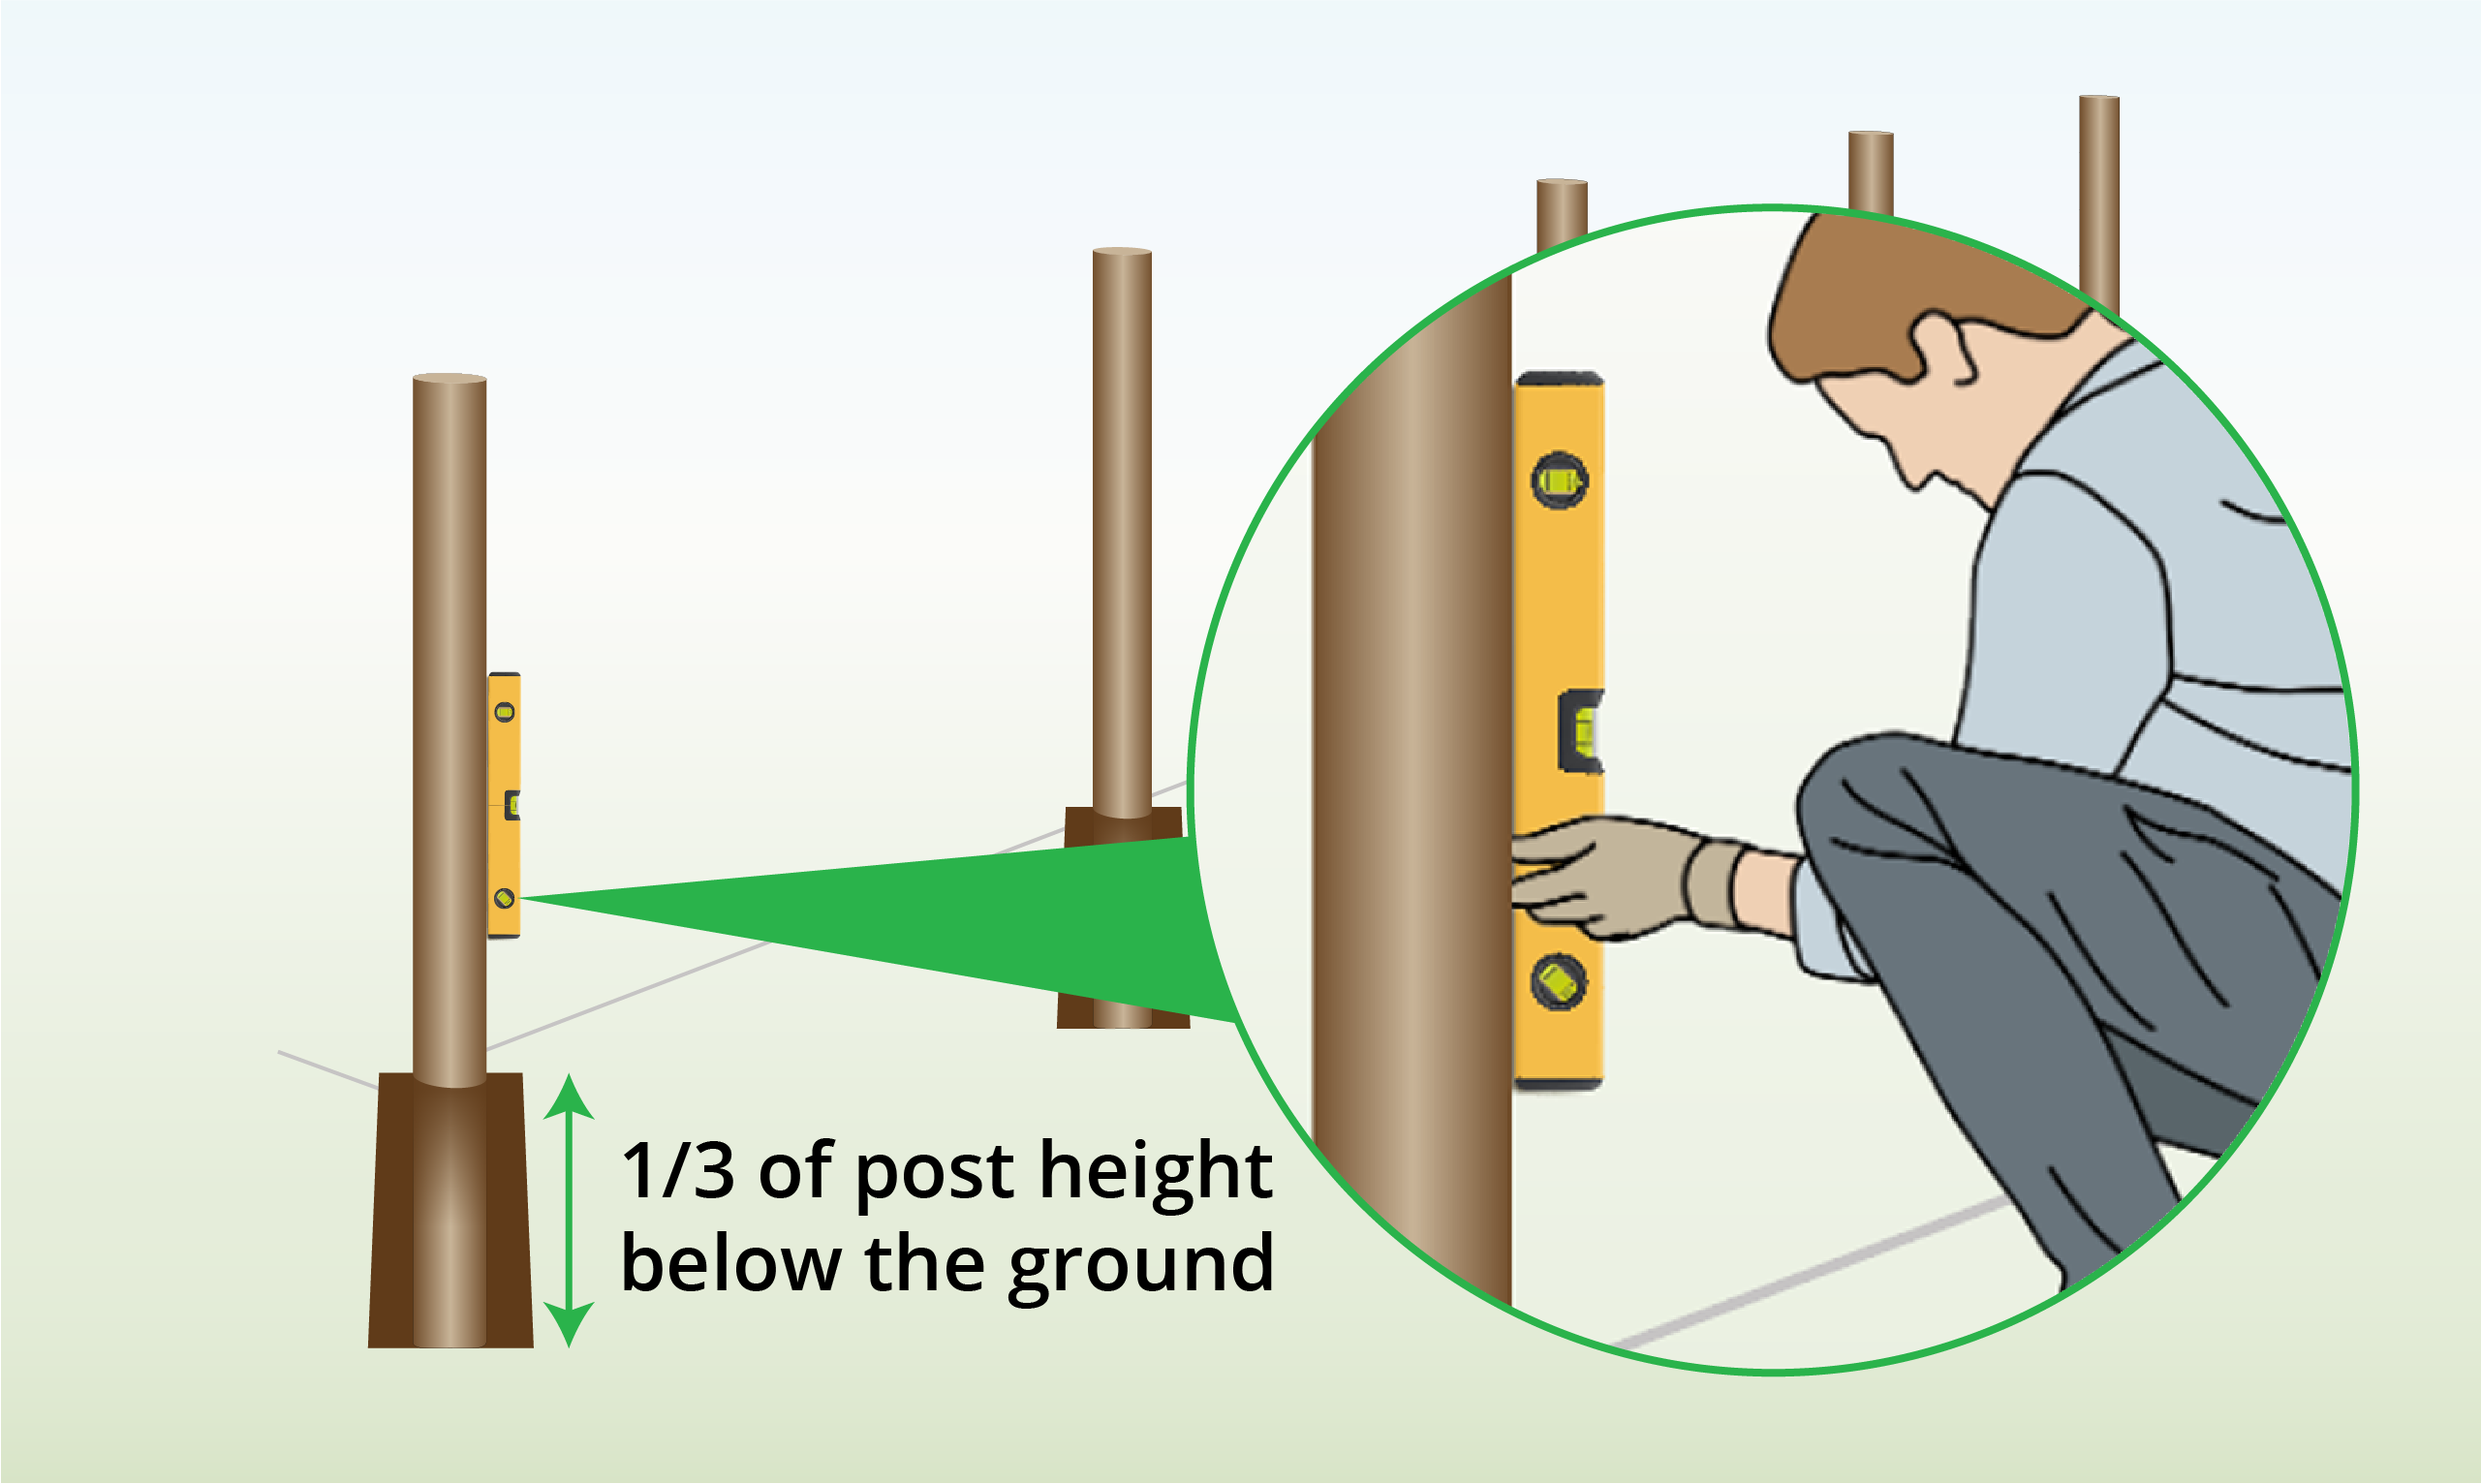
| Step 2 – Dig Post Holes
|
Dig the post holes about 50cm deep. |
| Step 3 – Position the Posts
|
Insert the T posts into the hole and make sure it stands vertically, with the two ends facing each other. |
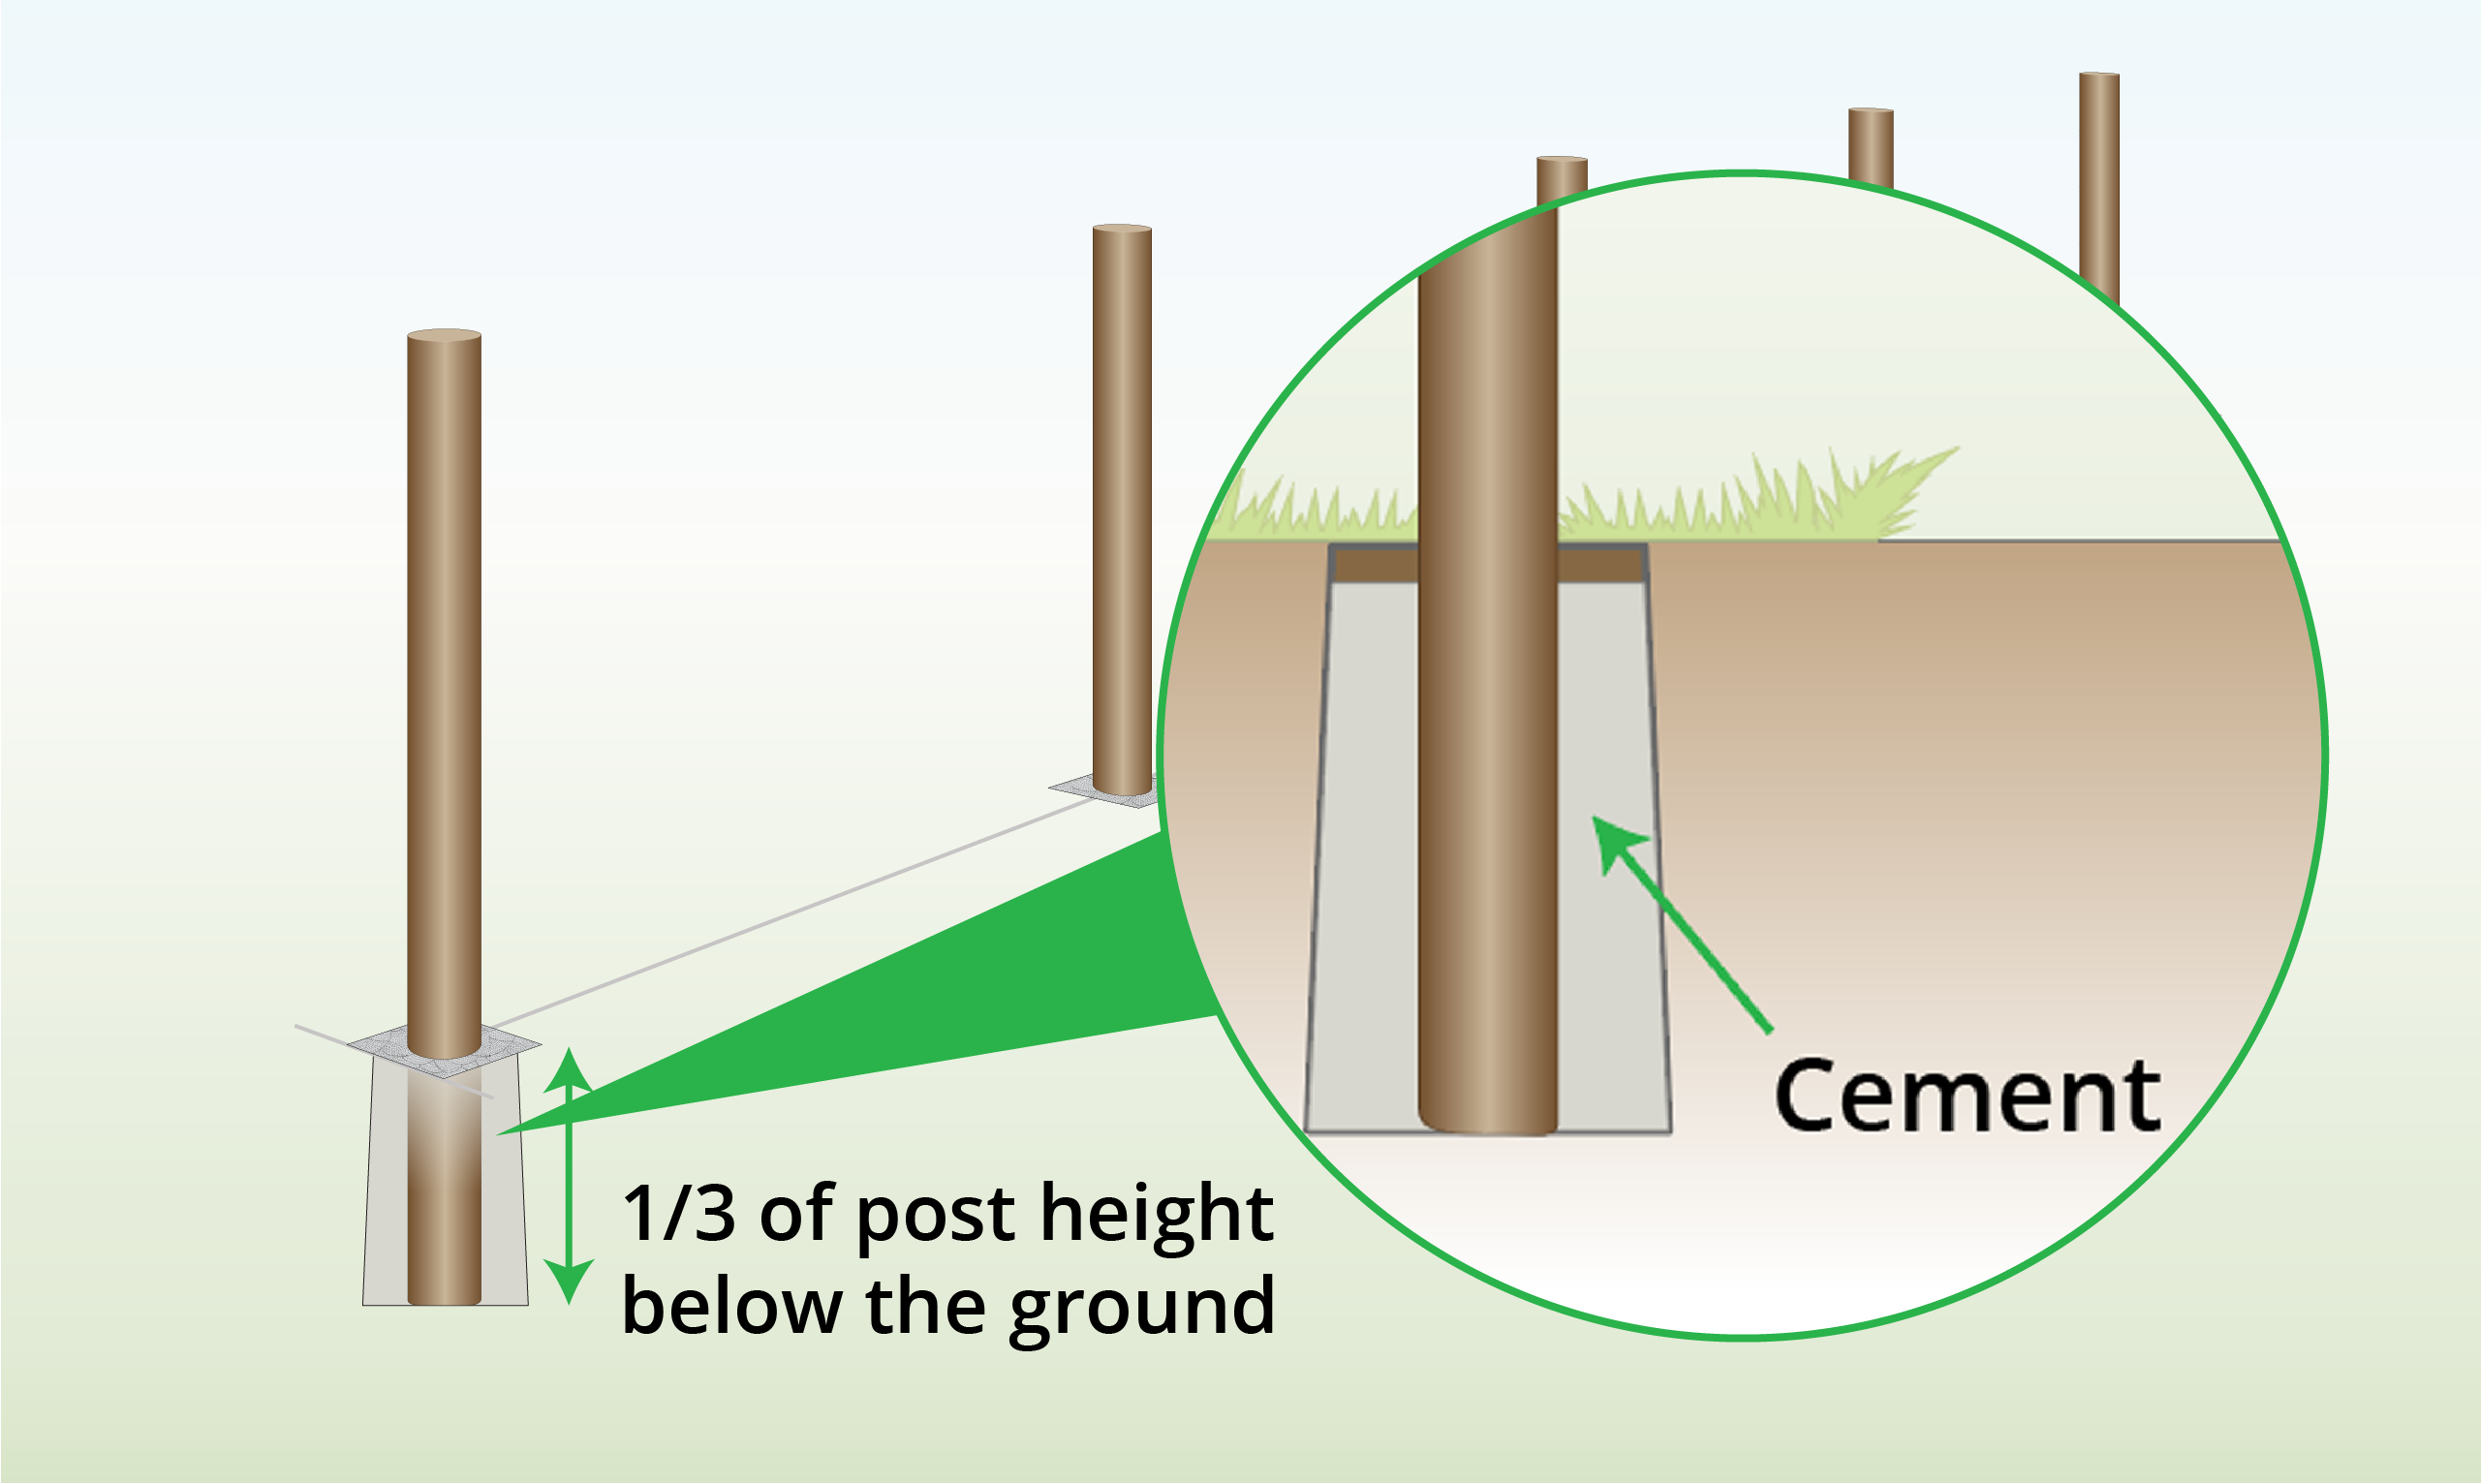
| Step 4 – Set in Concrete
|
Fill the hole with concrete to securely anchor the post.
This is not necessary for intermediate posts. |
| Step 5 – Install Struts
|
Attach the reinforcement strut by matching its hole with the second hole from the top of the T post. |
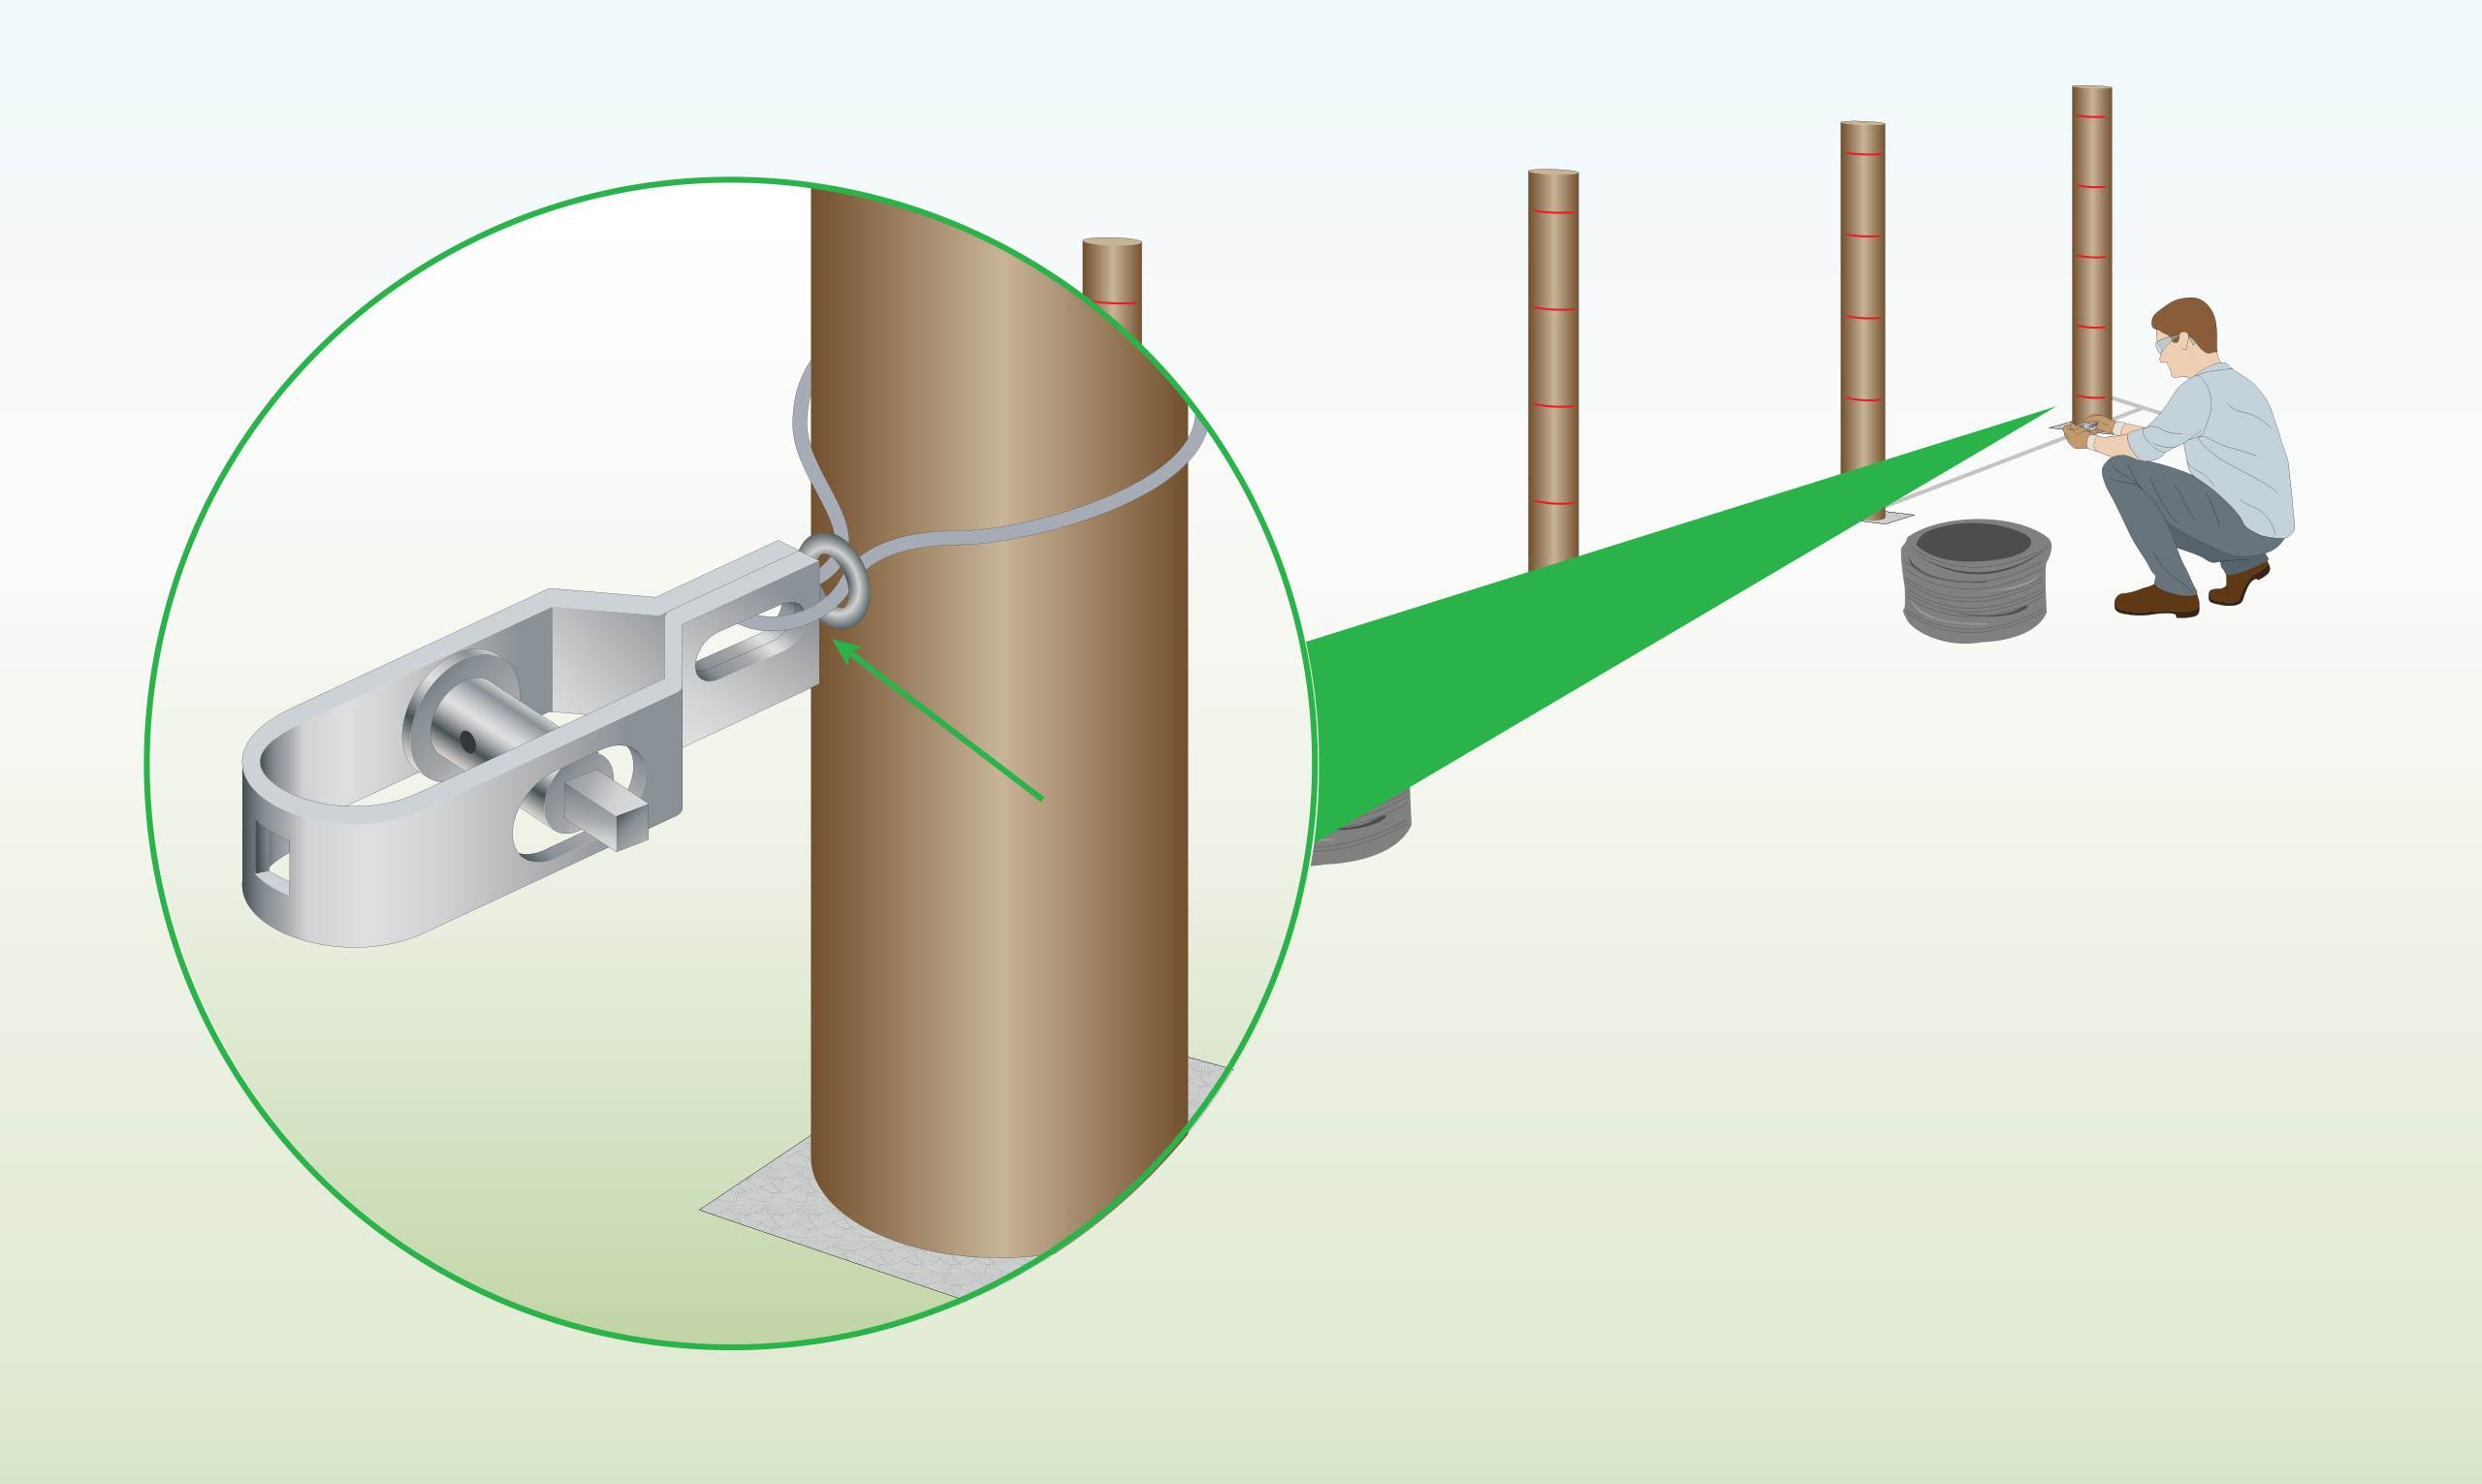
| Step 6 – Install Radisseur
|
On the opposite side of that same hole, place the radisseur so it lines up with the strut.
Secure both the strut and the radisseur using bolts, nuts, and washers. |
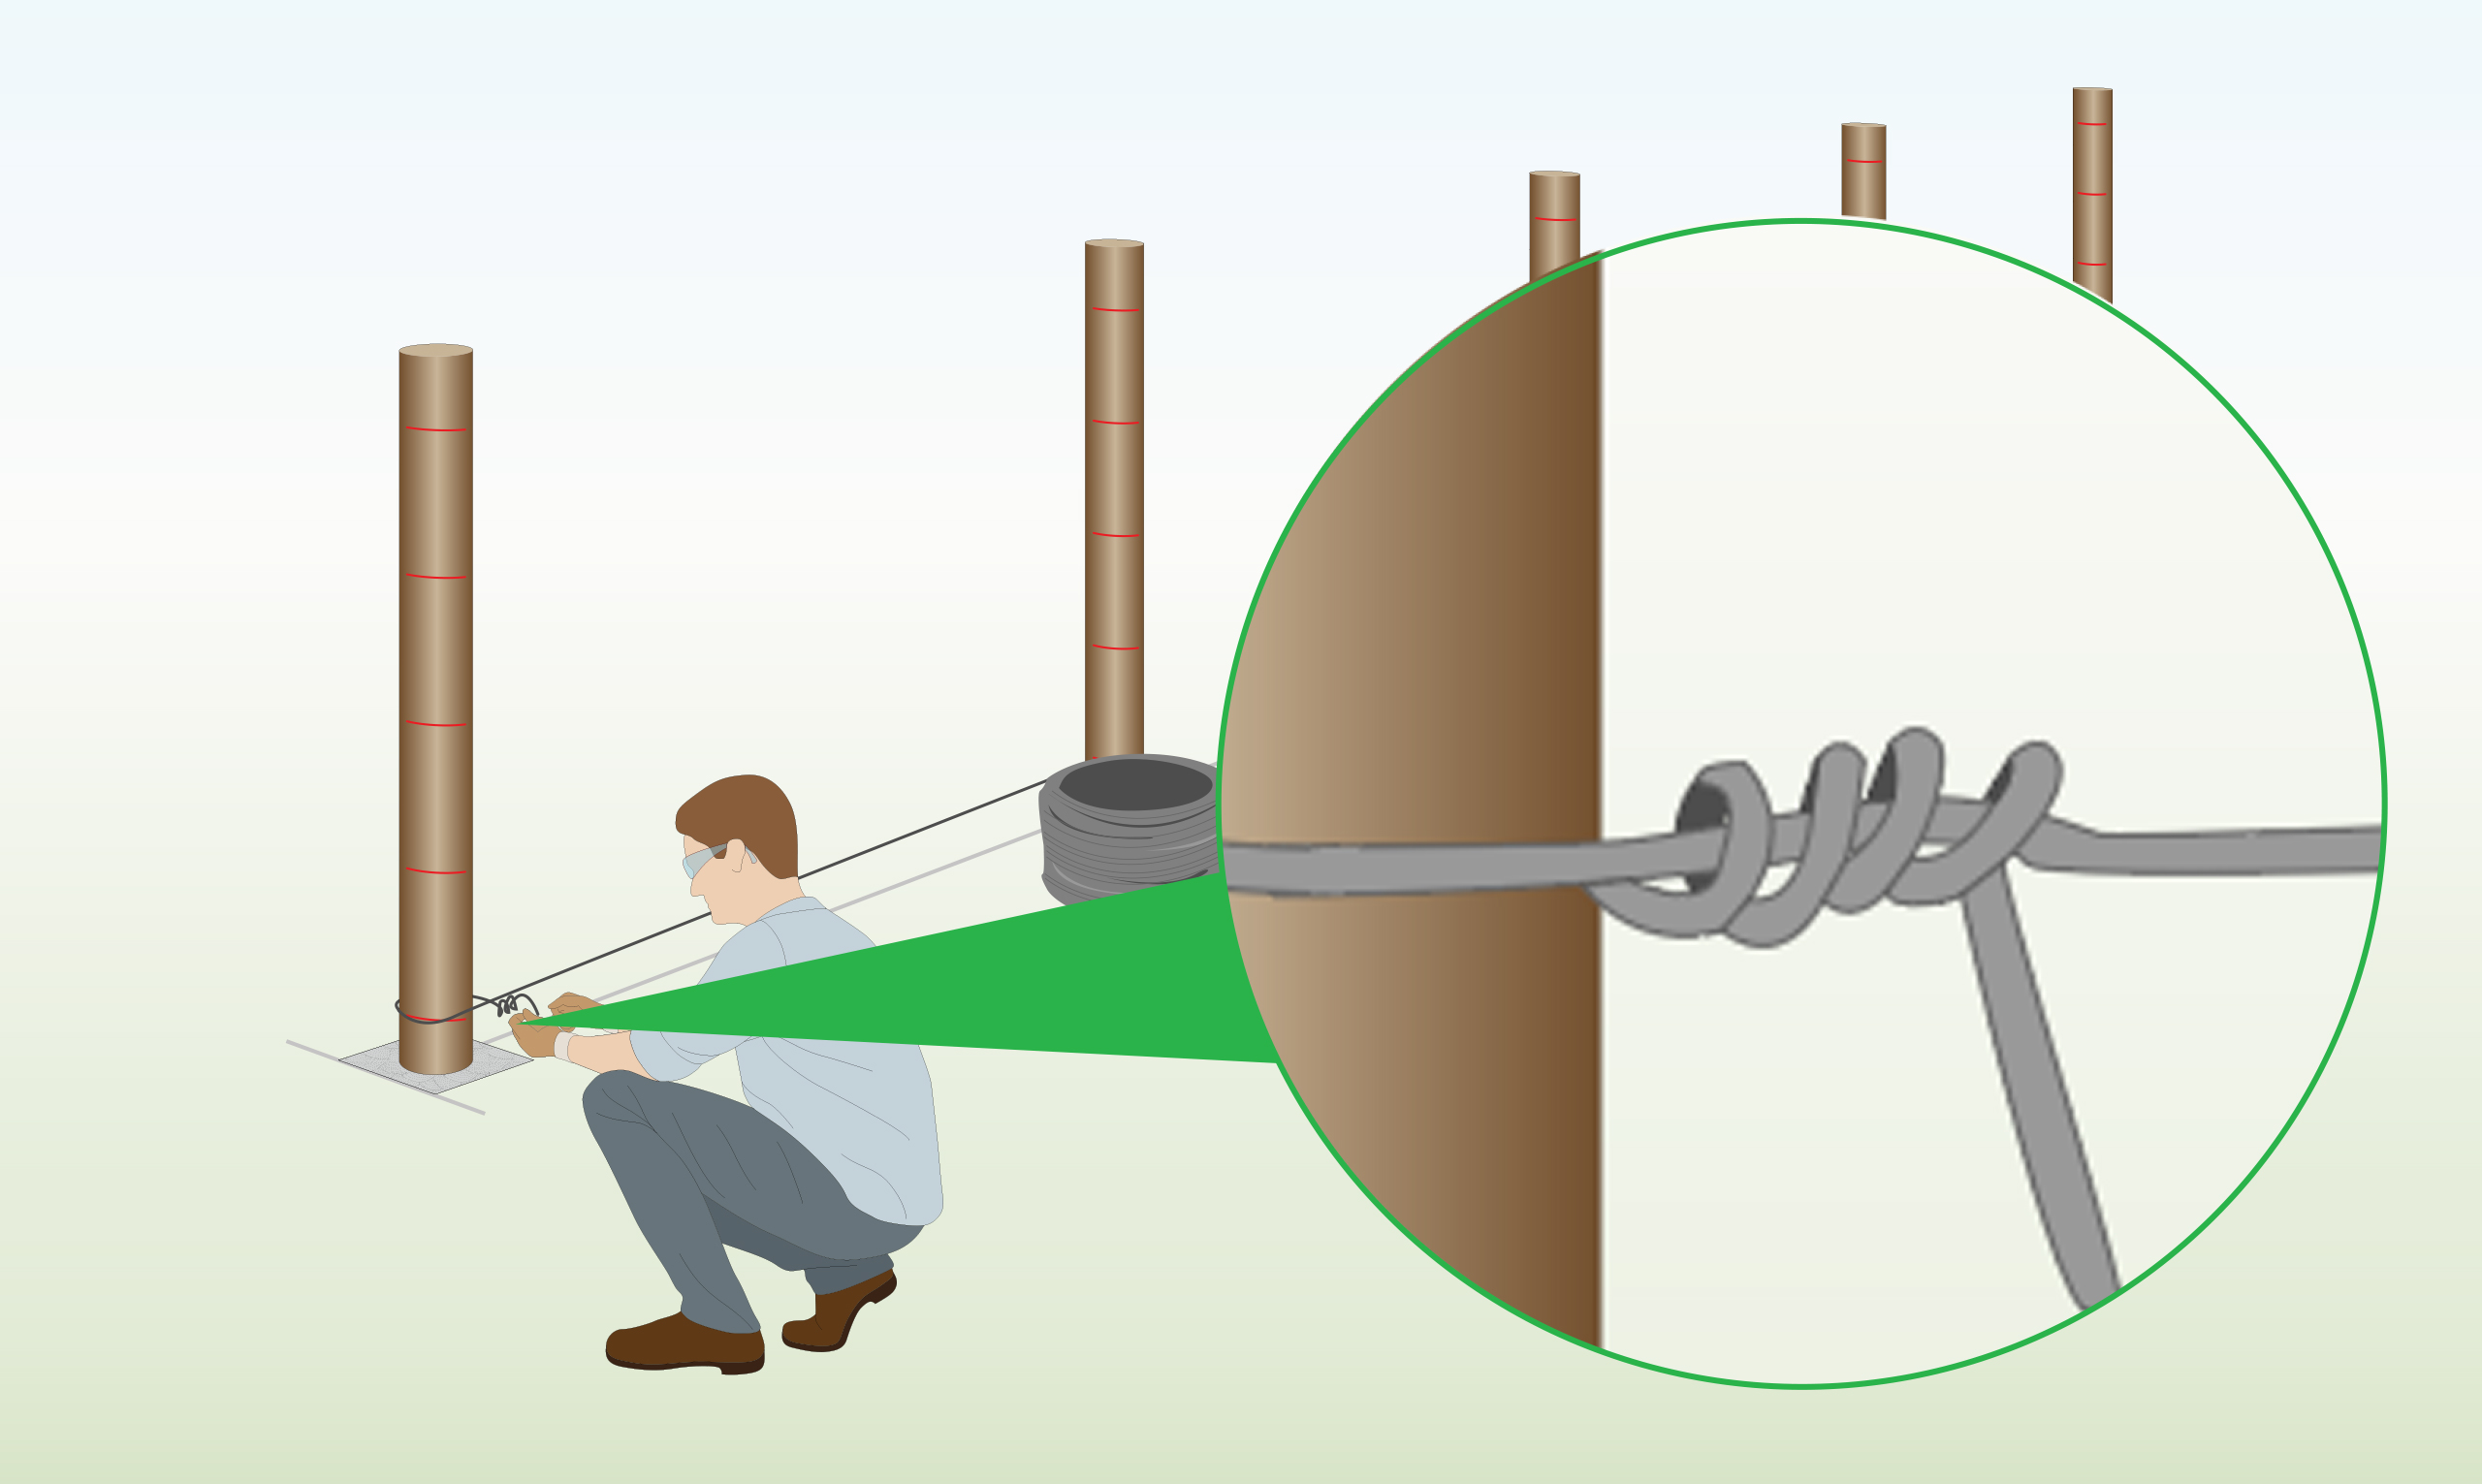
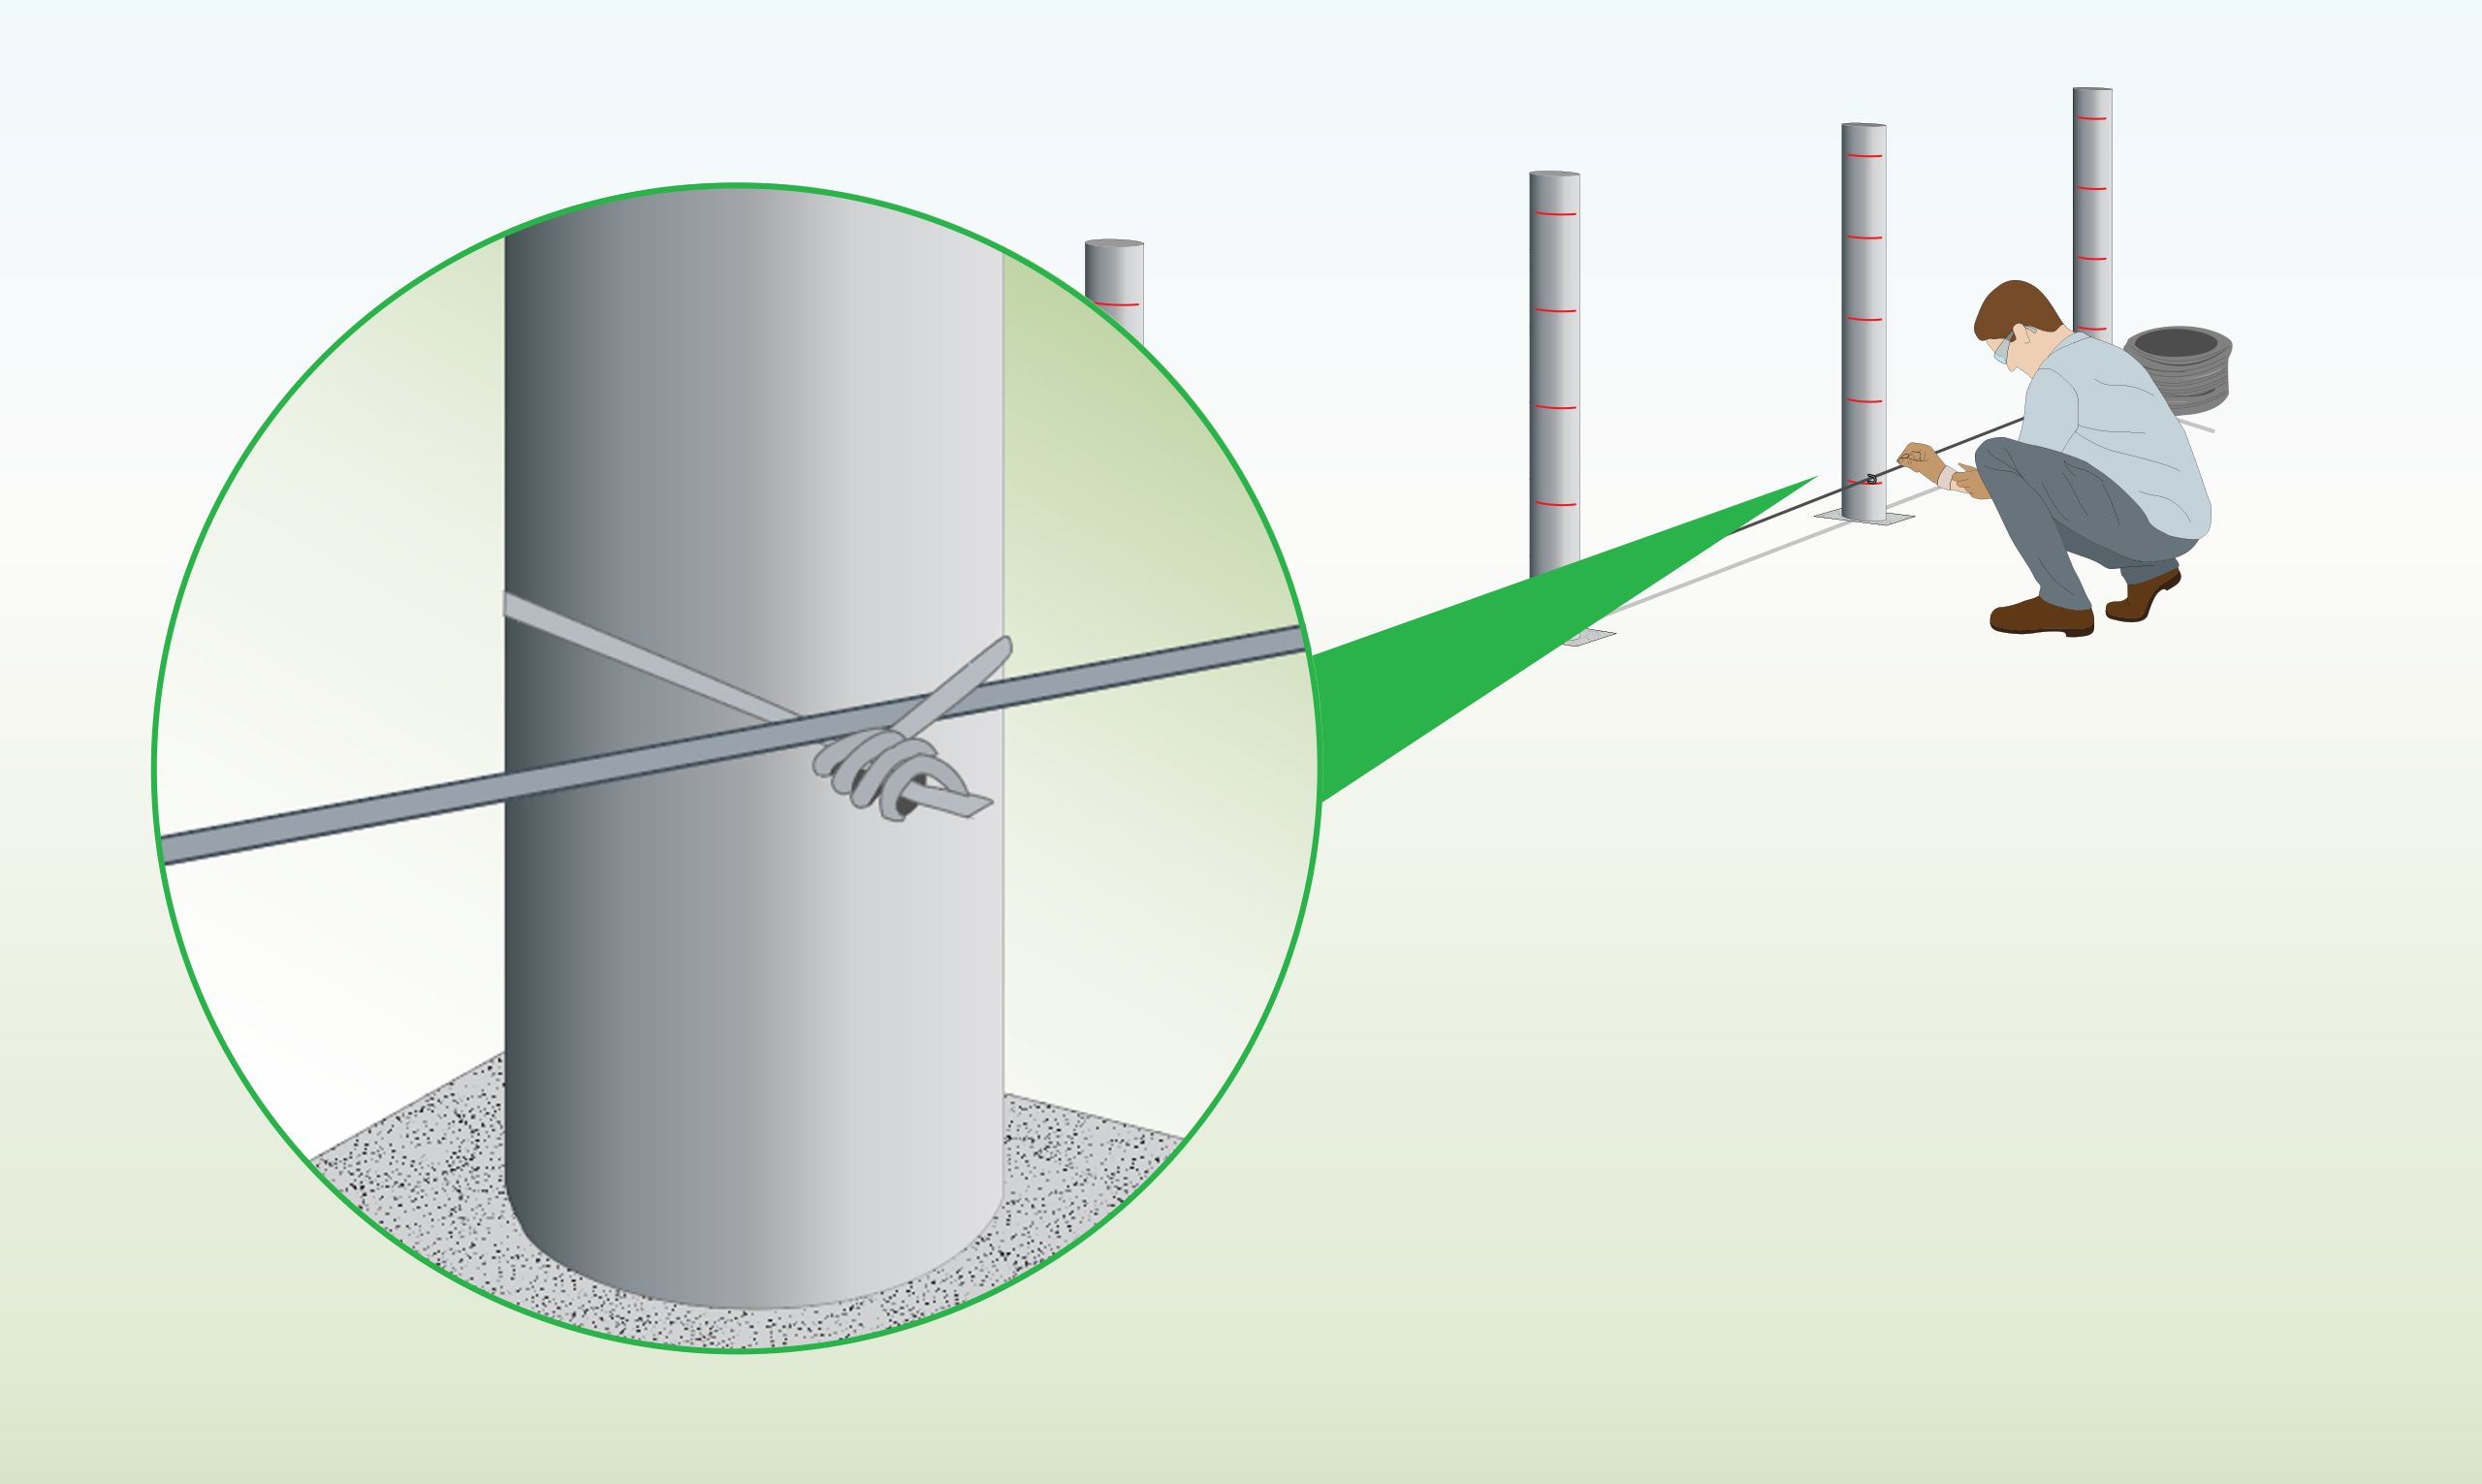
| Step 7 – Install Tension Wire
|
Thread the tension wire through the center holes of the radisseur. |
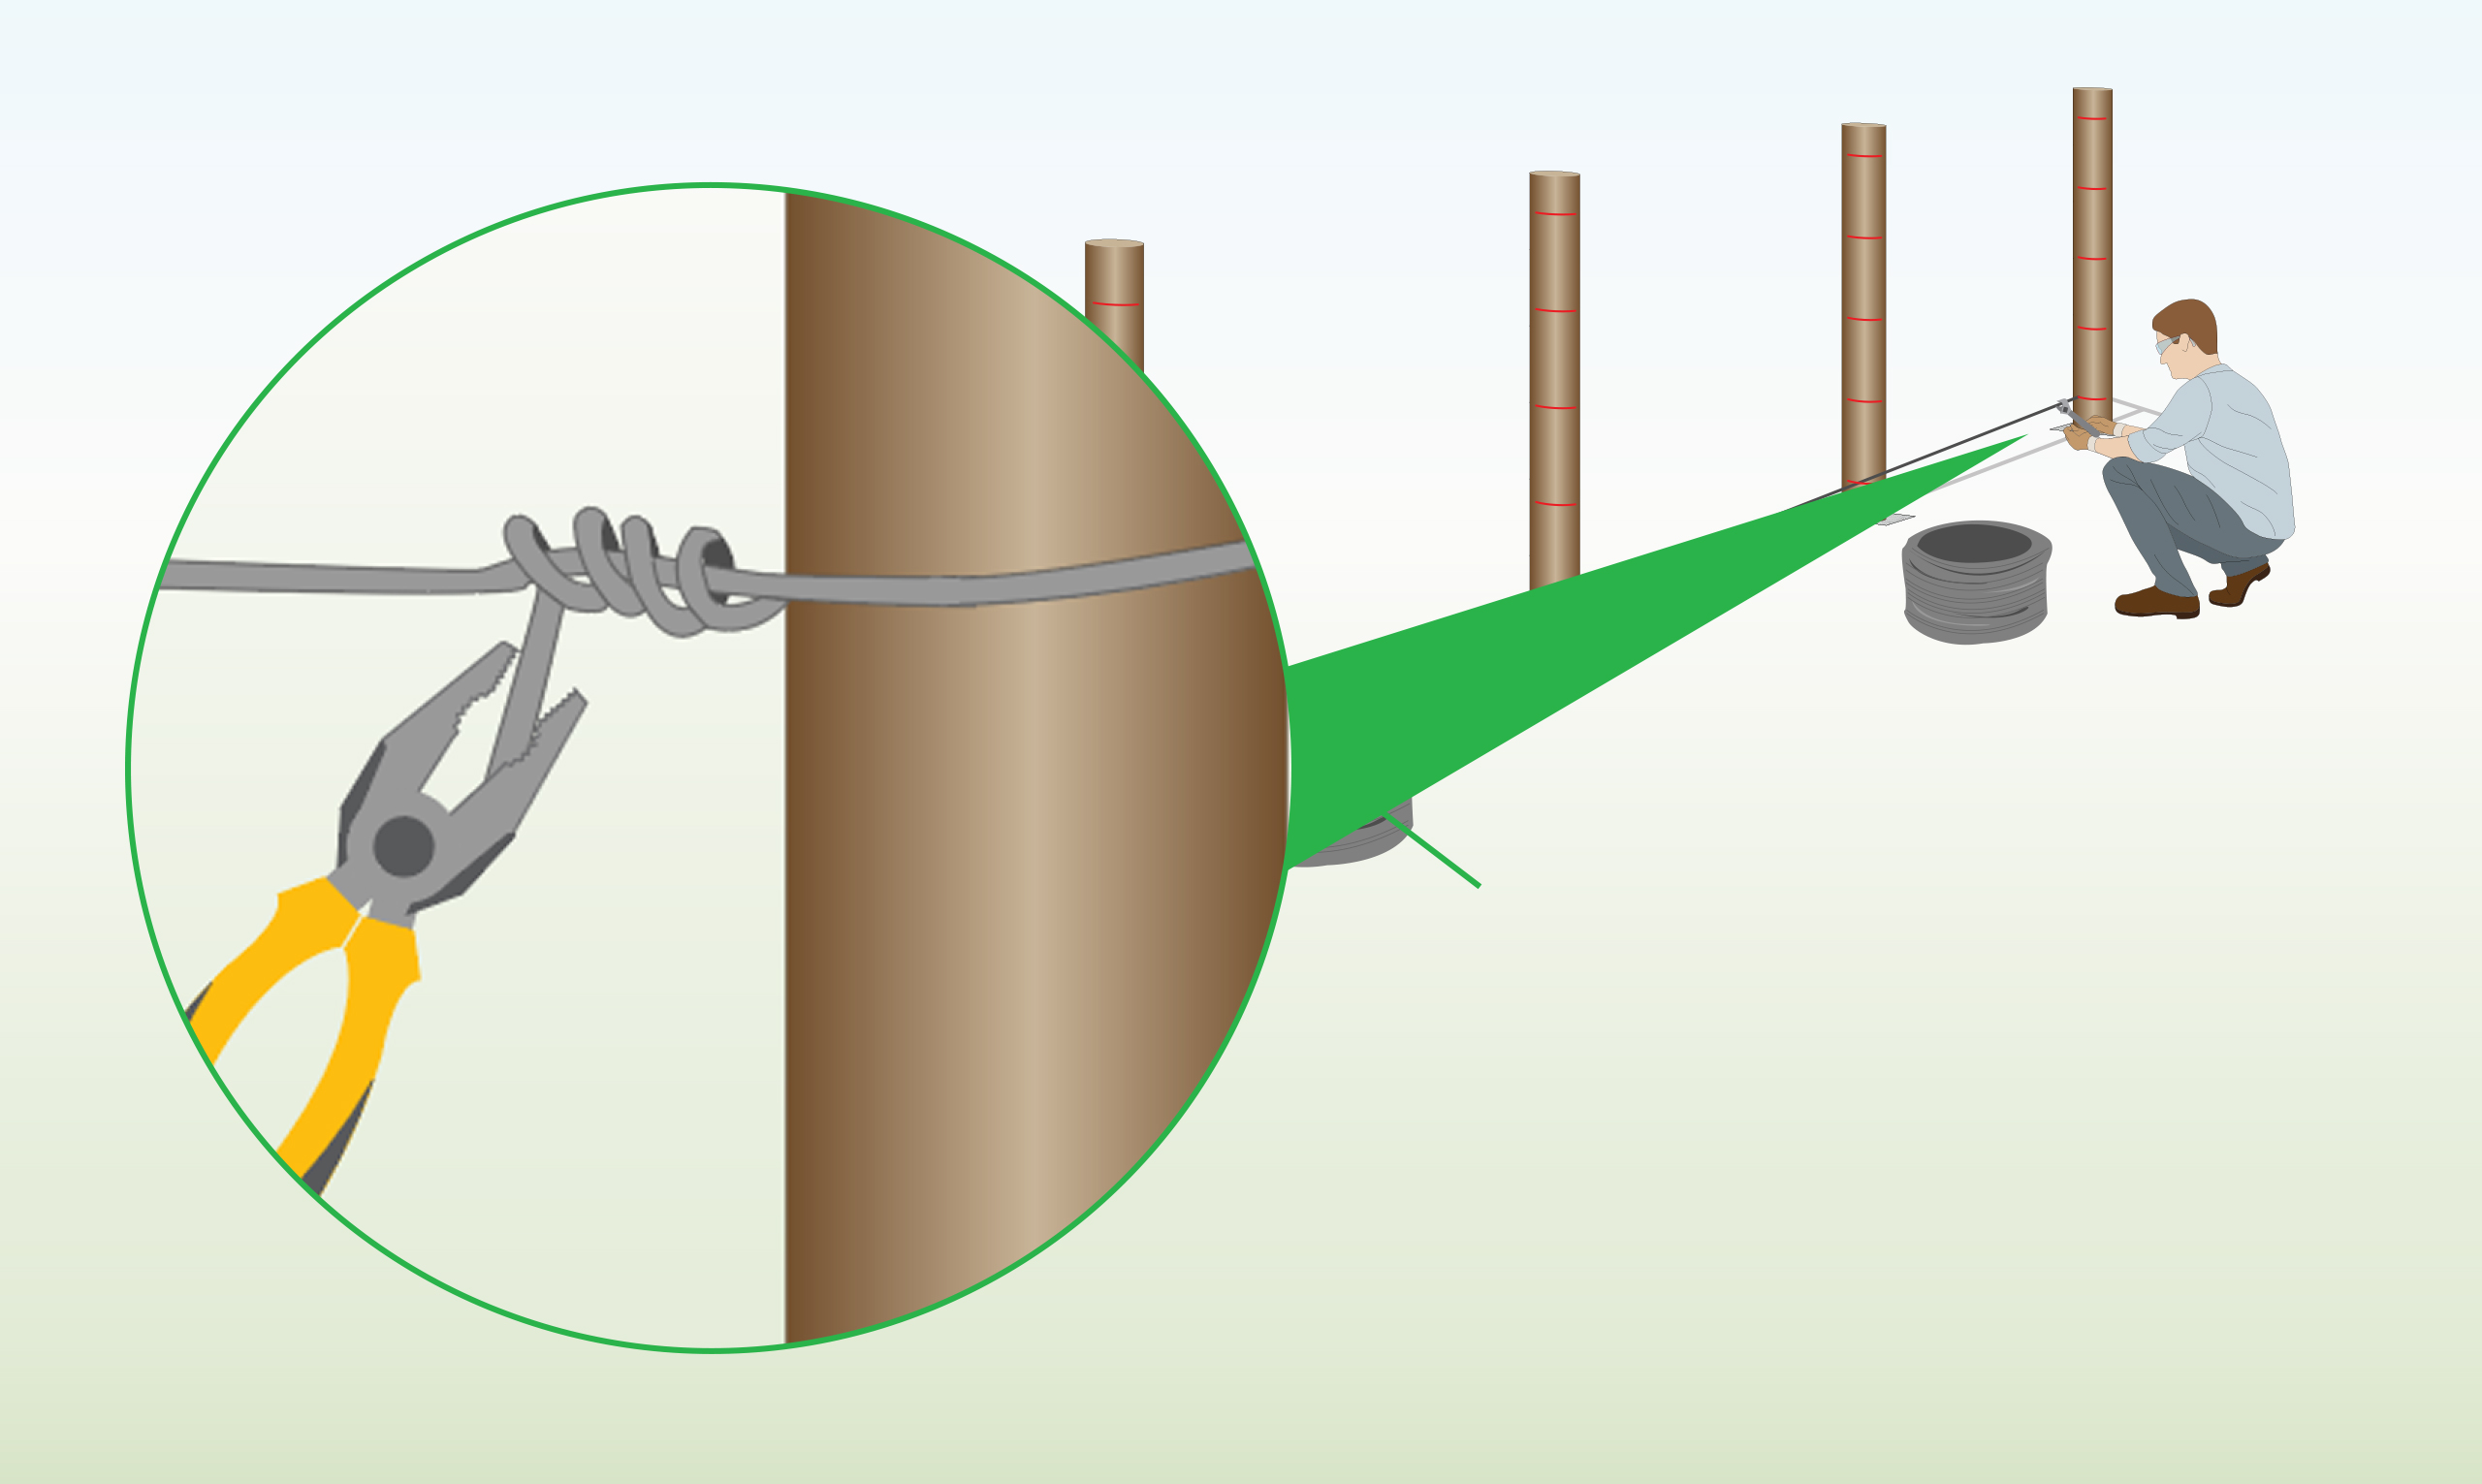
| Step 8 – Tighten the Wire
|
Use pliers to turn the radisseur pin clockwise to tighten the wire. |
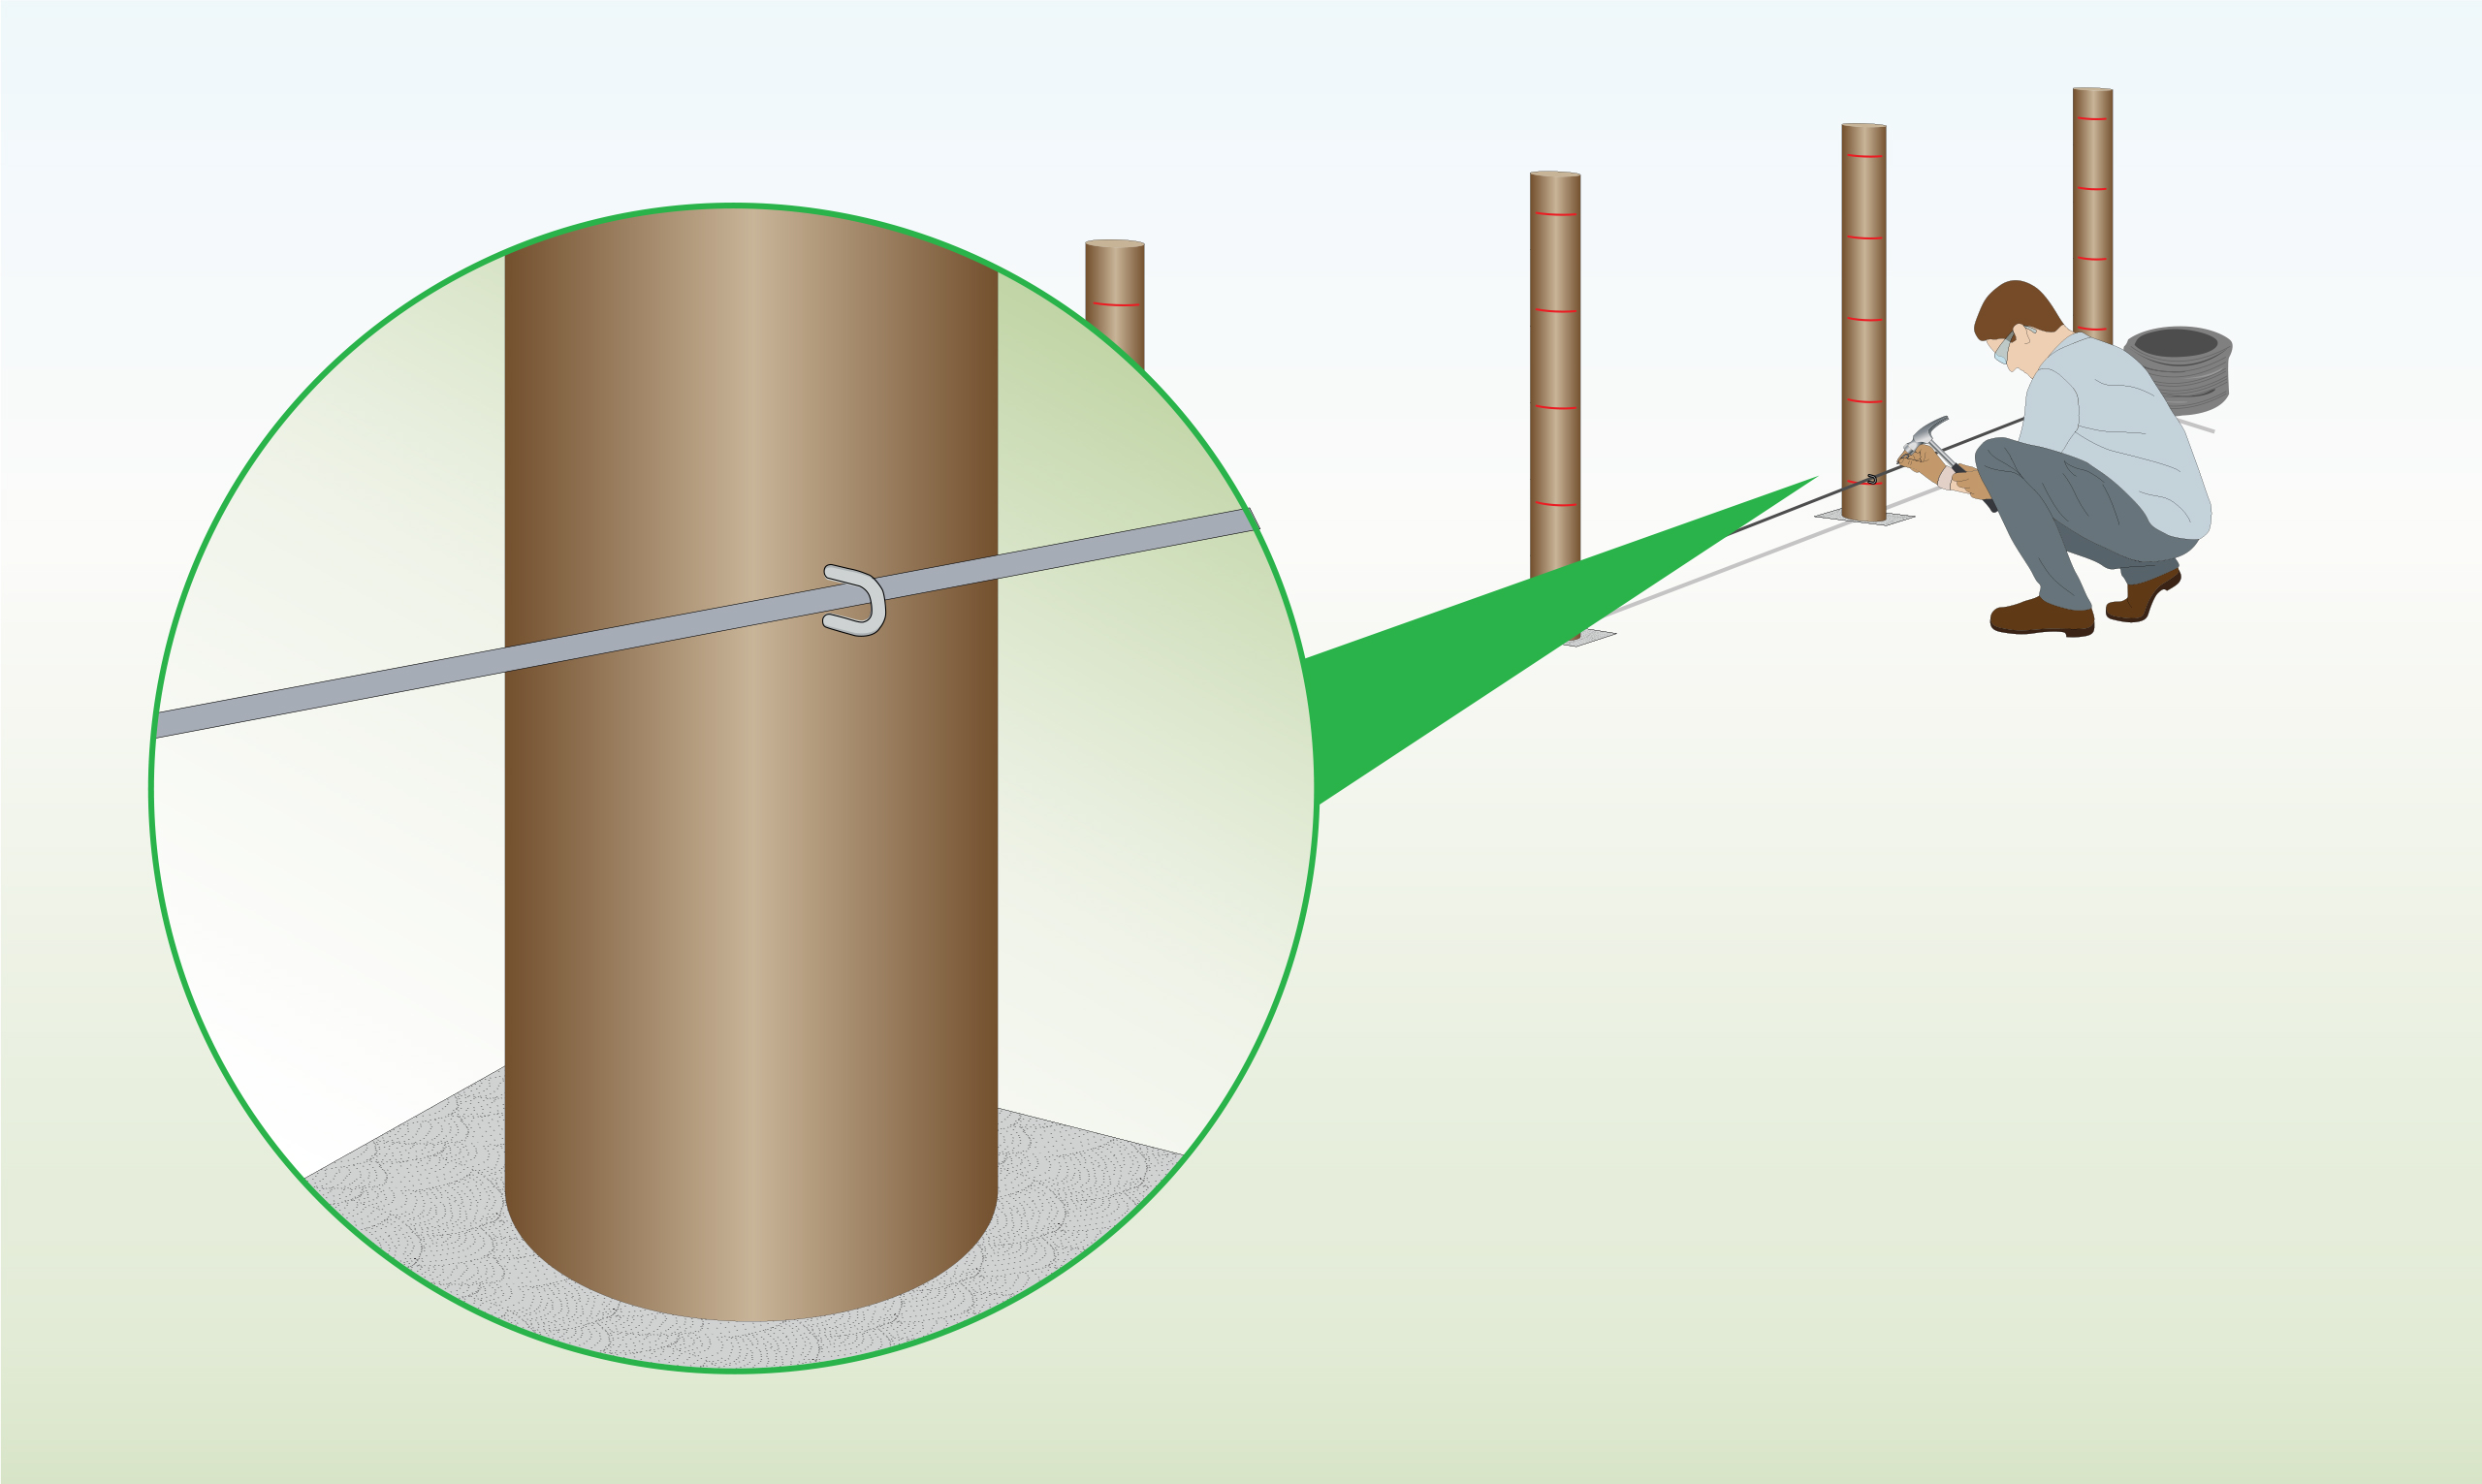
| Step 9 – Intermediate Post
|
Run the tension wire through the pre-drilled holes on each intermediate post. |
| Step 10 – Finished Project
|
Repeat steps 7-8 to tighten the wire at the other end and complete the installation. |

Wire Fence is part of the Super Magic Bean group - VAT Registered: 344 7643 83 - Company Registration No: 11290483