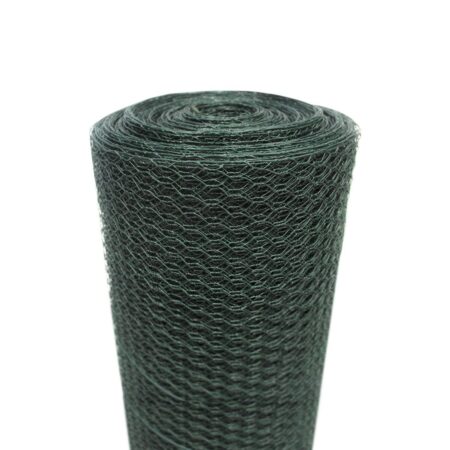
Chicken Wire Mesh
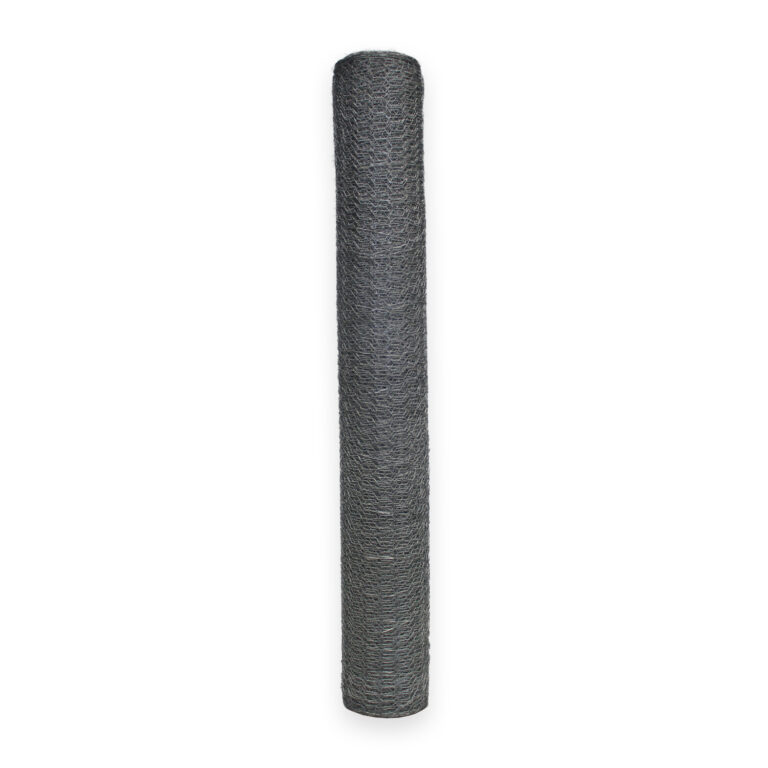
Cost effective, high quality chicken wire mesh.
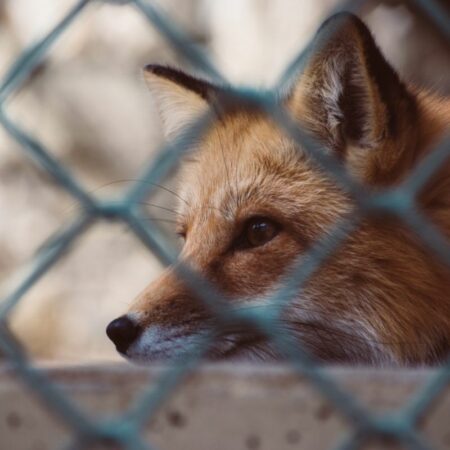
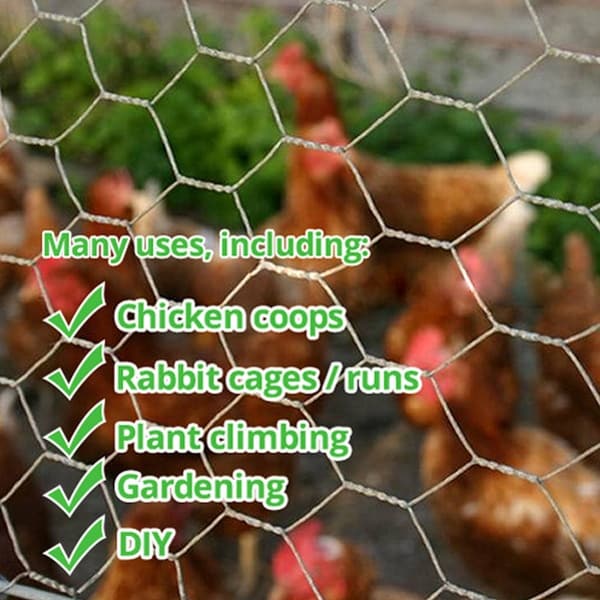
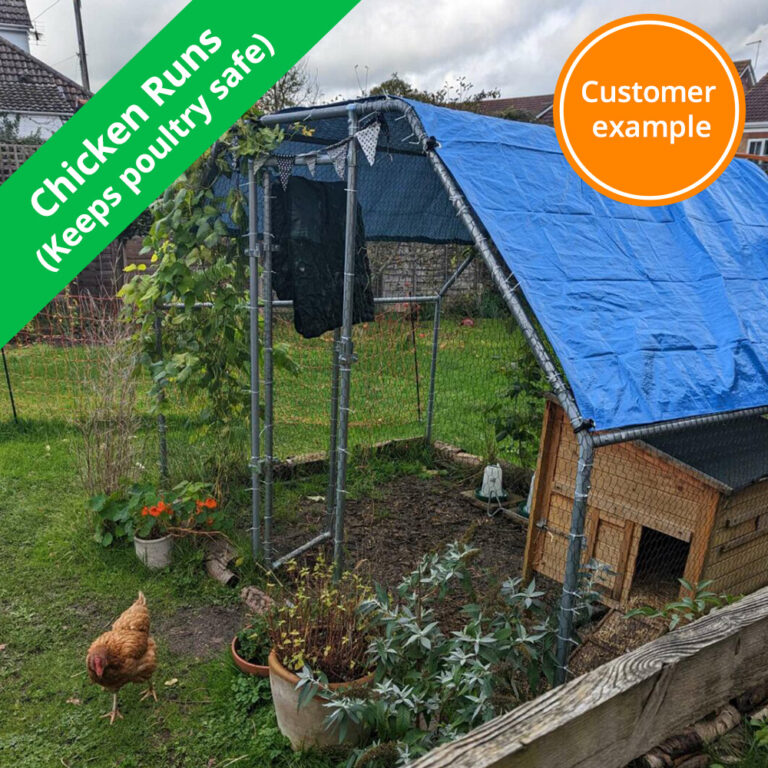
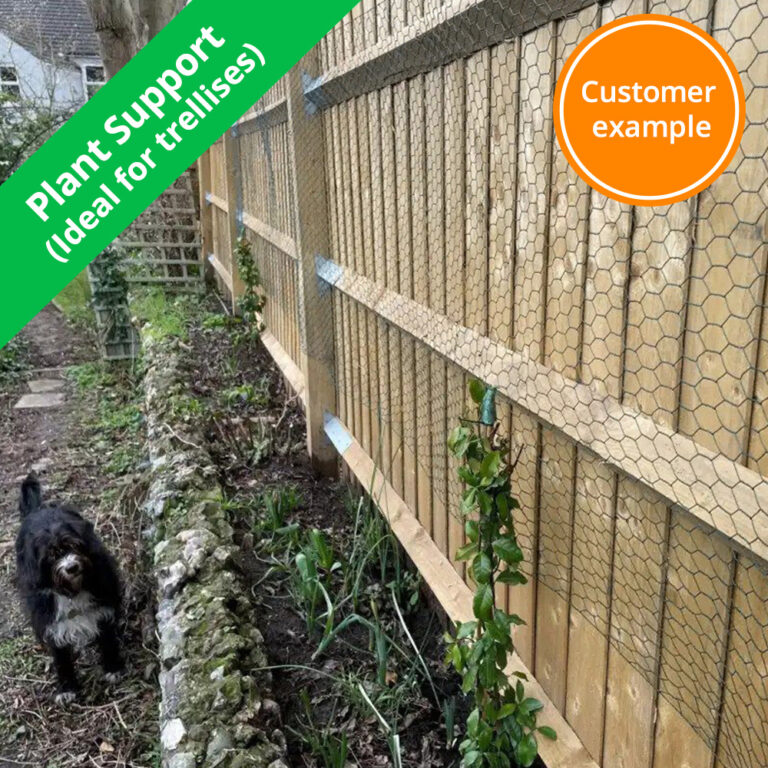
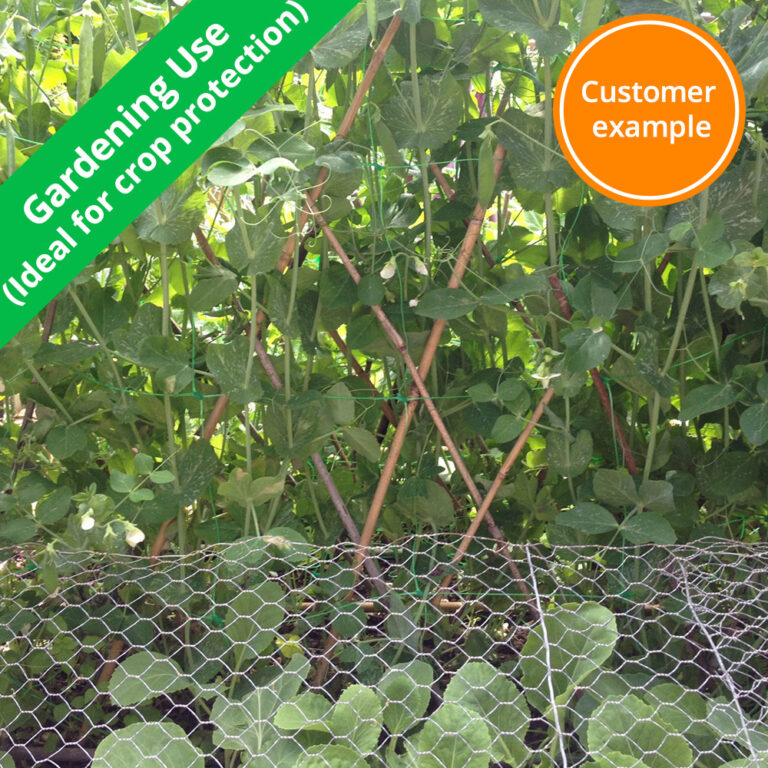
Use for small animal enclosures, chicken coops, fruit cages, general gardening & DIY applications.
Choose from BUDGET, STANDARD or PREMIUM grades to suit all budgets and needs. Learn more here.
Key info:
- Hexagonal mesh in range of sizes
- Galvanised steel – rust protection
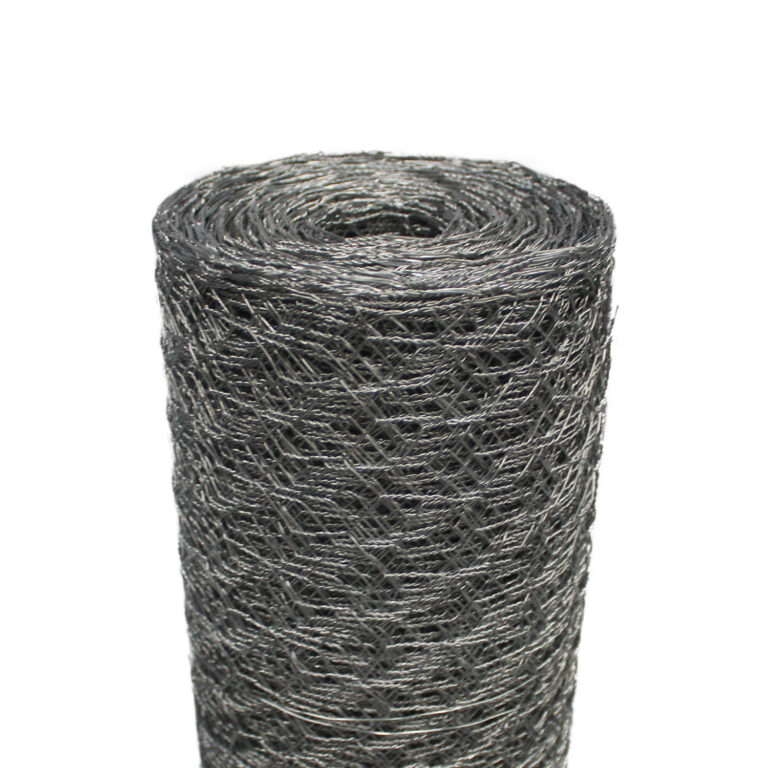
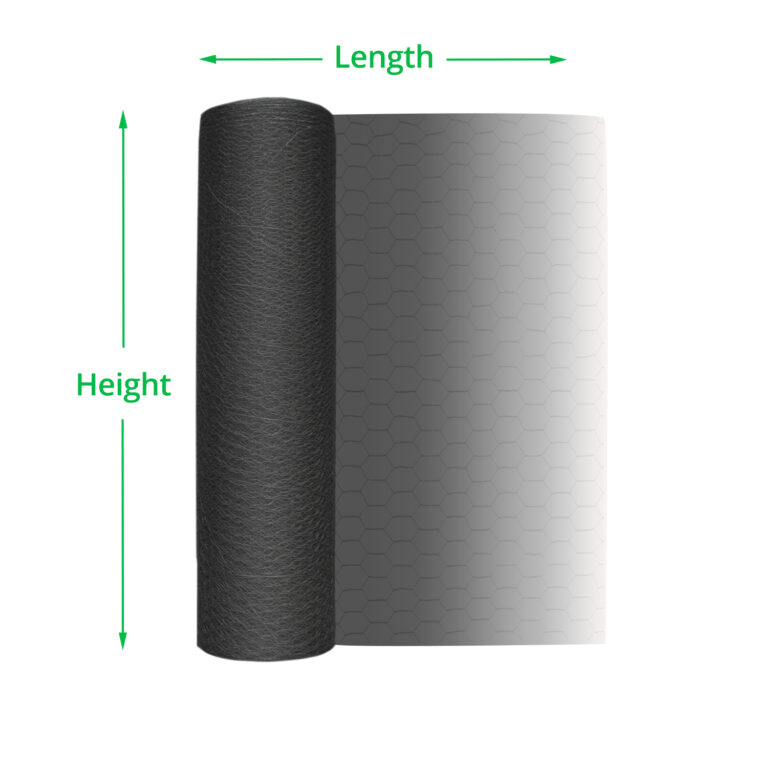
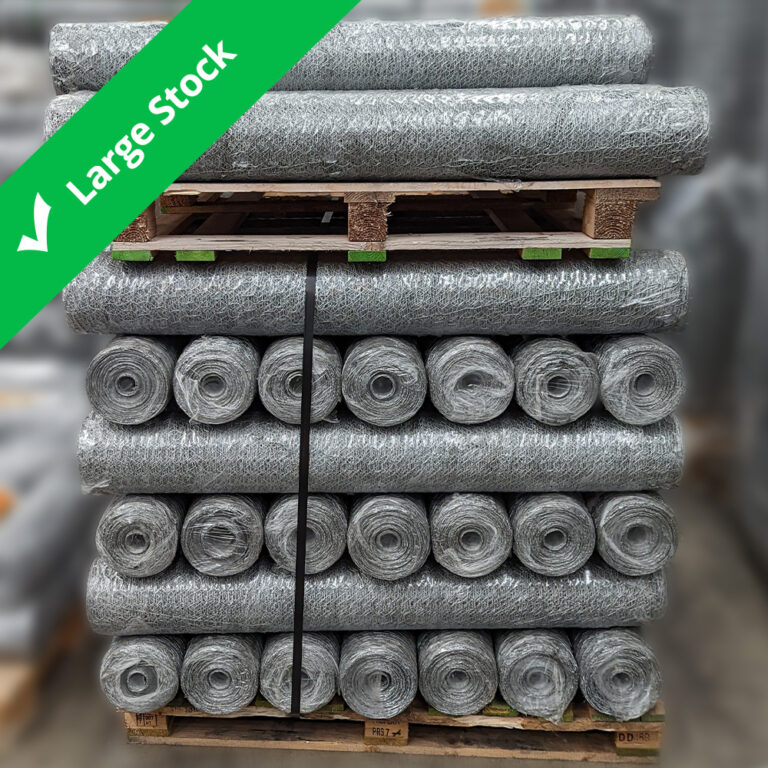
- Delivered as a roll
- Lightweight, easy to unravel
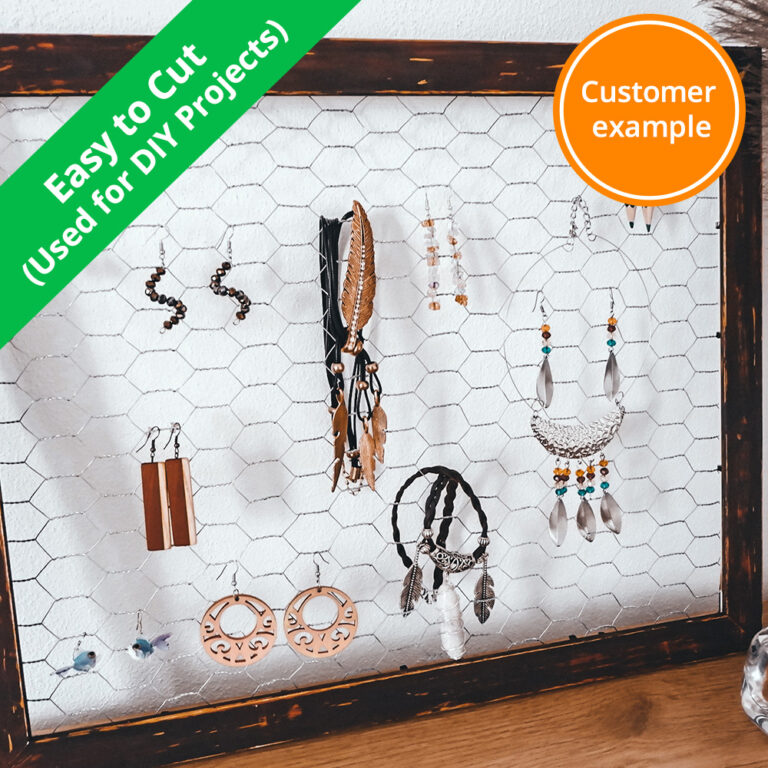
- Easy to cut & shape
Related: PVC Chicken Wire, All Wire Mesh & Netting
Scroll for more details

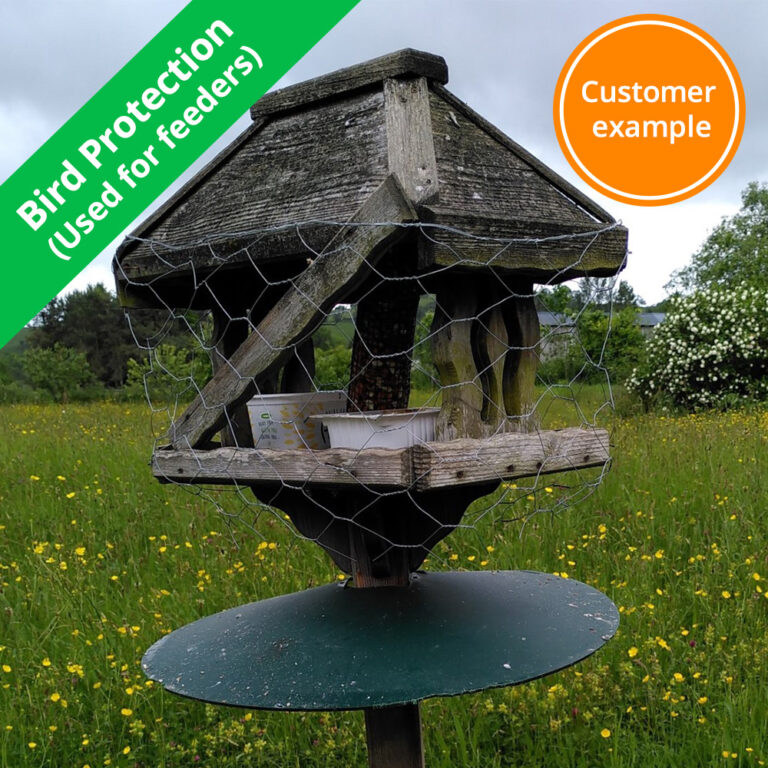
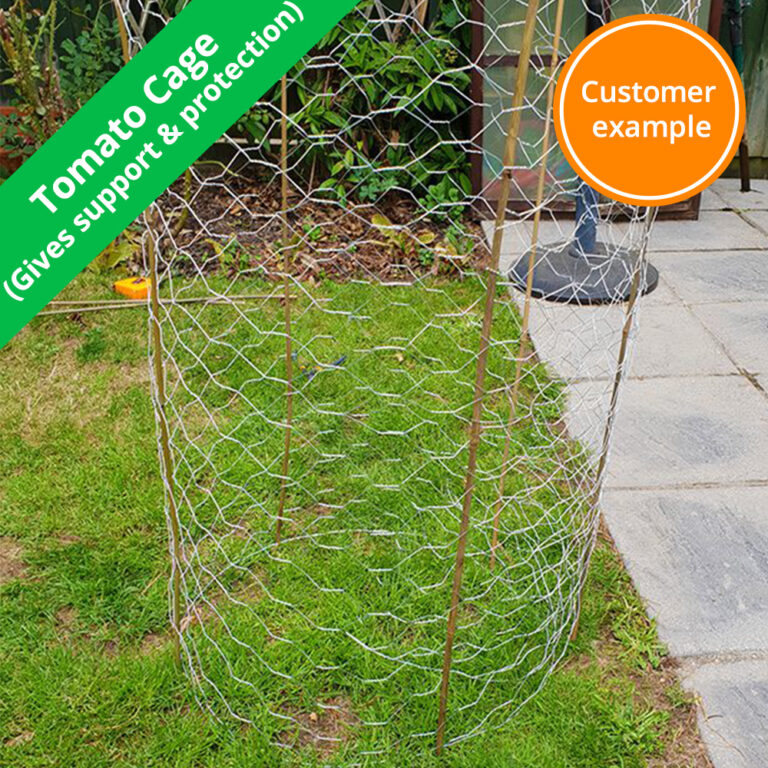
Customer Images
Helpful Chicken Wire Information
Which Grade?
| Type | Galvanisation Method | Properties |
| BUDGET | Steel wires are pre-galvanised before being woven together to create the netting. | Thinner coating. Lower abrasion & corrosion resistance. |
| STANDARD | Mesh is manufactured, then hot dip galvanised in a protective zinc layer. | Thicker, continual coating in all areas, higher strength, higher abrasion & corrosion resistance. |
| PREMIUM | Mesh is manufactured, then hot dip galvanised in a thicker protective zinc layer. | Best quality for professional use. Increased abrasion & corrosion resistance to withstand harsh conditions, incl. beneath the soil. Long lifespan. |
Size & Applications
| Mesh Size | Use For: |
| 13mm x 13mm | Fruit cages / Bird protection / Keeping out squirrels and larger rodents |
| 25mm x 25mm | Chicken runs / Bird proofing / Fencing / Plastering / Floor screeding |
| 31mm x 31mm | Rabbit protection |
| 50mm x 50mm | Chicken coops / Poultry enclosures / General purpose / Fencing |
Properties
| Property | Description |
| Material & Construction | Galvanised steel, hexagonal fencing mesh. Hot dipped in protective zinc coating |
| Appearance | Hexagonal apertures. Metallic grey, silver look |
| Handling | Lightweight & malleable. Easy to cut & shape |
| Biodegradable | No |
| Protecting exposed steel | Rust may occur where new cuts are made if untreated steel is exposed. Protect with galvanised spray or paint |
| Not suitable for… |
|
Attachments
| Attach to: | How to: |
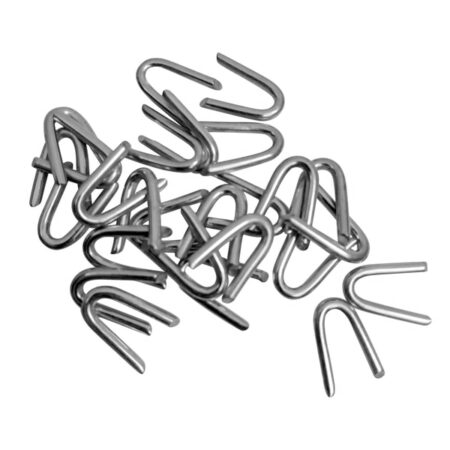
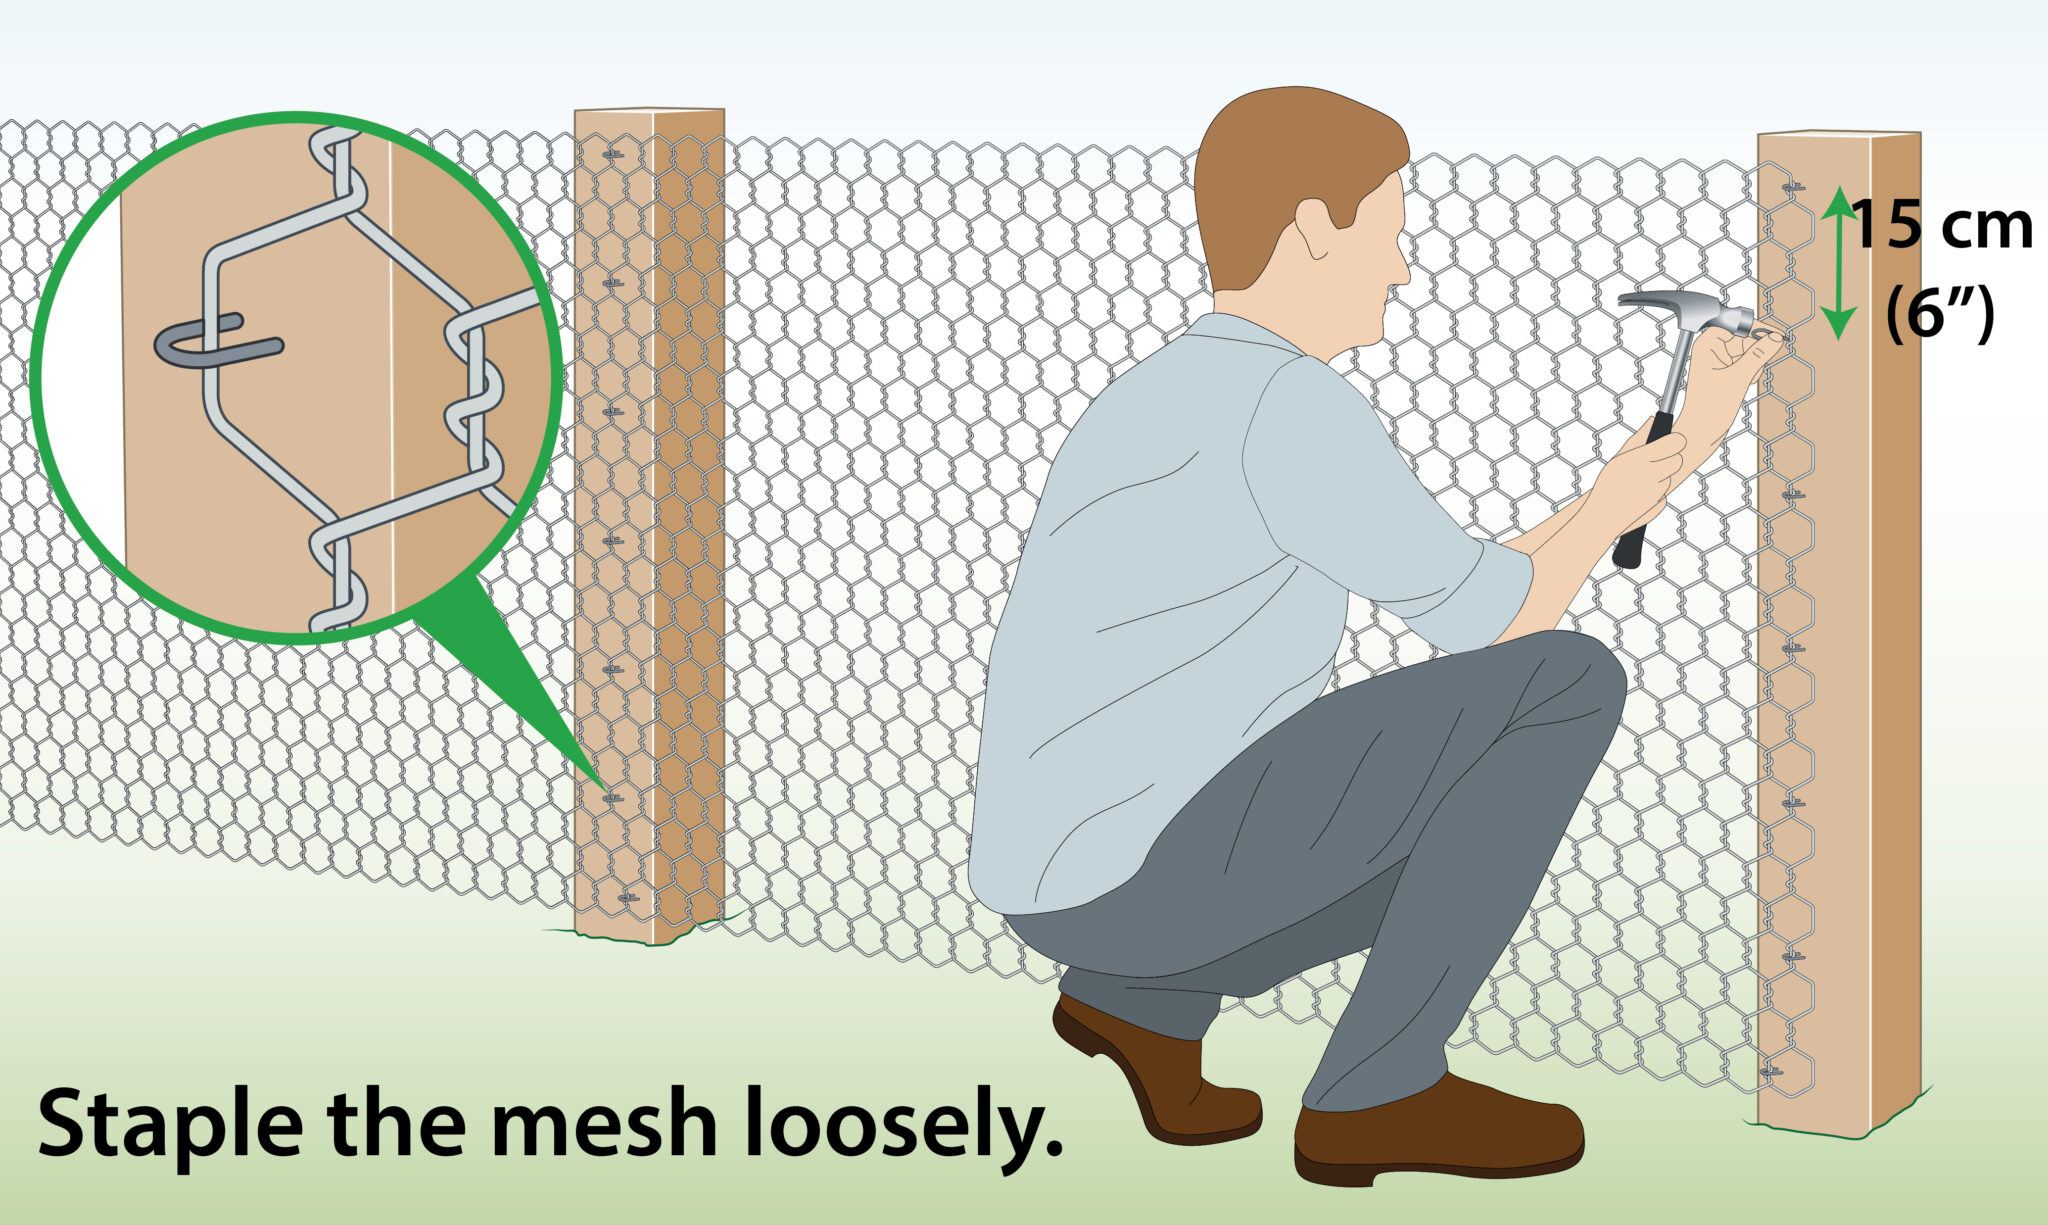
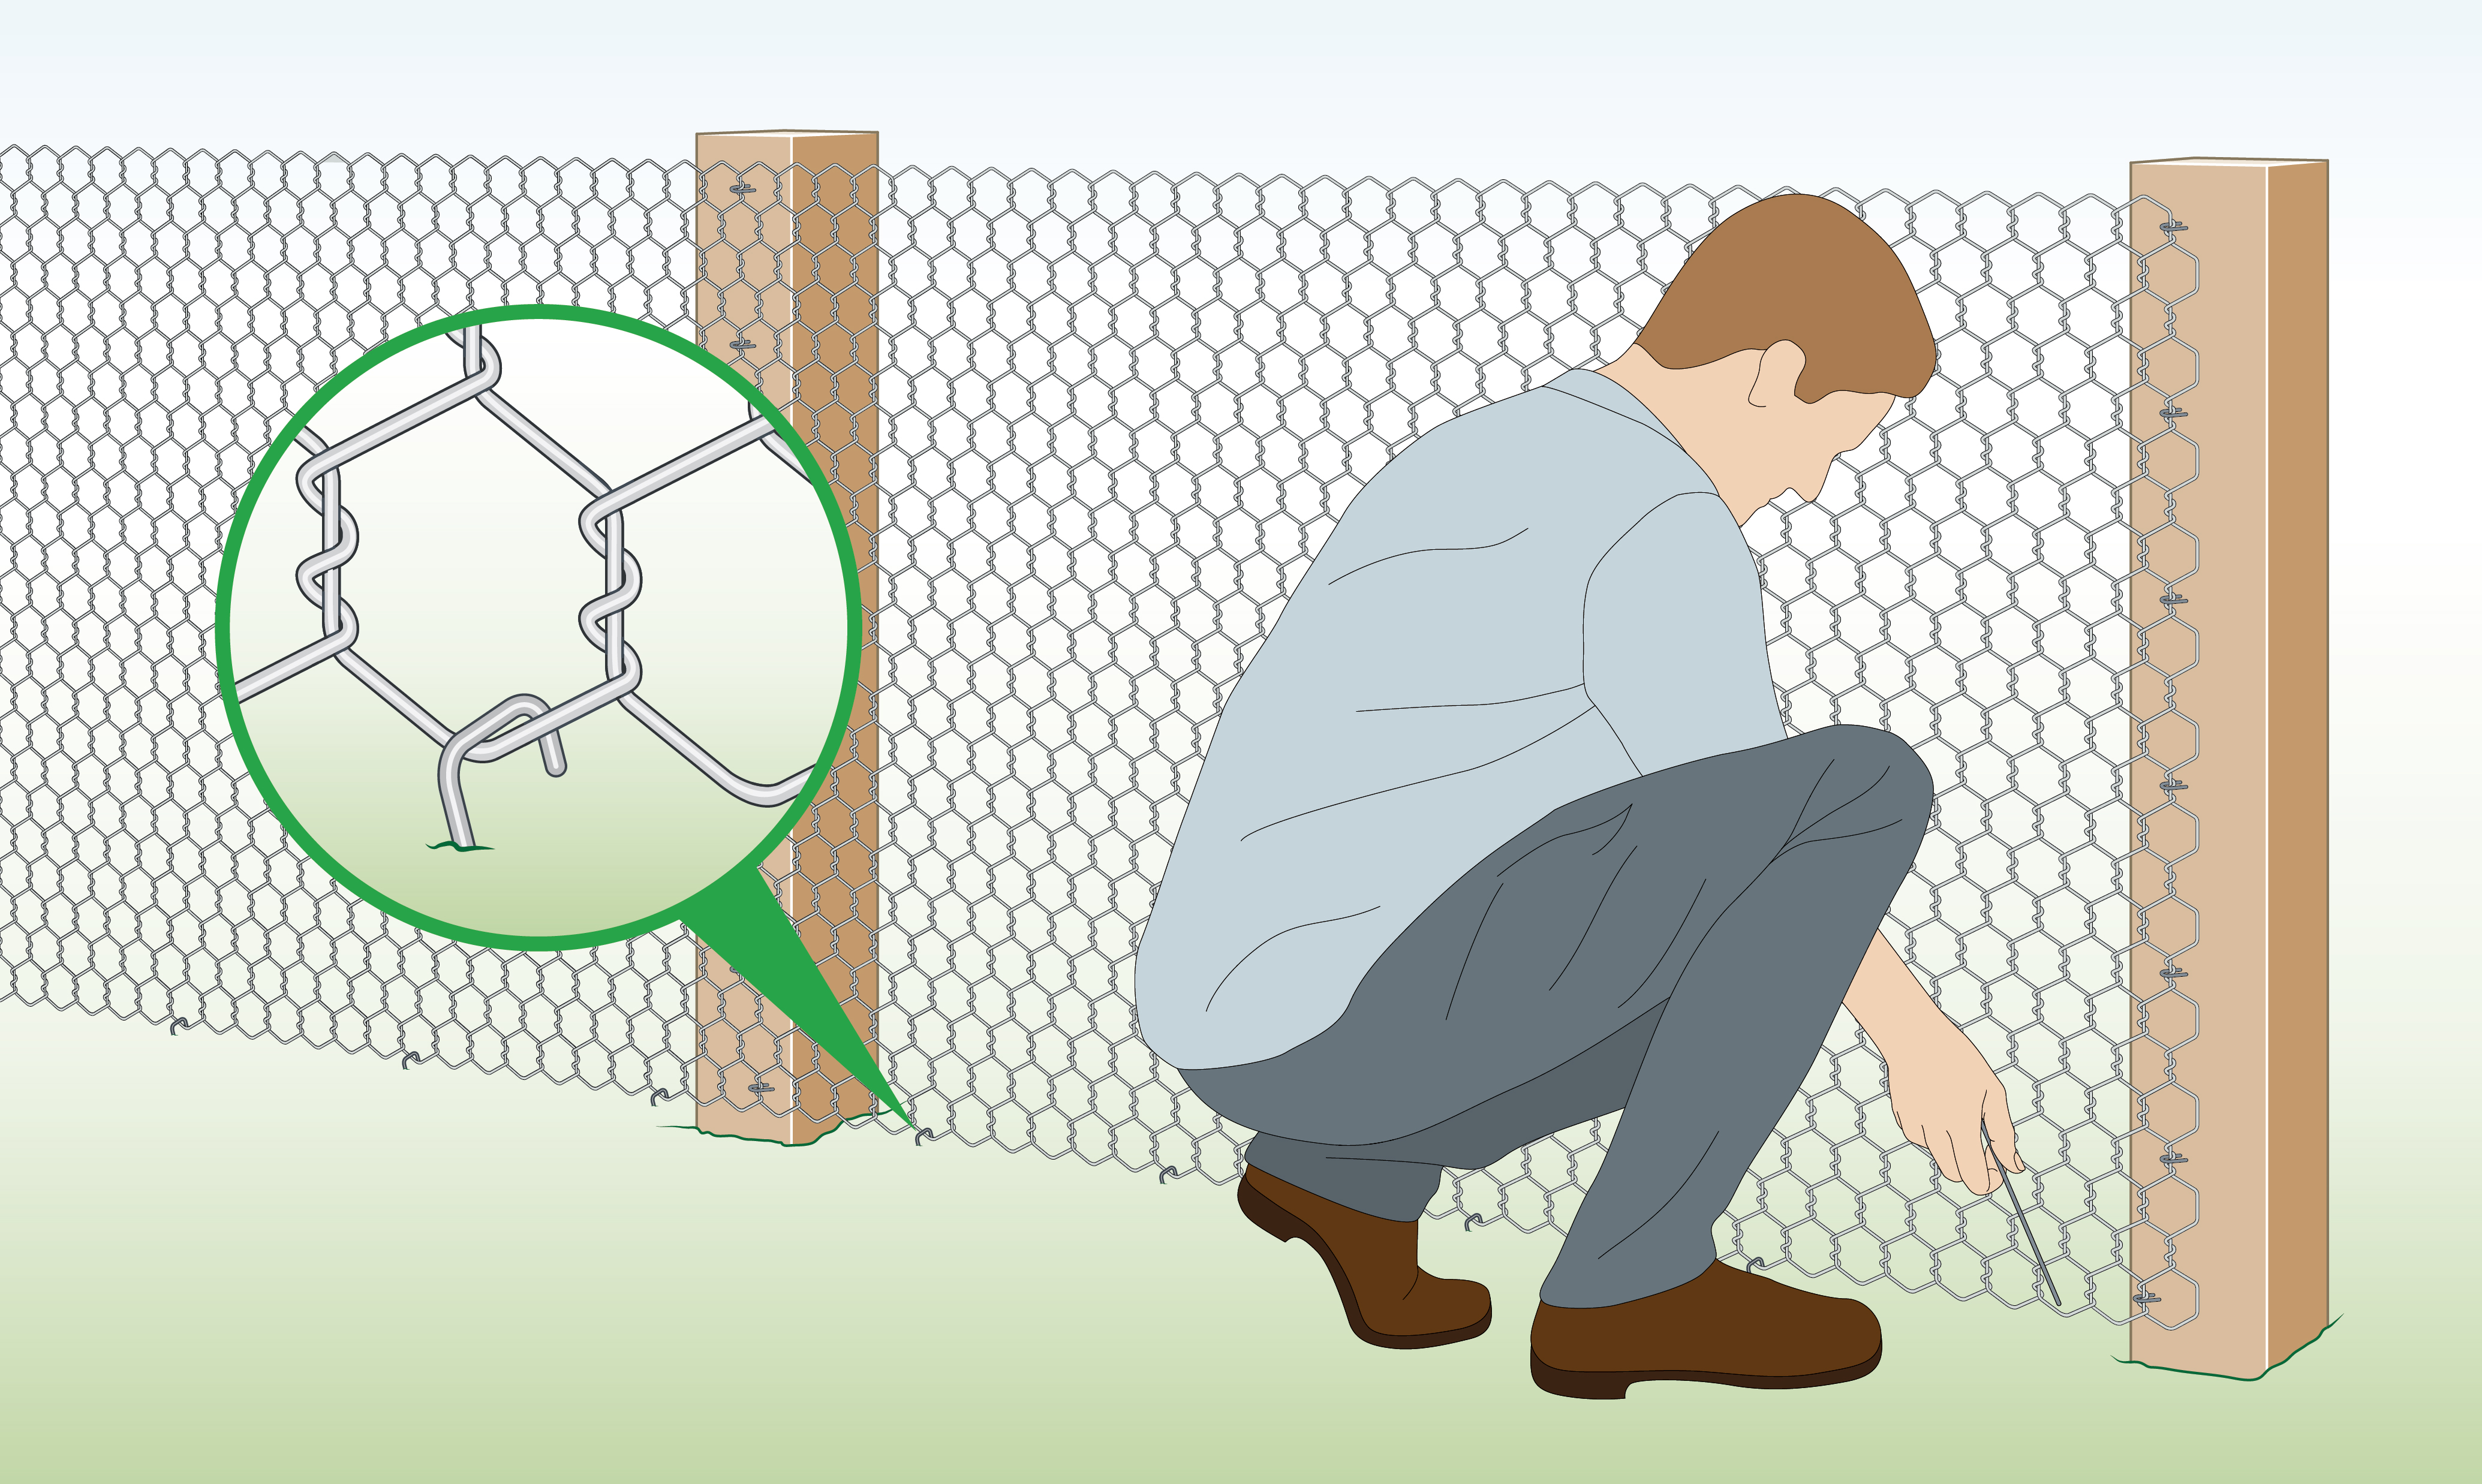
| Wood/ Wooden Posts (Staples) |
 |
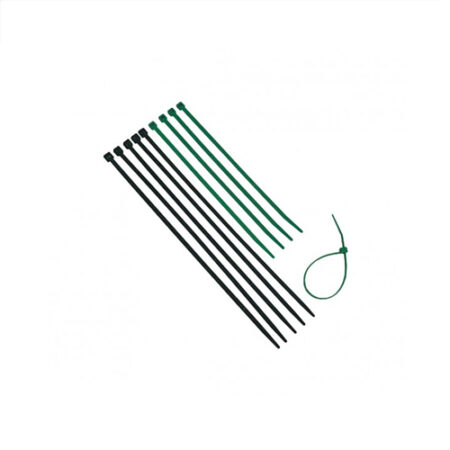
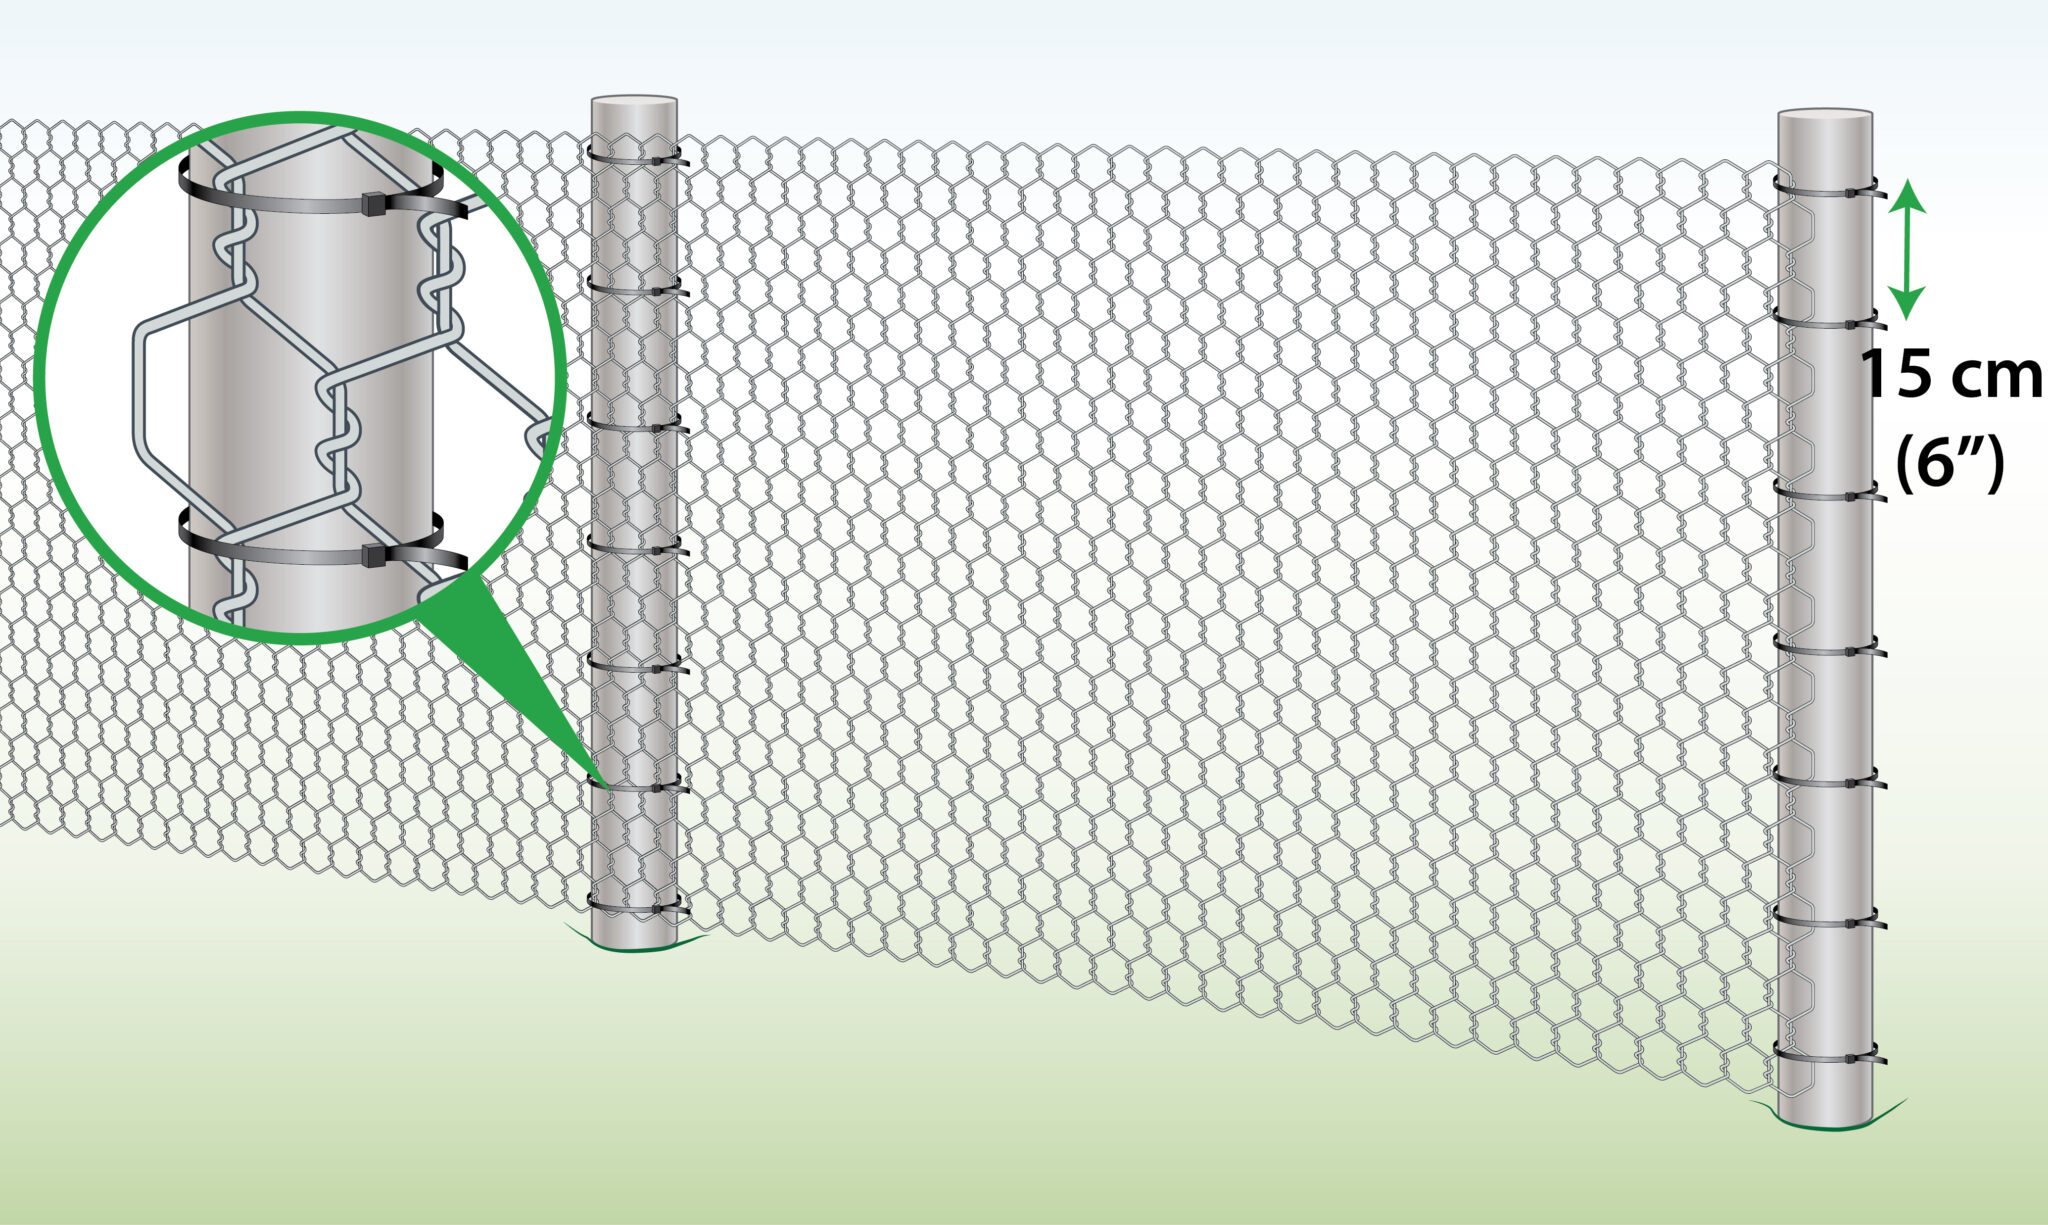
| Metal/ Metal Posts (Cable ties) |
 |
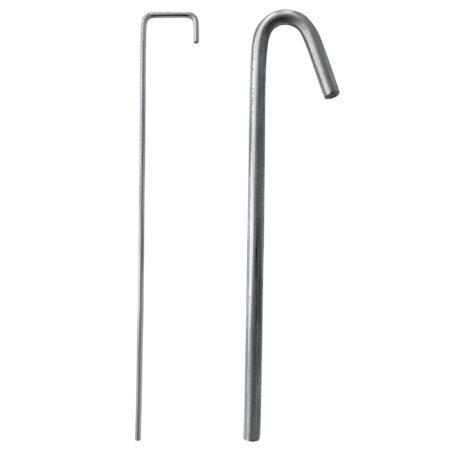
| Soil
(Pegs) |
 |
| Wire Fence
|
 |
Installation
The following instructions show you how to install chicken wire with T-posts
| Step 1 – Mark Area
|
Mark a straight line between the two end posts.
|
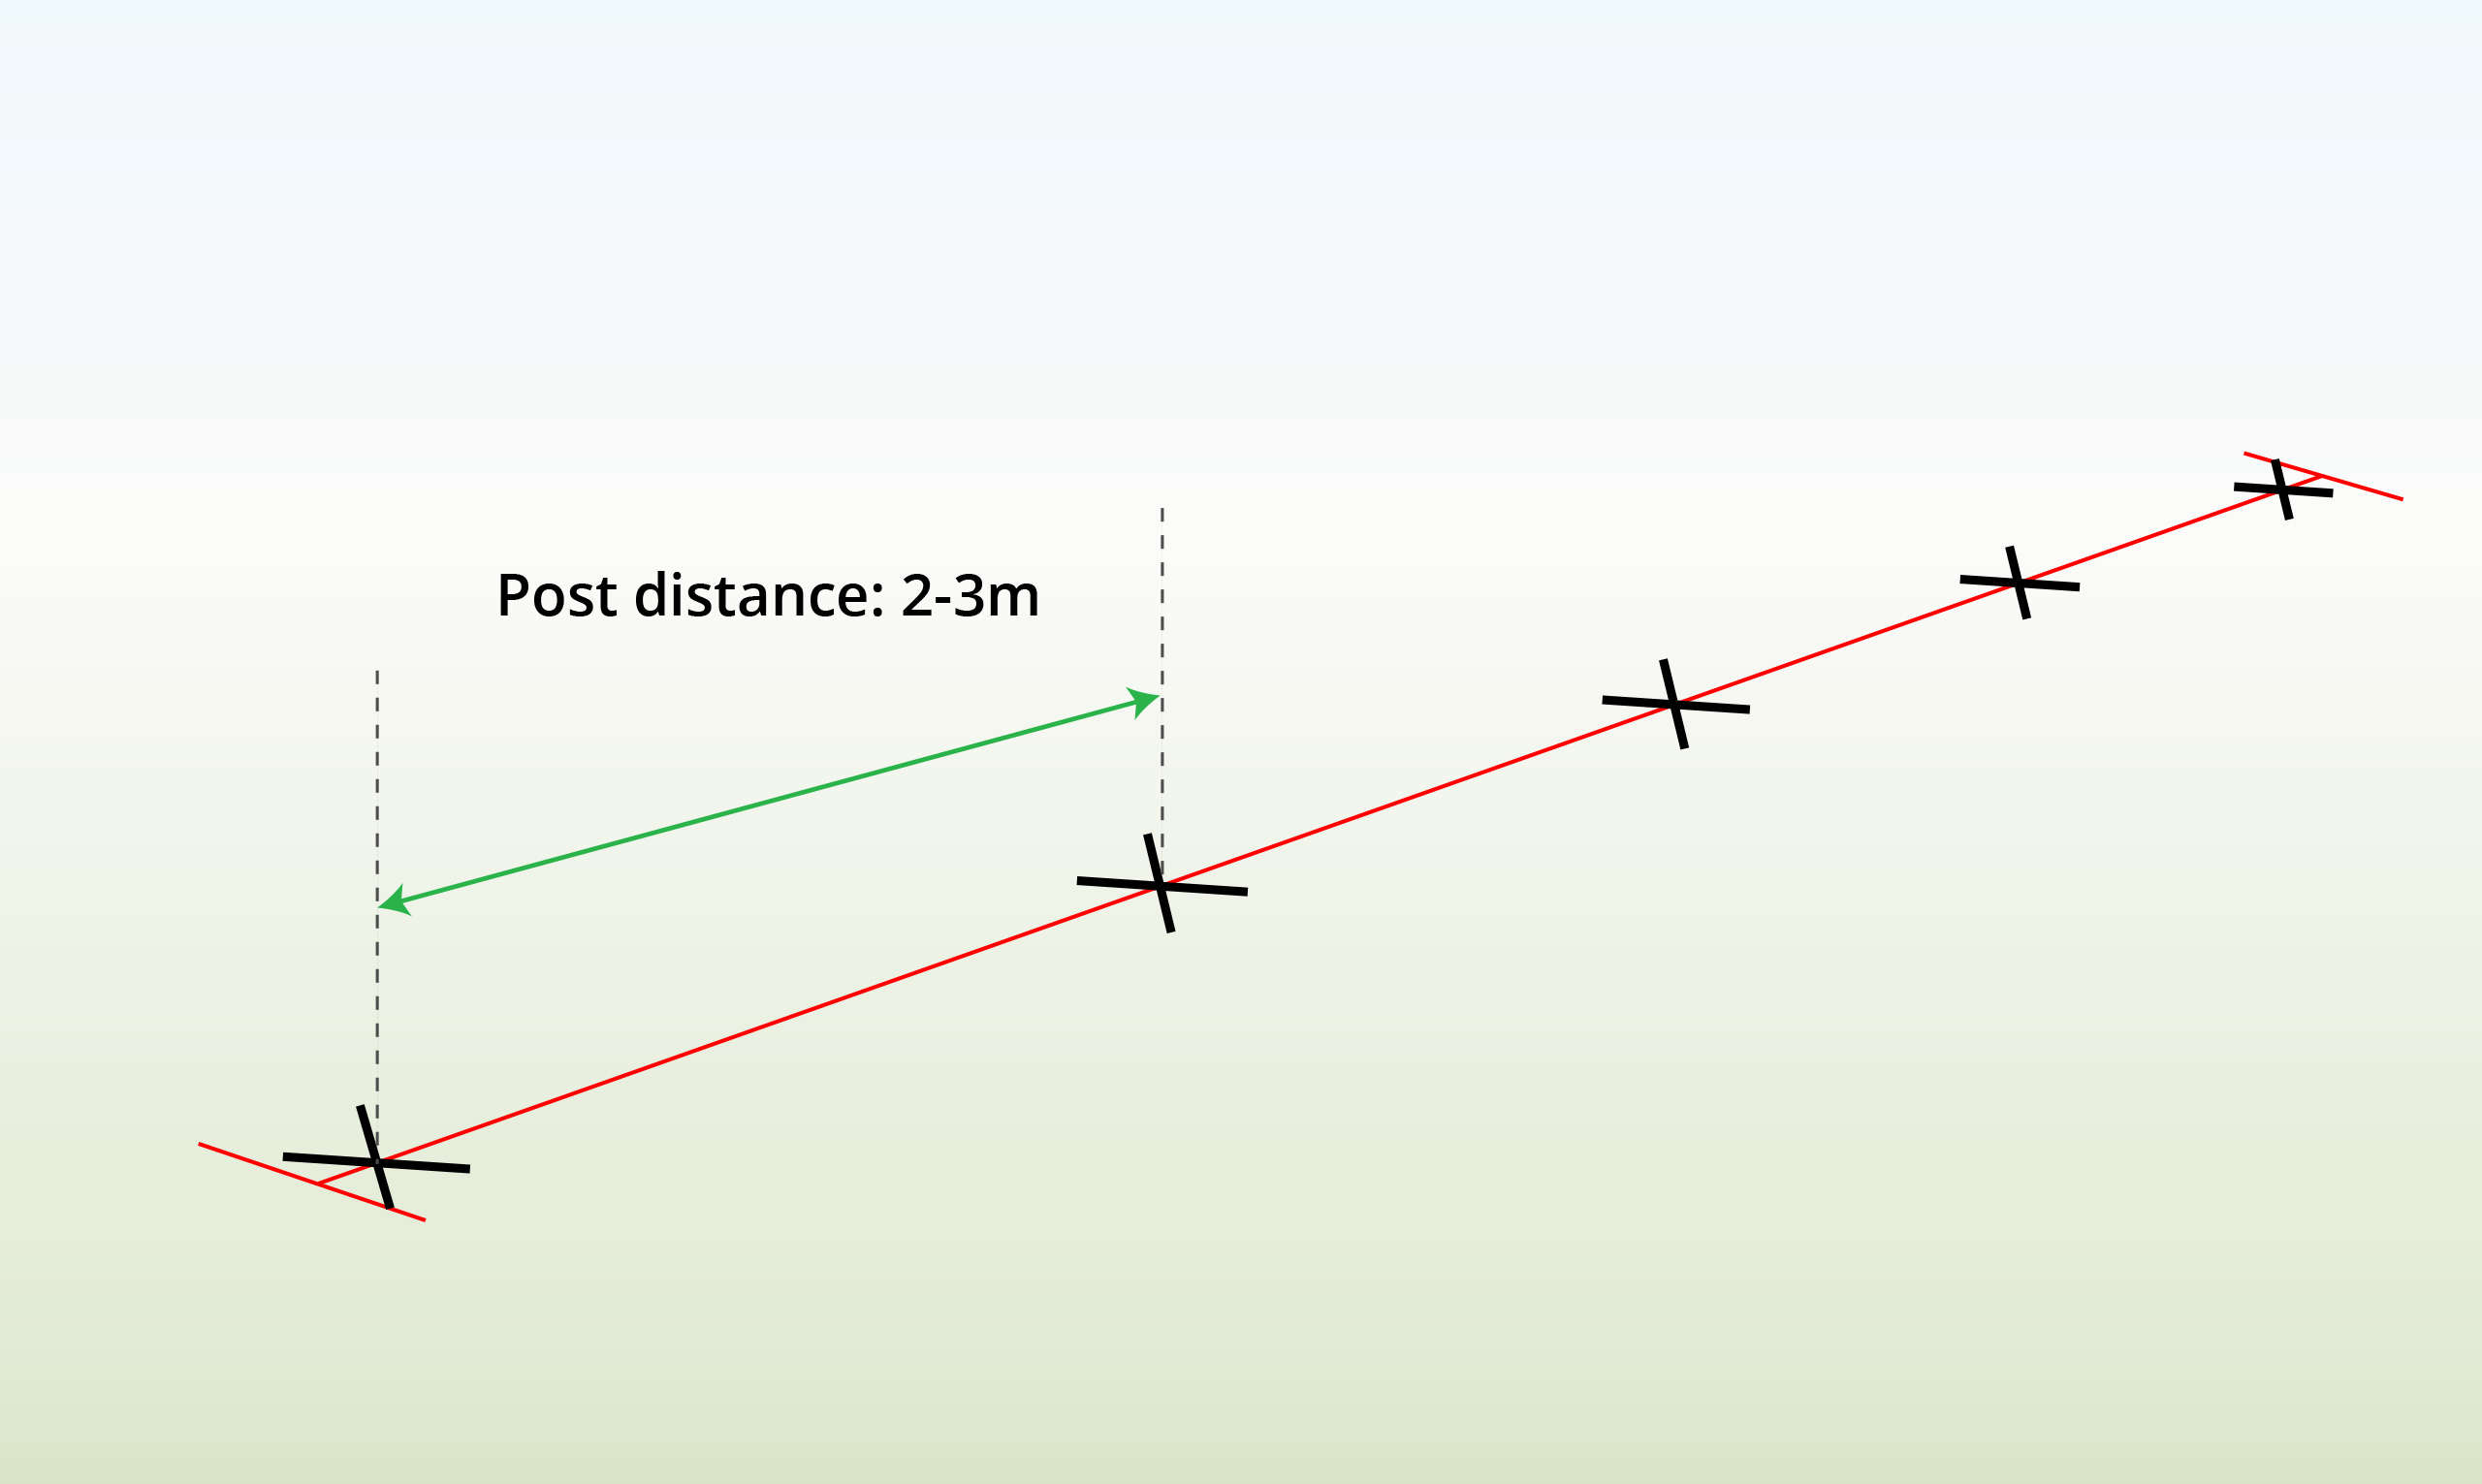
| Step 2 – Measure Post Distance
|
The posts should be 2-3m apart. The shorter the distance, the more stable the fence will be.
|
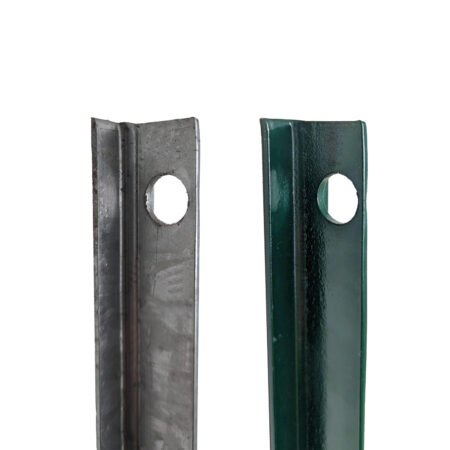
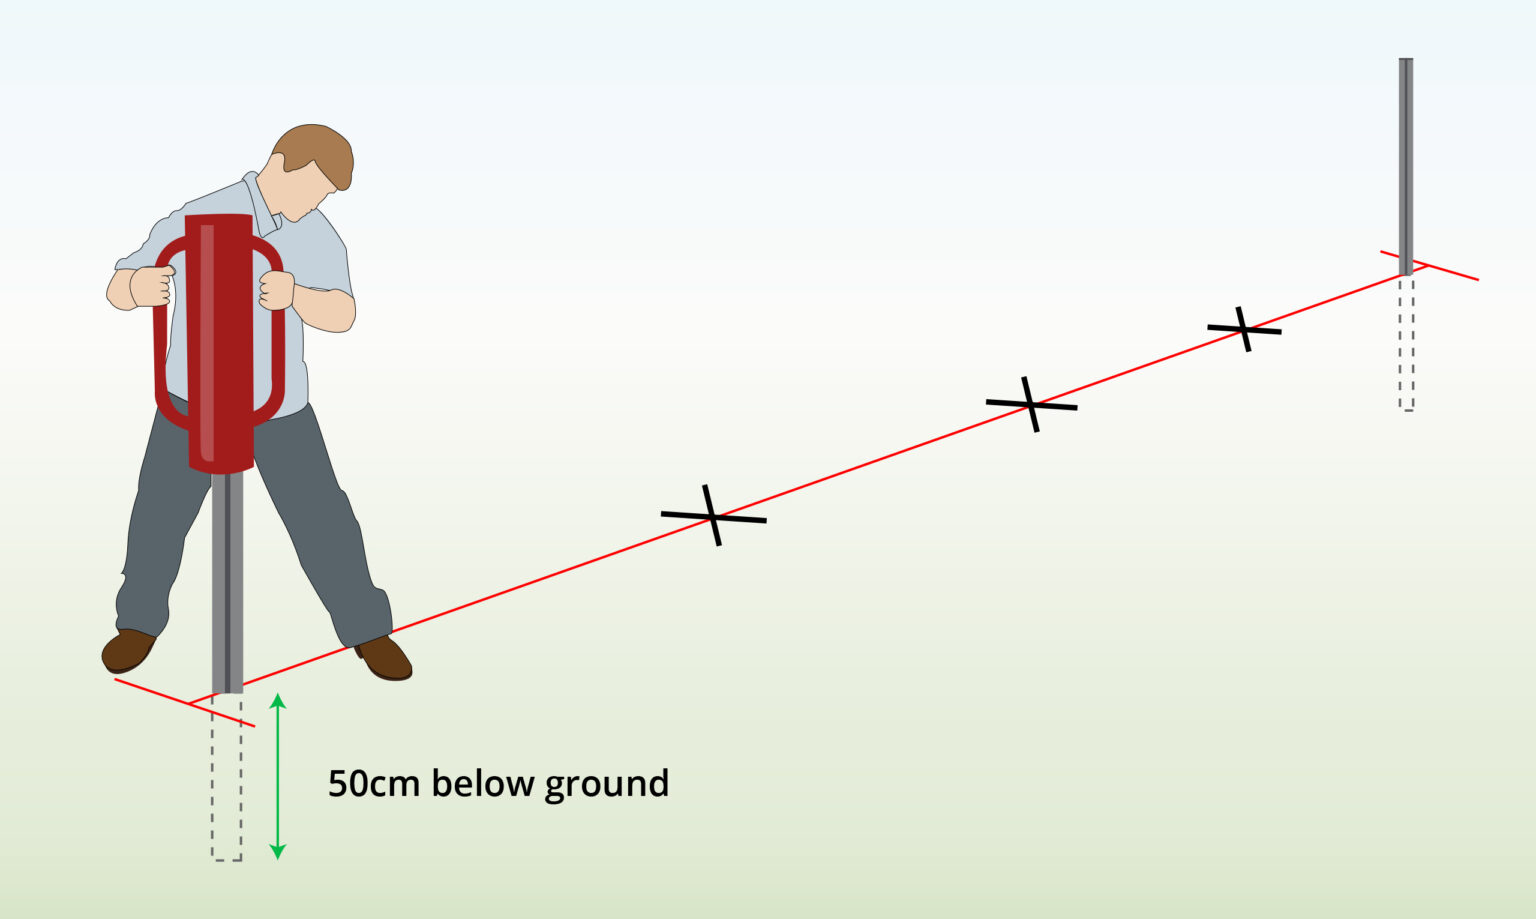
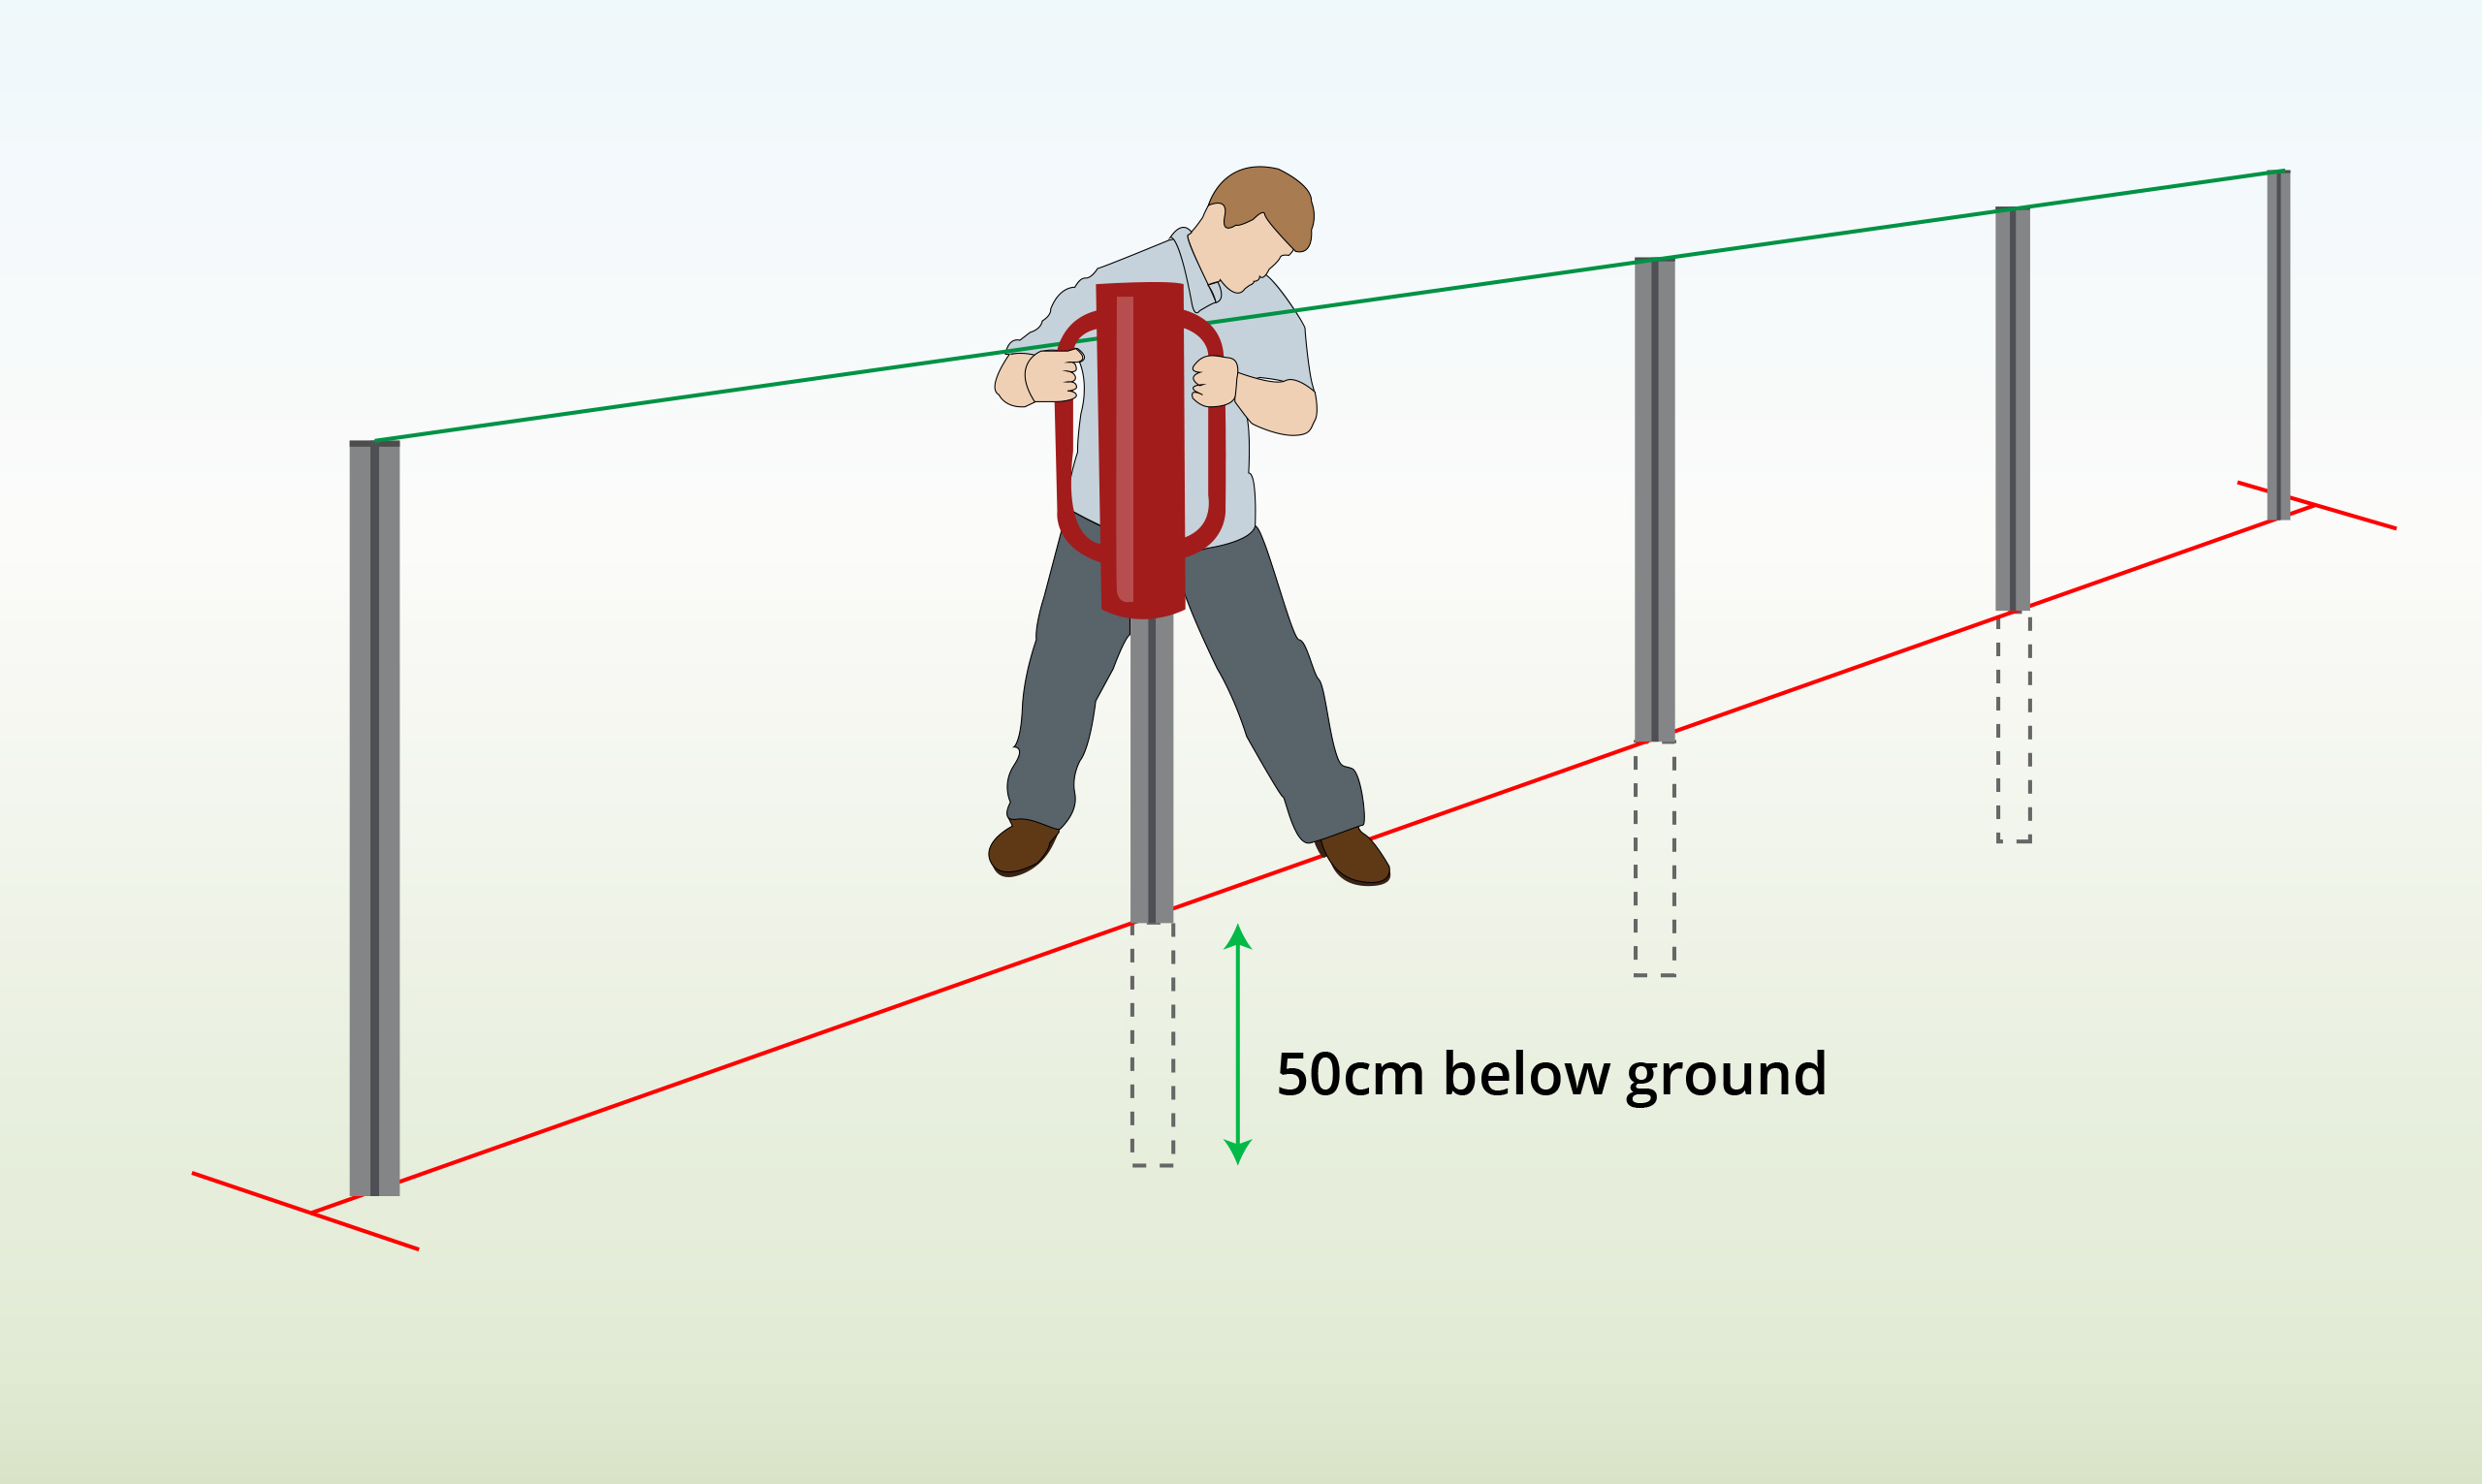
| Step 3 – Install End Posts
|
Use a post driver or mallet to sink the posts 50cm into the ground. Make sure the holes in the posts are facing each other.
|
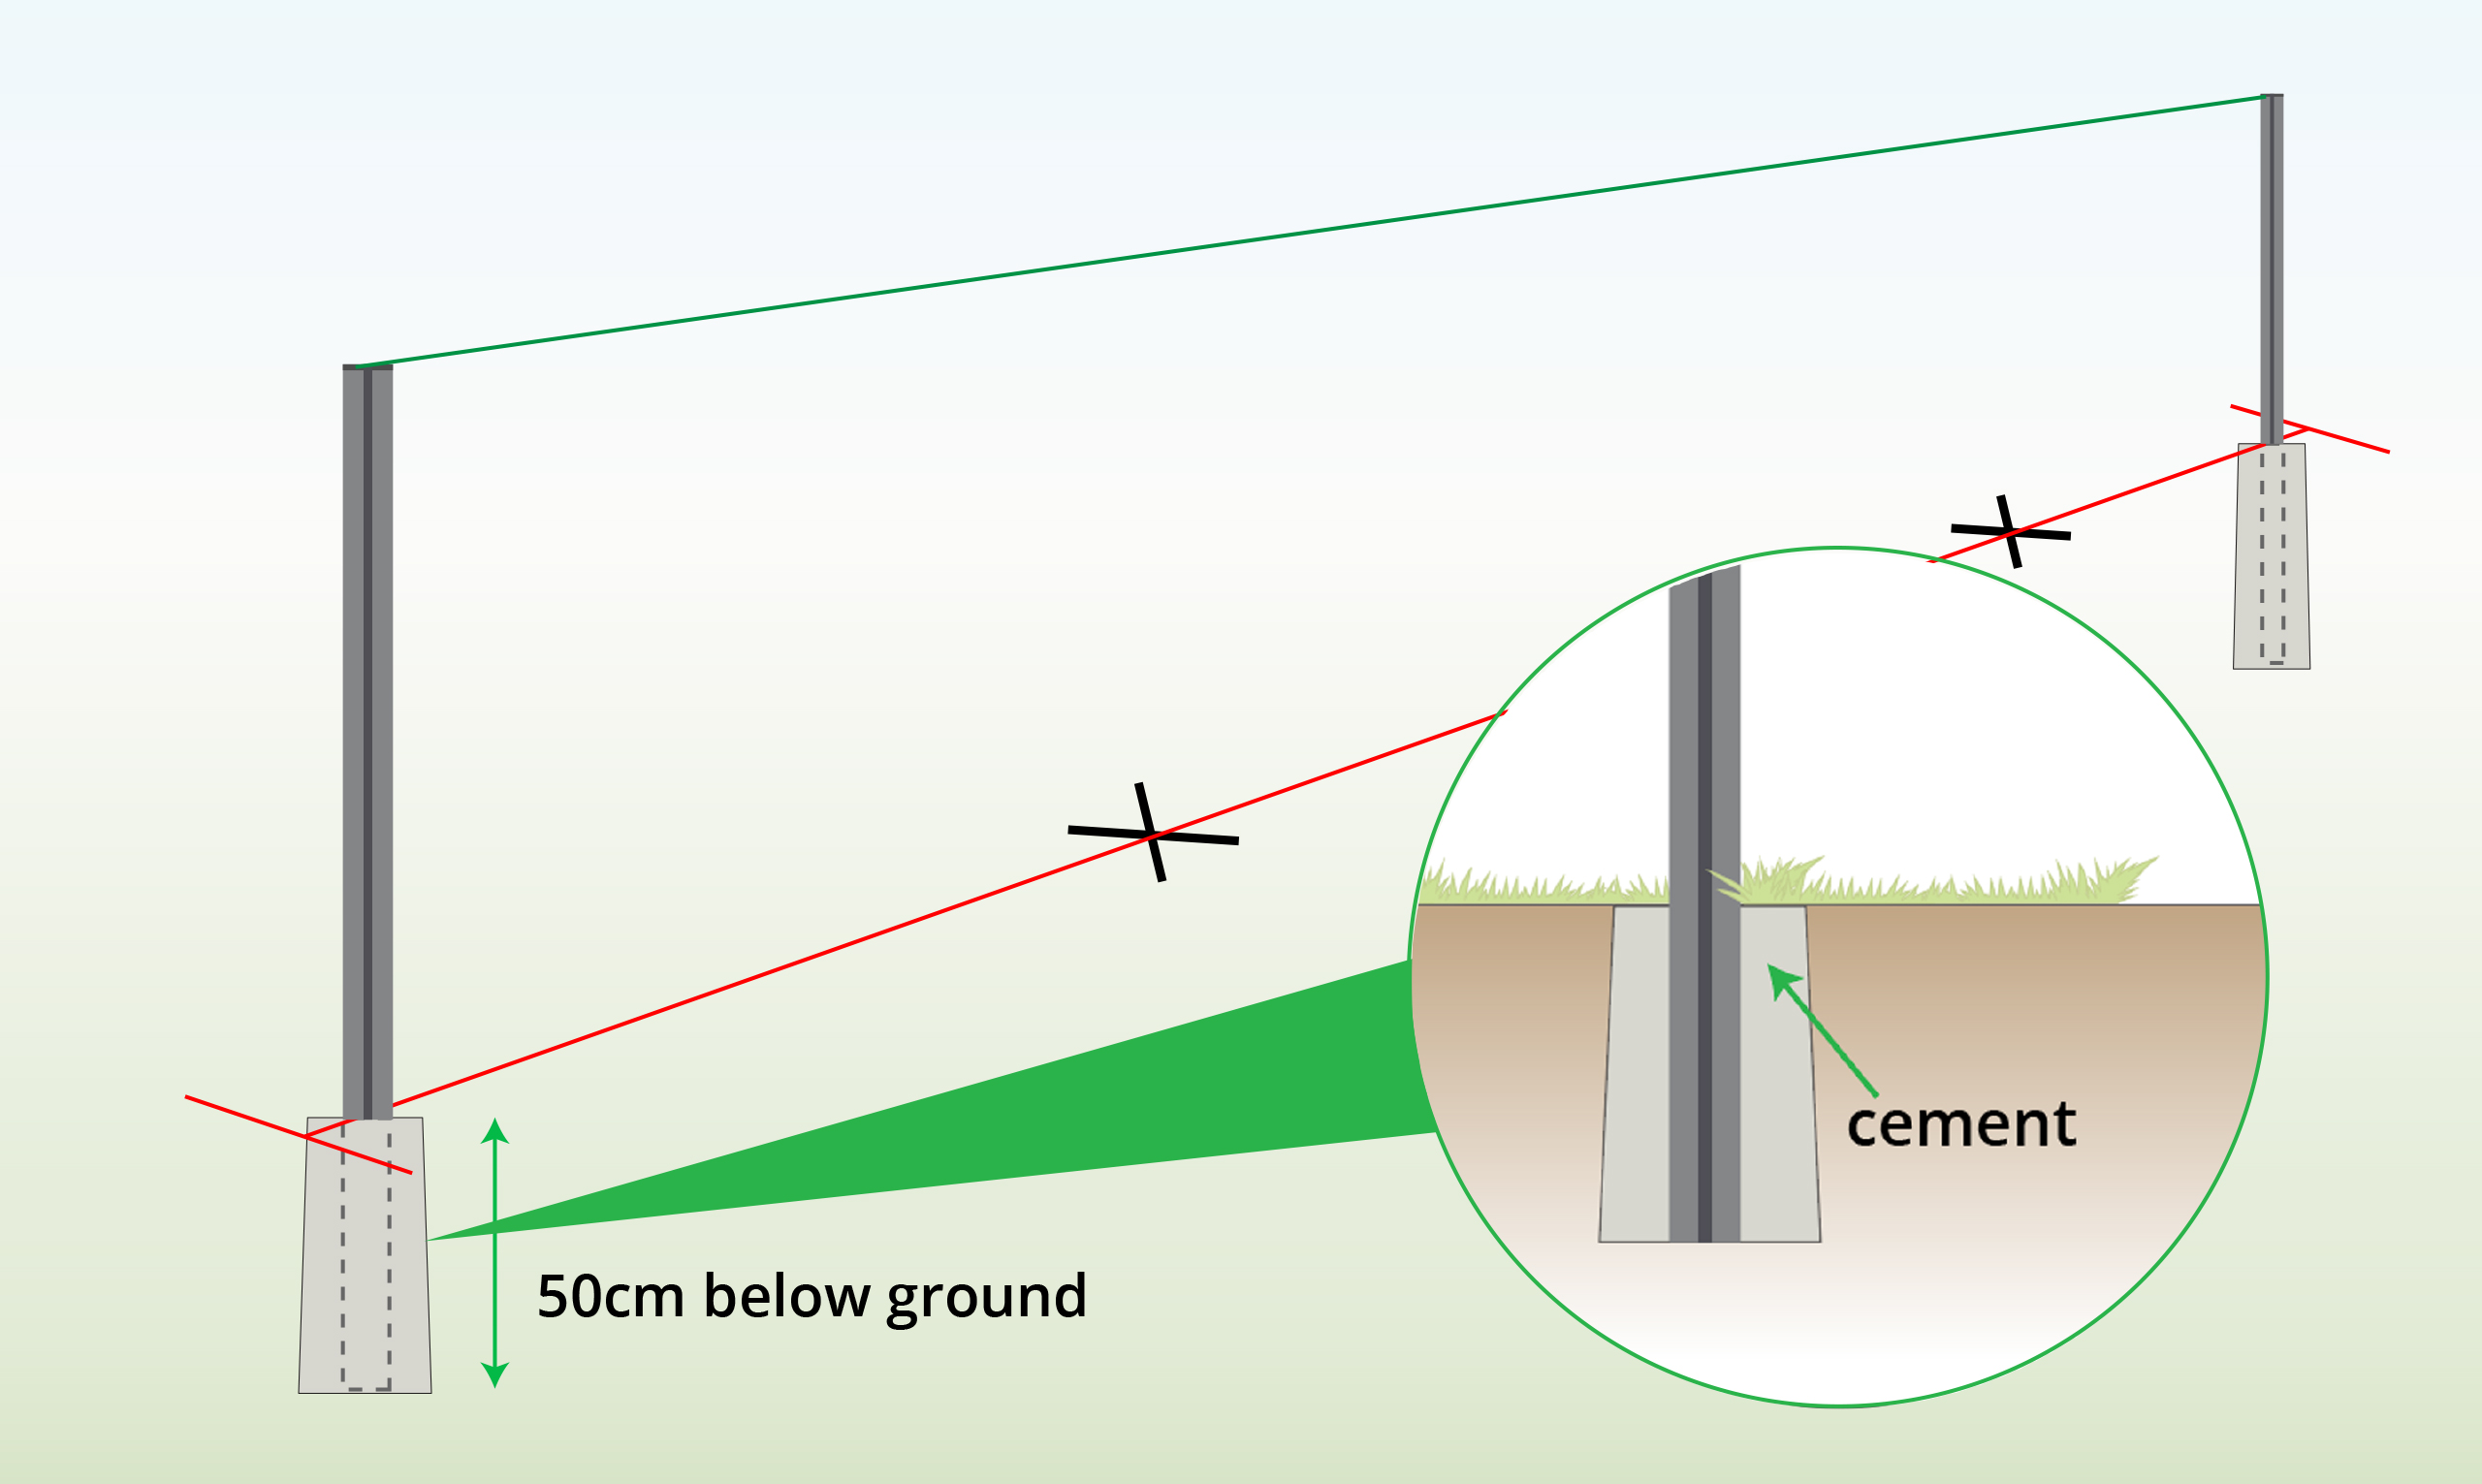
| Step 4 – Set in Concrete (optional)
|
Optional: for a stronger fence, set your posts in cement.
|
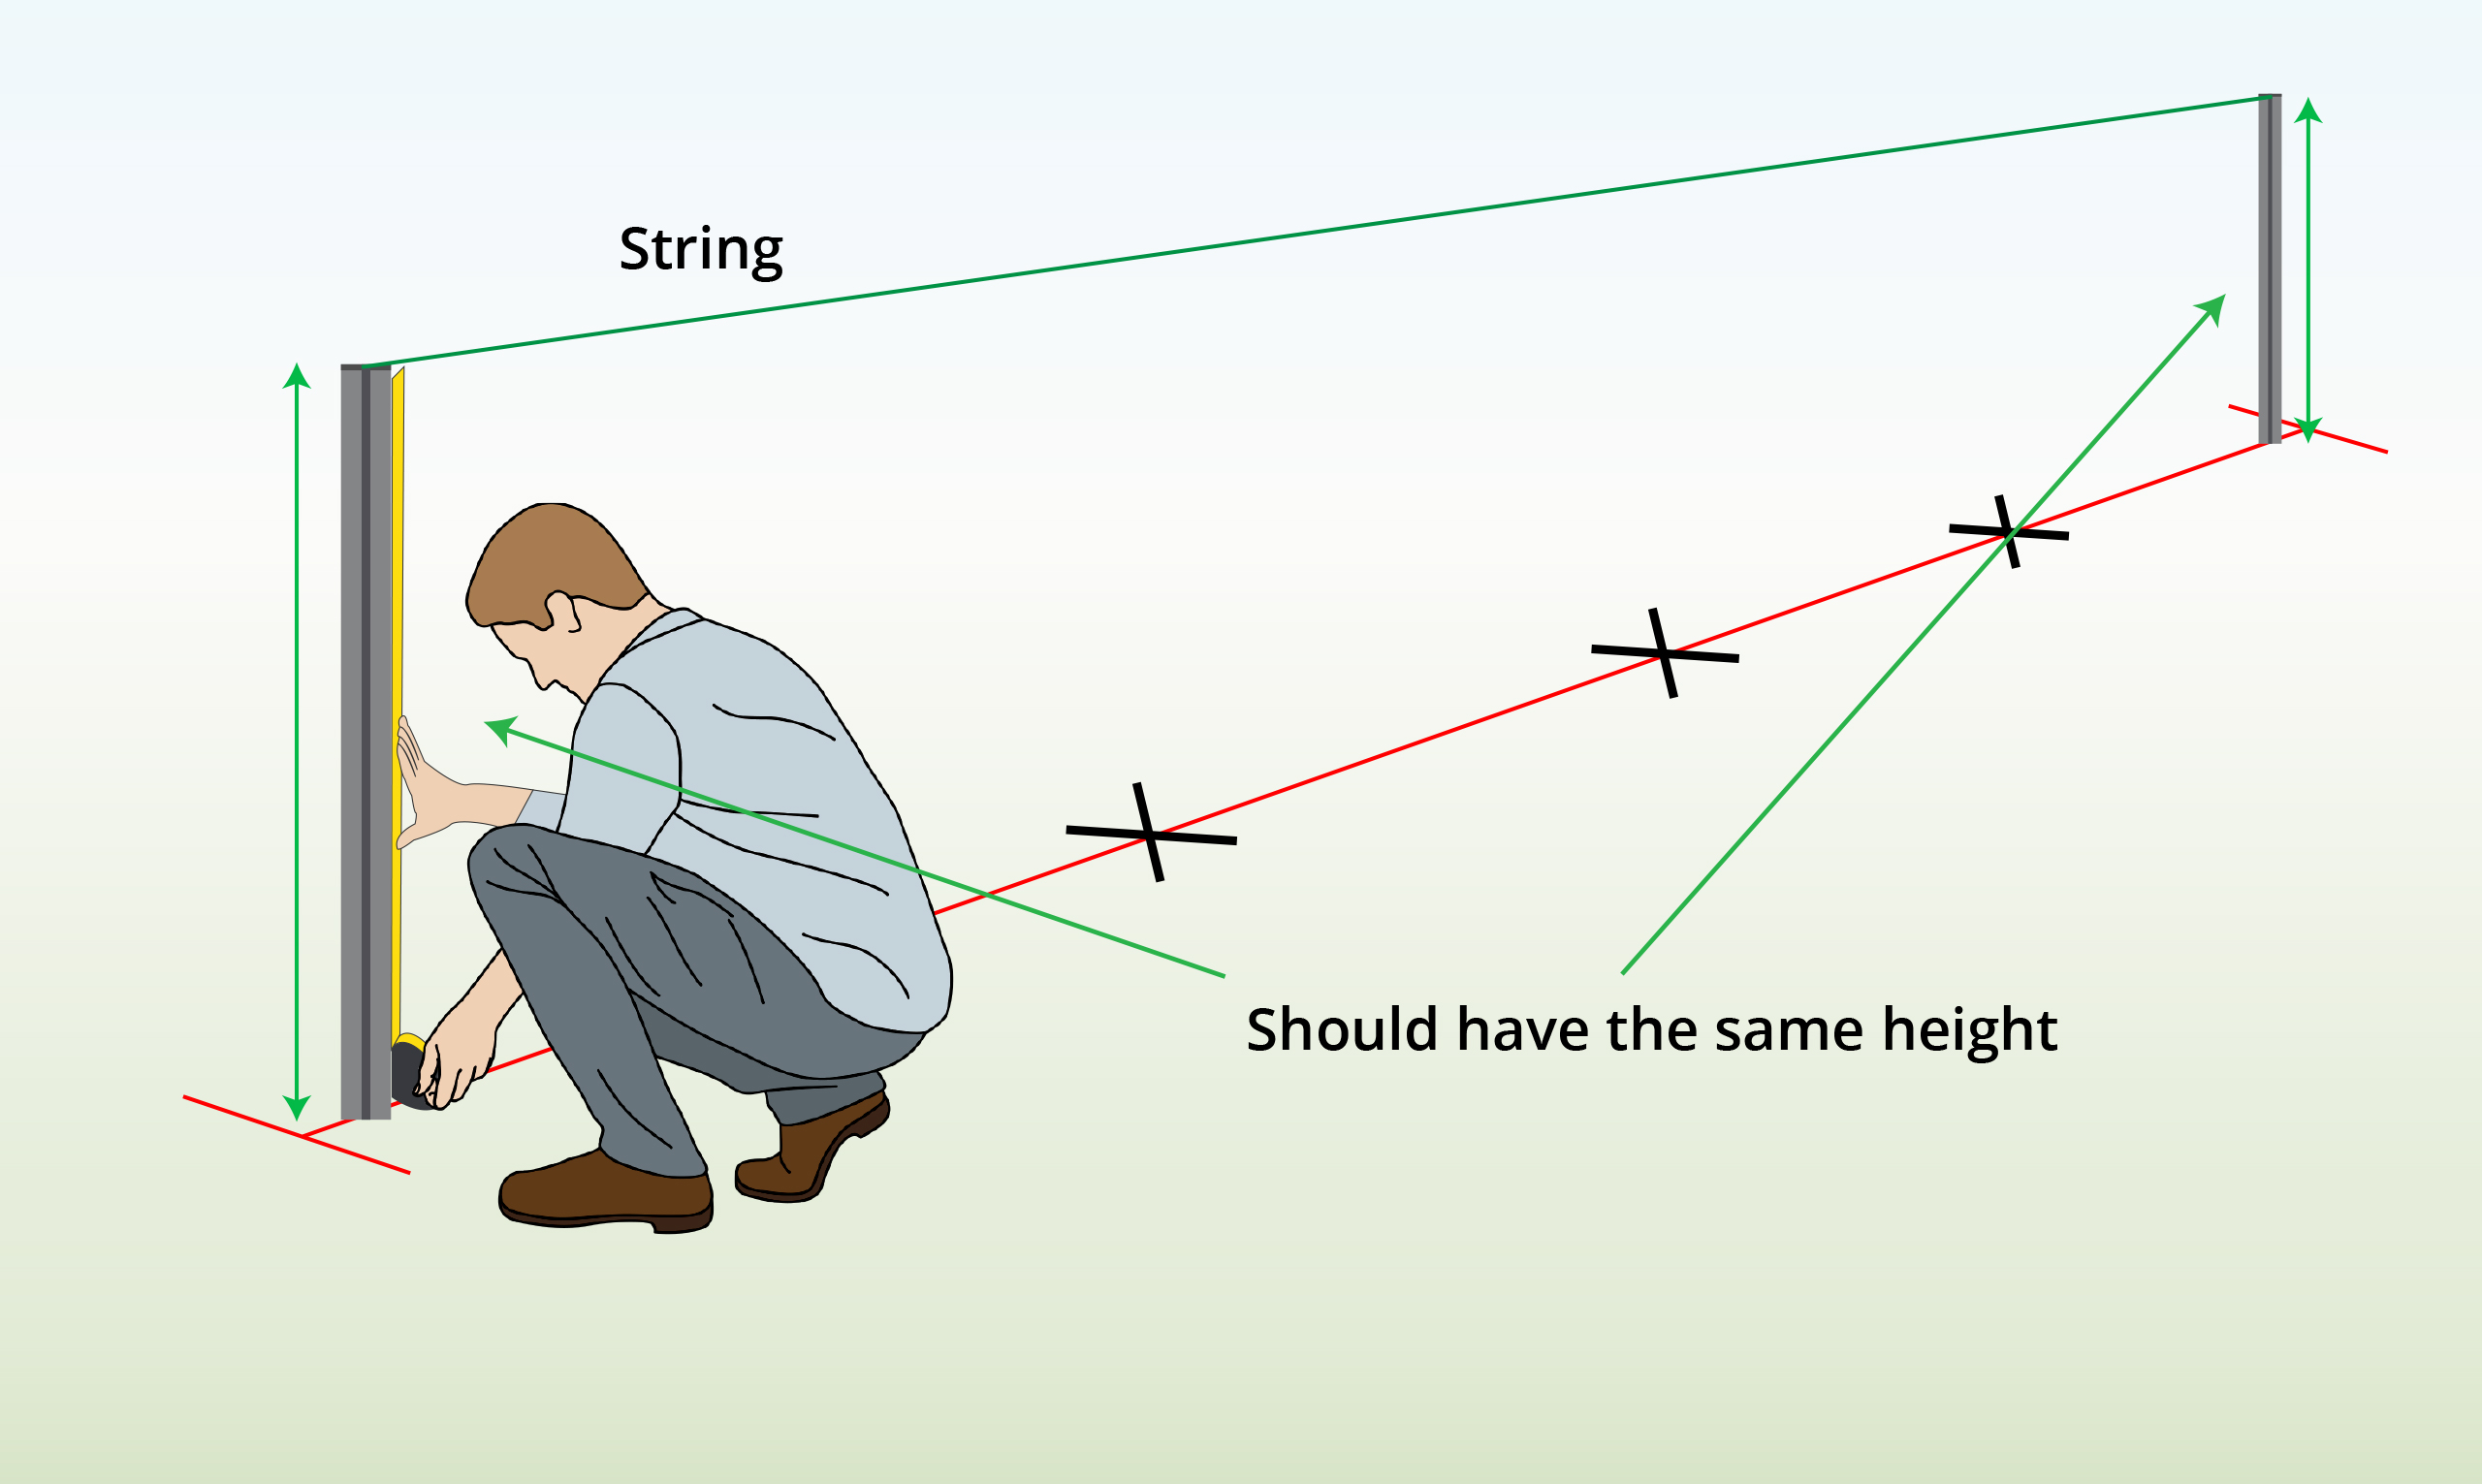
| Step 5 – Check for Same Height
|
Attach a string between the end posts. Use a spirit level to ensure that posts have been installed at the same height.
|
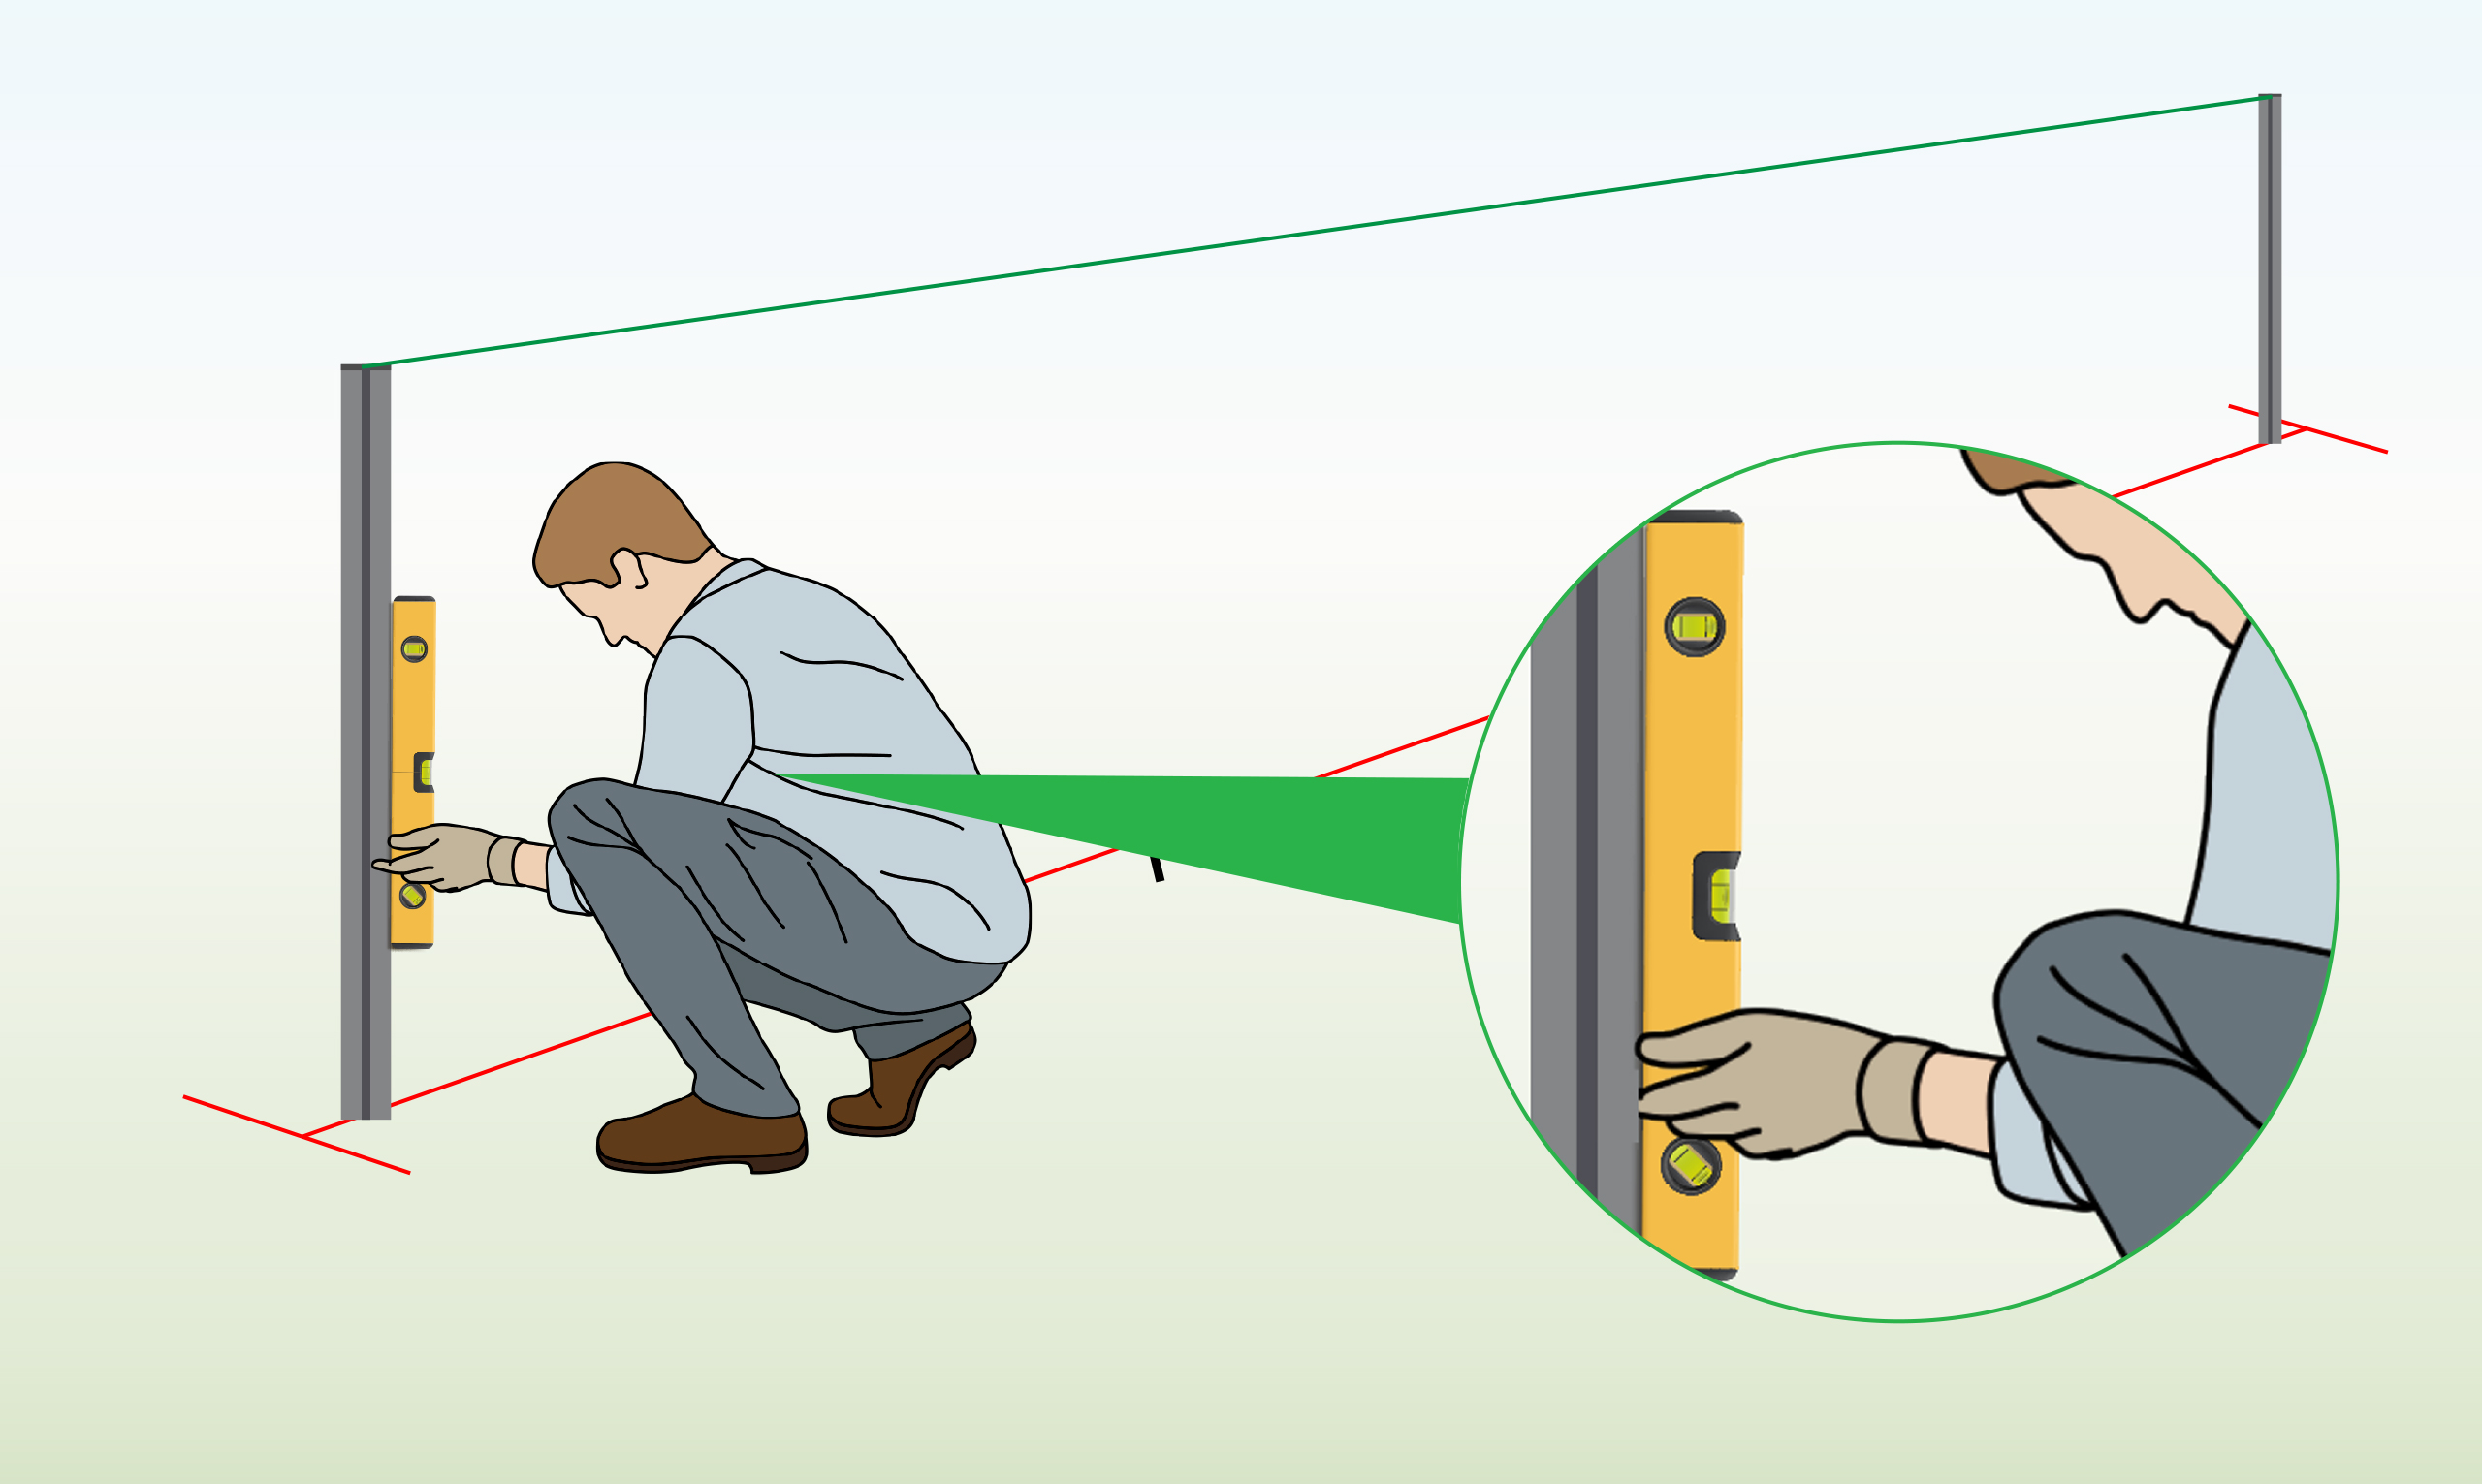
| Step 6 – Check for Straightness
|
Also check that the posts are stright.
|
| Step 7 – Install Middle Posts
|
For the installation of middle posts, repeat steps 3-6.
|
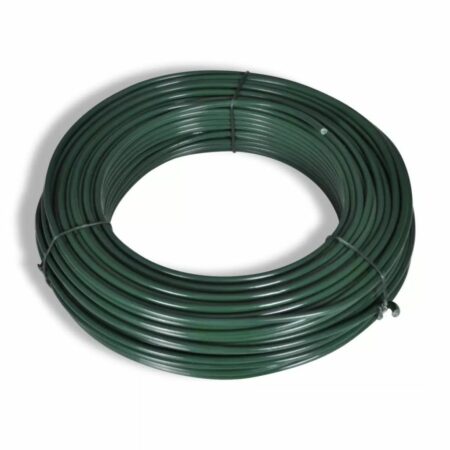
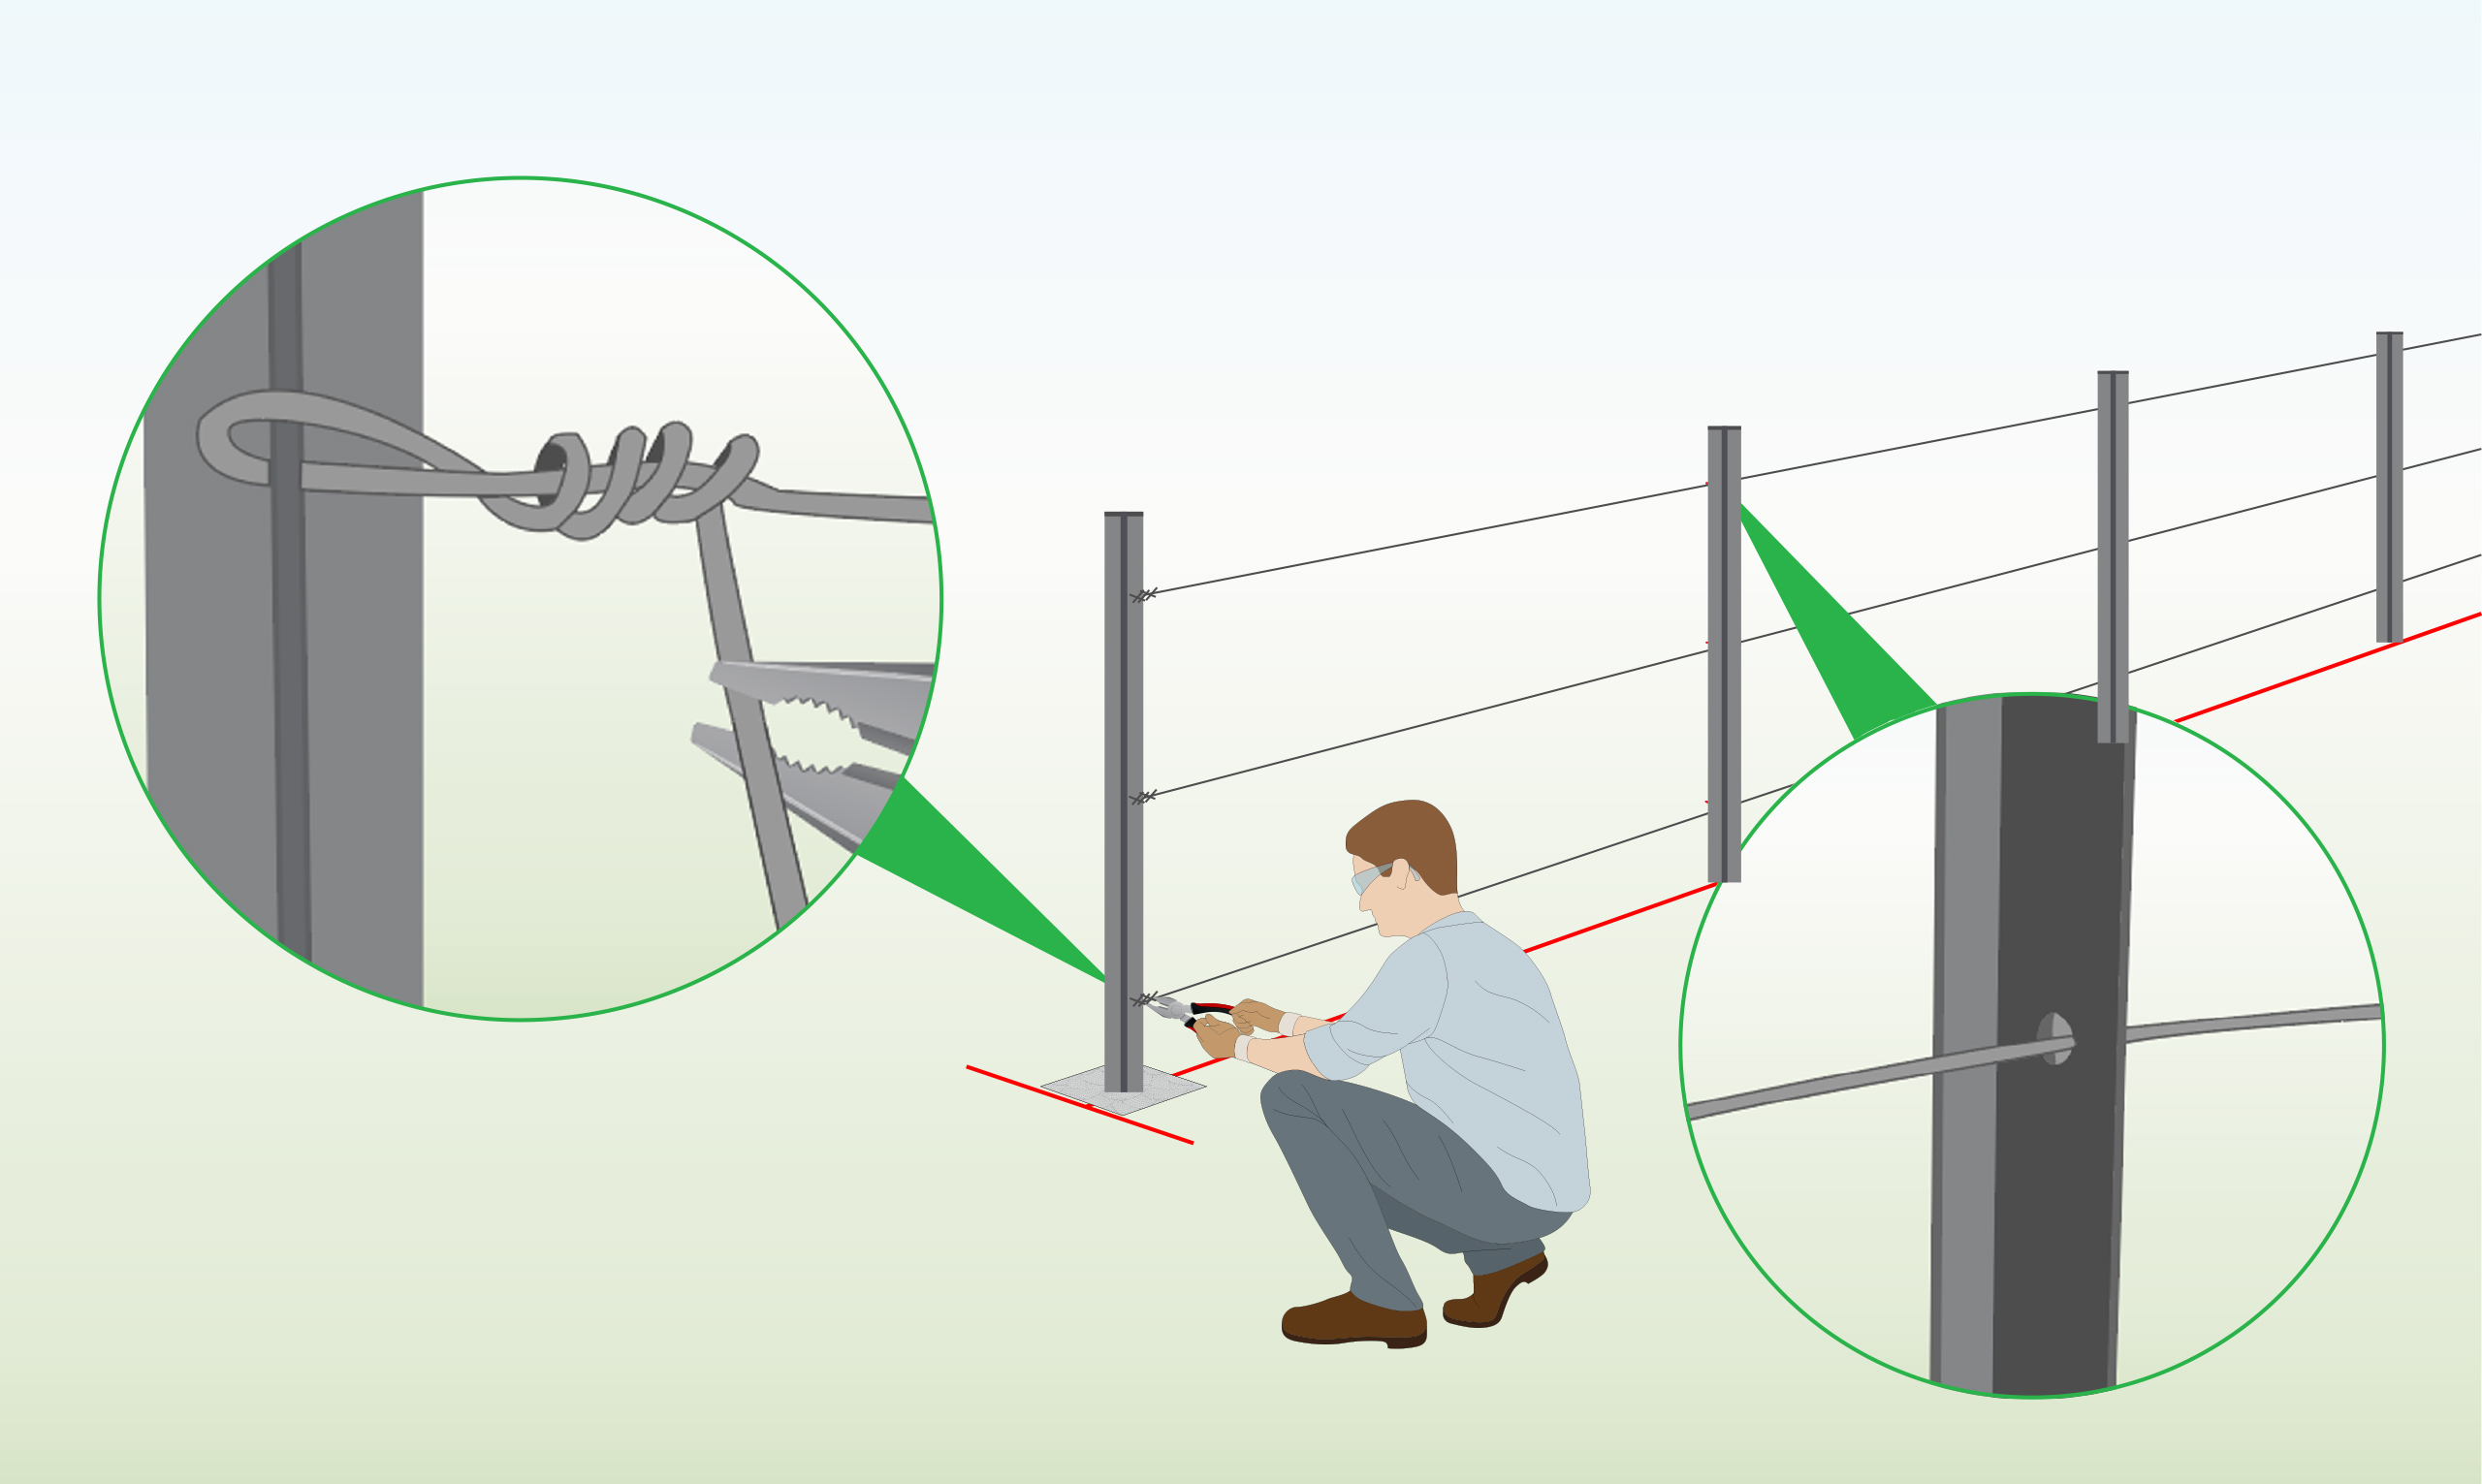
| Step 8 – Install Tension Wire (Optional)
|
Optional: To prevent the fence from sagging over time, attach tension wire to the holes in the end posts. Fasten it by twisting the wire’s end with pliers.
|
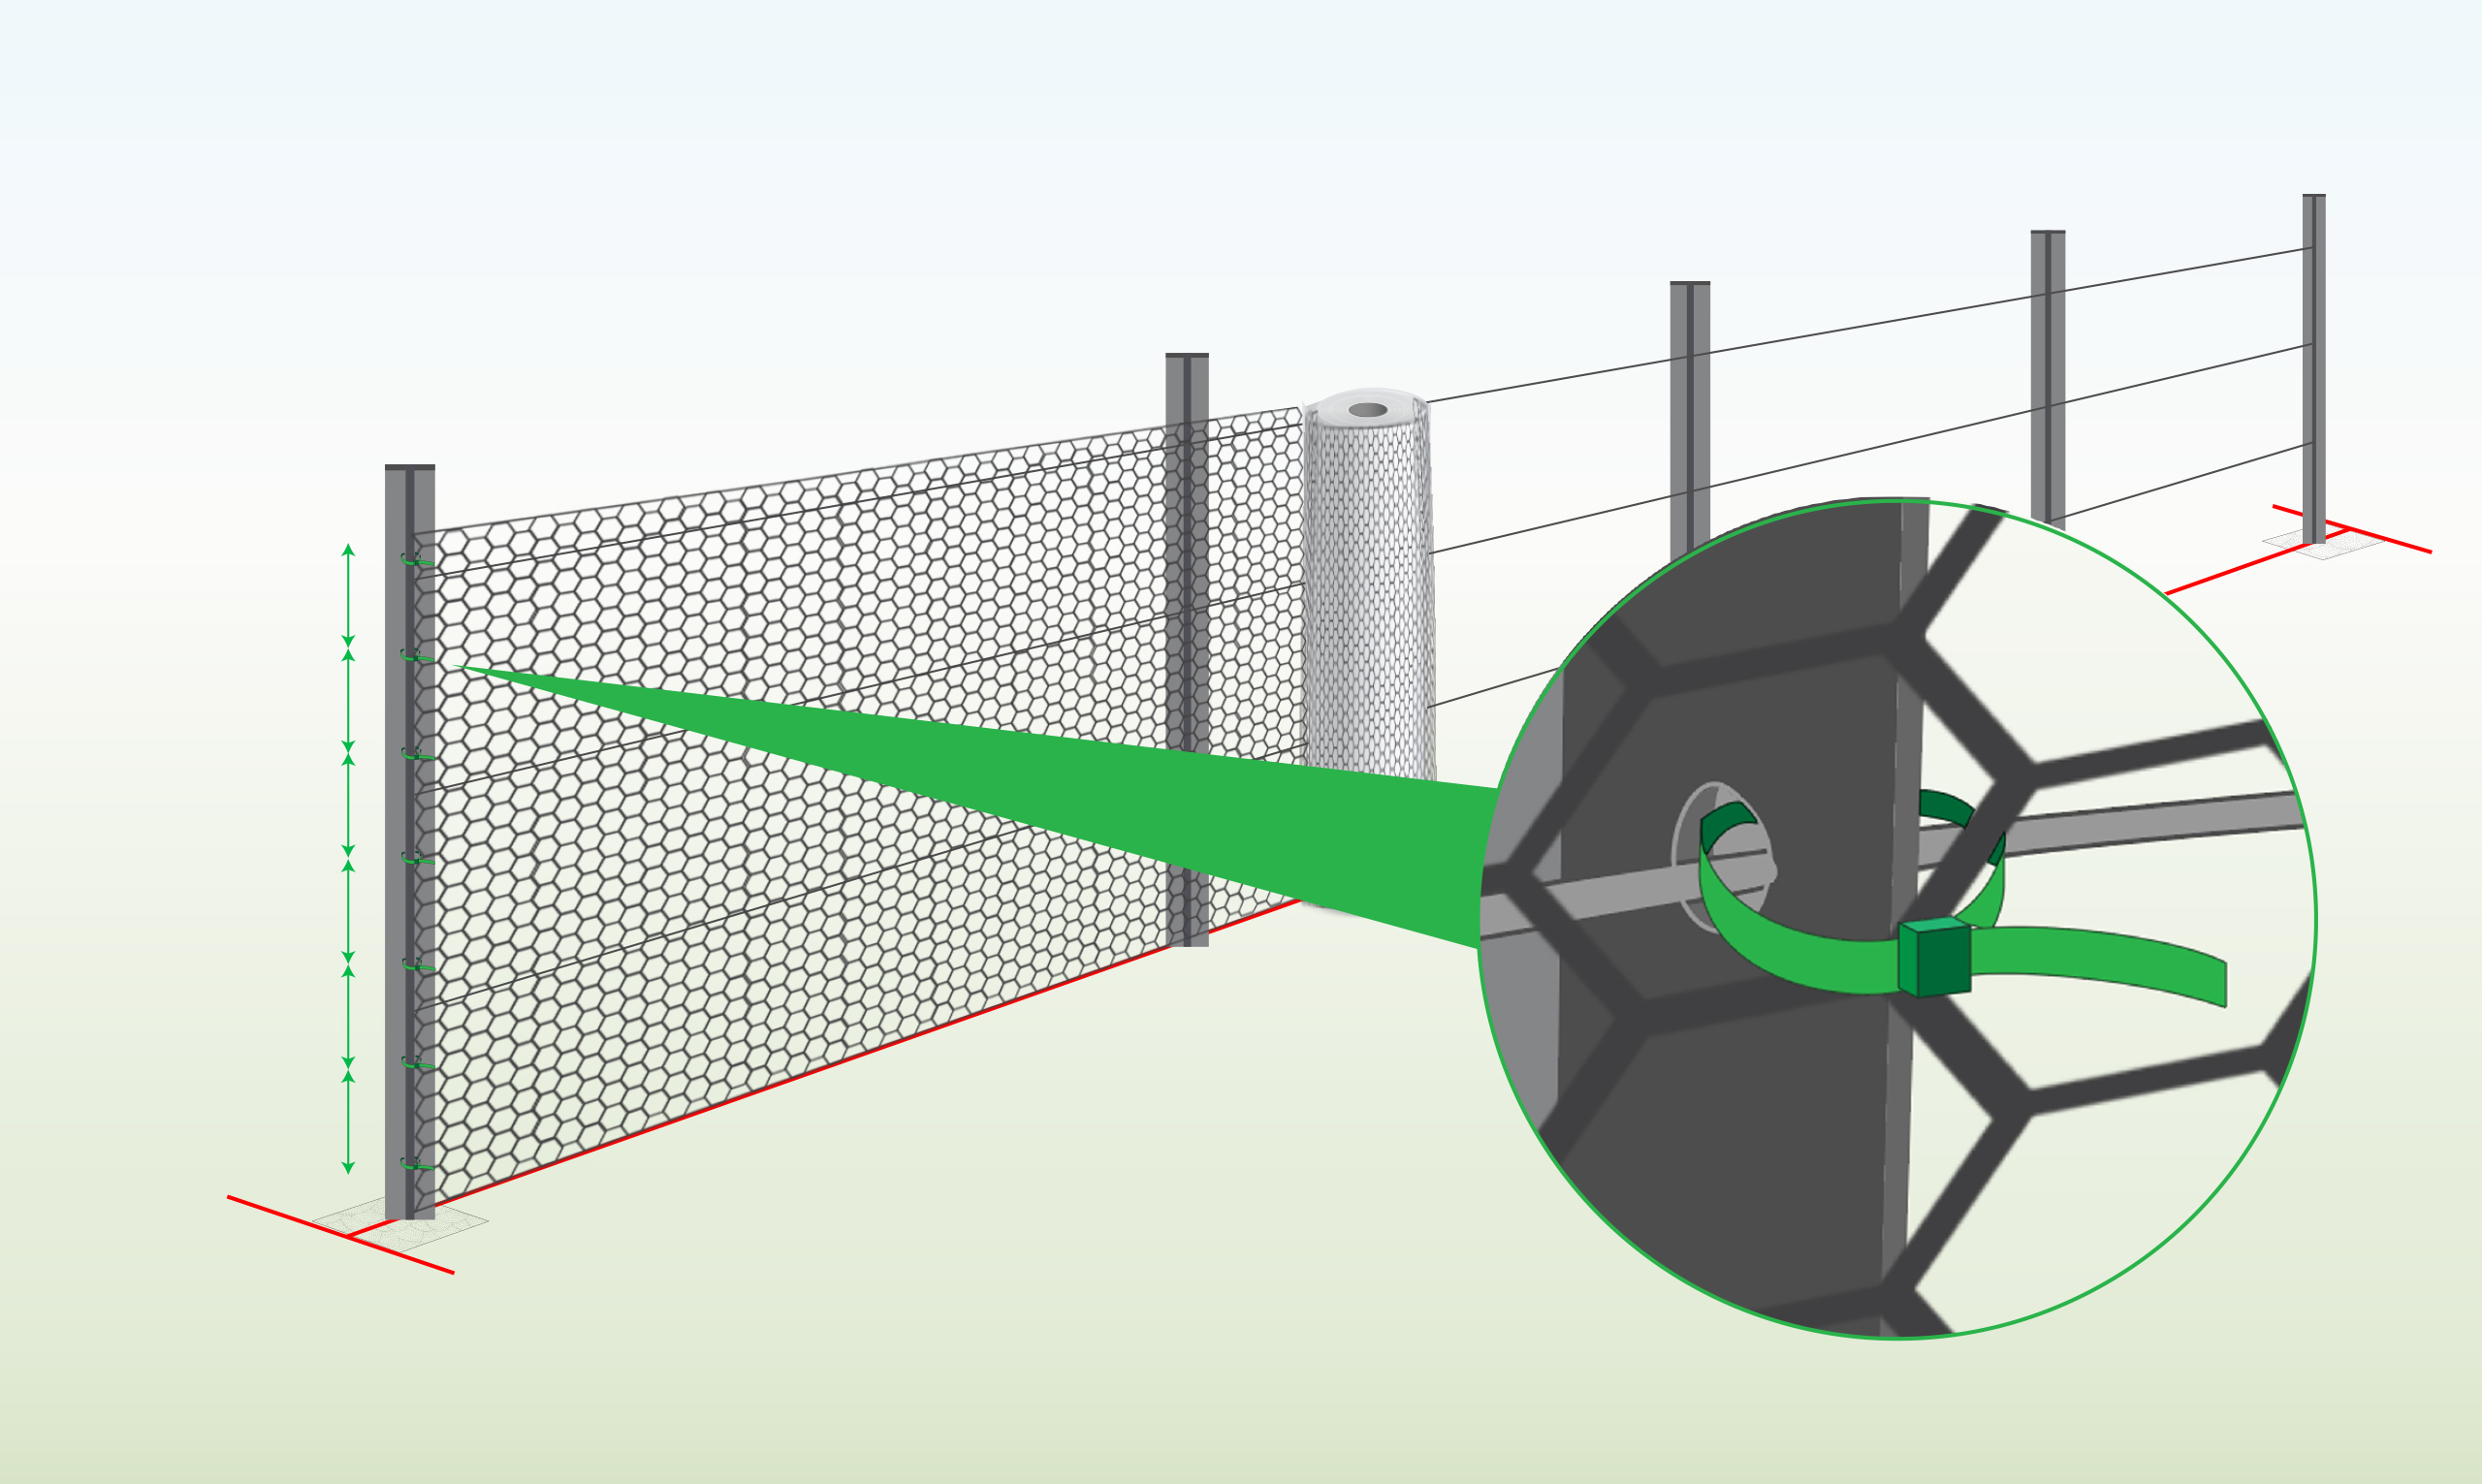
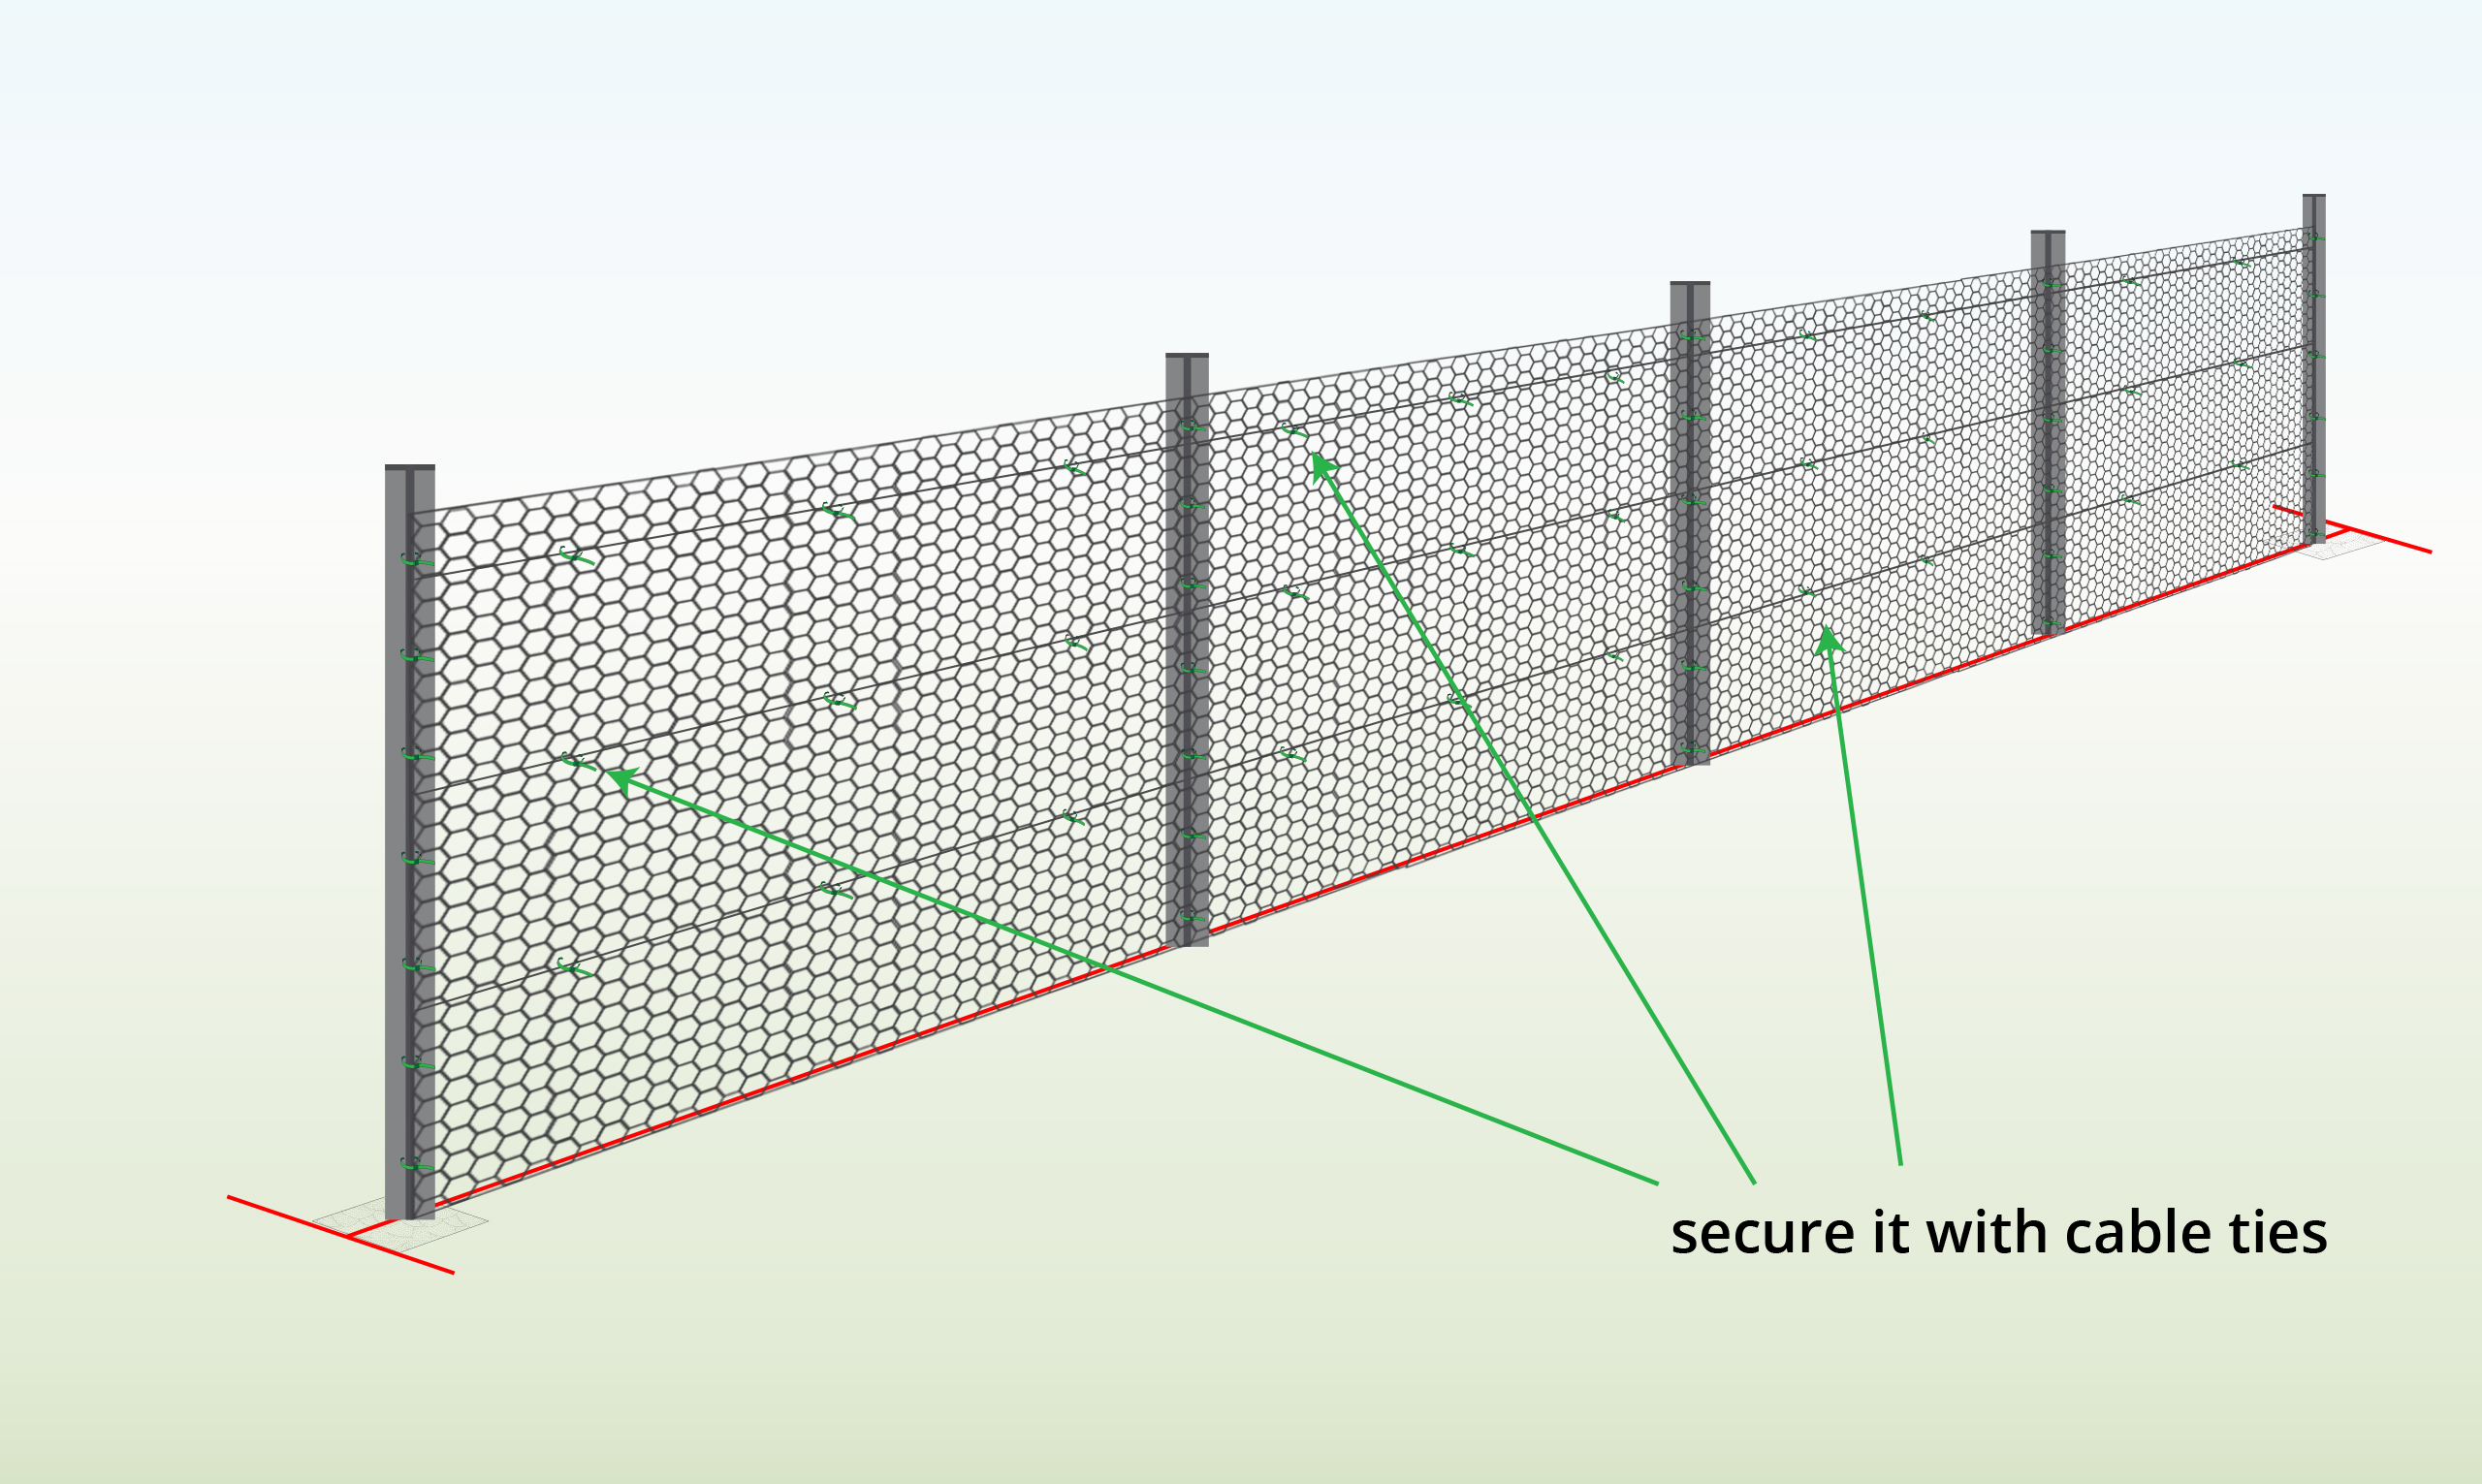
| Step 9 – Attach Mesh to End Post
|
Attach the mesh to the end post using cable ties.
|
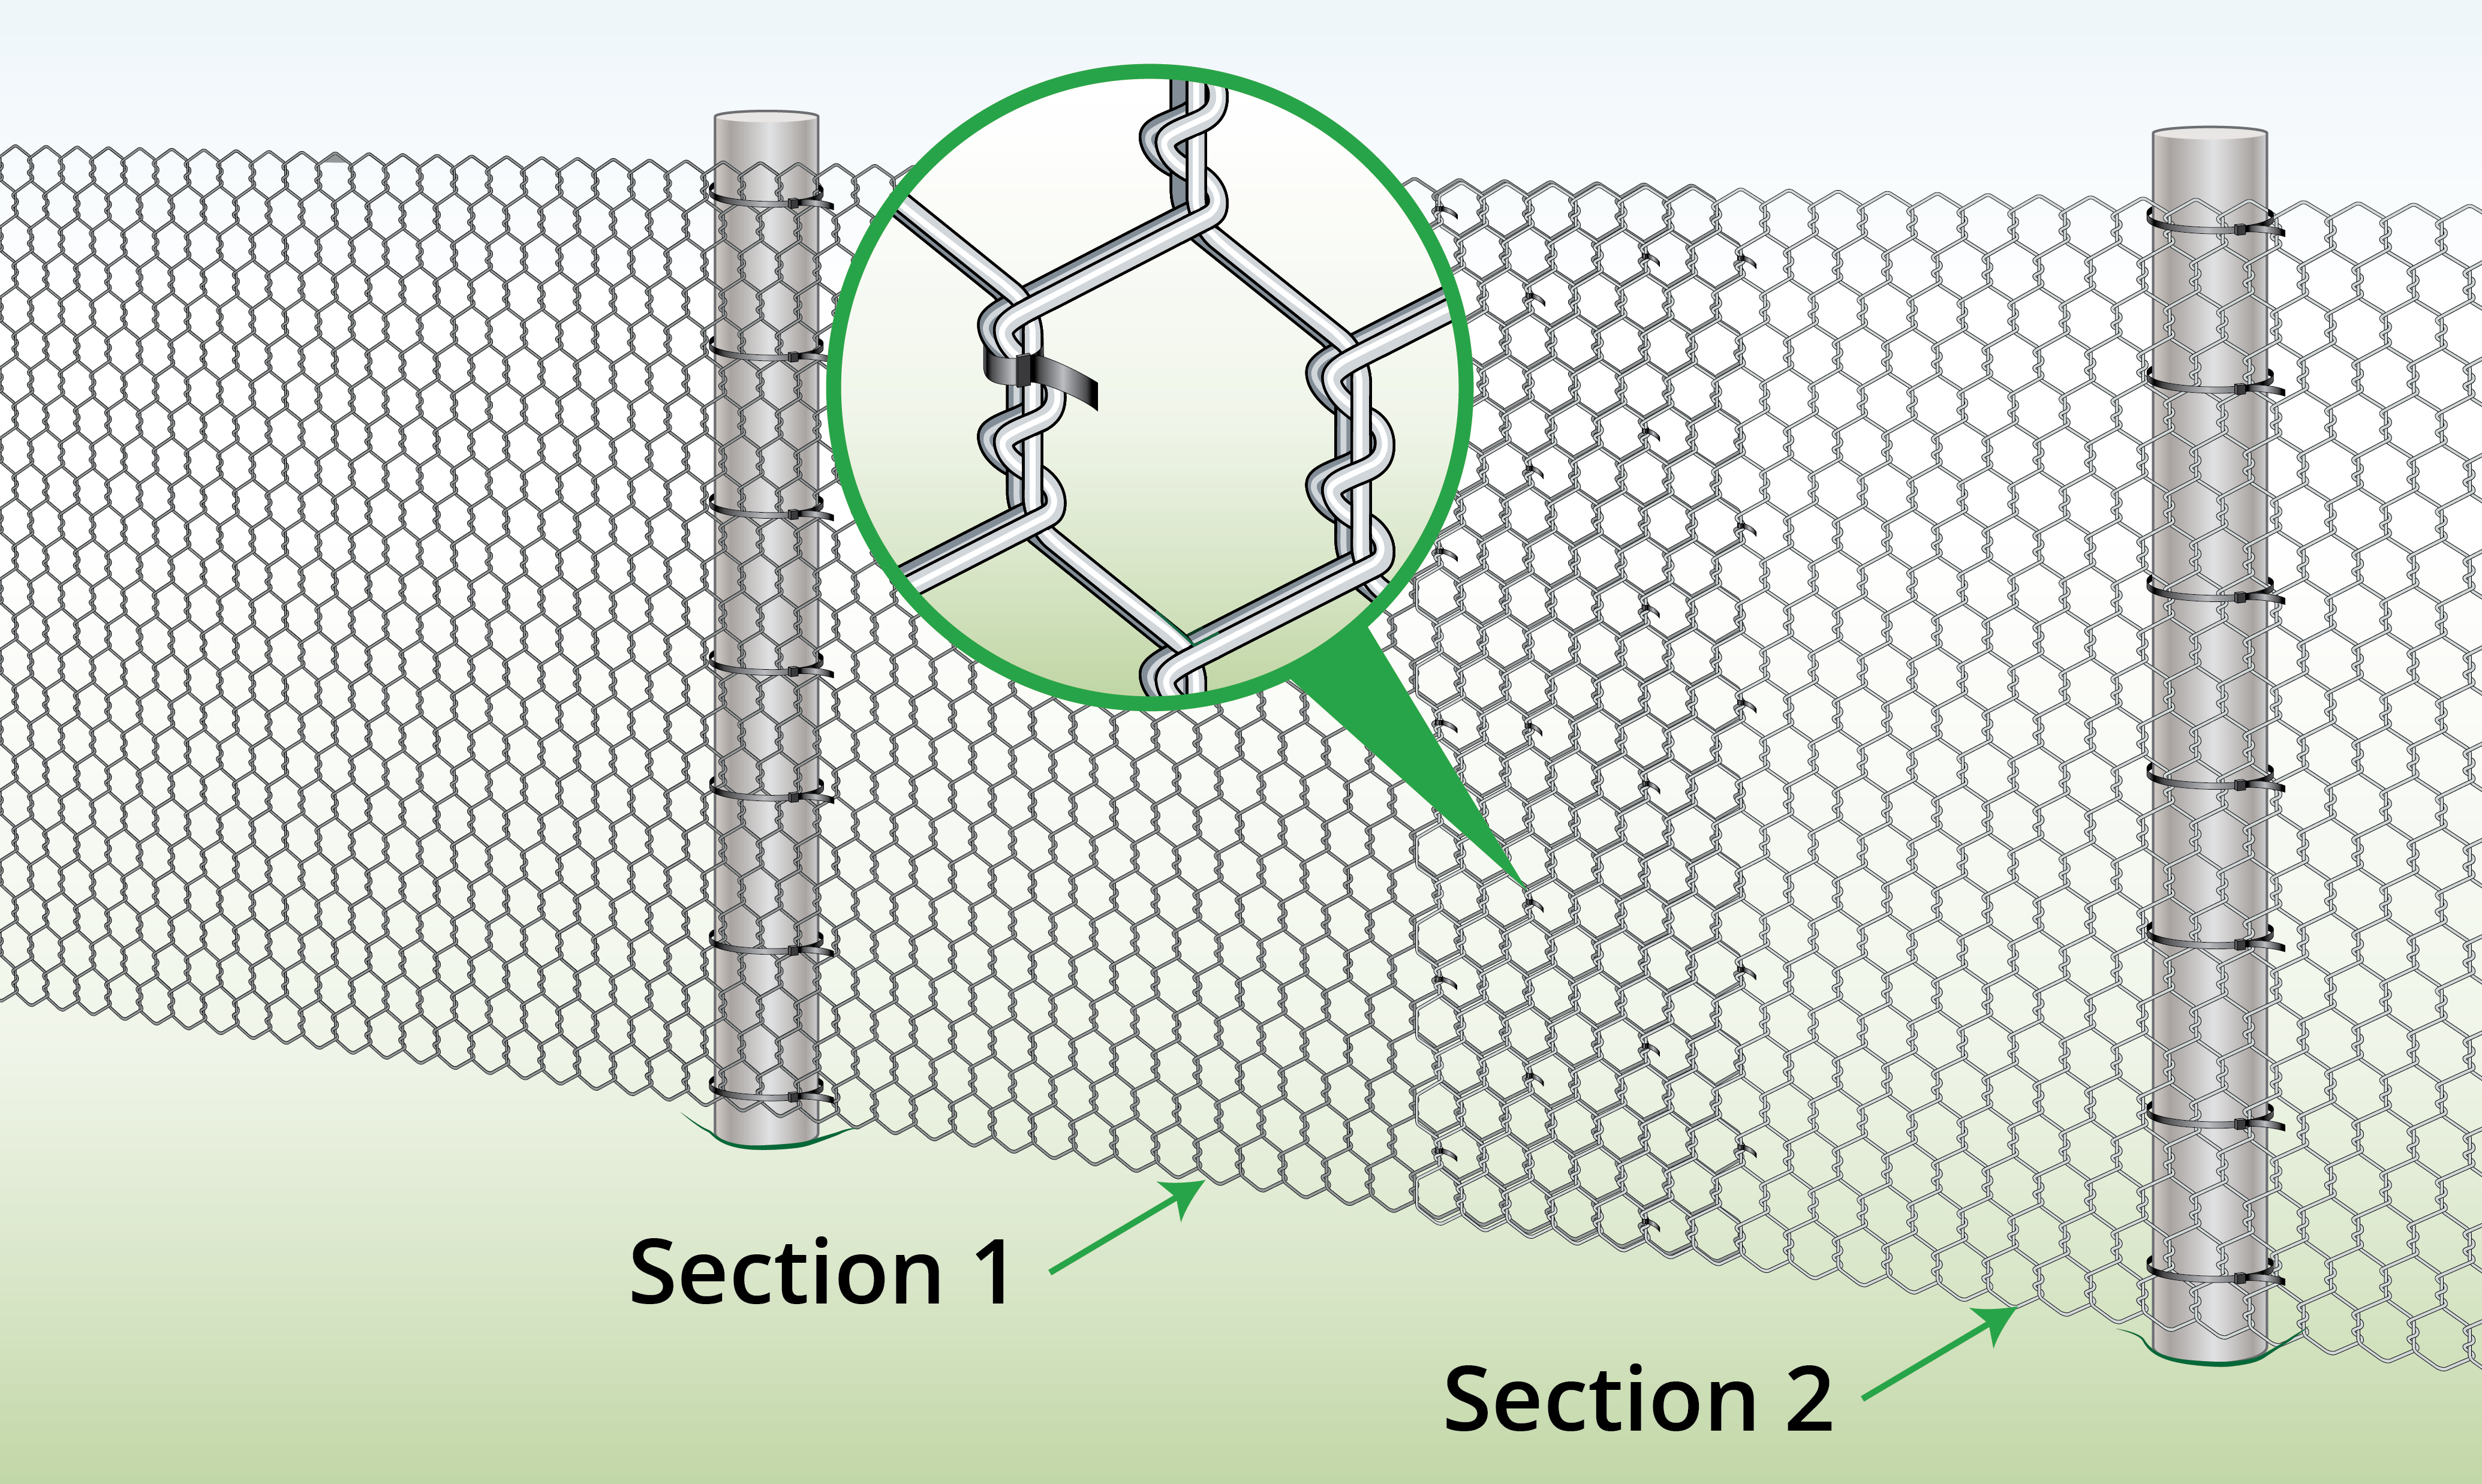
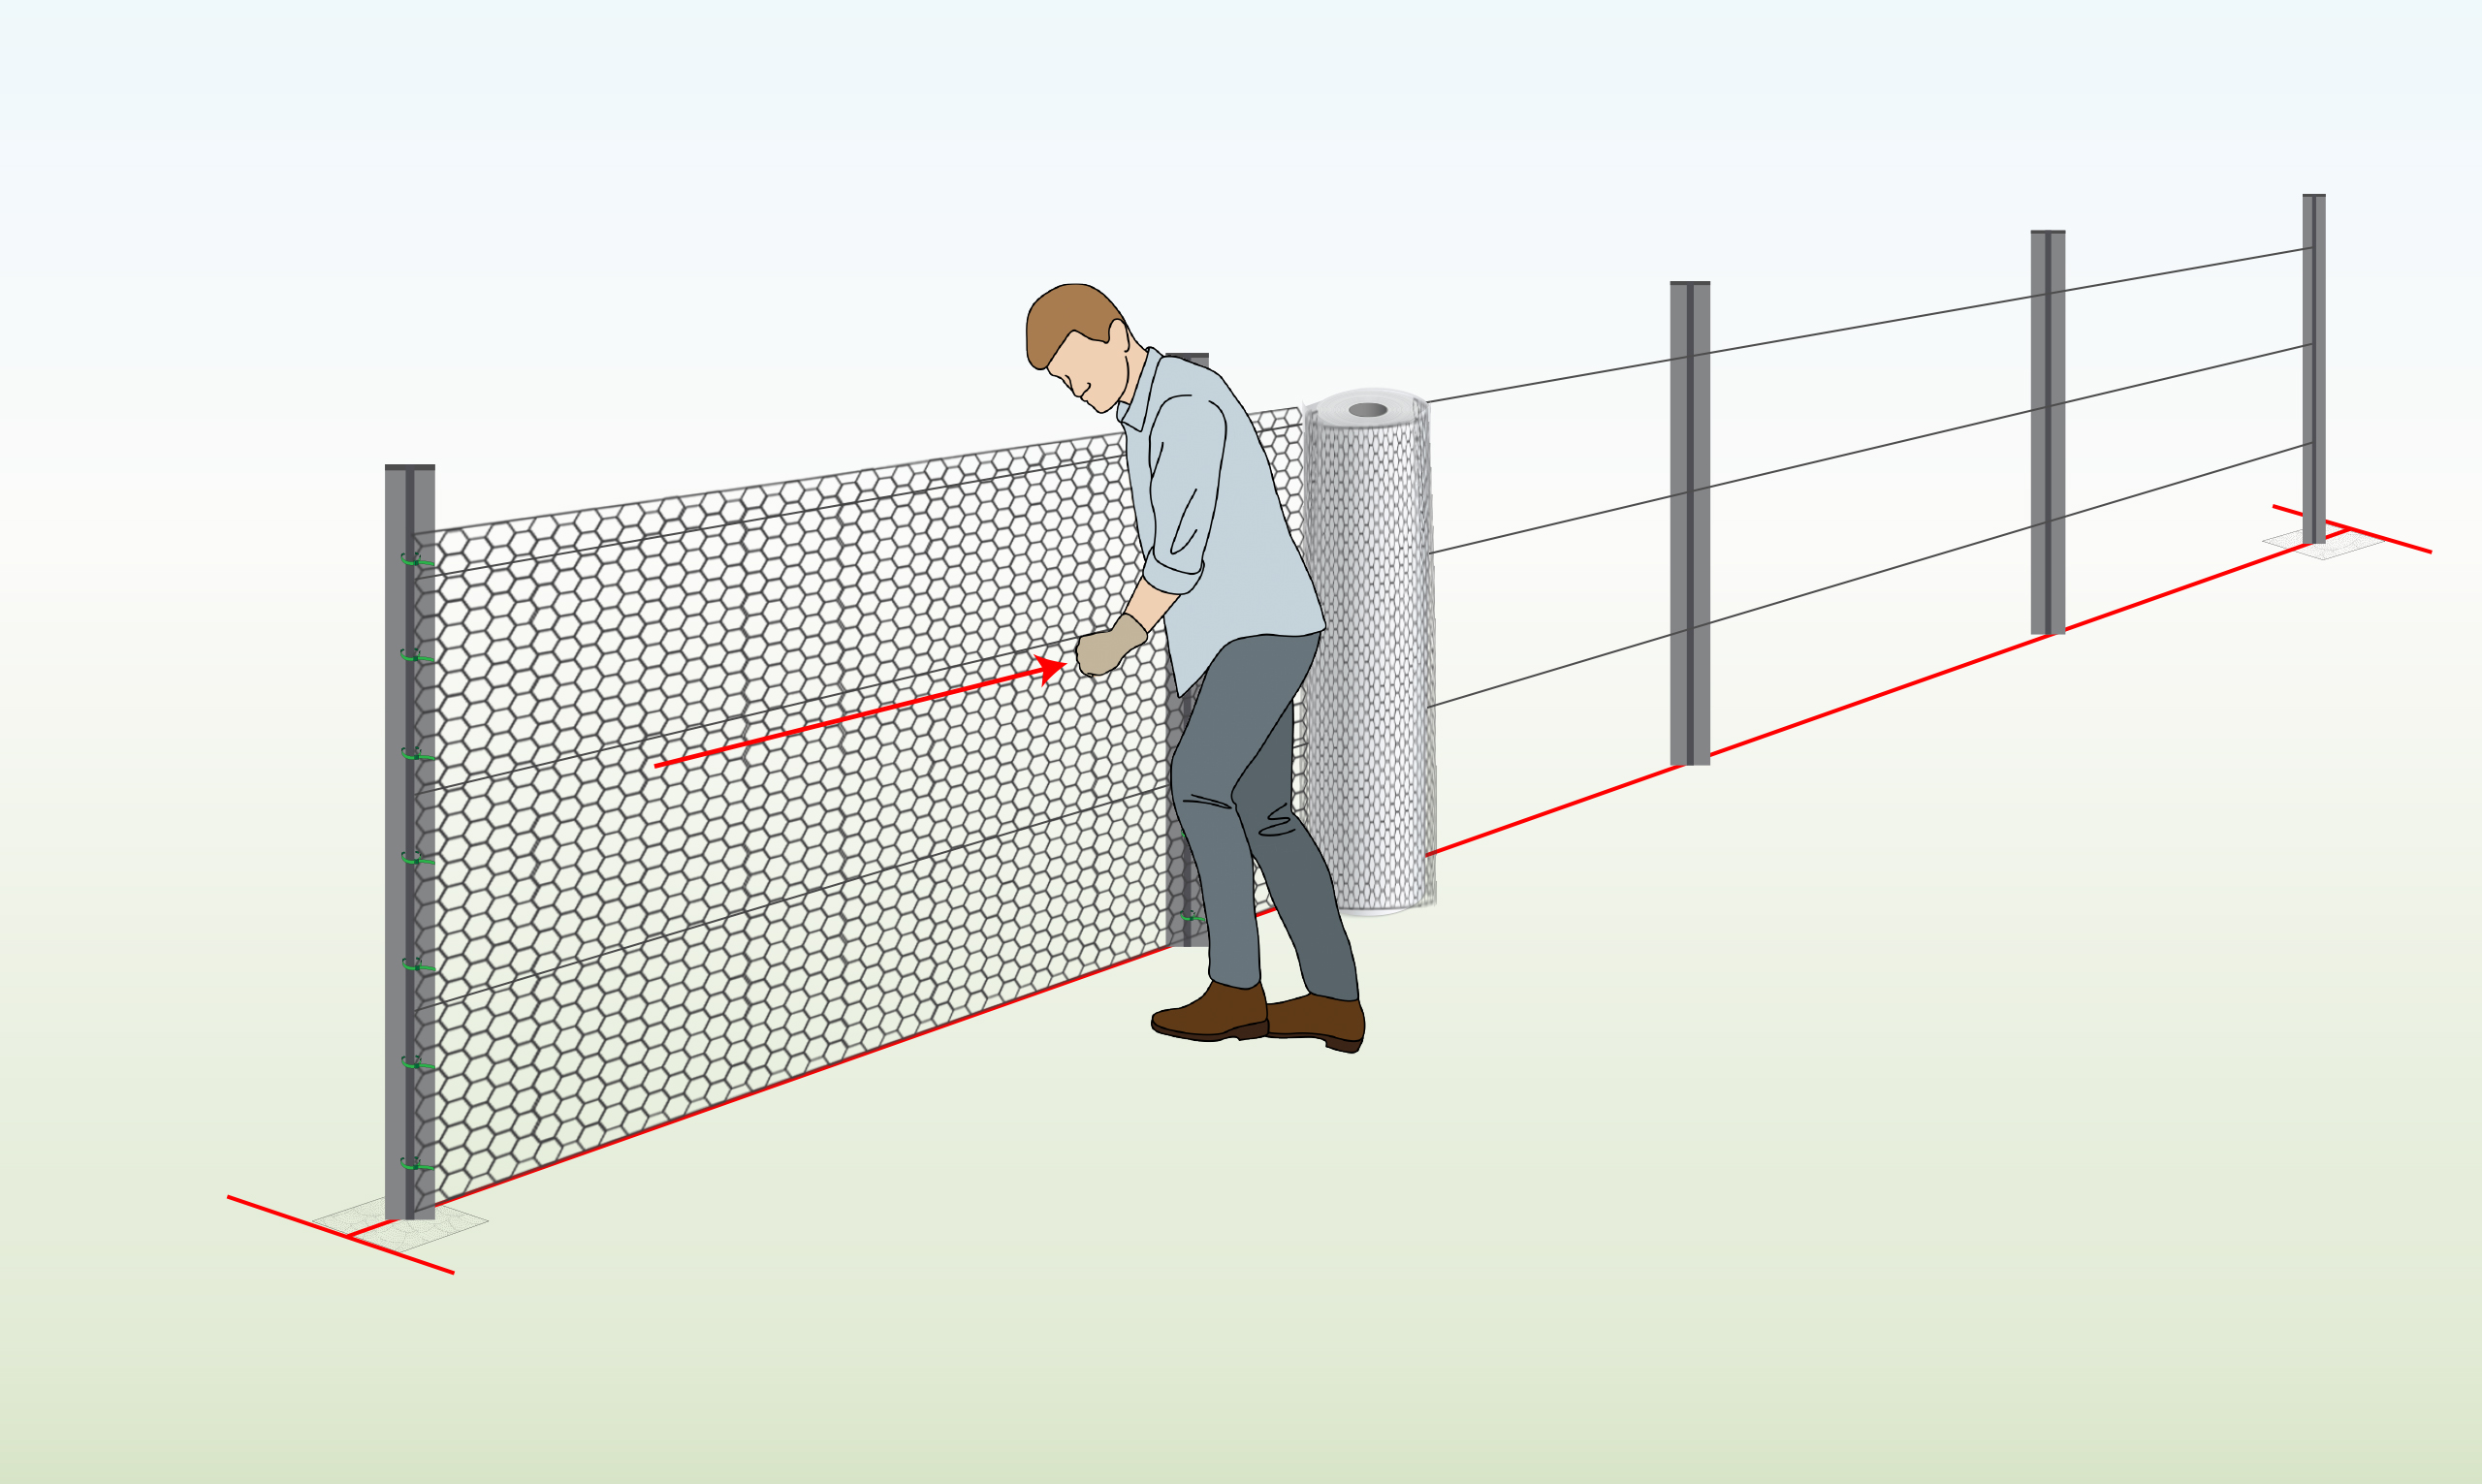
| Step 10 – Unroll
|
Unroll the mesh until you reach the second post. Pull to remove any slack, then attach with cable ties.
Continue until you reach the end post.
|
| Step 11 – Attach to Tension Wire (Optional)
|
Optional: If you have installed a tension wire, attach the mesh using cable ties at intervals of 30-45cm.
|

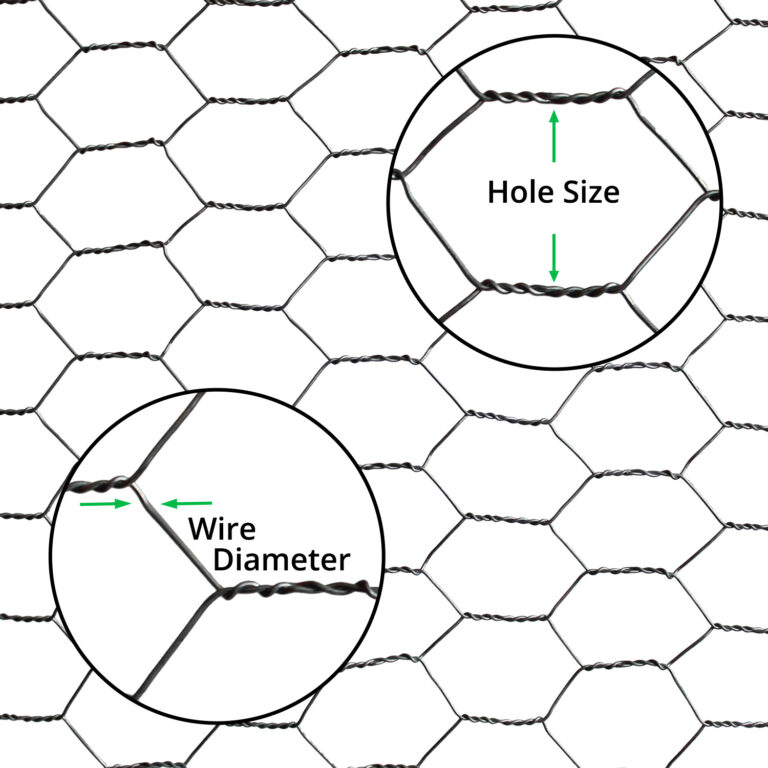
Gauges Explained
The diameter or thickness of the wire is referred to as the gauge (g.). The lower the gauge the thicker the wire.
Our chicken wire is available in:
- 18g. = 1.2mm dia.
- 19g. = 1mm dia.
- 20g. = 0.9mm dia.
- 22g. = 0.7mm dia.
FAQs
Can I use galvanised chicken mesh to protect my flowerbeds from digging animals and defecating cats?
Yes. We’d recommend the Premium option. Either attach it to posts and surround the flowerbed, or lie the netting flat on the soil and cover with dirt. Once detected by the animal it will likely stop digging.
How do I attach the mesh to my coop?
- Unravel the netting and use a pair of pliers/cutters to create the desired length.
- Wearing protective gloves, fold about an inch of the netting over at each end to avoid sharp edges that may harm your birds.
- Use a staple gun to attach the netting to posts, or to the outside of your coop.
Downloadable PDFs
Specification
- Economy Chicken Wire Specification
- Standard Chicken Wire Specification
- Super Chicken Wire Specification
Installation
Guides
- How to Paint Chicken Wire
- How to Make Tomato Cages From Chicken Wire
- How to Make Chicken Wire Ghost Figures
- How to Make Topiary Frames with Chicken Wire
- How to Make Flower Vase with Paper Mache
- How To Attach Chicken Wire to Wood Frame
- How to Make Picture Frames with Chicken Wire
- How to Make a Christmas Light Ball With Chicken Wire
- How to Use Chicken Wire in Flower Arrangements
- How to Make a Jewelry Holder with Chicken Wire
- How to Build a Cat Enclosure with Chicken Wire