45cm (1.5ft)
45cm (1.5ft)
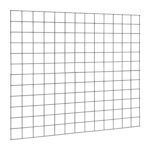
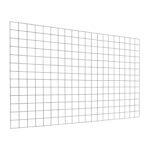
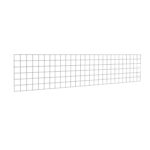
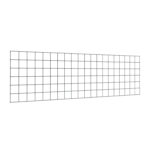
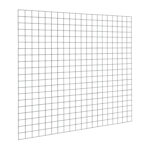
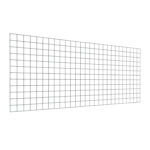
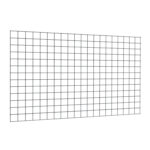
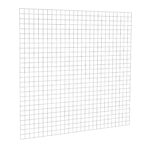
75mm x 75mm
3mm (10g)
£6.99 inc. VAT
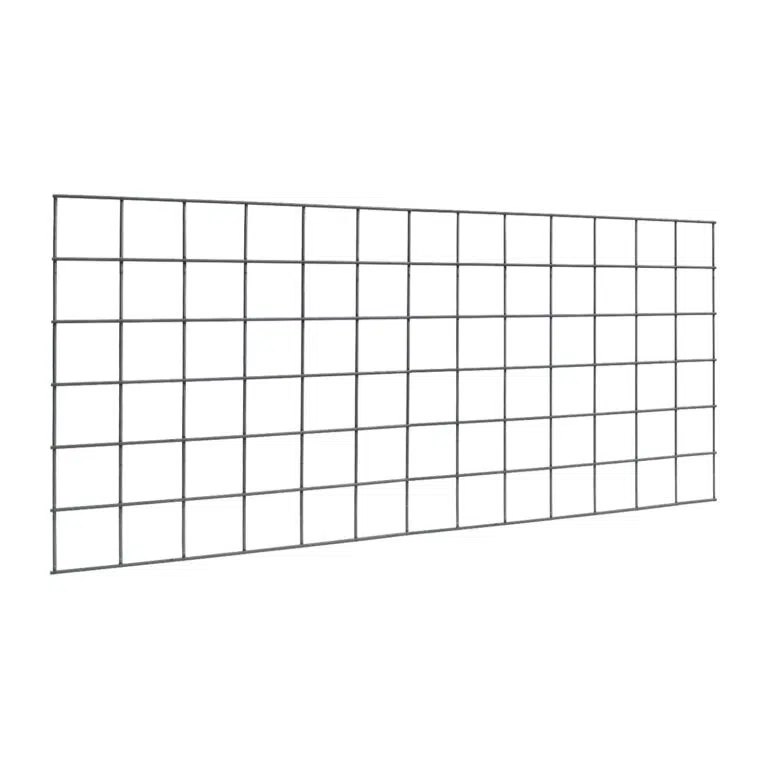


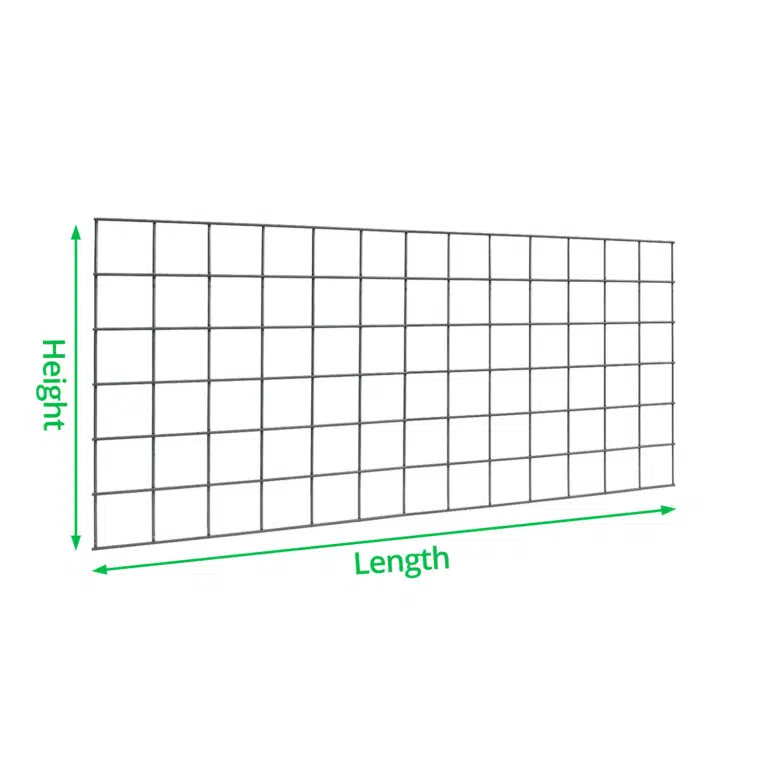


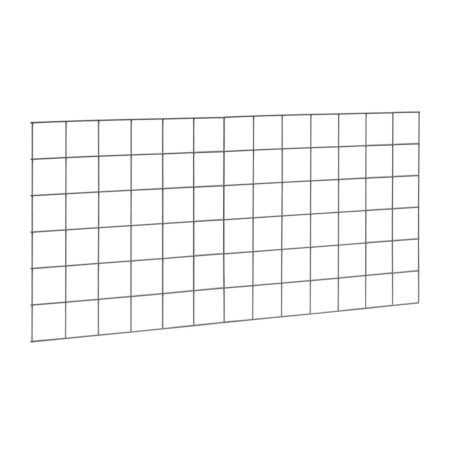
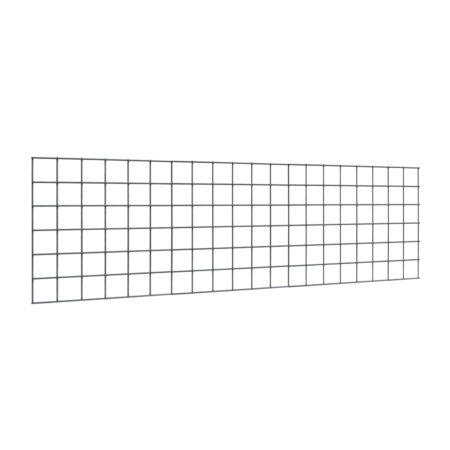
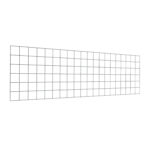
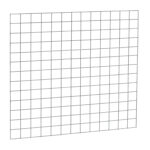
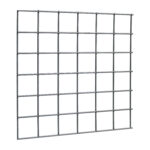
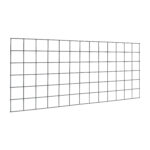
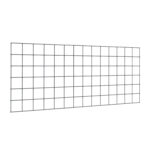
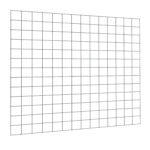
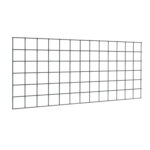
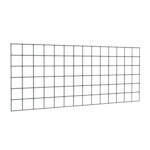
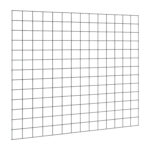
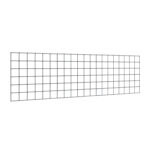
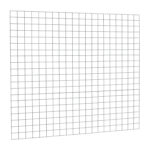
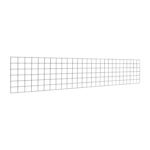
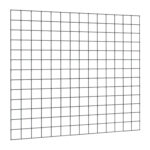
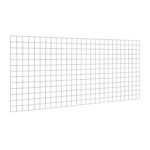
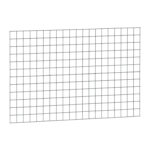
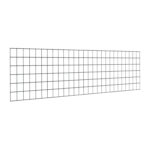
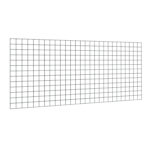
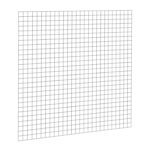
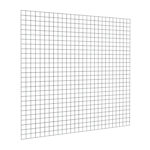
Galfan coated welded mesh panels with 75mm x 75mm holes. They are equivalent to being triple galvanised so these panels are highly corrosion resistant. Used for multiple applications from security fencing to dog fencing.
We advise you order a minimum quantity of x3 panels to prevent damage during transit.


| Grey Galfan Coated | |||
| 3mm Wire Diameter | 4mm Wire Diameter | 5mm Wire Diameter | |
| Fencing | |||
| Security fencing | Yes – Security fencing starts at 2.5mm | ||
| Perimeter fencing | Yes – for commercial uses we suggest 4 or 5mm thick wire | ||
| Garden fencing | |||
| Animal enclosures | |||
| Dog runs / pens | Yes – traditional dog fencing is 3mm. Suitable for medium to large dogs | ||
| Zoo / large animal enclosures | |||
| Deer Fencing | |||
| Chicken coops | No – Chicken wire holes should be at least 50mm x 50mm | ||
| Fox Proofing | No – Fox fencing should have 50mm x 50mm holes | ||
| Badger Proofing | No – Badger mesh should have 50mm x 50mm holes | ||
| Rabbit Proofing | No – Rabbit mesh should have 31mm x 31mm hole size | ||
| Cat runs | No – Cat mesh should have 25mm x 25mm hole size | ||
| Aviaries | No – Aviary mesh should have 13mm x 13mm hole size | ||
| Garden and landscaping | |||
| Garden Trellis | |||
| Pond Cover | Yes – although the hole sizes for pond protection vary. Please check the size required first | ||
| Handling | |||
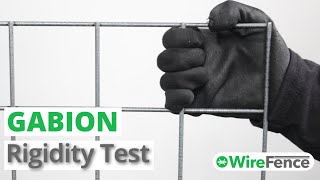
| Is it rigid? | |||
| Can it be rolled up? | |||
| General | |||
| Delivered as | Panels are cable tied together then shrink wrapped | ||
| Minimum order | We advise you order a minimum quantity of x3 panels to prevent damage during transit. | ||
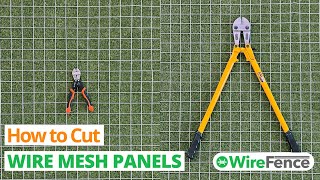
| Can wires be cut | Yes – with a bolt cutter | ||
| Made in UK | Yes | ||
| Conforms to British manufacturing standard | BS EN 10223-8:2013 | ||
| Certificate of conformity | Yes – upon request | ||
| Construction | |||
| Mesh Hole Size | 75mm x 75mm | ||
| Mesh Material | Galfan coated steel | ||
| Mesh Construction | Welded | ||
| Strength and environment | |||
| Tensile strength range | 540-770 N/mm² | ||
| Corrosion resistance | Yes, conforms to British standard BS EN 10244-2:2009 | ||
| Abrasion resistance | Conforms to EN 60229:2008 | ||
| Life Expectancy | 50 – 100 years | ||
| Suited to Environments | C2 – C4 | C2 – C4 | C2 – C4 |
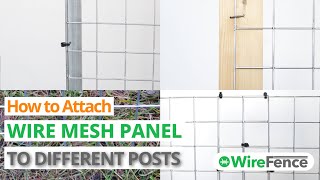
| Attach to: | With: |
| Wooden Posts | Cable ties, Staples |
| Metal Posts | Cable ties, Tying wire |
| Wire Fence | Cable ties, Tying wire |
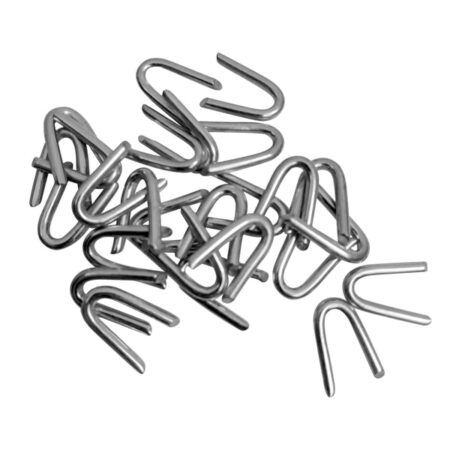
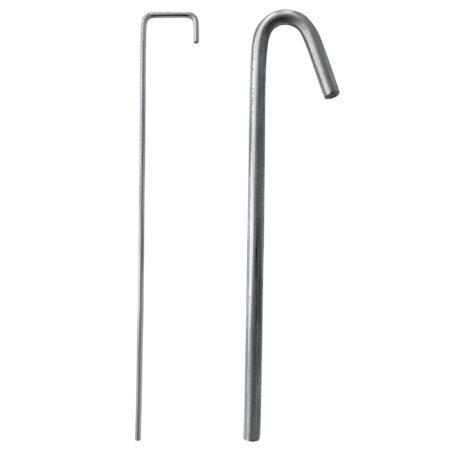
| Soil | Pegs |
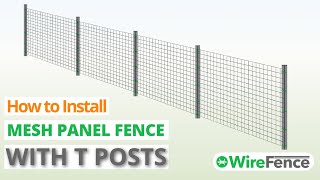
The following instructions show how to install a panel fence using T Posts.
| To Do | Explanation |
| Step 1 – Mark Area
|
Mark a straight line for the fence between the two end posts. |
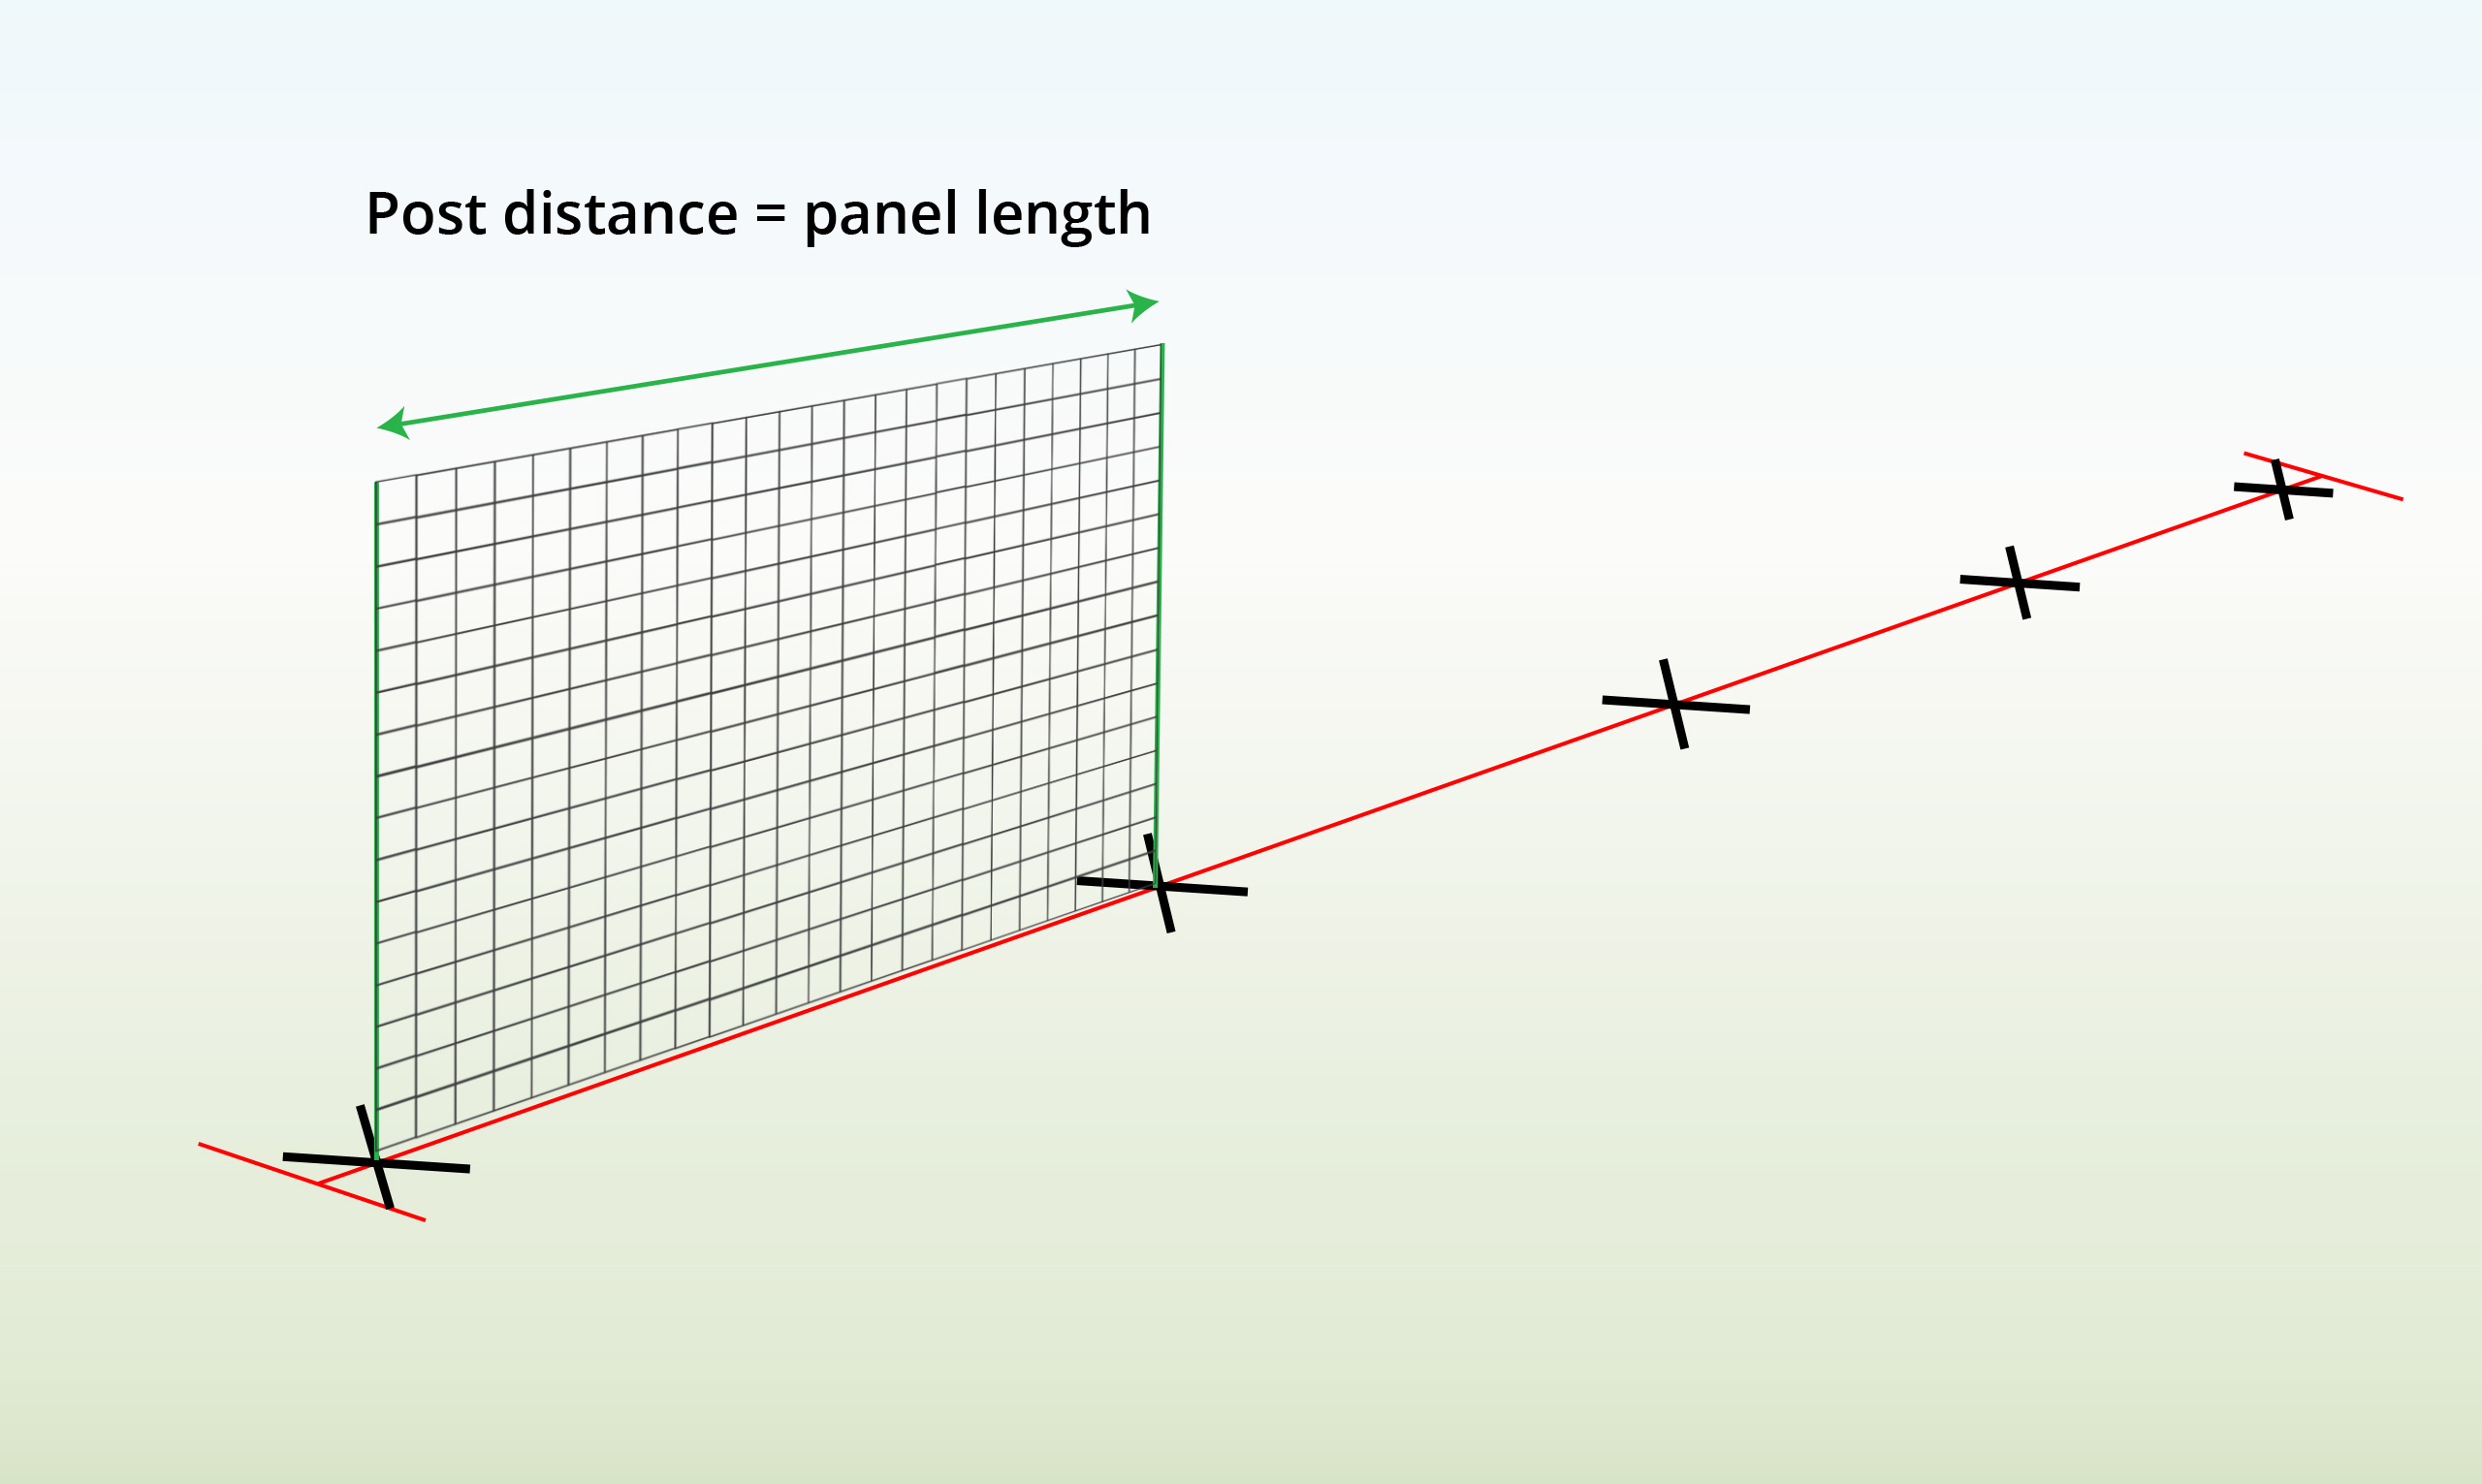
| Step 2 – Measure Distance
|
Use panels to measure the distance between the posts. |
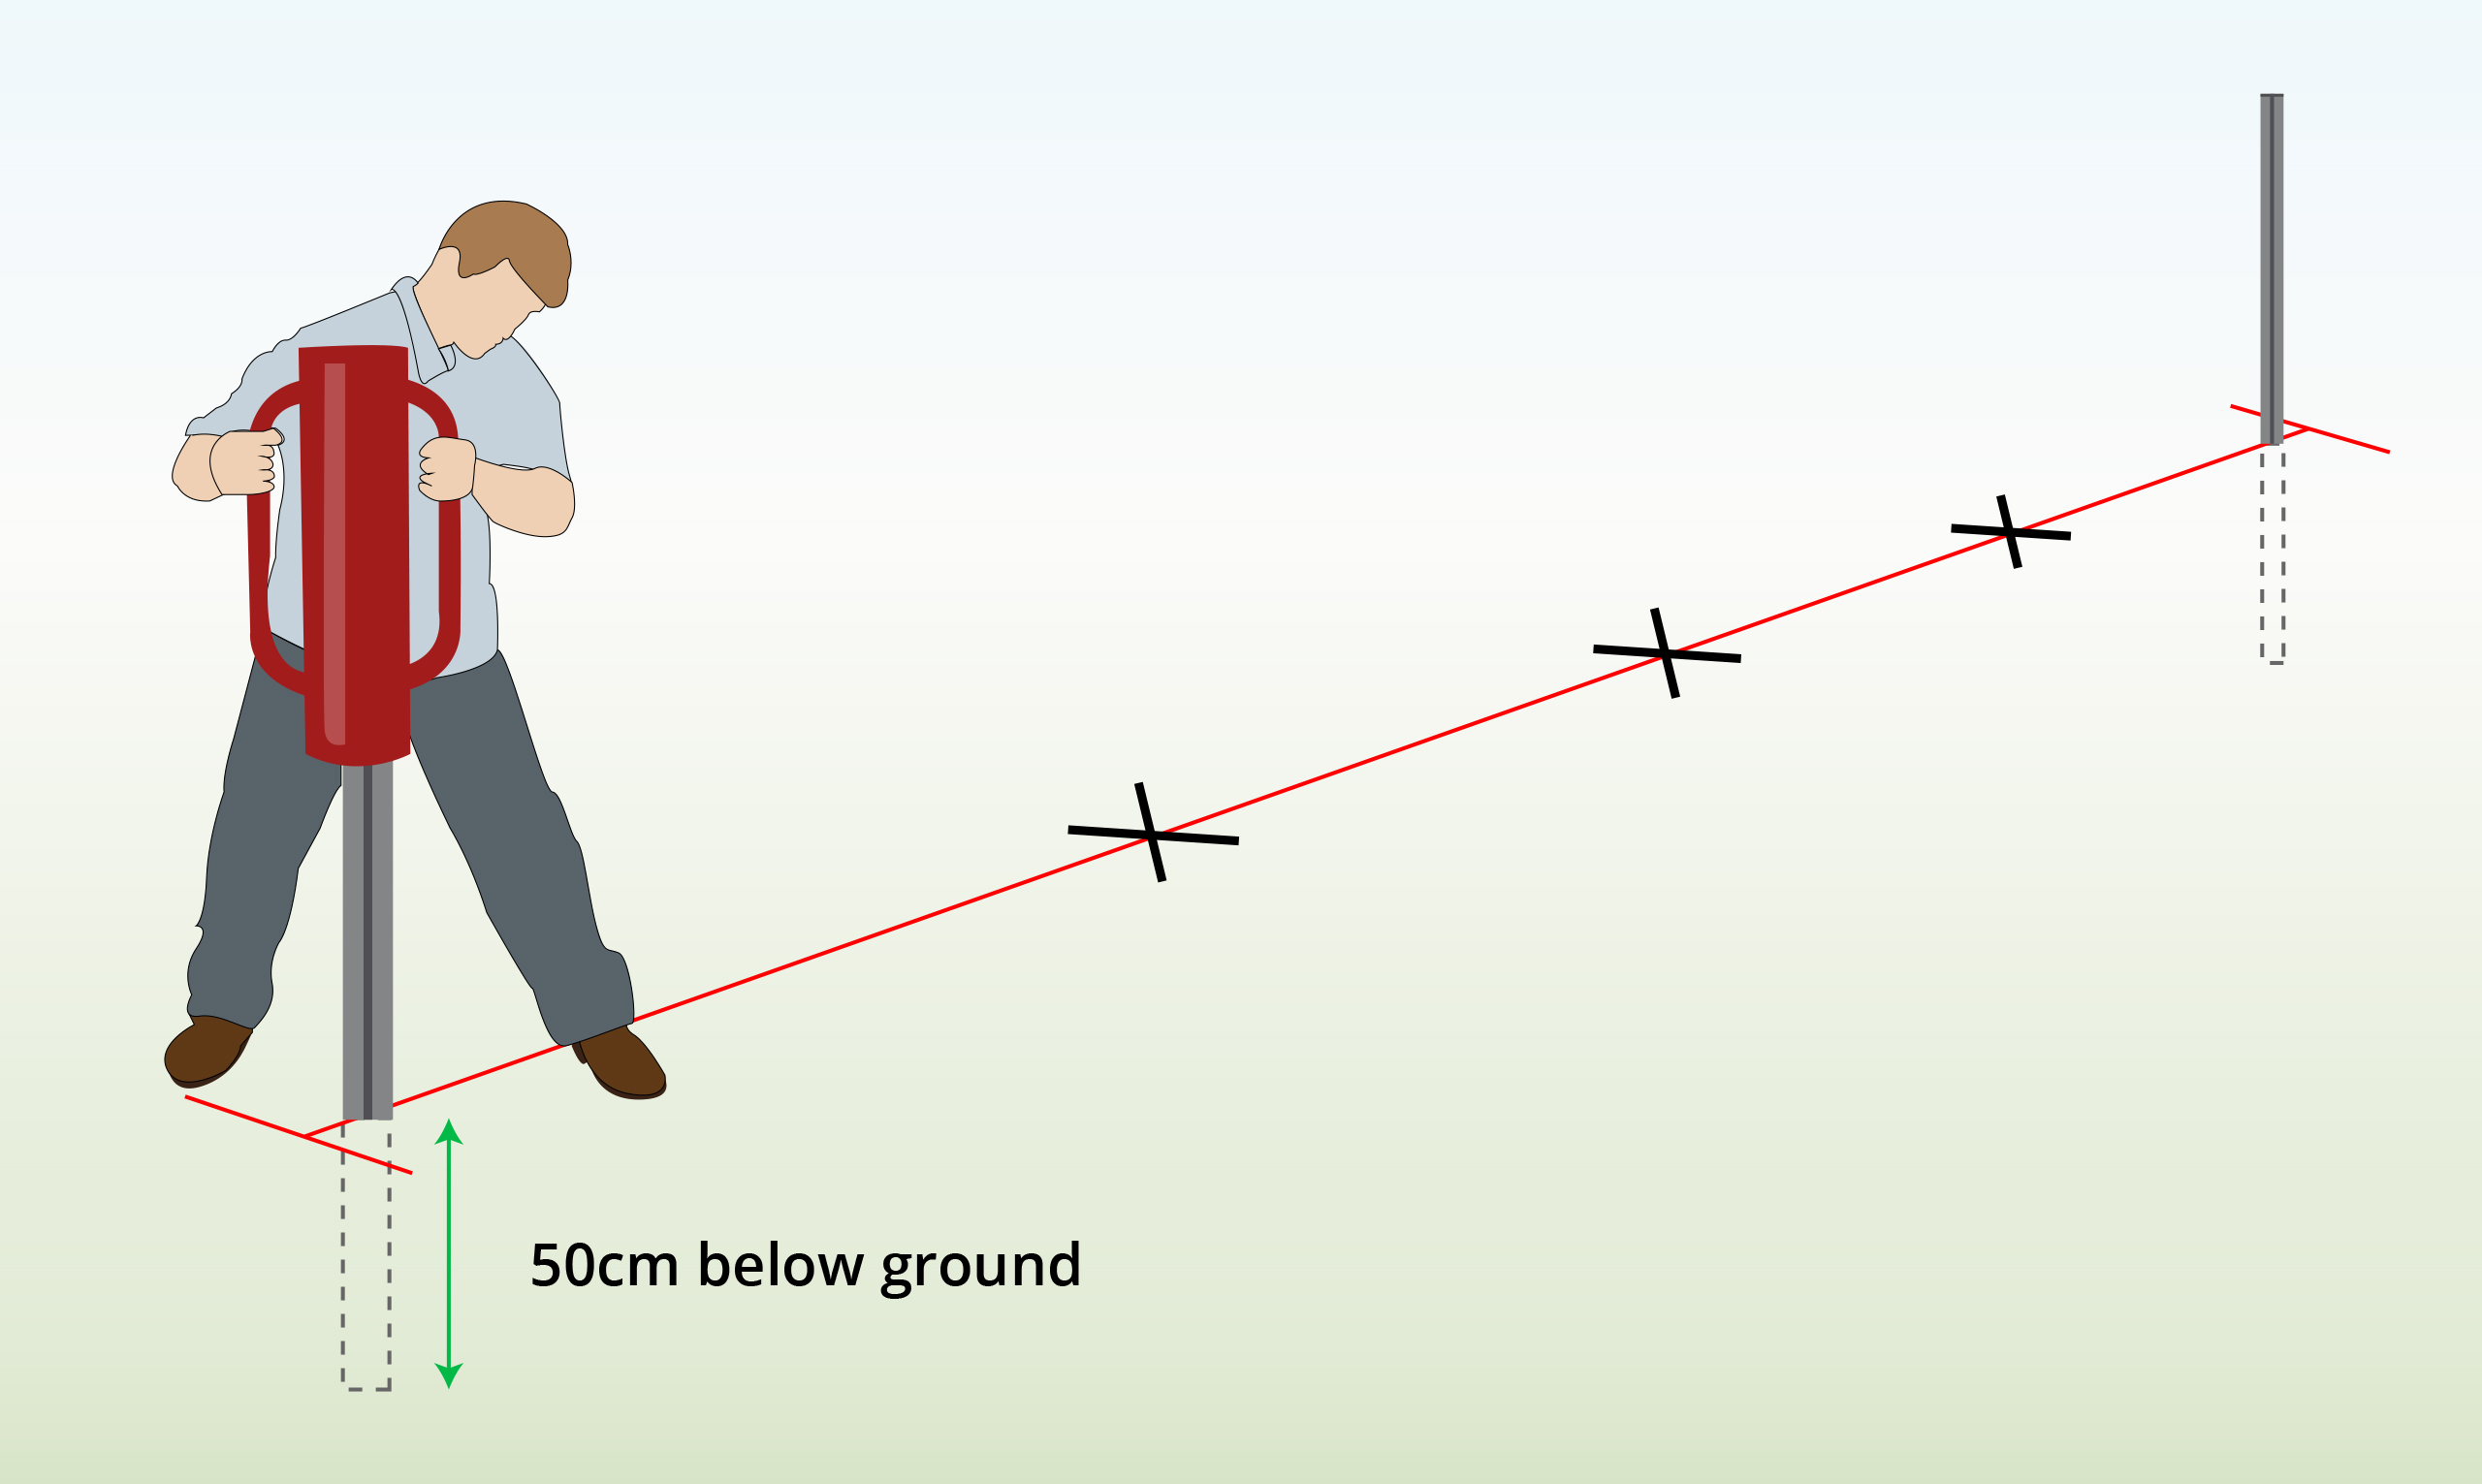
| Step 3 – Install End Posts
|
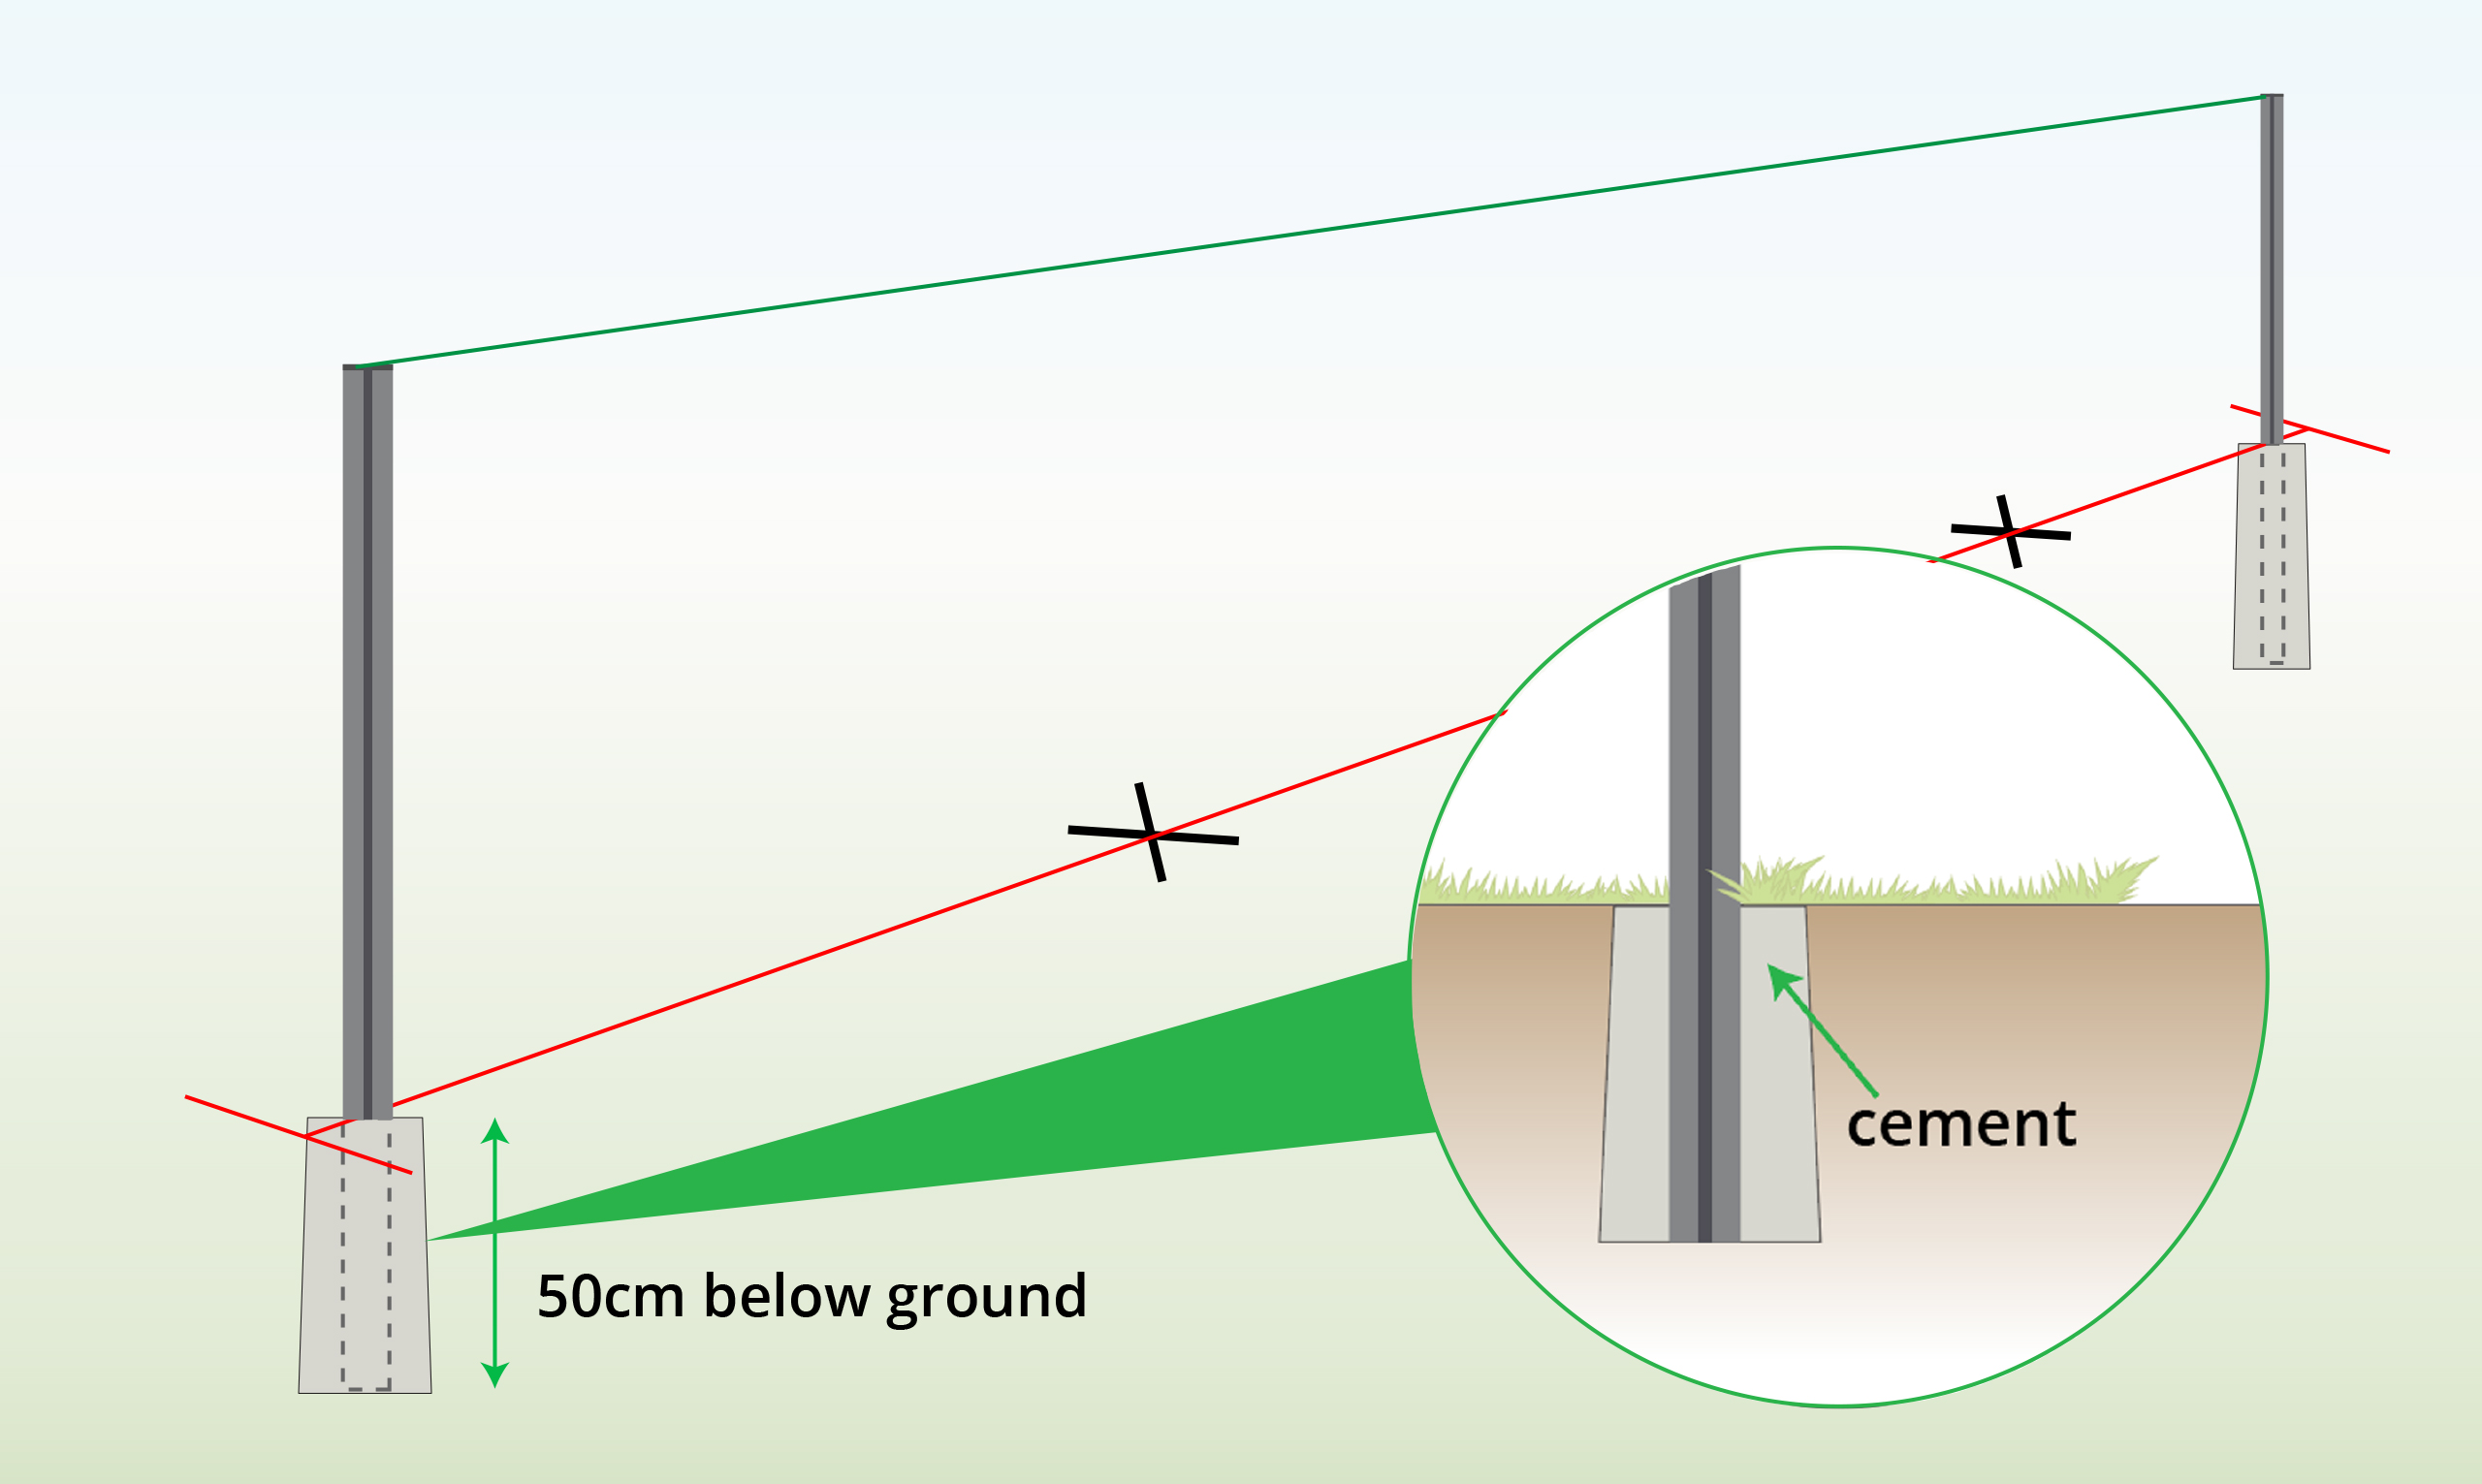
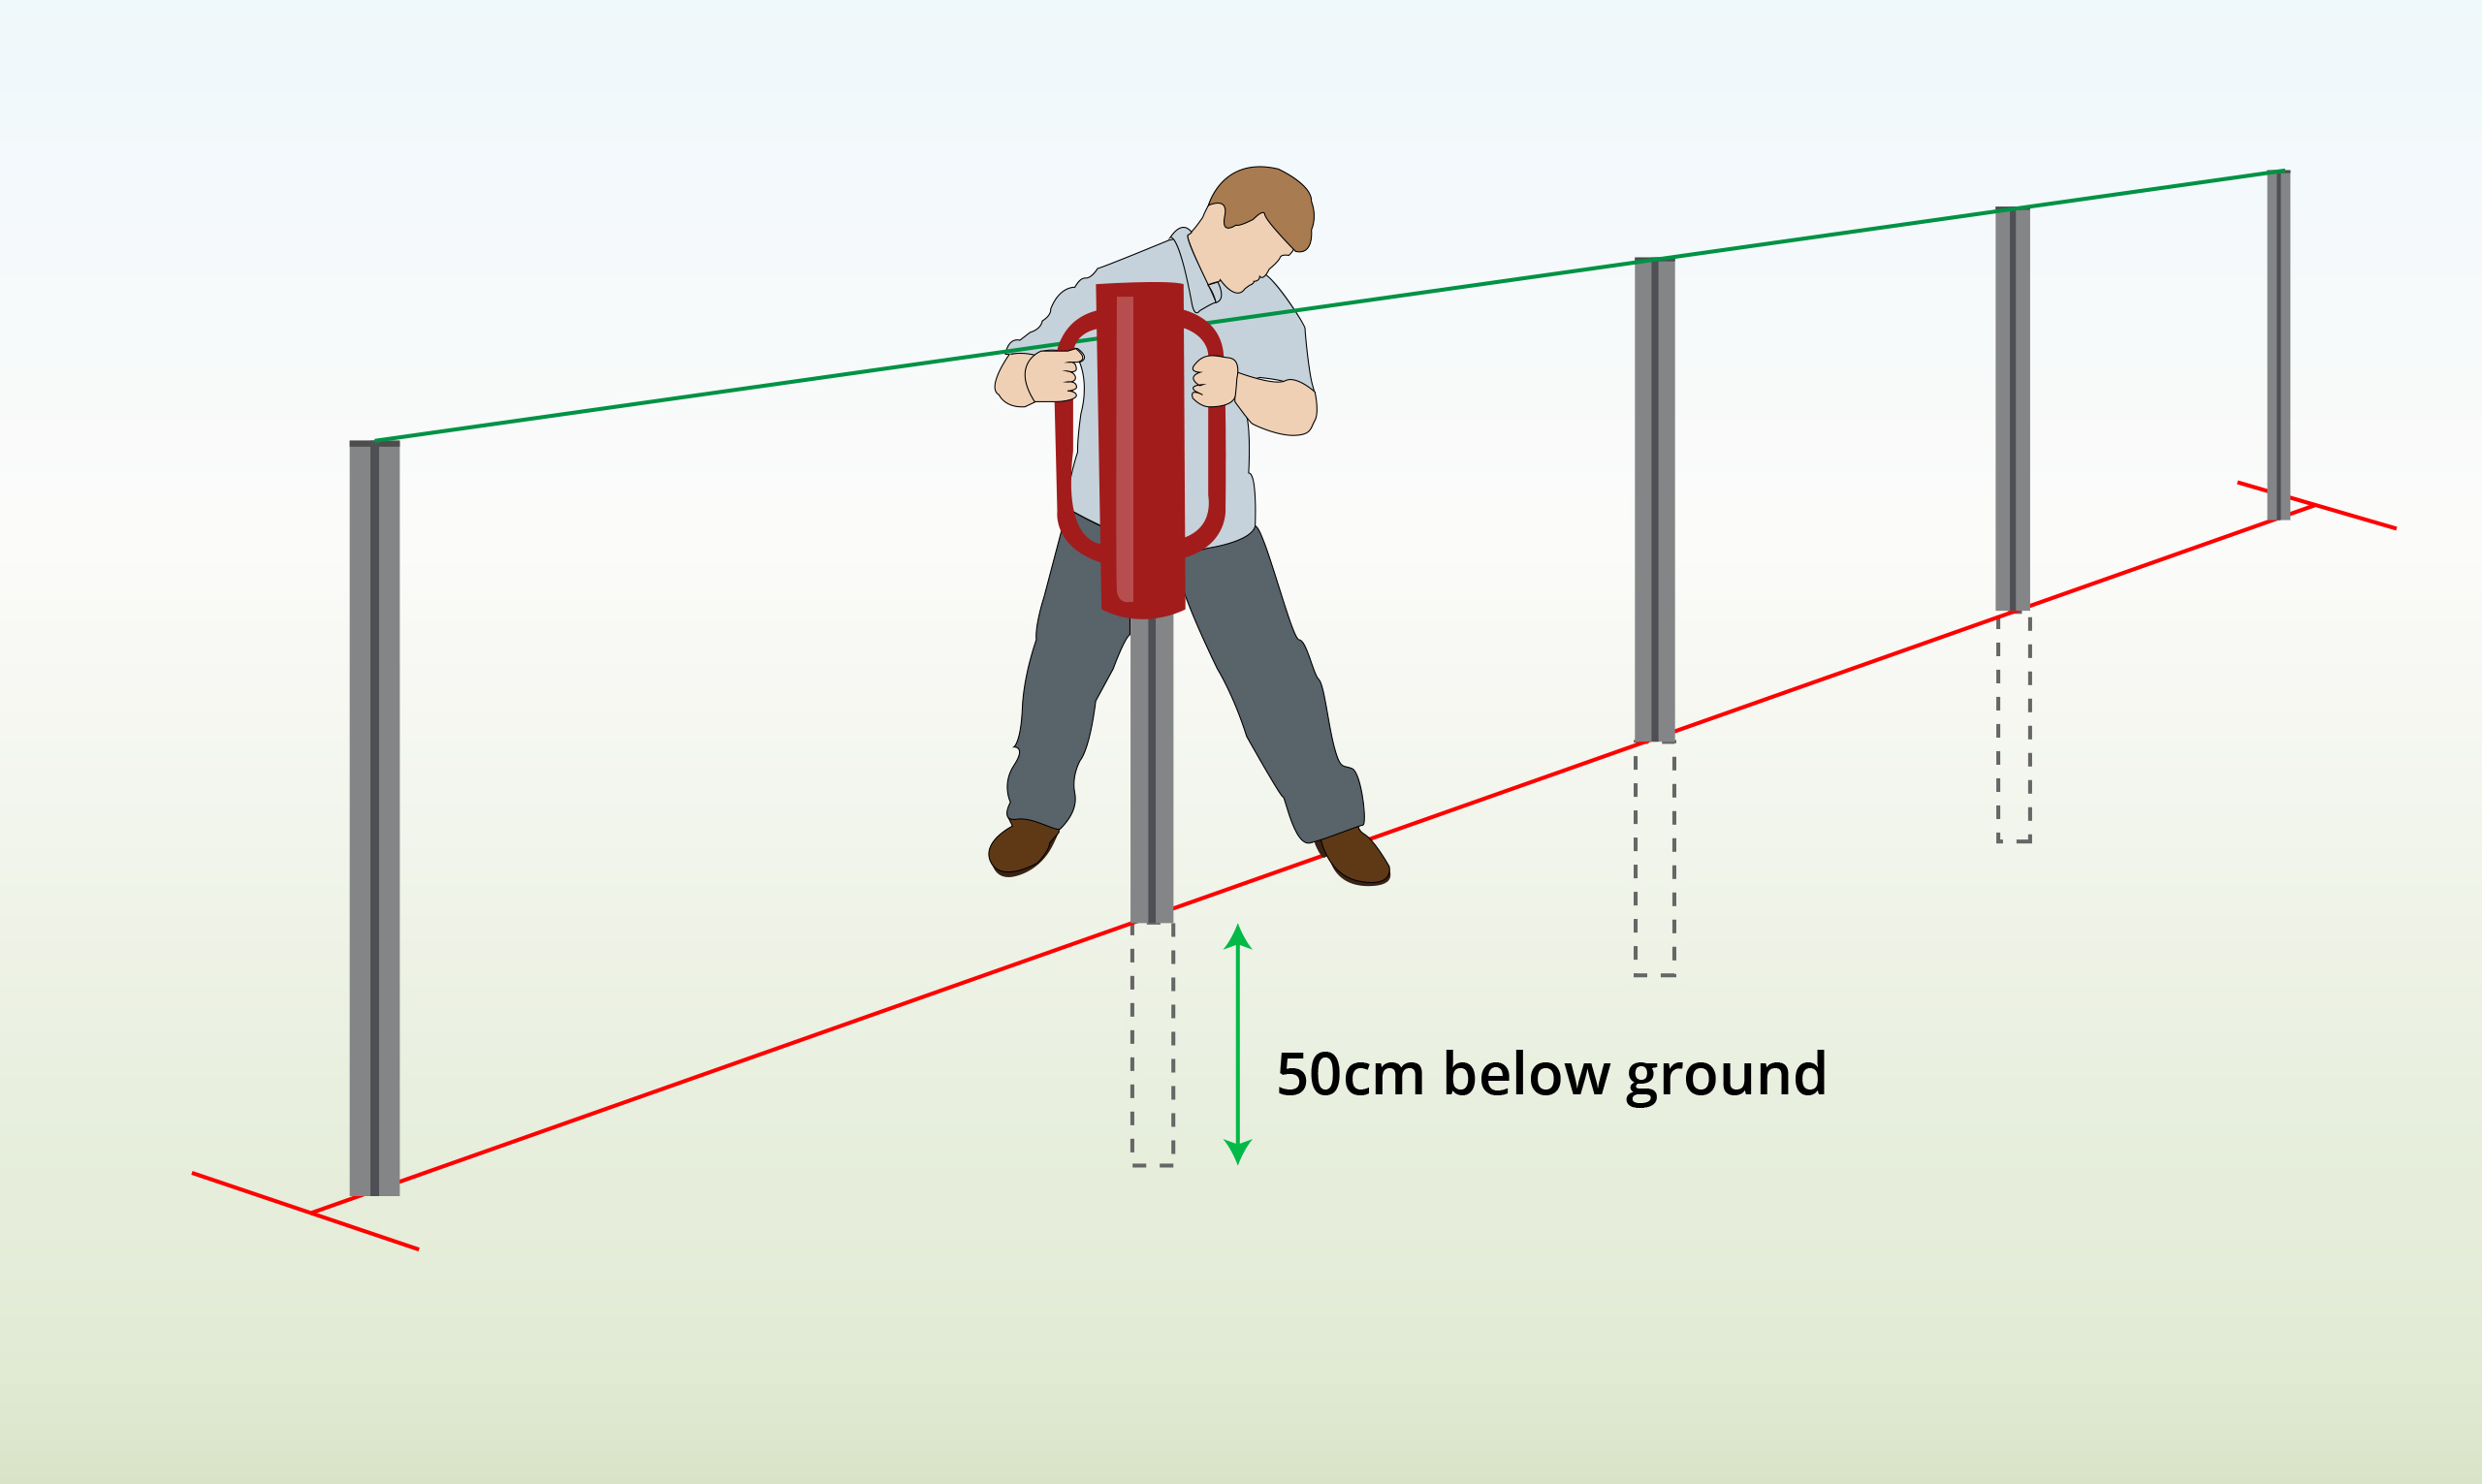
Drive the end posts 50cm into the ground using a post driver or mallet.
Ensure the posts face in the same direction. |
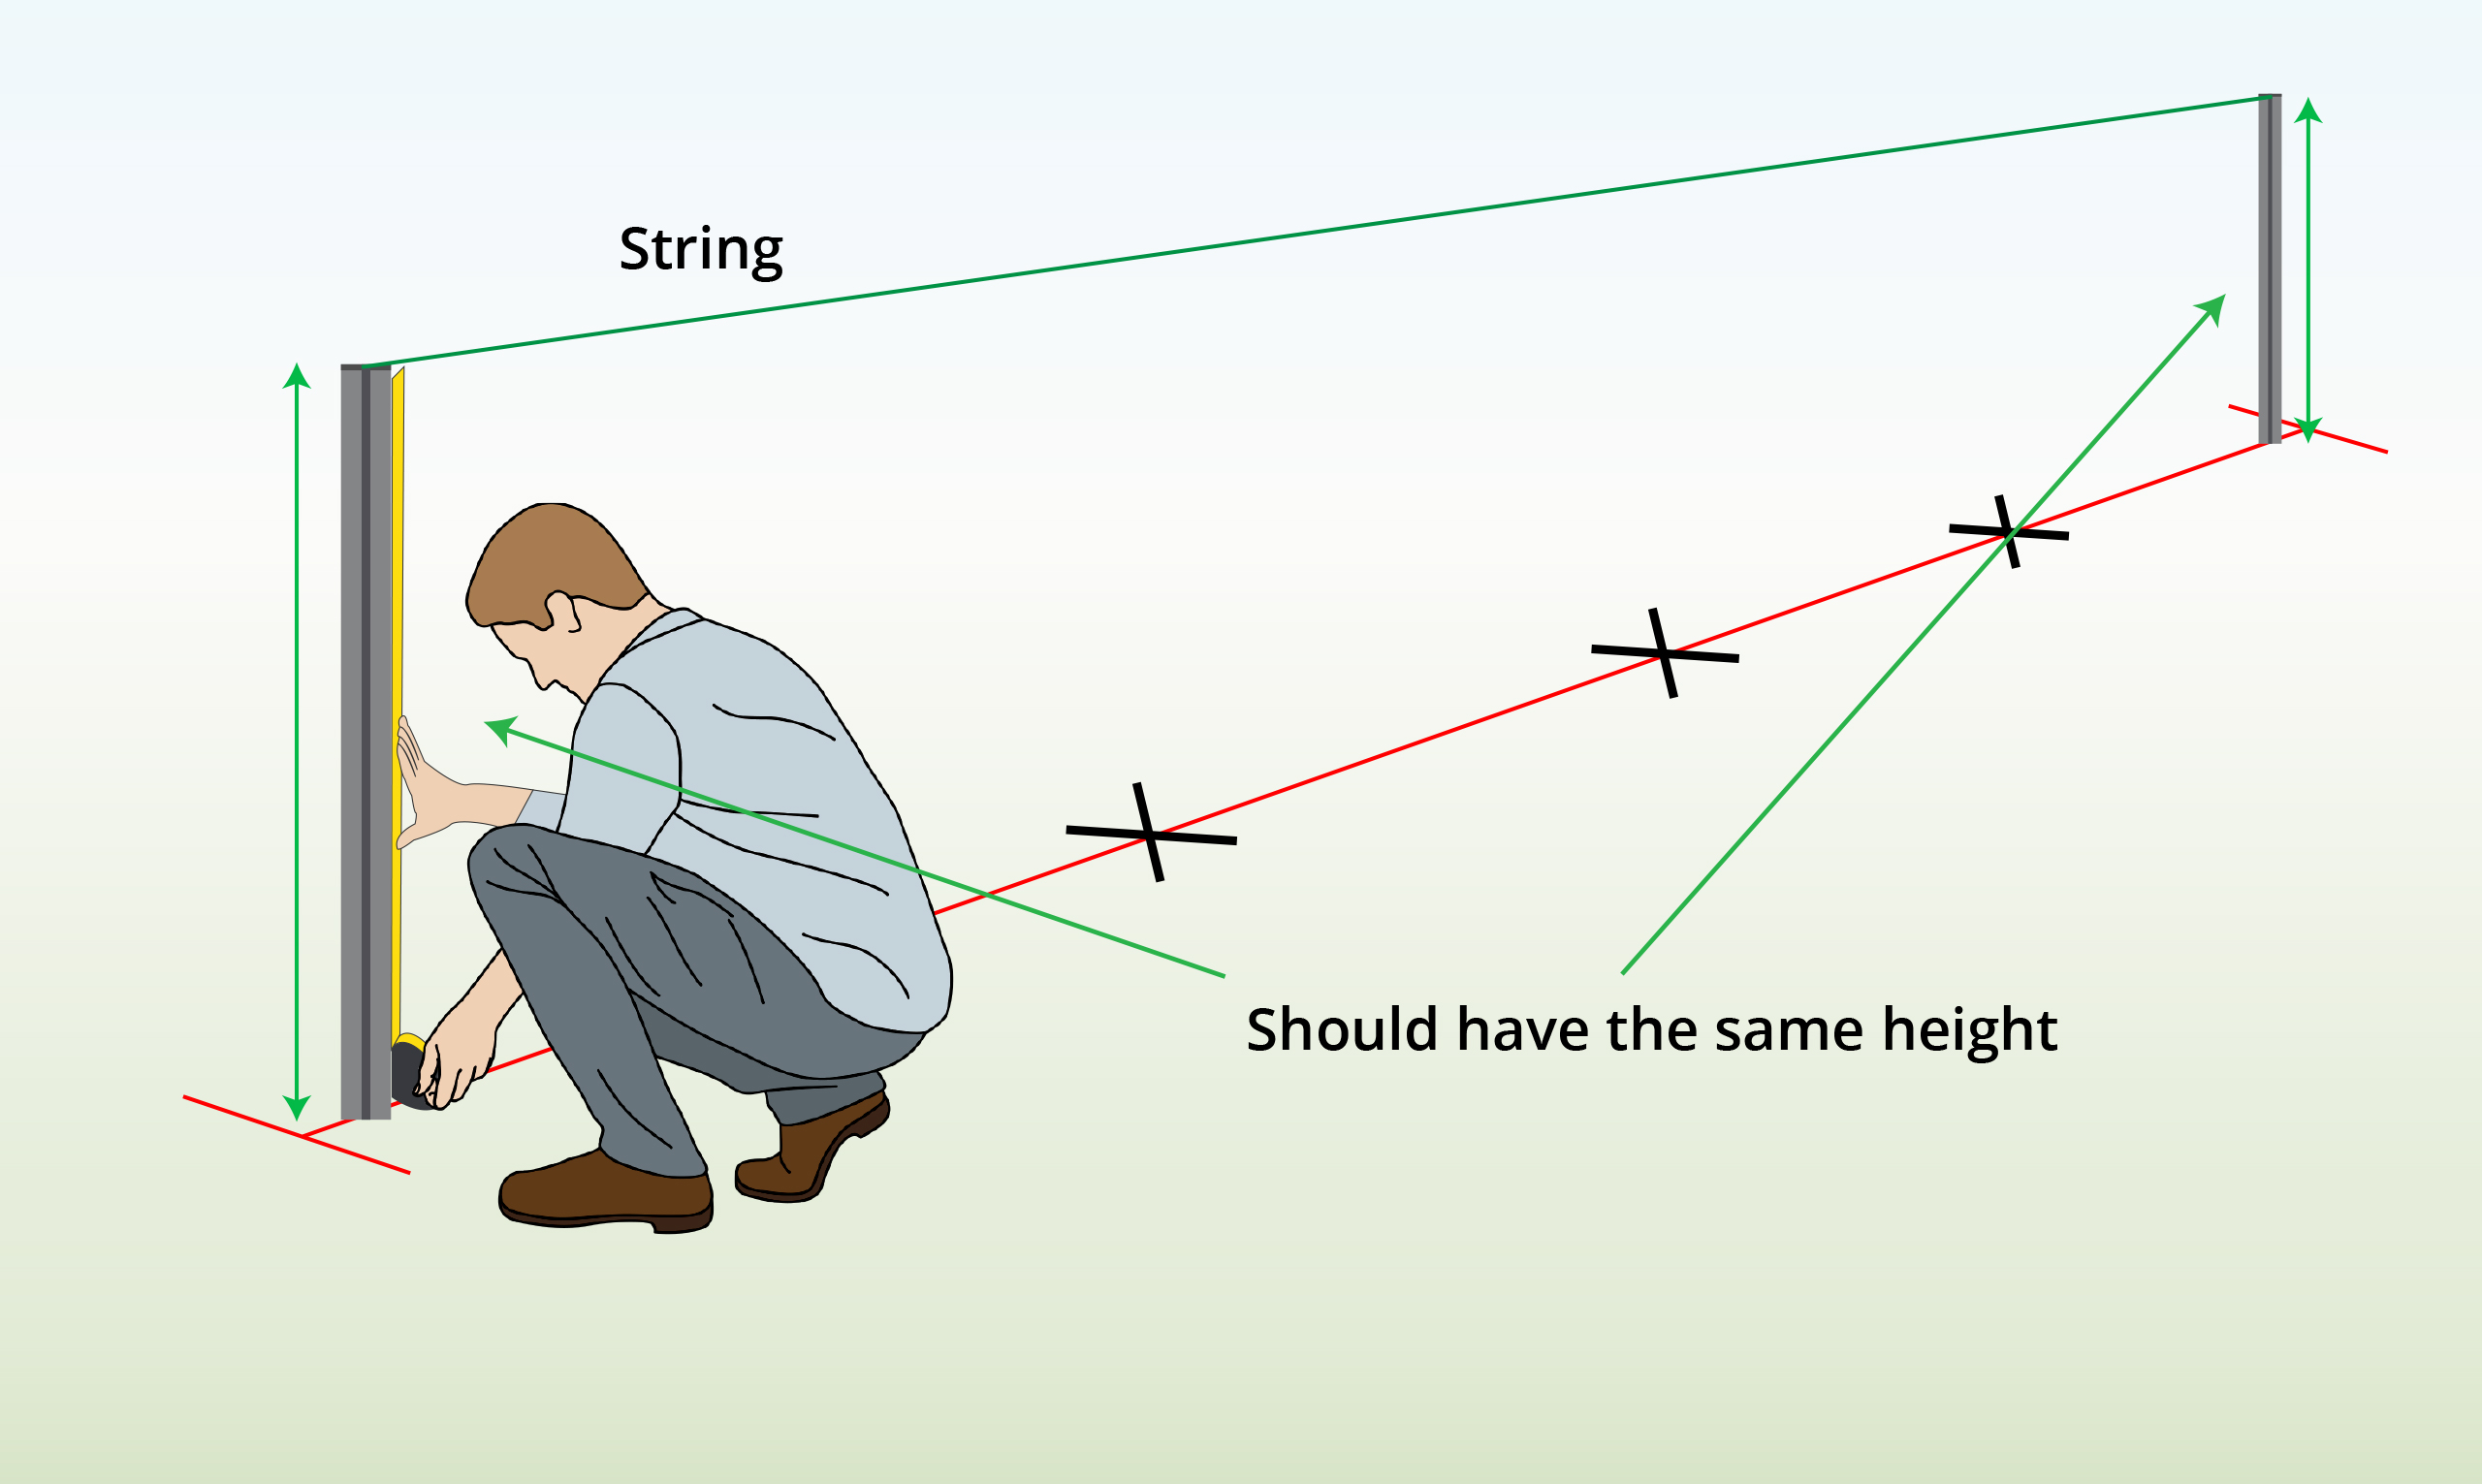
| Step 4 – Check for Same Height
|
Secure a string between the end posts, then check their installation height with a tape measure. |
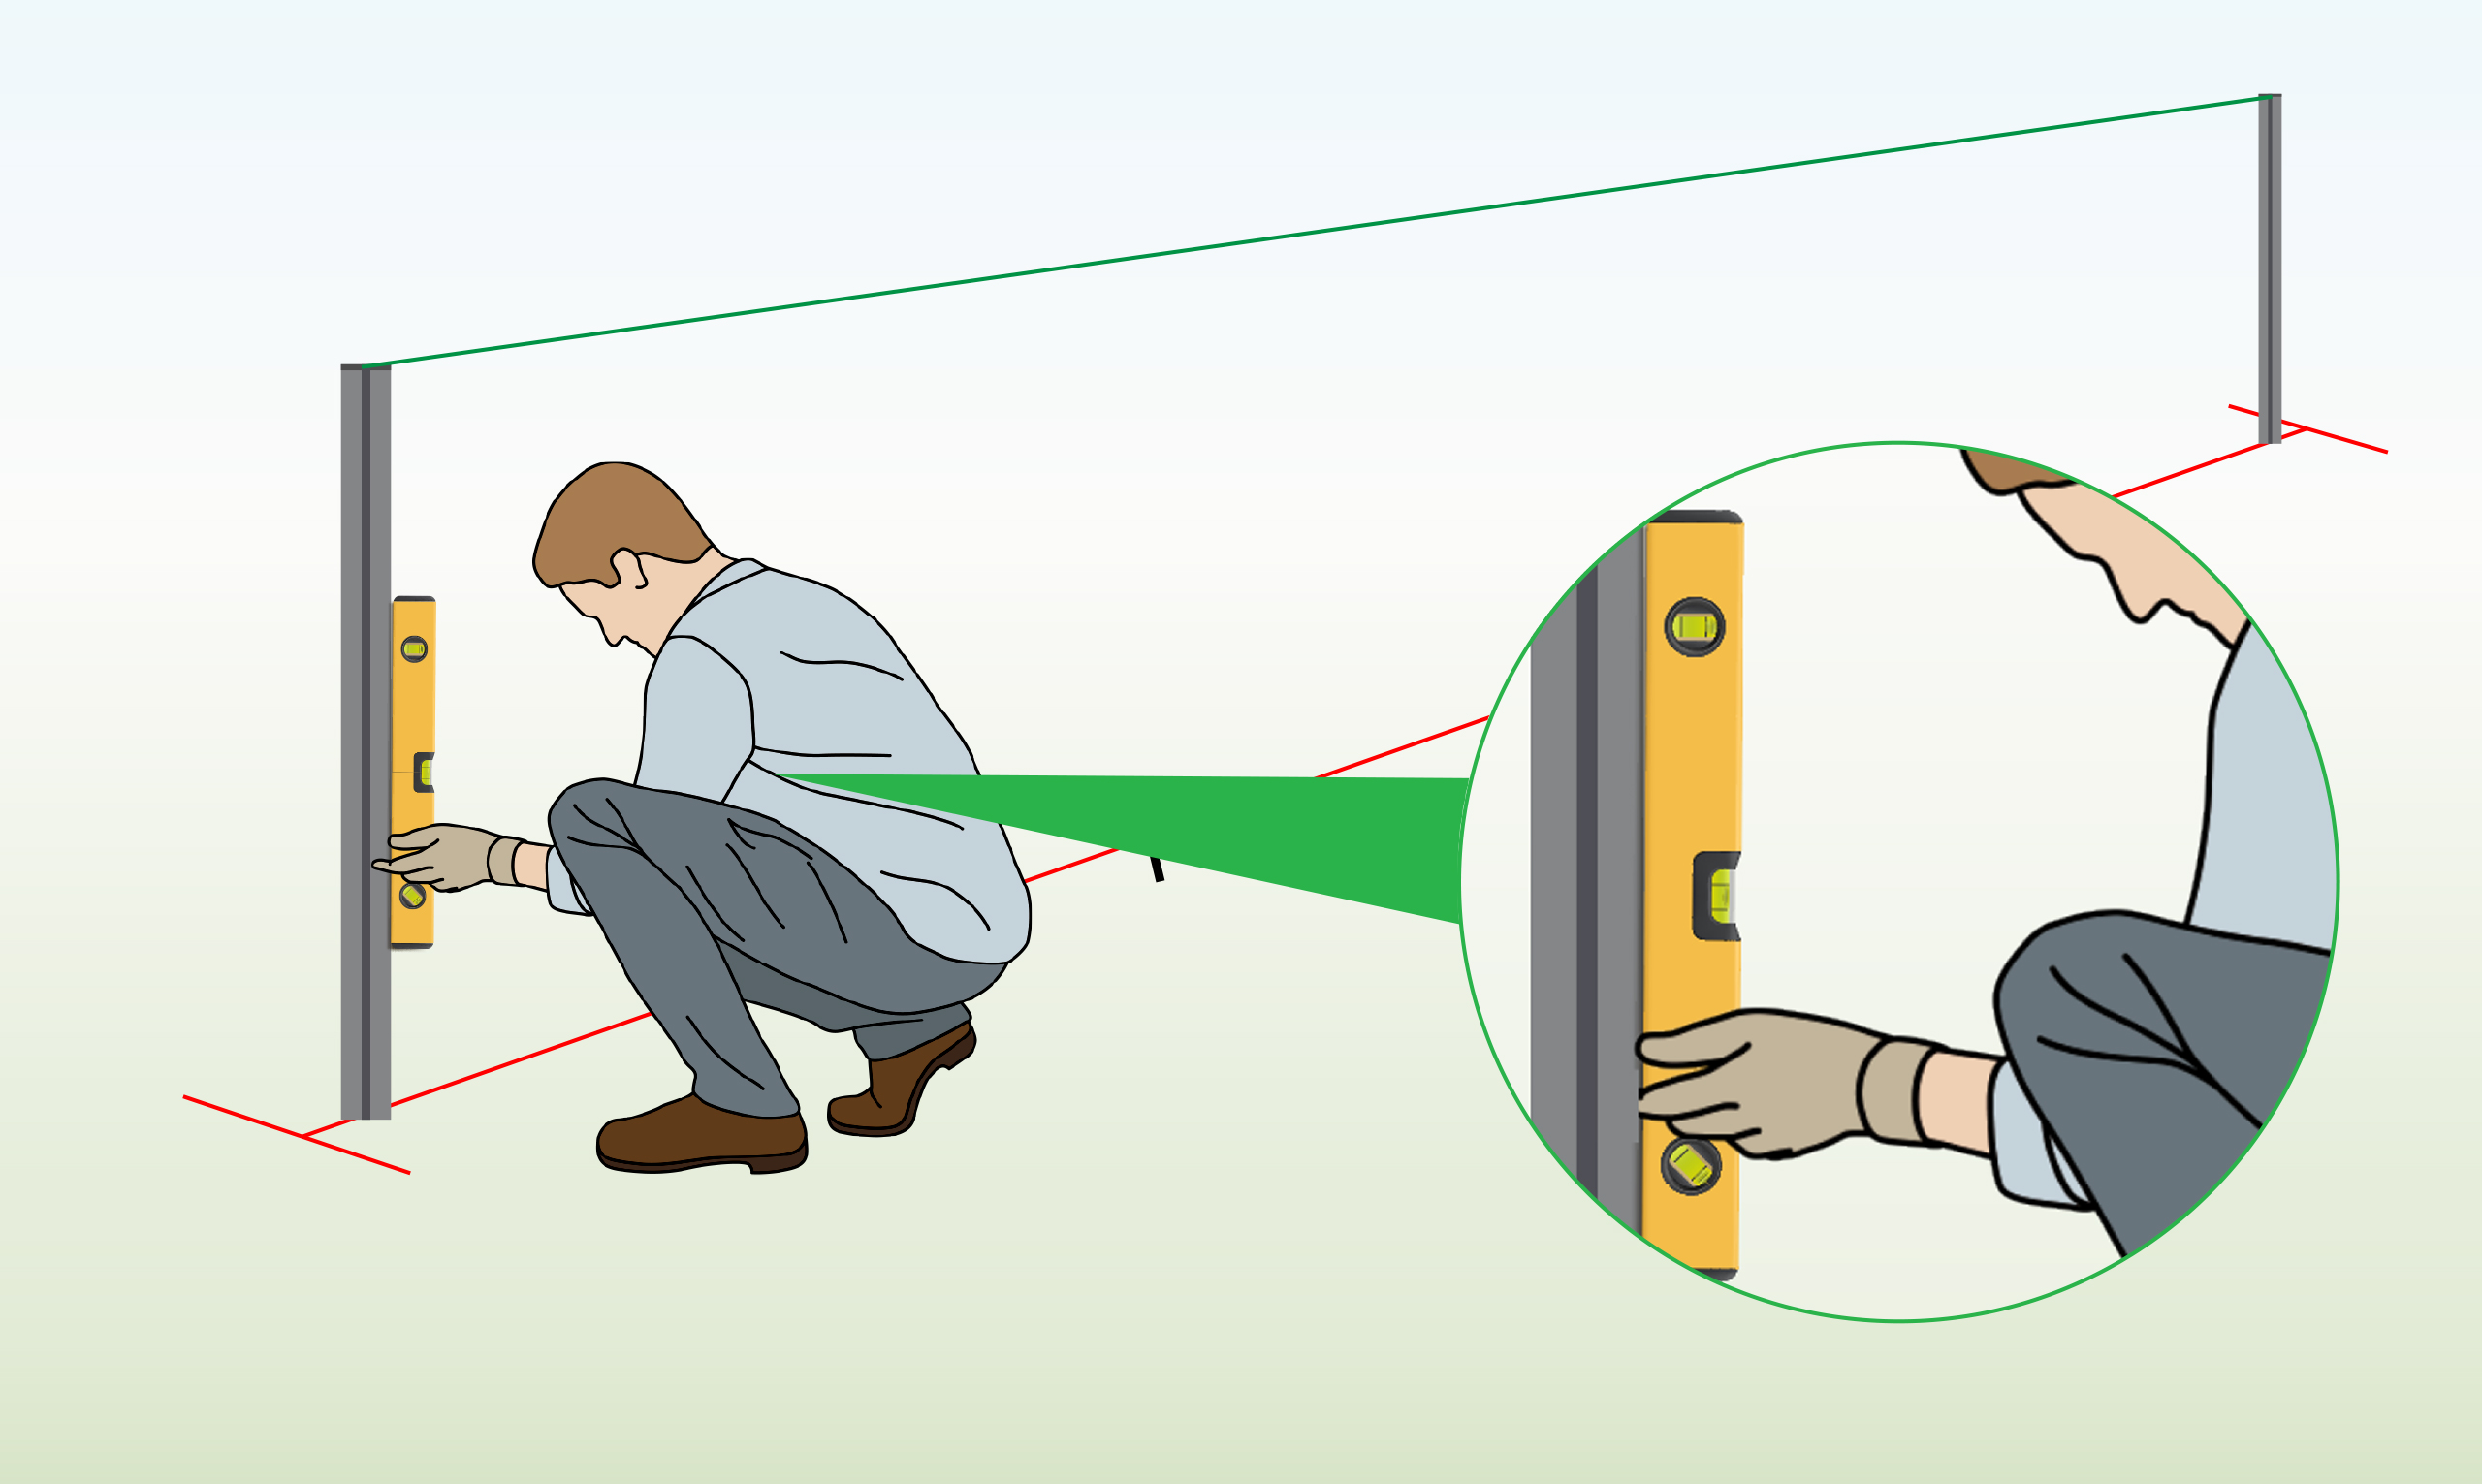
| Step 5 – Check for Straightness
|
Use a spirit level to confirm that the posts have been installed perfectly straight. |
| Step 6 (Optional) – Set in Concrete
|
To achieve a stronger and more secure fence, place your posts in concrete by digging a 50cm hole and pouring cement into it for your post to sit in. |
| Step 7 – Install Middle Posts
|
To install middle posts, repeat steps 3-5.
|
| Step 8 – Attach Panels
|
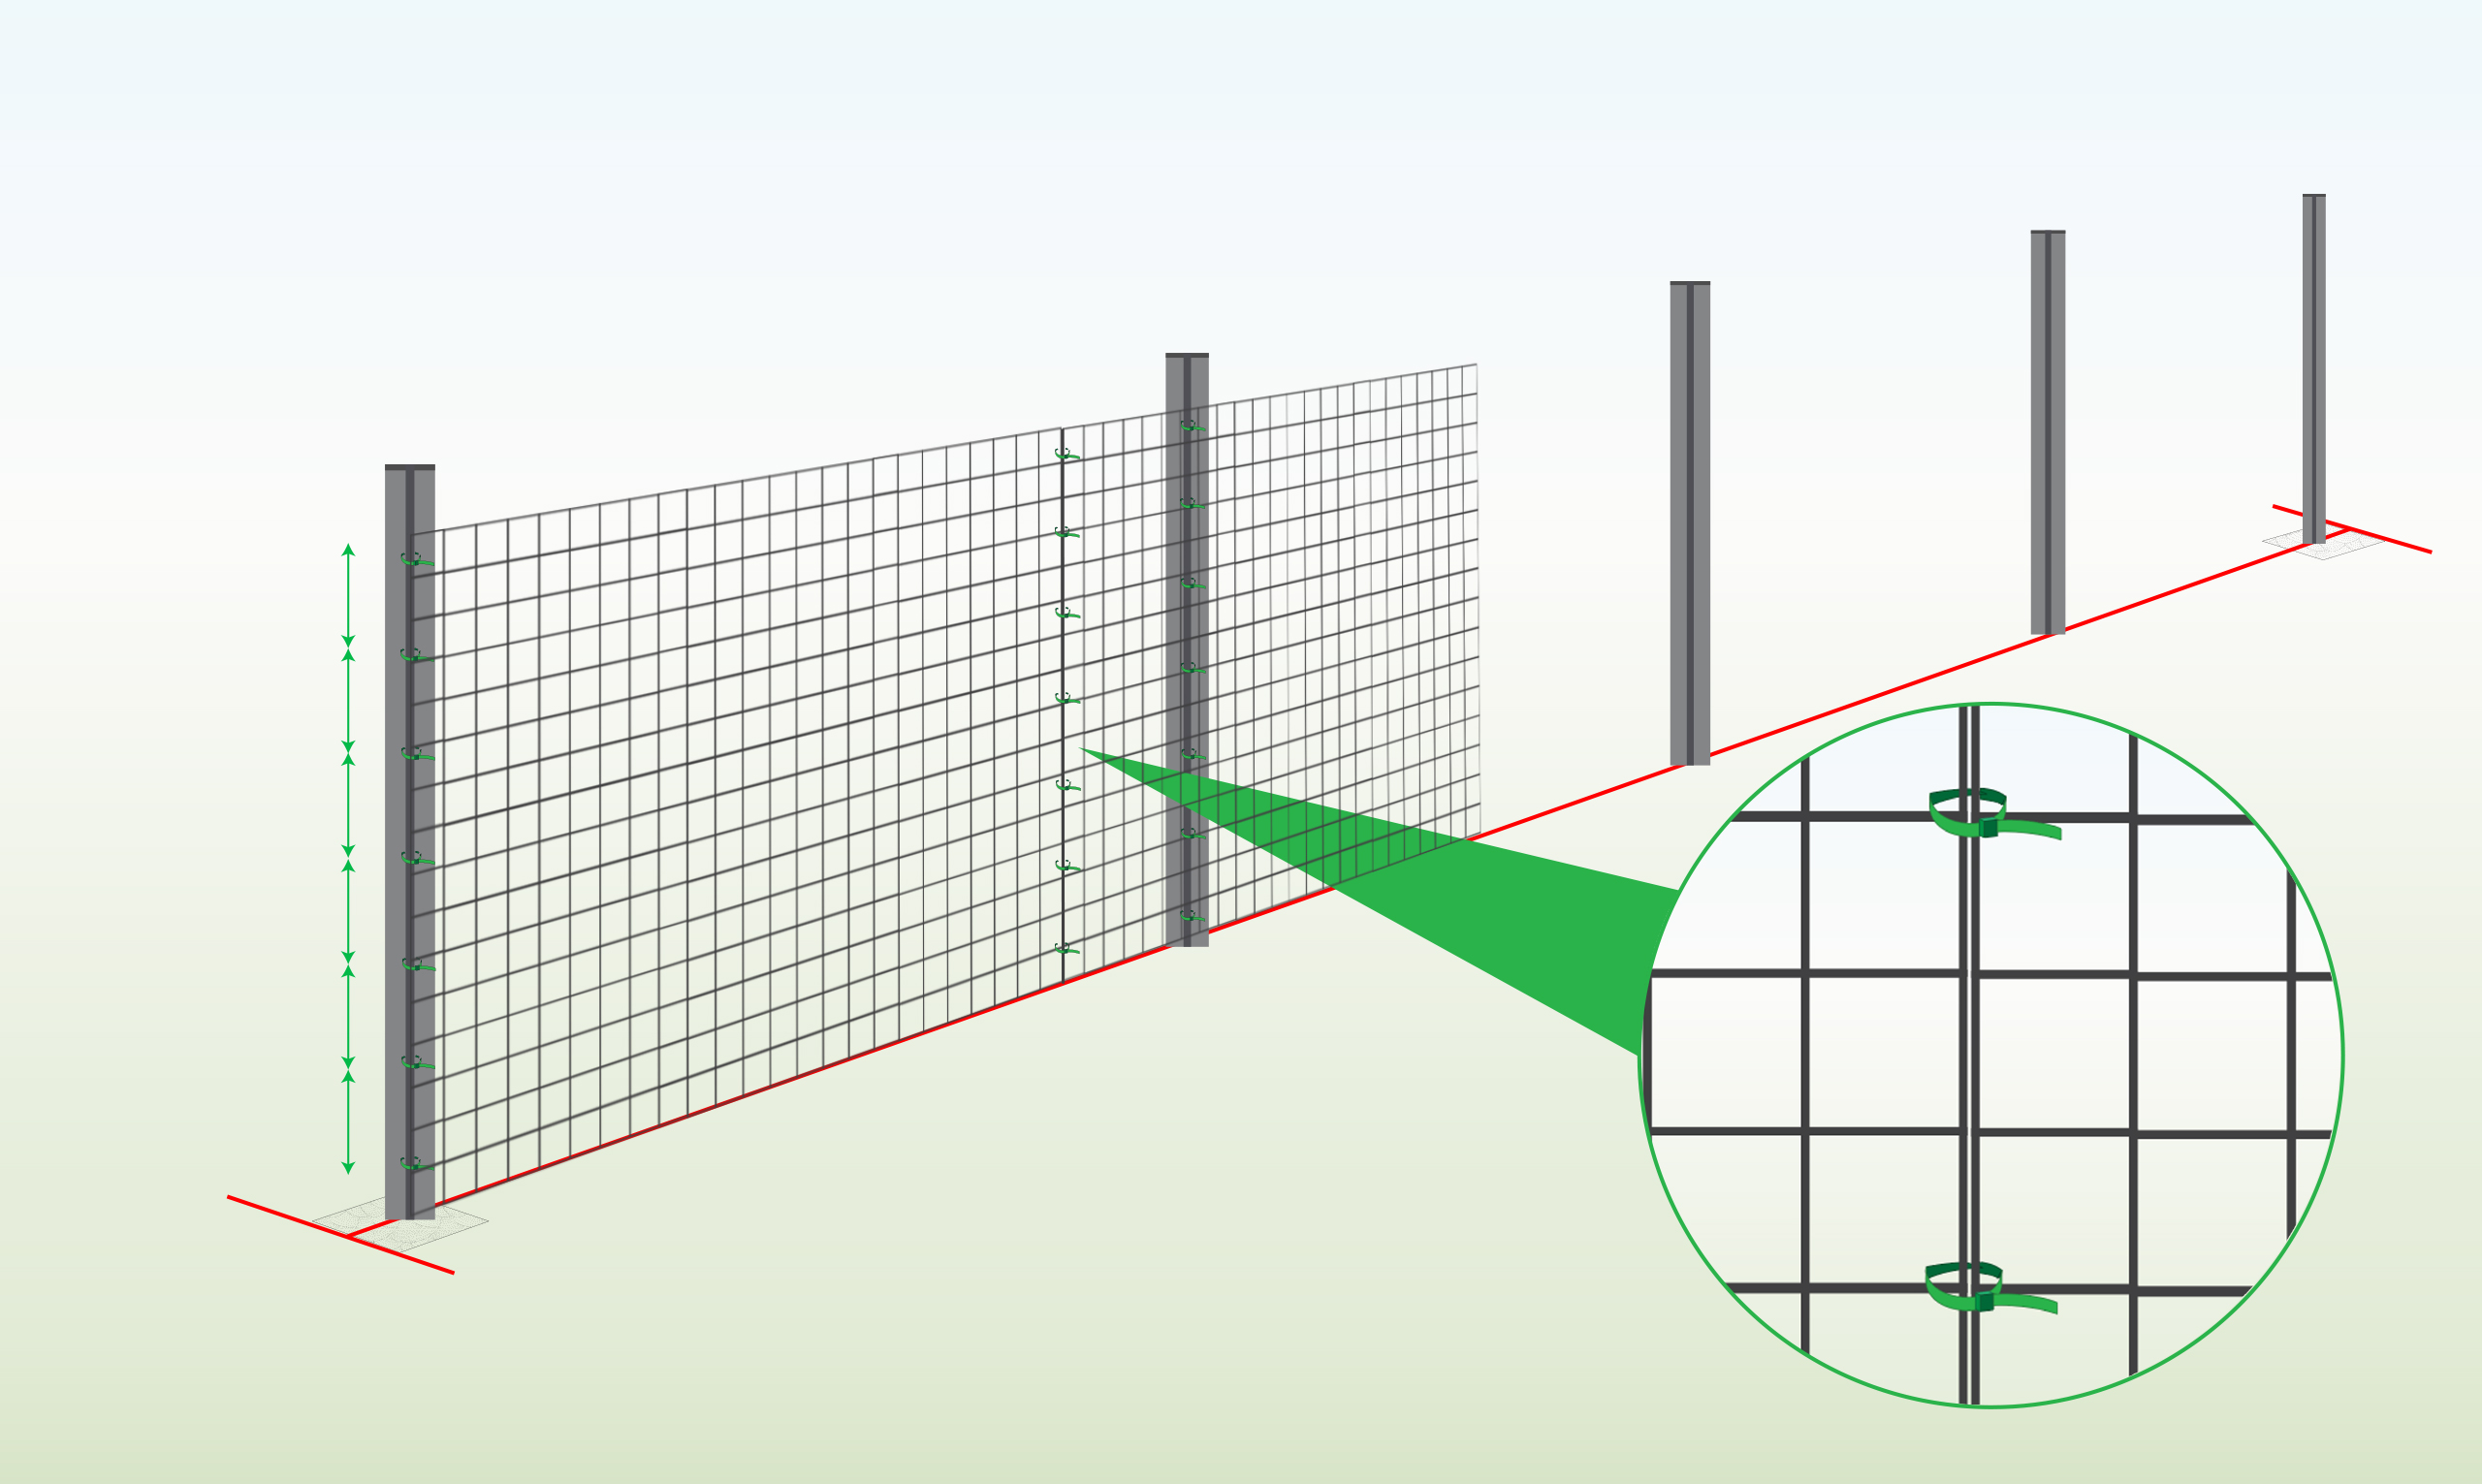
Begin at the end post and fasten the mesh to it using cable ties, which can be threaded through the pre-drilled holes in the post.
You can add additional cable ties by enclosing the entire post. |
| Alternative Option
|
Increase the spacing between the posts by overlapping the panels. Connect them by securing them together with cable ties. |

Wire Fence is part of the Super Magic Bean group - VAT Registered: 344 7643 83 - Company Registration No: 11290483