Show video
Grade L mild steel
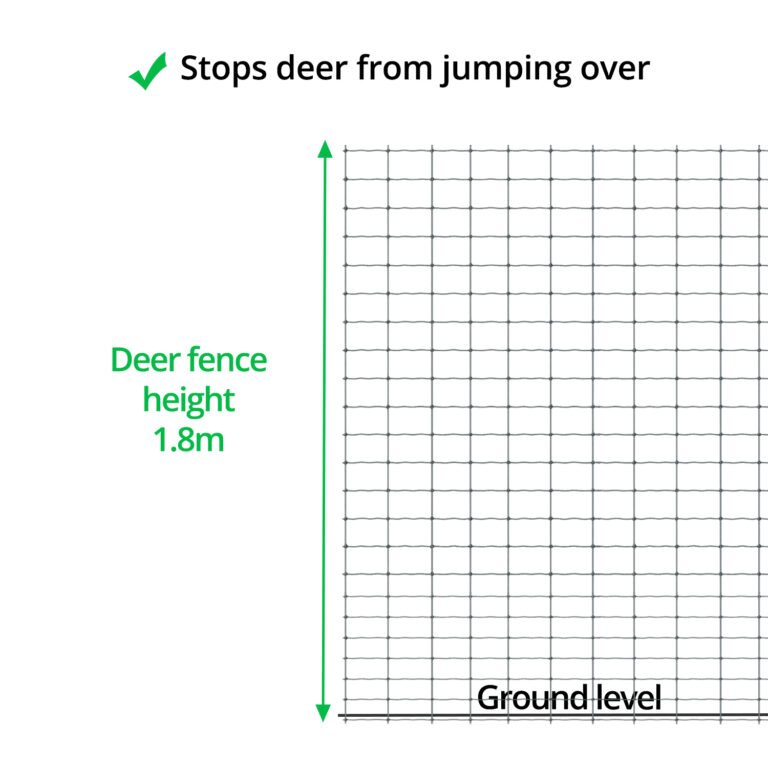
2m (6.5ft)
50m (164ft)
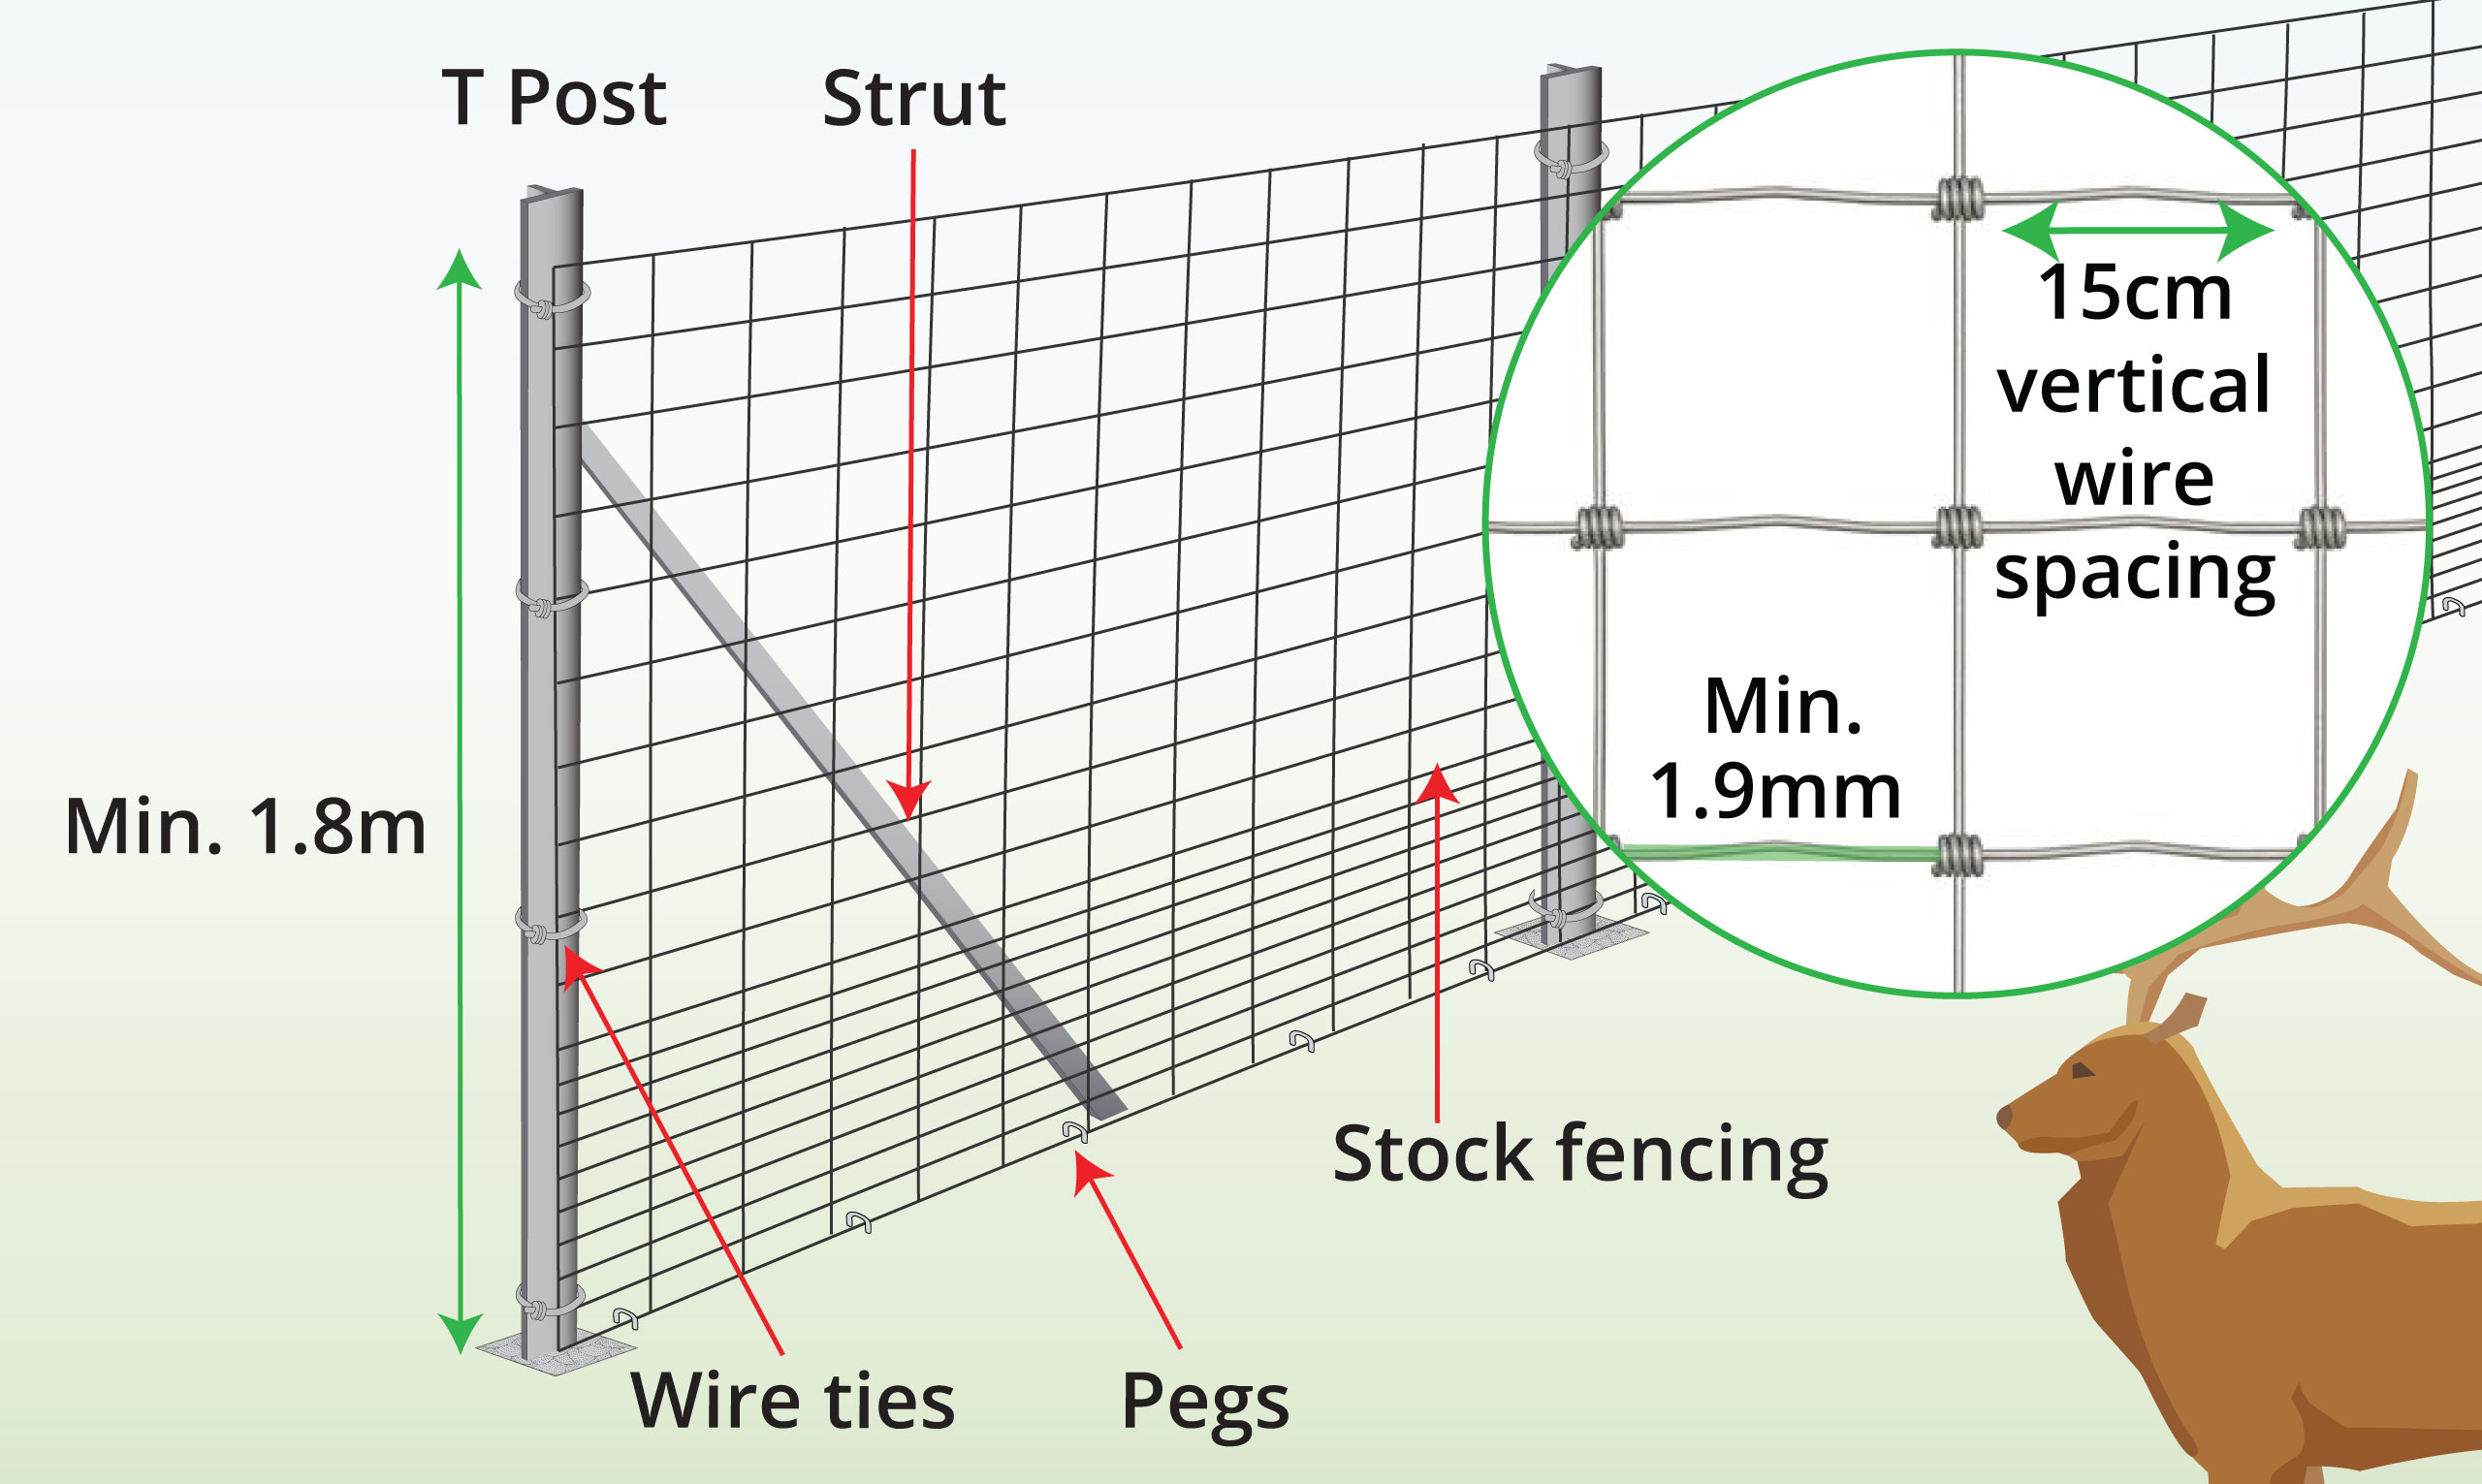
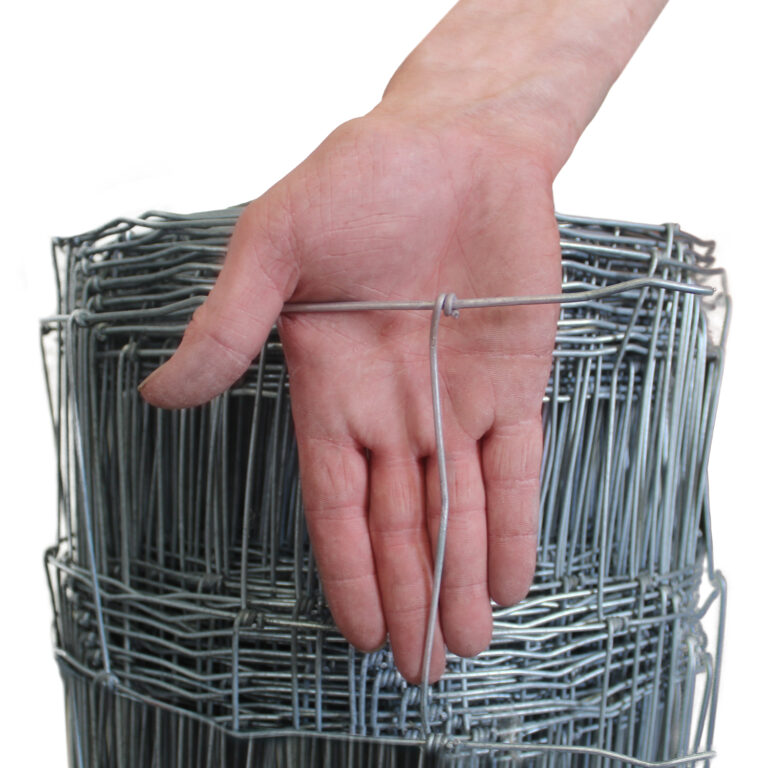
1.9mm (14g) - 2.5mm (top & base)
£311.99 inc. VAT
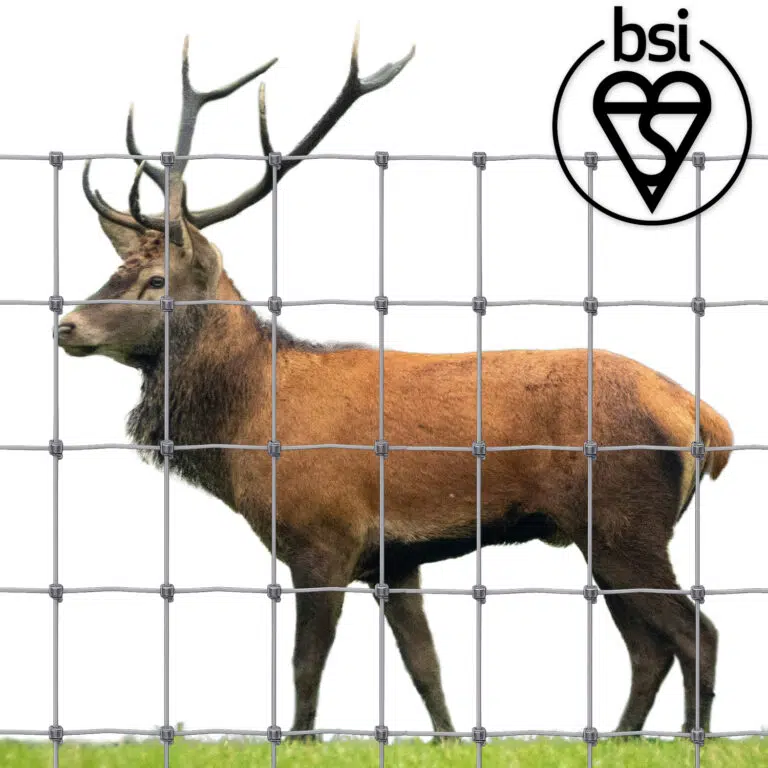
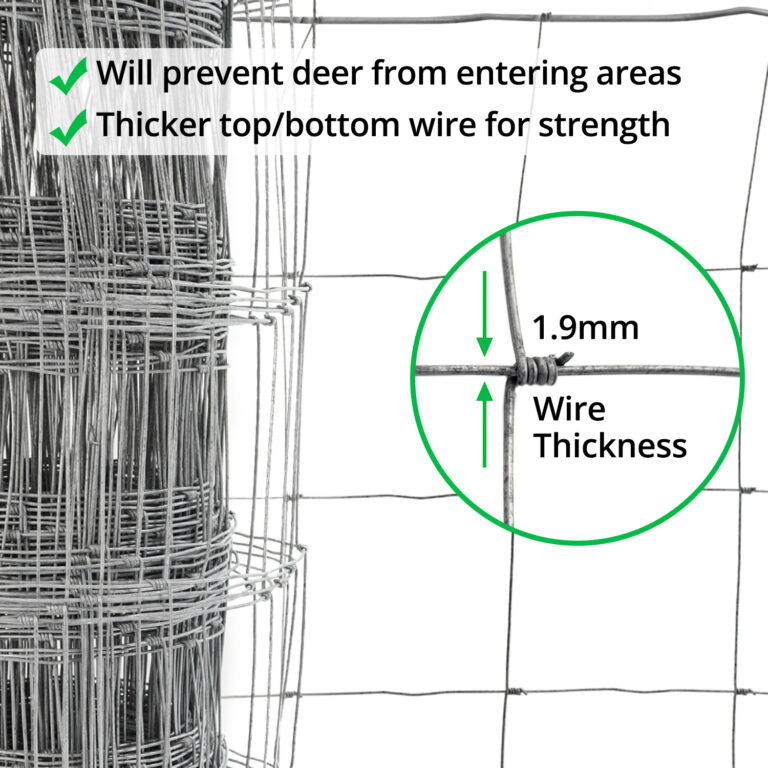

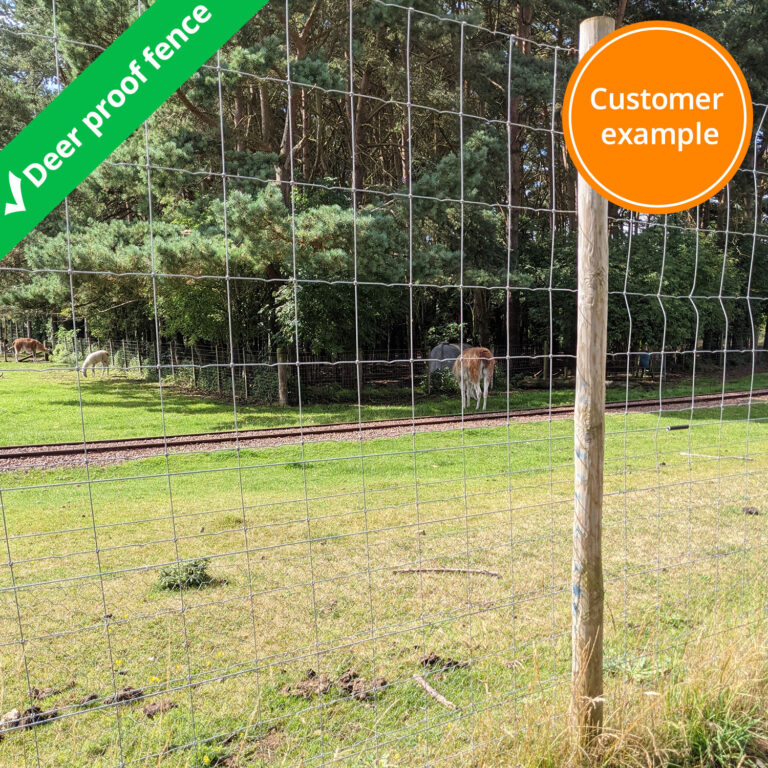
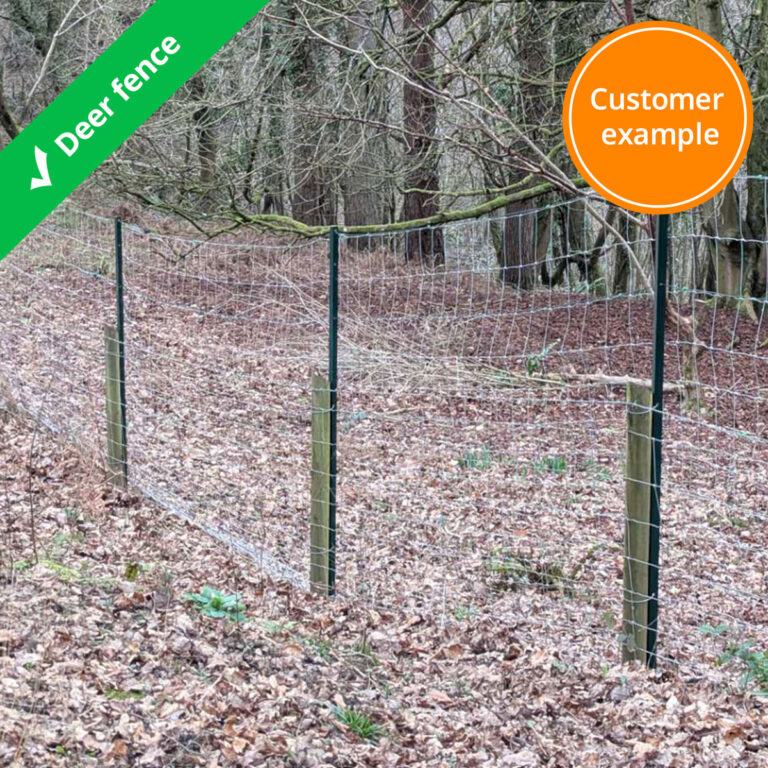
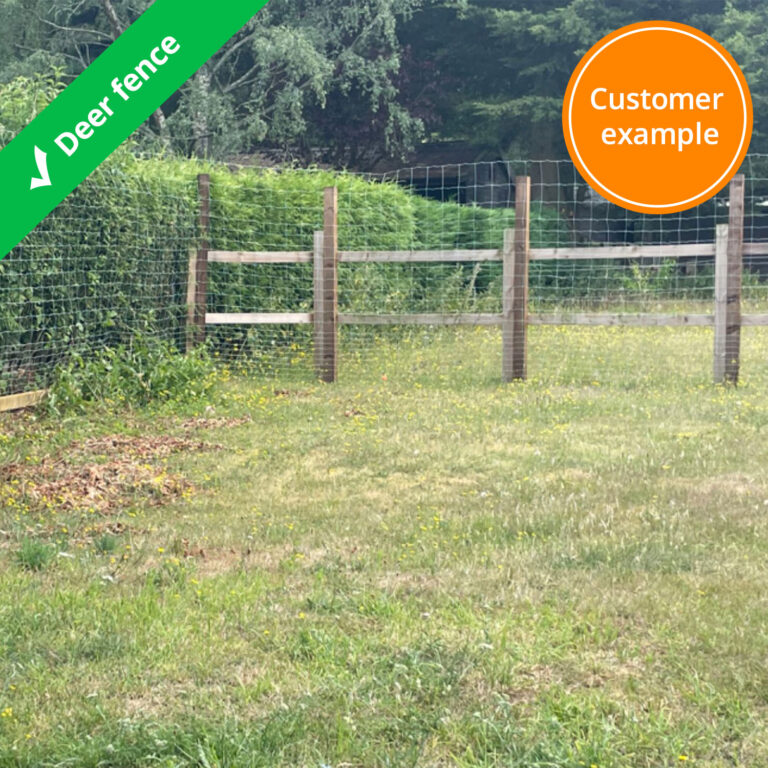
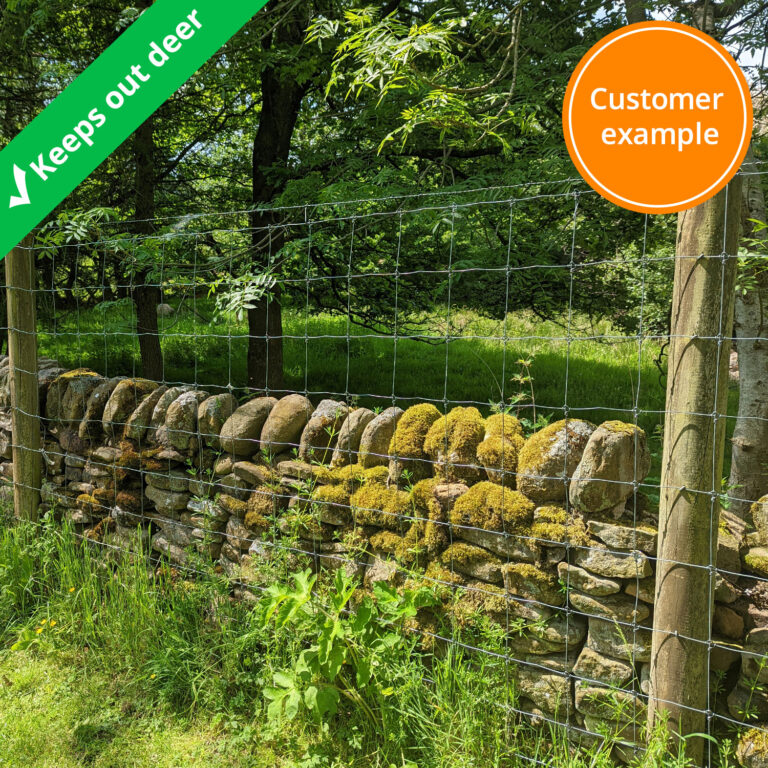
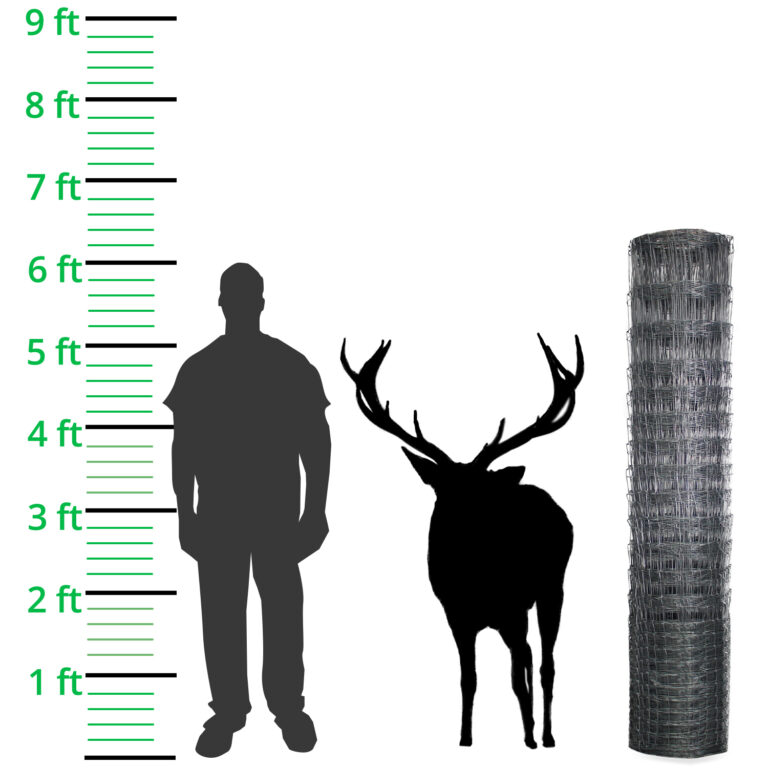
Galvanised metal deer fencing to prevent deer from entering certain areas.

| Attach to: | How to: |
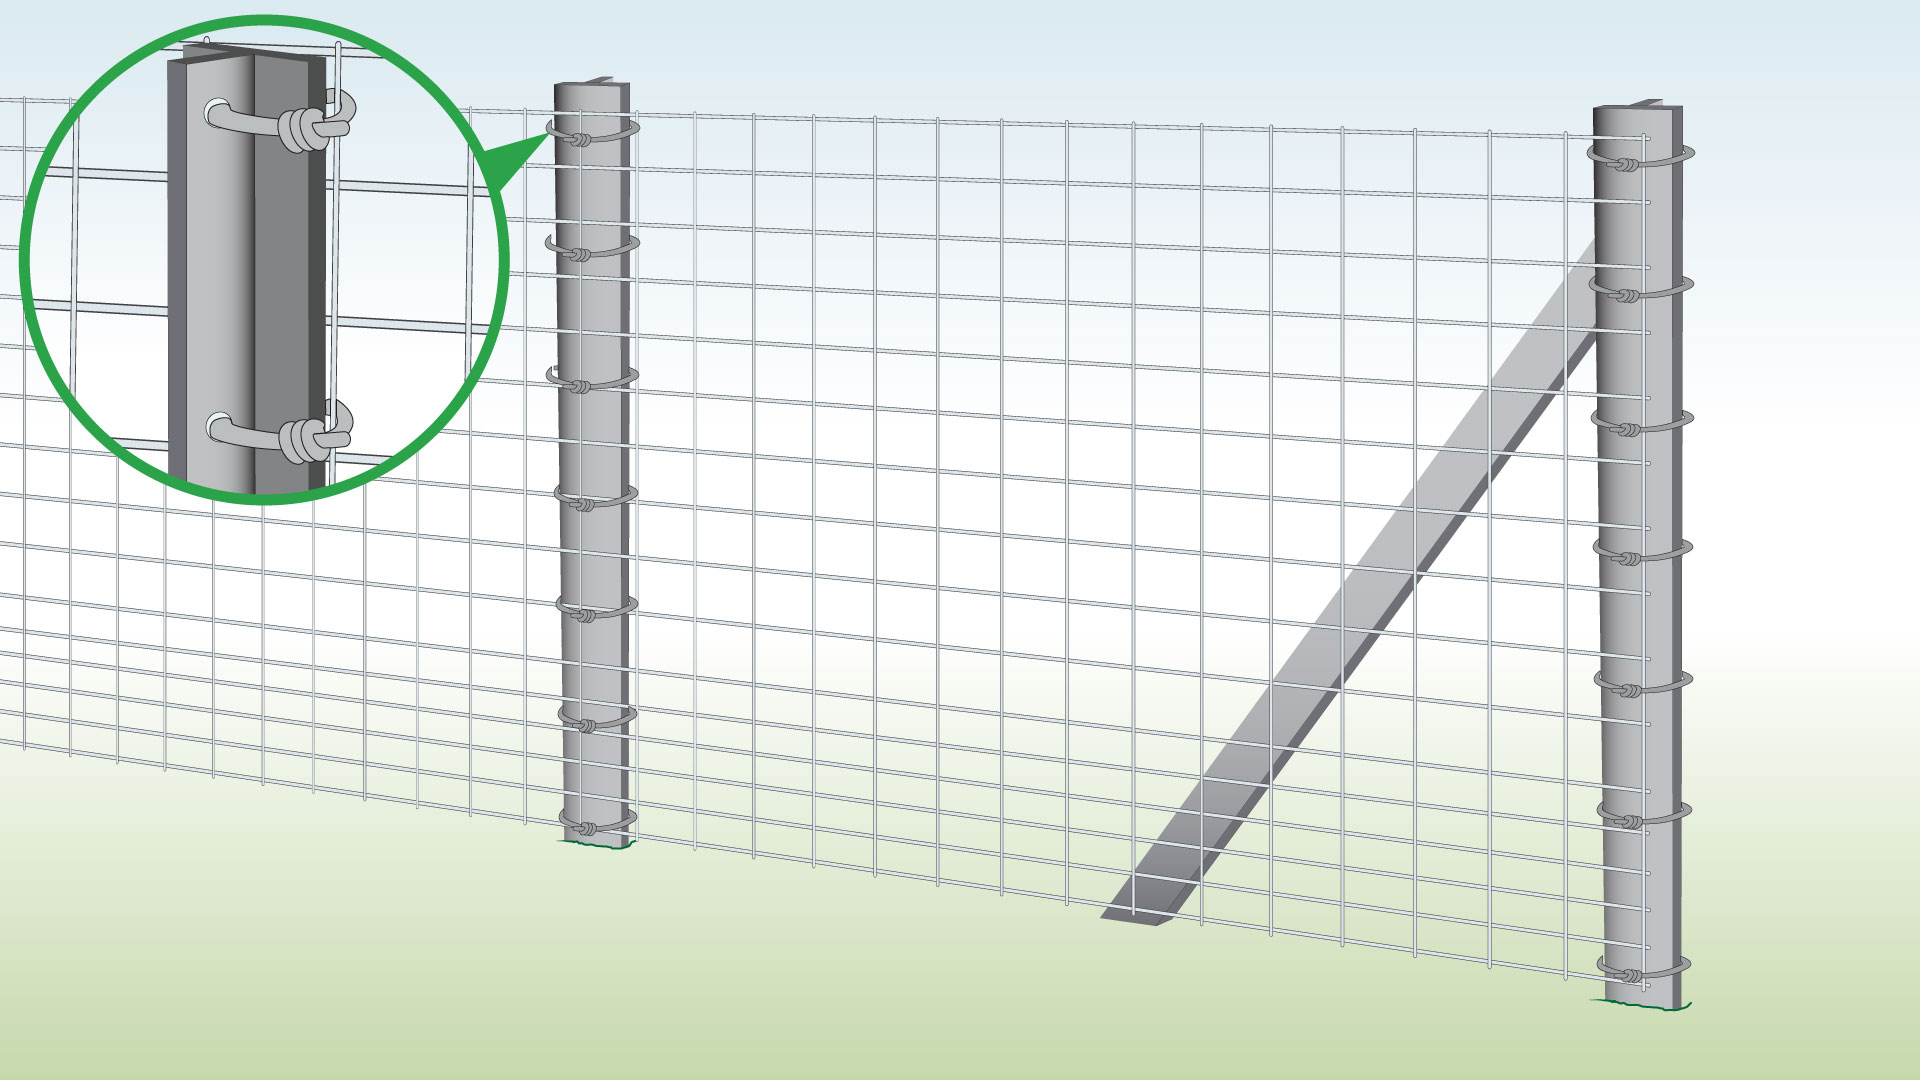
| T Posts
(Wire ties) |
|
| Wood/Wooden Posts (Staples) | 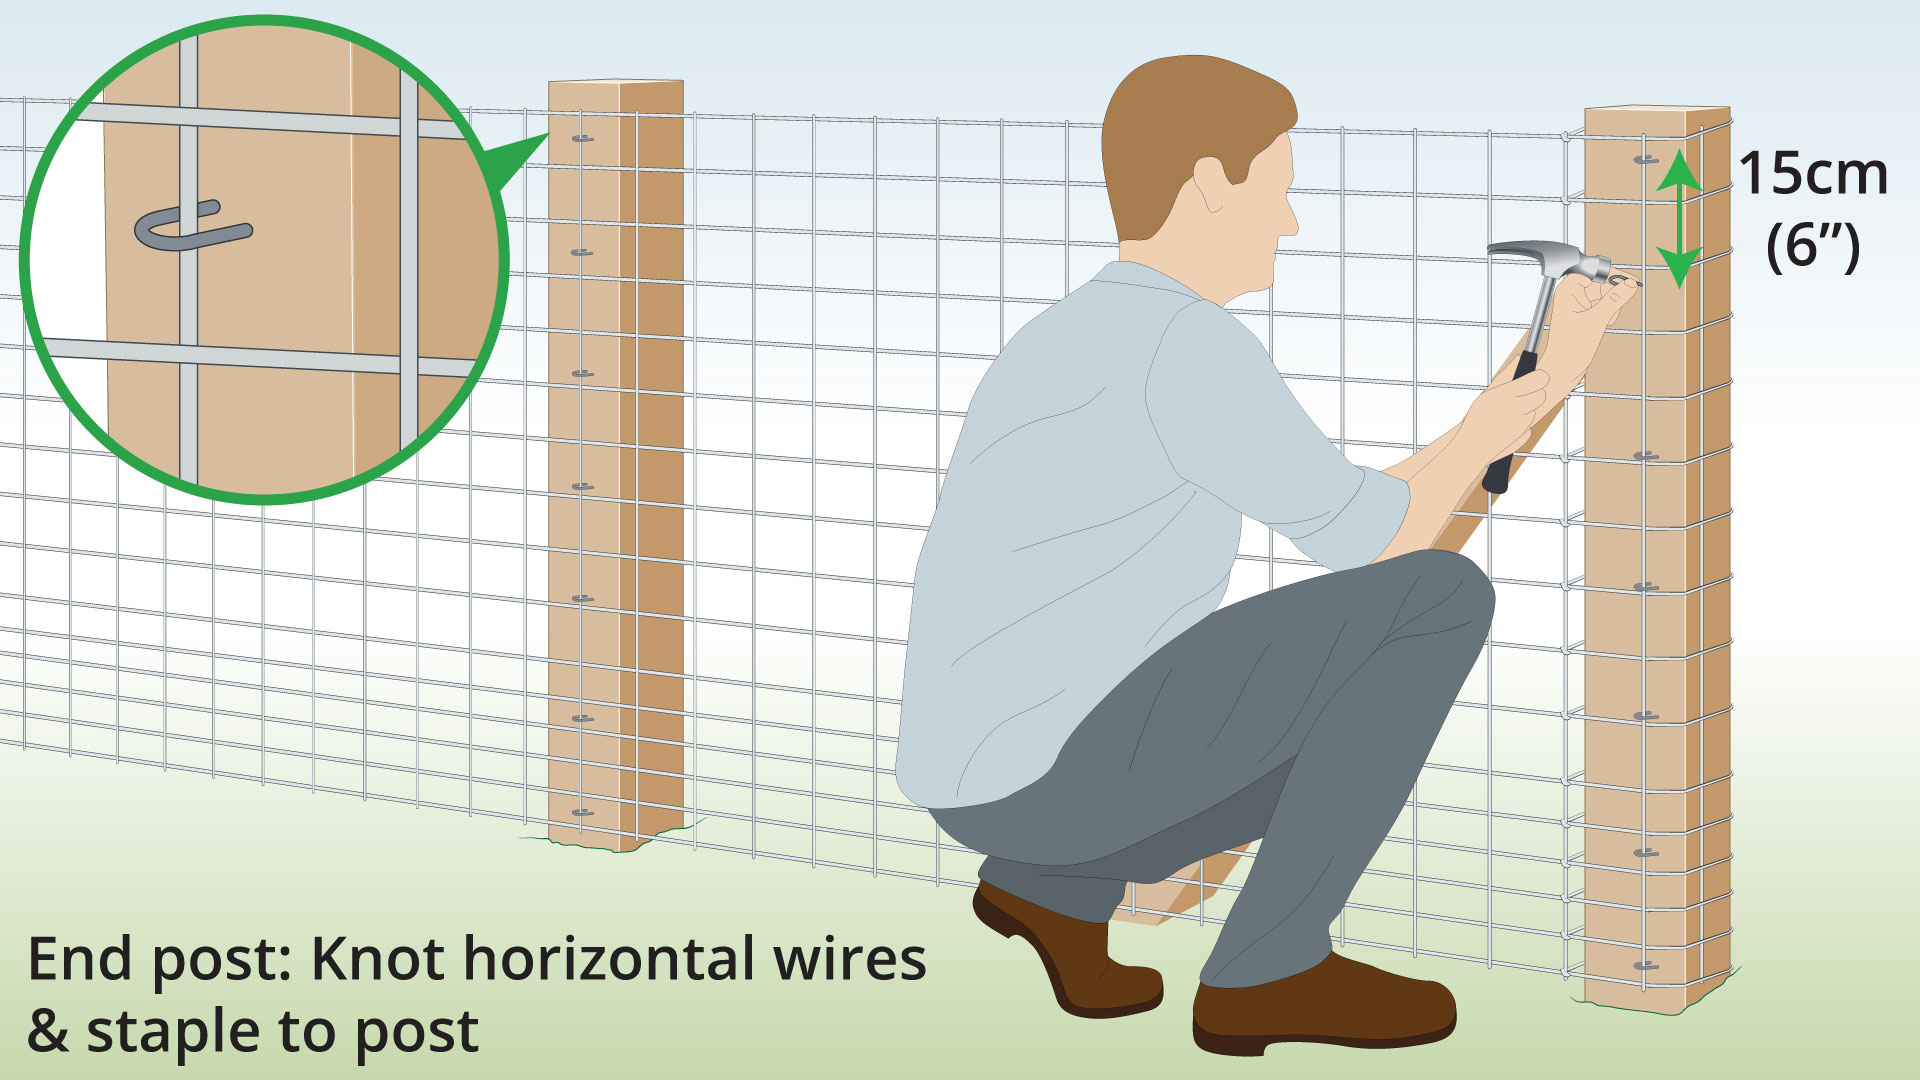
|
| What | Recommendation |
| Short term installation | Attach to posts using cable ties or U-nails |
| Long term installation | Batten the mesh to the posts: fix between the post and another piece of treated timber of the same length |
| Additional Support | Use galvanised line wire for added support between the posts, as netting is more flexible than wire mesh |
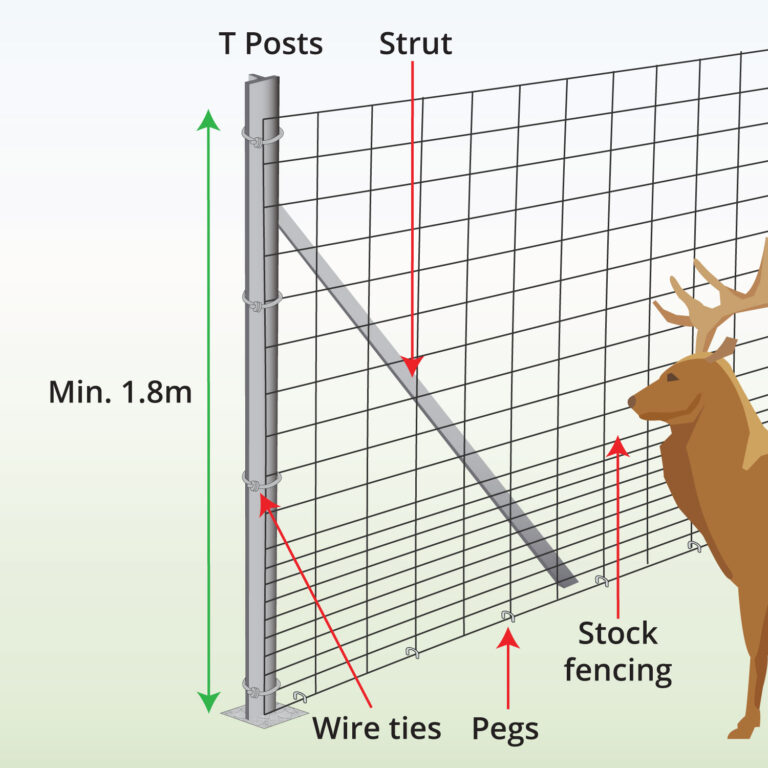
| At ground level | Some deer may try to push through under the fence. To prevent this keep enough mesh to create a lip along the base of the fence which can be pegged / staked down |
with T Posts
with Wood Posts
| To Do | Explanation |
| Completed Installation
|
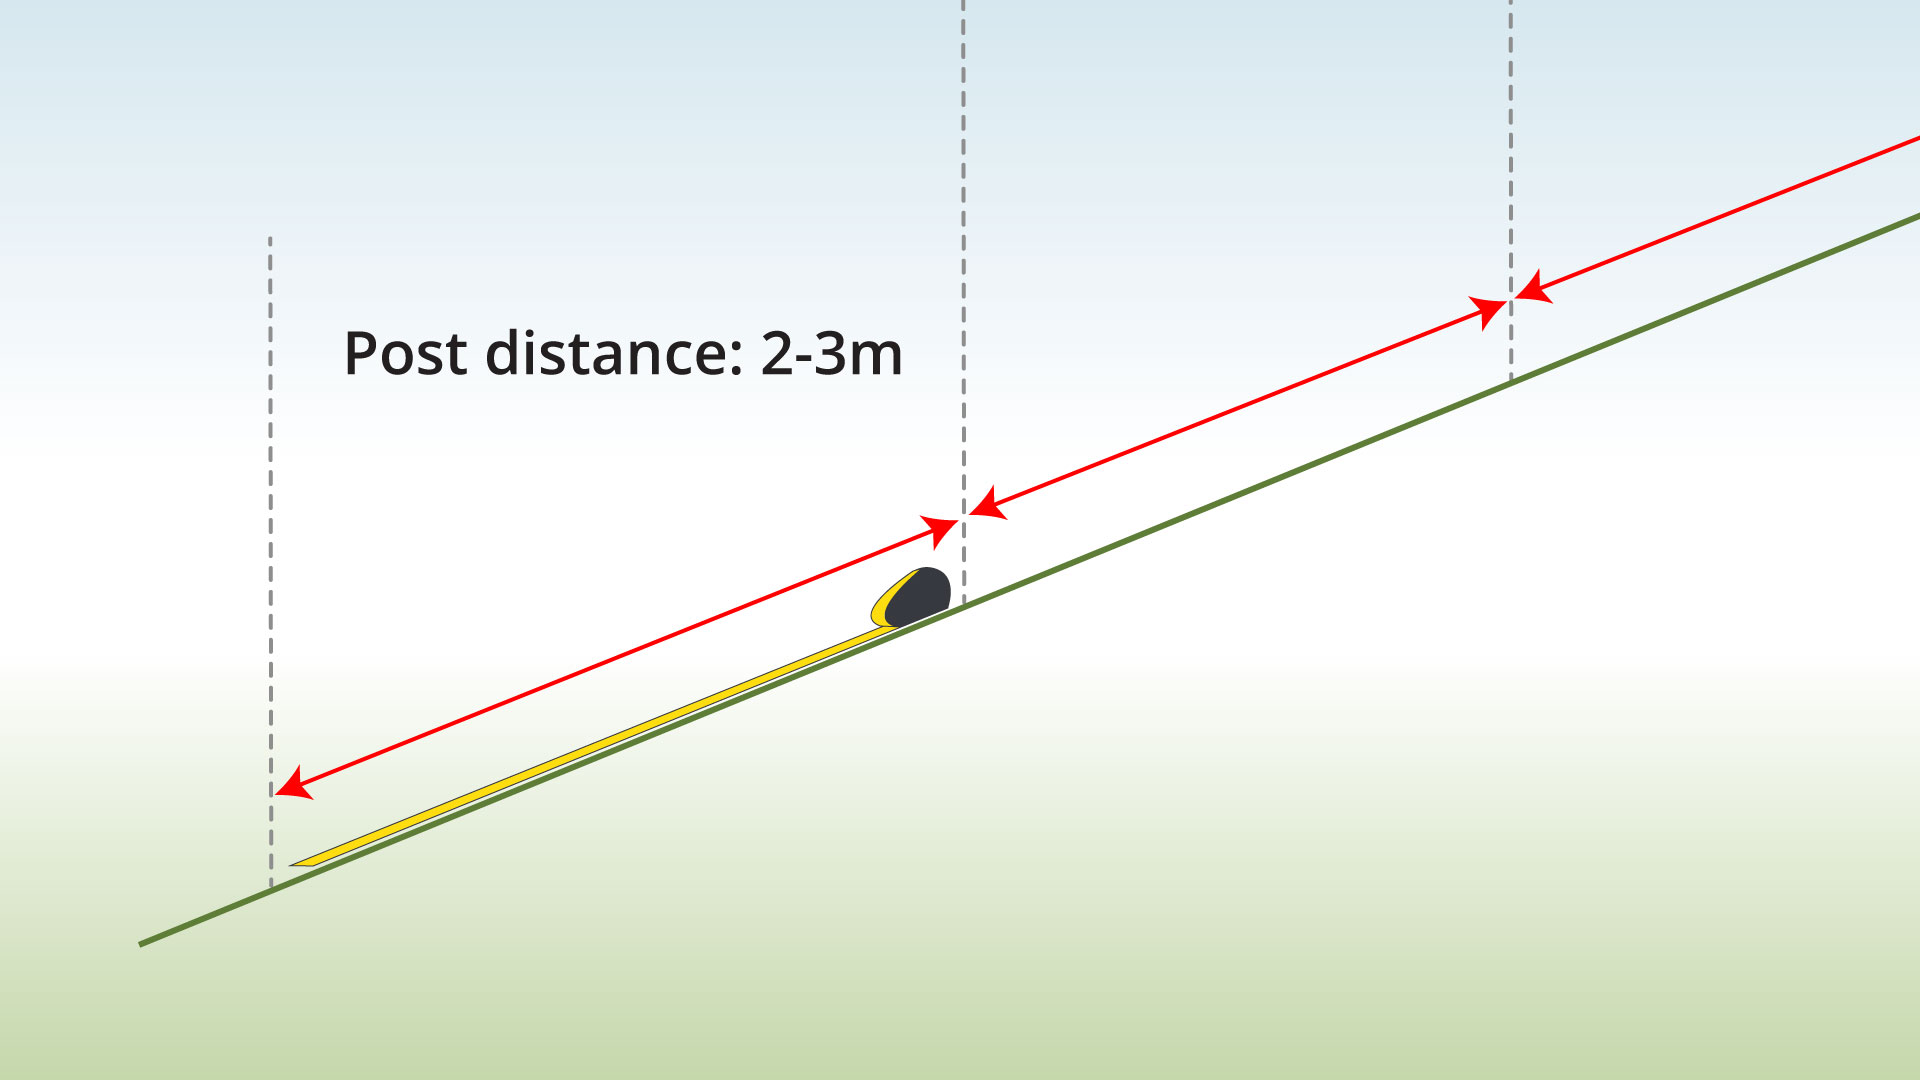
Set t posts 2–3 m apart, reinforcing the end posts with struts, then attach the deer fence stretching it tight. Then secure the bottom with pegs every 1–2 m to stop deer pushing under.
Full instructions below or watch this video
|
| Step 1 – Measure Distance between Posts
|
Mark where the posts will go, leaving about 2-3 m between them. |
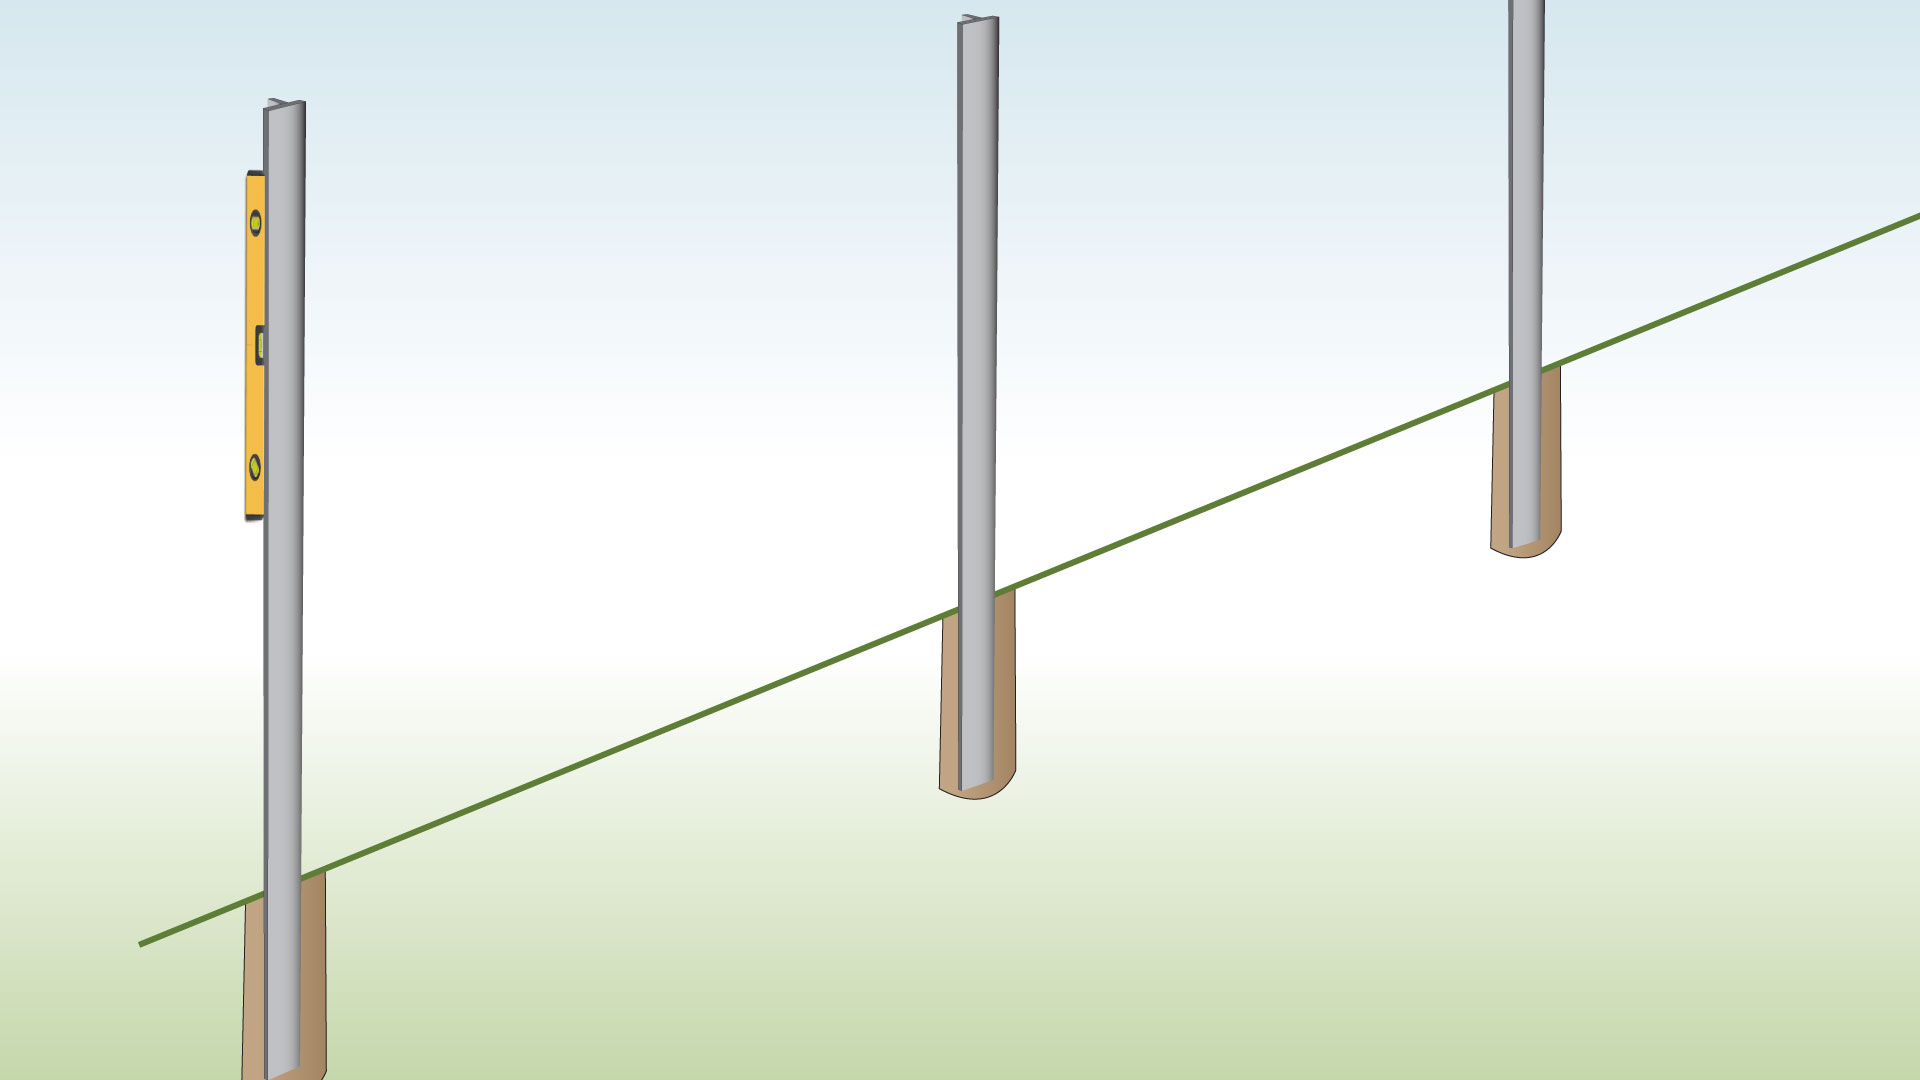
| Step 2 – Dig the Holes
|
Dig the holes and put the posts in place, keeping the flat sides facing outwards. |
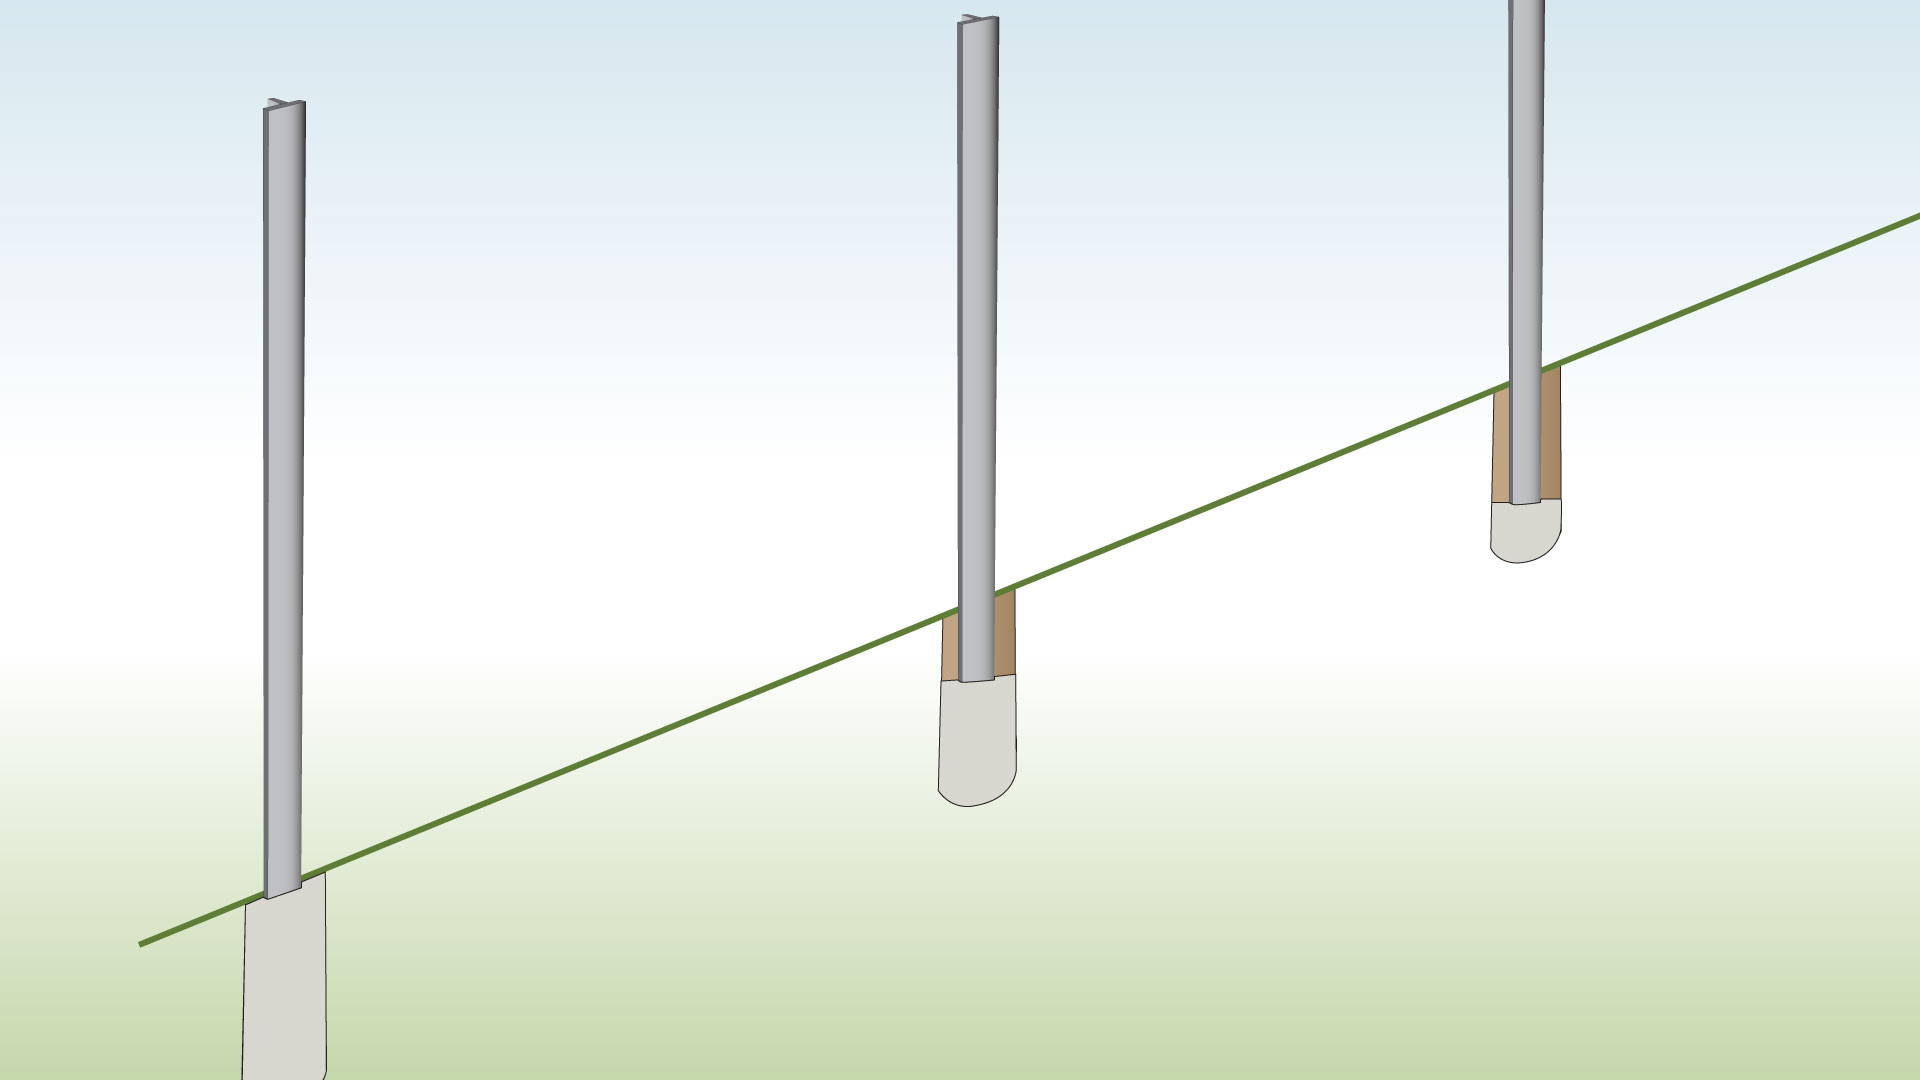
| Step 3 – Set Them in Concrete
|
Set the posts in concrete so they stay steady. |
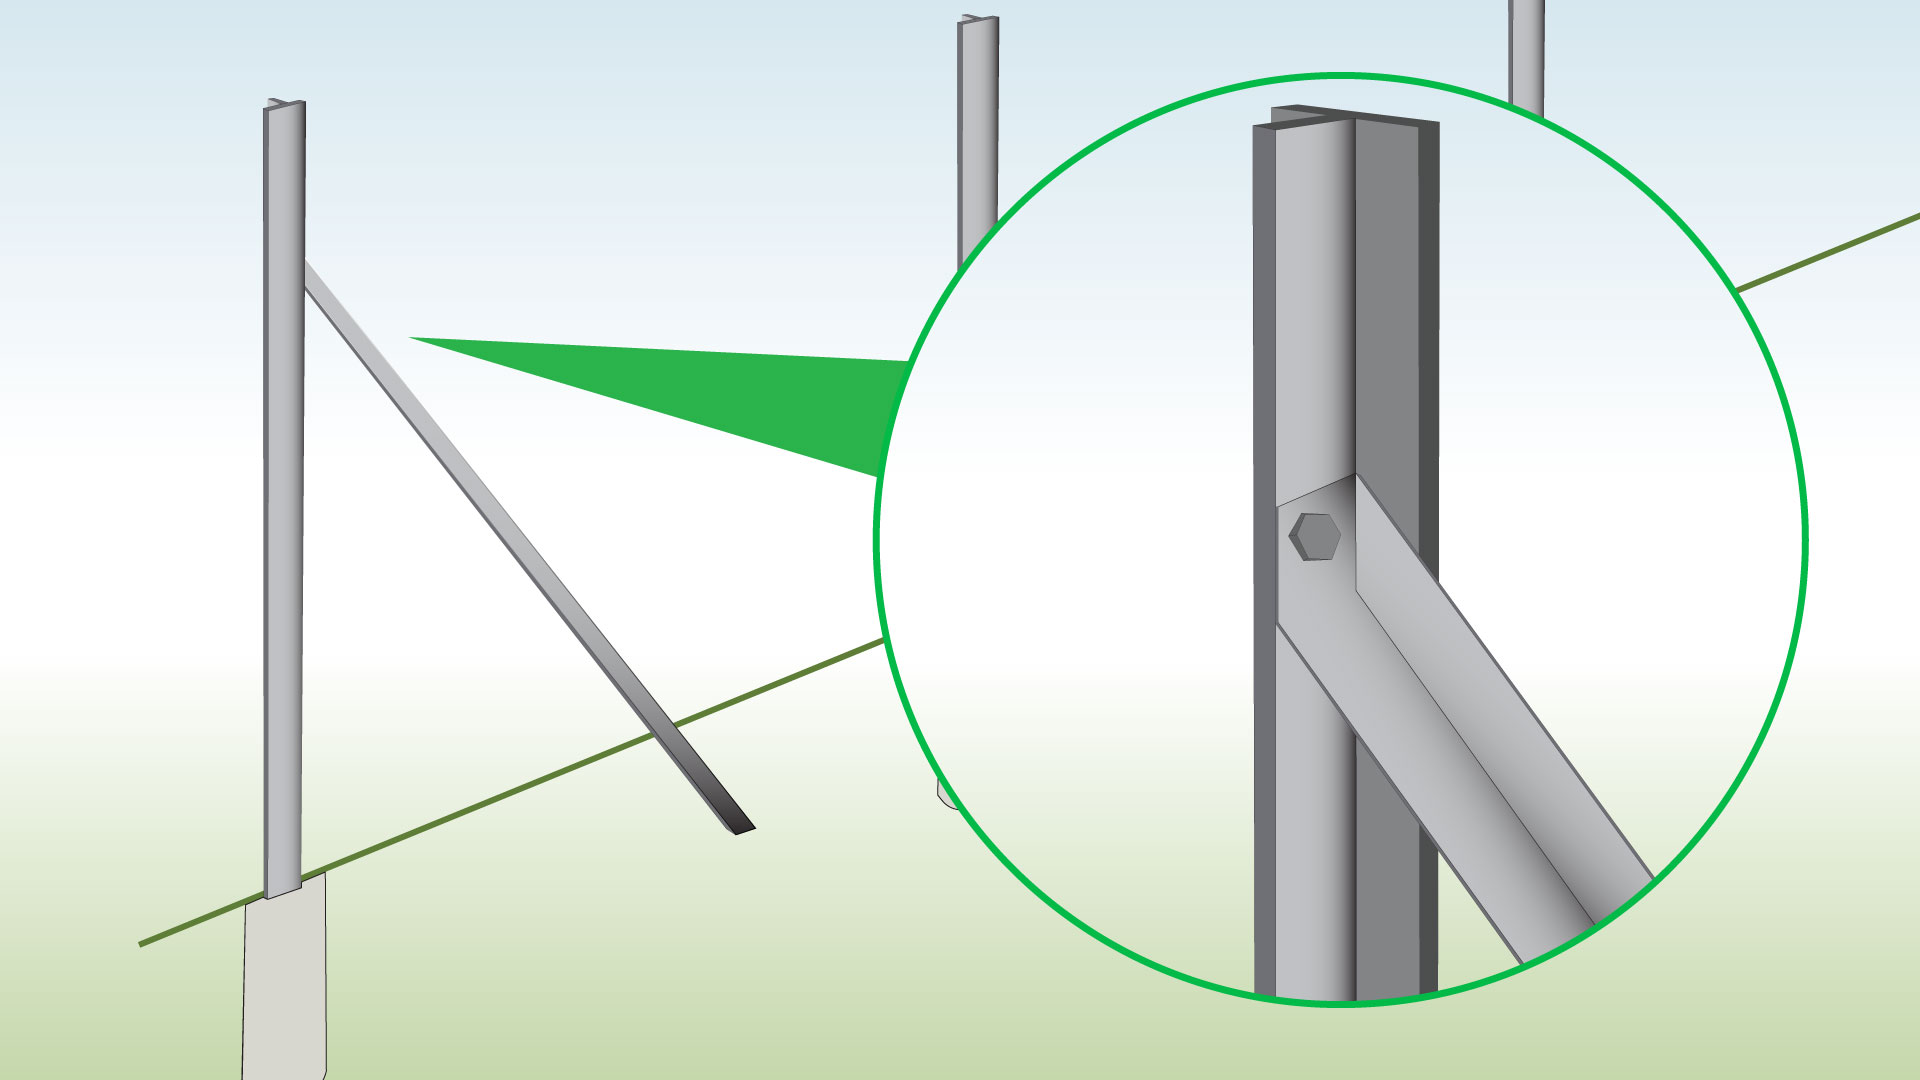
| Step 4 – Install Reinforcement Struts
|
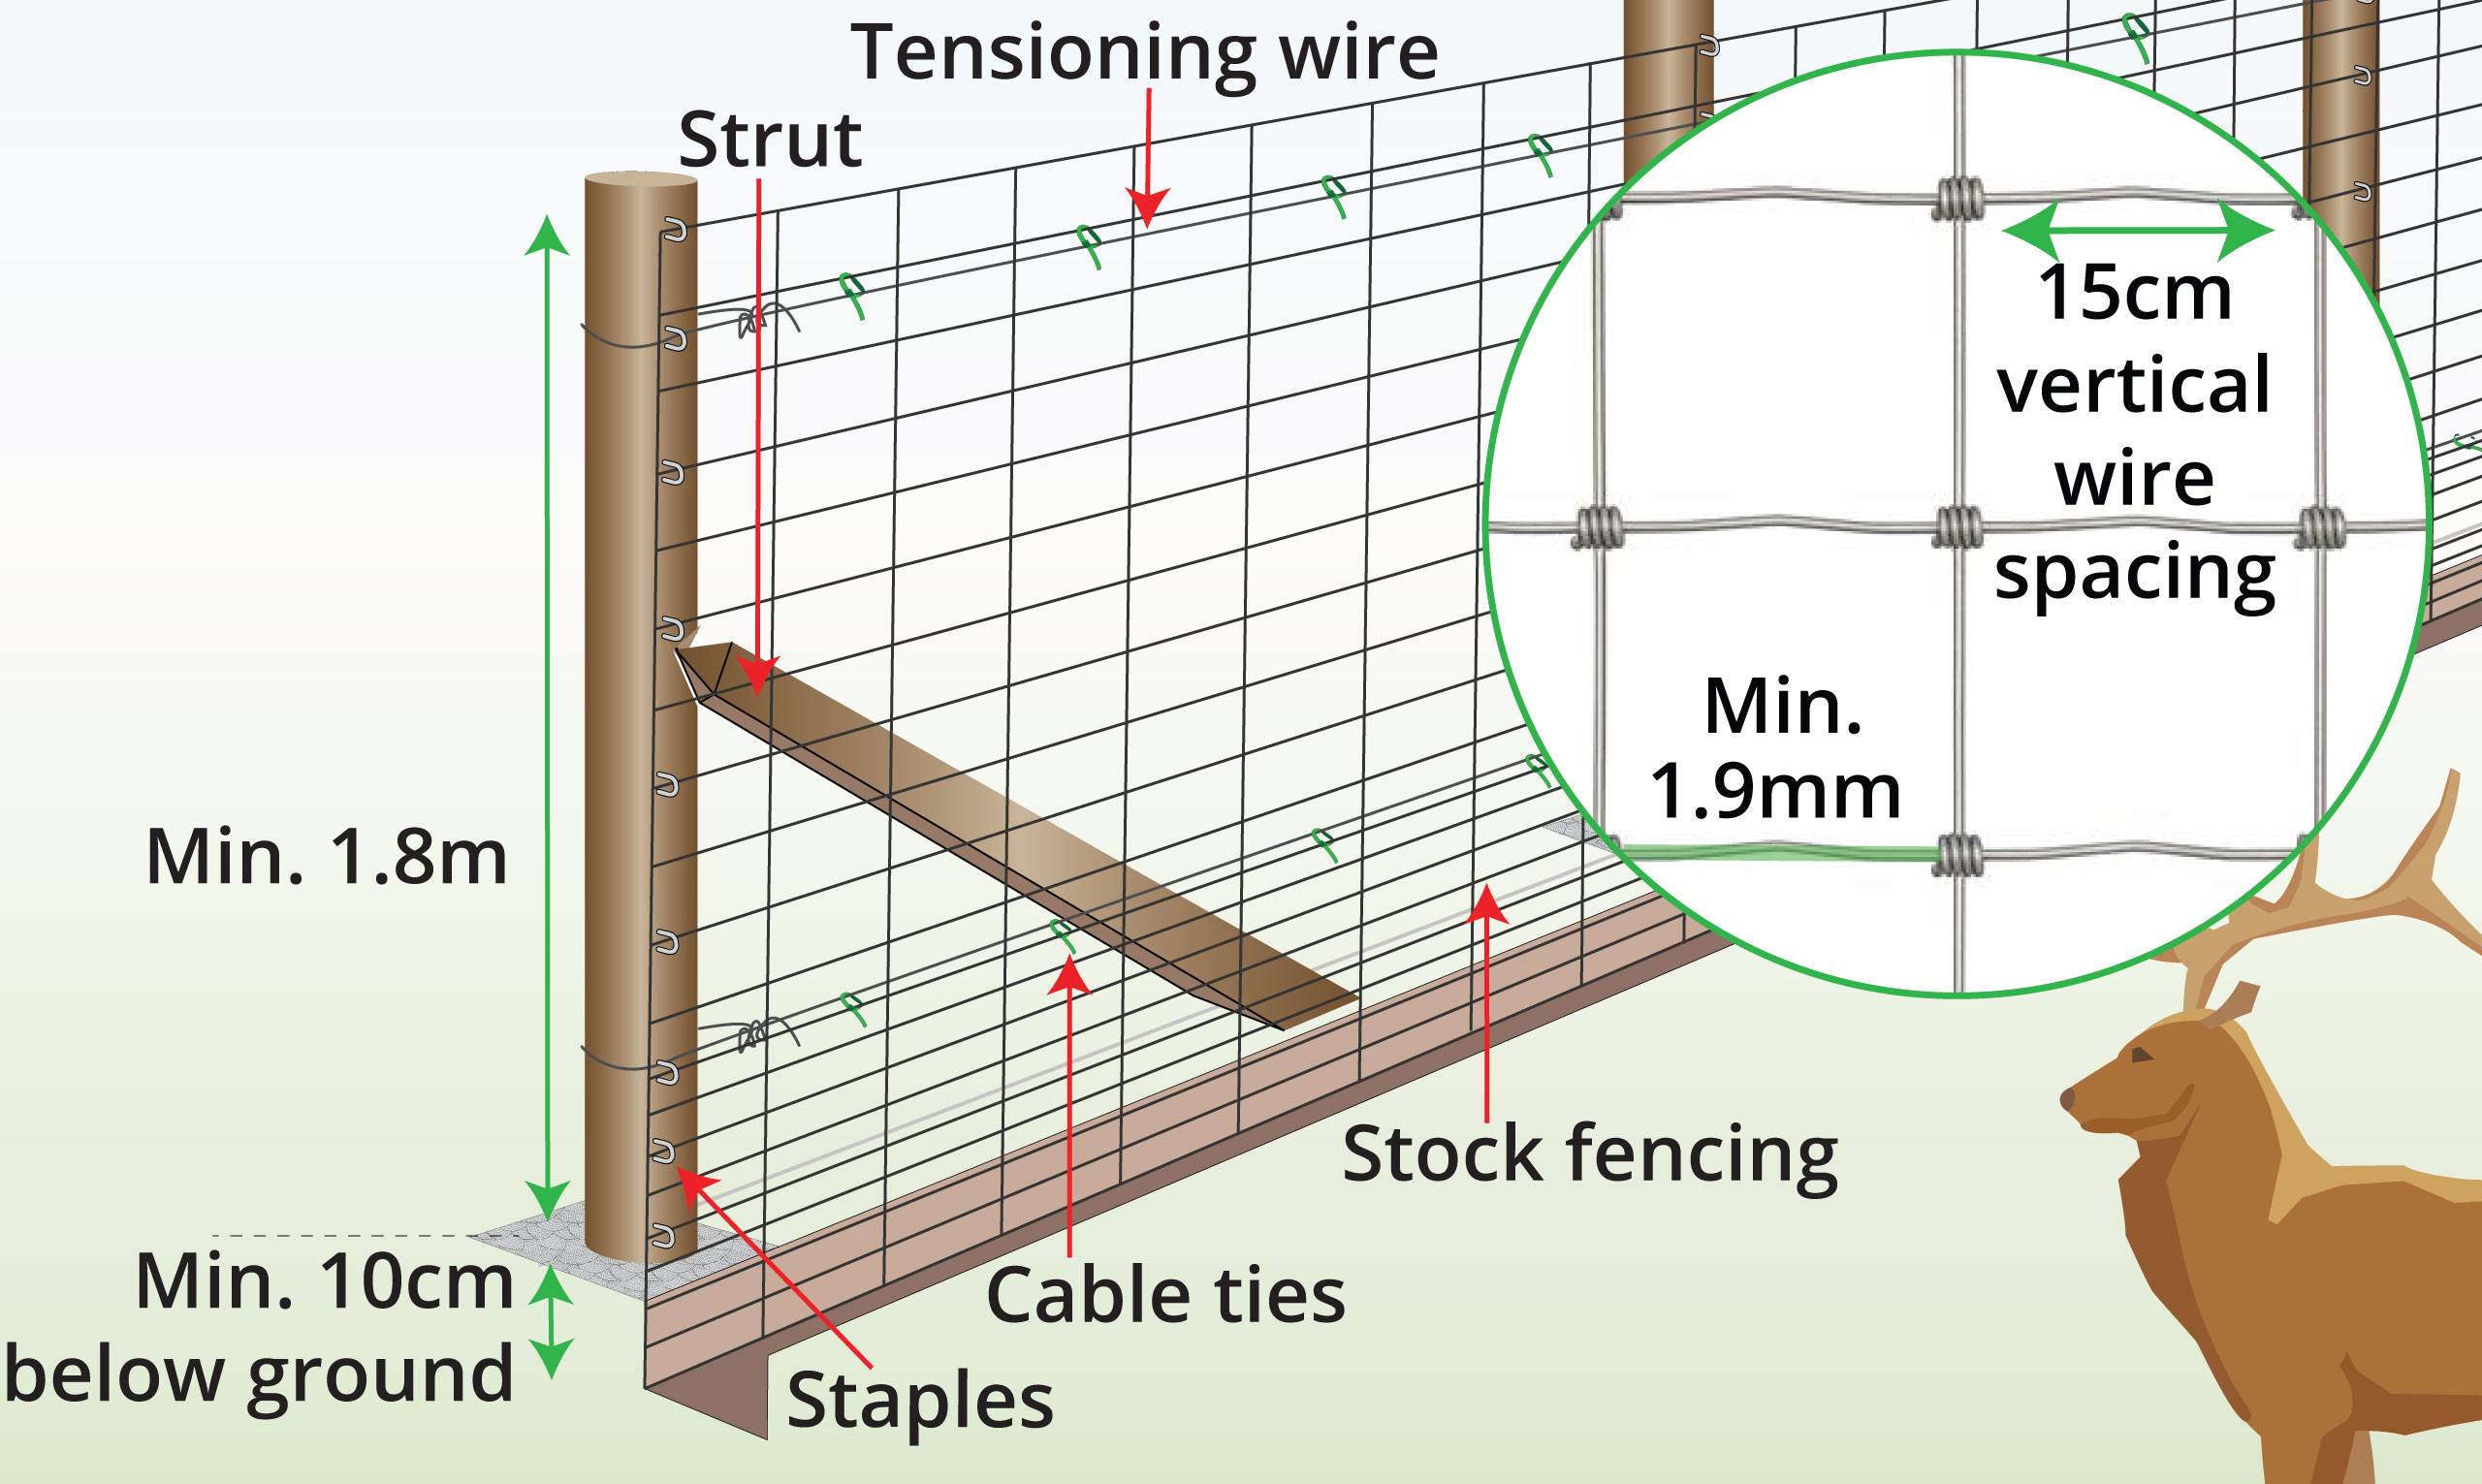
Fit the reinforcement strut by matching its hole with the second hole from the top of the T post. |
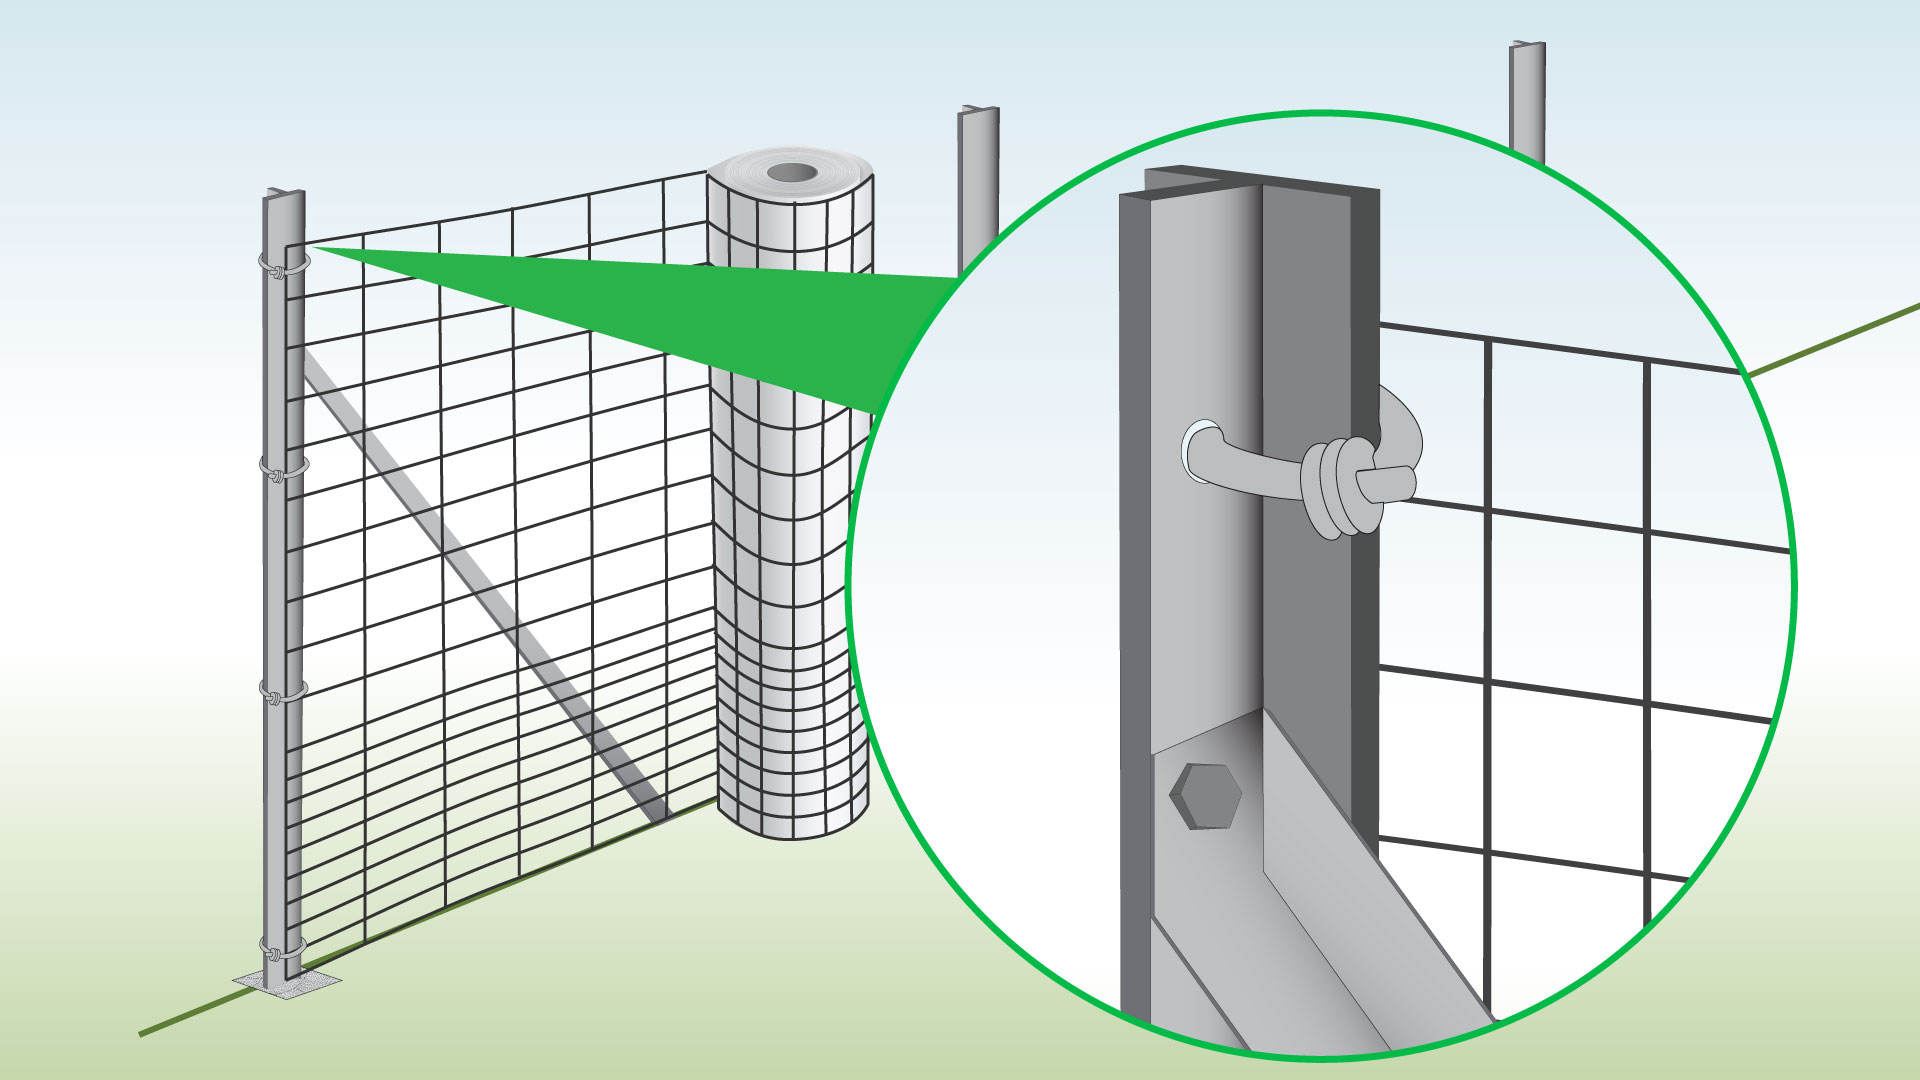
| Step 5 – Secure Fencing to Post
|
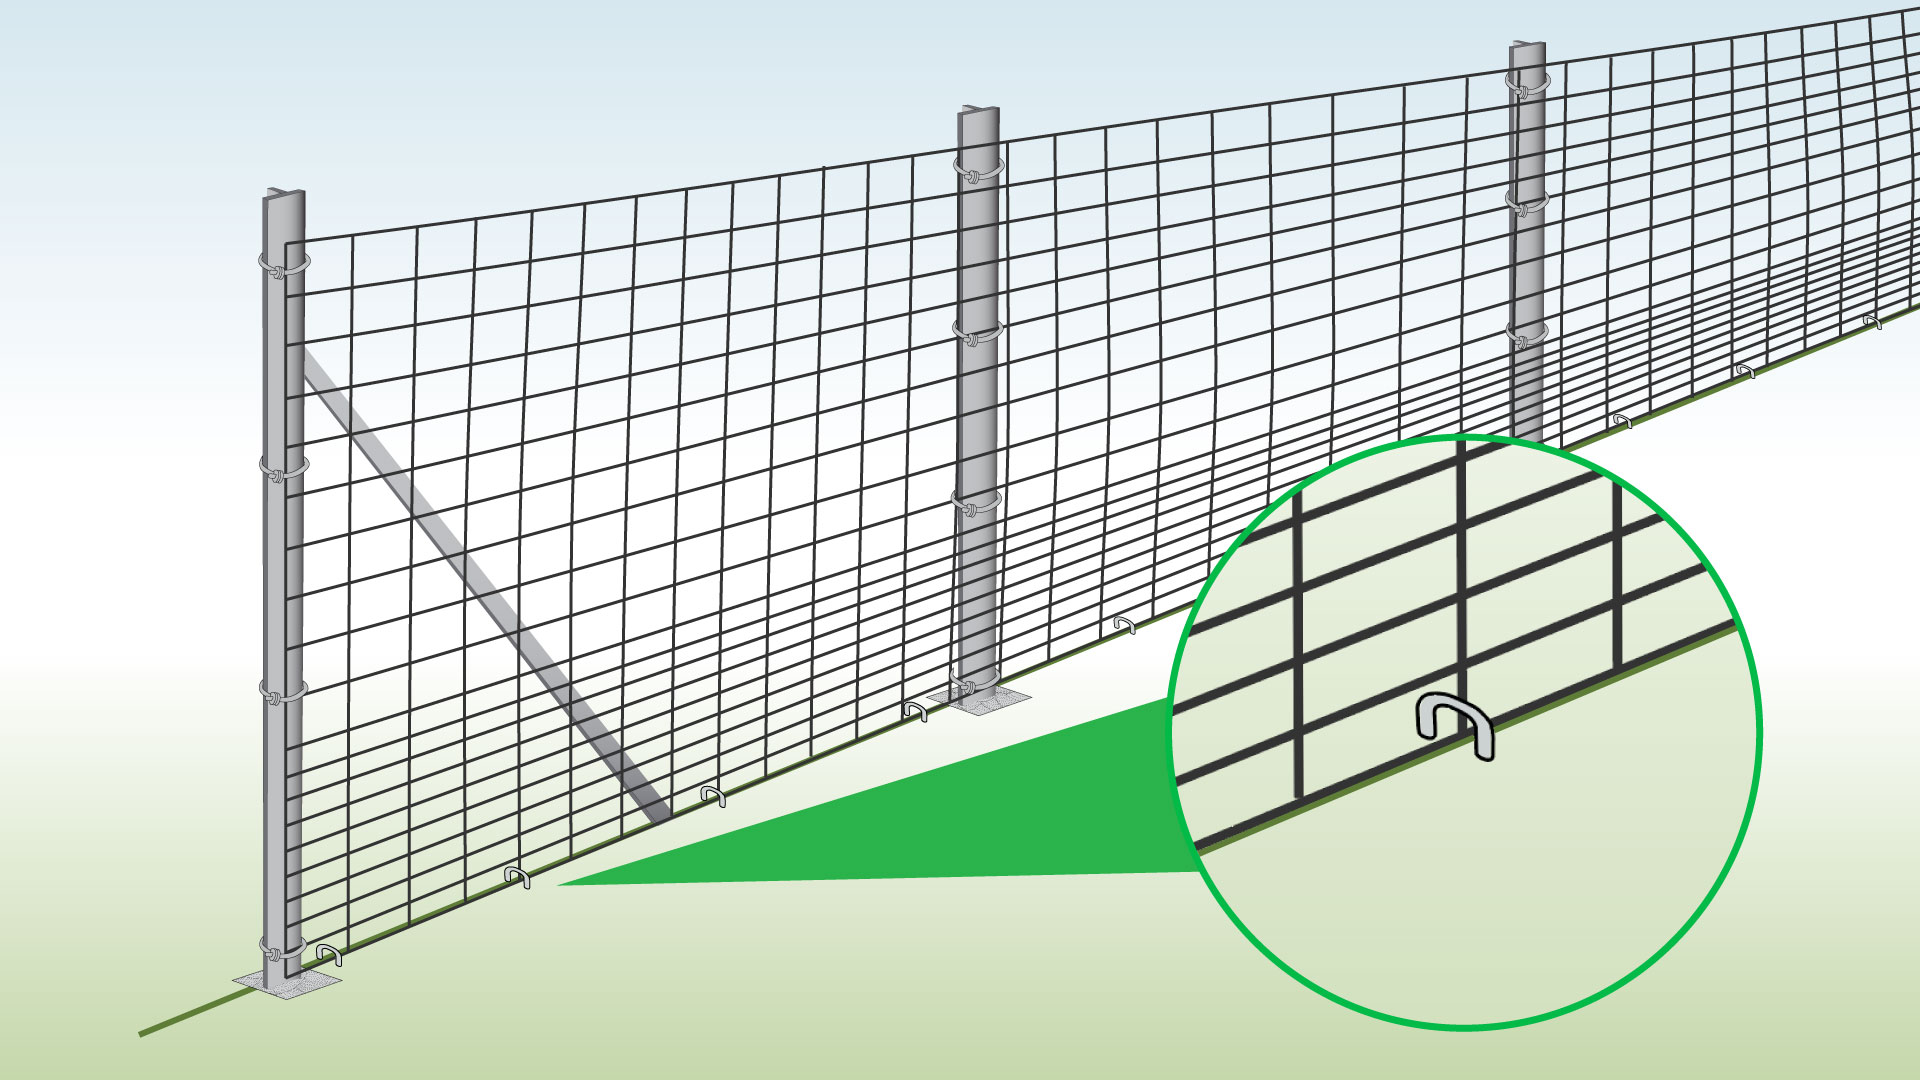
Secure the stock fencing to the first post using wire ties. |
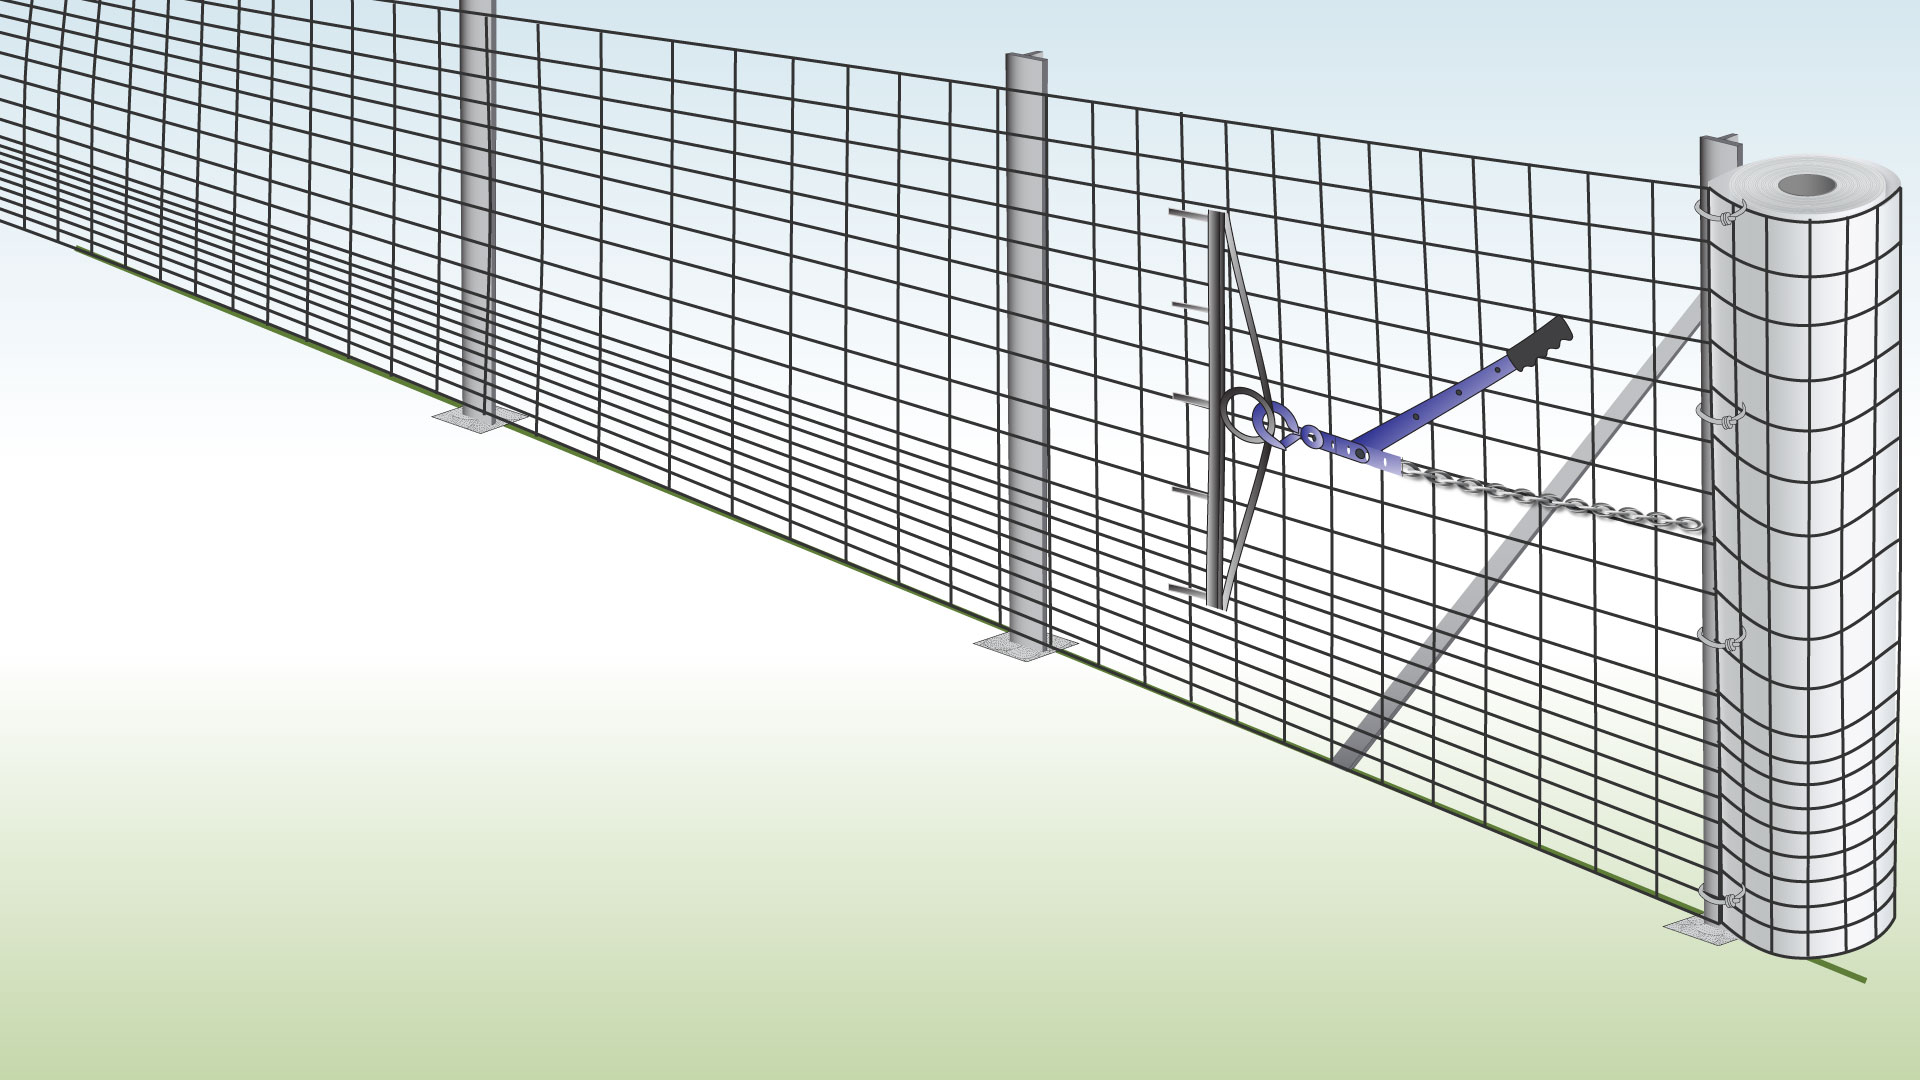
| Step 6 – Pull it Tight
|
Unroll it to the other end, keeping it tight between the two end posts.
Cut off any extra fencing, and attach it to the post in the same way as before, then release the tension. |
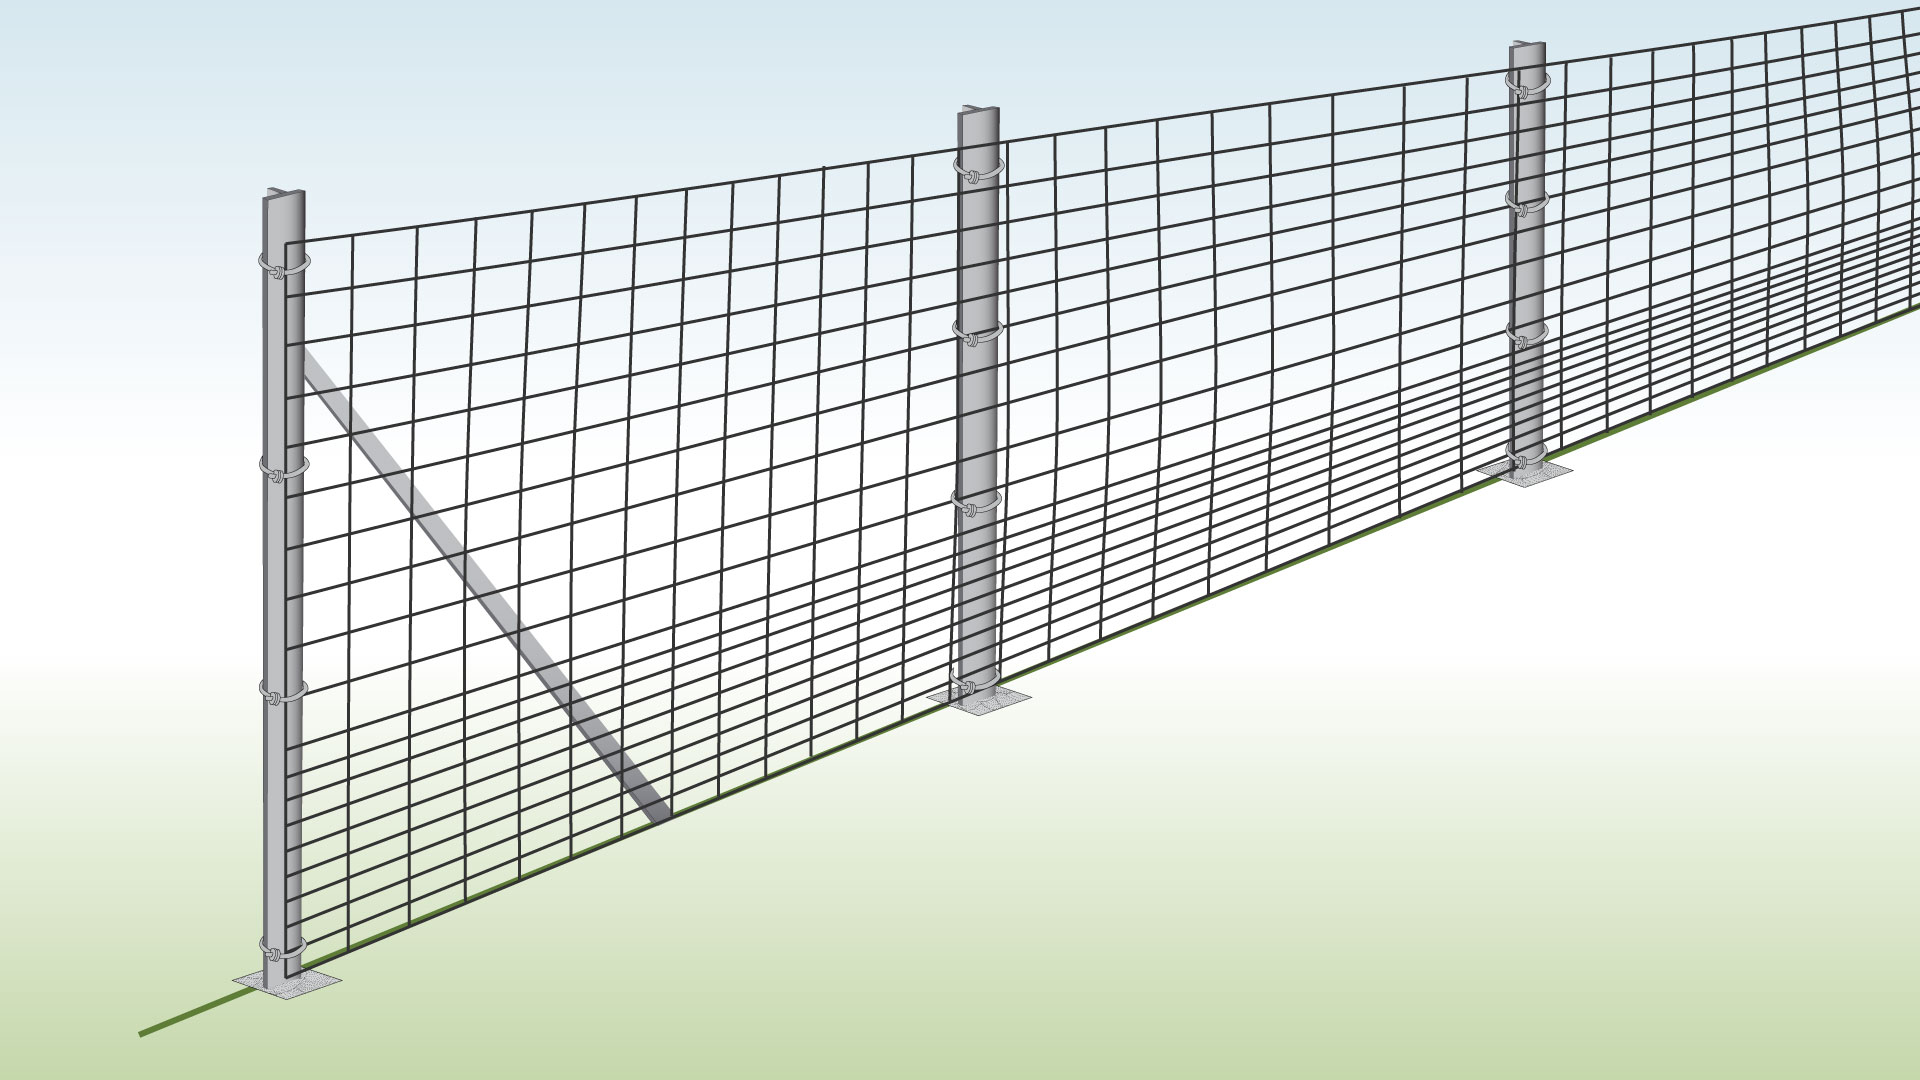
| Step 7 – Secure to Middle Posts
|
Fasten the fence to the middle posts using wire ties. |
| Step 8– Secure to Ground with Pegs
|
Finally, peg the bottom of the fence to the ground every 1-2 m to stop deers from pushing underneath. |
| Property | Description |
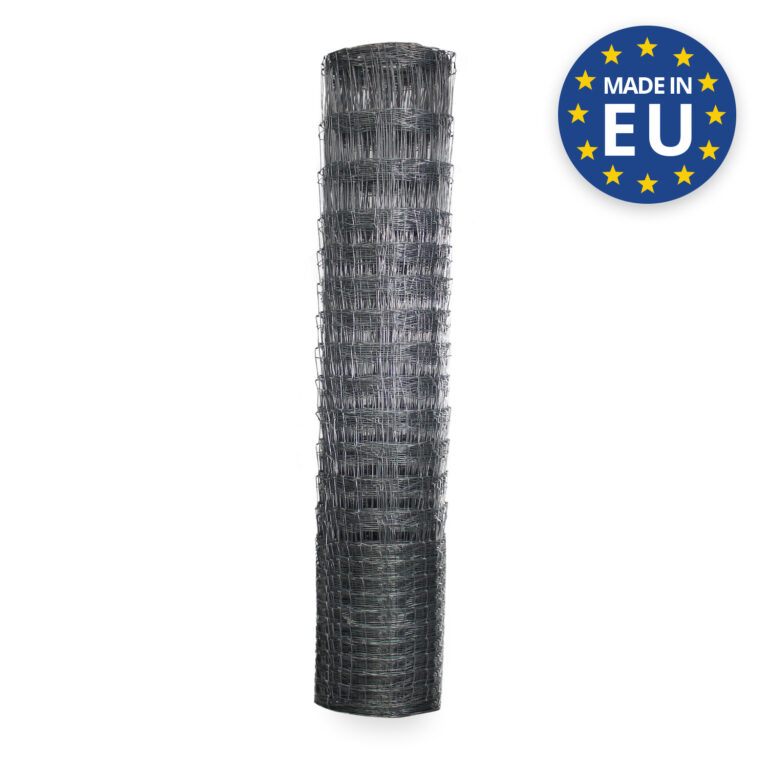
| Material | Hot dip galvanised steel |
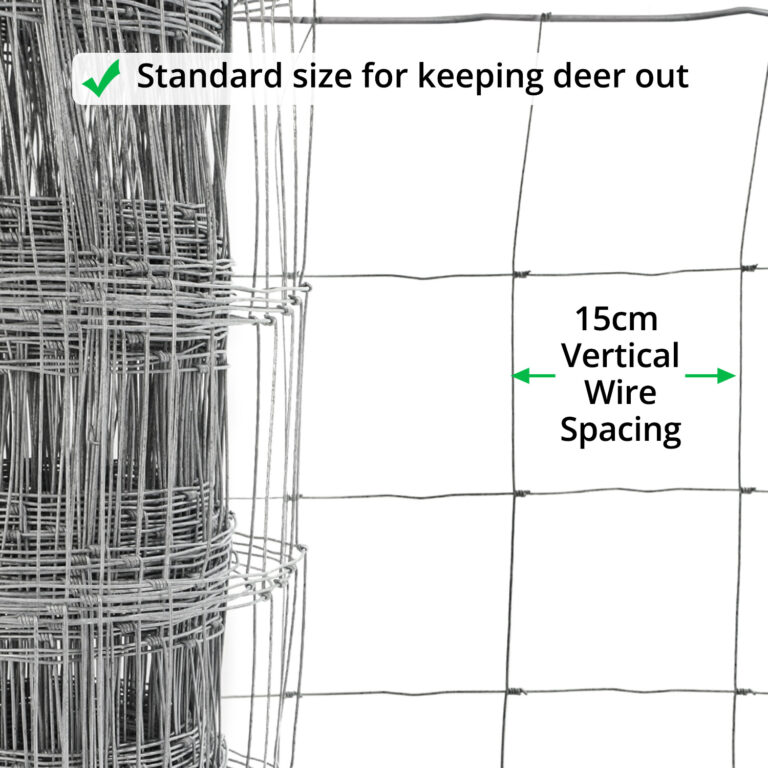
| Characteristics | Hinge joint knot, 13 x horizontal line wires at differing heights & 15cm vertical spacing for strength. Low maintenance |
| Appearance | Silver / metallic colour |
| Hole Size | Multiple aperture sizes, starting with smallest at base and getting larger towards the top |
| Resistance | High level of corrosion, rust and weather resistance |
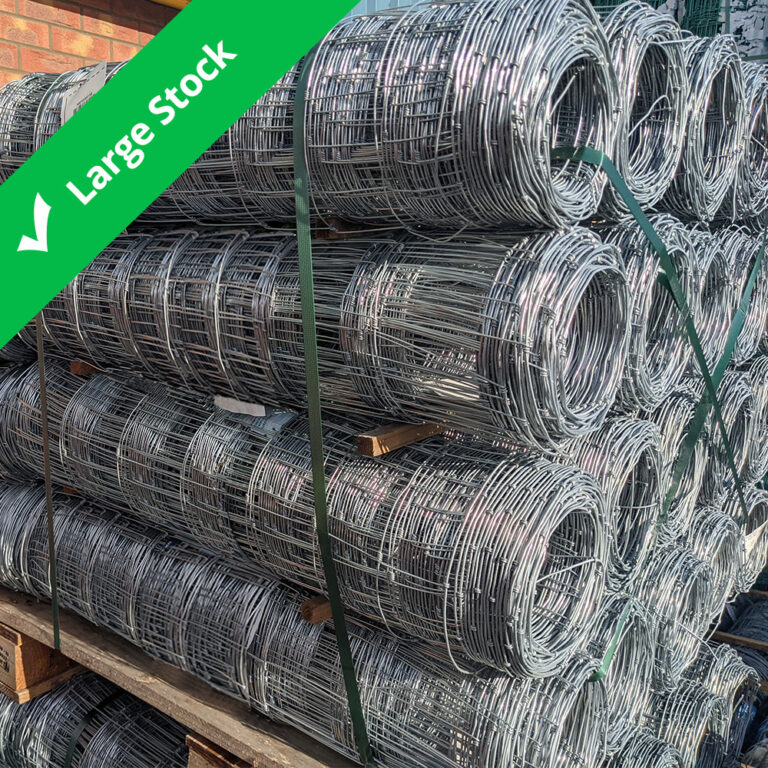
| Handling | Delivered as a roll. Cut with wire cutters. Requires less posts (typically every 5-9 metres) and less maintenance than mild steel fencing. |

Wire Fence is part of the Super Magic Bean group - VAT Registered: 344 7643 83 - Company Registration No: 11290483