Show video
6m (20ft)
90cm (3ft)
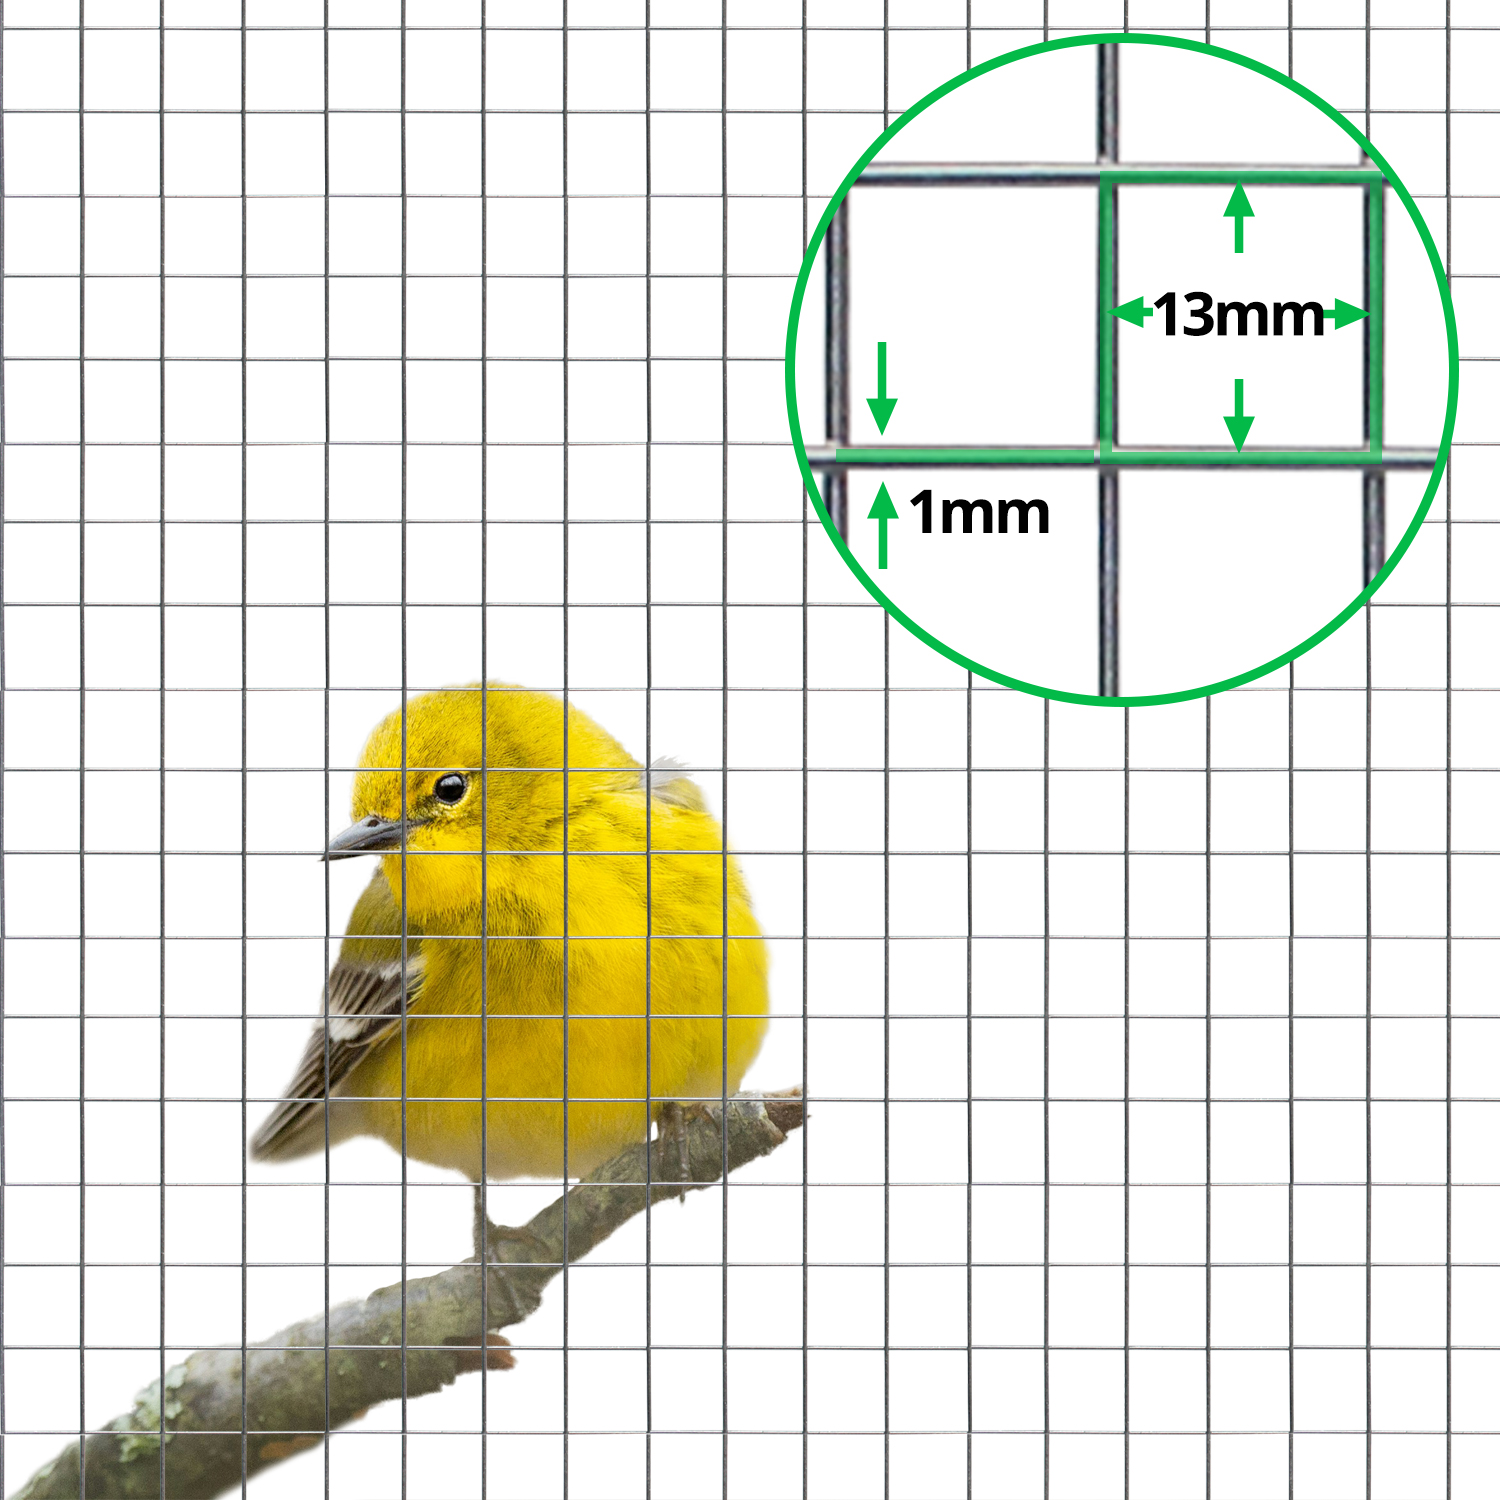
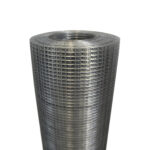
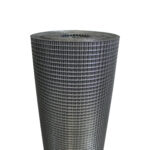
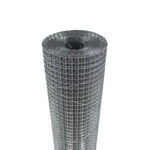
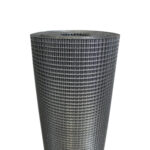
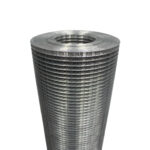
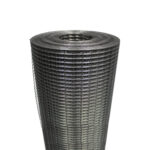
13mm x 13mm
1mm (19g)
£21.99 inc. VAT
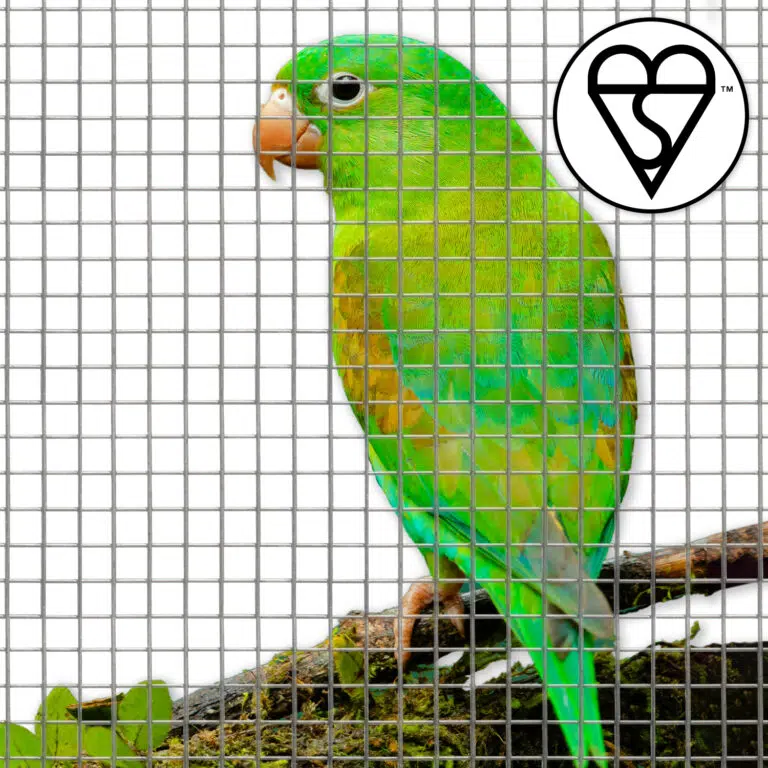


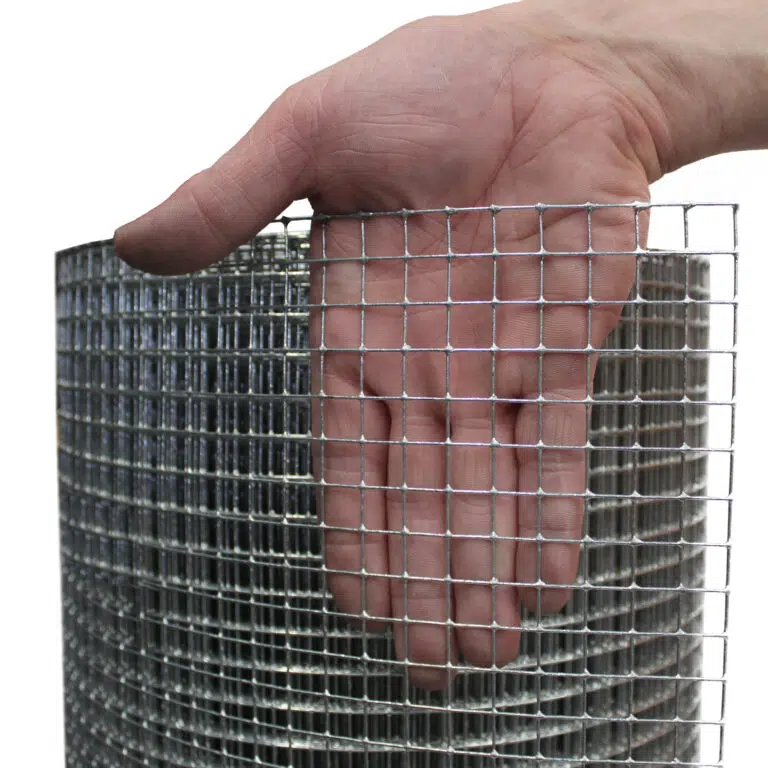

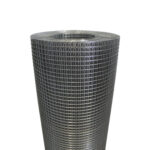
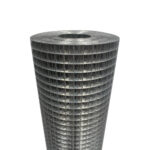
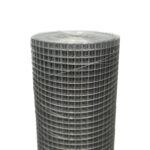
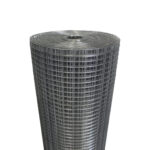
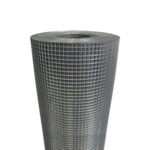
BS EN Standard wire mesh suited to making aviaries for large or small birds. The Aviary mesh is corrosion resistant making it suitable for both indoor or outdoor bird aviaries.


| Bird Type | Aviary Mesh Required |
| Small Softbill Birds
Example species: Canaries, Finches, Gouldians |
13mm x 13mm + 1mm (19g)
Y – stops chewing through |
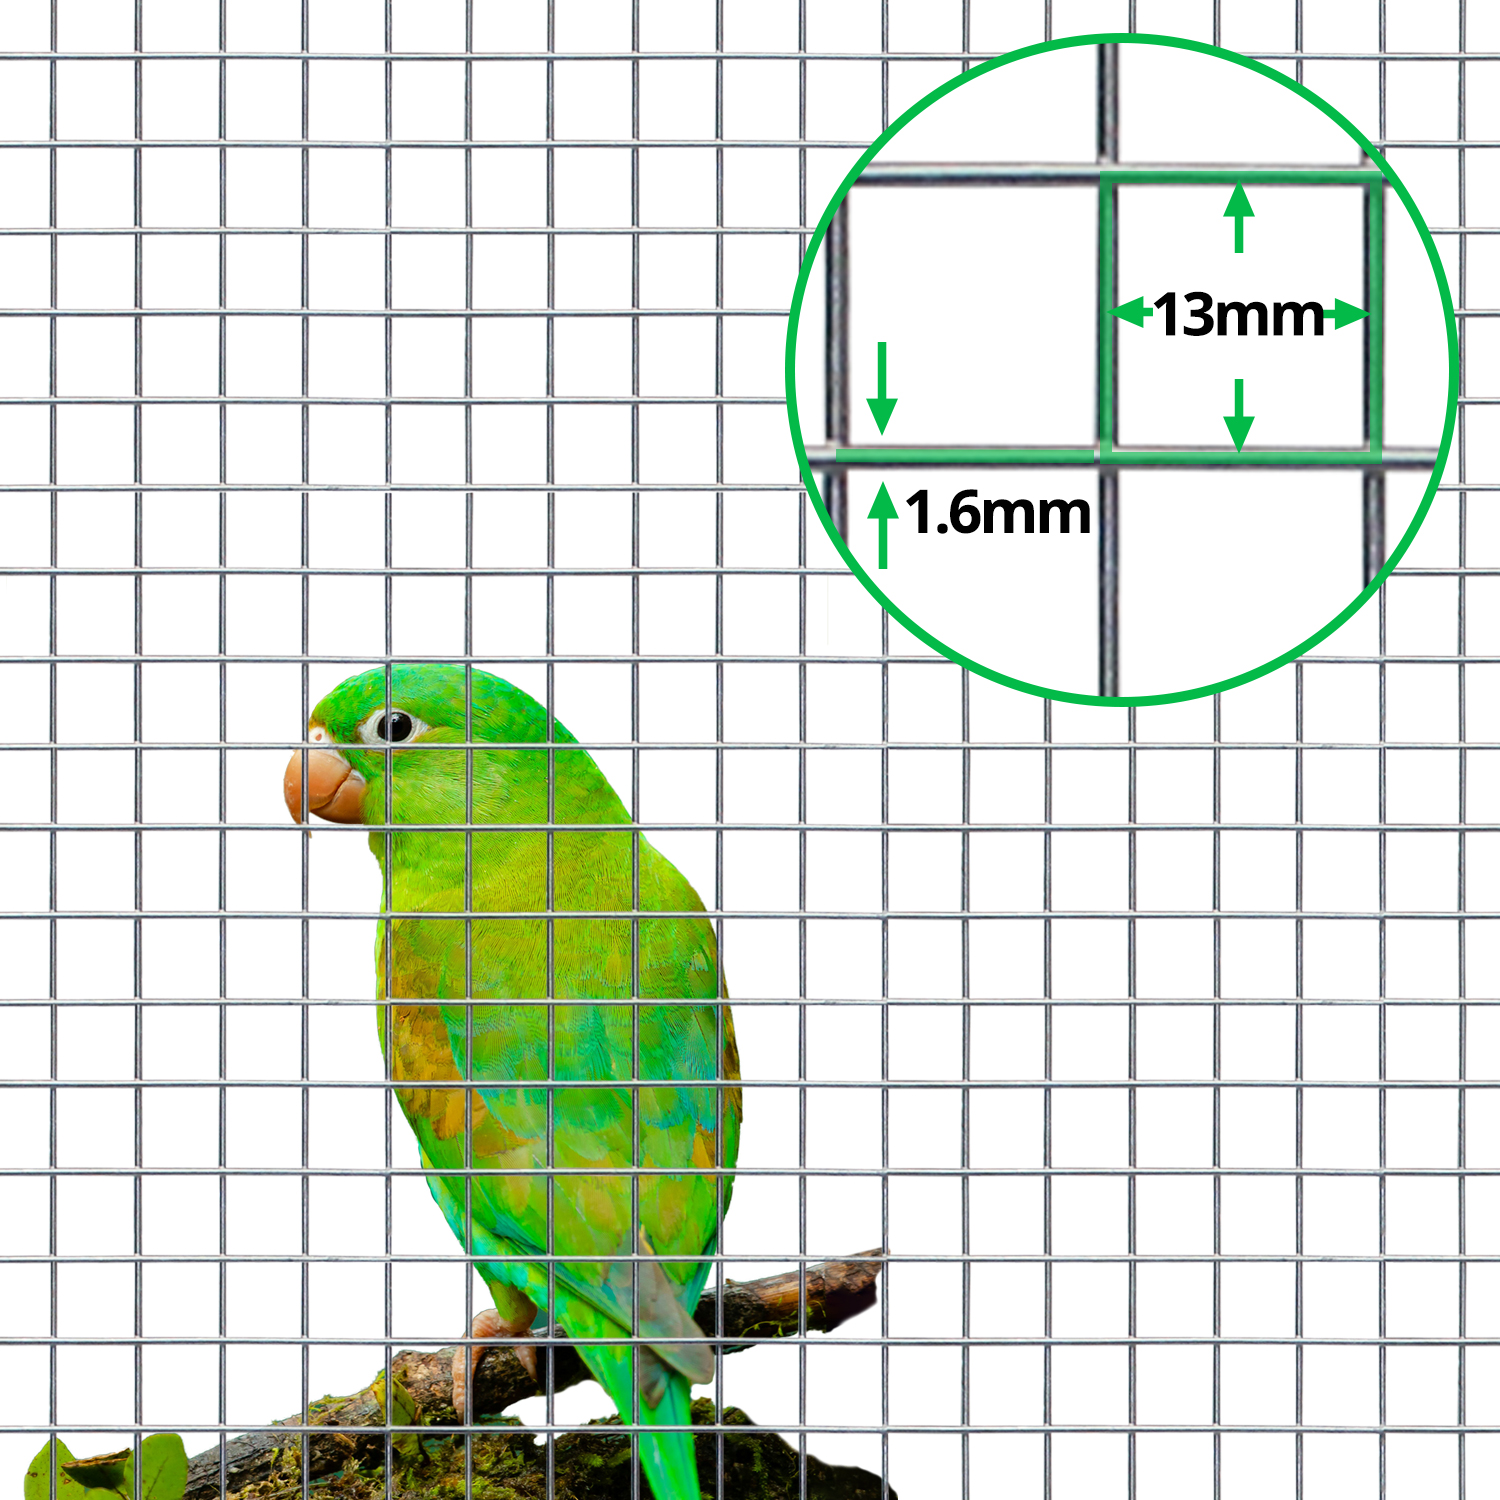
| Small Birds
Example species: Budgerigars, Bourkes, Cockatiels |
13mm x 13mm + 1.6mm (16g)
Y – stops chewing through |
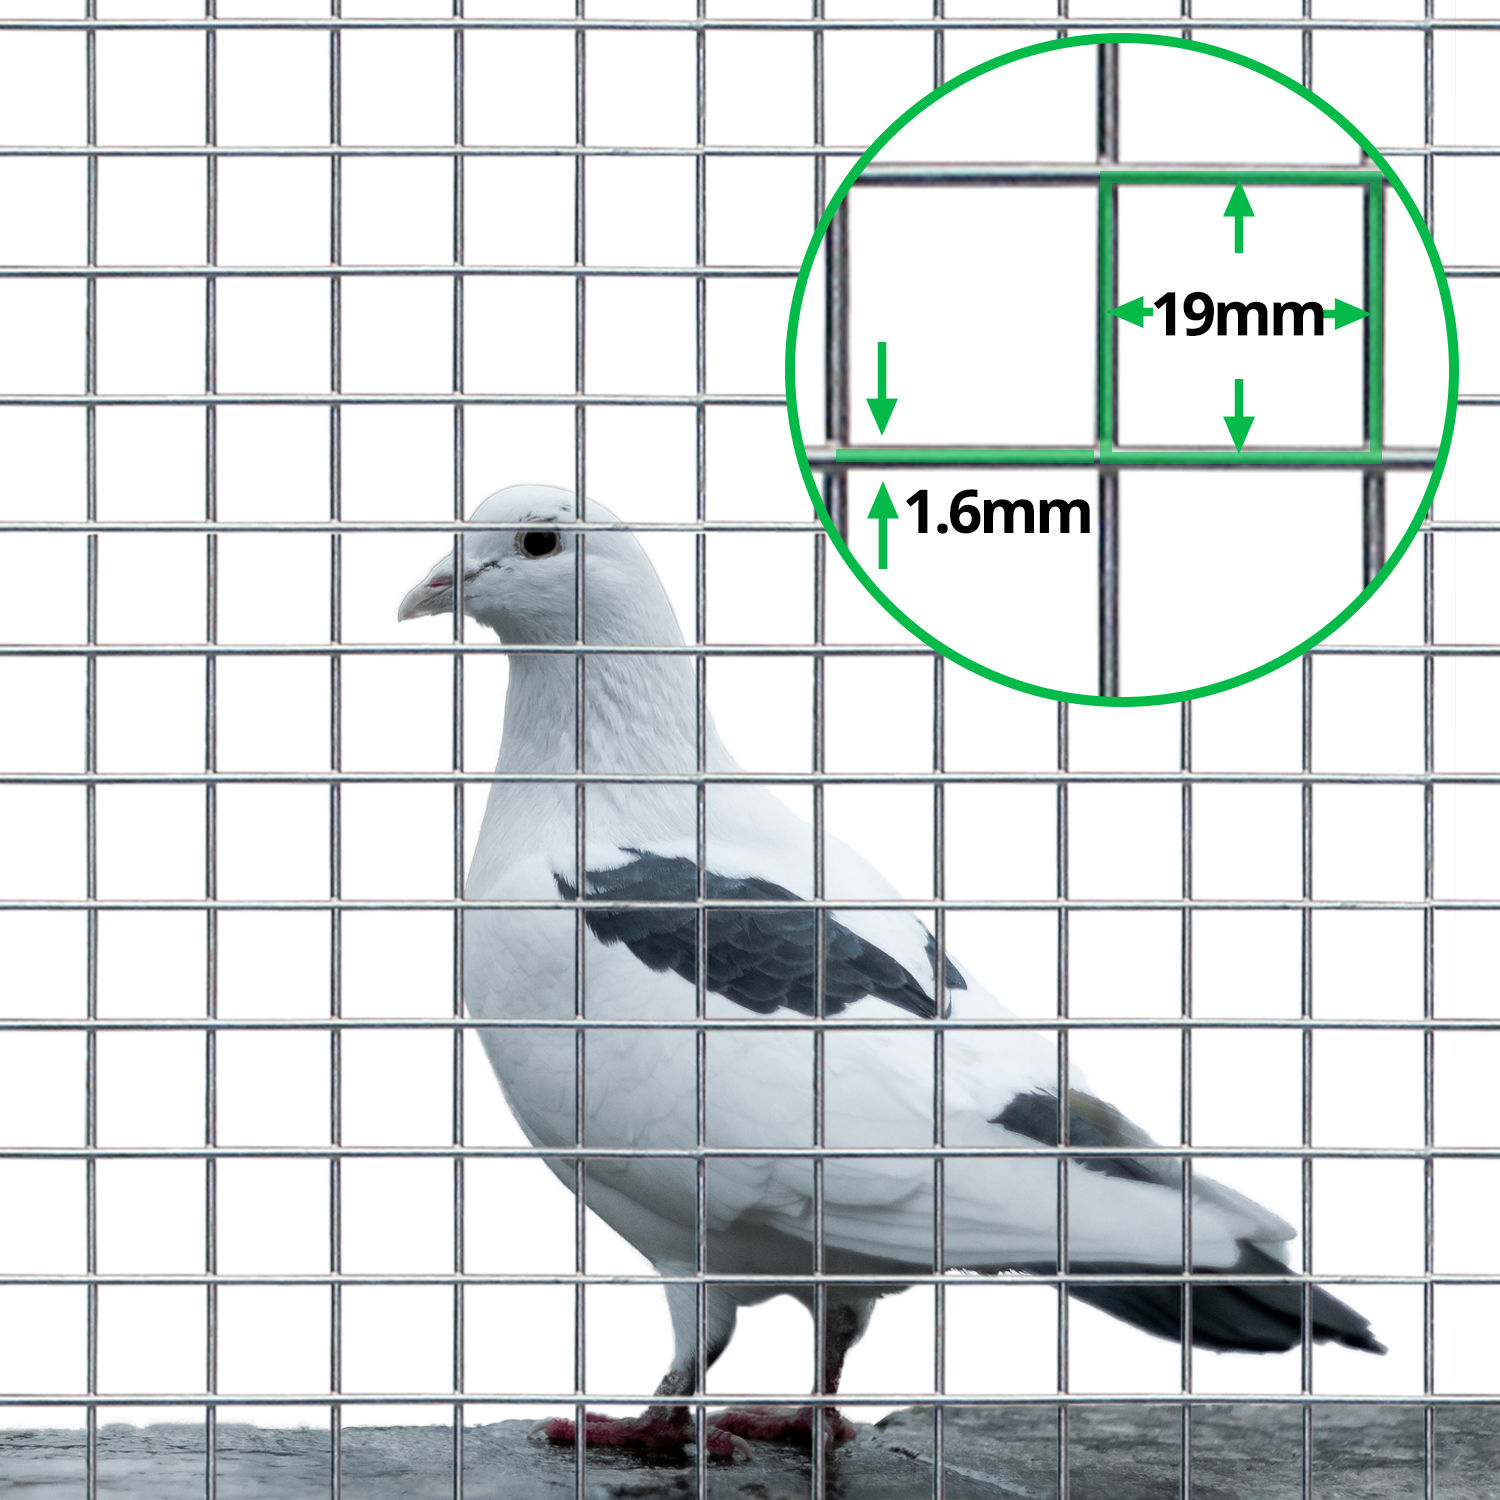
| Medium Birds
Example species: Conures, Senegals, Quakers, Eclectus, Pigeons, Doves
|
19mm x 19mm + 1.6mm (16g)
Y – stops chewing through |
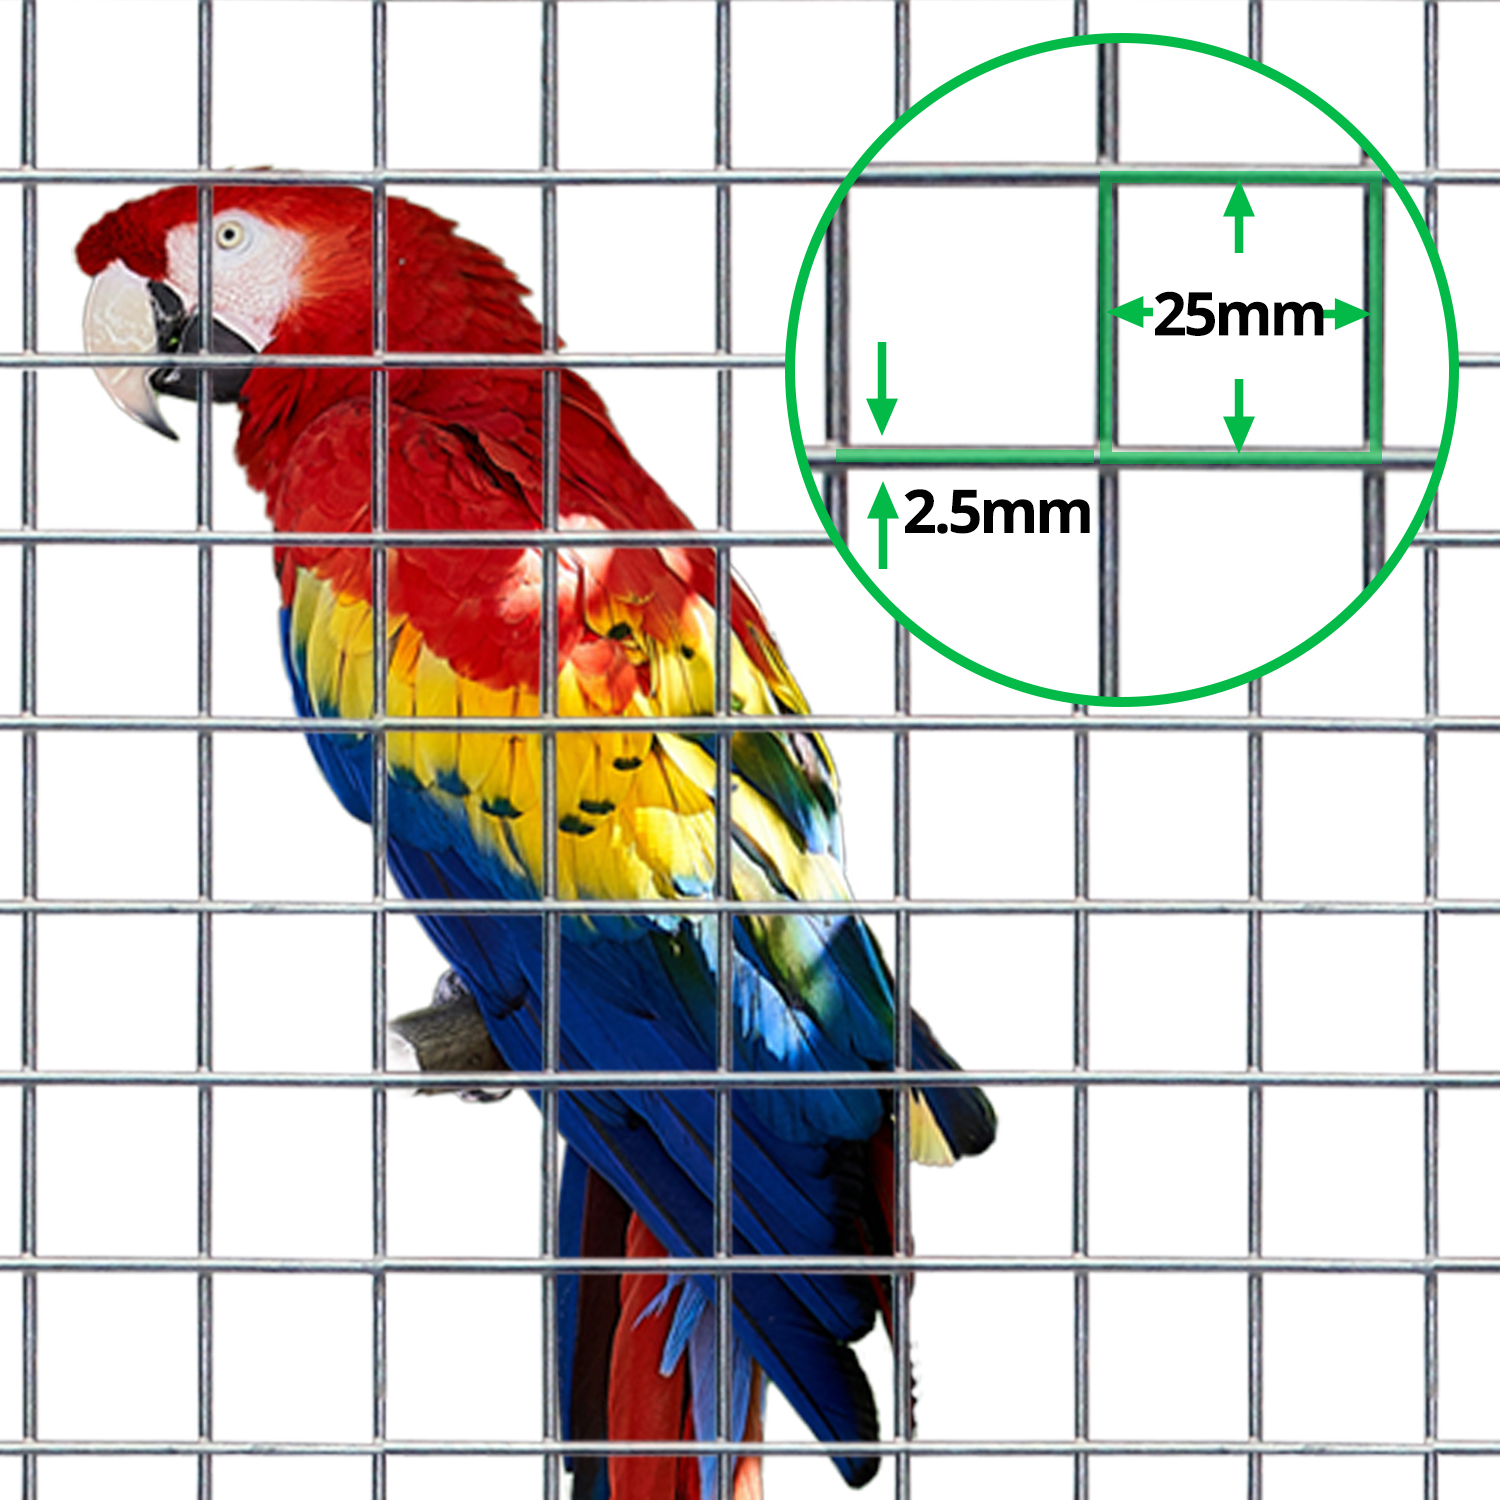
| Large Birds
Example species: African Greys, Amazons, Macaws, Cockatoos |
25mm x 25mm + 2.5mm (12g)
Y – stops chewing through |
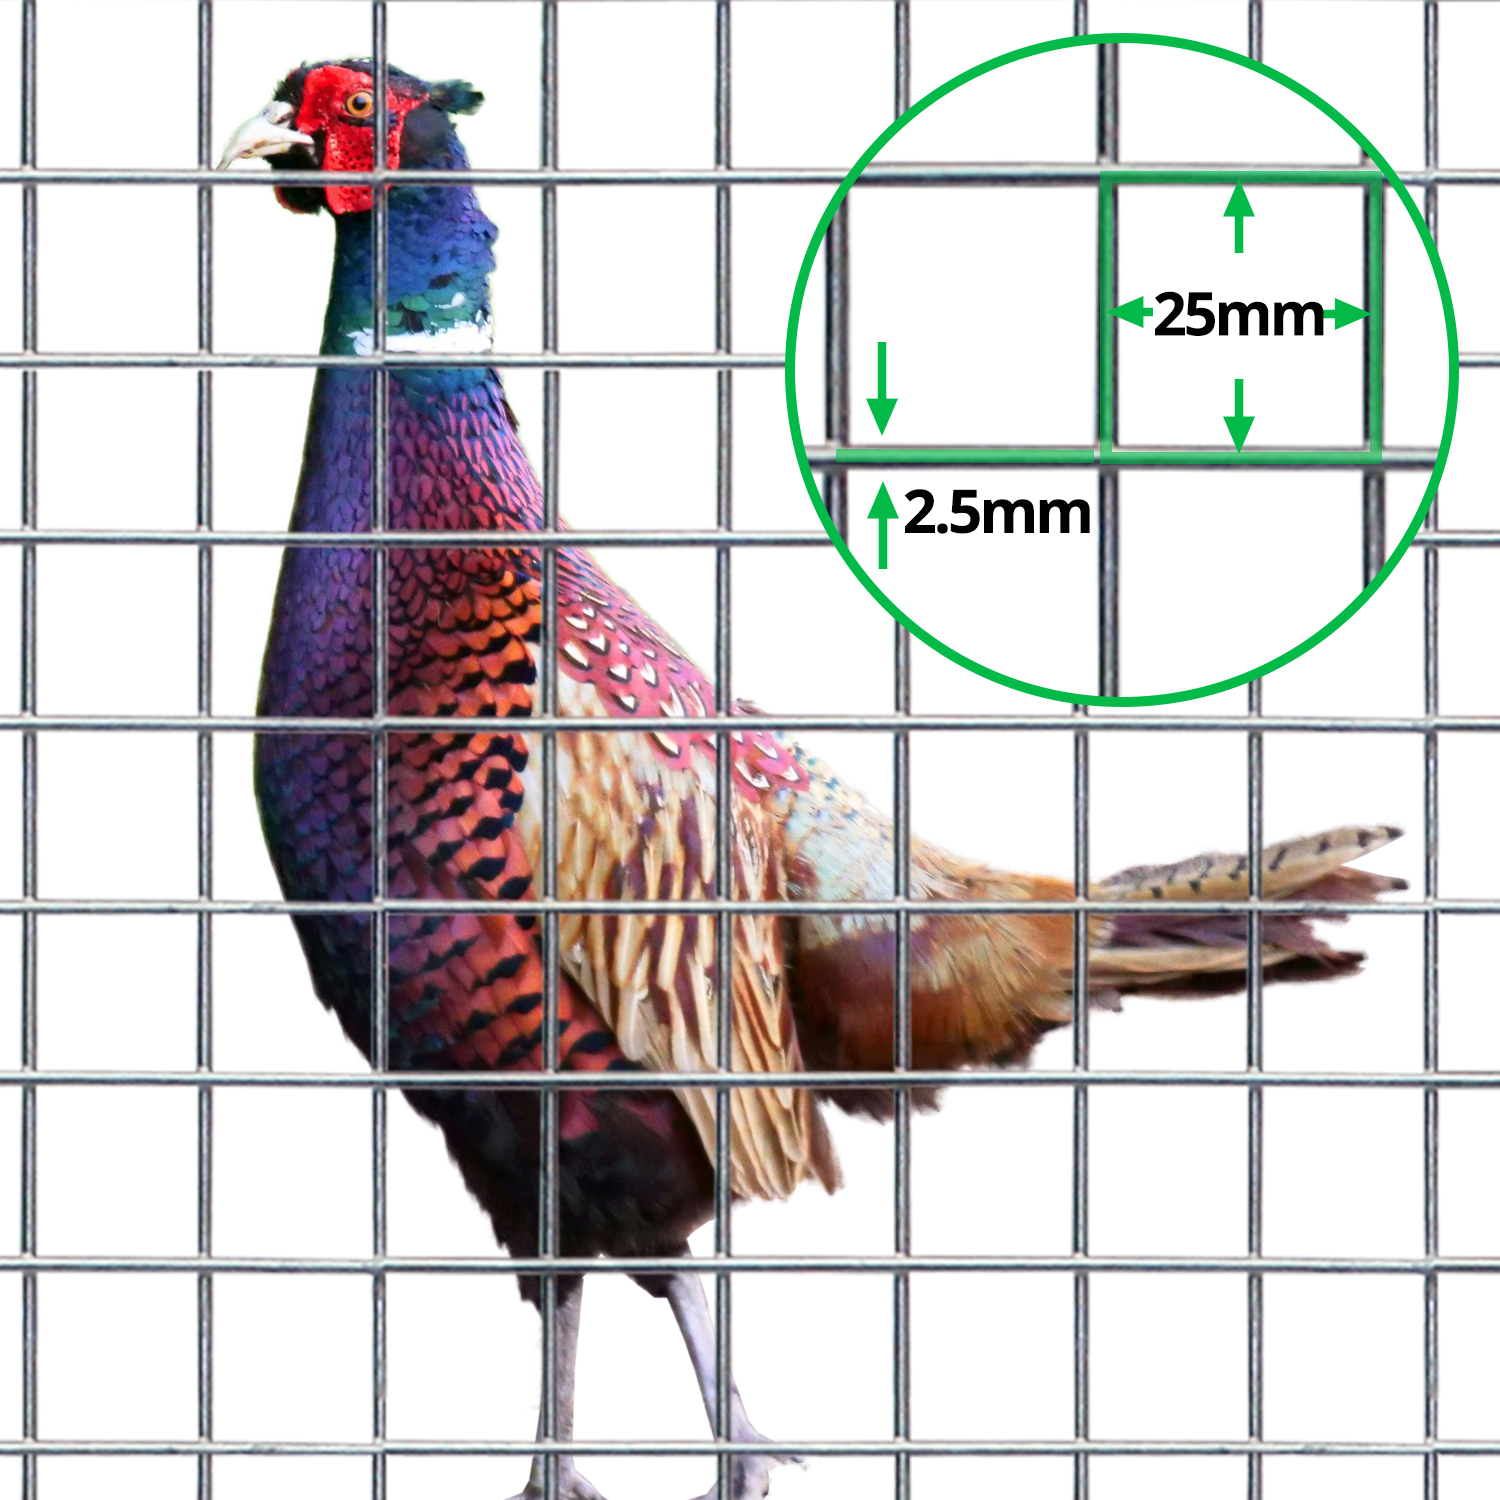
| Game Birds
Example species: Quail, Pheasants |
25mm x 25mm + 2.5mm (12g)
Y – stops chewing through |
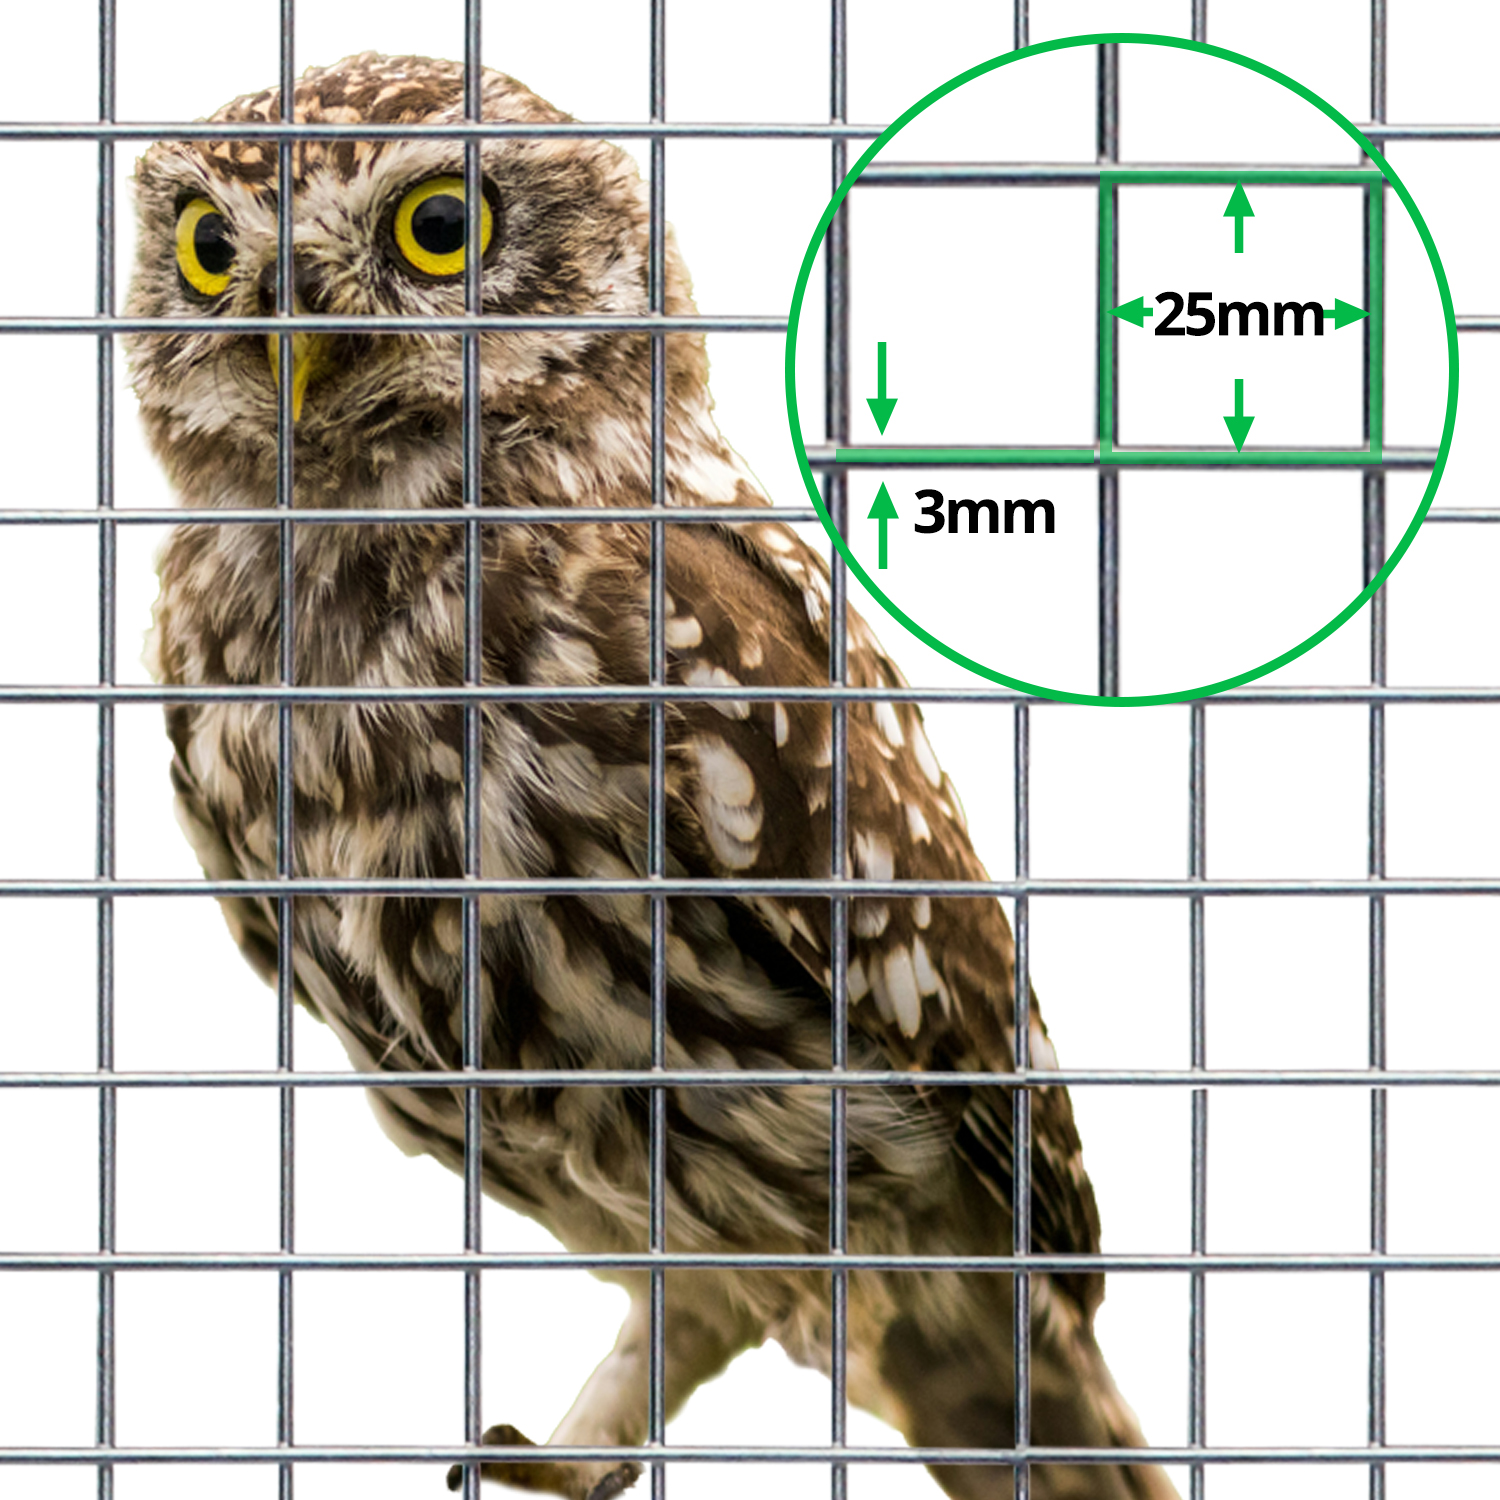
| Birds of Prey
Example species: Falcons, Hawks, Owls, Eagles |
25mm x 25mm + 3mm (10g)
Y – stops chewing through |
| Stop Predators | |
| Foxes | 50mm x 50mm + 2mm (14g) (view category) |
| Rats & snakes | 6mm x 6mm + 0.7mm (22g) (view category) |
| Cats | 25mm x 25mm + 1.6mm (16g) (view category) |
| Attach to: | How to: |
| T Posts | 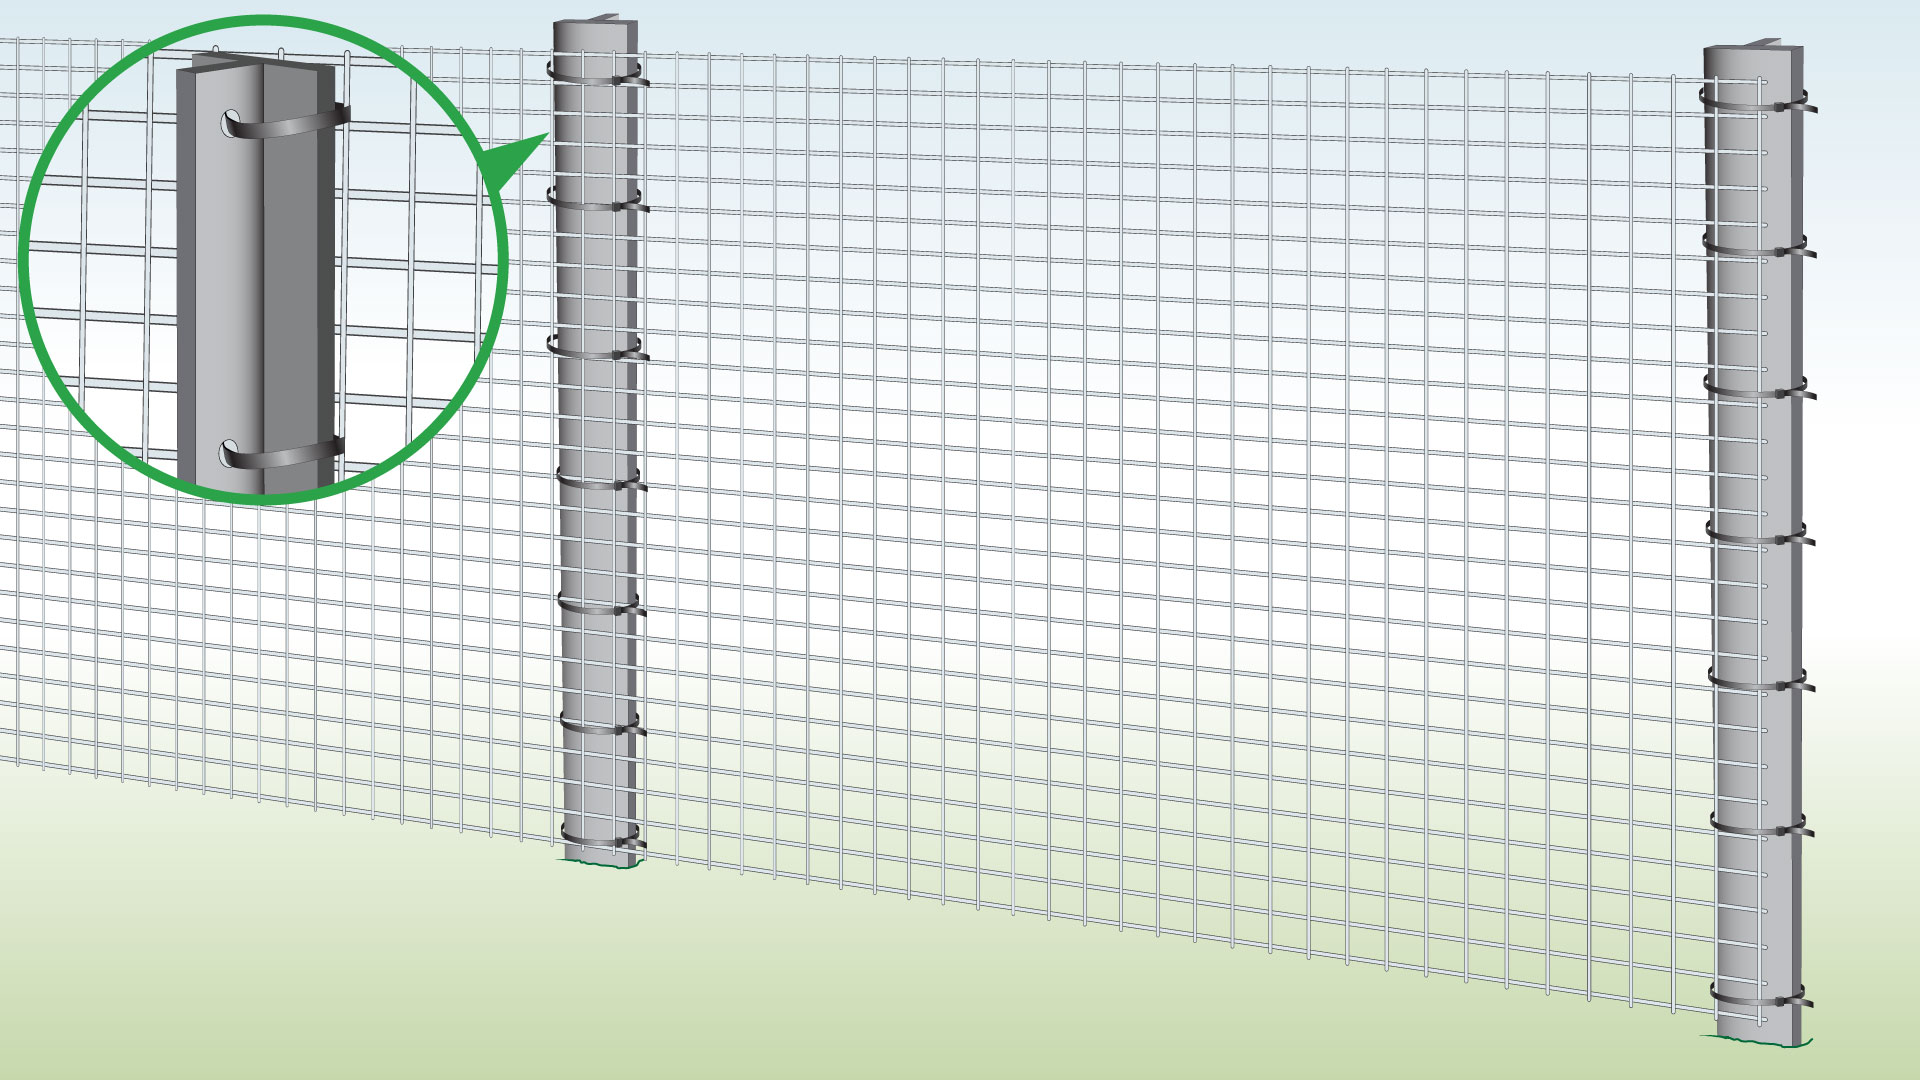
|
| Wood/ Wooden Post (Staples) |
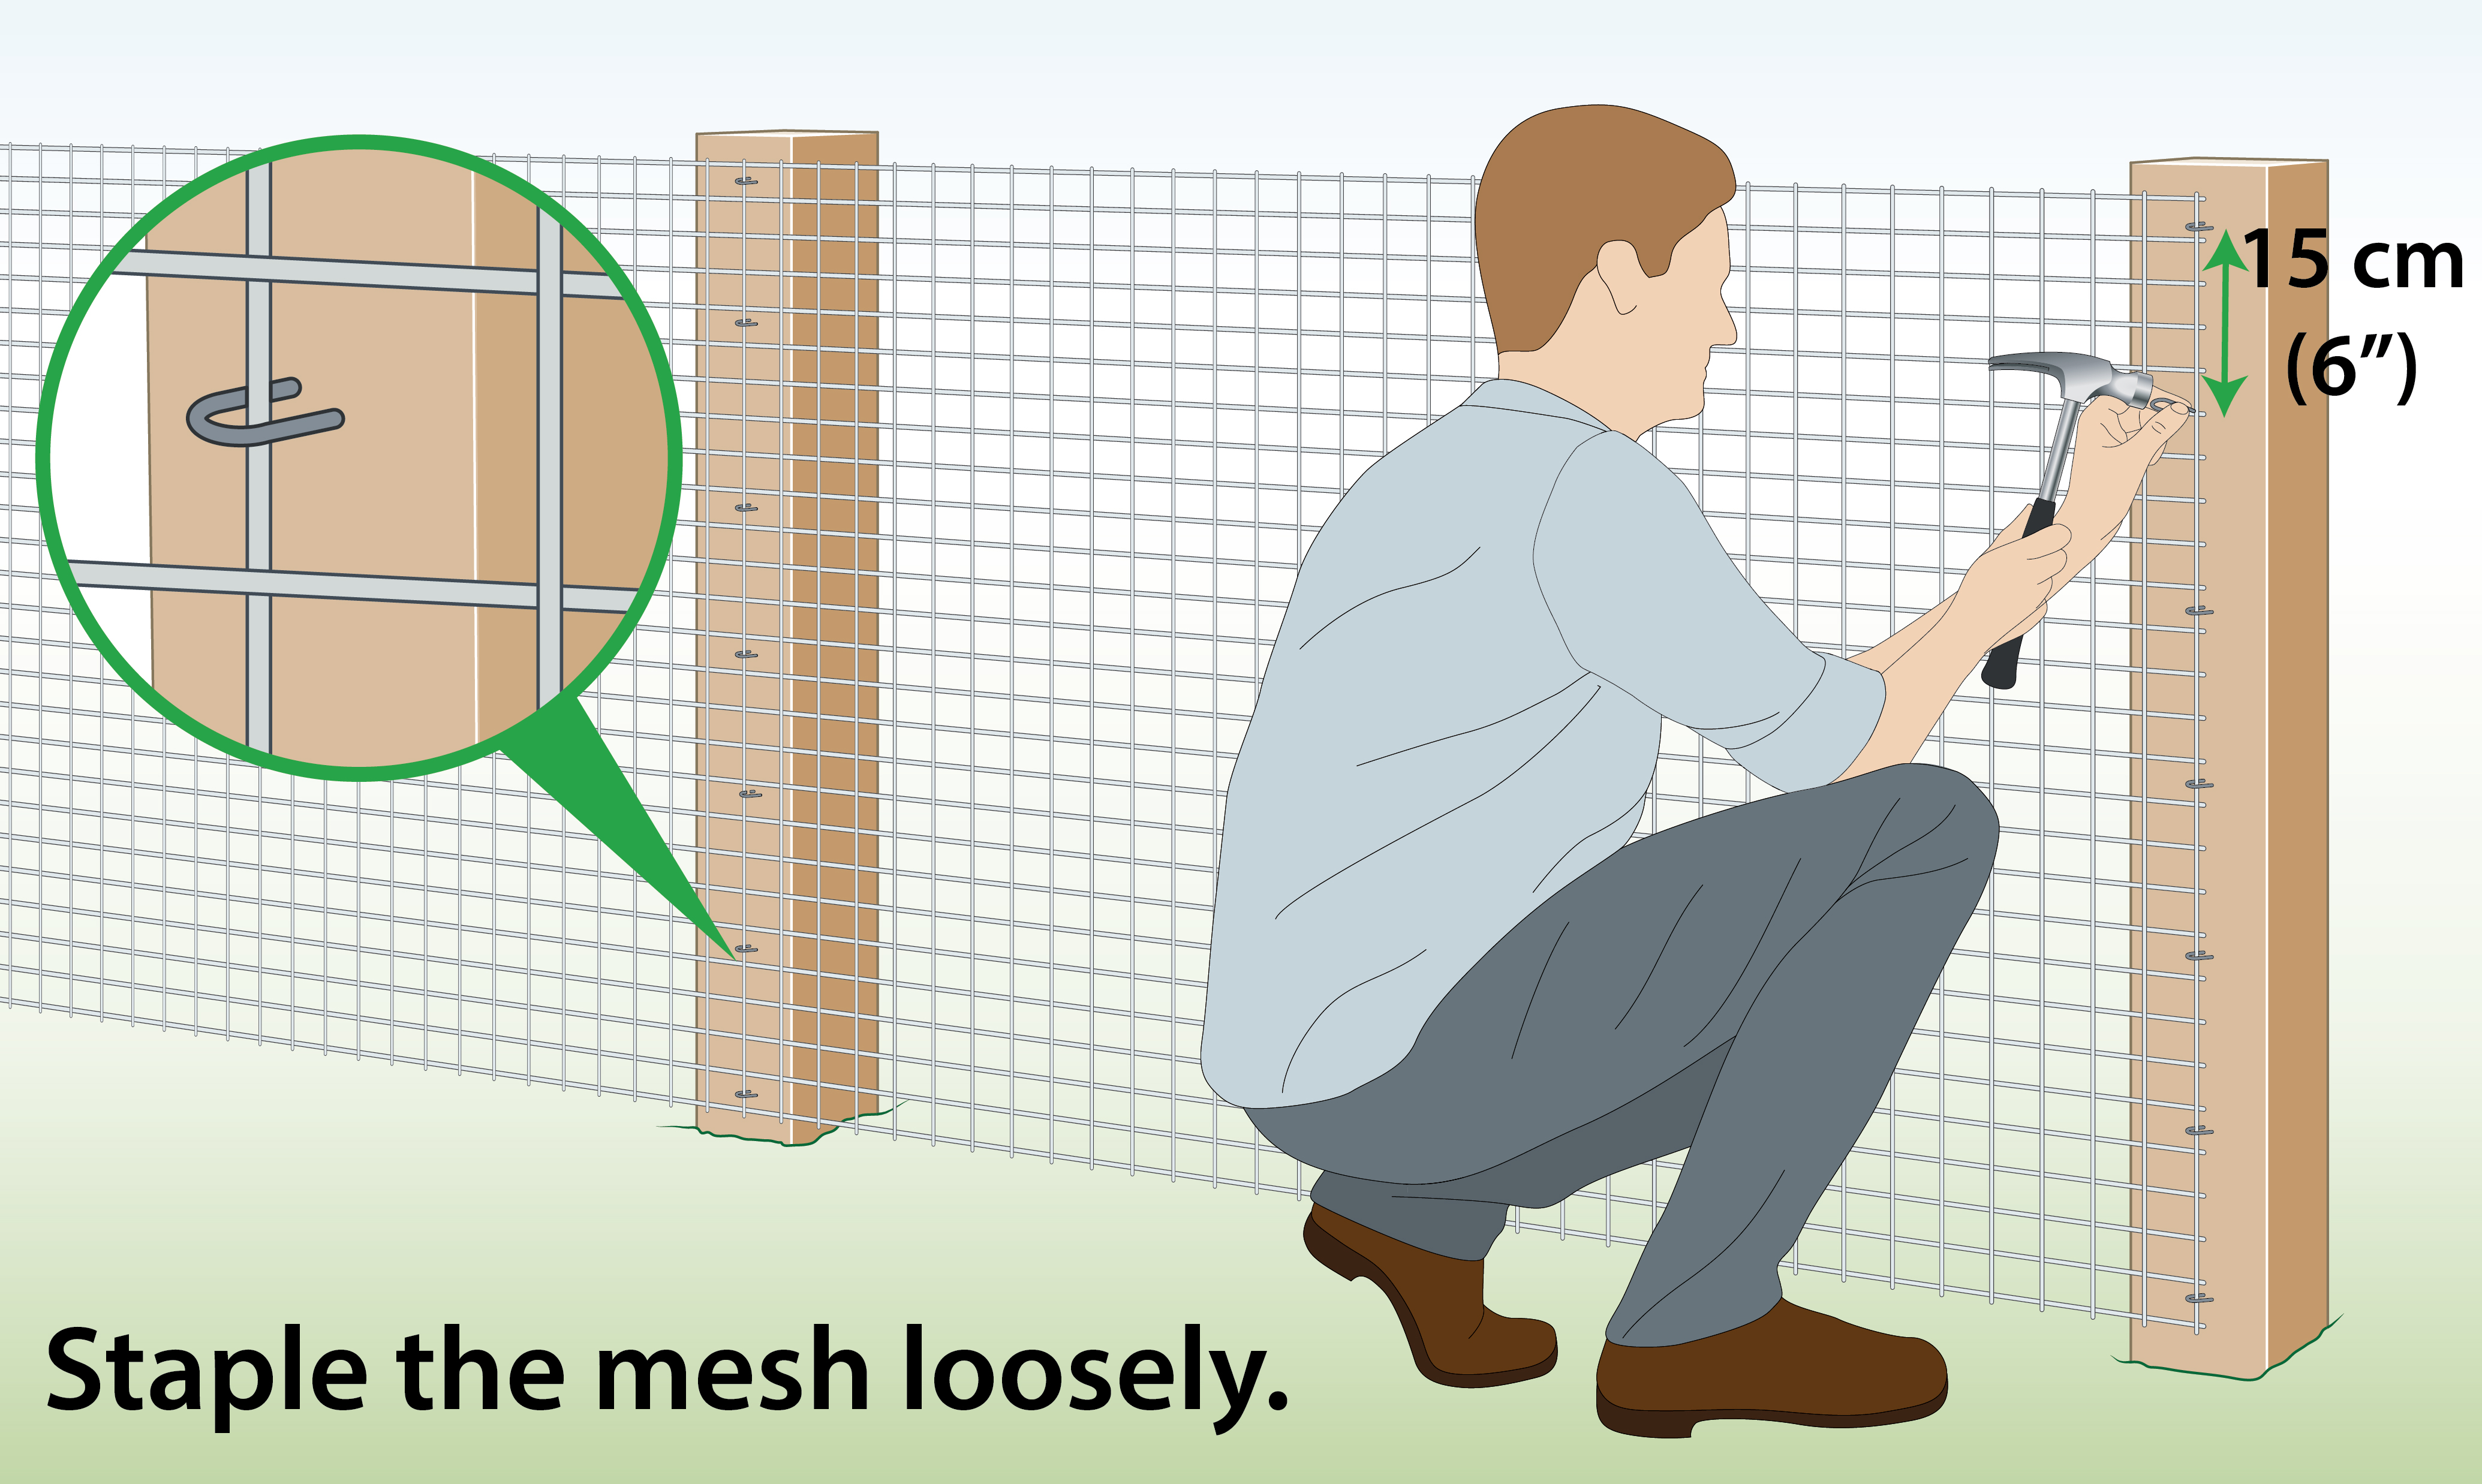 |
| Metal/ Metal Posts (Cable ties) |
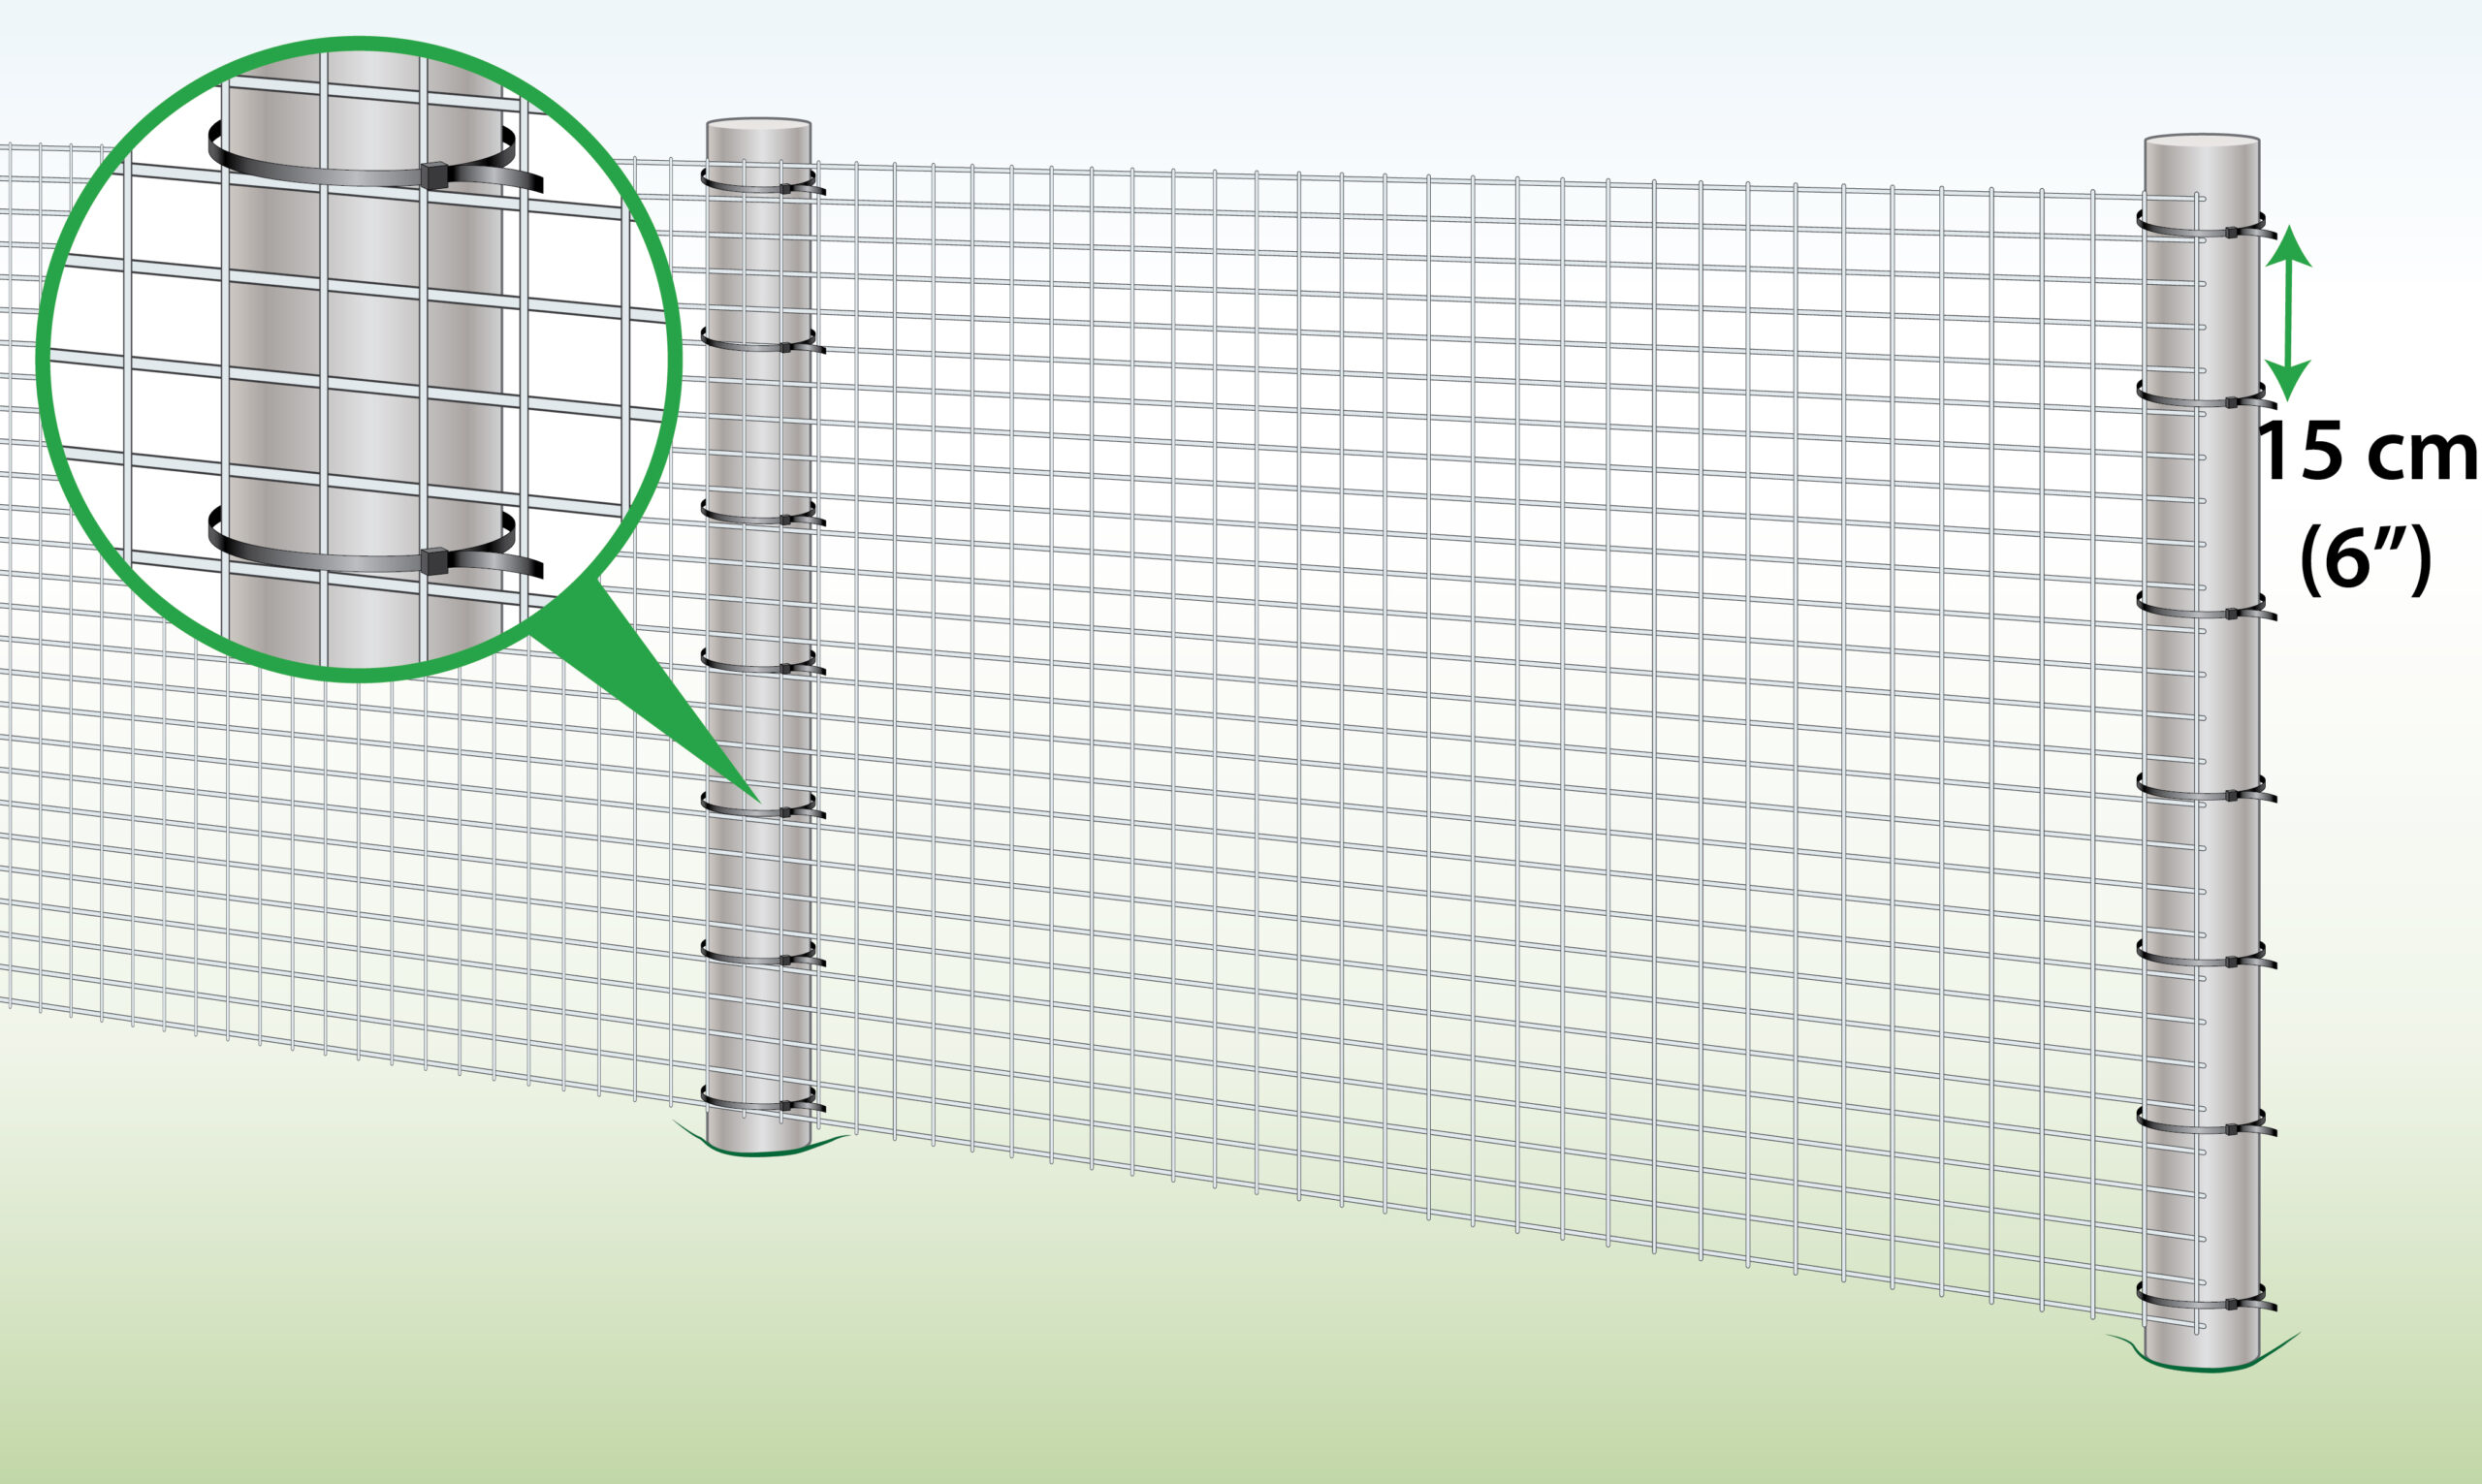
|
| Soil
(Pegs) |
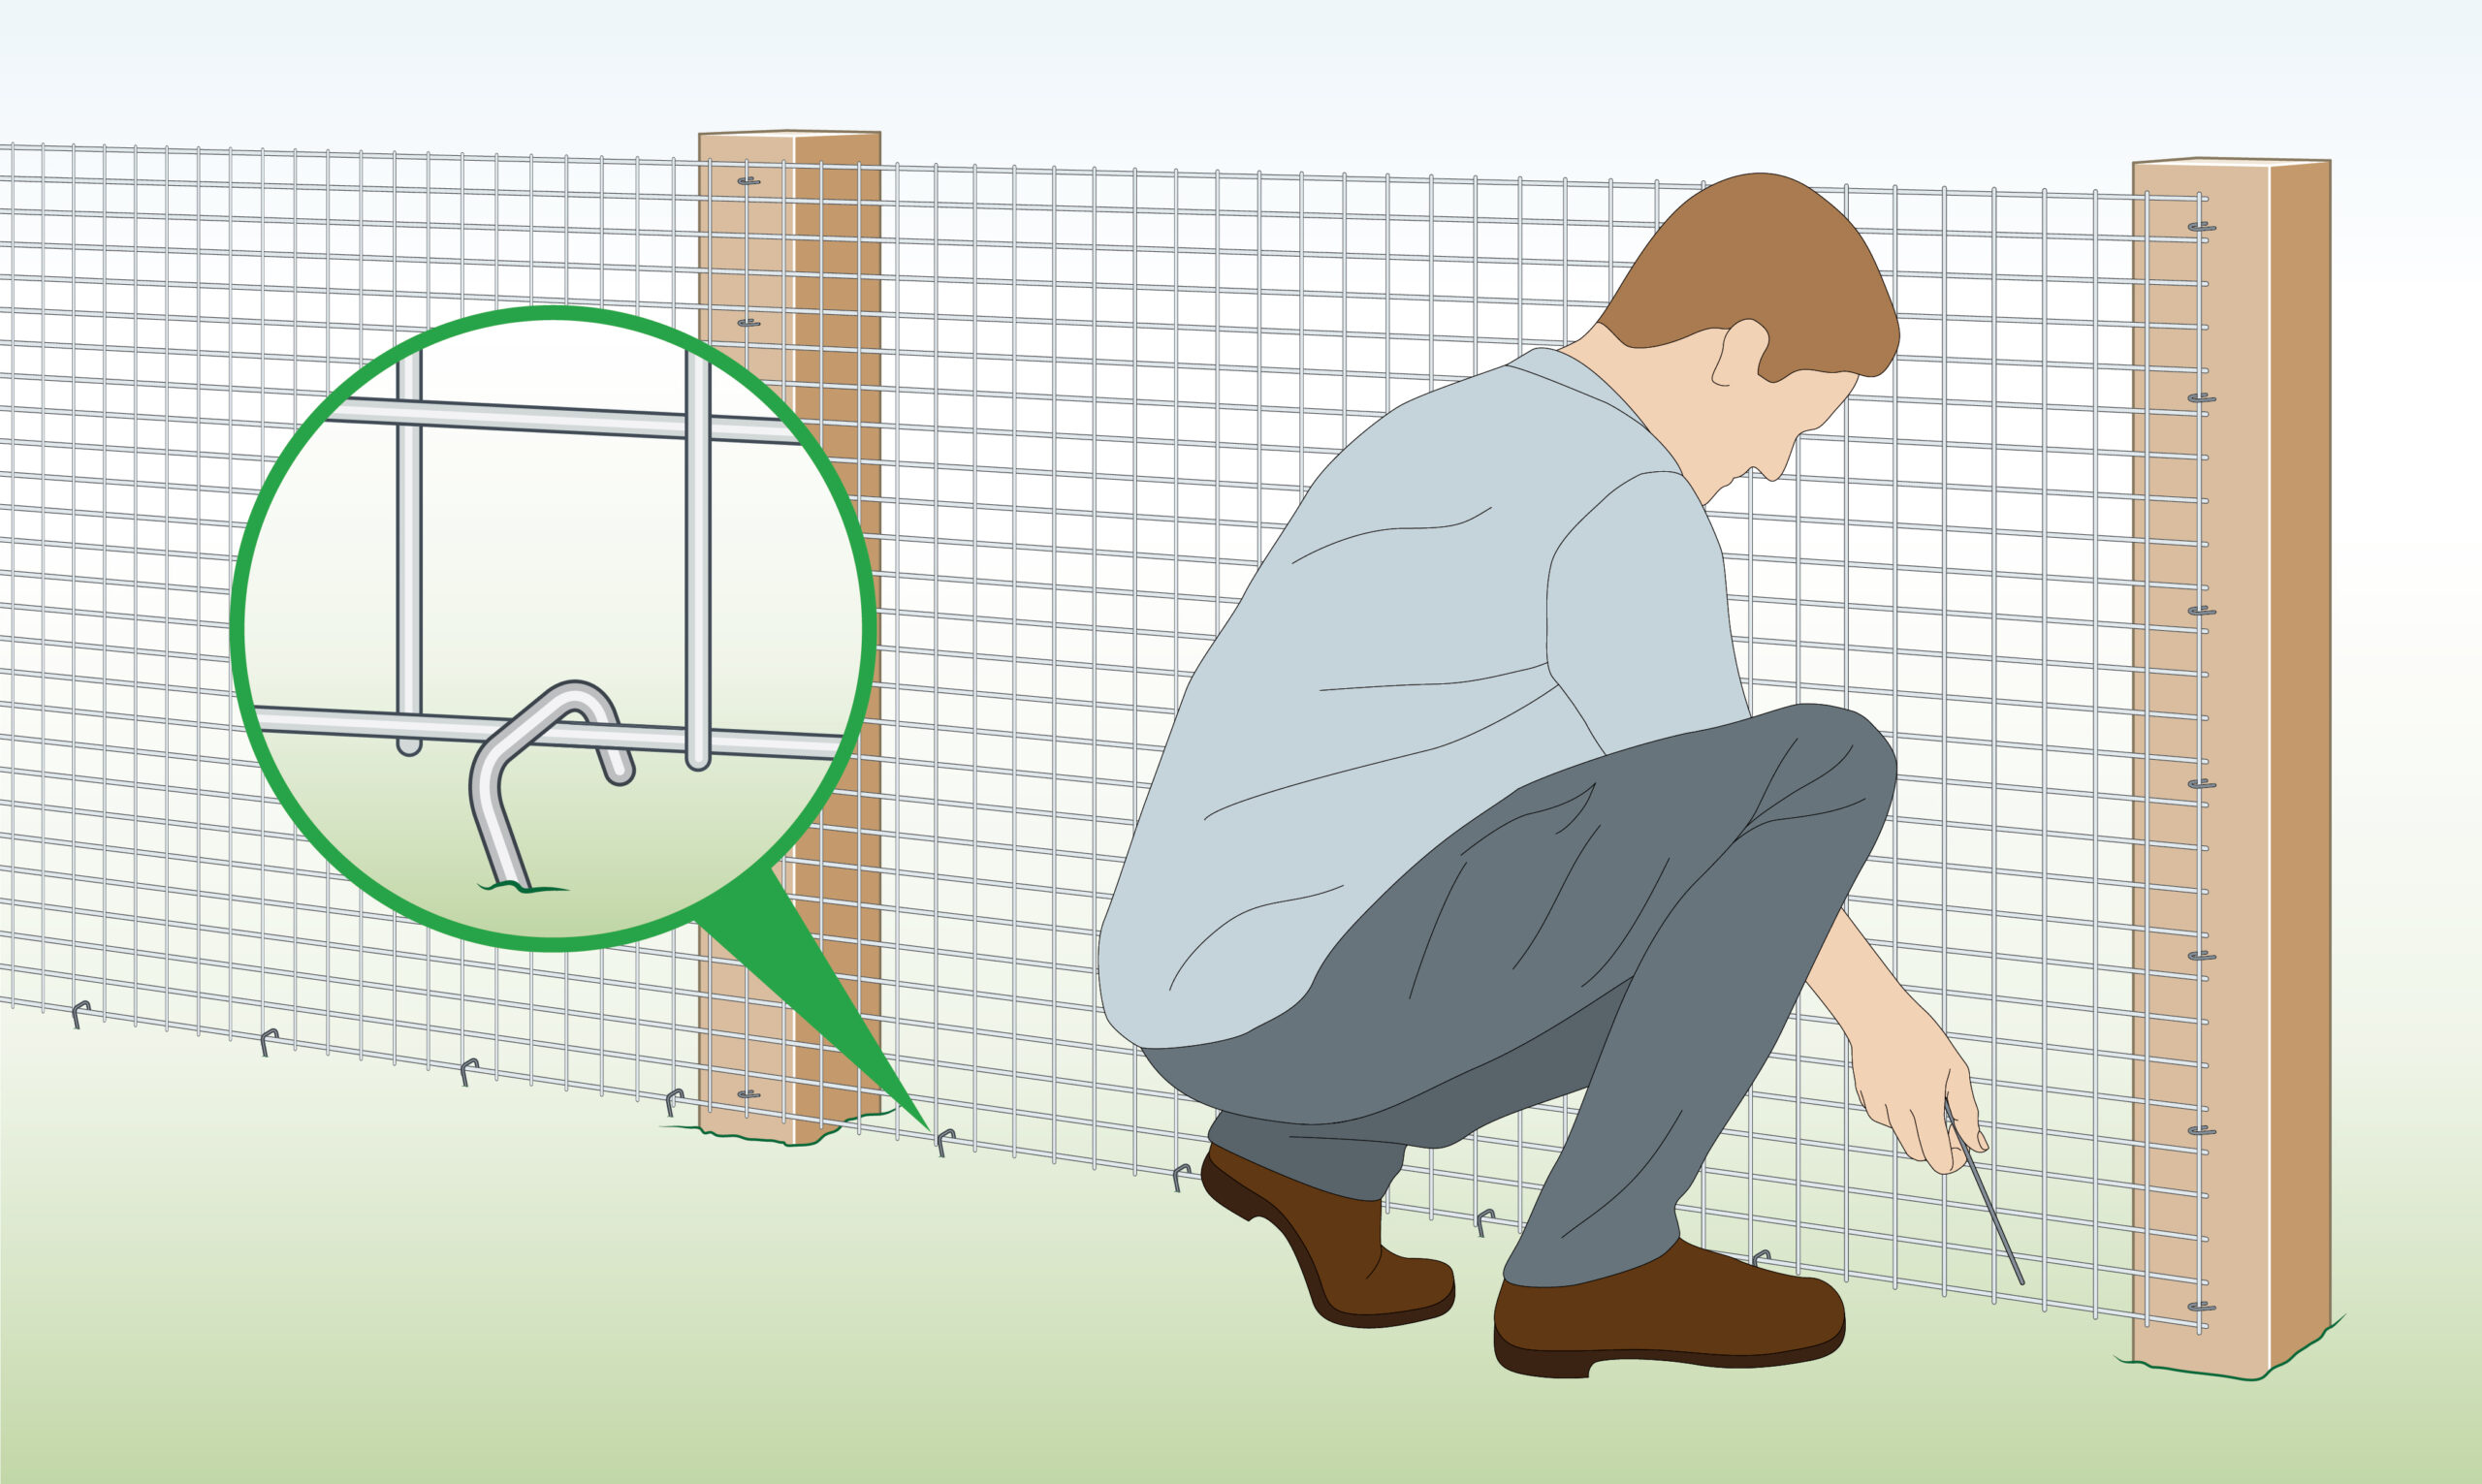
|
| Wire Fence
|
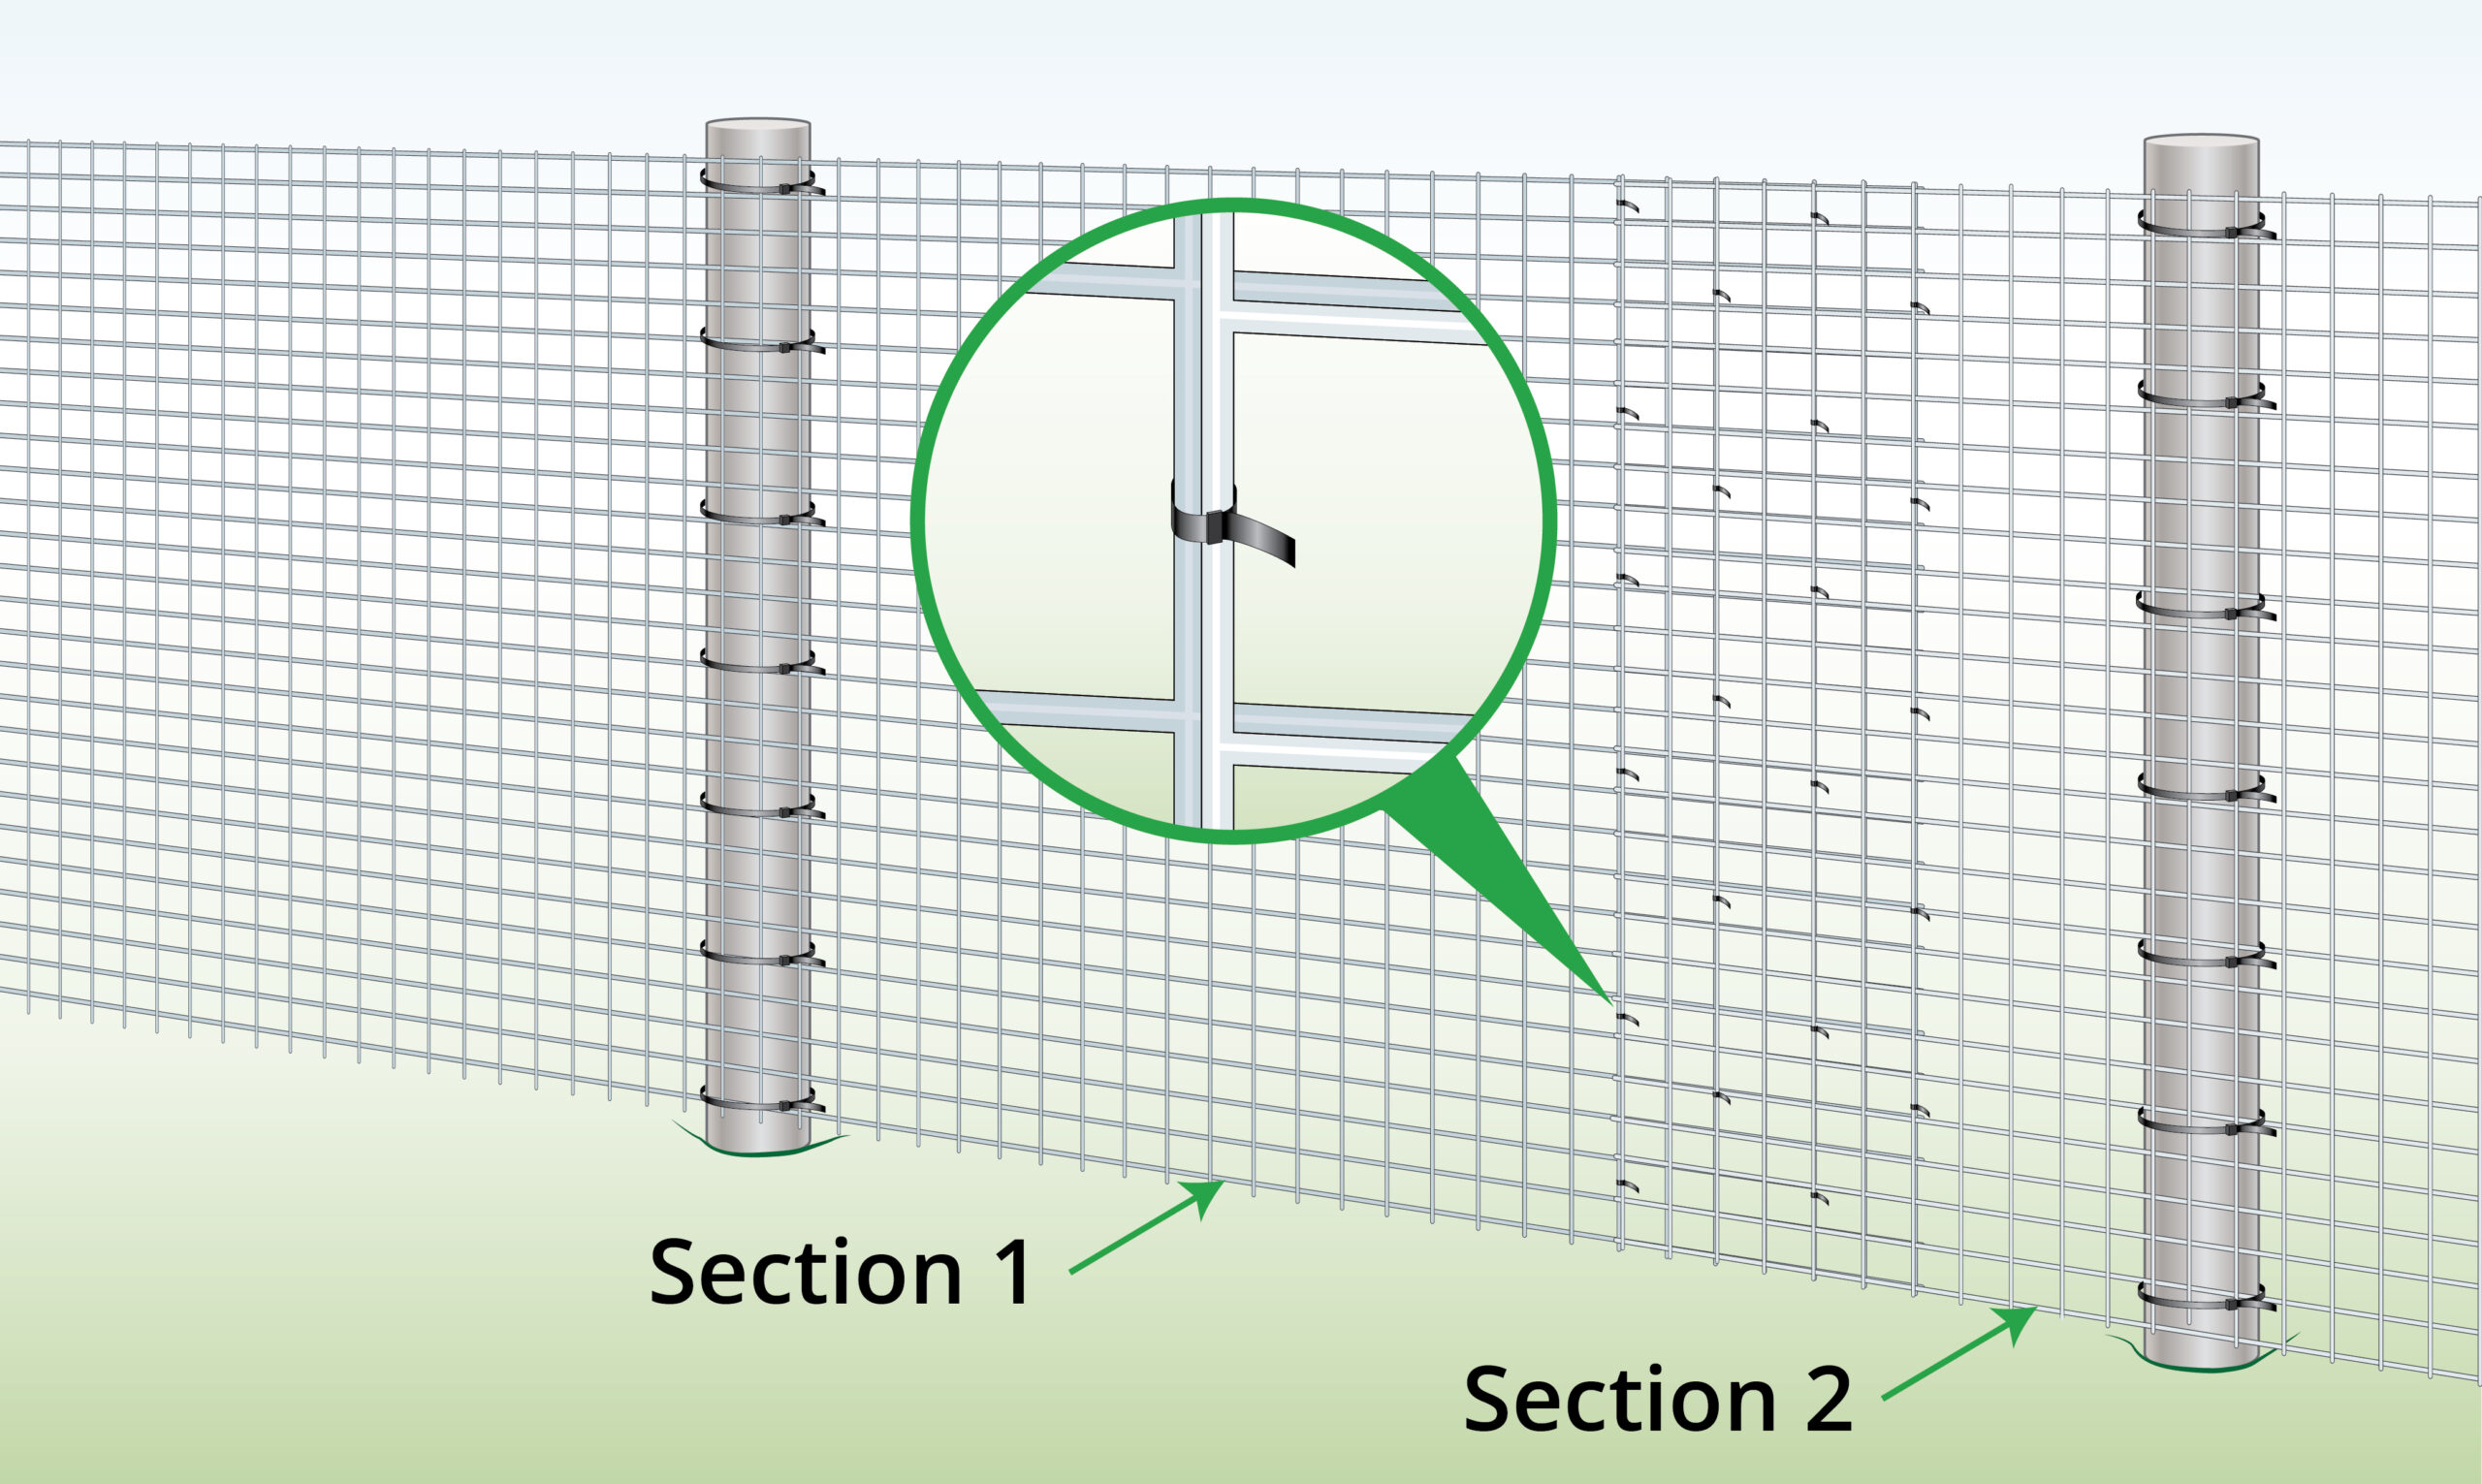
|
| To Do | Explanation |
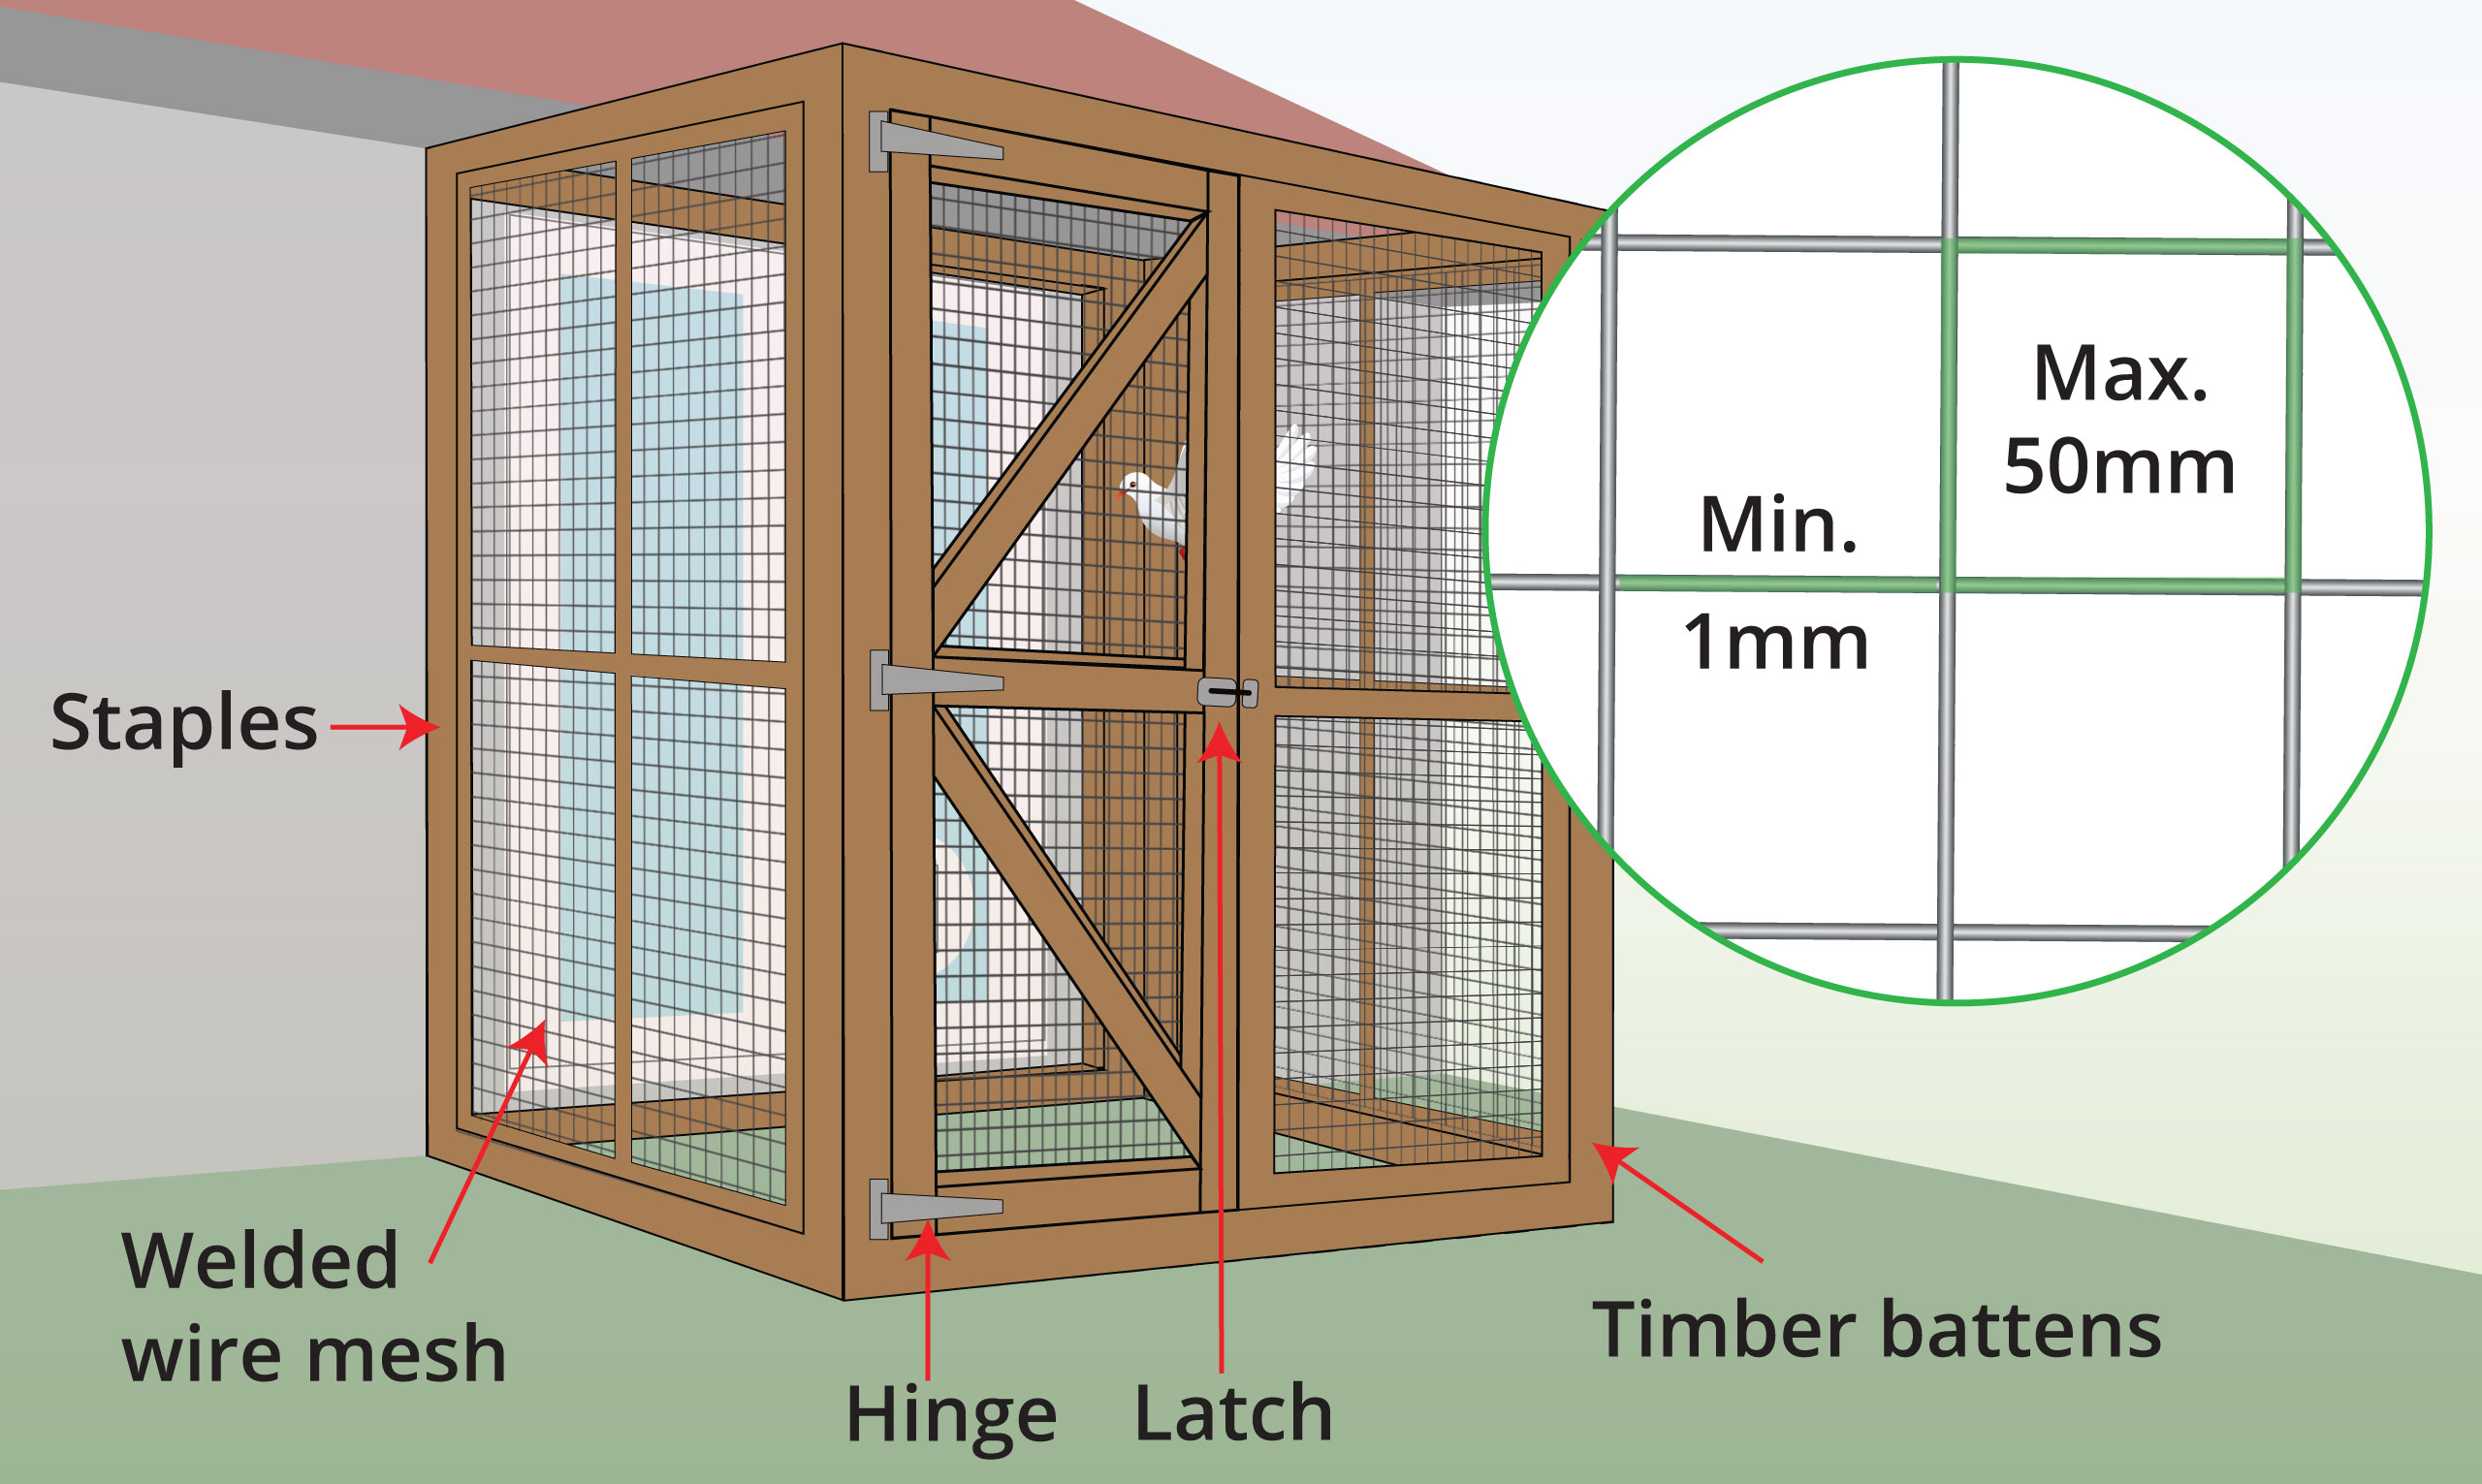
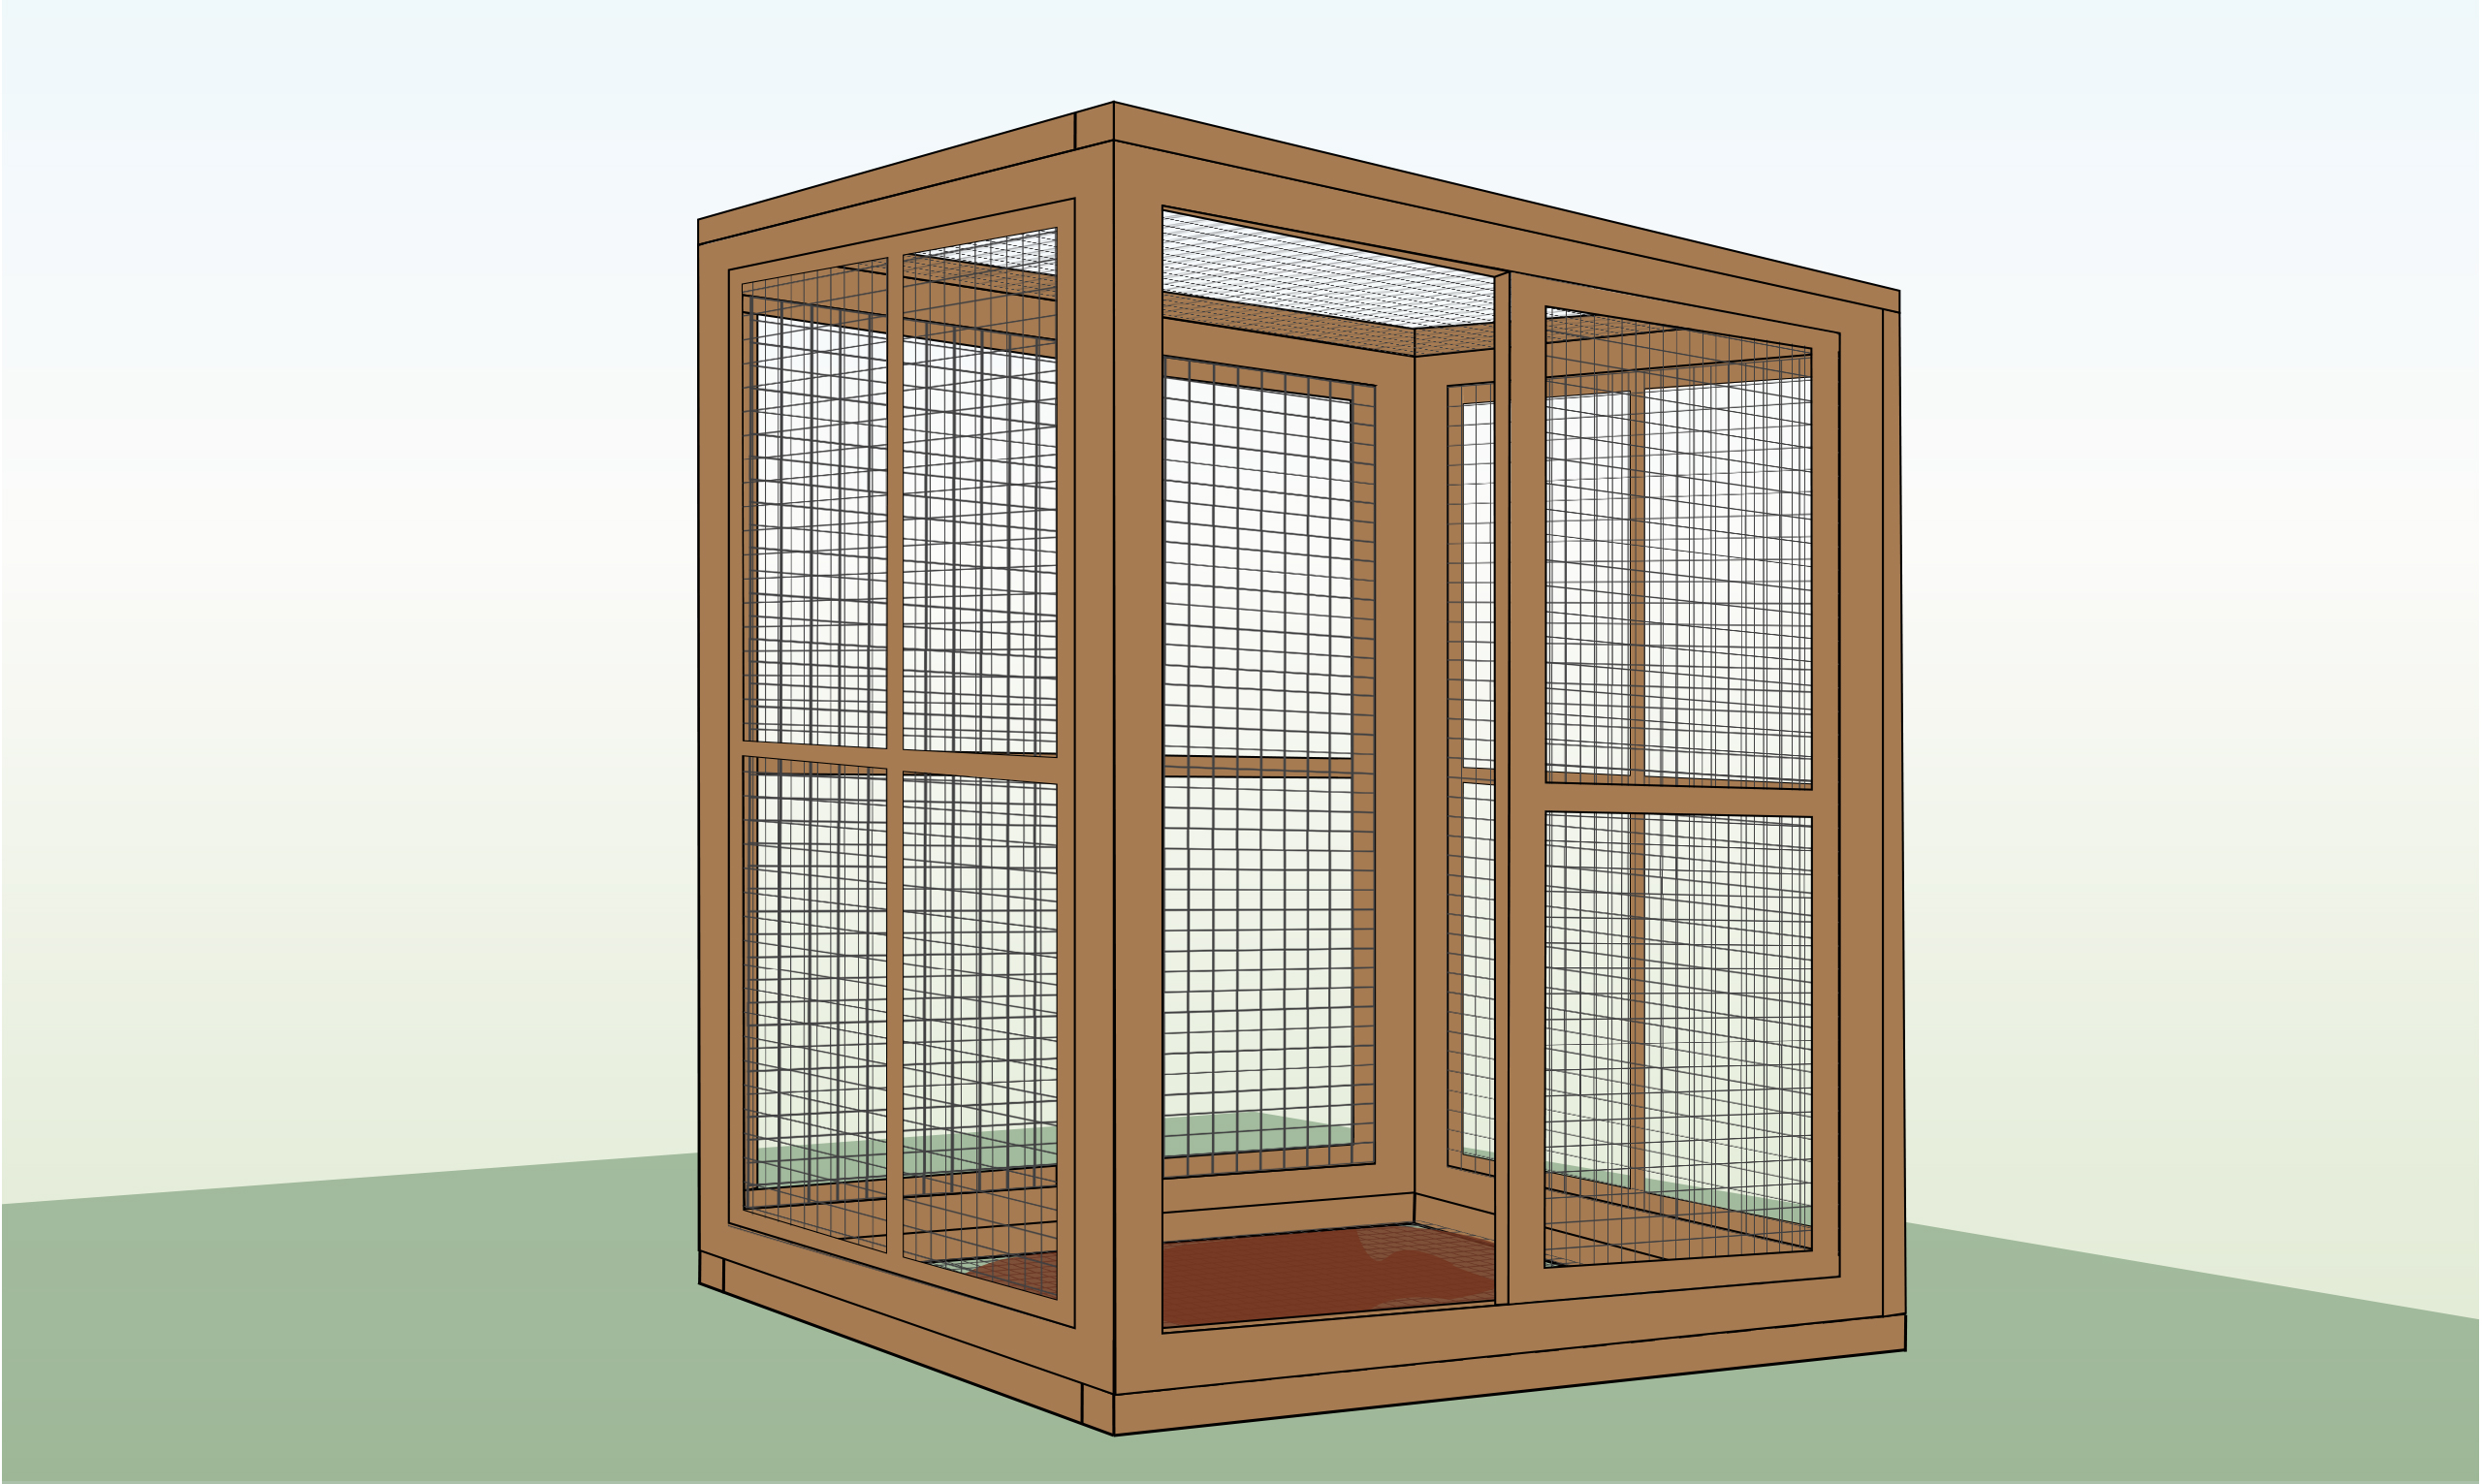
| Completed Installation
|
Plan your aviary layout, cut and assemble the wooden frames, and attach wire mesh to each section with staples. Join the frames, fit a braced door and add gravel or sand for the floor. Full instructions below or watch this video |
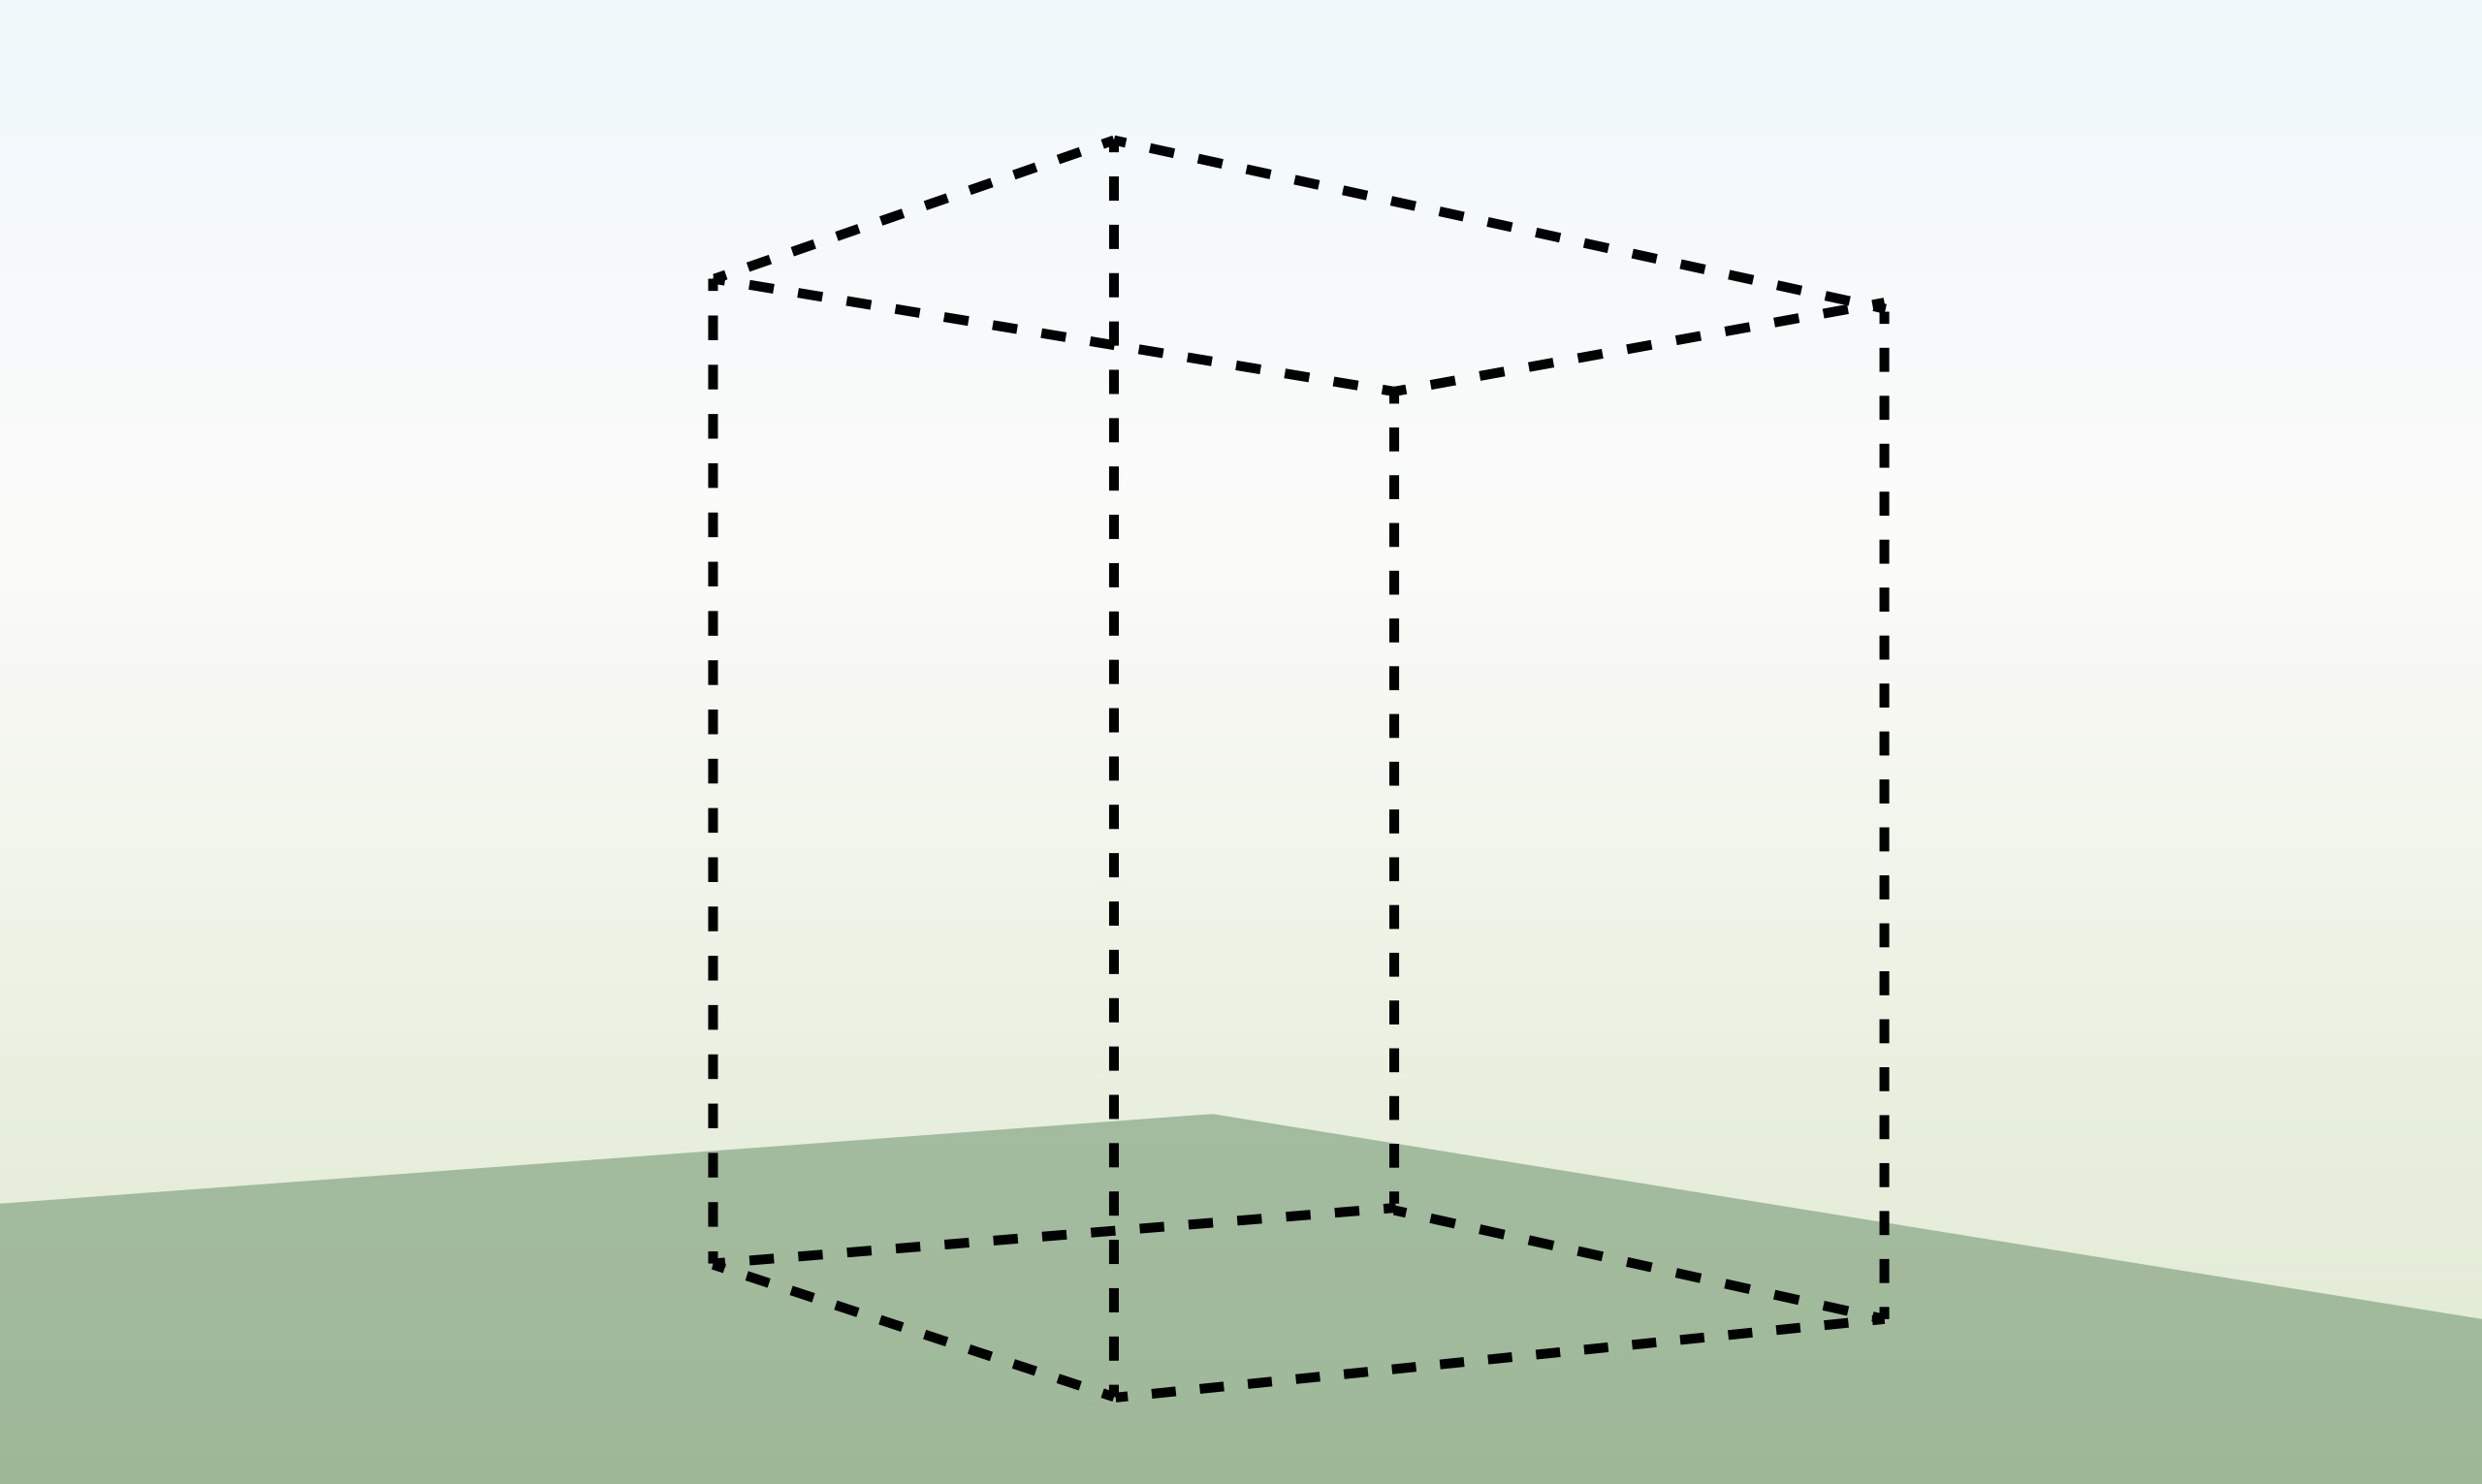
| Step 1 – Calculate & Plan Design
|
Plan and measure the design of your aviary.
Include a door for access and ensure there is sufficient space for your birds to fly.
|
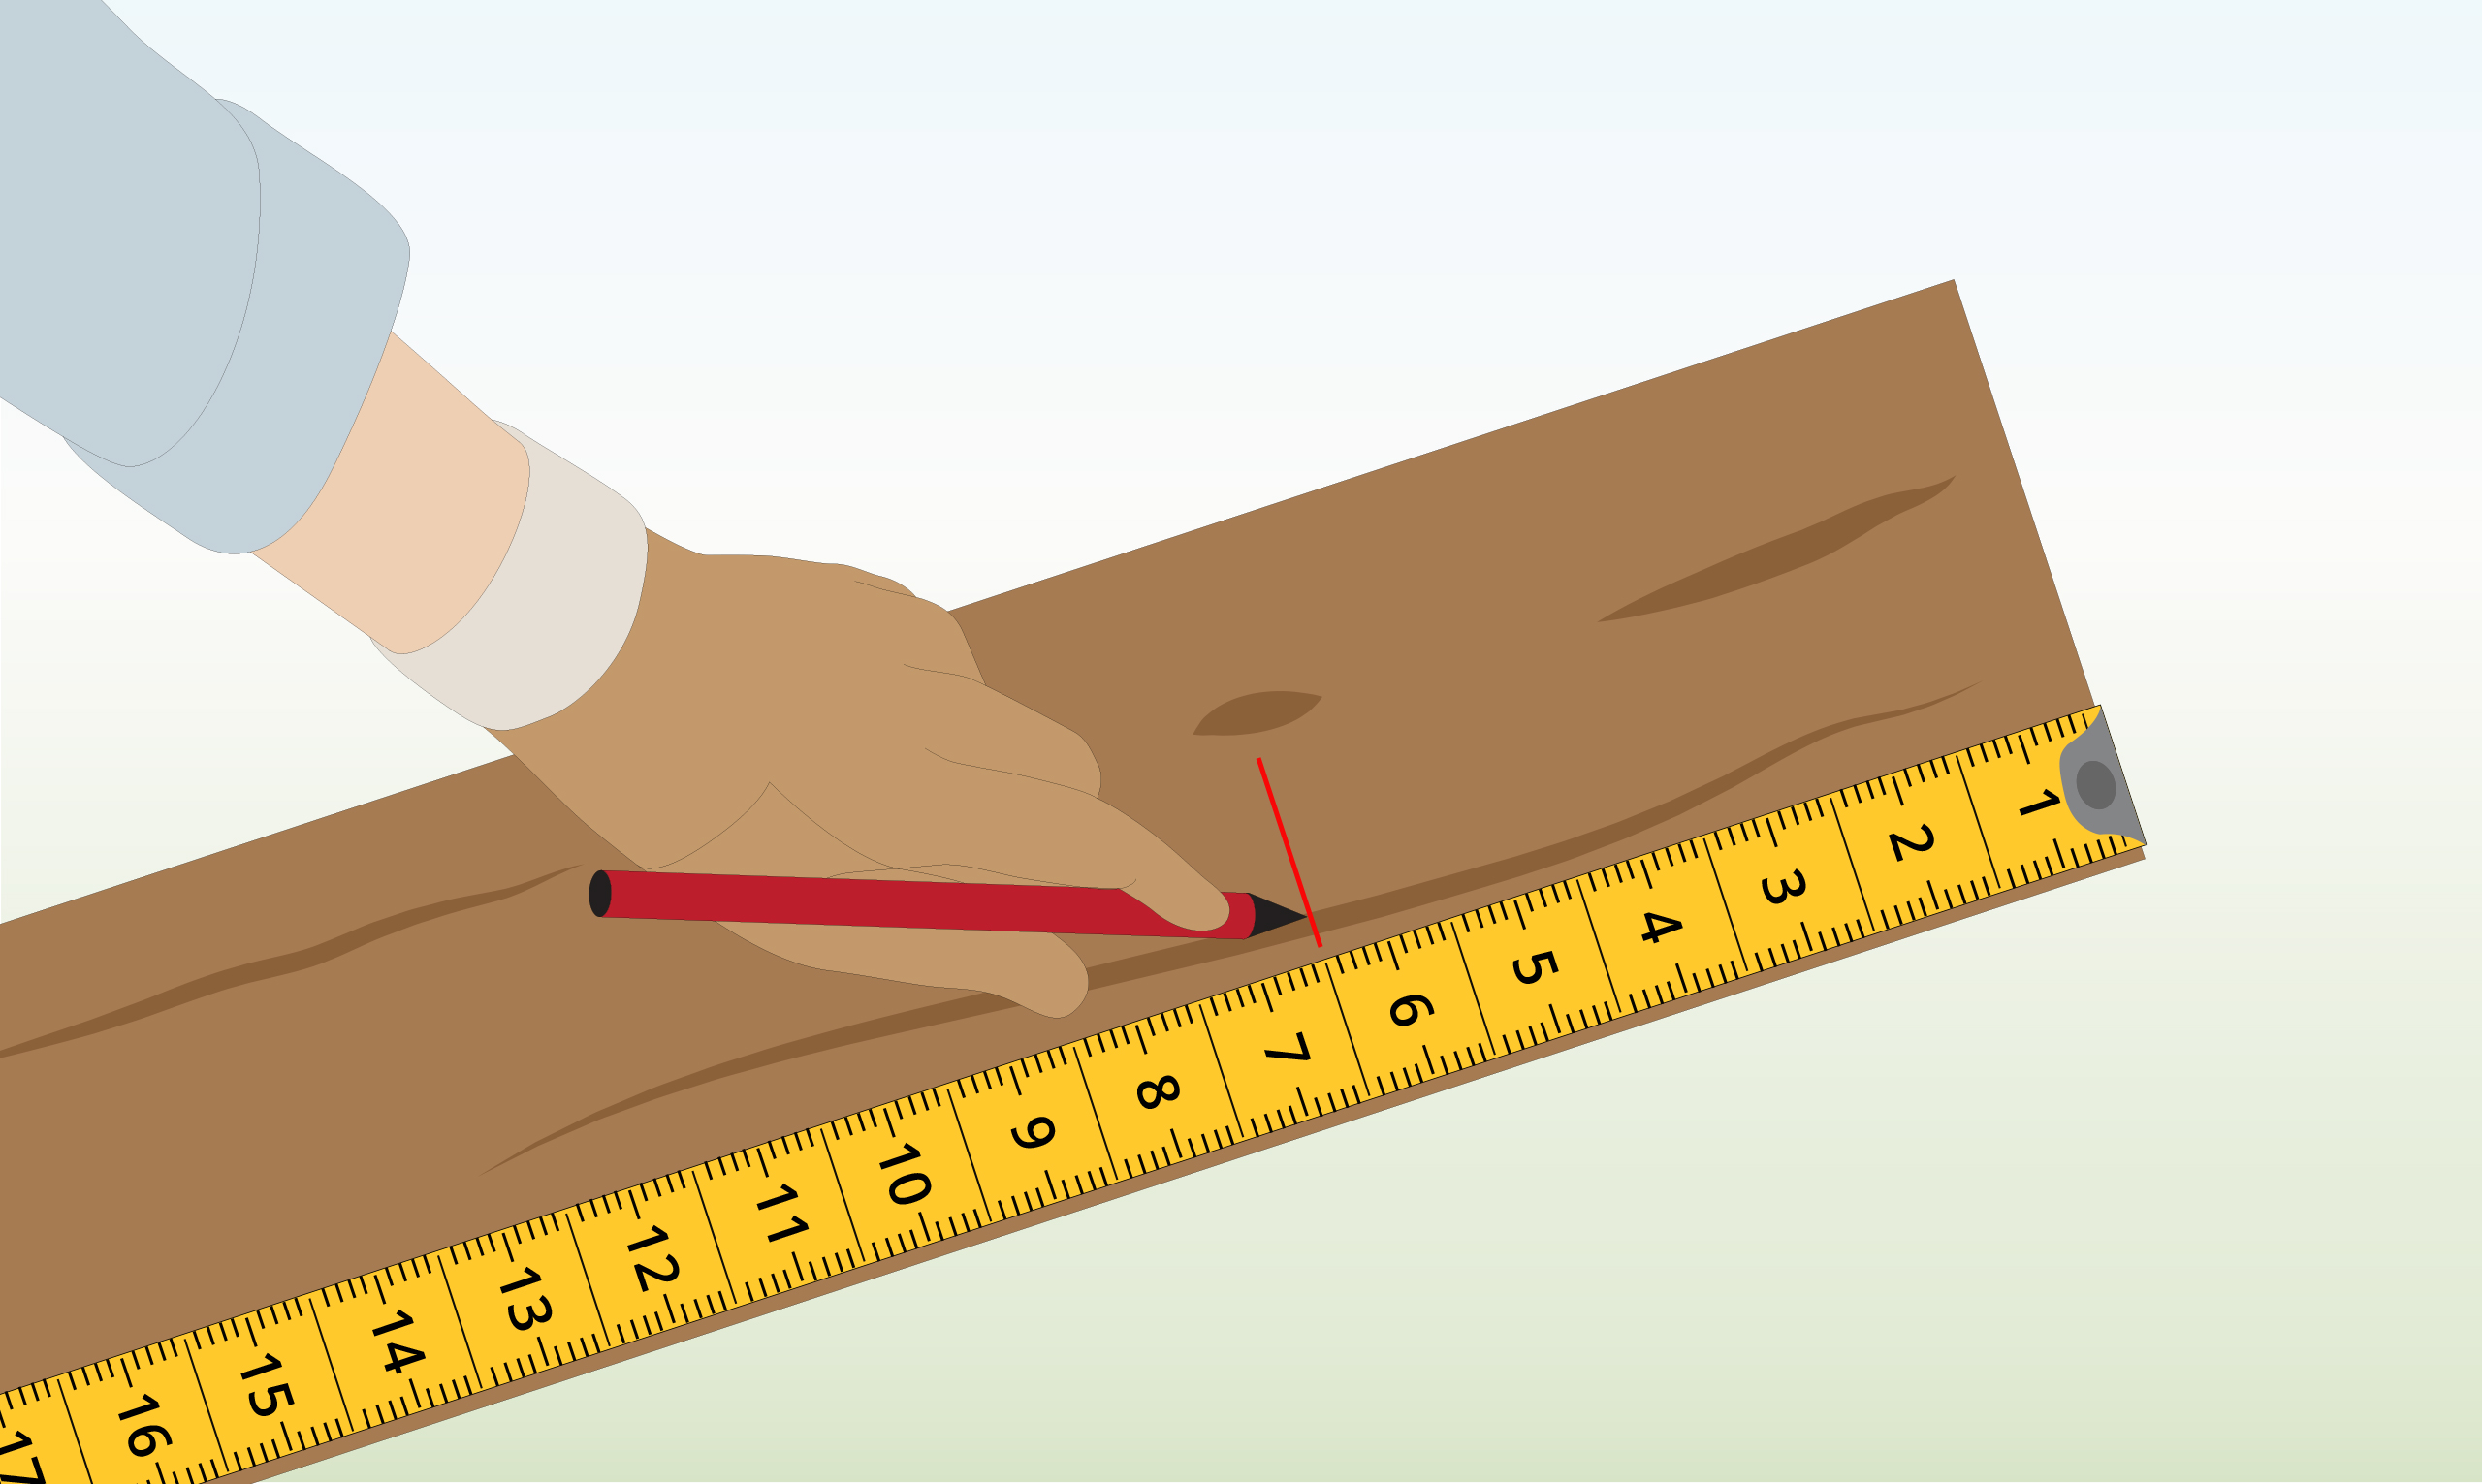
| Step 2 – Measure Wood
|
Measure and mark the sections required to form the structural frame.
|
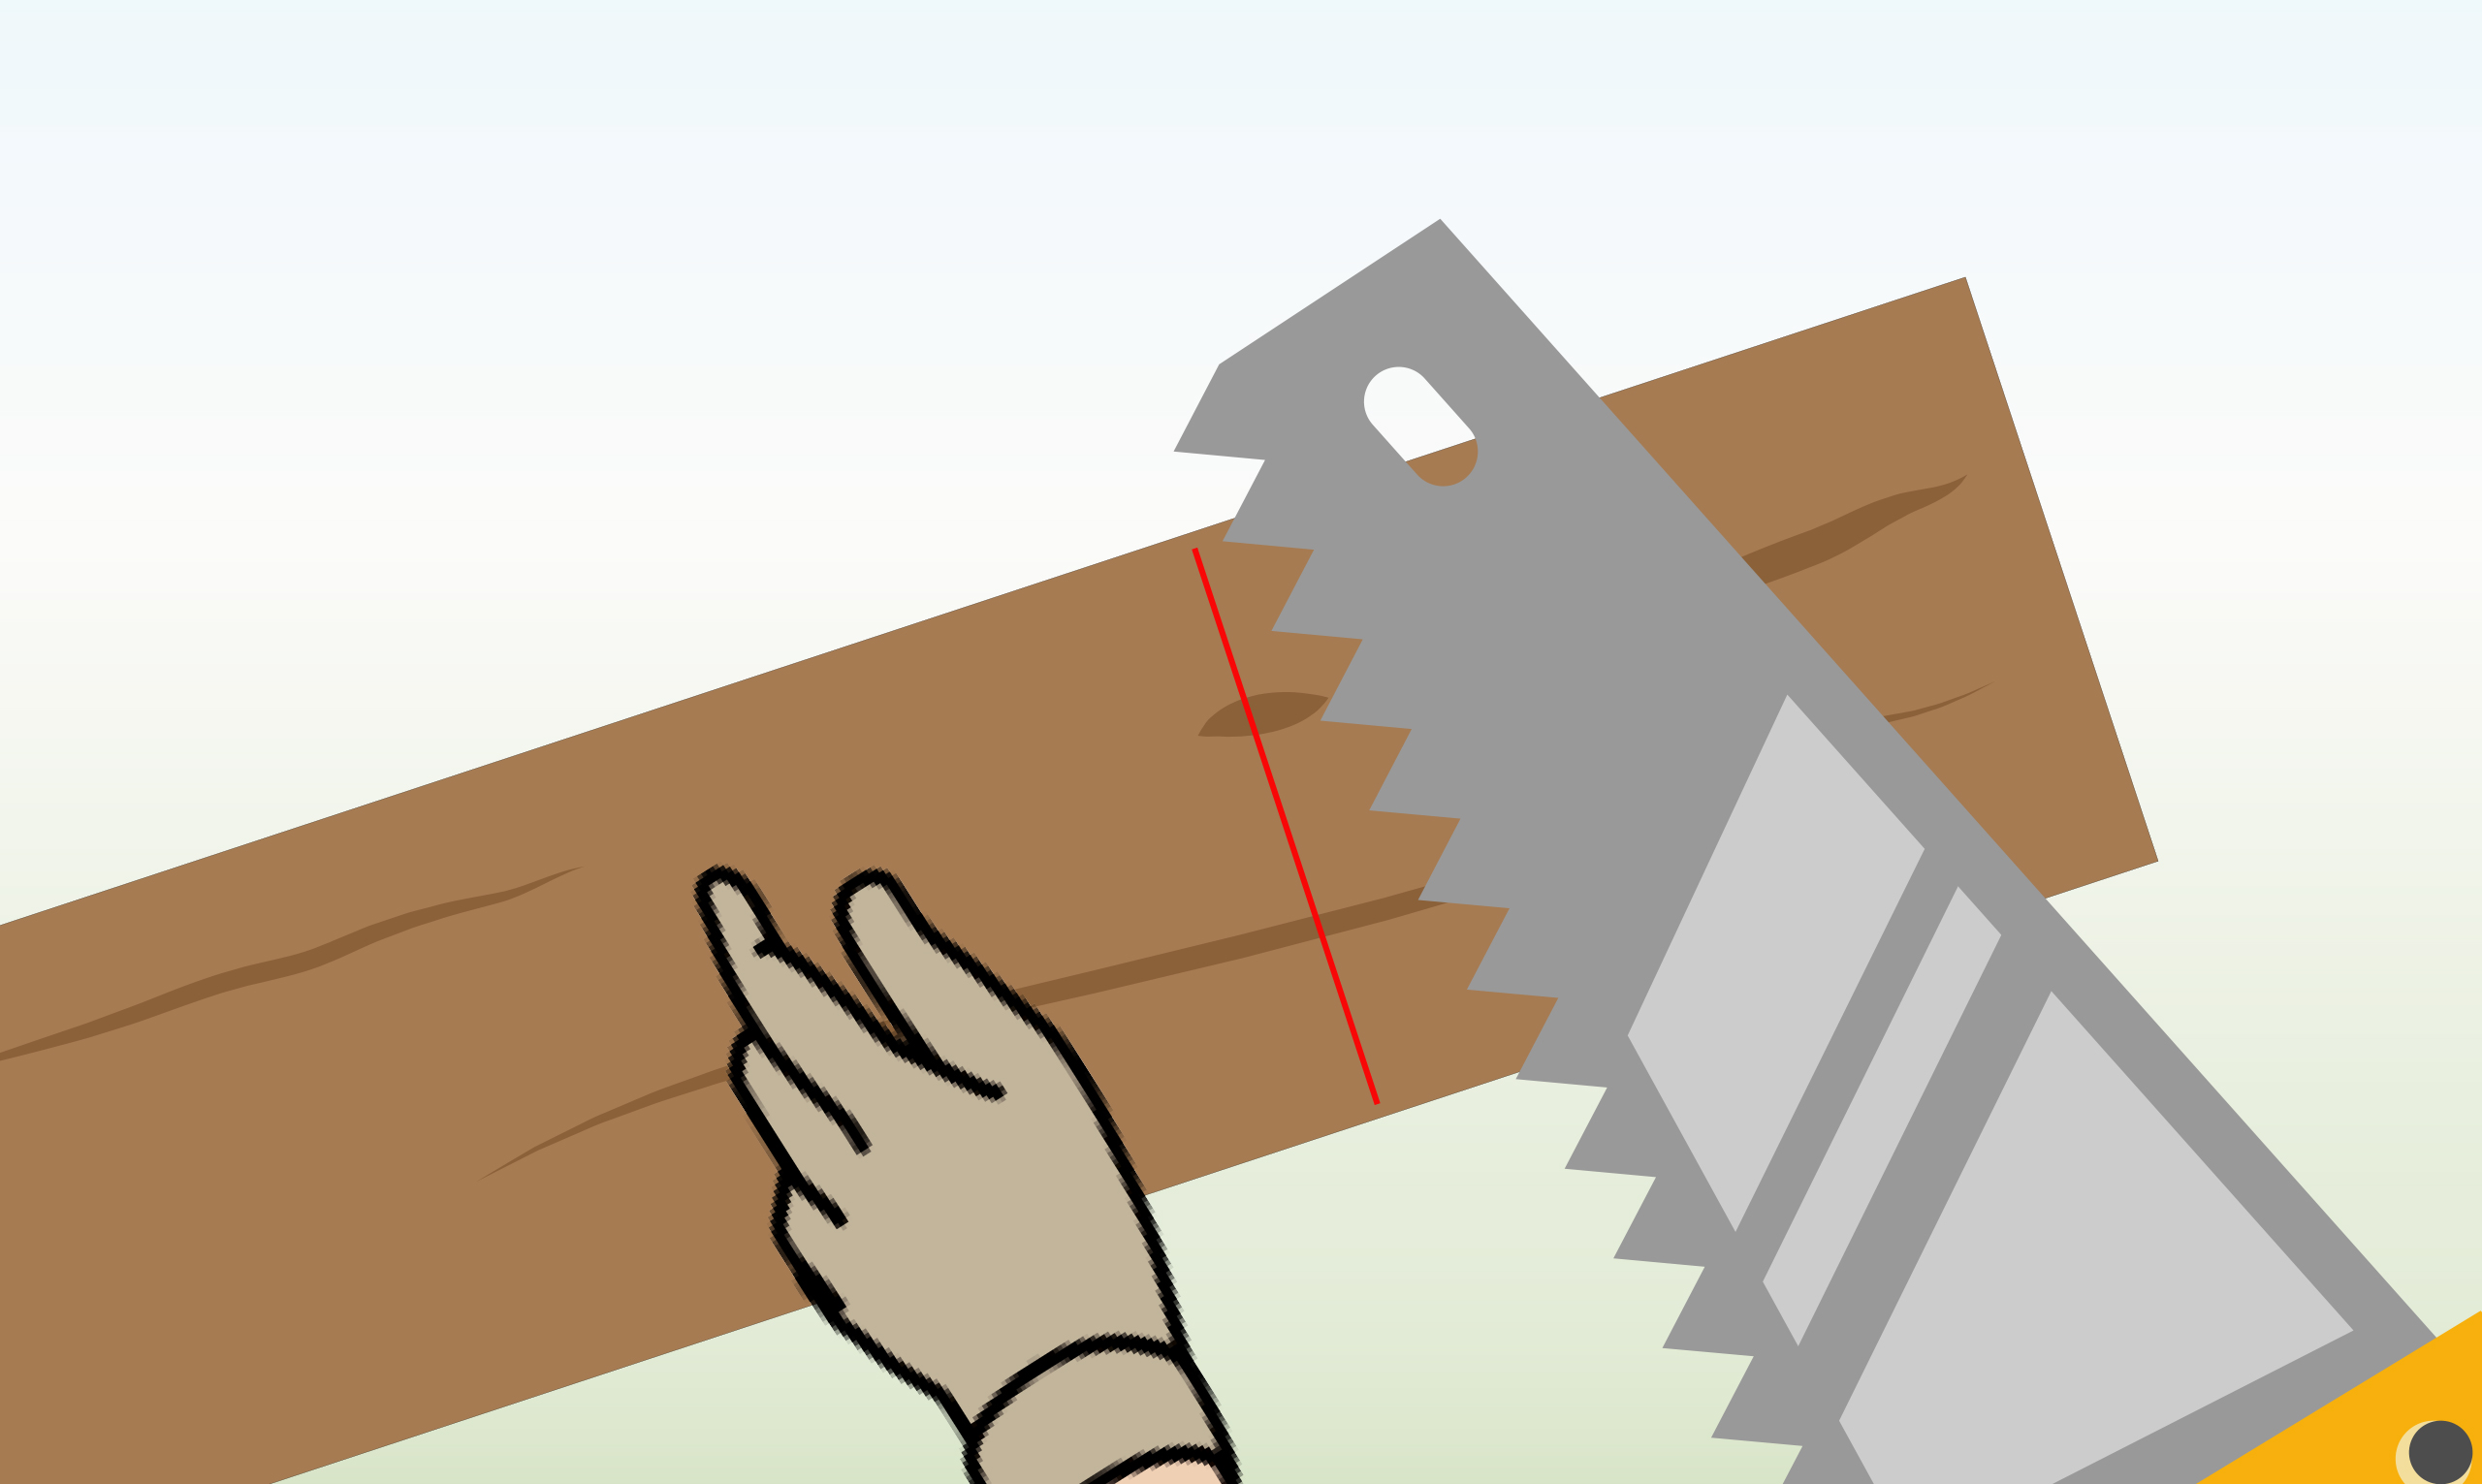
| Step 3 – Cut Battens
|
Use a stable surface to lay the battens on as you cut them to size.
Ensure you wear protective gear during this process for safety.
|
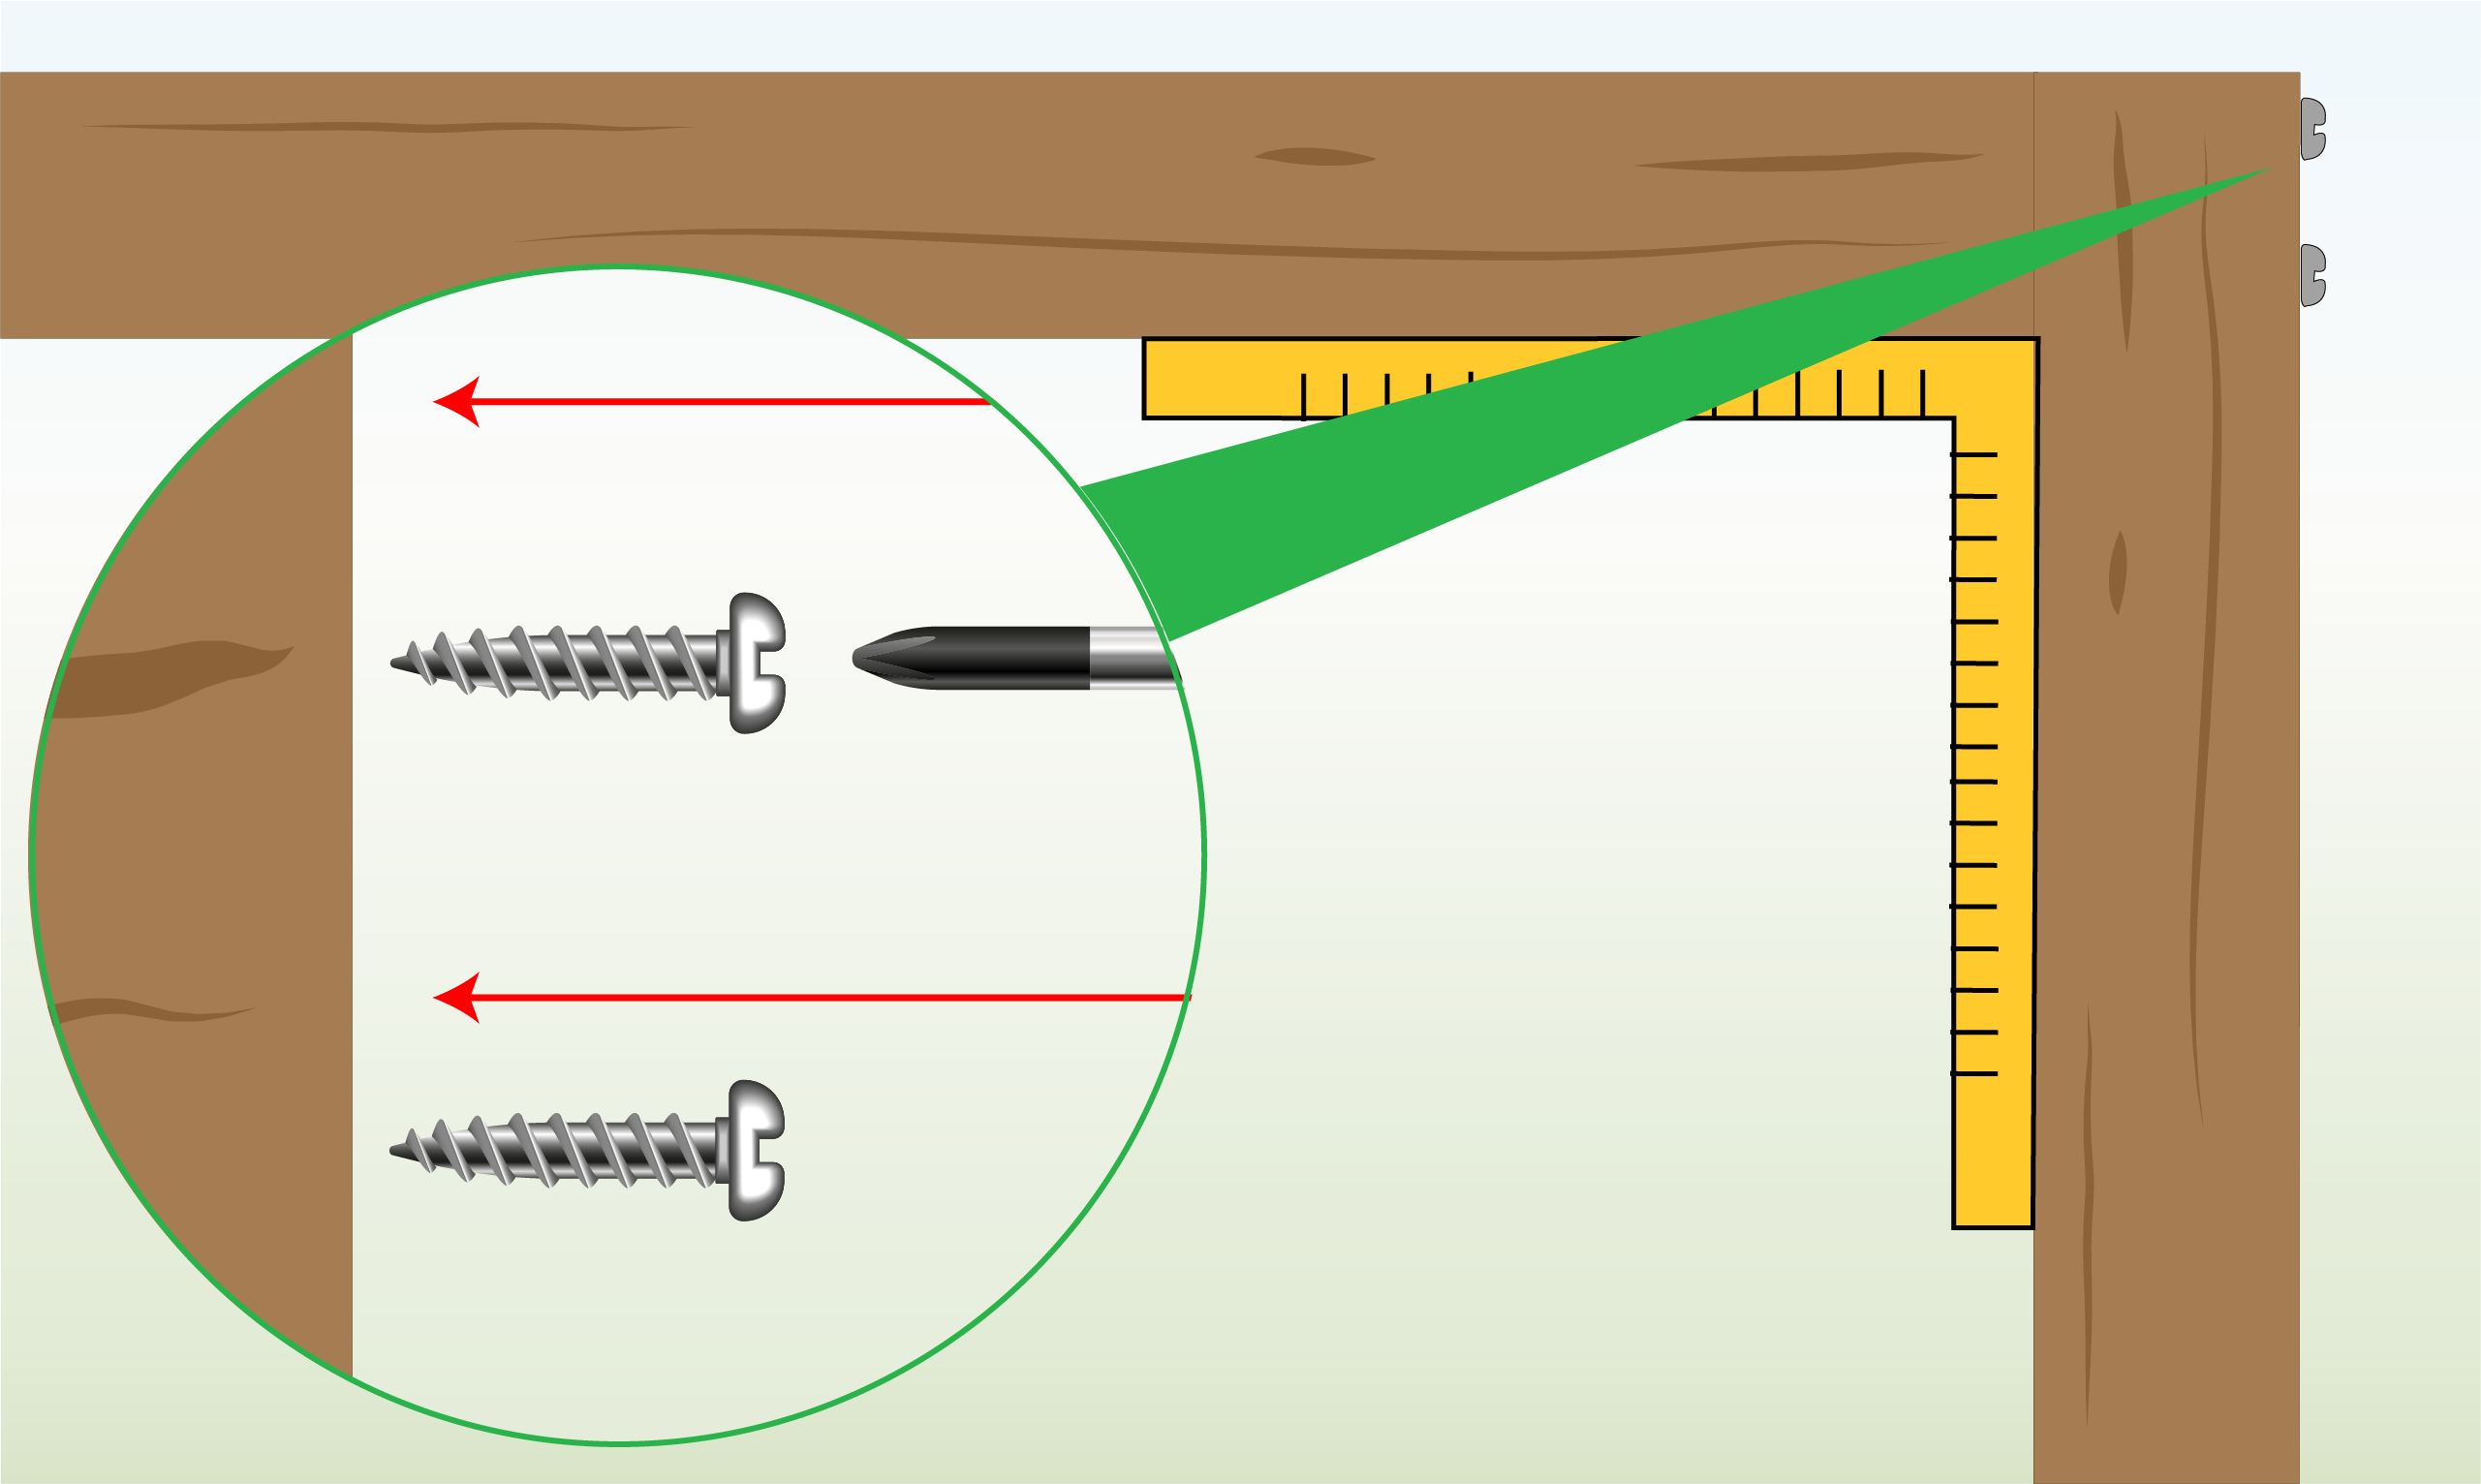
| Step 4 – Join Battens Together
|
Use a utility square to ensure that your angles are precise.
Pre-drill and countersink your joints to achieve a flush and secure result.
|
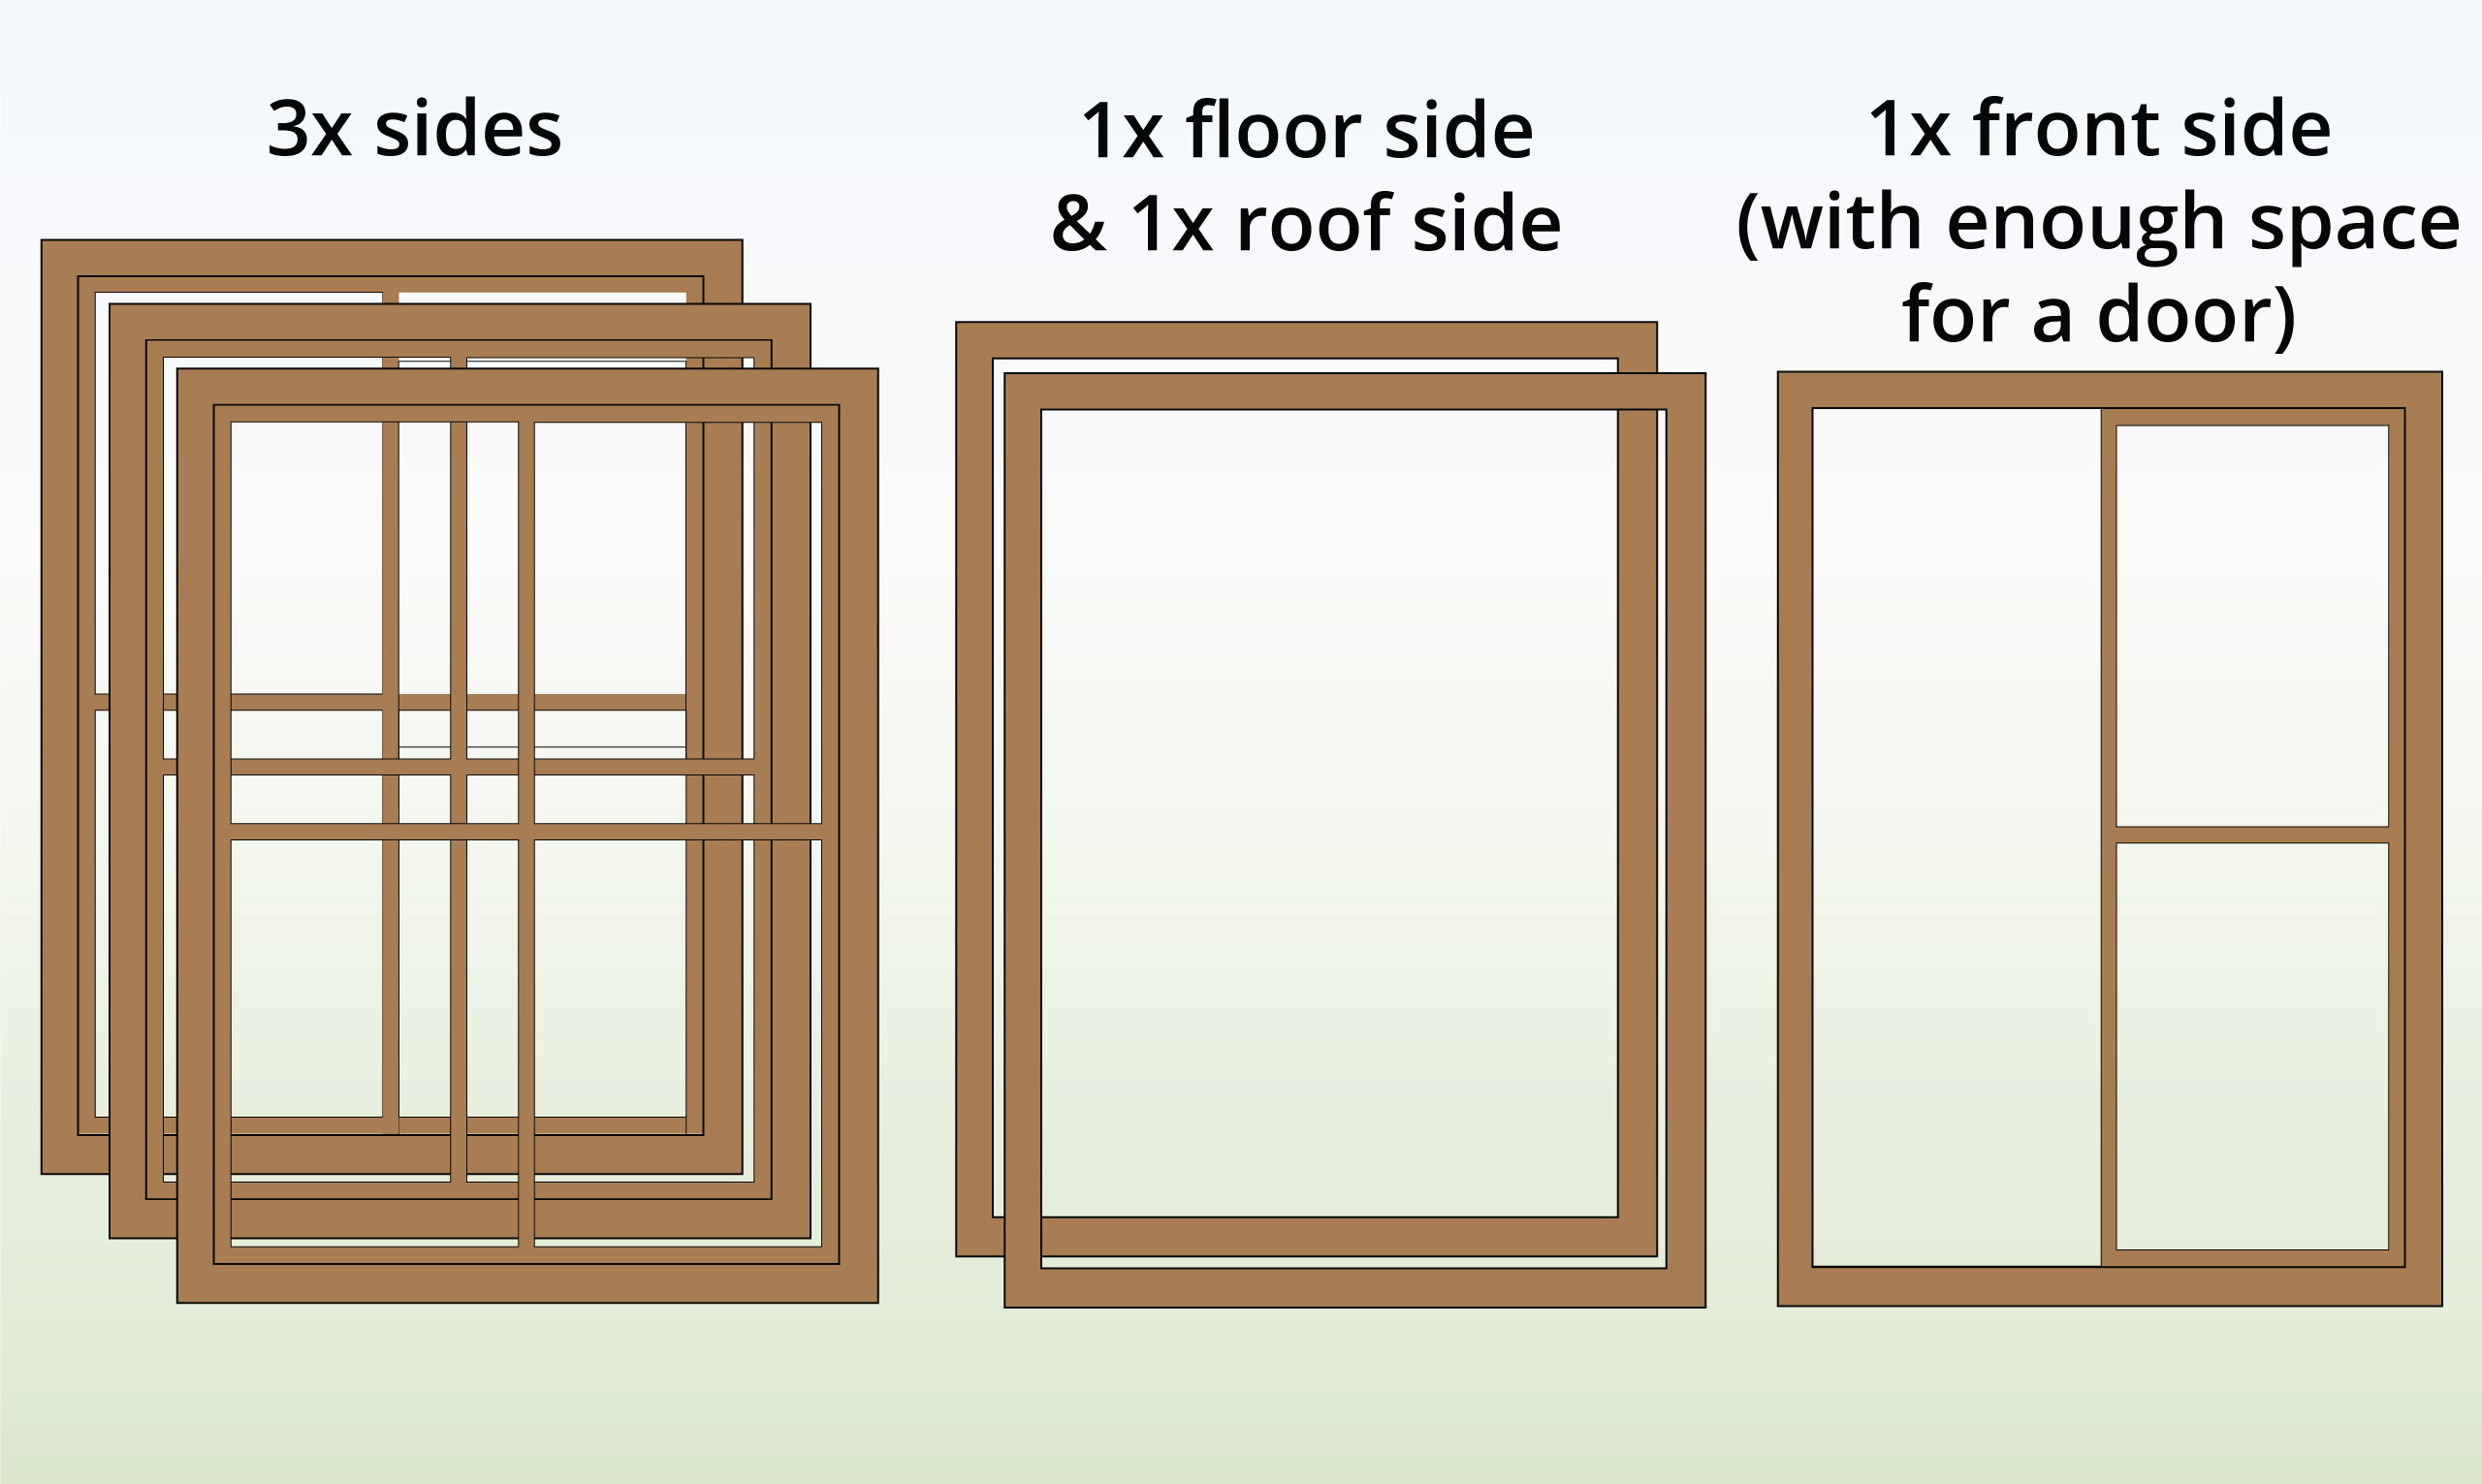
| Step 5 – Construct Frames
|
Craft all the necessary wooden frames for construction (create frames for both the roof and the floor).
Remember to allocate sufficient space for installing a door.
|
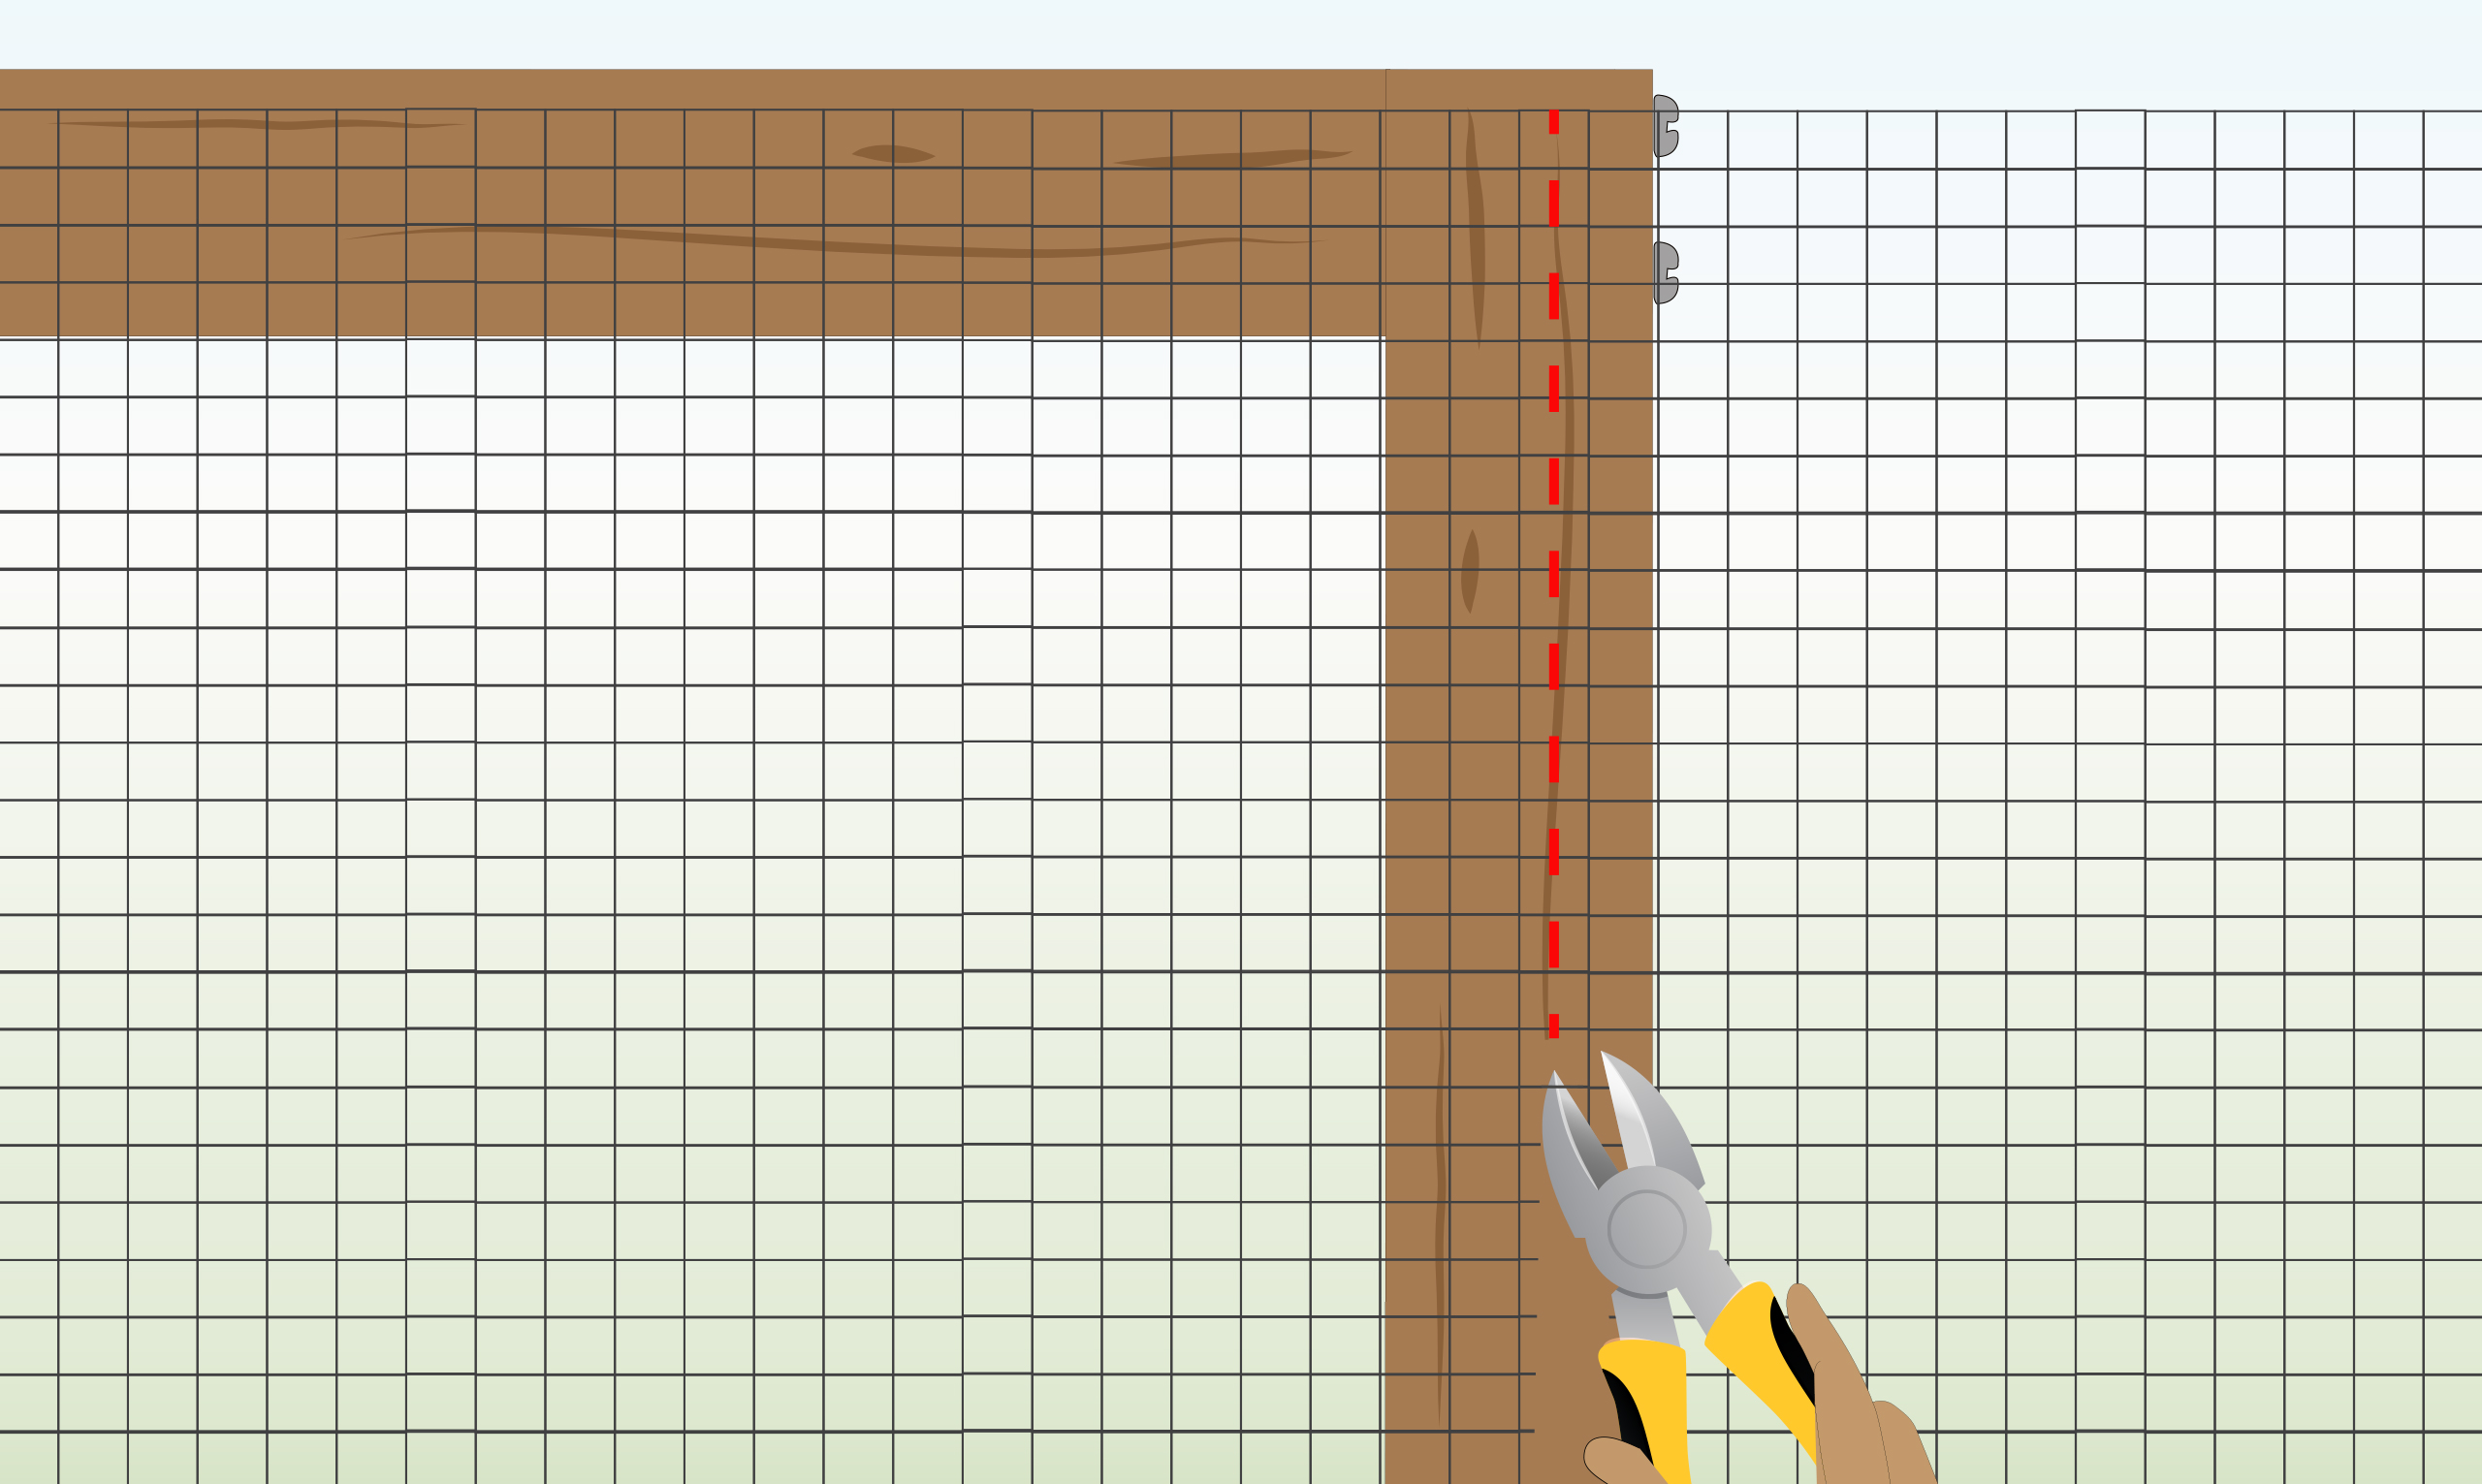
| Step 6 – Measure & Cut Mesh
|
Spread out the wire mesh over the frames and cut it along the wood, ensuring that the mesh overlaps the wood so you can attach it using staples.
|
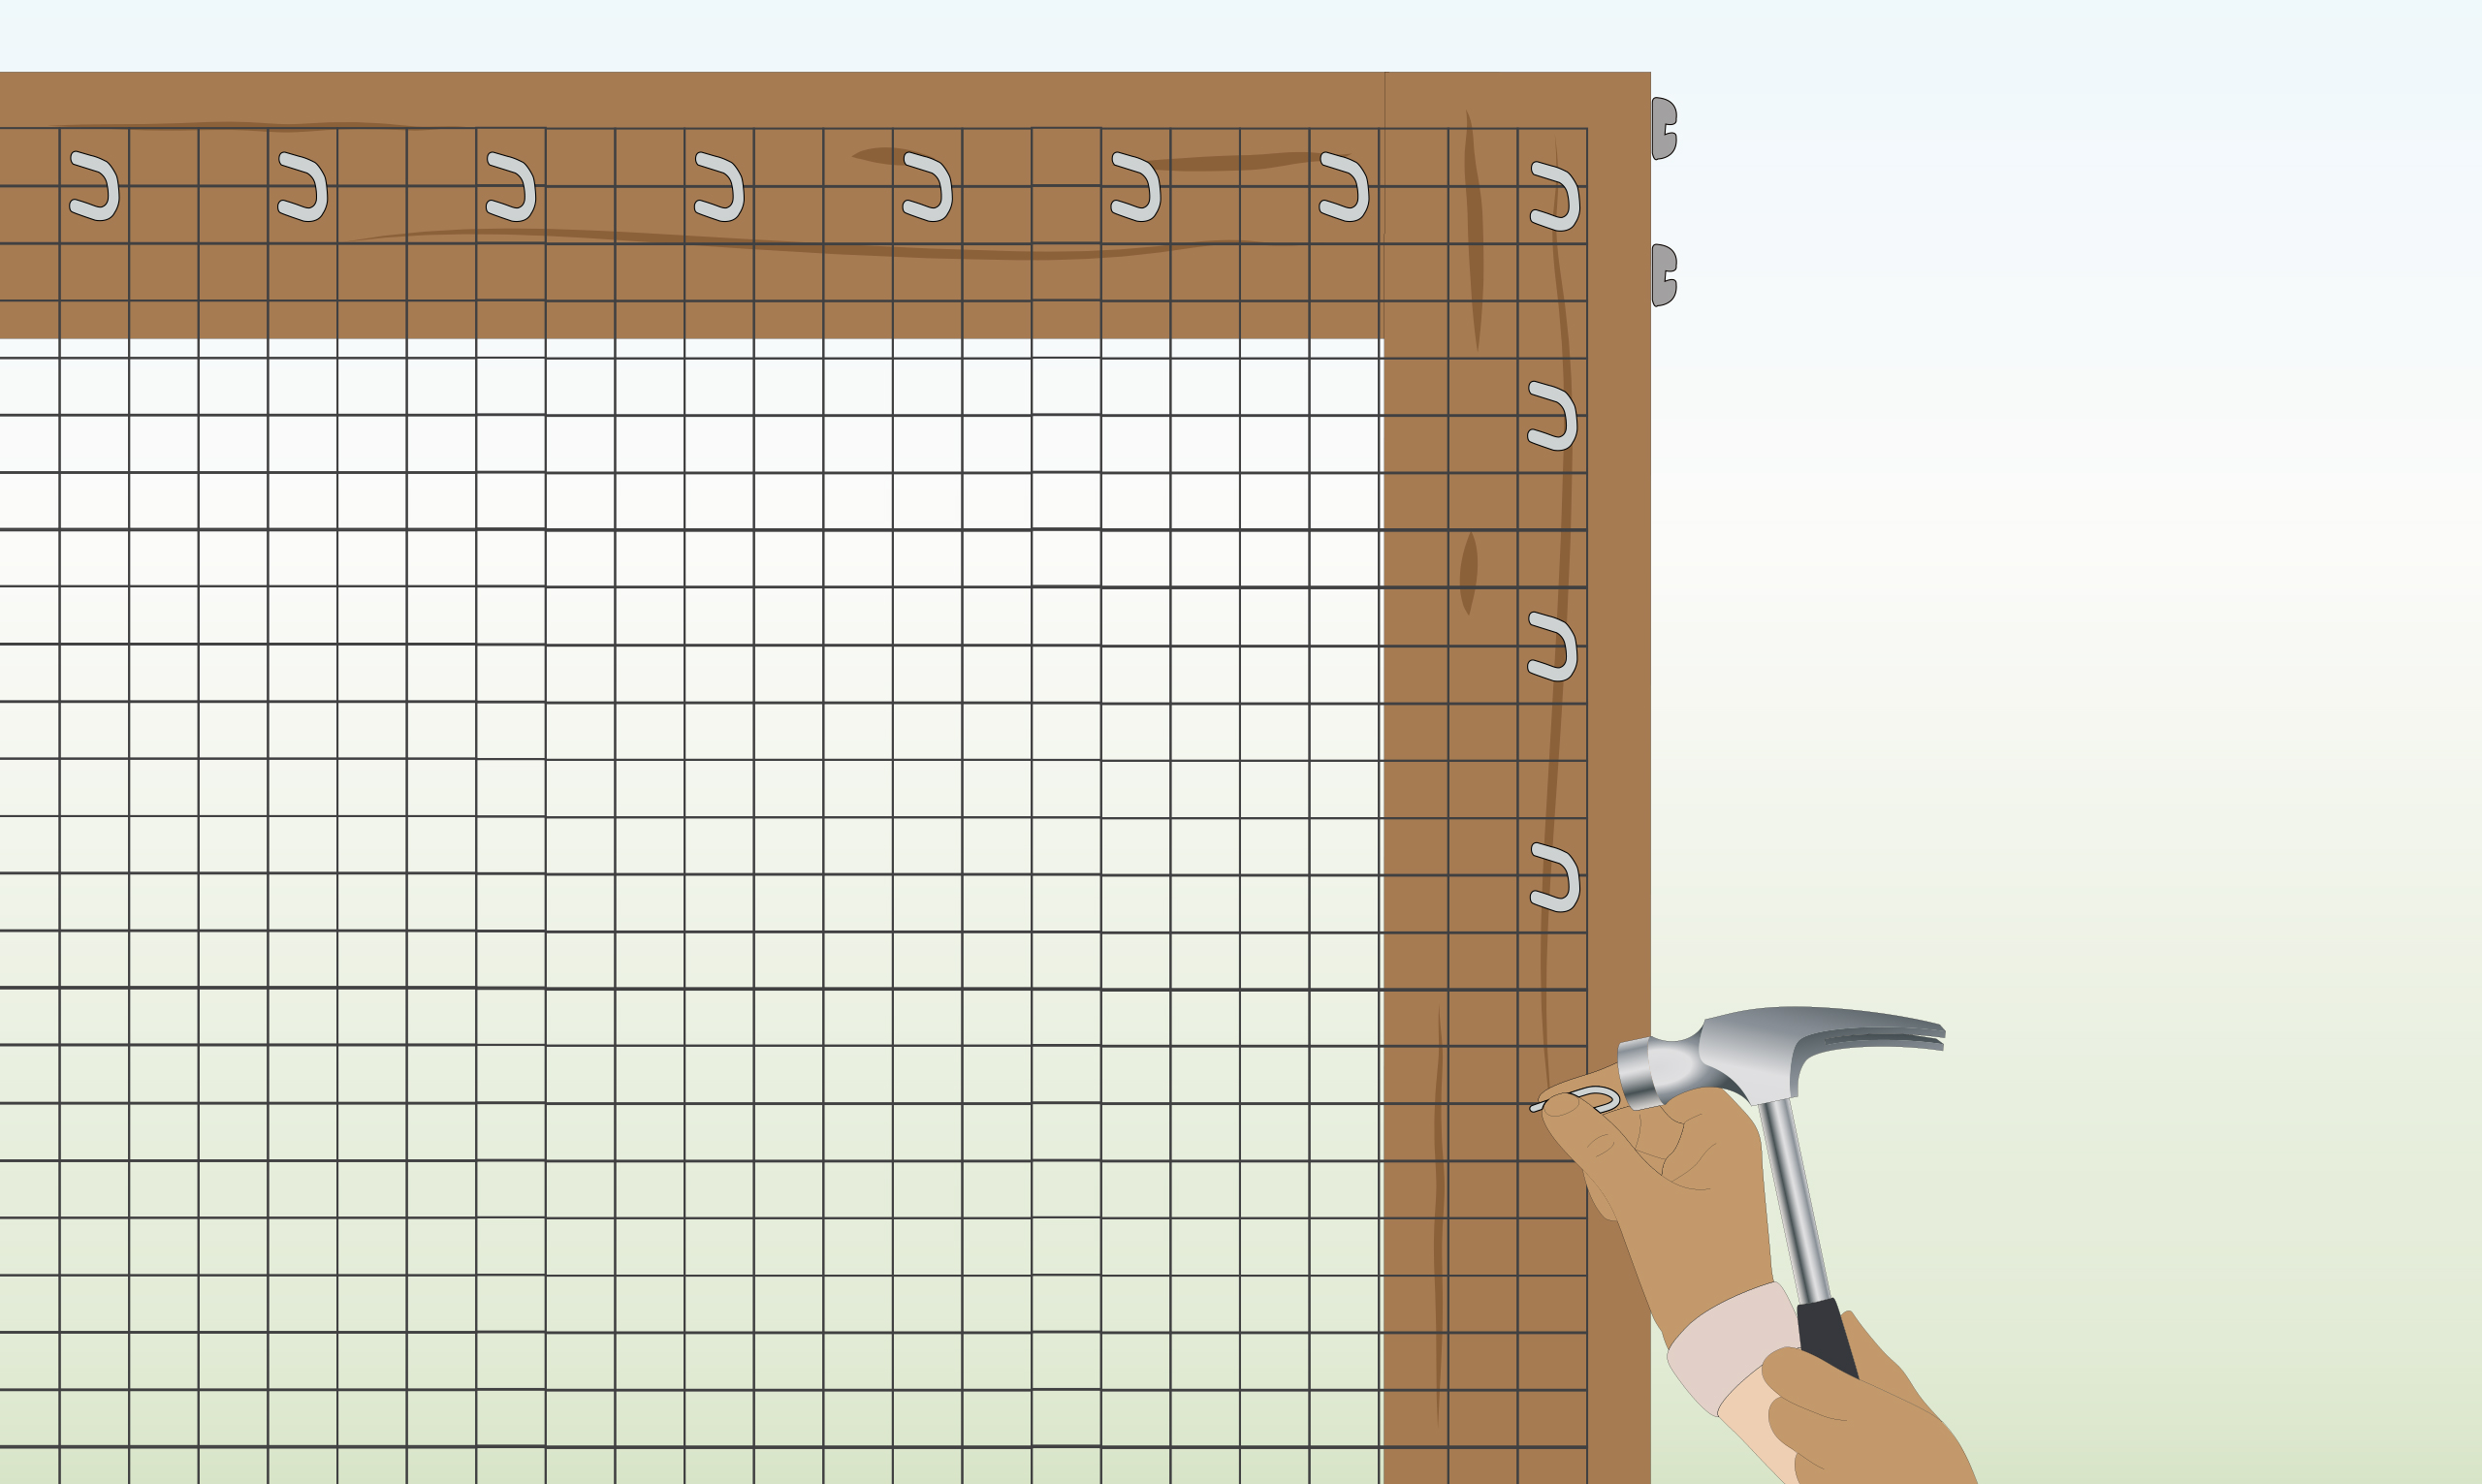
| Step 7 – Attach Netting to Frames
|
Use staples spaced at intervals no greater than 15cm and hammer them into the wood, securing the netting to the frames.
|
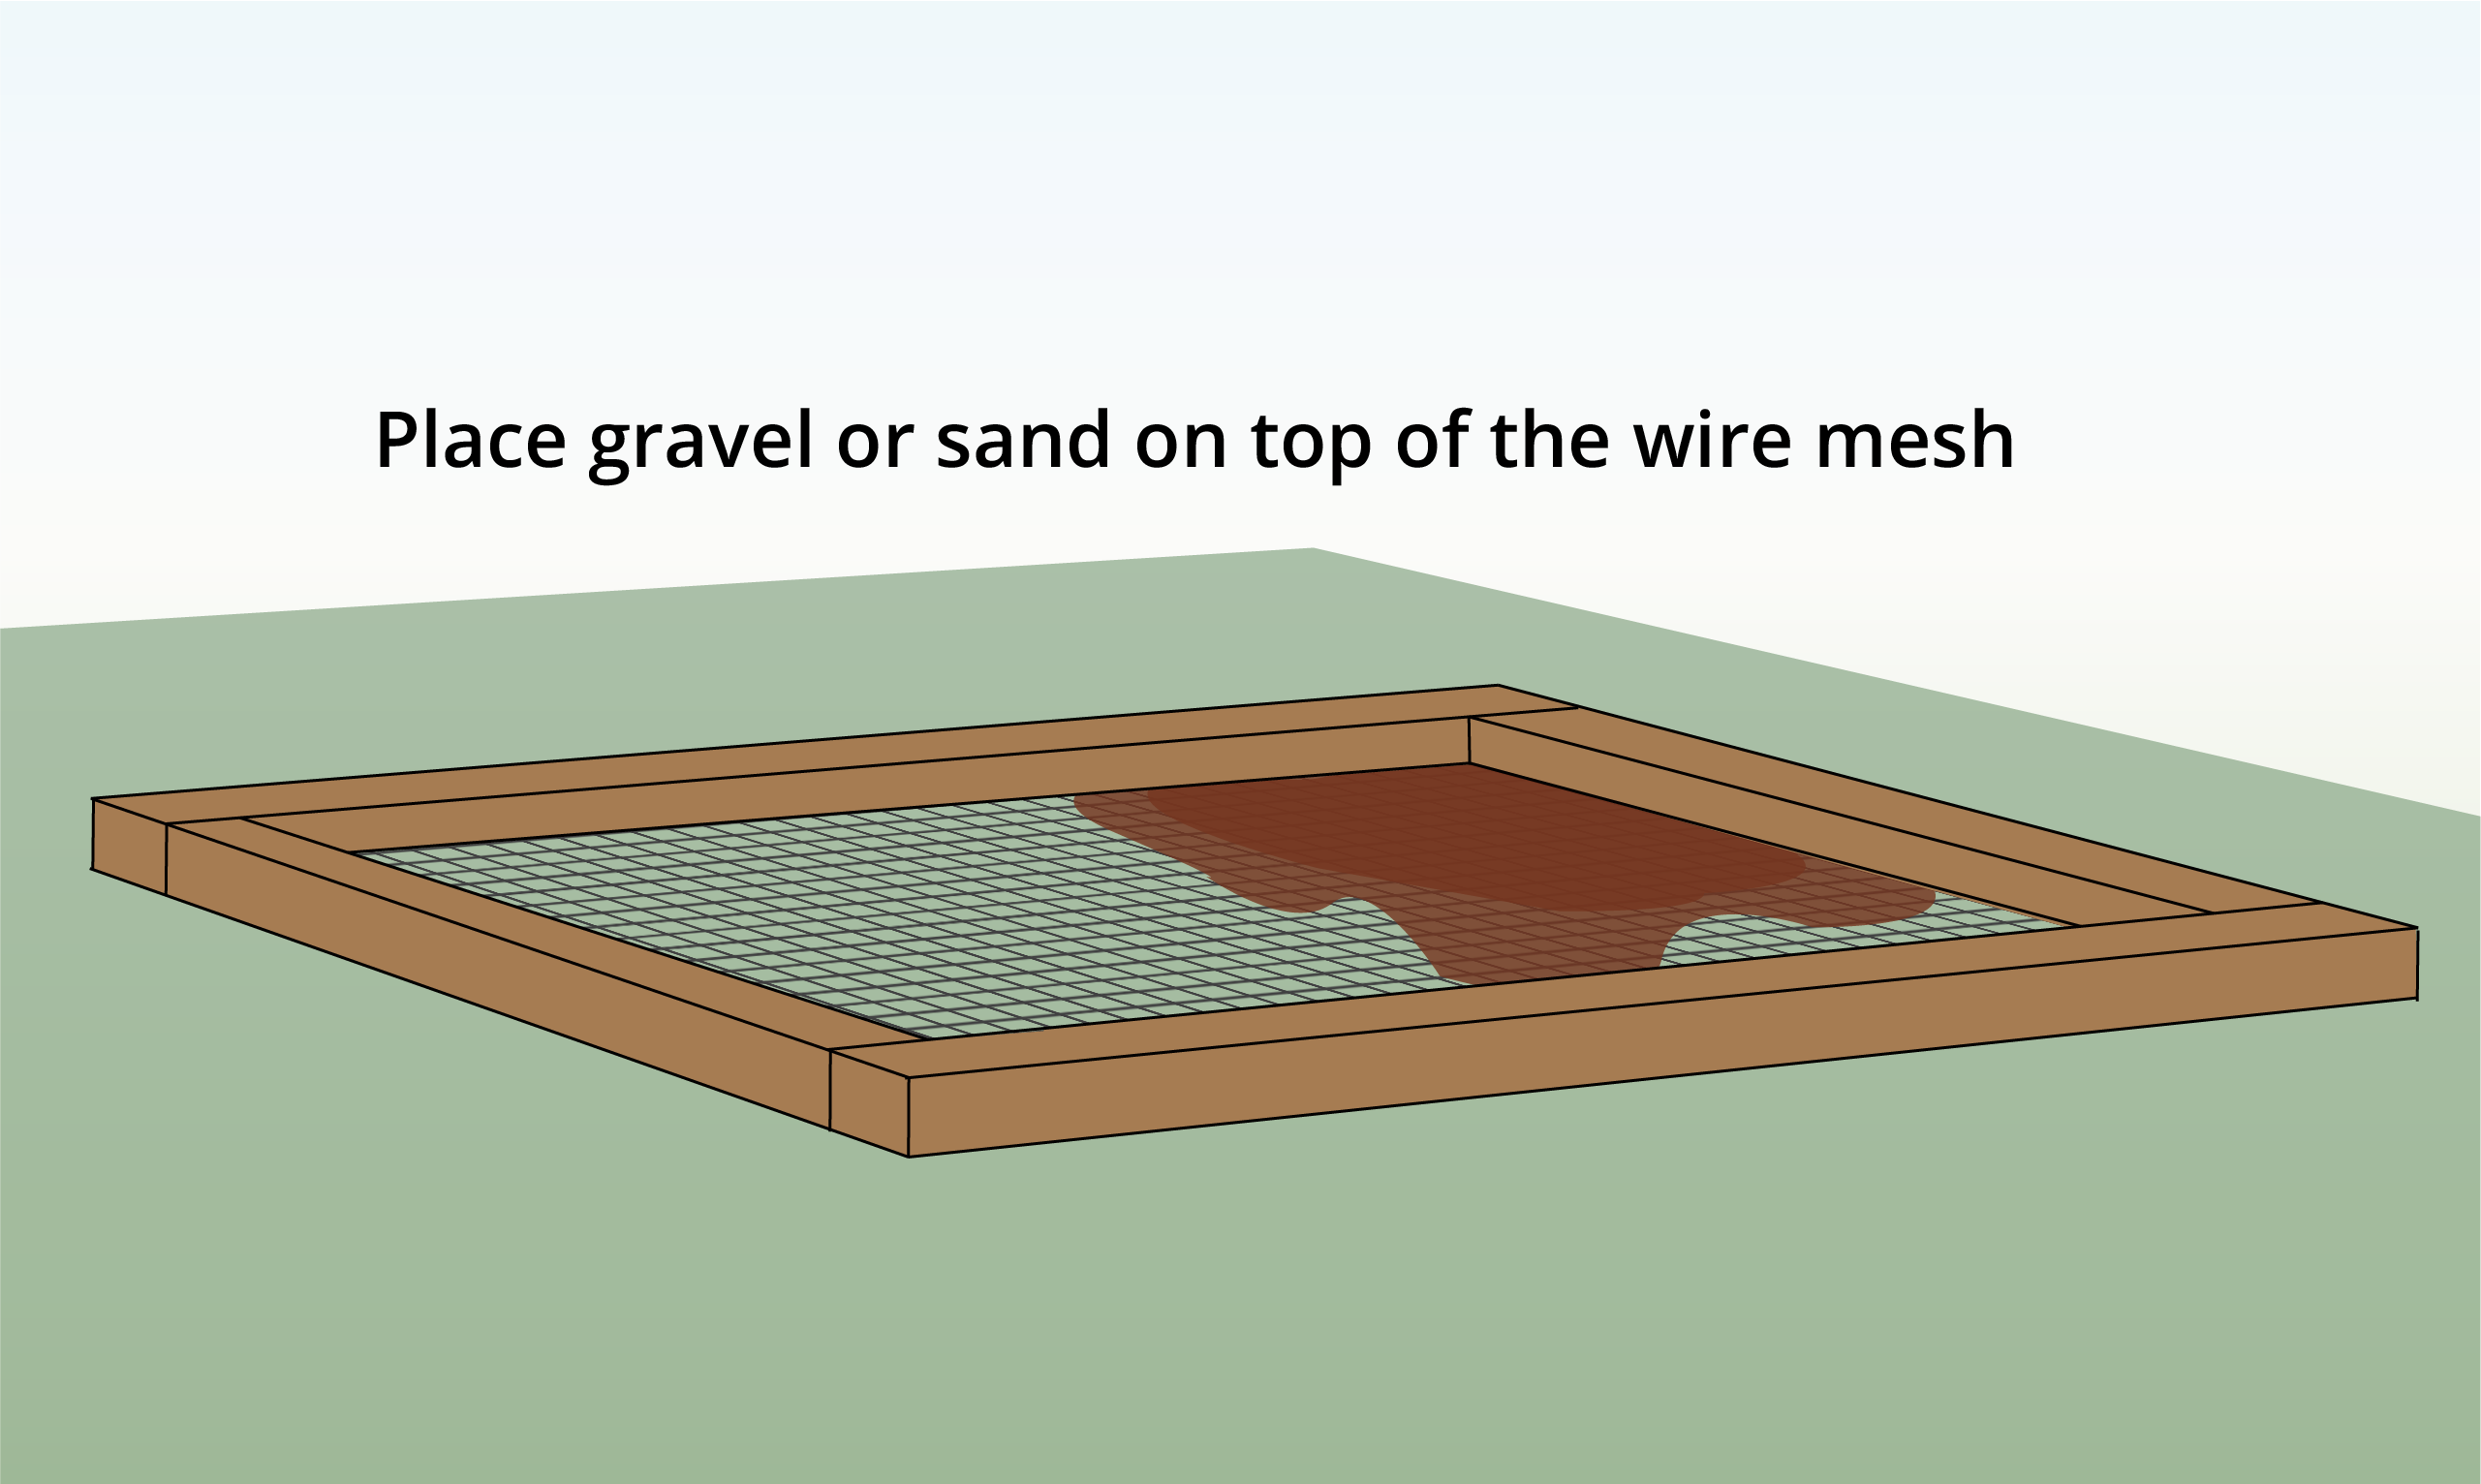
| Step 8 – Create a Floor
|
While it’s possible to construct a concrete base for your aviary, this option demands considerable effort and is best suited for larger outdoor aviaries that necessitate a robust foundation. For standard outdoor aviaries, simply place gravel or sand on top of the wire mesh.
|
| Step 9 – Join Frames
|
Securely fasten the frames together using screws, ensuring a minimum of 4 points per side.
Important: Make sure the mesh attachments are facing outwards.
|
| Step 10 – Create Door
|
Keep in mind that you’ll need to enter the cage for cleaning, so it’s better to have more space than less.
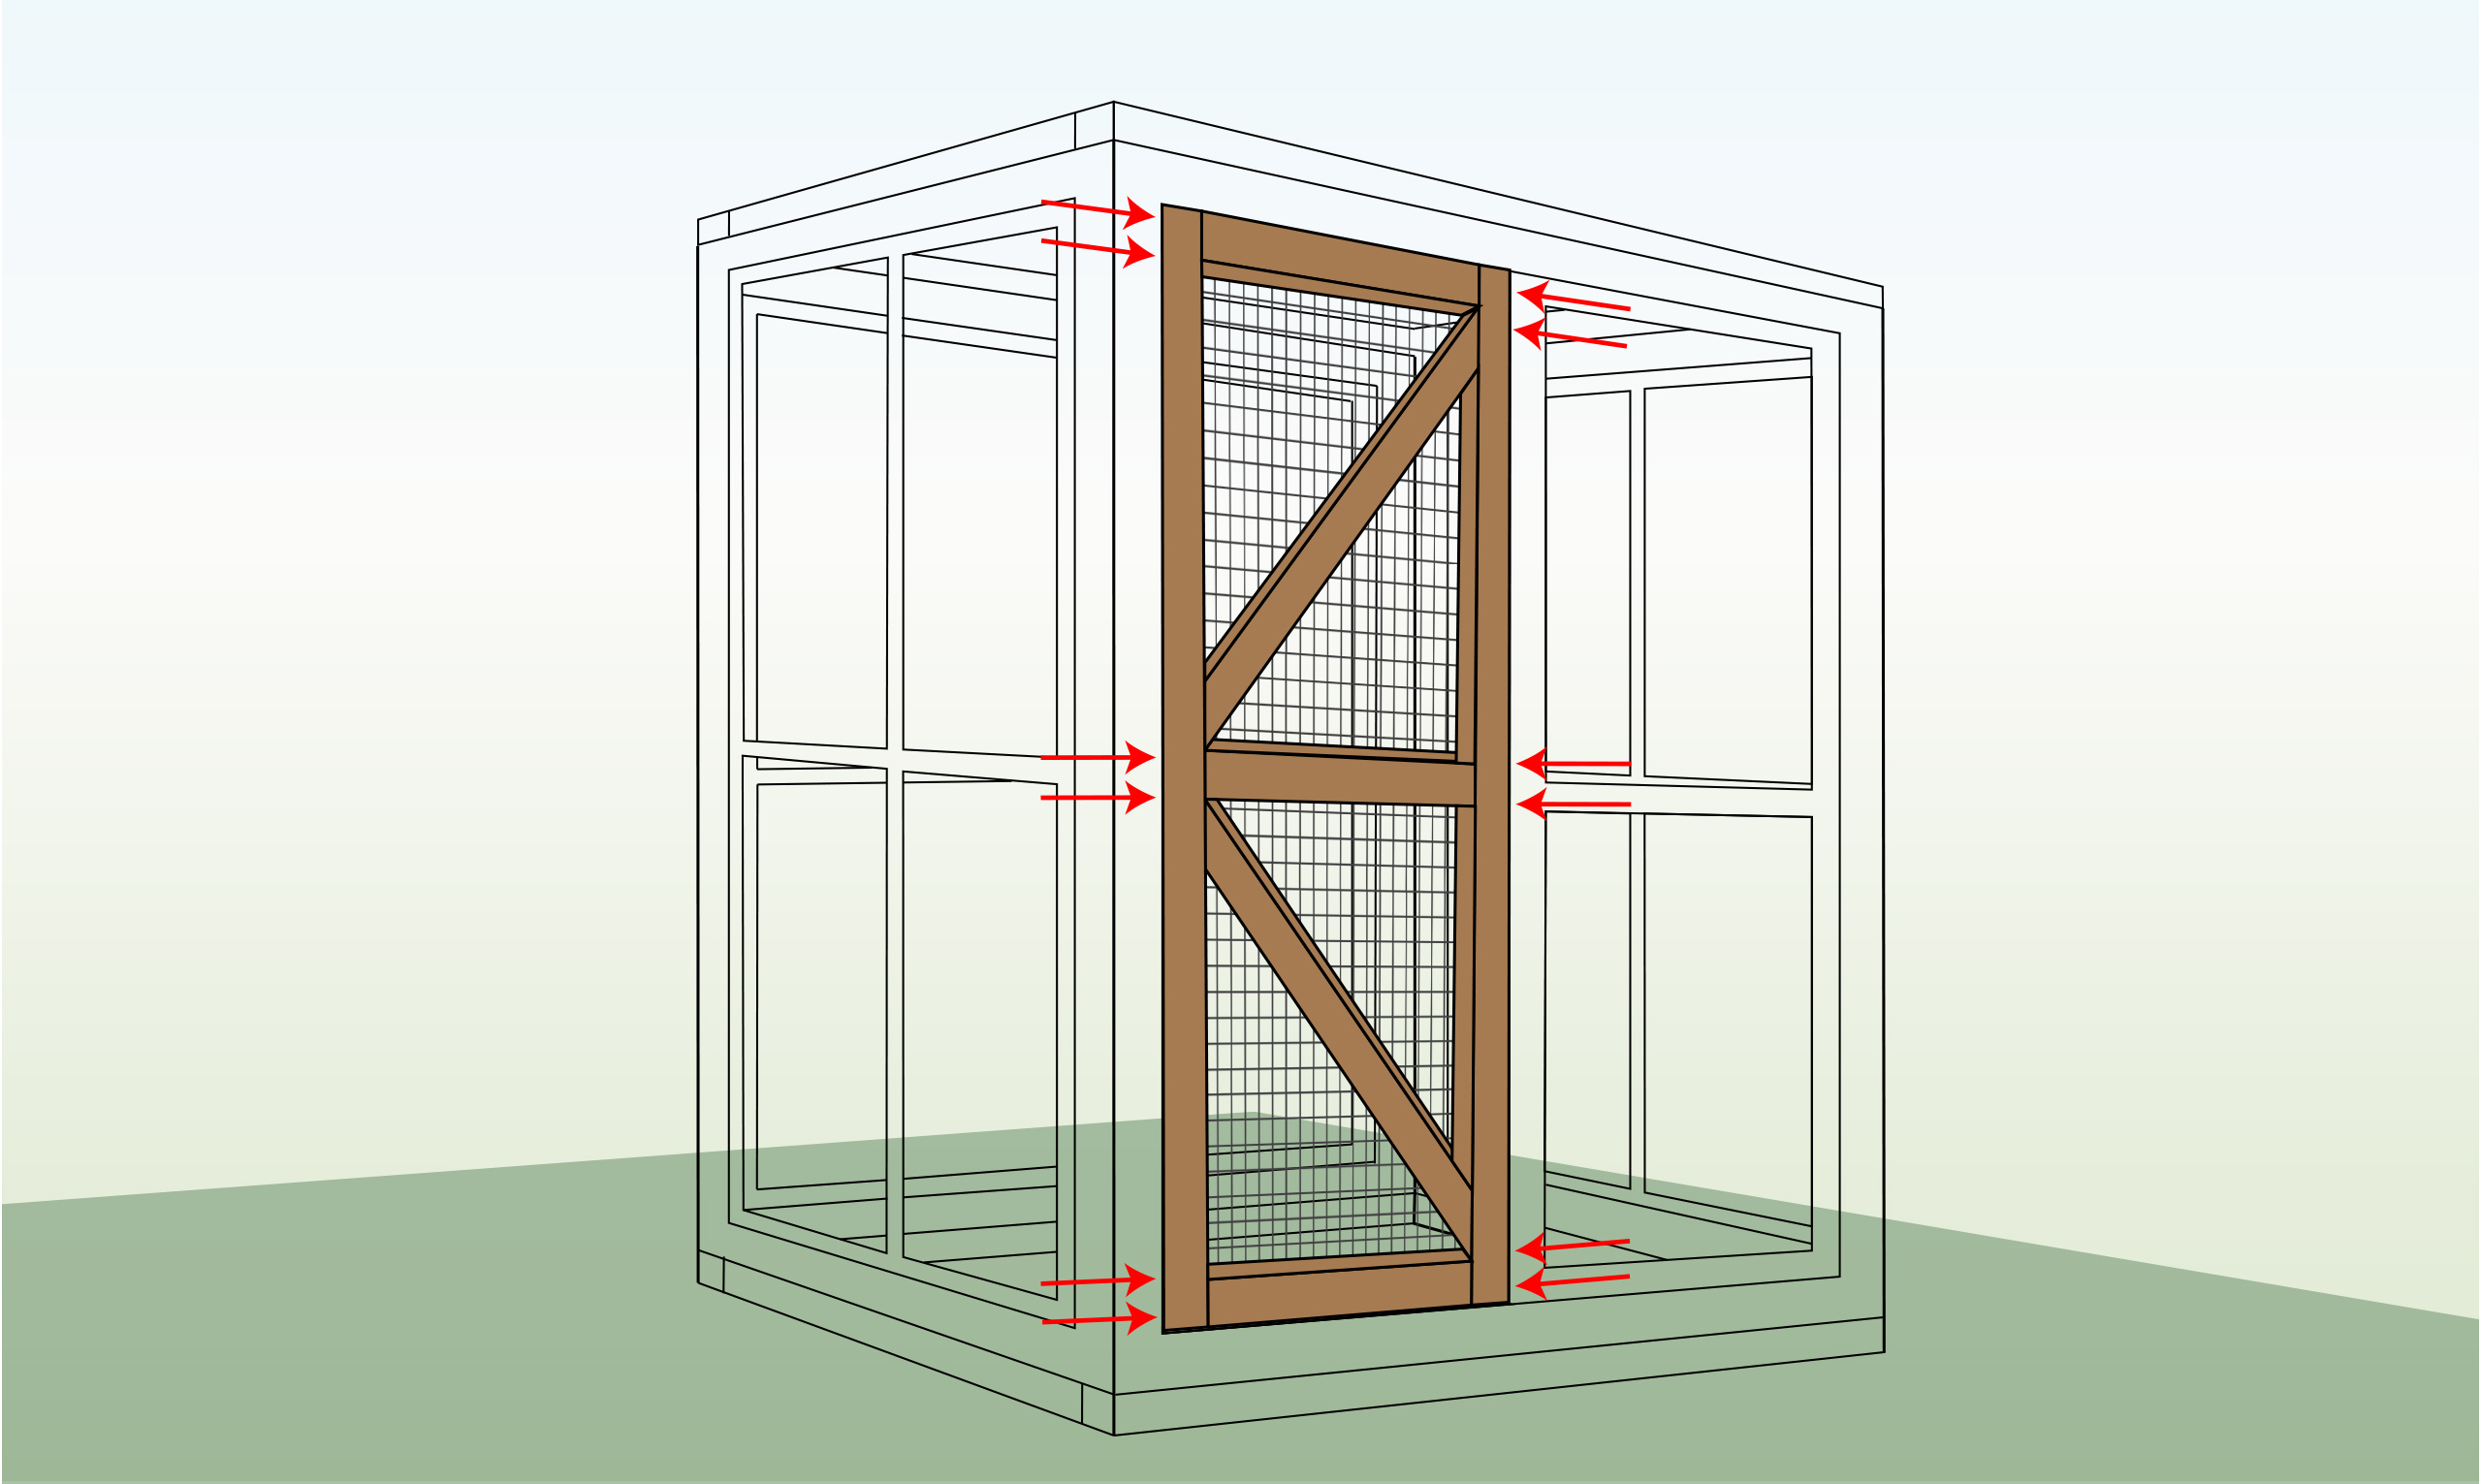
Construct the door in a similar manner to the rest of the structural frame, but include diagonal braces to enhance its durability.
|
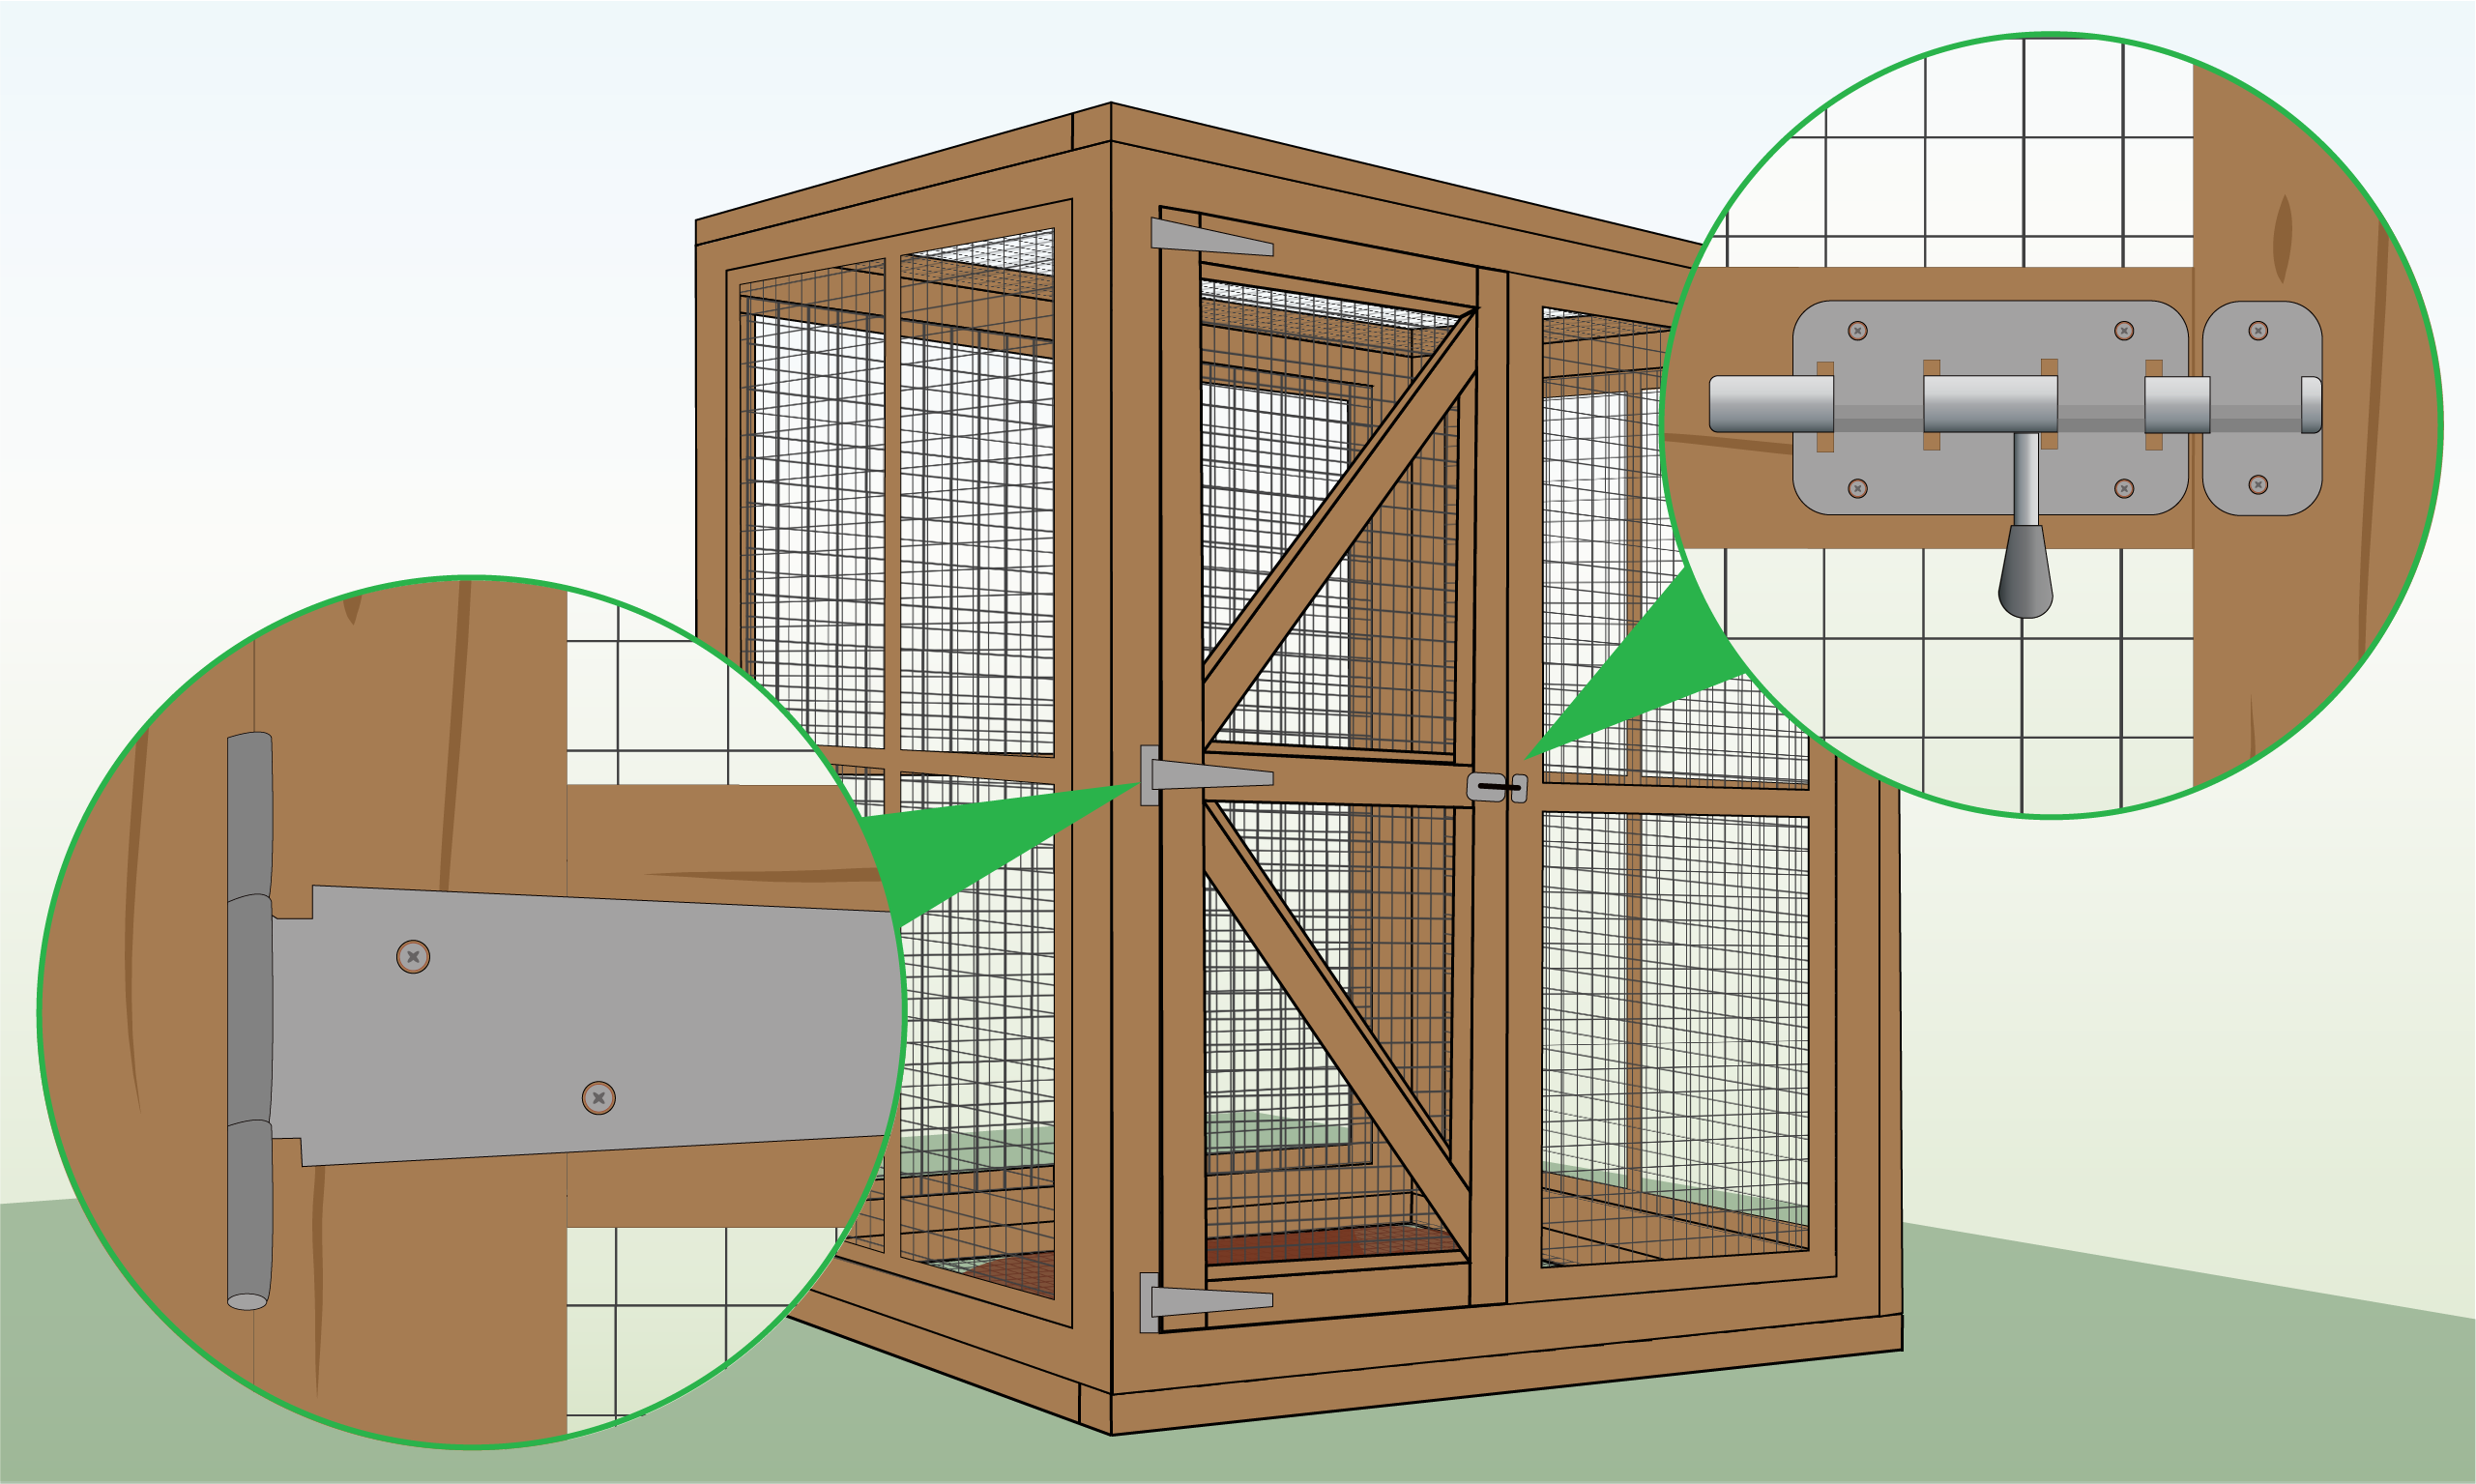
| Step 11 – Attach Door
|
Attach latches to the wooden frame using screws.
|
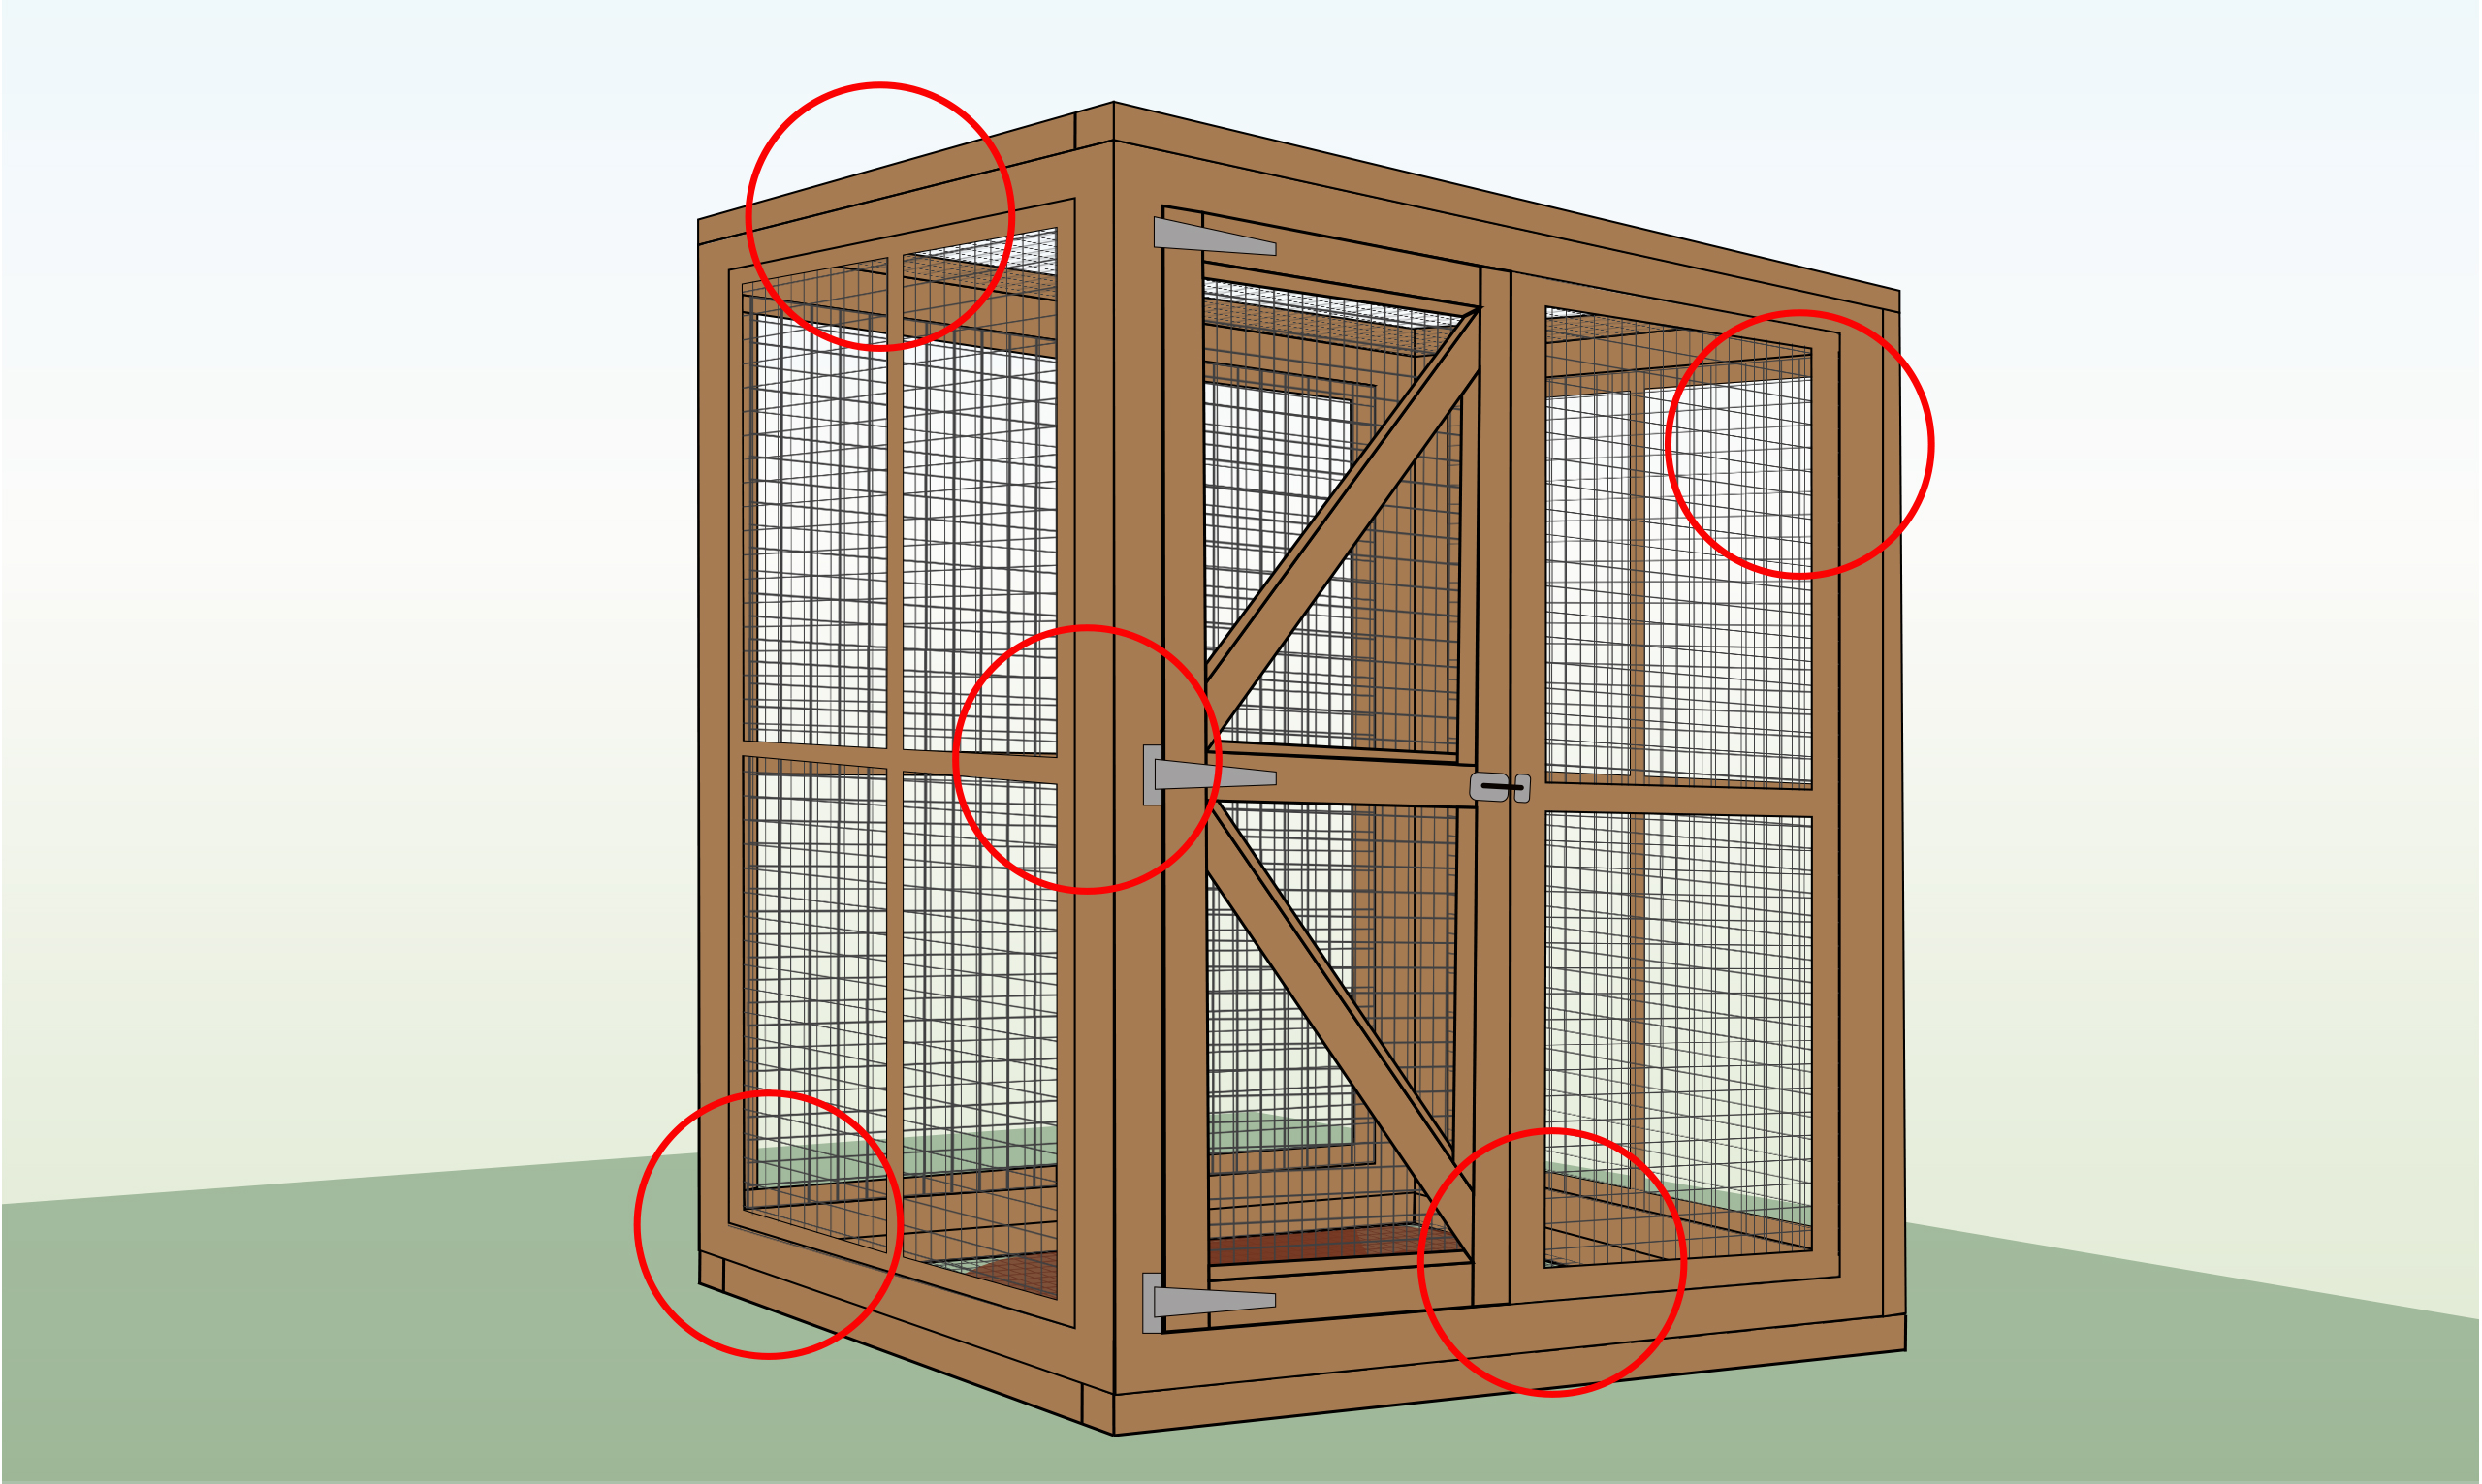
| Step 12 – Check for Weak Spots
|
Your aviary should be ready now. Thoroughly inspect all sides and joints to ensure that the frames and mesh are securely attached. Ensure there are no gaps anywhere that birds could escape through, and verify that the door closes securely. You’re now ready to begin furnishing the aviary. |

Wire Fence is part of the Super Magic Bean group - VAT Registered: 344 7643 83 - Company Registration No: 11290483