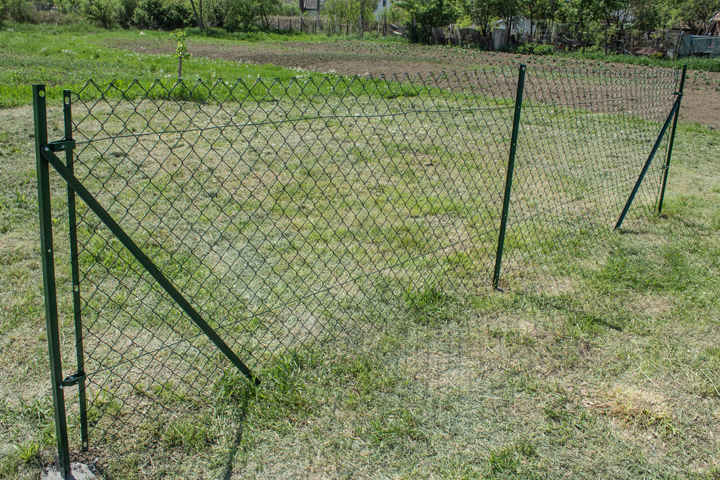
How to Install Chain Link Fence with T Posts

Below you will find a step by step guide on how to install chain link fence with T posts.
- Experience Required: Medium
- Tools Required: Bolts with Nuts and Washers, Hogring tool, Wire cutters, Pliers, Tape measure, Level, Wrench, Ratchet strap, Post hole digger, Protective gloves
- Materials Required: Chain link fence, T posts, Struts, Radisseurs, Tensioning wire, Stretcher bars, Cable ties, Hogrings, Concrete
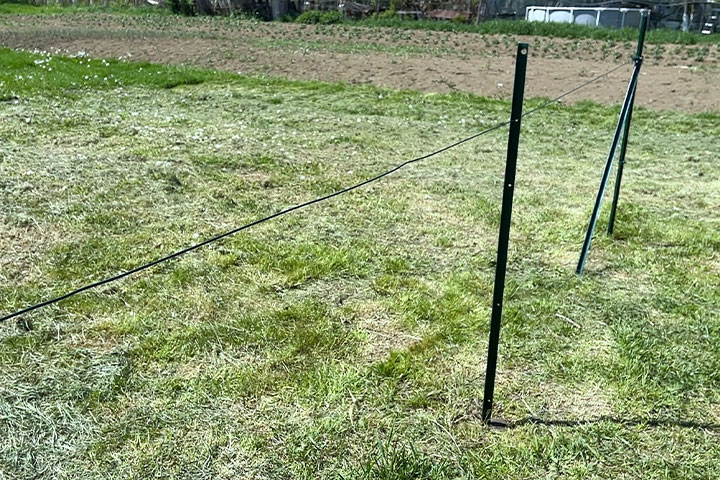
Step 1) Measure Post Distance
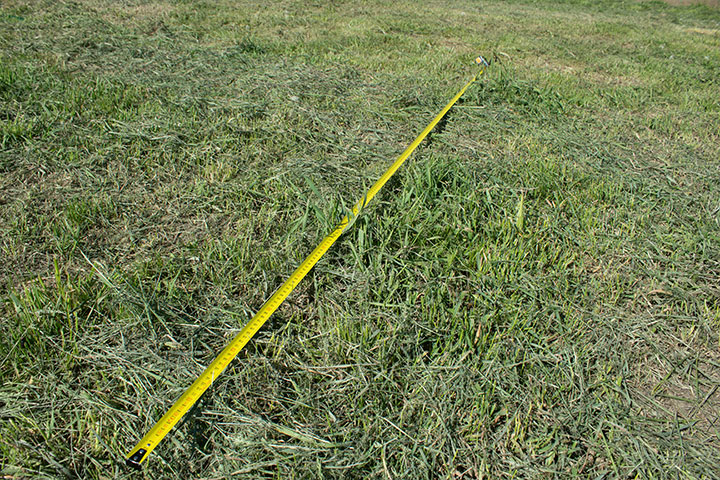
- Measure and mark the pole locations, spacing them 2 to 3 meters apart.
Step 2) Dig a Hole
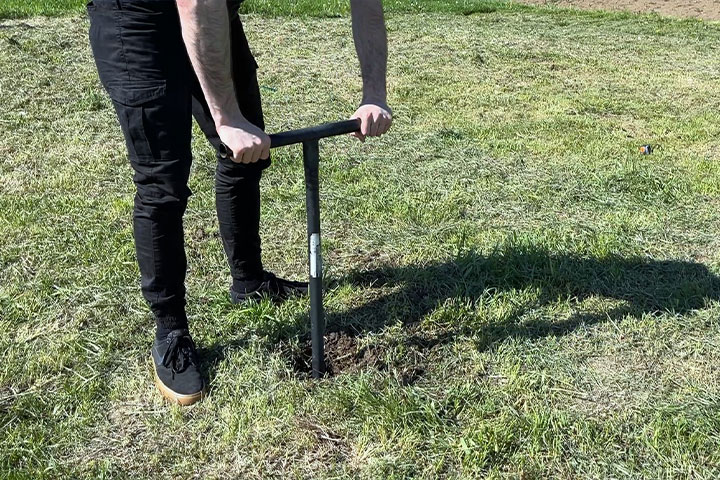
- Dig a hole for the first end pole using a hole digger.
Step 3) Position Into Hole
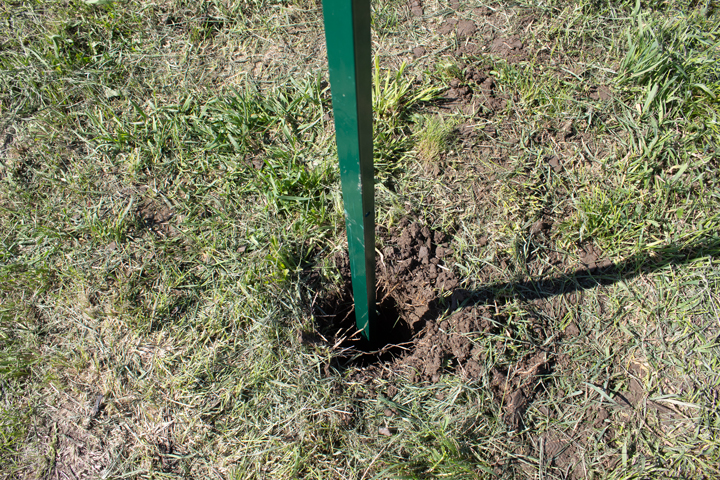
- Place the T pole in the hole and make sure it’s standing straight.
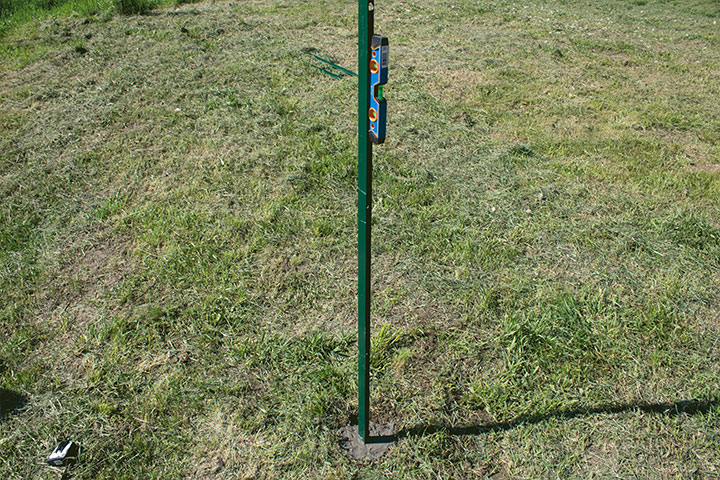
Step 4) Set in Concrete
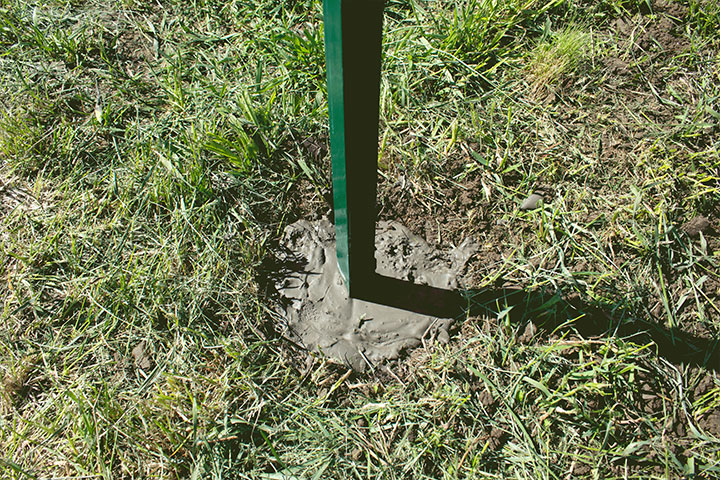
- Use concrete to secure the pole for added stability.
Step 5) Check for Straightness
- Check with a spirit level to ensure the pole is straight before the concrete sets.
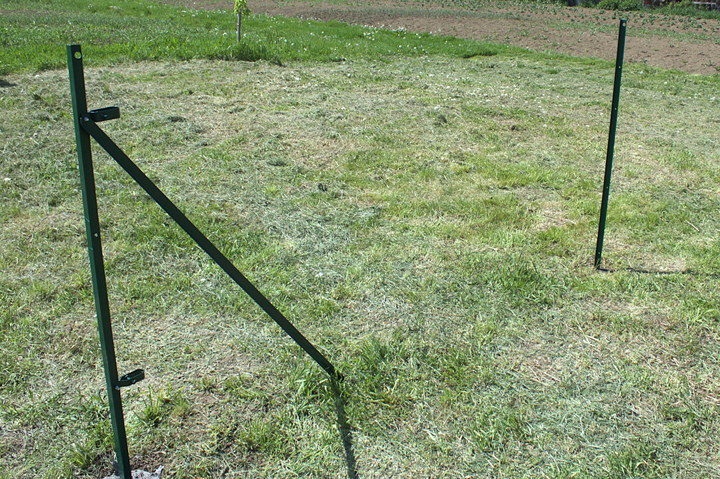
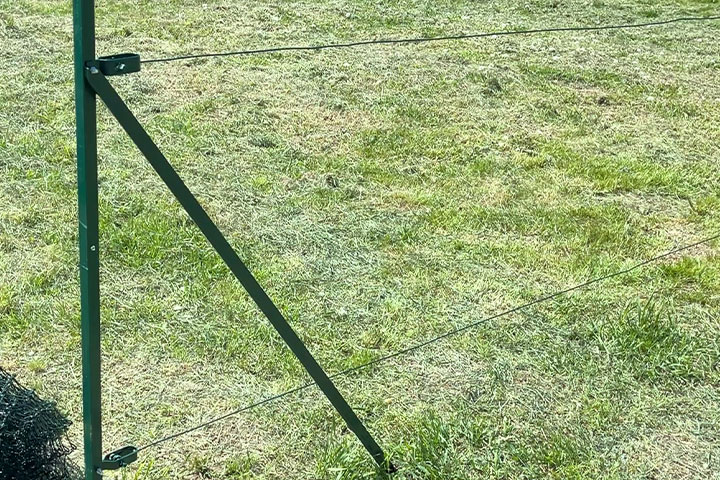
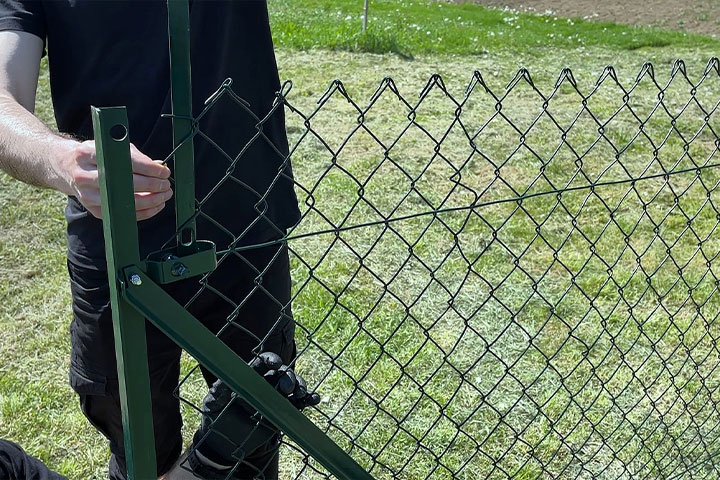
Step 6) Reinforcement Strut
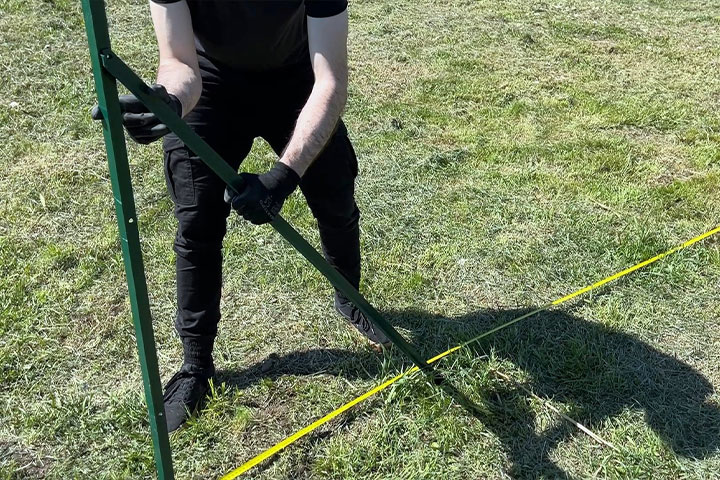
- Position the reinforcement strut, aligning its hole with the second hole down on the pole.
Step 7) Position the Radisseur
- Position the radisseur on the opposite side of the pole, aligning it with the same hole as the strut.
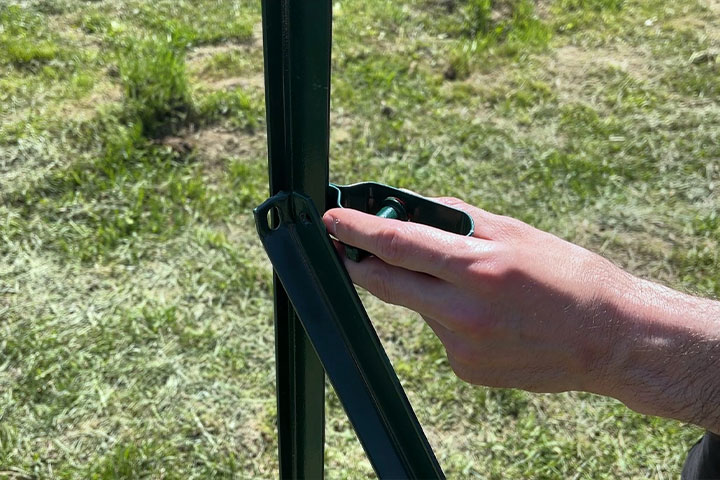
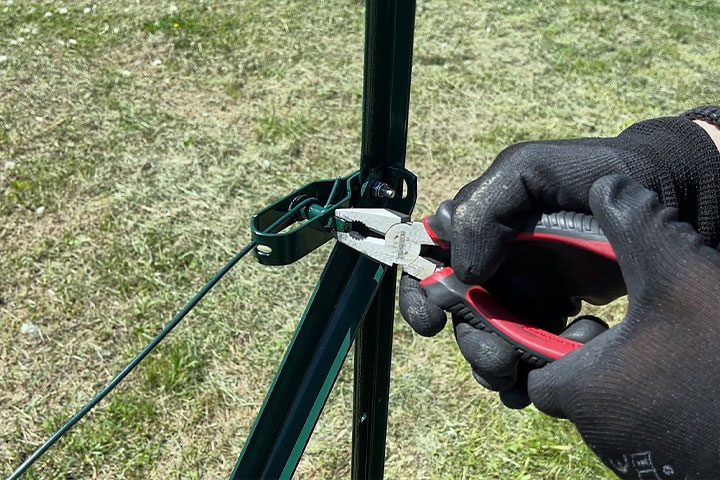
Step 8) Secure with Bolts
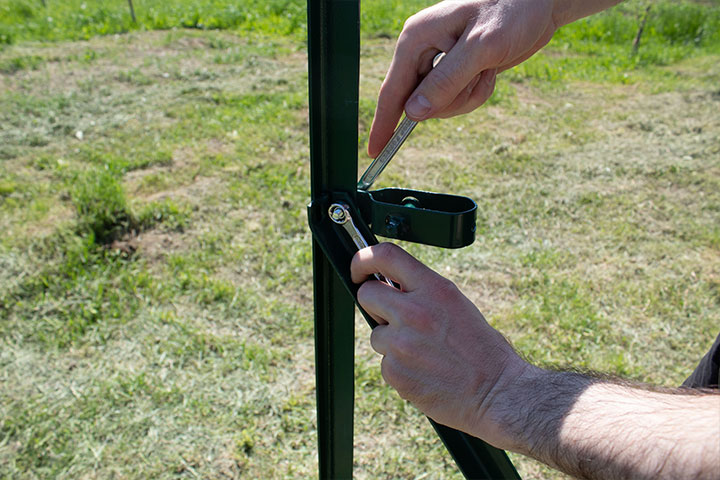
- Secure the strut and radisseur with bolts, nuts, and washers.
- Use two wrenches: one to hold the bolt and the other to tighten the nut.
Step 9) End Post with Strut
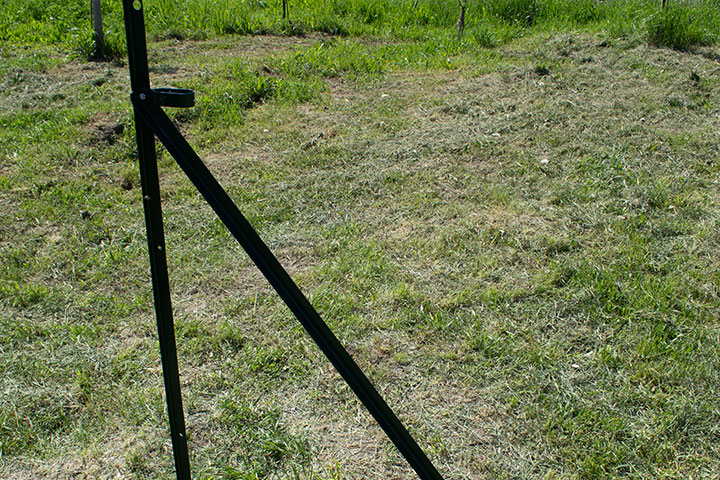
- The first end support is now in place, supported by one reinforcement strut at the end point of the fence.
Optional: Corner Posts
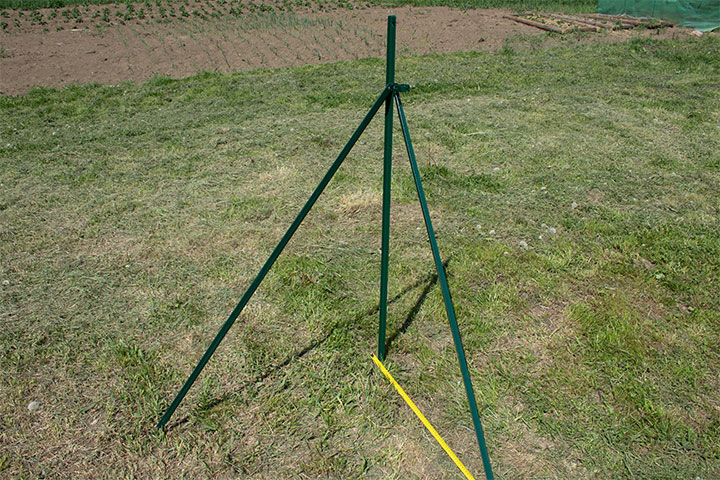
- You can turn your end pole into a corner pole by adding two struts at a 90-degree angle, providing extra stability at corners.
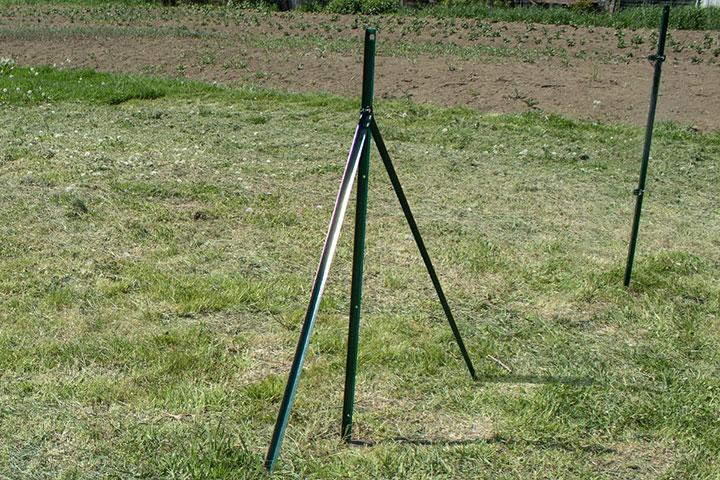
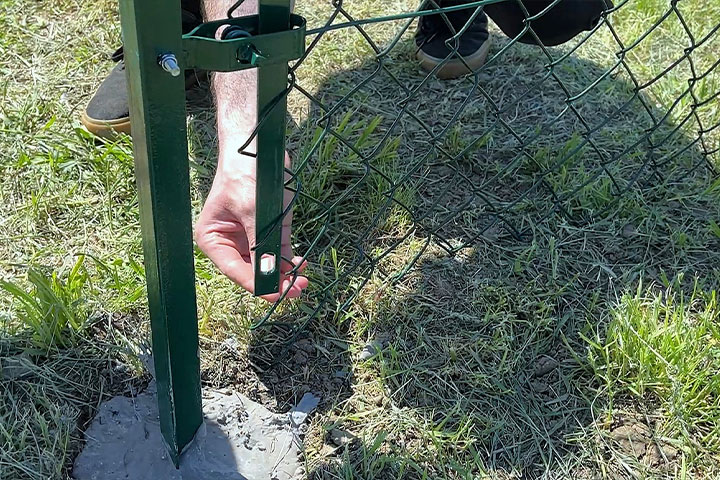
Step 10) Radisseur at the Bottom
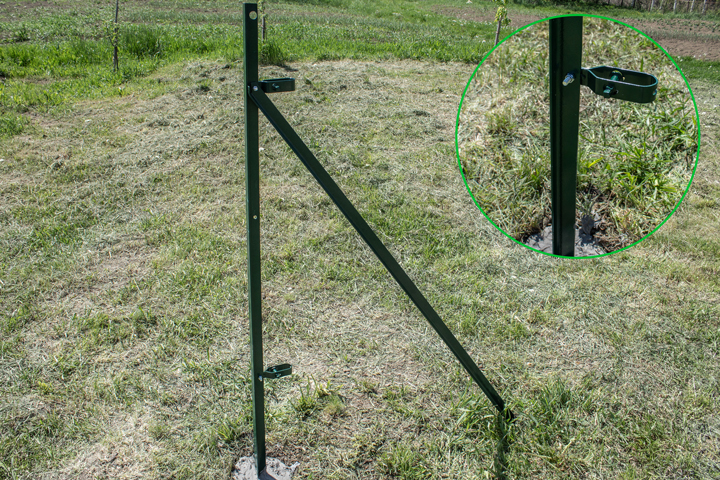
- Install a second radisseur at the bottom of the pole using nuts and bolts like before.
Step 11) Intermediate Posts
- Install the intermediate support, which are not reinforced by struts, placing them at equal intervals between the end poles to keep the fence aligned.
Optional: Intermediate Reinforcement Posts
- Turn them into intermediate reinforcement poles by adding two struts for extra support in high-stress areas of the fence.
Step 12) Install the Second End Pole
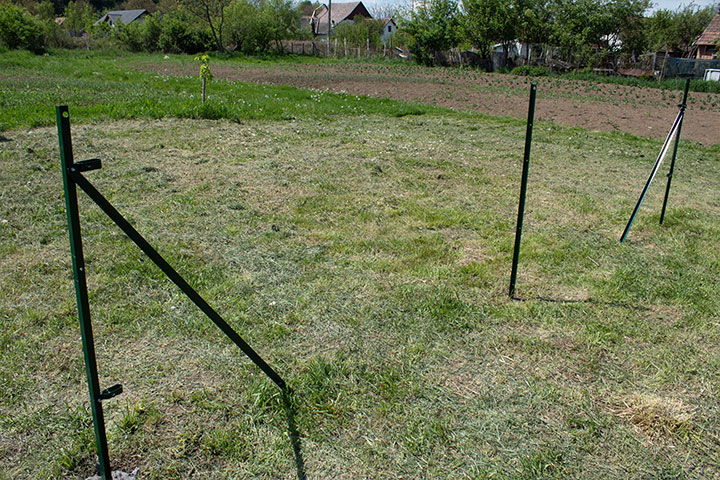
- Install the end pole and strut, repeating the same process as described for the first one.
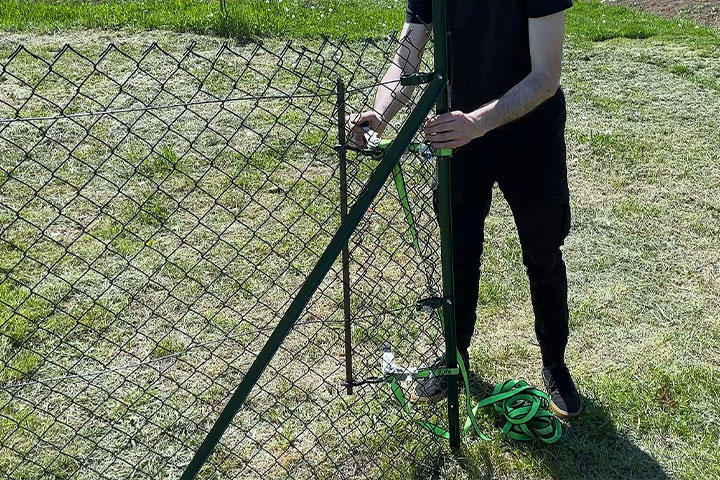
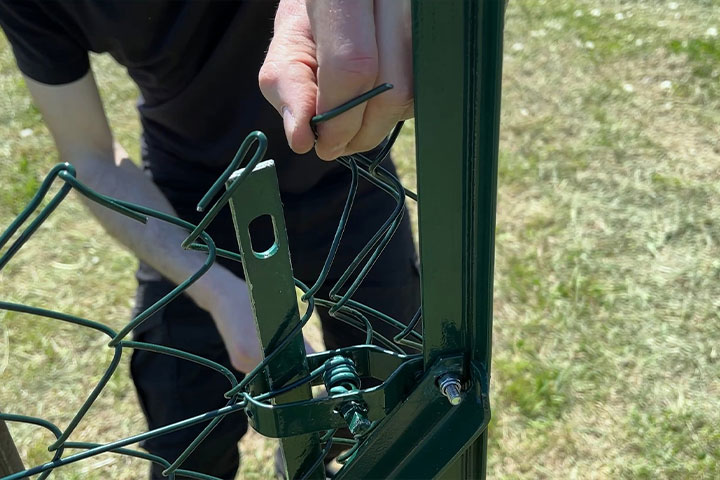
Step 13) Thread Wire Through the Holes

- Feed the tensioning wire through the holes located in the middle of the radisseur.
Step 14) Tighten the Wire
- Use pliers to twist the pin on the radisseur clockwise in order to tension the wire.
Step 15) Thread Tension Wire
- Feed the tensioning wire through the aligned hole in the intermediate pole(s).
Step 16) Repeat Tightening the Wire
- Repeat Step 13-14 to tighten the wire at the opposite end pole.
Step 17) Second Line of Tensioning Wire
- Add a second line of tensioning wire along the bottom of the run.
Step 18) Unroll the Chain Link
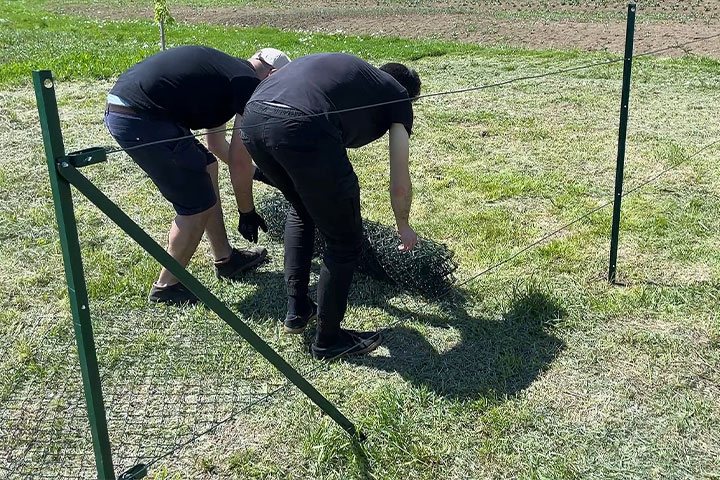
- In the process of how to install chain link fence with T posts, start unrolling the mesh along the ground.
- Be careful not to snag the wires as you go!
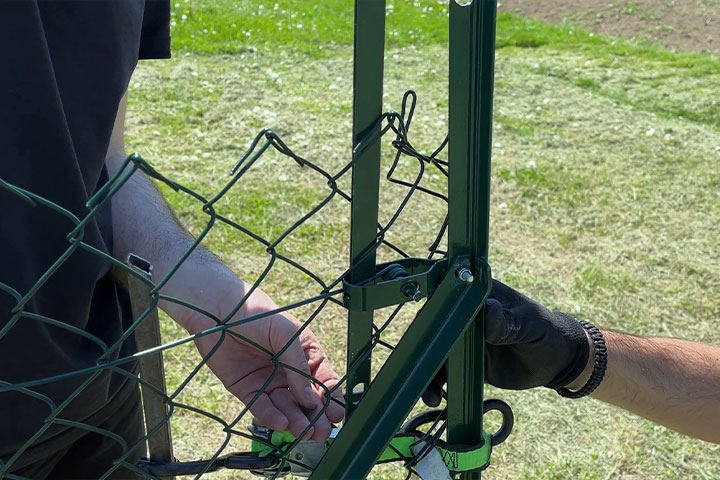
Step 19) Insert Stretcher Bar
- Position the chain link near the end support, then weave the stretcher bar through the mesh holes and the radisseurs.
Step 20) Continue Weaving
- Continue weaving in the stretcher bar until you reach the bottom.
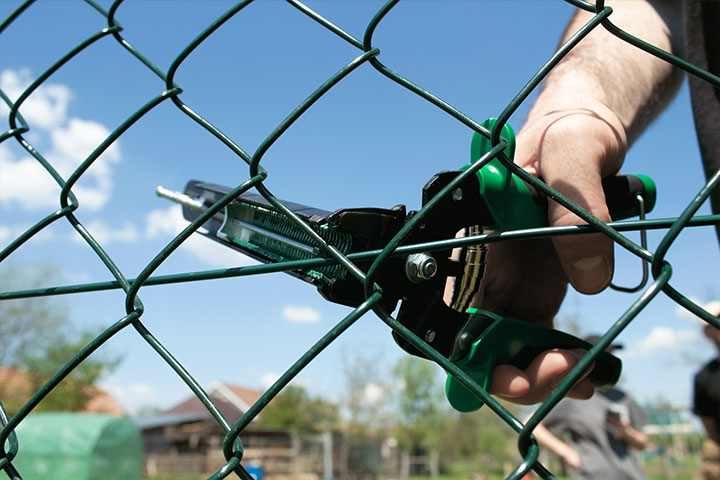
Step 21) Tighten the Fence
- At the other end, use a ratchet strap and an extra stretcher bar (or a rebar) to tighten the mesh.
- Gradually pull the mesh taut until it’s properly tensioned.
Step 22) Secure to Intermediate Poles
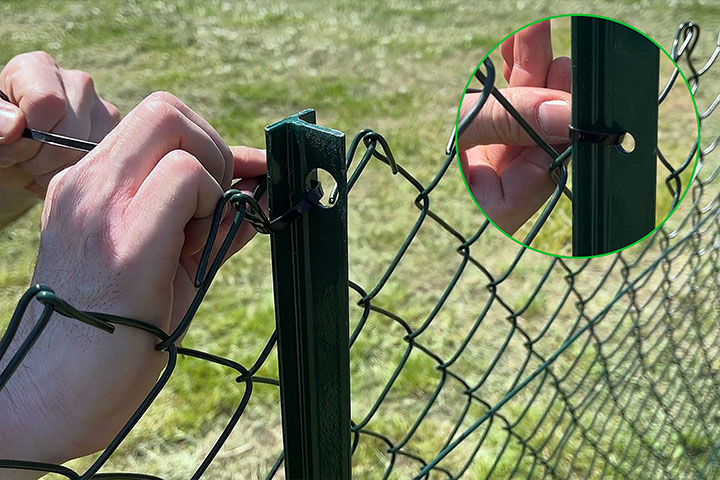
- Secure the chain link to the intermediate poles using cable ties at each hole.
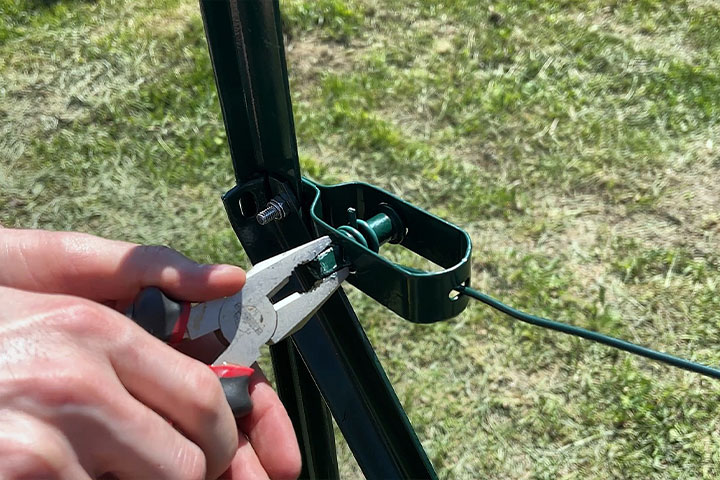
Step 23) Cut Off the Cable Tie Ends
- Cut off the ends of the cable ties using wire cutters or scissors.
Step 24) Securing Mesh
- Then, insert a stretcher bar as described in steps 18–19 to secure the mesh to the end pole.
- Once it is is fully secured, remove the ratchet strap.
Step 25) Remove the Excess Mesh
- Remove the excess mesh by gently untwisting one wire strand from where the cut is needed.
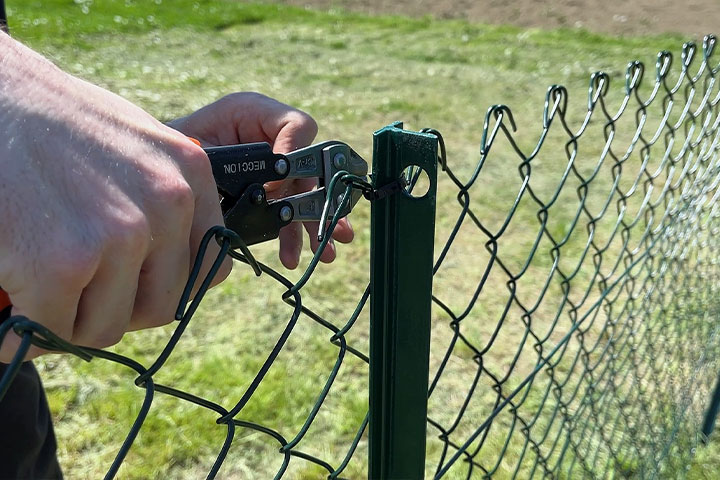
Step 26) Attach with Hogrings
- Secure the tensioning wire to the chain link using hogrings.
Step 27) Continue Securing
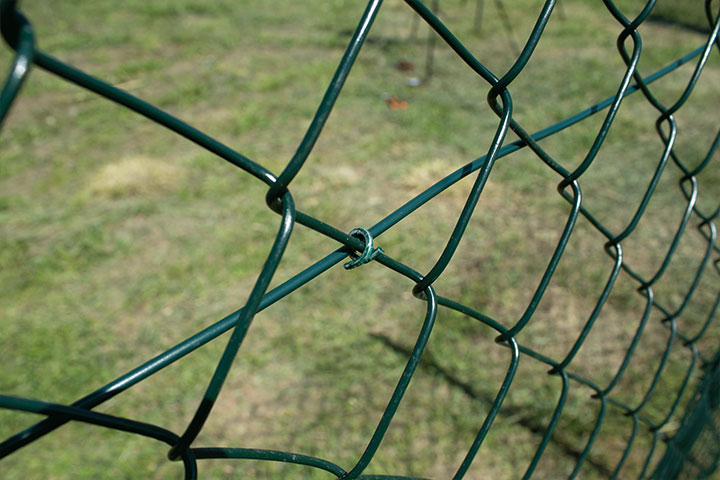
- Continue securing the tensioning wire along the entire length of the fence.
Step 28) Check & Adjust
- Your chain link fence with t post should now be complete.
- Check for any weak spots and adjust tension where necessary.
Tips and Tricks
Working through the installation helped us identify both the strengths and the trickier parts of the process, which we’ve compiled into the list below to help make this guide more useful.
- Avoid overstretching the mesh, as this could deform the run.
- Use a spirit level to regularly check that the supports stay straight while the concrete sets. Make any needed adjustments before it fully hardens.
- Maintain a consistent spacing of 2–3 meters between poles using a measuring tape. Uneven spacing can affect both stability and appearance.
- Double-check all ties and wires to ensure they are tightly secured. Loose connections may cause the fence to weaken over time.
- Install tension wires at the top and bottom to help keep the mesh aligned and stable.
FURTHER READING
- How to Cut Chain Link Fence – A guide on how to cut chain link properly.
- How to Unroll Chain Link Fence – Learn how to unroll mesh correctly.
- How to Connect Chain Link Fence – Learn how to connect mesh.
- How to Install T Post Fence – A guide showing you how to install T pole.
VIDEO
Written By
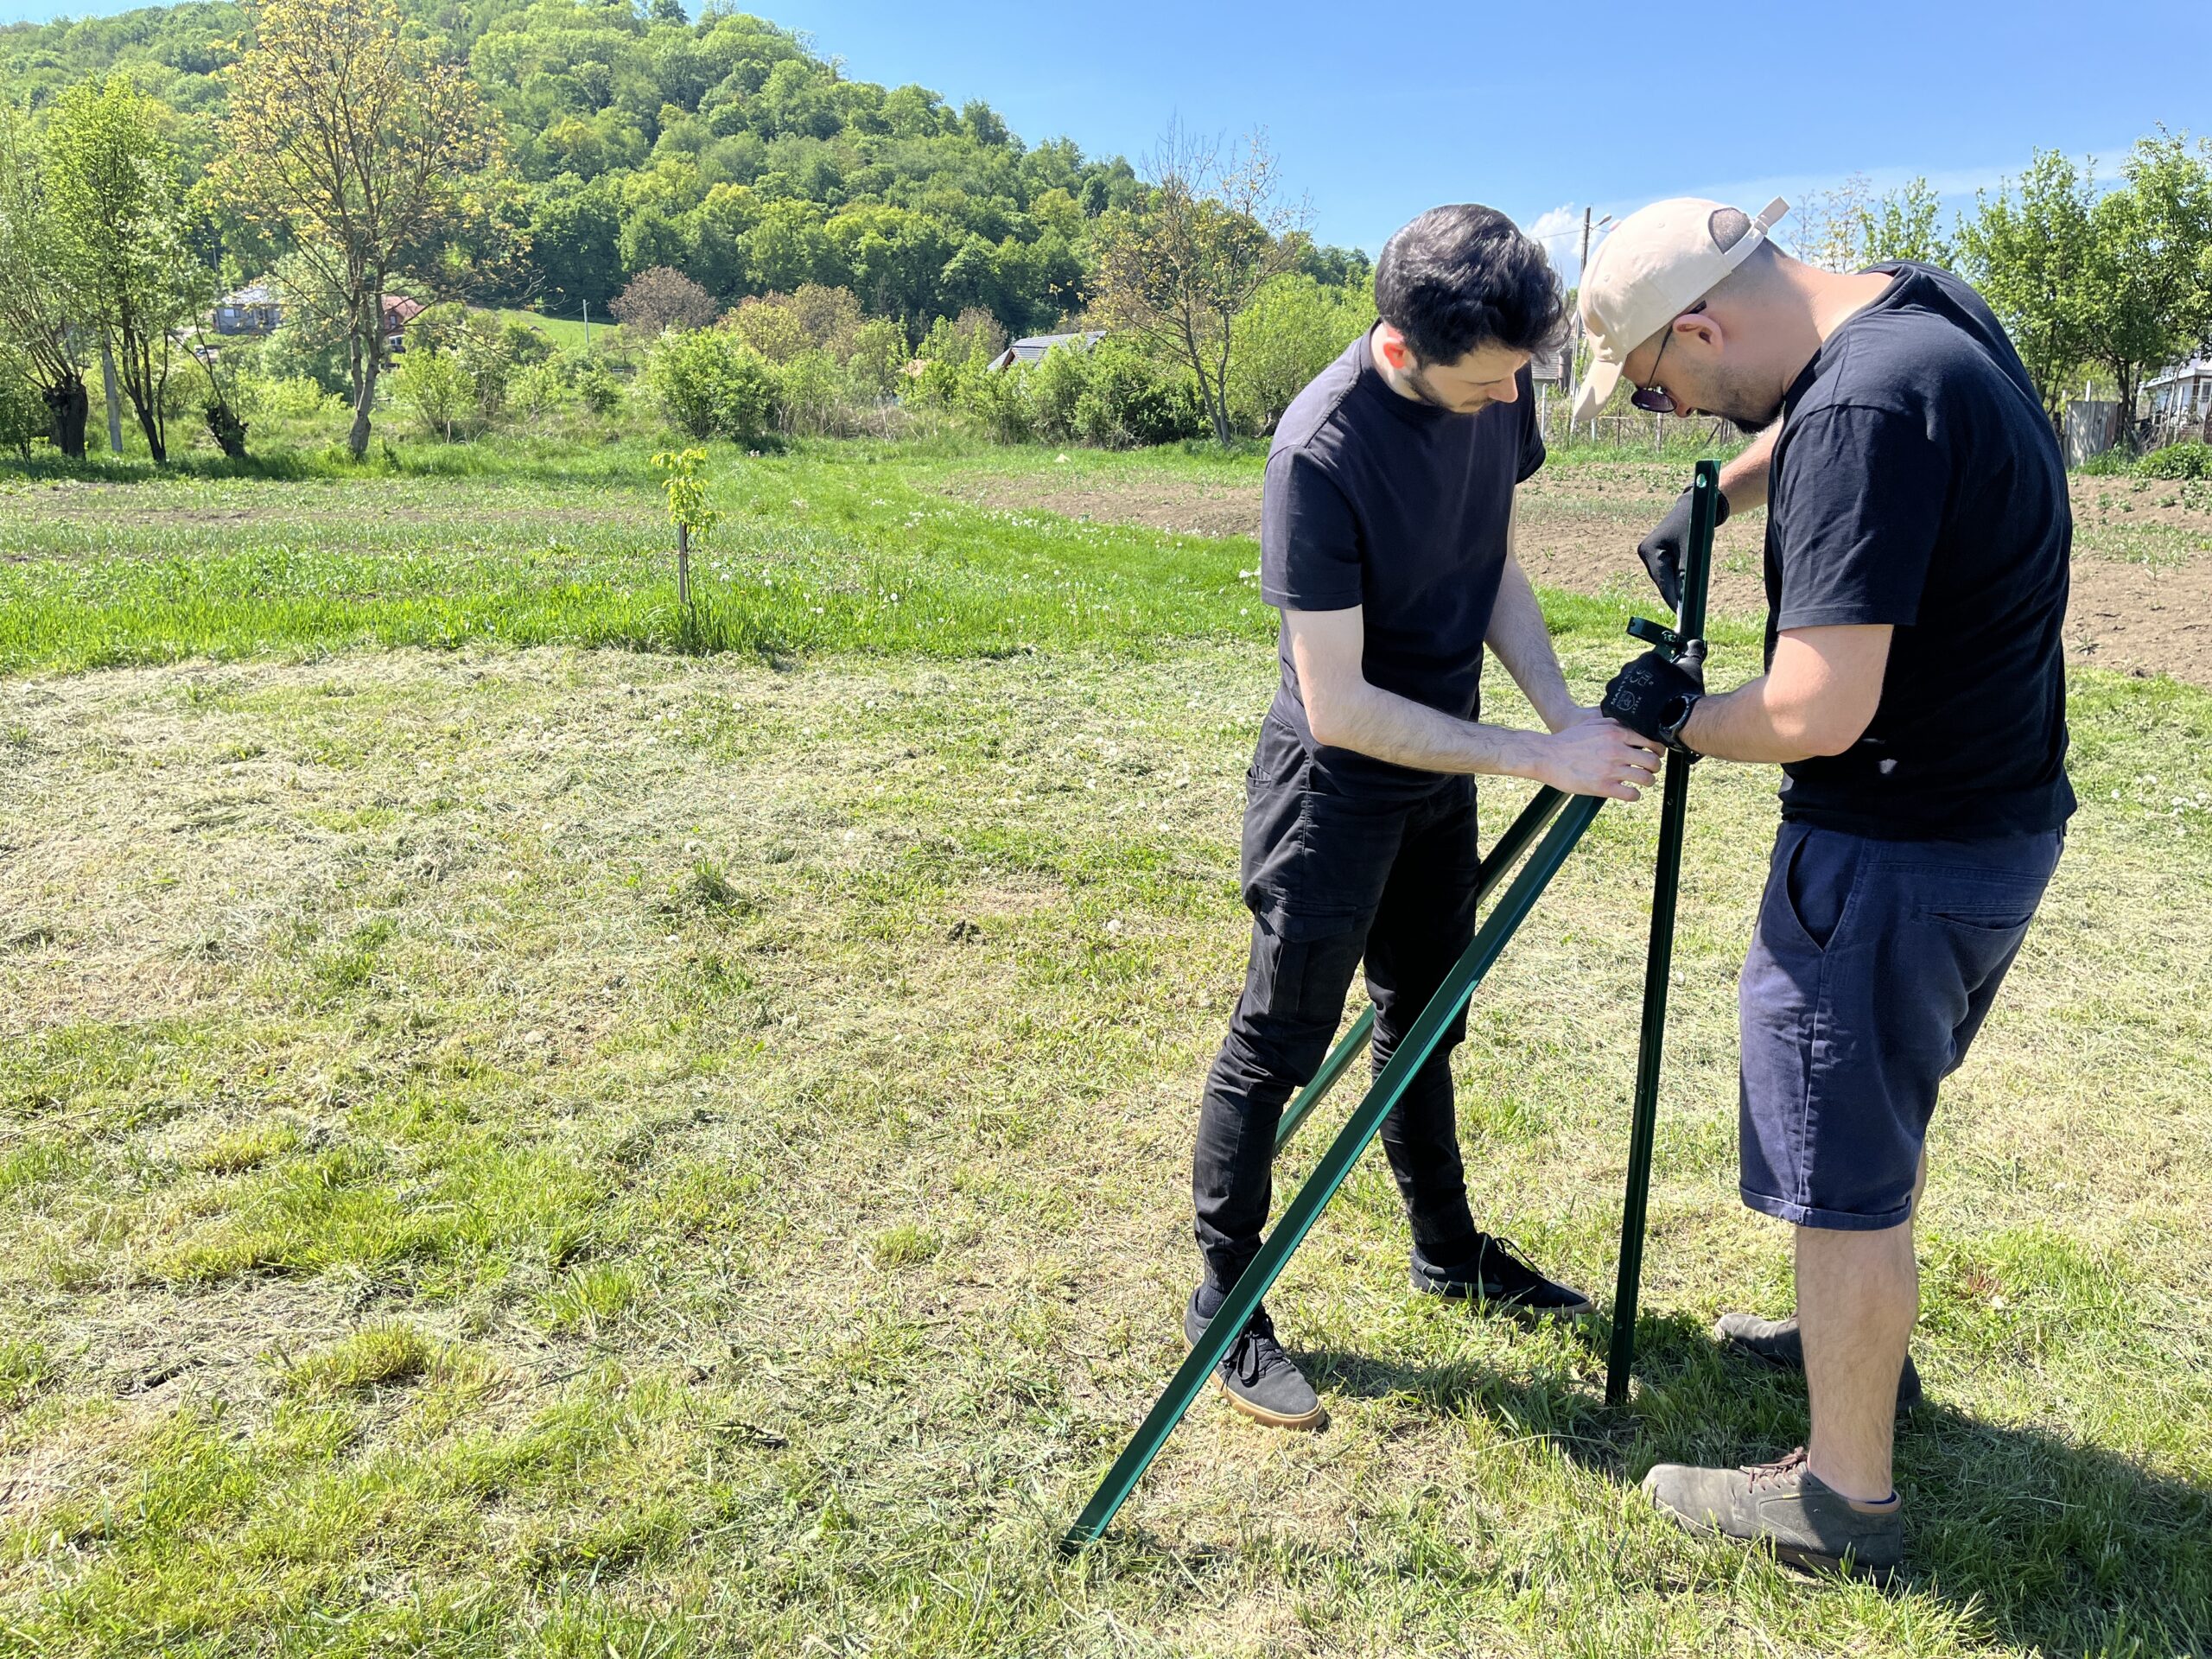
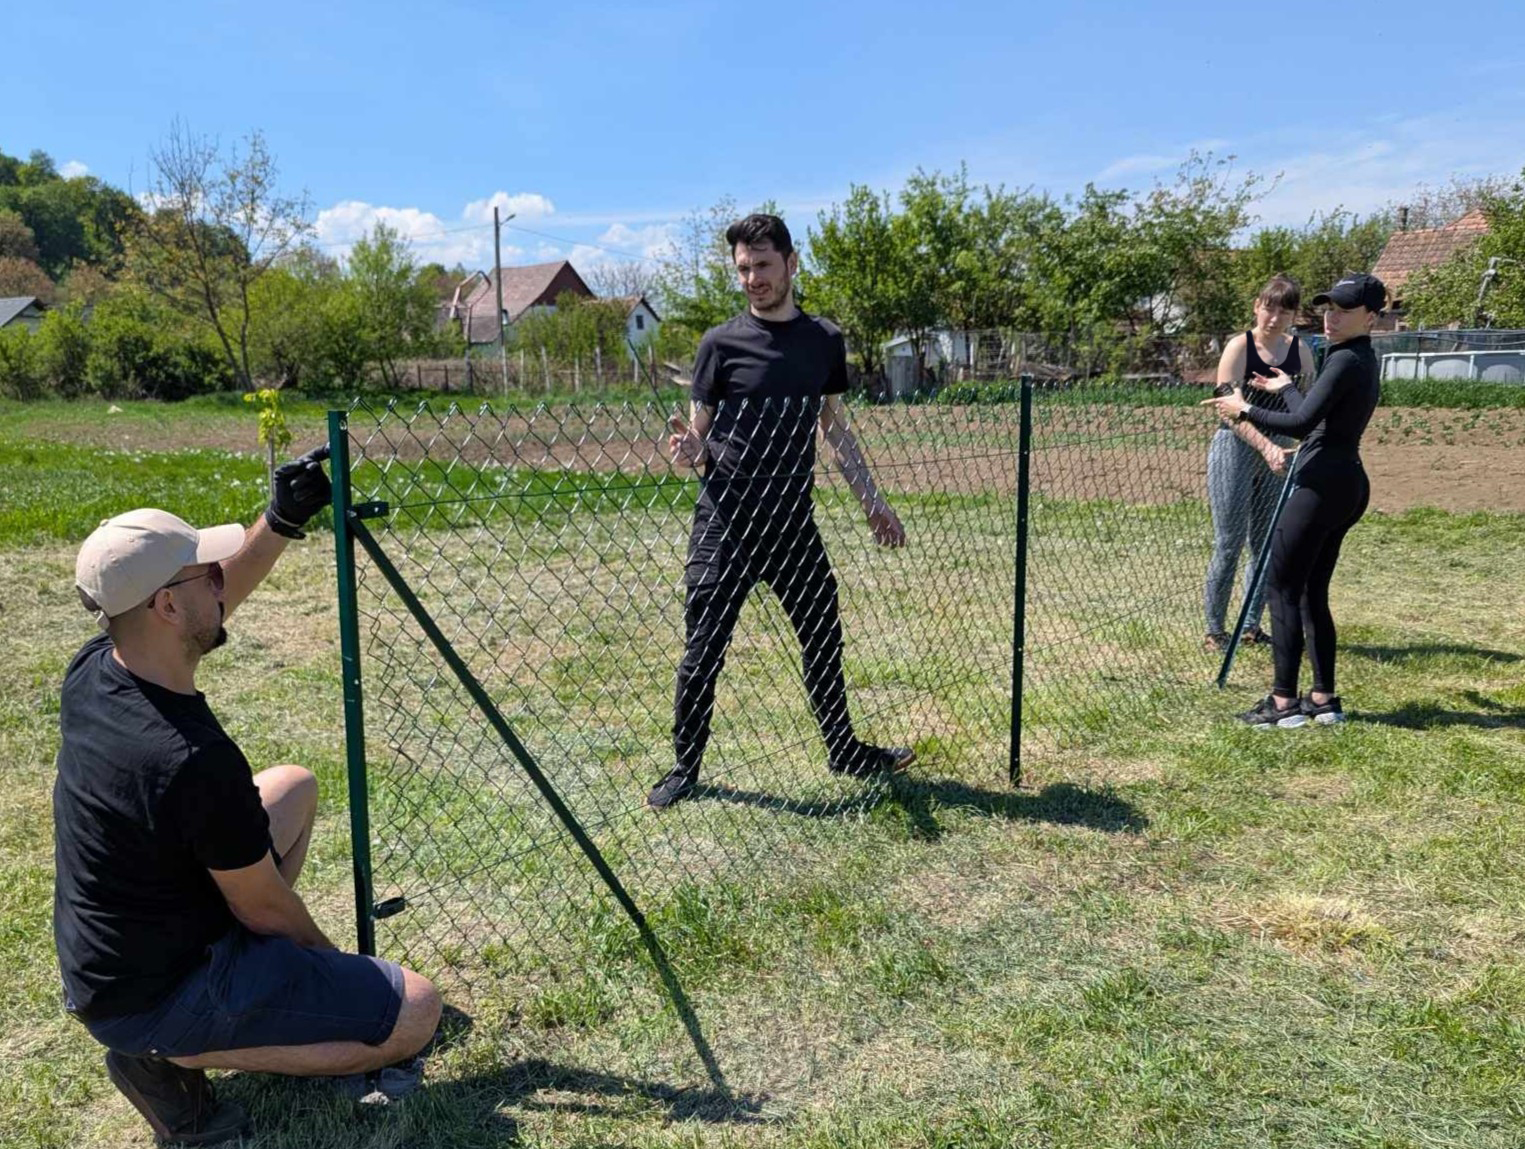
This blog was created by Timi with the help of Szilard, Erno, Orsi, and Timi S, who installed the fence. Take a look at some behind-the-scenes images below.


Published by