How to Attach Chicken Wire to Wood Frame
In this blog you will find out how to attach chicken wire to wood frame. Below you can find step by step instructions for easy installation.
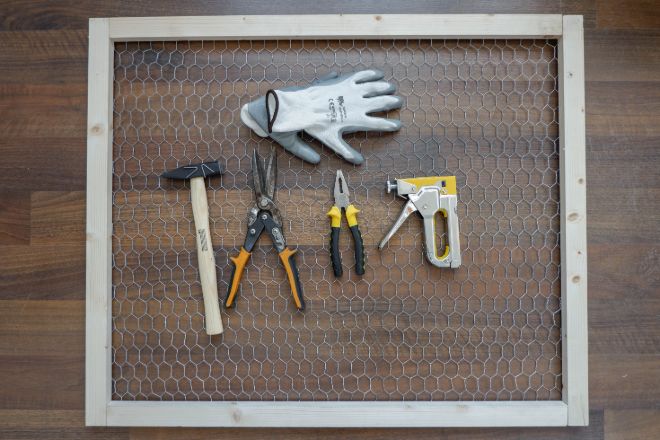
OVERVIEW
- Estimated Completion Time: ~1 hour
- Experience Required: Low
- Tools Required: Wire Cutters, Protective Gloves, Hammer, Pliers (Optional: Staple Gun)
- Materials Required: Chicken Wire, Wood Frame, Staples
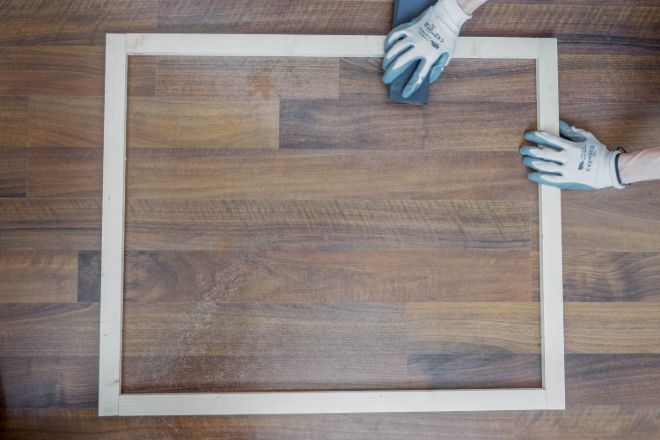
STEP 1) Sand the Wood
- Sand the frame until it is smooth.
- The smoother the surface, the easier it will be to handle as you go on with the project.
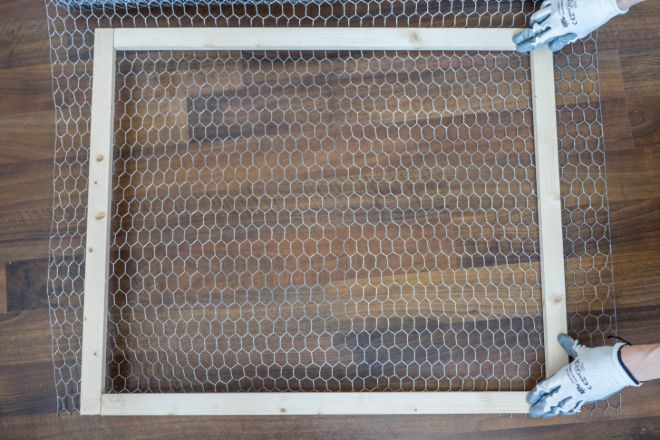
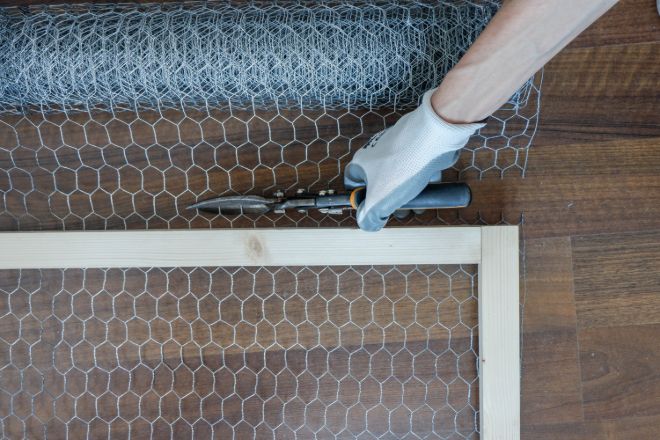
STEP 2) Unroll Enough Chicken Wire to Fit the Frame
- Unroll the chicken wire and place the frame on top.
STEP 3) Cut the Mesh
- Cut a slightly bigger piece of chicken wire along the length of the frame.
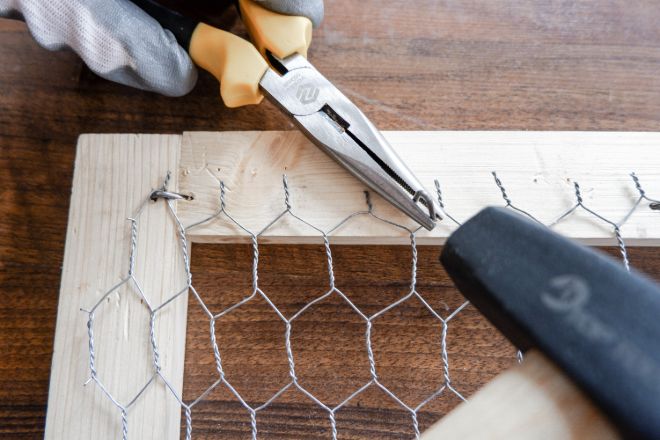
STEP 4) Attach the Left Side
- Start by attaching the wire to the left side first.
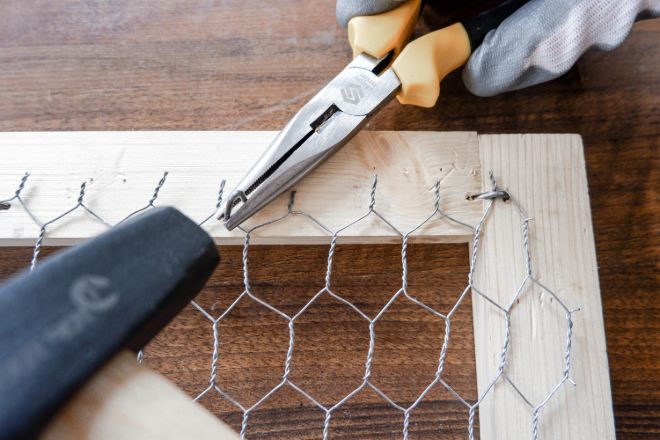
- Use staples at least at every third hole to fix the mesh tightly to the wood.
- Hold the staples with pliers to shield your hand.
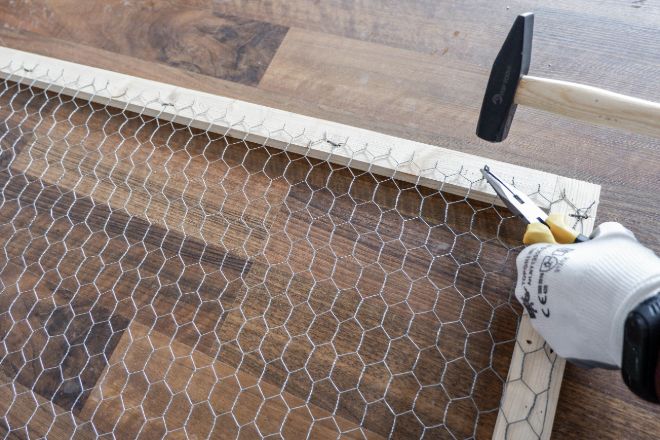
STEP 5) Attach the Top
- If you are done with the left side, attach the wire to the top.
- When using the hammer, make sure that all the staples are pushed in firmly.
STEP 6) Fix the Bottom Side
- Attach the bottom side of the mesh to the frame.
- Always pull the mesh as you move along.
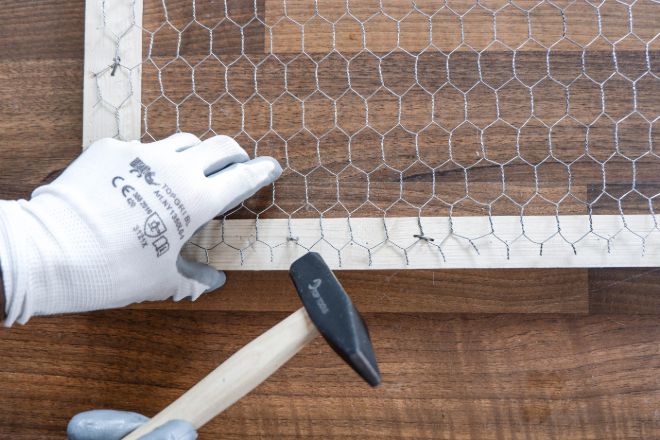
STEP 7) Attach the Right Side
- The last side that you have to staple is the right side.
- Always pull on the mesh before attaching it to make it taut.
STEP 8) Cut Off the Excess
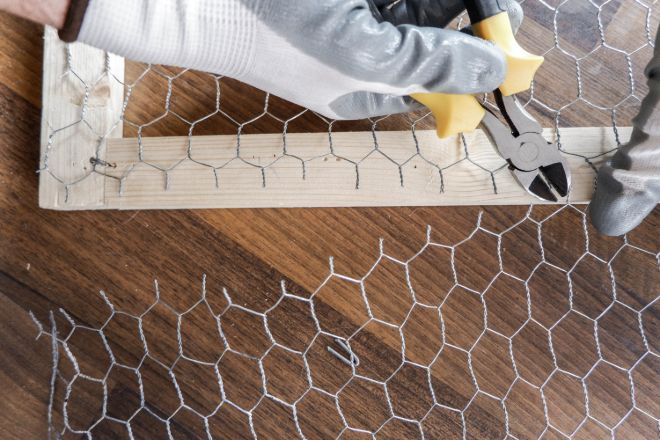
- Cut off the excess chicken wire and you are done with the project.
- If you want to create more frames, repeat all the steps above again and again.
ALTERNATIVE) Attach with a Staple Gun
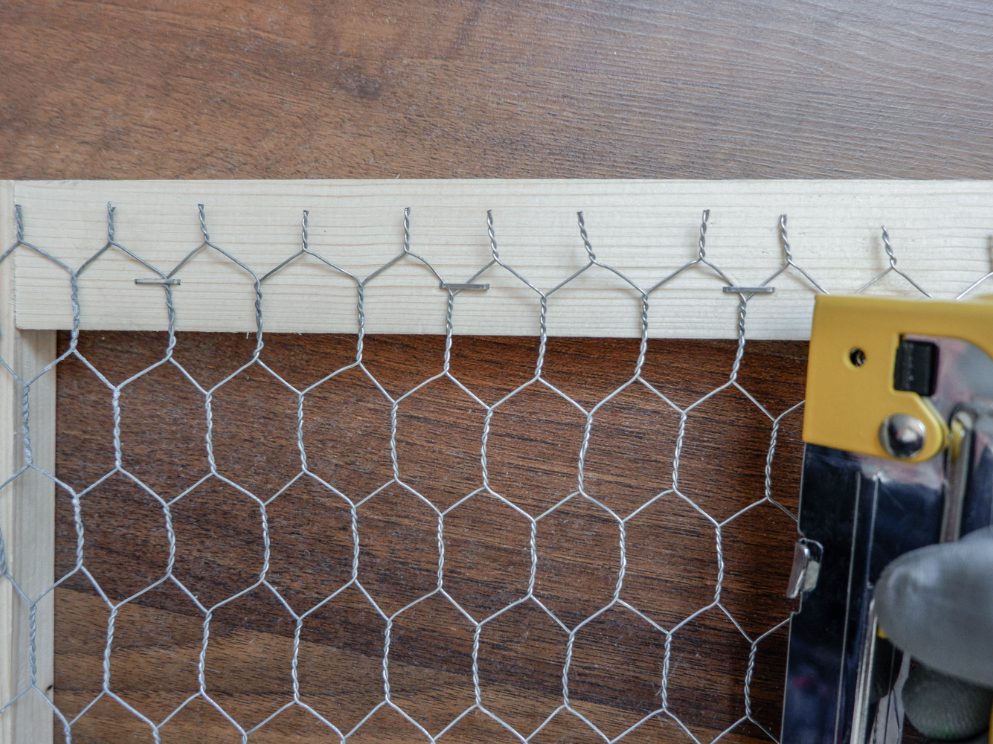
- You can use a staple gun if you find hammering the staples into the wood frame to be challenging.
FURTHER READING
- Cutting Chicken Wire
- How to Paint Chicken Wire
- How to Attach Chicken Wire to Posts and Different Materials
- DIY Frame With Chicken Wire for Pictures
- DIY Chicken Wire Jewelry Holder
- How to Make Tomato Cages From Chicken Wire
- How To Make Chicken Wire Ghost Figures
- How to Build a Chicken Run

You really need to turn the edges in of the wire. Otherwise, it can cause an injury. I use my needle nose pliers to turn the sharp wires.
Hi Sabrina,
Thank you for your comment and for the advice.
It is indeed a good practice to turn the edges of the wires that are cut at the back of the frame and the needle nose pliers are just perfect for that.
Also, it is essential to use protective gloves while working on this to avoid any injuries.
Once the wires and turned and the frame is hung up on the wall, it shouldn’t be possible for the frame to cause any injuries.
Hope this is helpful and thank you for pointing out the advice.
Kind regards,
Erno