
How To Make Chicken Wire Ghost Figures
This blog will show you how to make your own DIY chicken wire ghost figure as a fun Halloween decoration for your garden. Just follow the step by step instructions below in order to complete the project.

OVERVIEW
- Experience Required: Low
- Estimated Completion Time: 2-3 hours
- Tools Required: Protective Gloves, Wire Cutters, Scissors, Pliers
- Materials Required: Chicken Wire Mesh, Black Fabric, Tulle Fabric, Wire
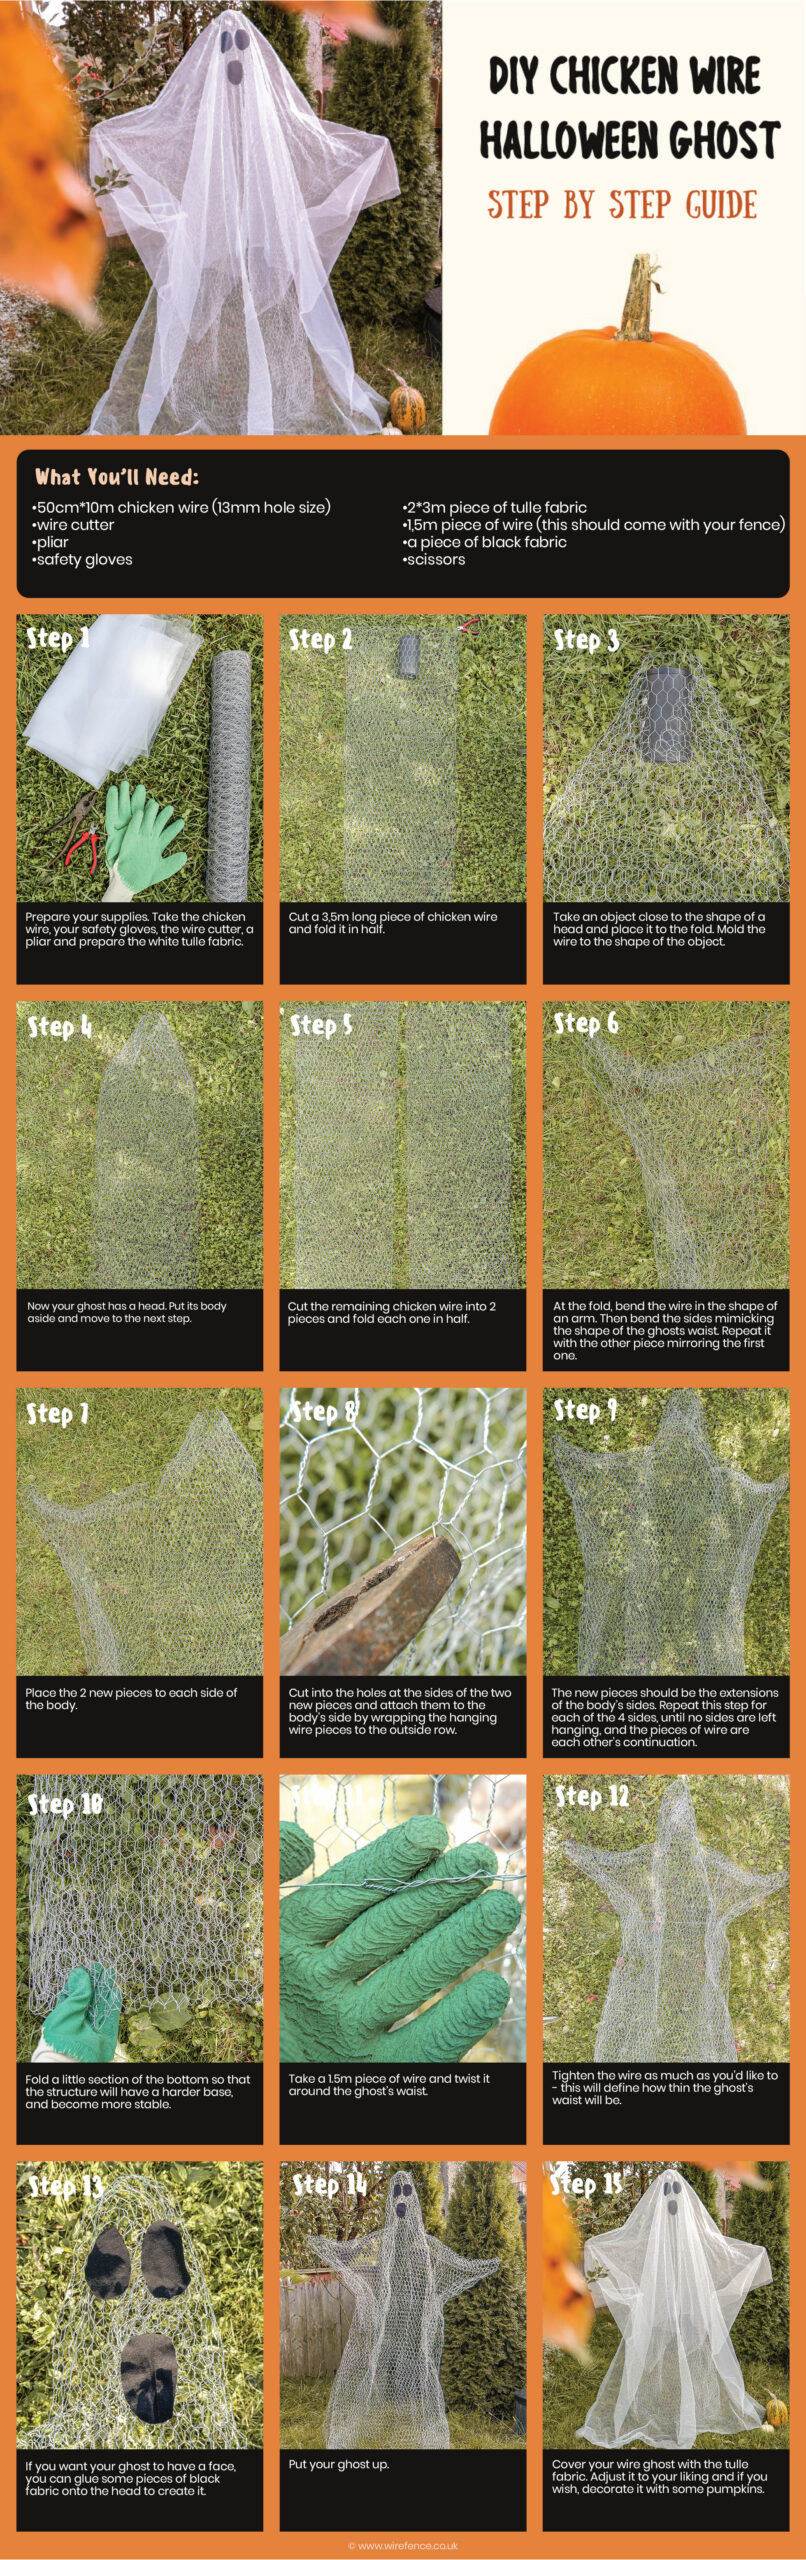
STEP 1) Prepare Your Supplies
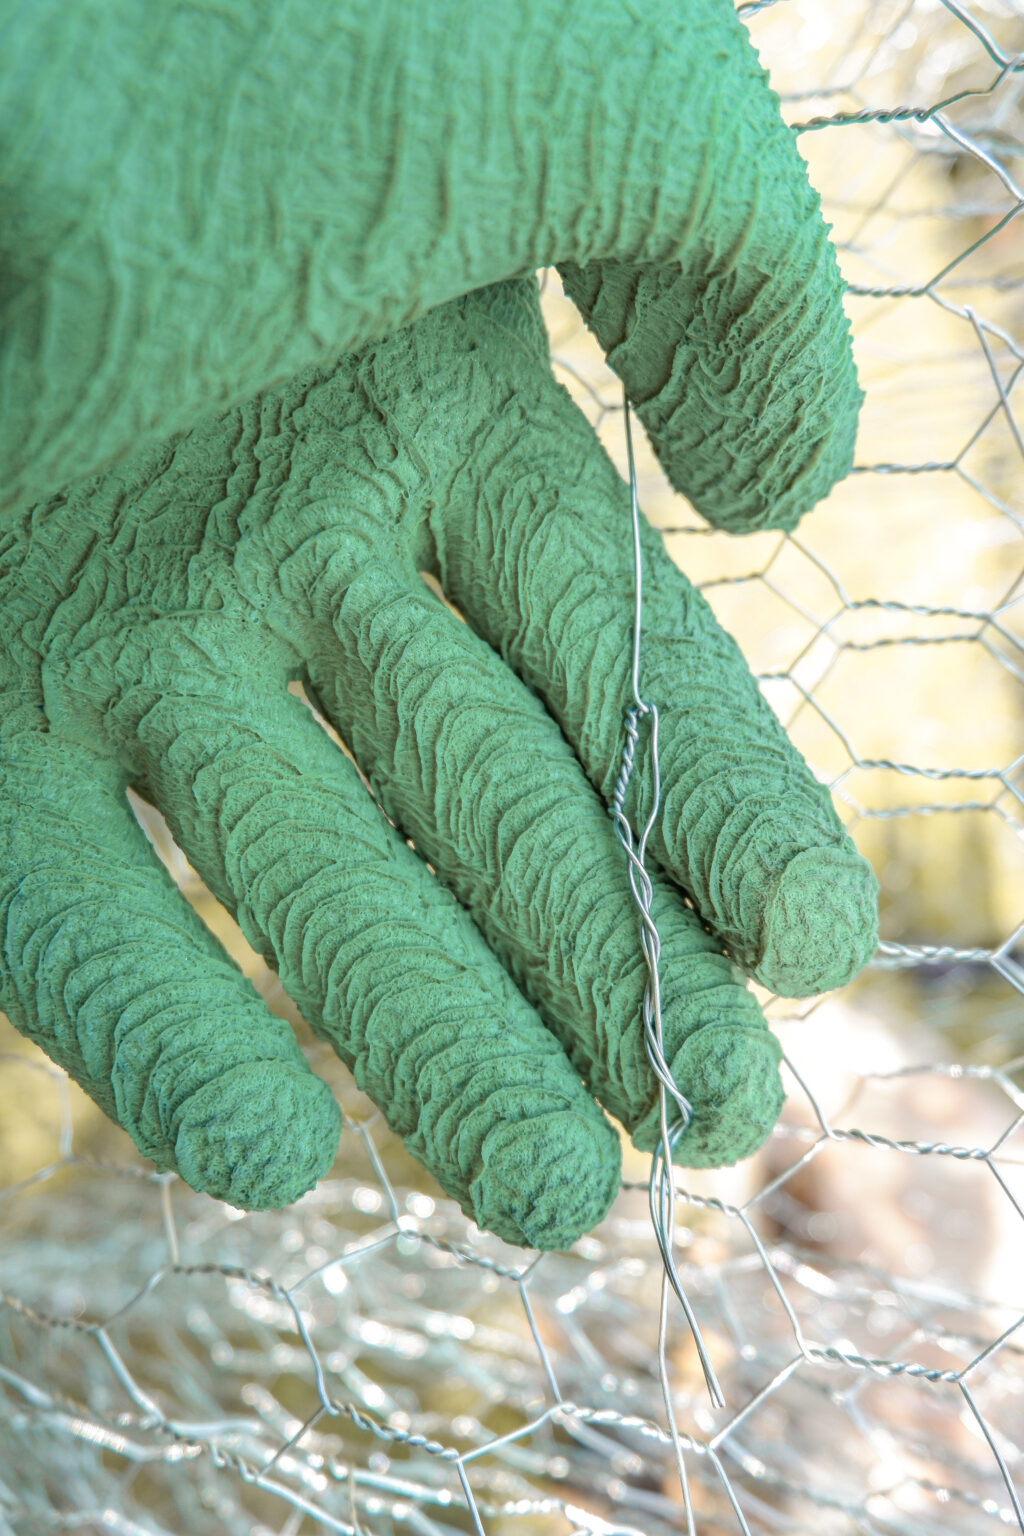
- Take your roll of chicken wire, (or any thin/flexible wire mesh) your safety gloves, the wire cutter, a plier and prepare the white tulle fabric.
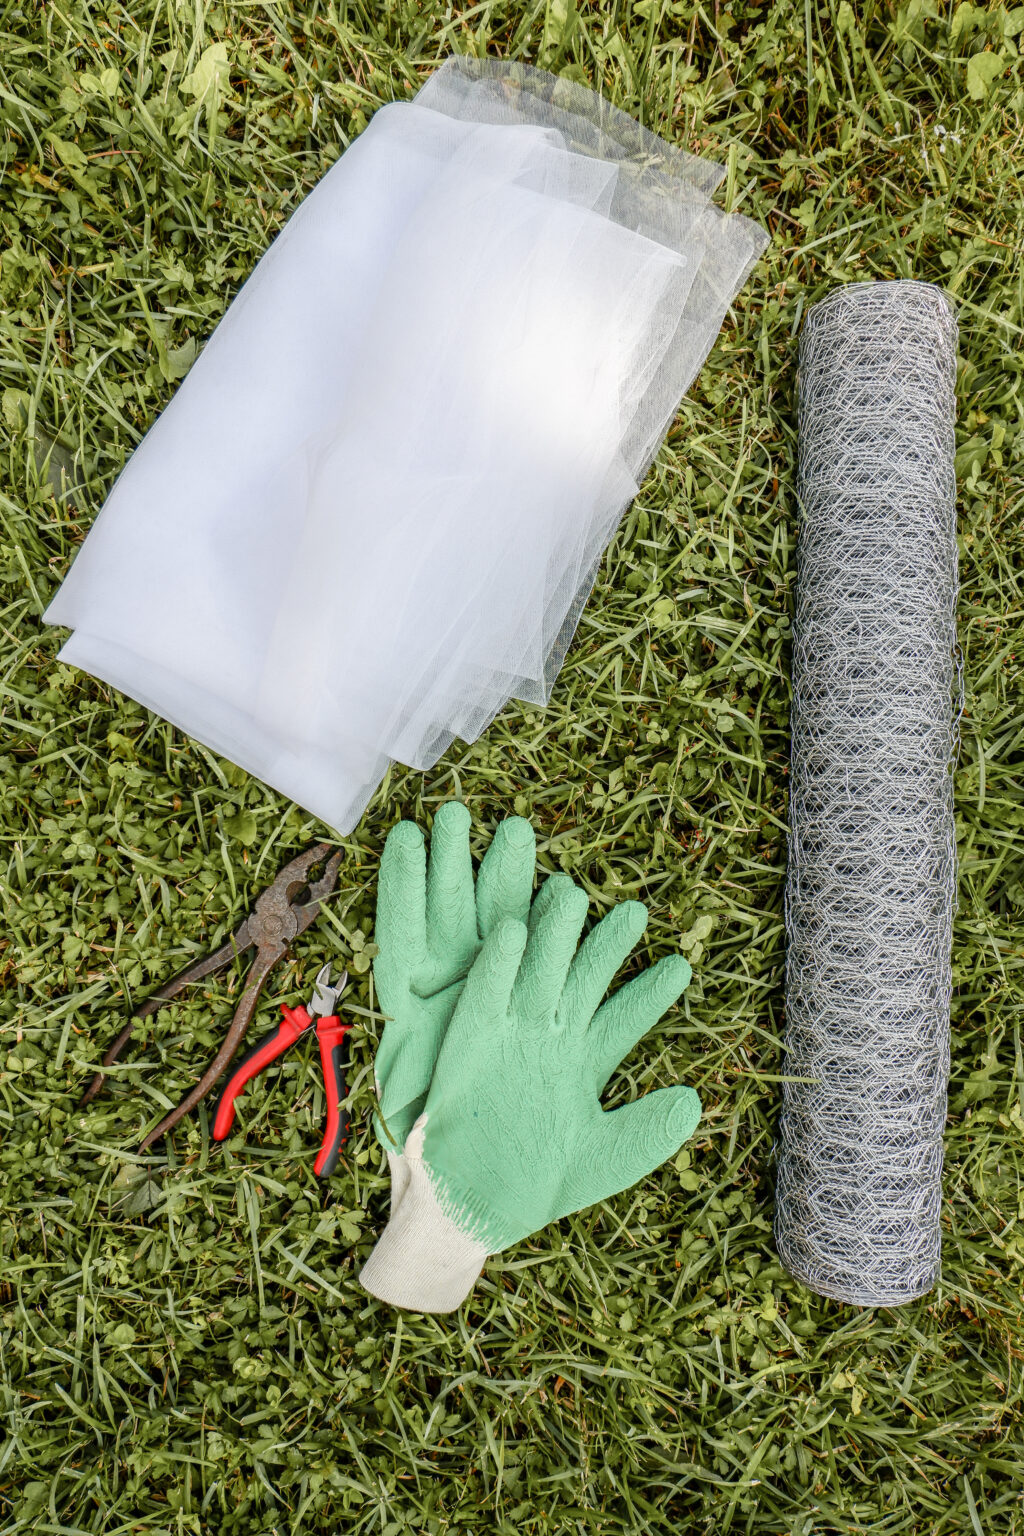
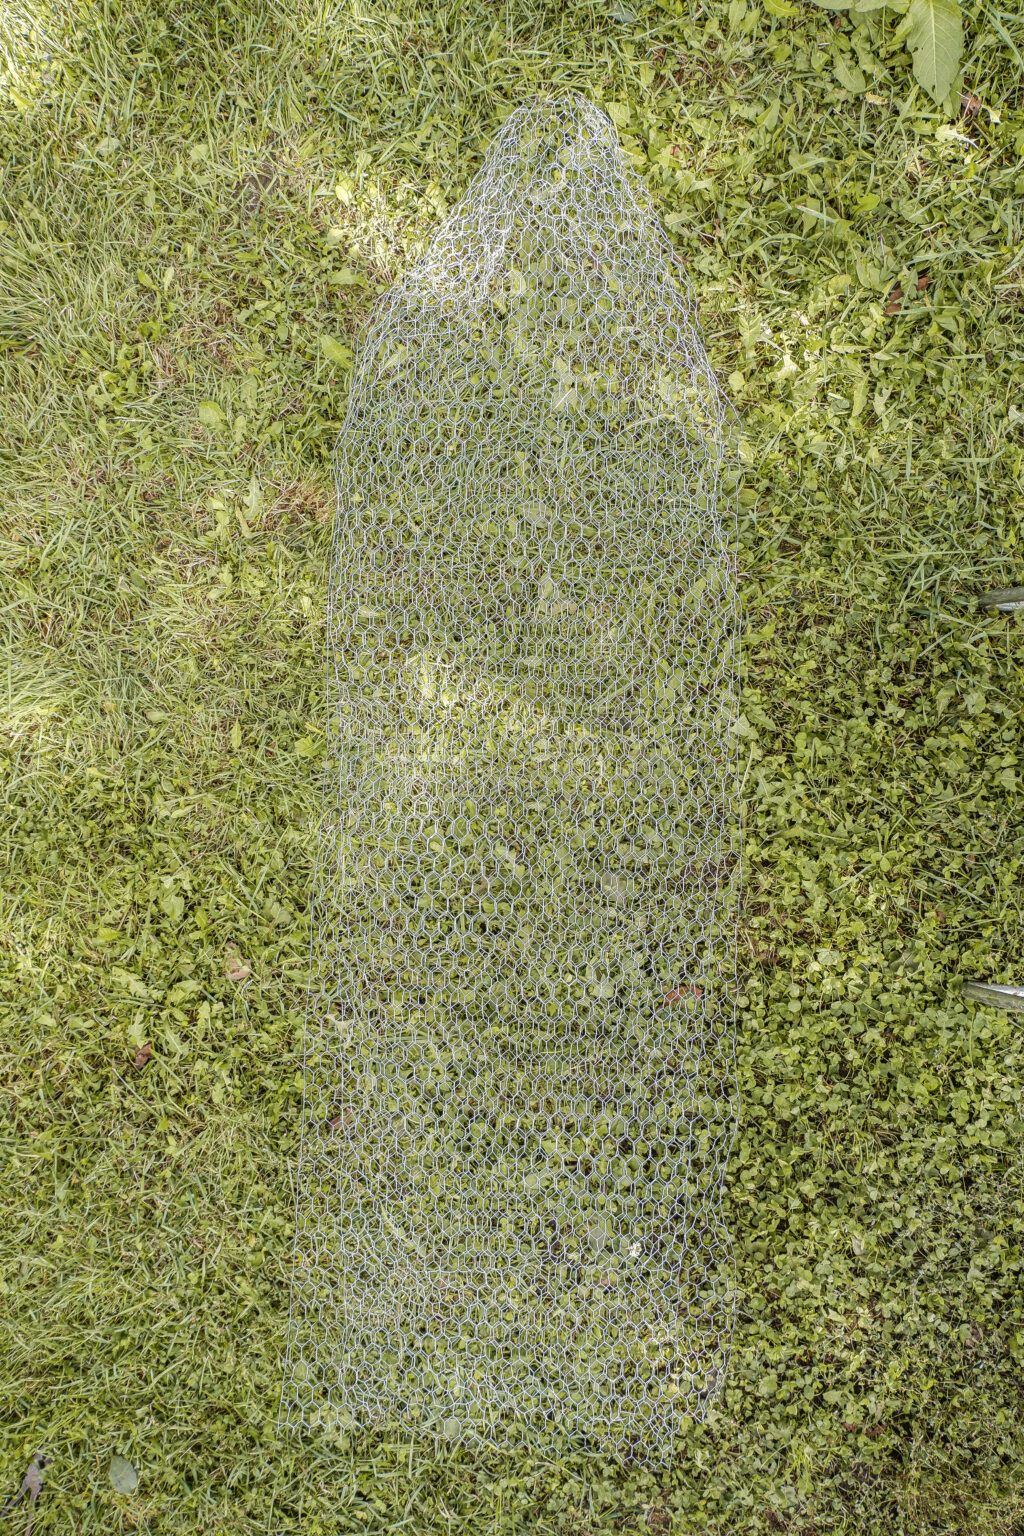
STEP 2) Cut the Wire
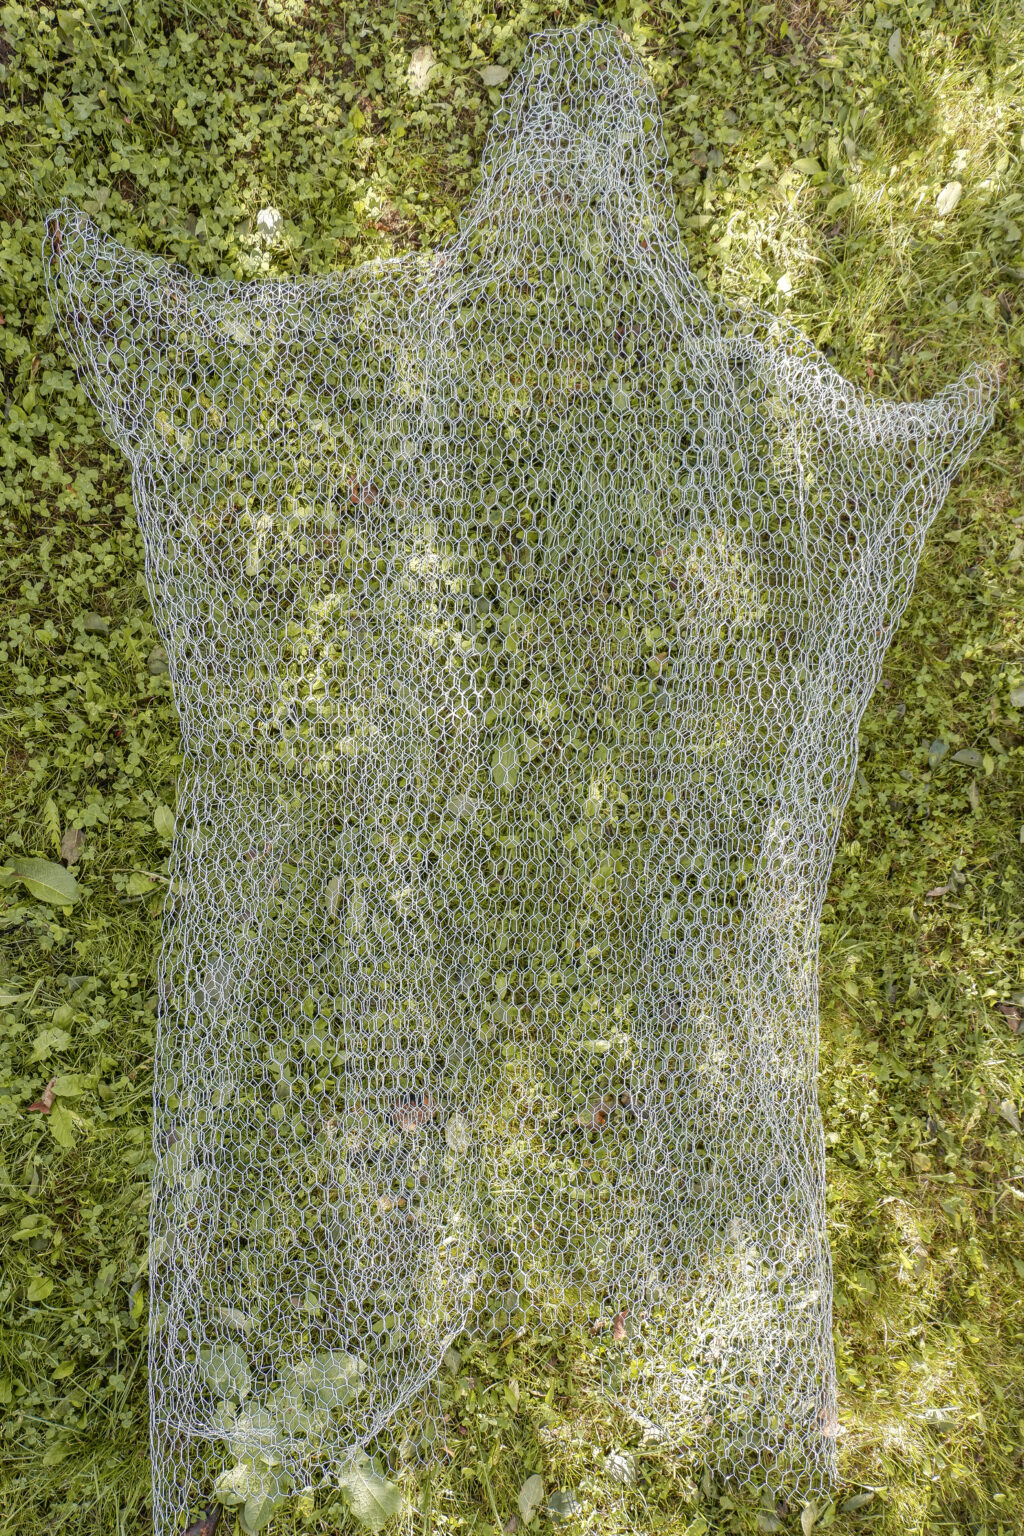
- Cut a 3,5m long piece of mesh and fold it in half.
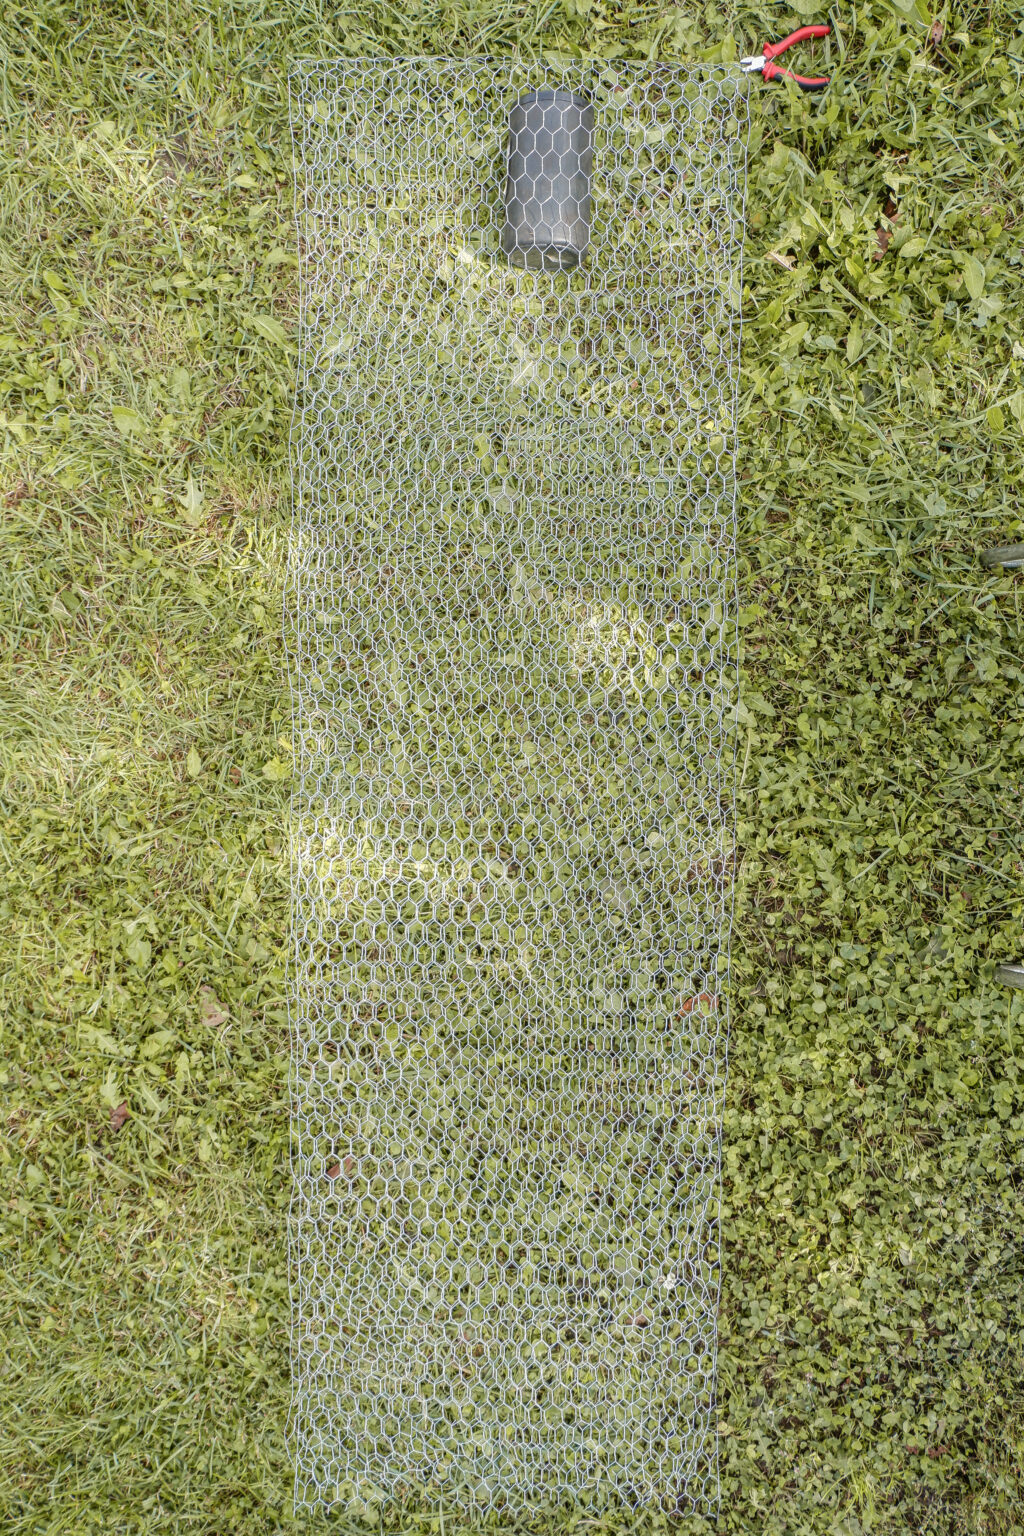
STEP 3) Shape the Wire
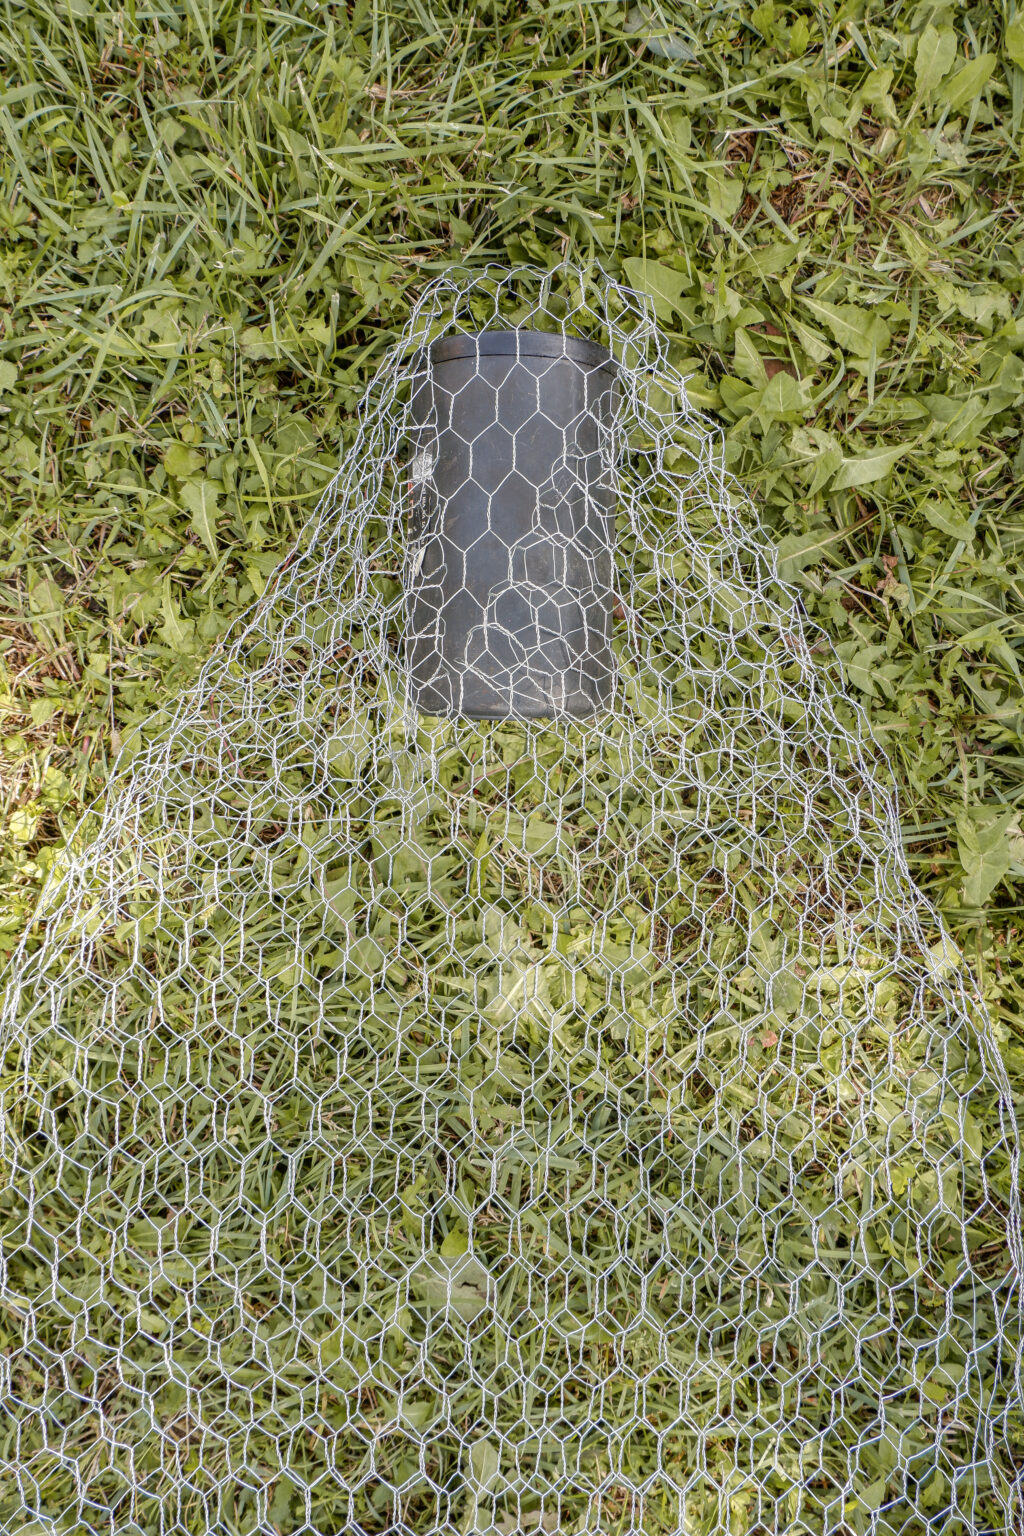
- Take an object close to the shape of a head and place it to the fold.
- Mold the mesh to the shape of the object.
STEP 4) Put the Body Aside
- Now your ghost has a head. Put its body aside and move to the next step.
STEP 5) Cut Two Pieces of Mesh
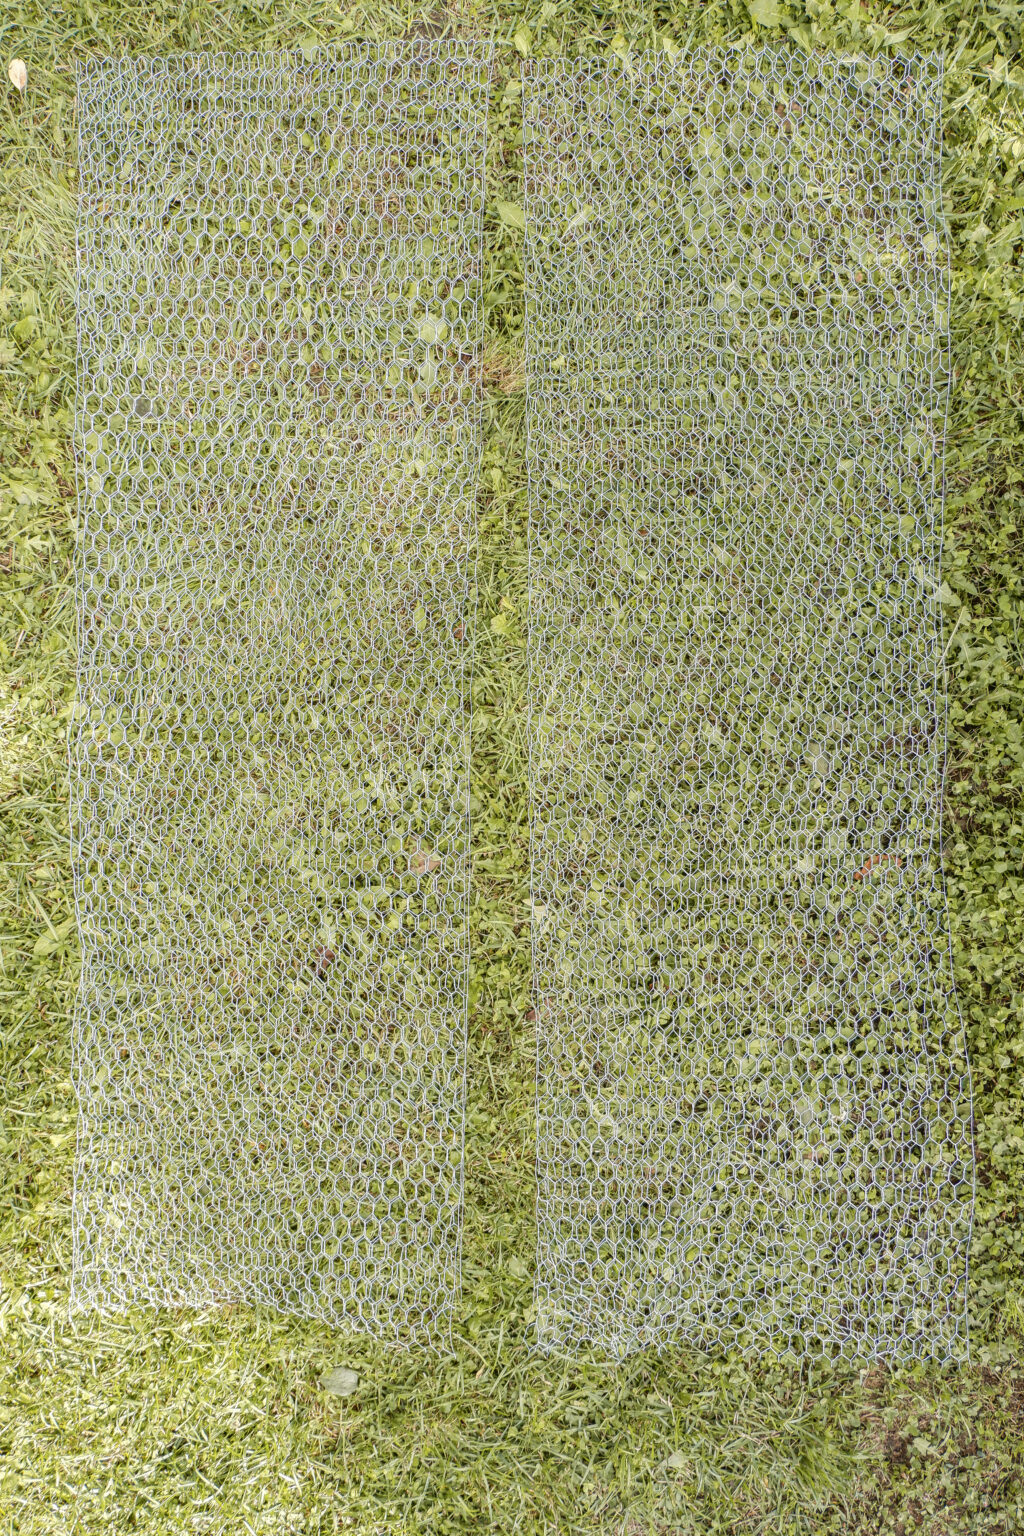
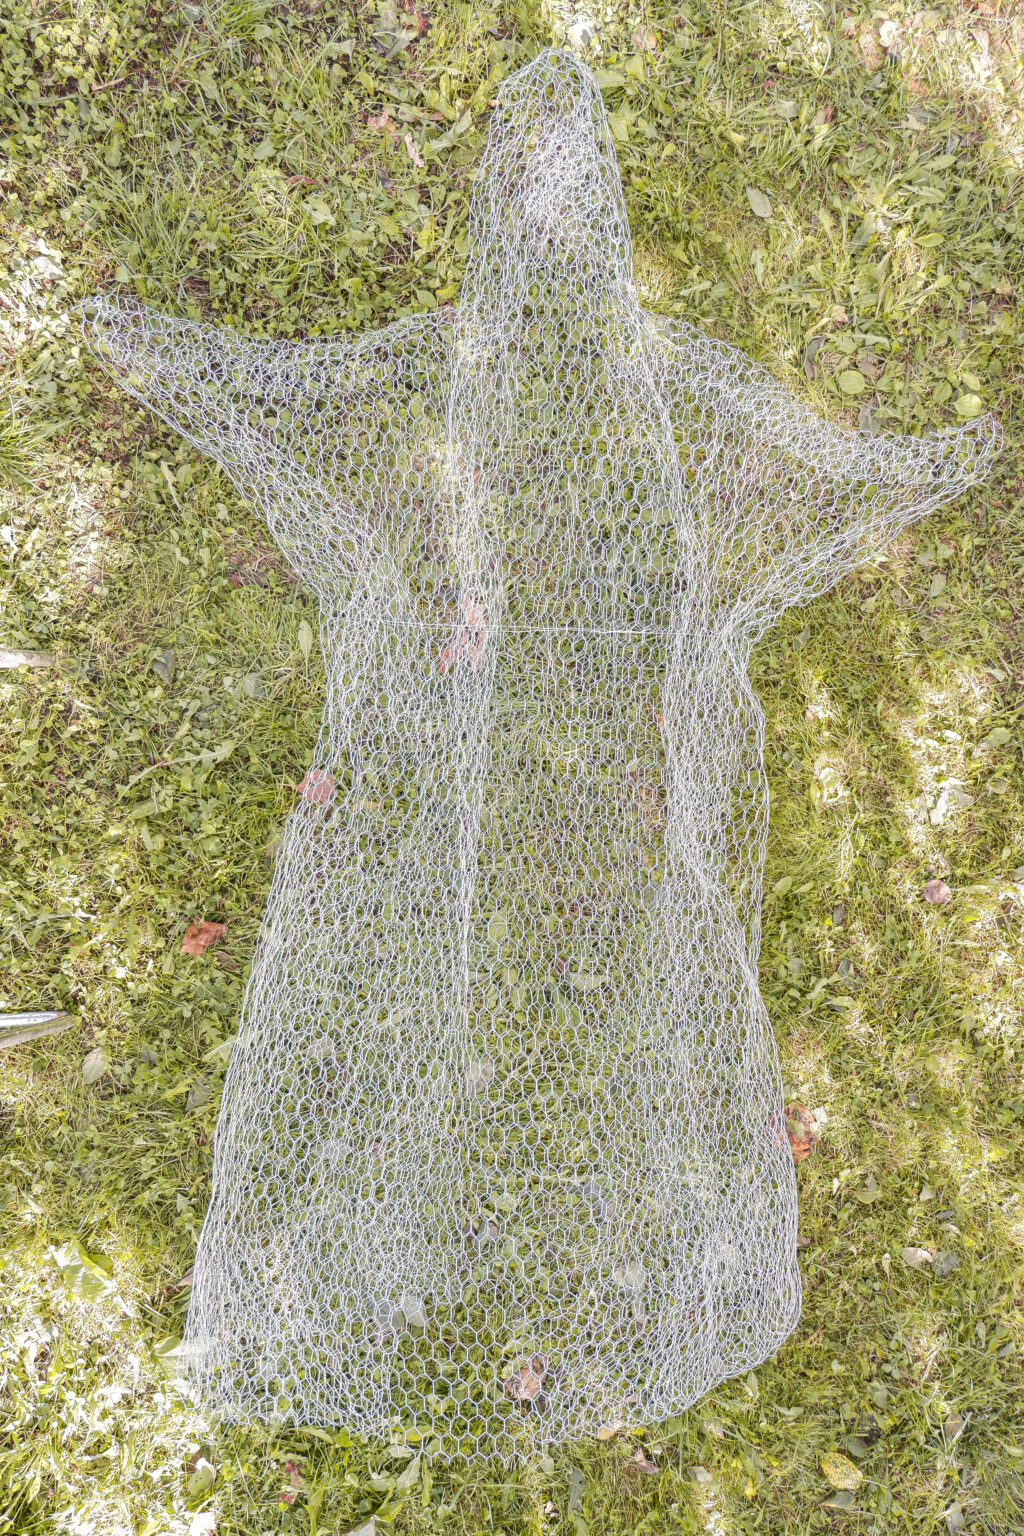
- Cut the remaining chicken wire into 2 pieces and fold each one in half.
STEP 6) Shape the Arms and Waist
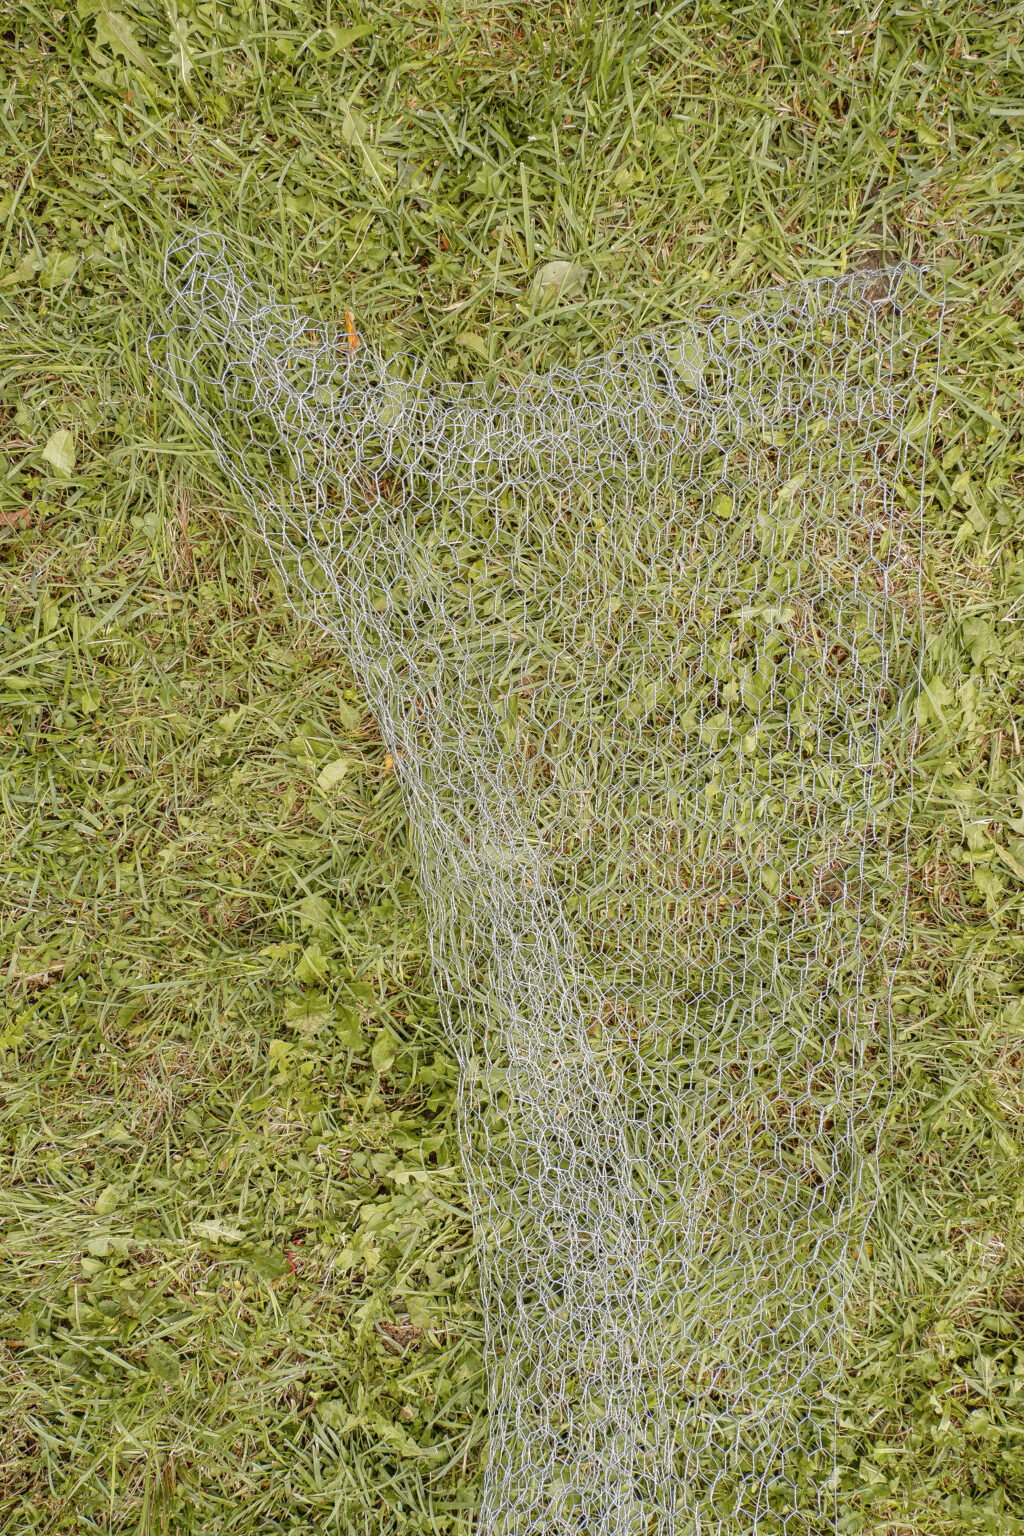
- At the fold, bend the wire in the shape of an arm.
- Bend the sides mimicking the shape of the ghost’s waist.
- Repeat it with the other piece mirroring the first one.
STEP 7) Place the Pieces Together
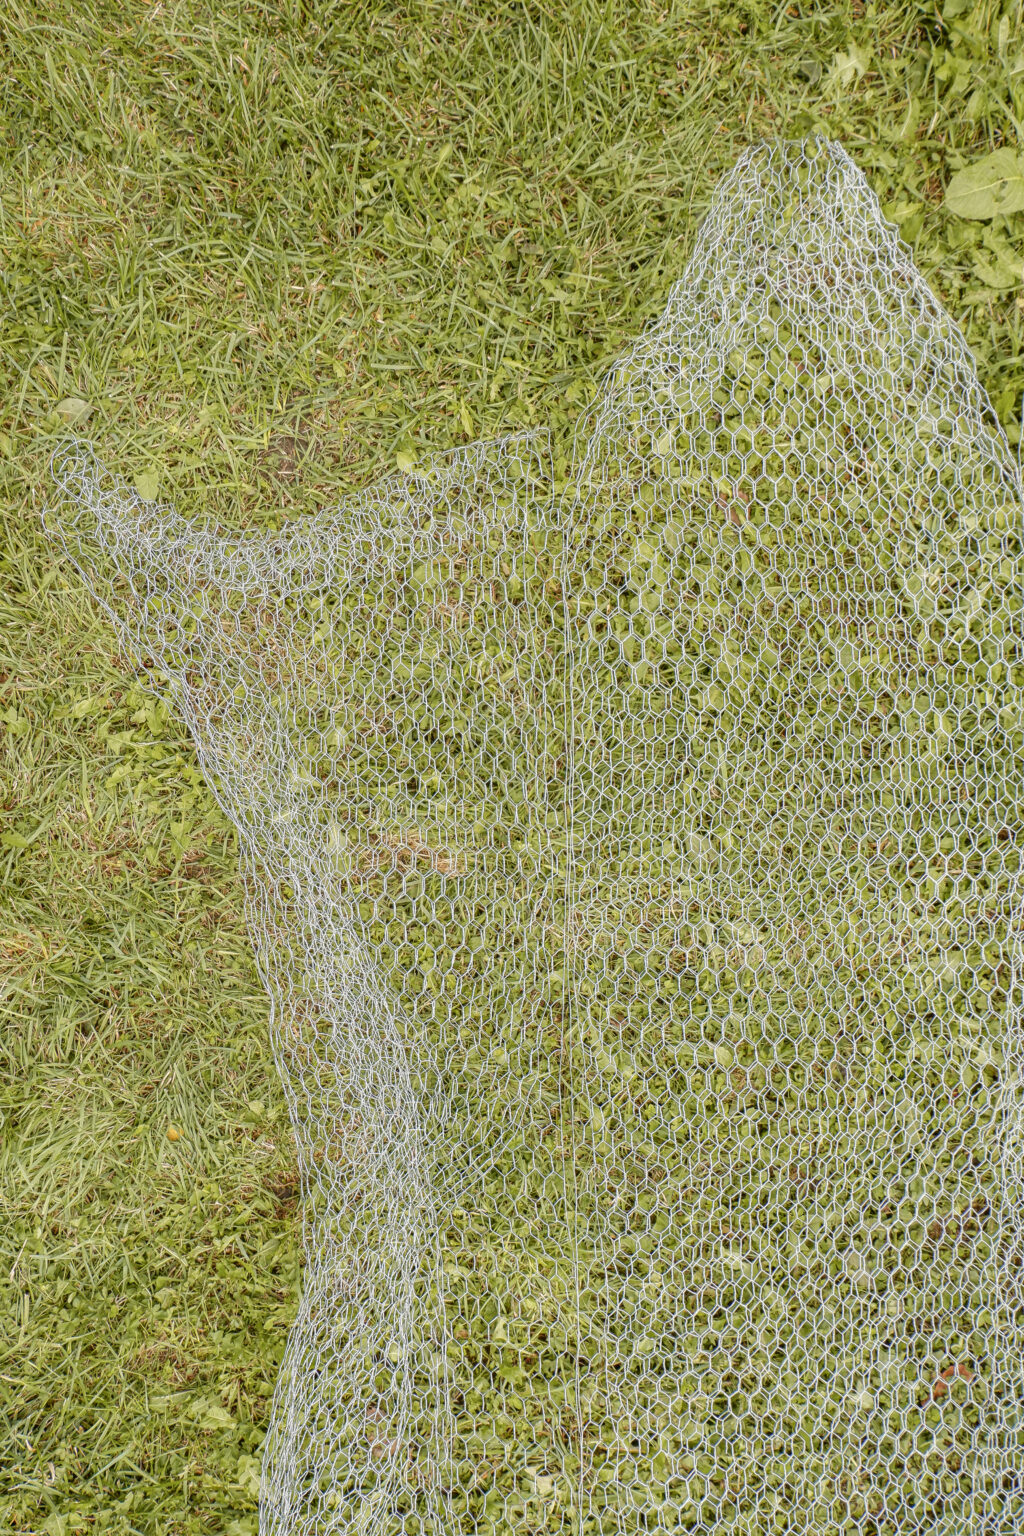
- Place the 2 new pieces to each side of the body.
STEP 8) Attach the Pieces Together
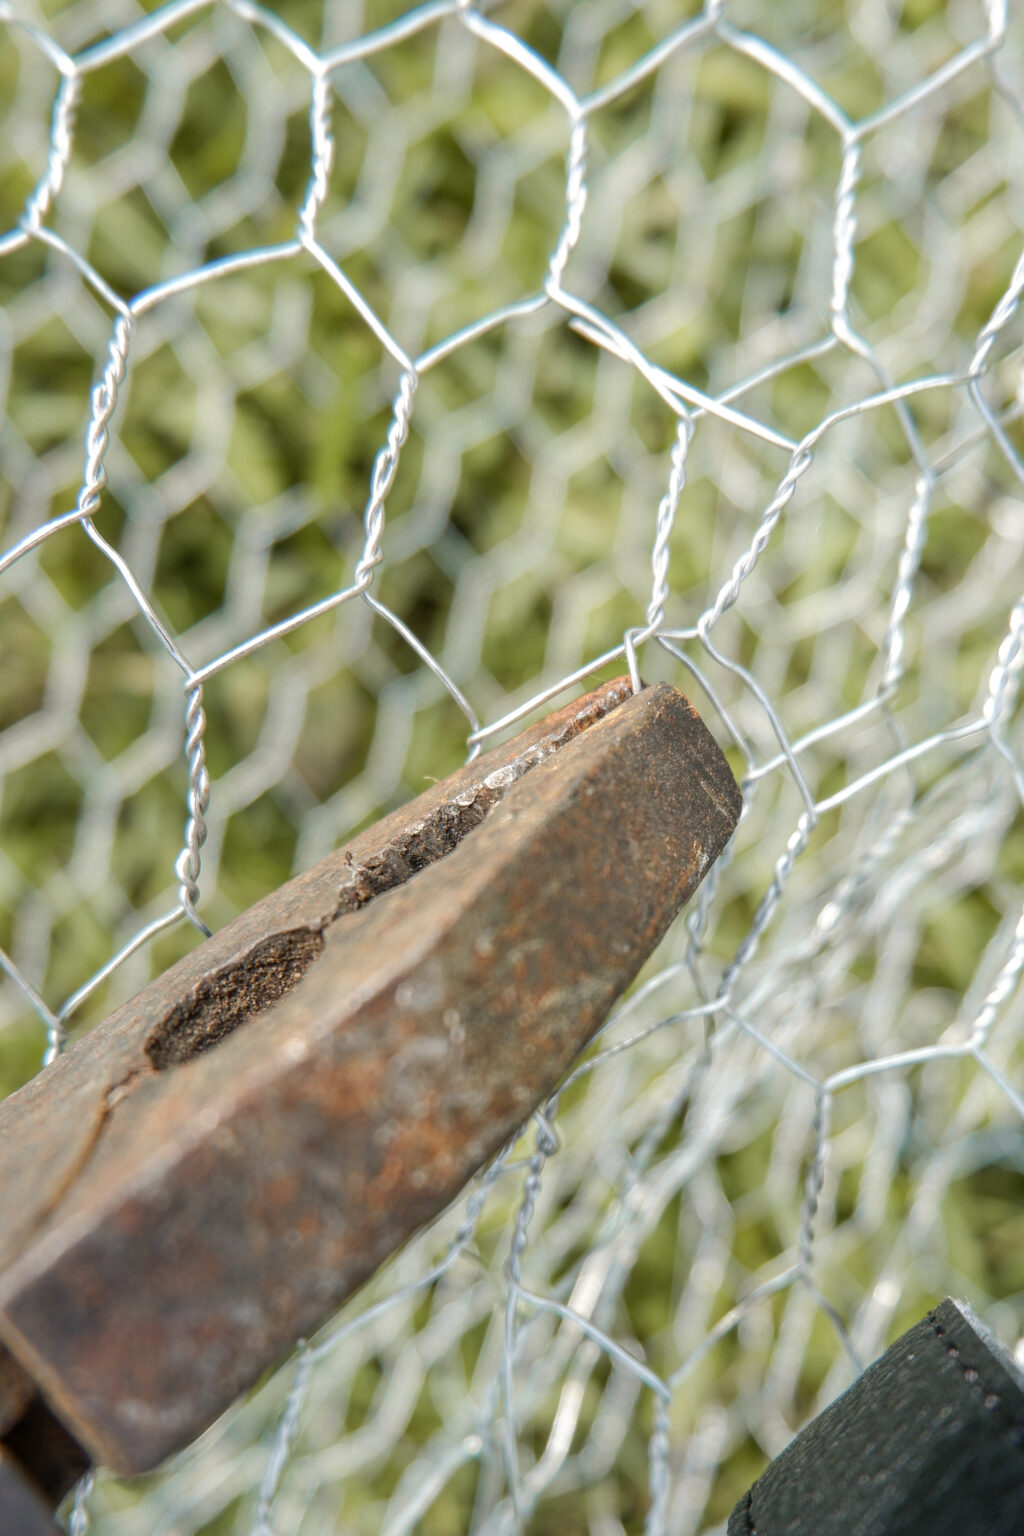
- Cut into the holes at the sides of the two new pieces and attach them to the body’s side by wrapping the hanging wire pieces to the outside row.
STEP 9) Repeat on All Four Sides
- The new pieces should be the extensions of the body’s sides. Repeat this step for each of the 4 sides, until no sides are left hanging, and the pieces of wire are each other’s continuation.
STEP 10) Fold the Bottom for Stability

- Fold a little section of the bottom so that the structure will have a harder base, and become more stable.
STEP 11) Secure the Waistline
- Take a 1.5m piece of wire and twist it around the ghost’s waist.
STEP 12) Tighten the Wire Around the Waist
- Tighten the wire as much as you’d like to – this will define how thin the ghost’s waist will be.
STEP 13) Make the Face
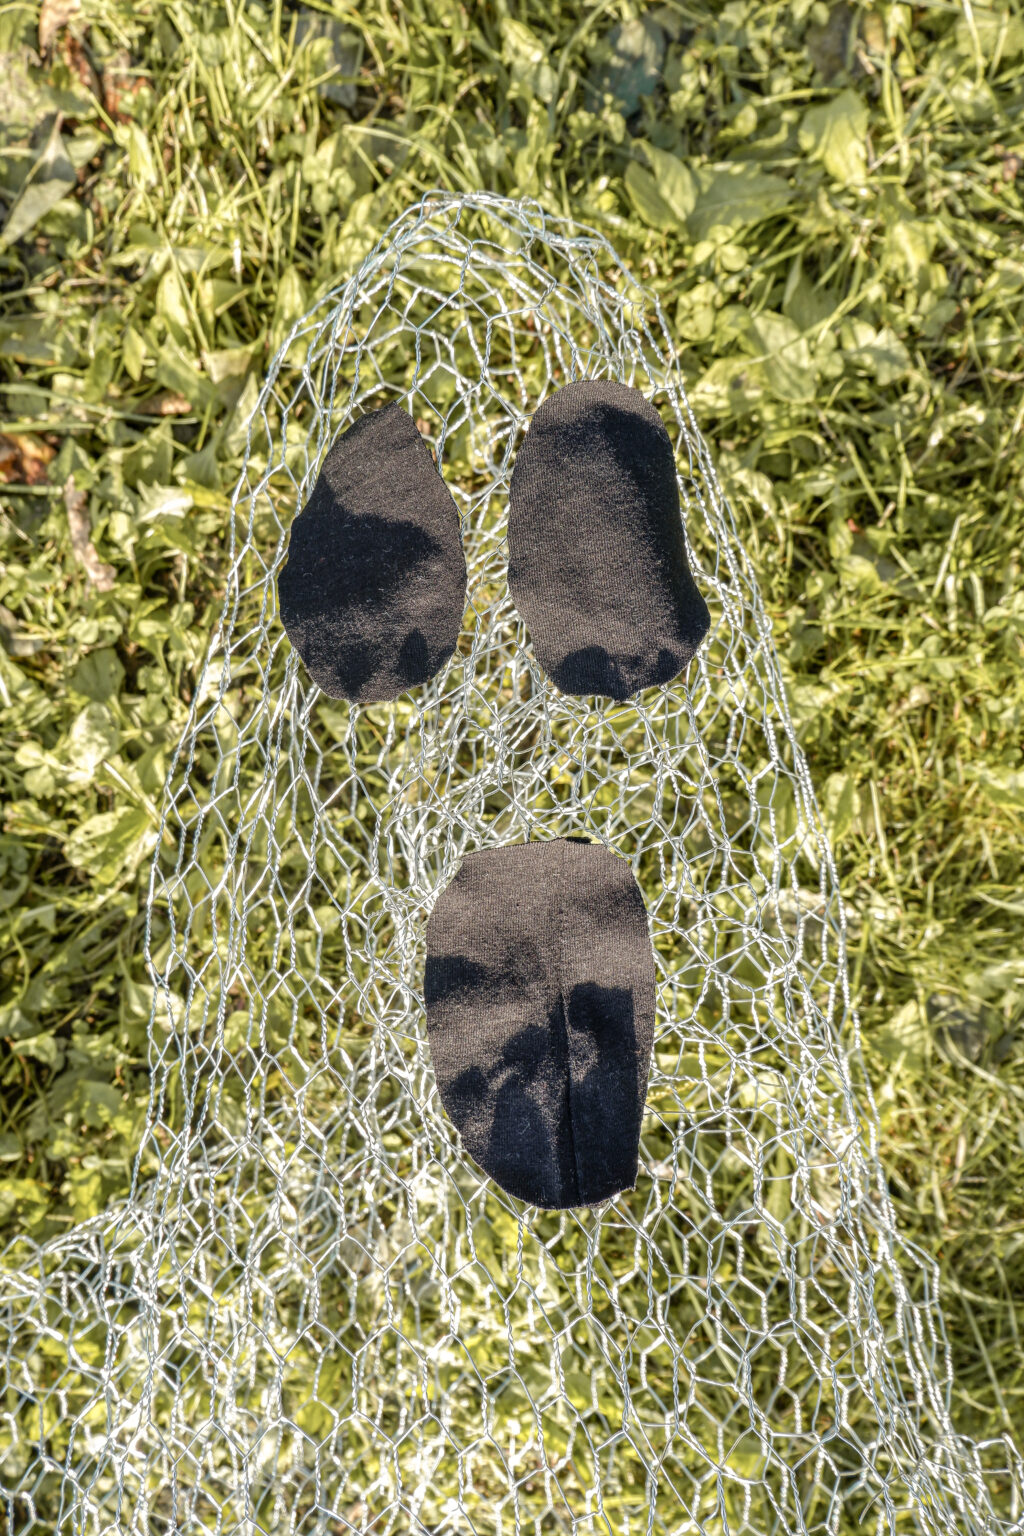
- If you want your ghost to have a face, you can glue some pieces of black fabric onto the head to create it.
STEP 14) Finish your Ghost

- Put your ghost up.
- Cover your wire ghost with the tulle fabric, adjust it to your liking and if you wish, decorate it with some pumpkins.

Enjoy your new chicken wire ghost, which will give your garden a spooky look, perfect for Halloween!