DIY Chicken Wire Jewelry Holder
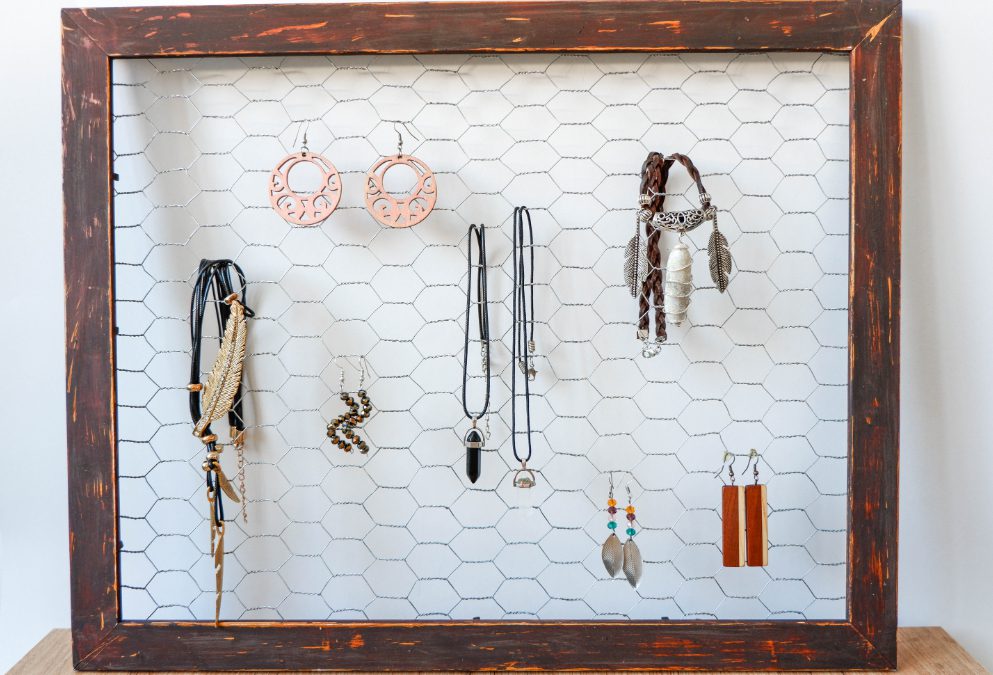
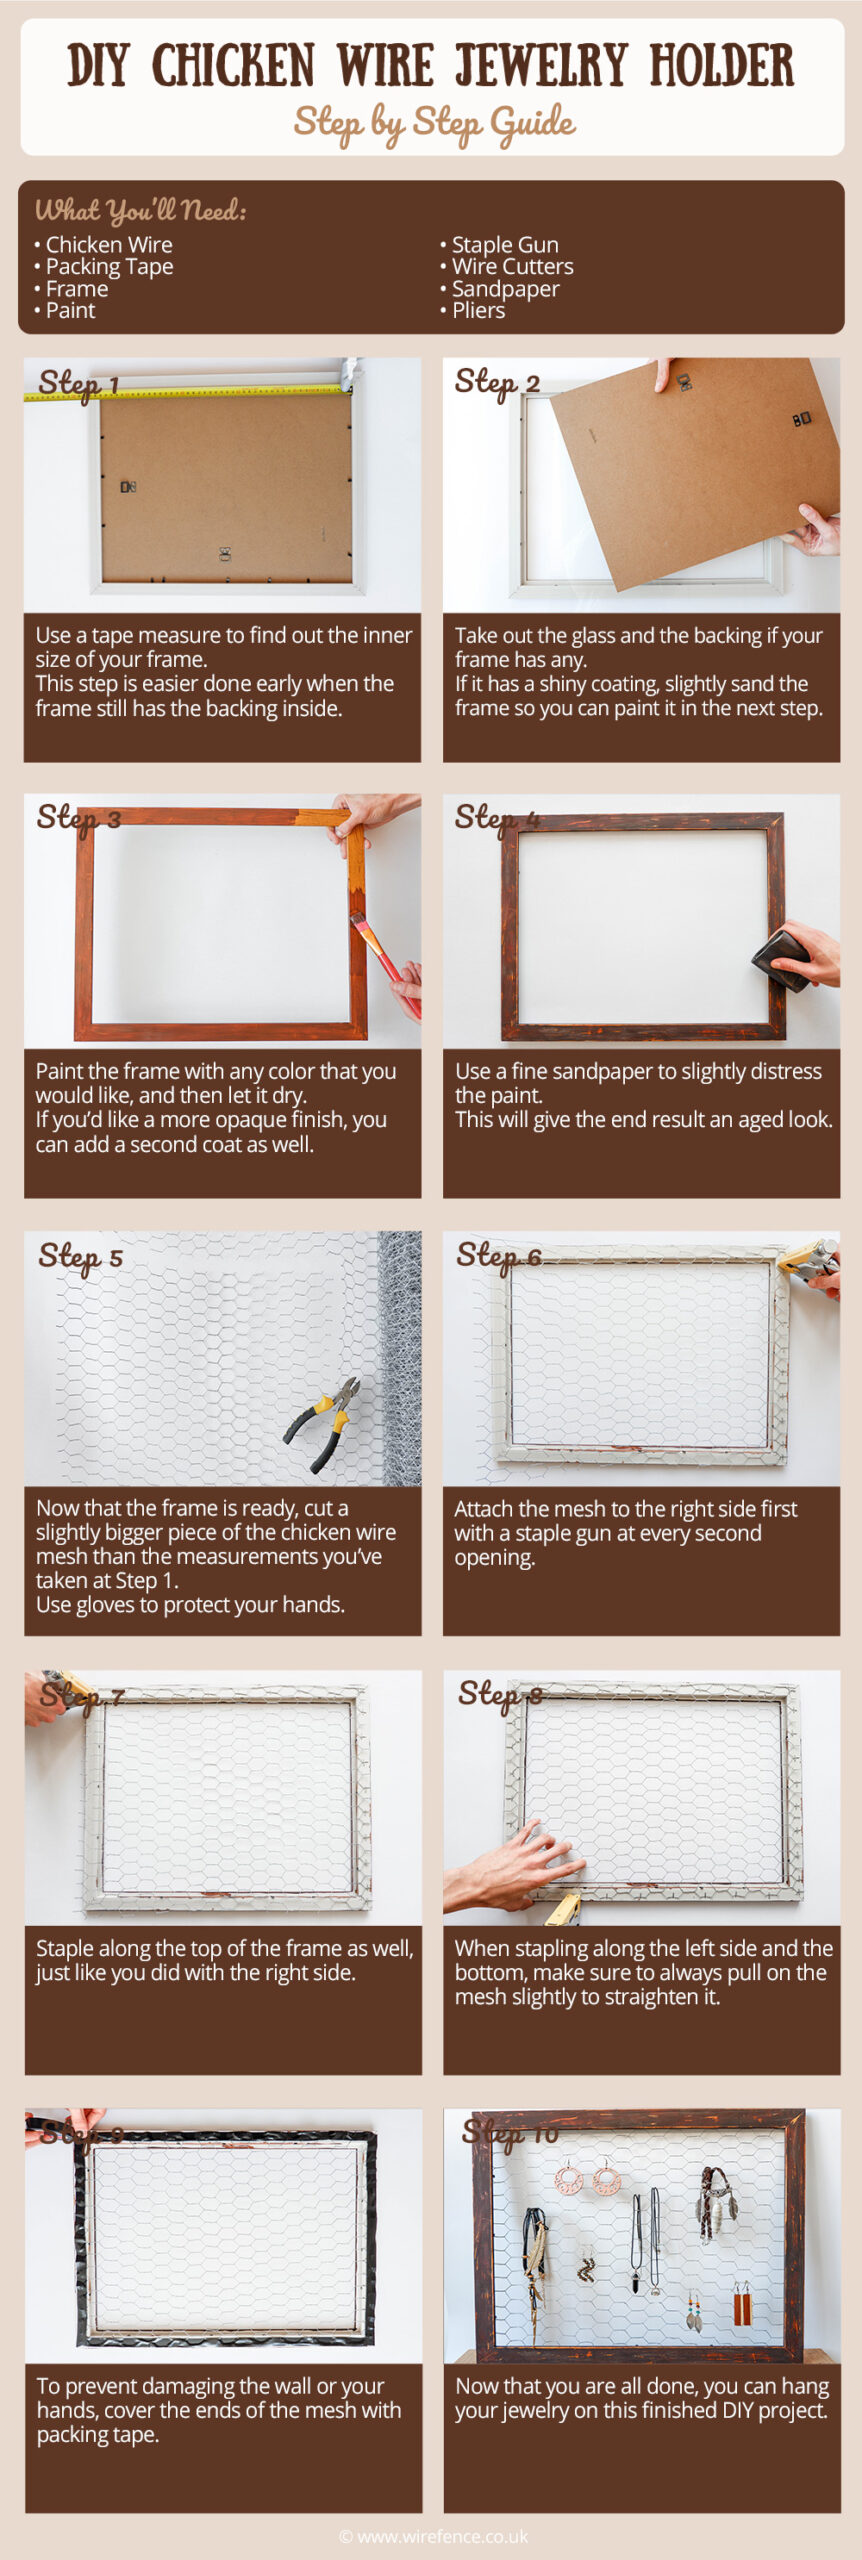
In this blog you will find out how to make a DIY chicken wire jewelry holder with simple steps.
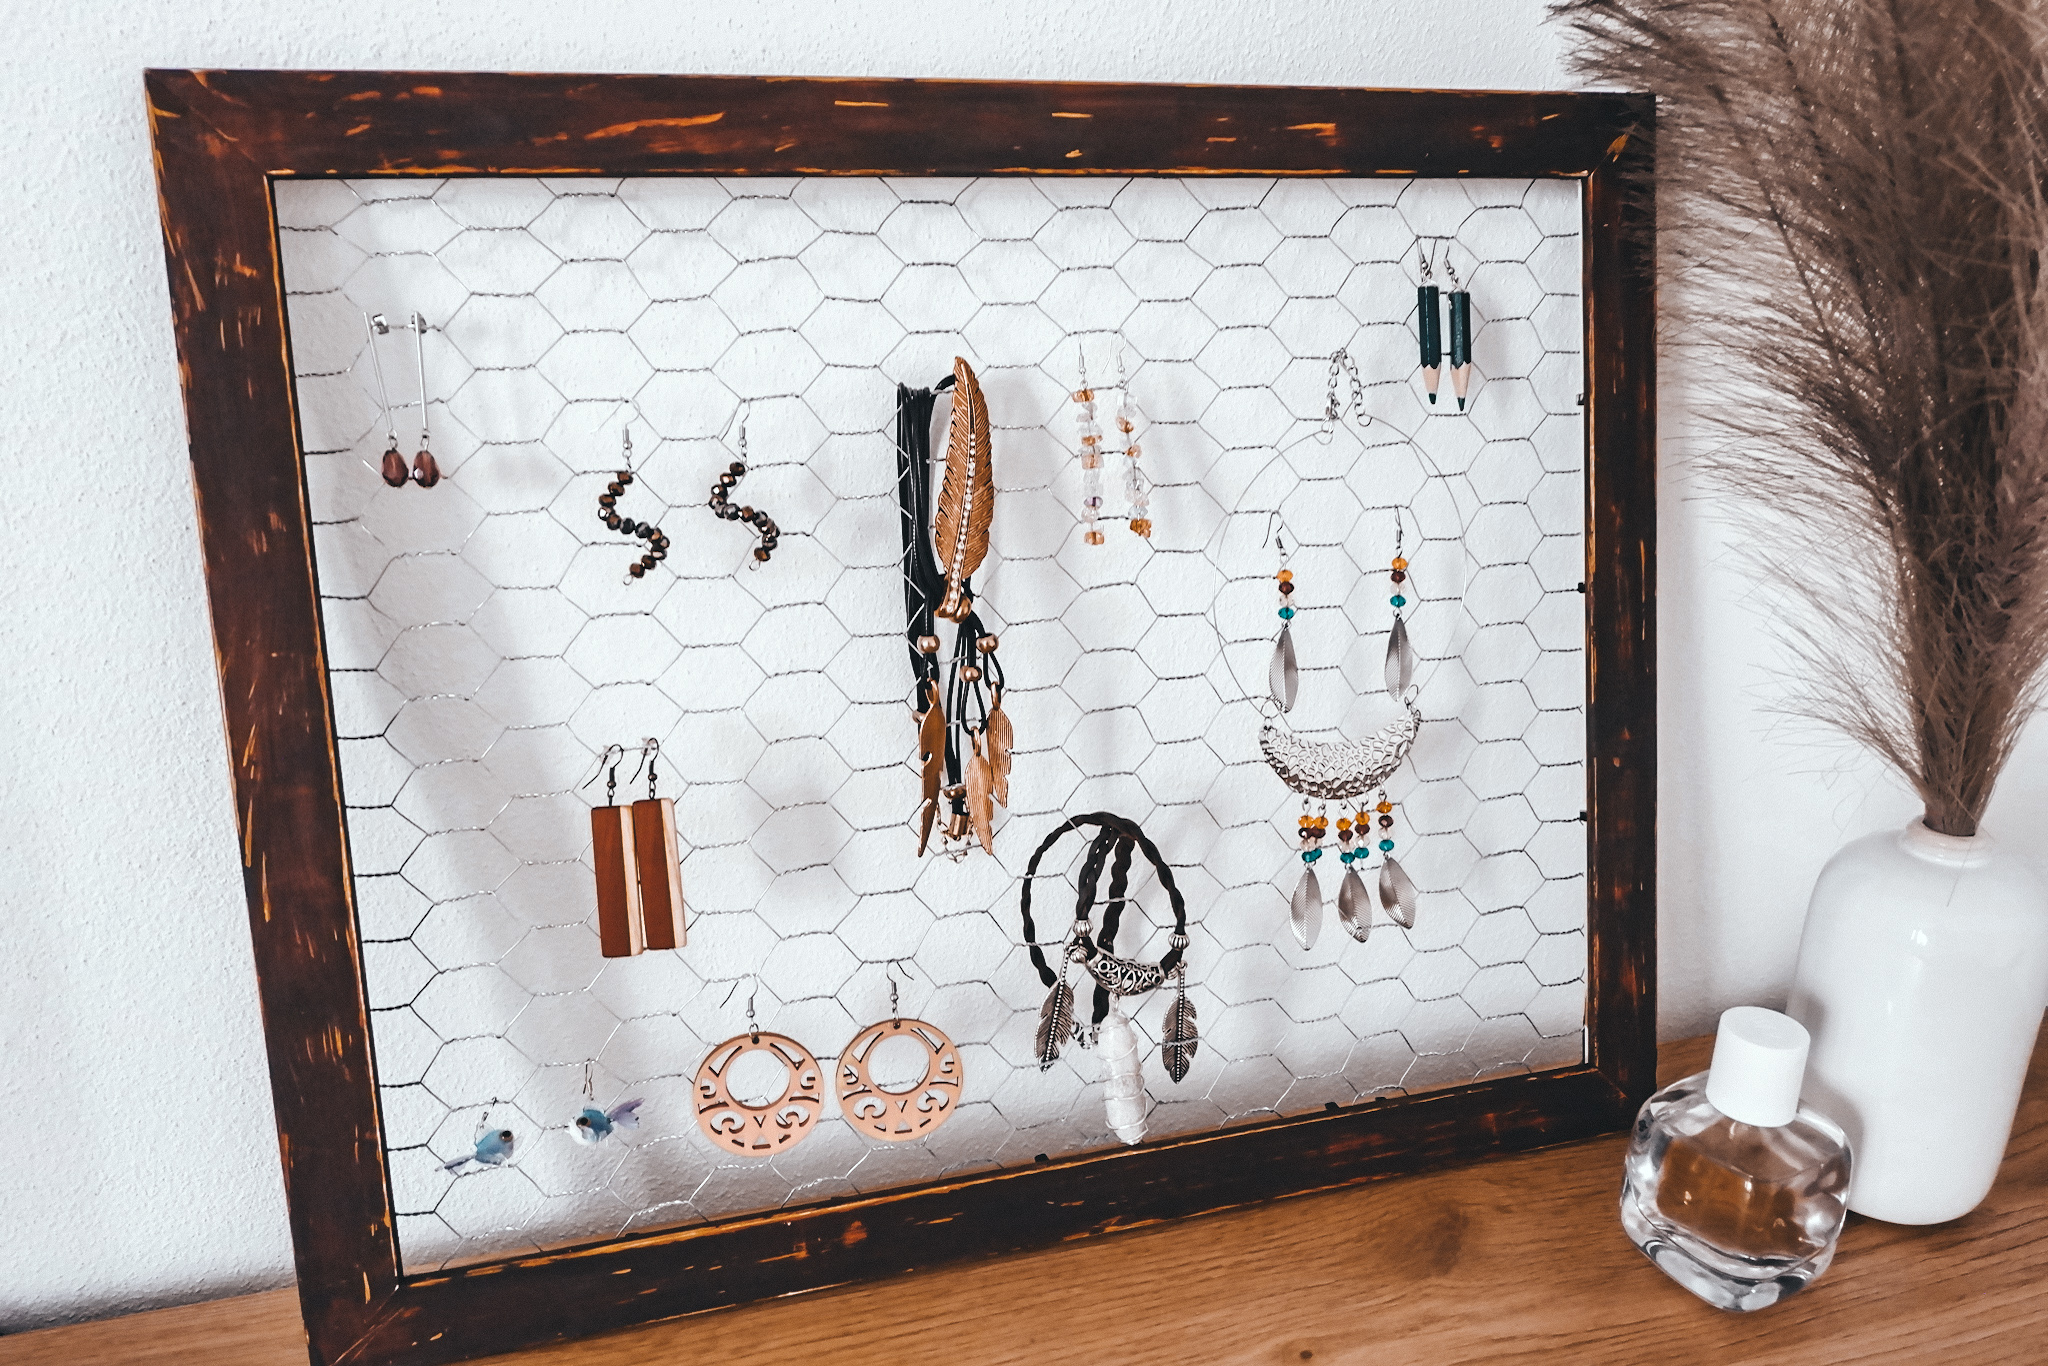
OVERVIEW
- Estimated Completion Time: ~3 Hours
- Experience Required: Low
- Tools Required: Staple Gun, Wire Cutters, Pliers, Paint, Sandpaper
- Materials Required: Chicken Wire, Frame, Paint, Packing Tape
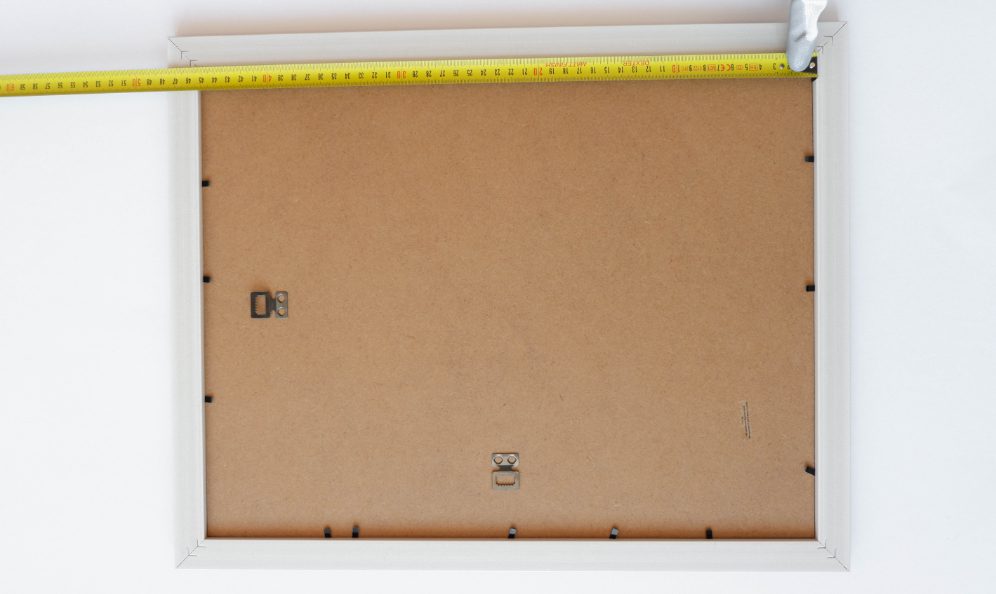
STEP 1) Take Measurements
- Use a tape measure to find out the inner size of your frame.
- This step is easier done early when the frame still has the backing inside.
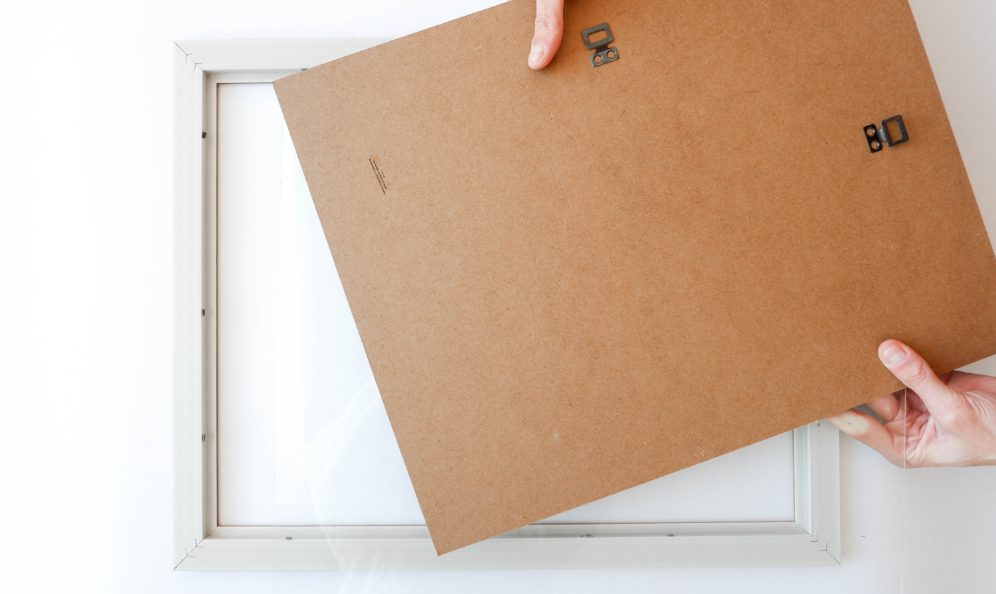
STEP 2) Remove Glass and Backing
- Take out the glass and the backing if your frame has any.
- If it has a shiny coating, slightly sand the frame so you can paint it in the next step.
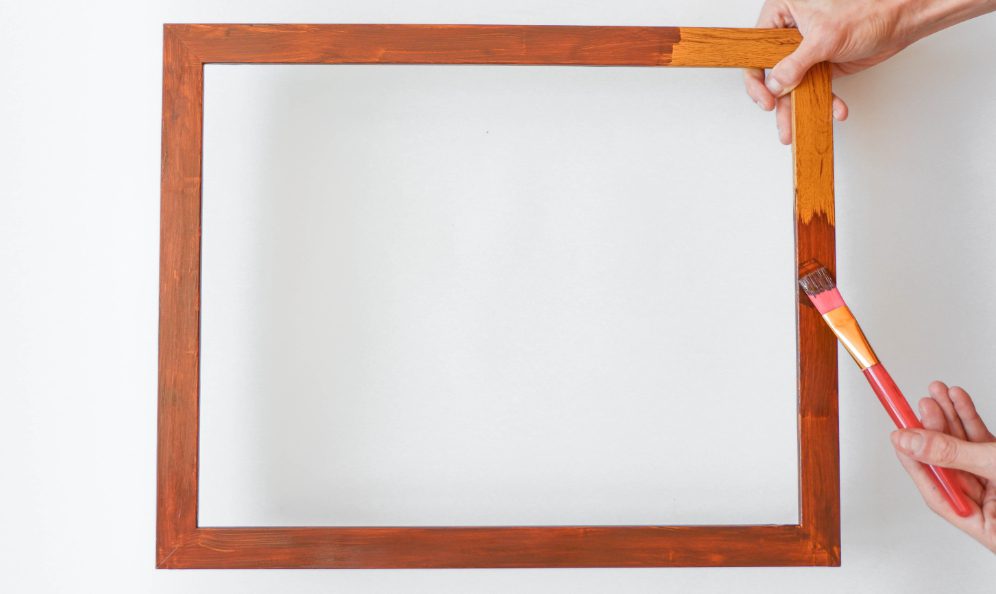
STEP 3) Paint the Frame
- Paint the frame with any color that you would like, and then let it dry.
- If you’d like a more opaque finish, you can add a second coat as well.
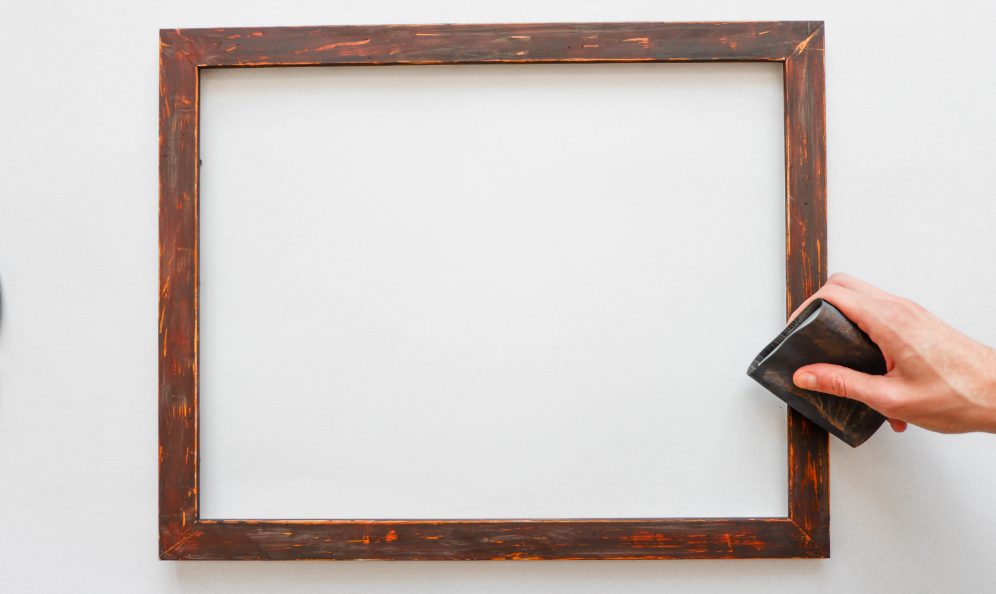
STEP 4) Give the Frame an Aged Look
- Use a fine sandpaper to slightly distress the paint.
- This will give the end result an aged look.
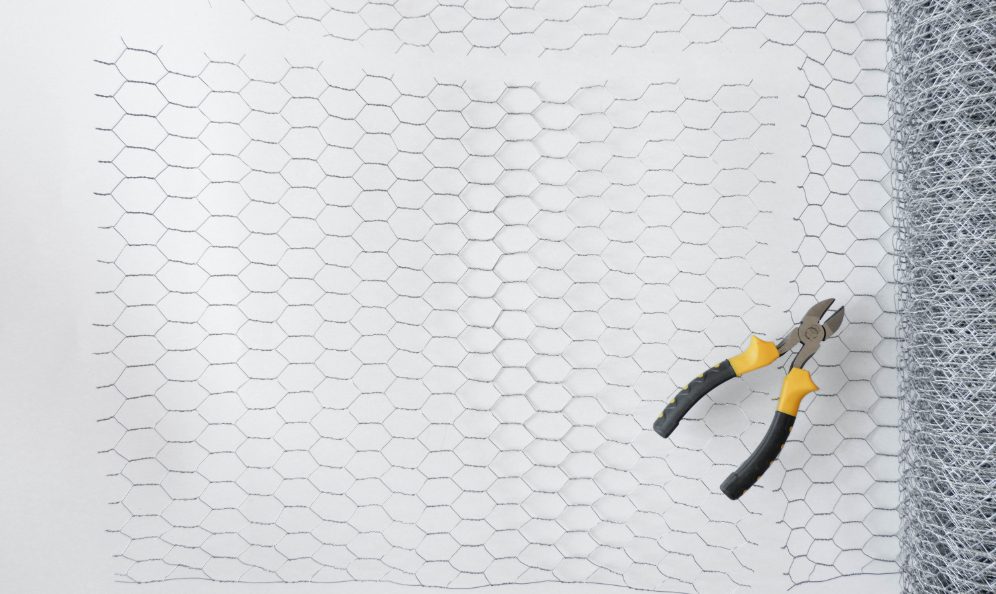
STEP 5) Cut the Chicken Wire
- Now that the frame is ready, cut a slightly bigger piece of the chicken wire mesh than the measurements you’ve taken at Step 1.
- Use gloves to protect your hands.
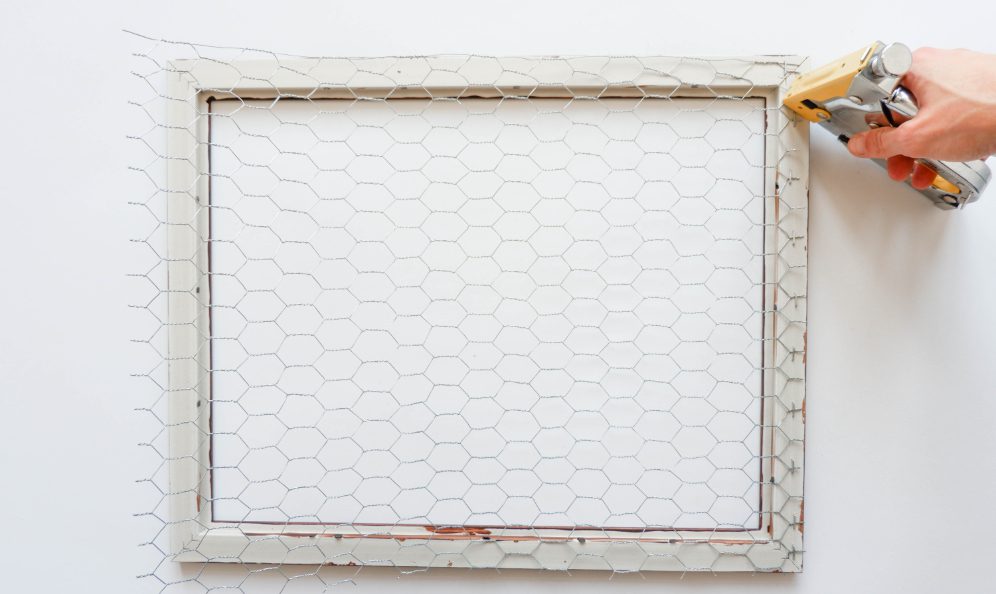
STEP 6) Attach the First Side of the Chicken Wire
- Attach the mesh to the right side first with a staple gun at every second opening.
STEP 7) Attach to the Top of the Frame
- Staple along the top of the frame as well, just like you did with the right side.
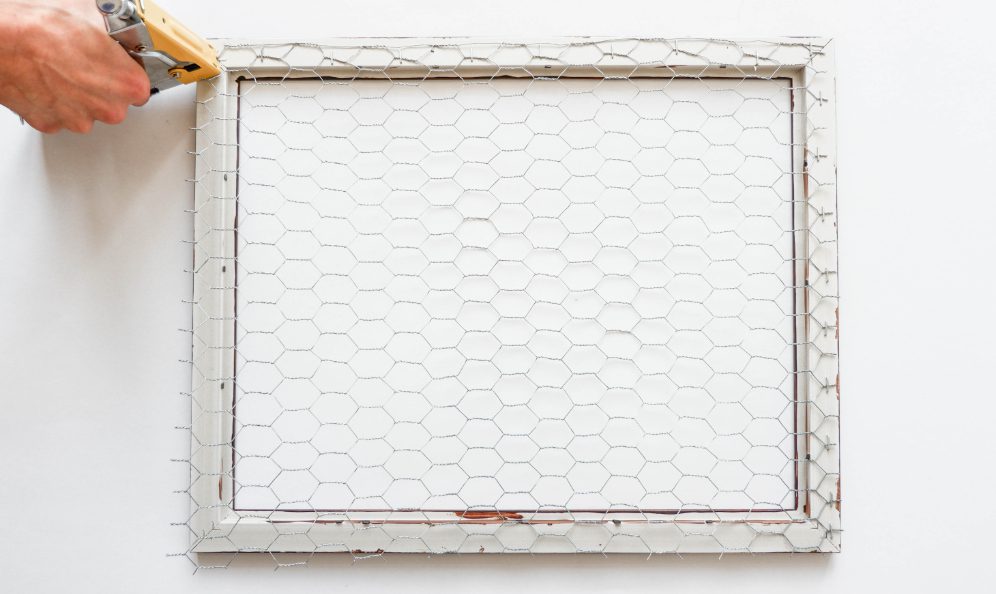
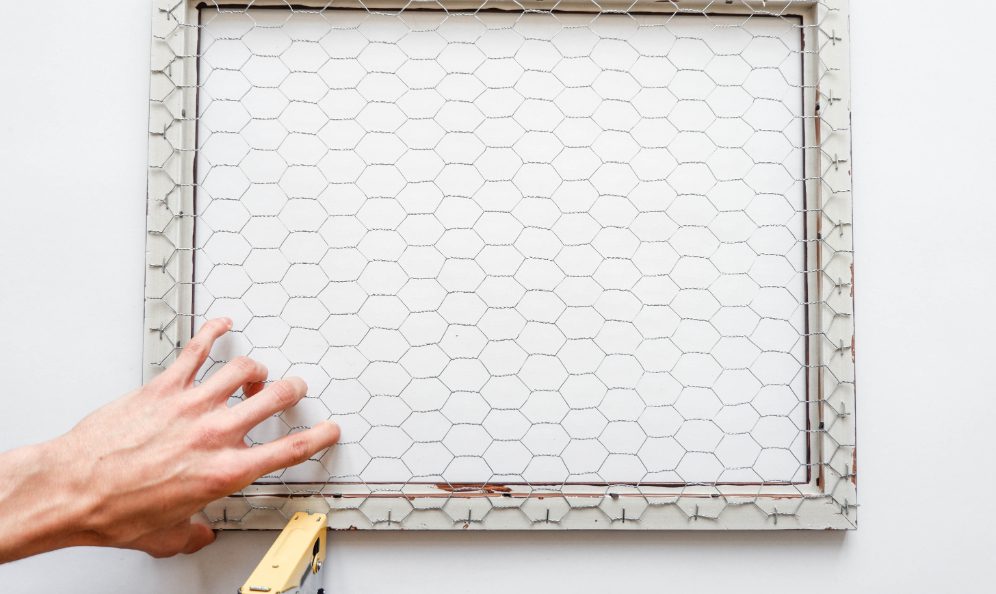
STEP 8) Staple the Remaining Sides
- When stapling along the left side and the bottom, make sure to always pull on the mesh slightly to straighten it.
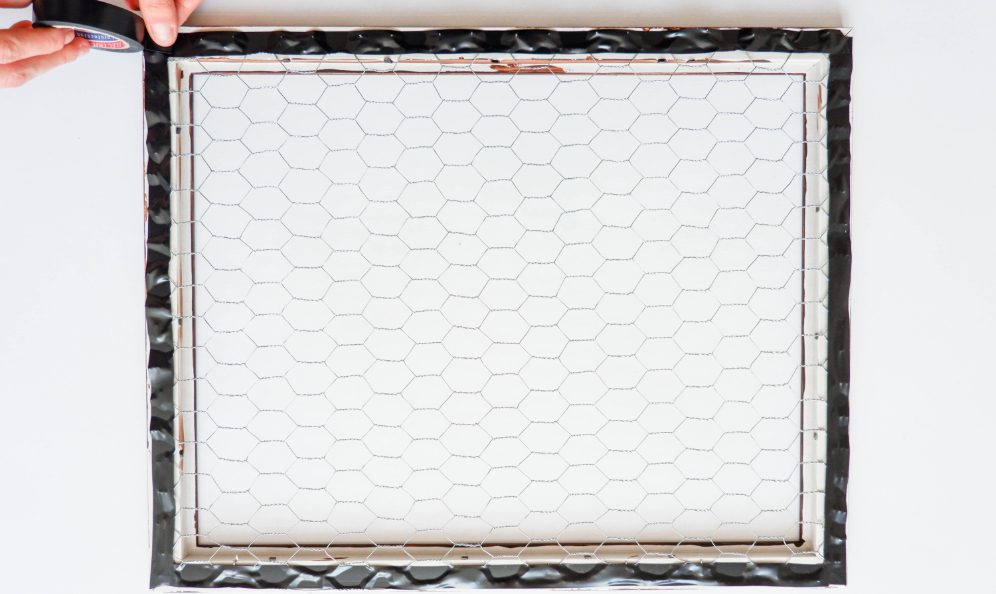
STEP 9) Seal the Ends of the Mesh
- To prevent damaging the wall or your hands, cover the ends of the mesh with packing tape.
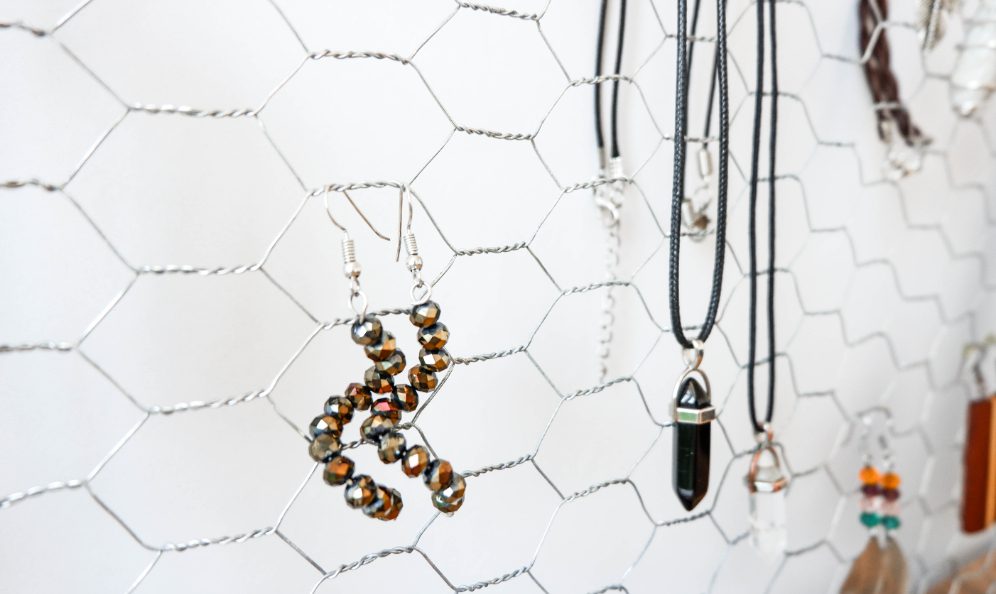
STEP 10) Hang the Jewelry
- Now that you are all done, you can hang your jewelry on this finished DIY project.
TIPS
- You can add some fabric to the frame that will act as backing.
- Attach the fabric as you have attached the chicken wire to the frame.
- Always pull on the material when attaching to make sure that it remains wrinkle free.
