
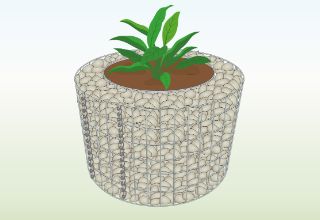
DIY Round Gabion Planter

Below you will find a step by step guide on how to make your DIY round gabion planter.

- Experience Required: Medium
- Tools Required: Protective gloves, Wire cutter, Tape measure
- Materials Required: 3mm Gabion panels, Helicals, Corner ties or Tying wire, Geotextile, Compost, Stone, Plant
Step 1) Plan Design

- Plan your design considering plant size and available space.
- Use 2 smaller panels inside and 2 larger panels outside, leaving about 20 cm between them.
- Note that panels will need to be overlap when joined, losing about 22.5cm of each sheet’s length.
Step 2) Connect Inner Panels
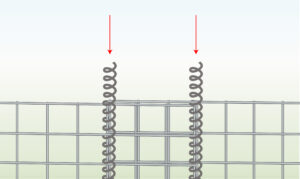
- Start with the two smaller panels, which will create the inner compartment.
- Overlap these panels and secure them together on one end using helicals.
Step 3) Bend Panels
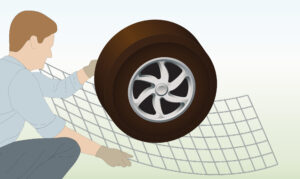
- Manually bend the panels until they form a rounded shape.
- You can also roll the sheets along a car tire or a similar round object.
Step 4) Connect Loose Side
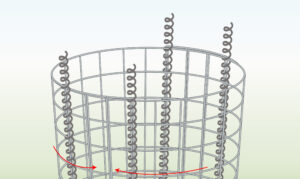
- Overlap the ends on the loose side as well and secure them with helicals.
Step 5) Cut off Excess
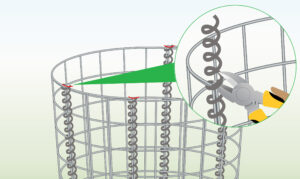
- If necessary, use a wire cutter to trim any excess helical.
Step 6) Connect & Bend Outer Panels
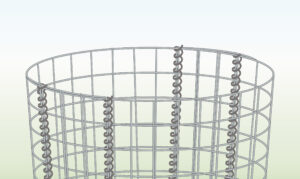
- Connect and bend the larger outer panels by repeating steps 2-5.
Step 7) Place in Final Location
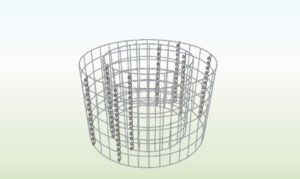
- Position your round compartments in the preferred location.
- Then, place the smaller structure into the larger one.
- Leave around 20cm of space between the two panels all the way around when arranging them.
Step 8) Join Panels
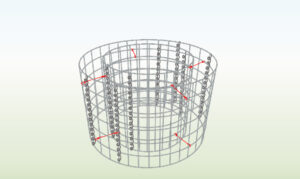
- Connect the inside and outside panels using corner ties or tying wire, both at the top and bottom.
- These ties should be spaced around 30 to 45 centimeters apart.
- Consider that larger planters need more ties for stability, while smaller ones need fewer.
Step 9) Add Geotextile
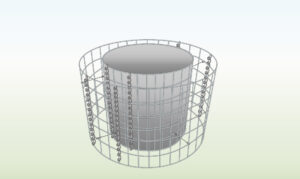
- Line the inside of the inner basket with geotextile before filling it with compost.
- This prevents the compost from seeping into the outside compartment with the decorative stones.
Step 10) Fill with Compost
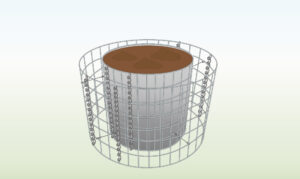
- Fill the inner gabion with compost.
Step 11) Fill with Stones
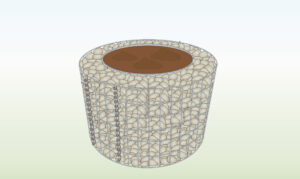
- Fill the outer gabion with the calculated amount of stone.
Step 12) Add Your Plants
- Add your plant(s) into the compost in the inner basket to complete your DIY round gabion planter.
TIPS
- Choose 3mm panels because they are easier to bend when considering how to make a DIY round gabion planter.
- Place your planter in its final location before filling it, as you won’t be able to move it afterward.
- You can get creative with the design by experimenting with different styles, sizes, or types of stones. Feel free to be imaginative: your gabion can become a stunning piece of outdoor decor.
FURTHER READING
- DIY Gabion Planter – Step by step instructions on how to make your own rectangular gabion planter.
- Customer Project of June 2023 – Round Gabion Planter Kit – Learn how to make a round gabion planter using a different method.
- How to Make a Gabion Planter – A guide showing you how to create a planter using a basket.
- Gabion Learning Hub – a library of help videos
We sell ready-made square gabion baskets as well as gabion panels if you would like to follow this guide as well as stones to fill your gabion.


Published by
