DIY Gabion Planter


This blog will show you how to make your own DIY gabion planter. Just follow the step-by-step instructions below.

OVERVIEW
- Experience Required: Low
- Tools Required: Protective Gloves, Bolt Cutter/Angle Grinder
- Materials Required: Gabion Basket (45cm x 45cm), Helicoil Corner Kit (Pack of 2), Gabion Stones, Planter Pot, Plant
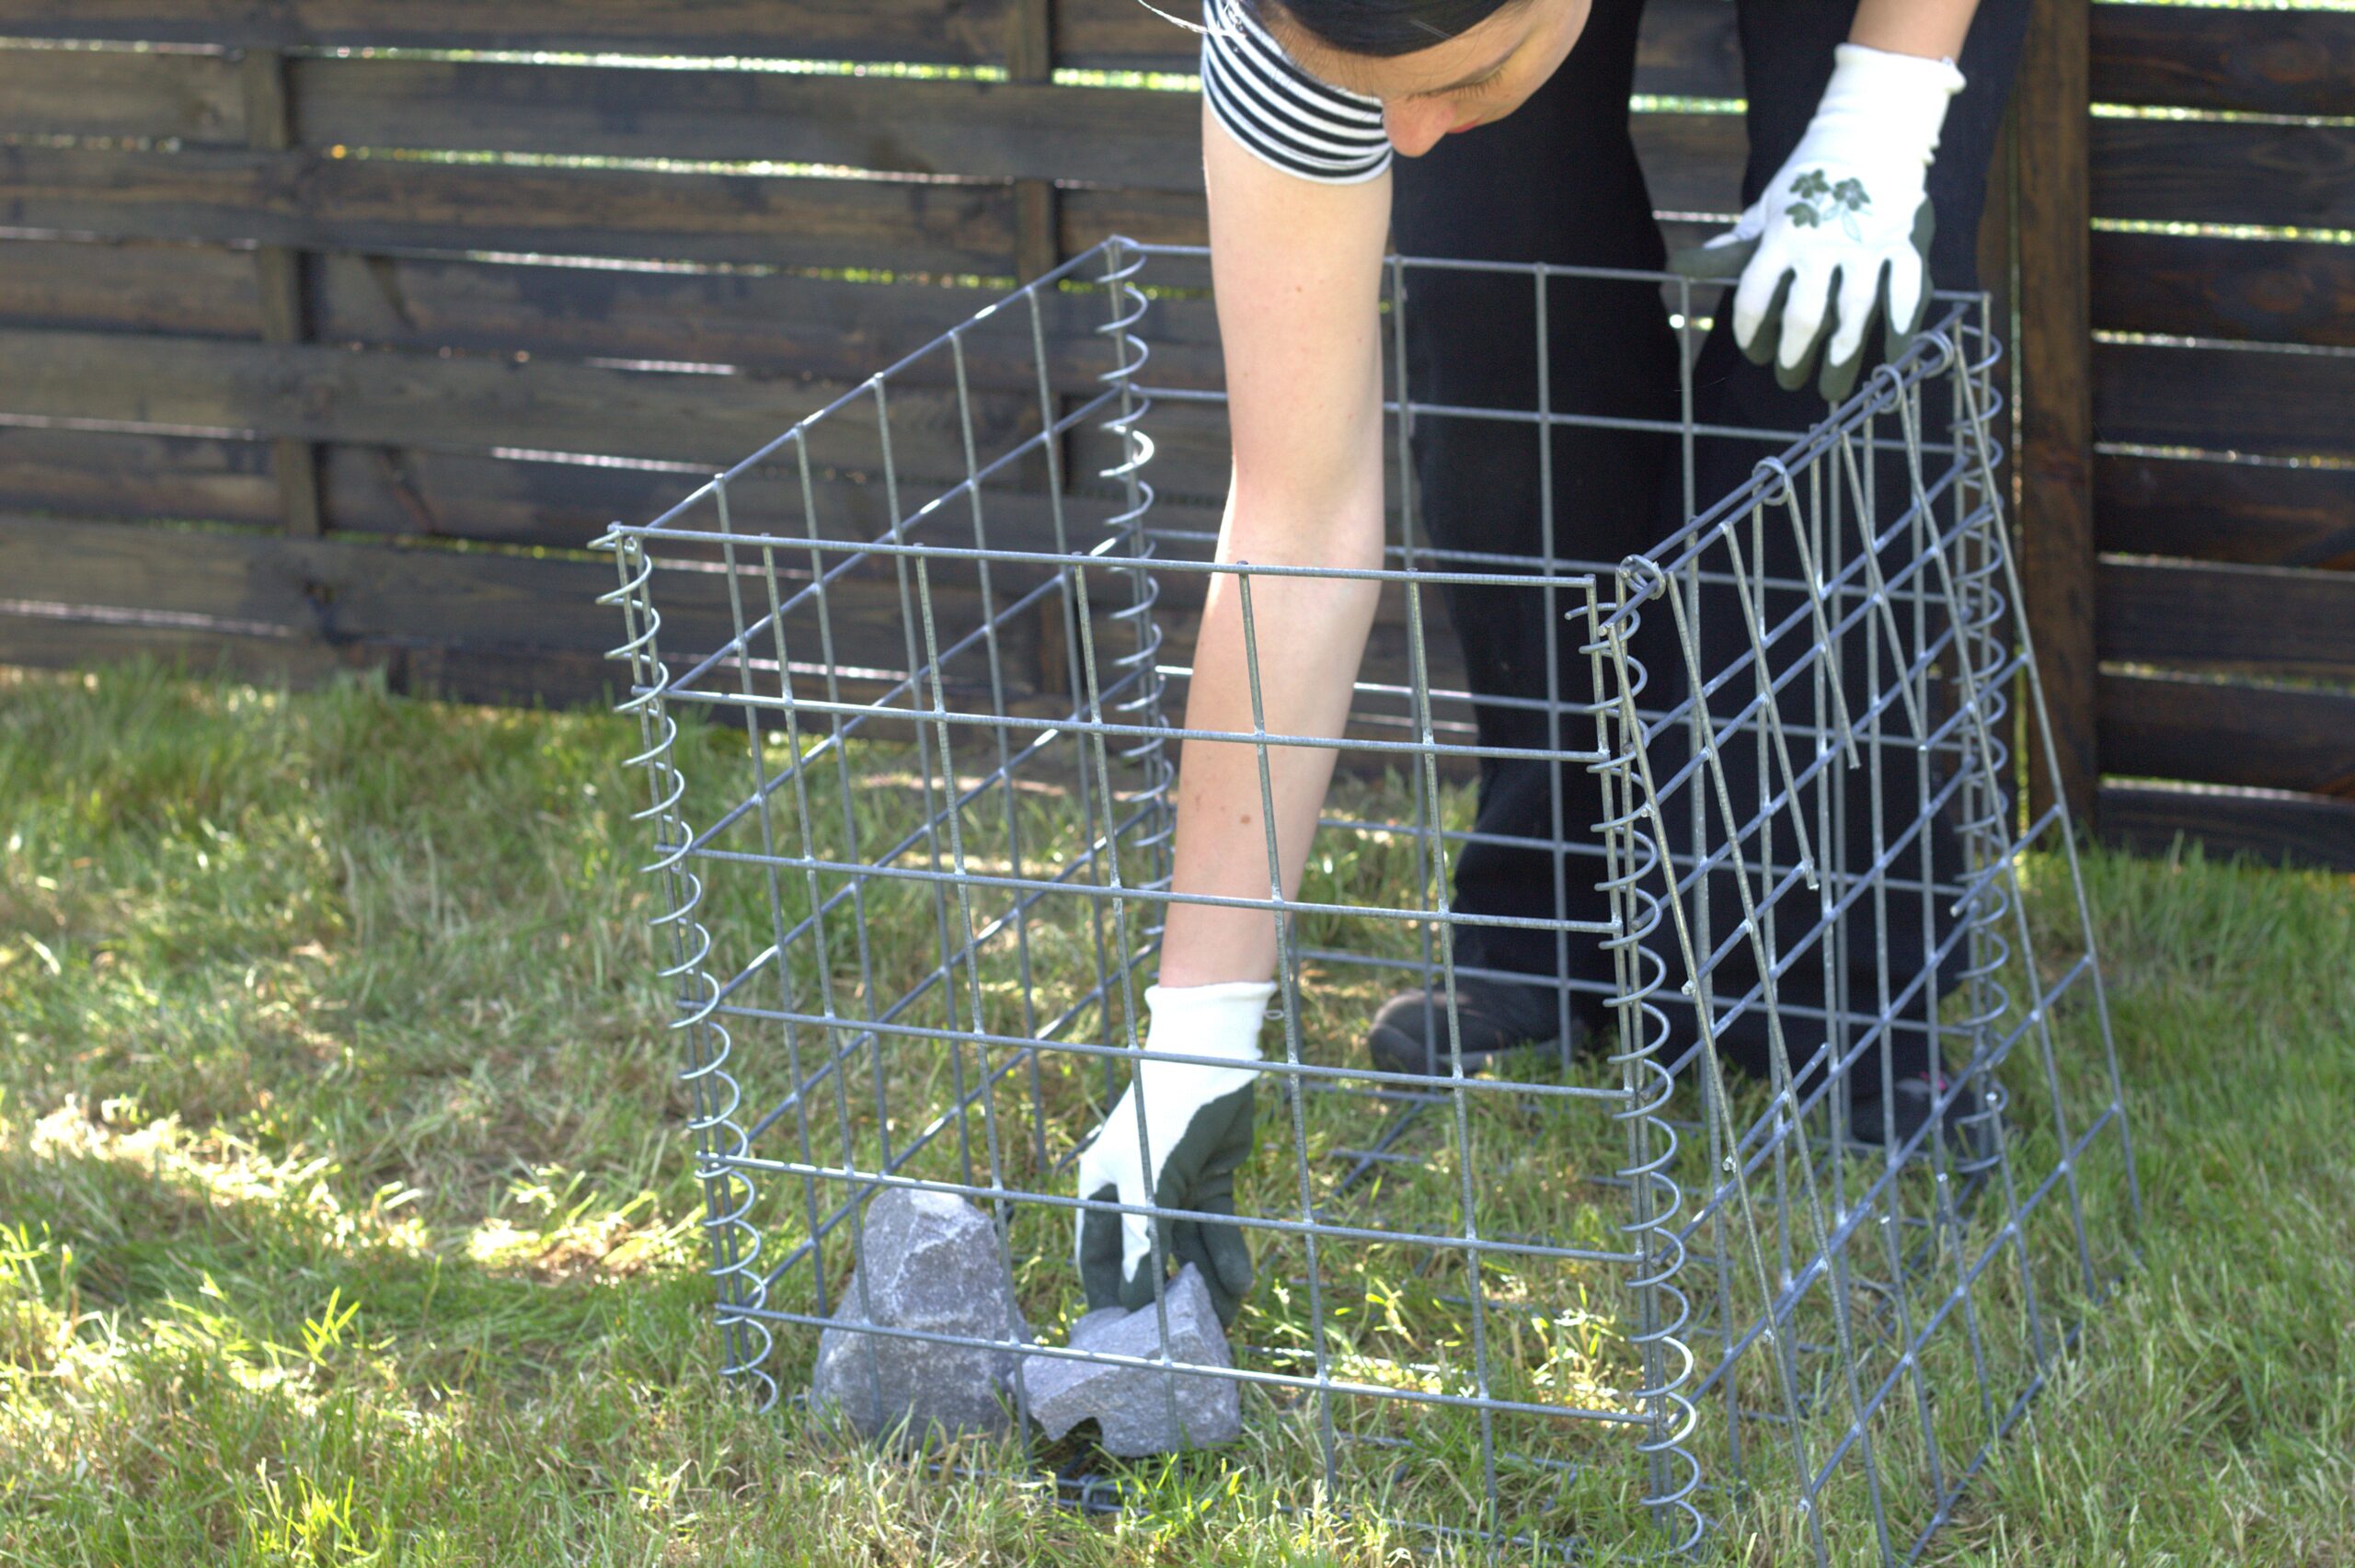
Step 1) Unfold gabion

- Unfold the gabion, ensuring all sides are properly unfolded and ready for assembly.
Step 2) Cut the helicoils to size

- Measure the dimensions of the panels and cut the helicoils to match accordingly.
Step 3) Connect the corners

- Fold the side panels upward from the base and fasten them using the helicoils, ensuring they enclose the corners of both panels.
- Repeat this process for all panels and keep the lid open.
Step 4) Measure your container

- Measure your plant container and mark where you have to cut the lid panel.
Step 5) Cut out the lid

- Using bolt cutters or an angle grinder, cut a hole in the lid large enough to accommodate the container pot.
Step 6) Start filling the basket

- Depending on the height of your container, start filling your basket with stone.
Step 7) Add your container

- Place the pot on top of the stones so that it aligns with the top of the gabion.
- Adjust by adding more stones underneath if necessary to achieve levelness.
- Continue filling the basket around the pot until reaching the top of the basket.
Step 8) Close the lid of your gabion planter

- Close the lid and join the corners with a helicoil. Repeat for all corners.
Step 9) Finished DIY gabion planter
- Your DIY gabion planter is finished. Now add your plant and enjoy it!
Video
Tips and tricks
Working through the installation helped identify both the strengths and the trickier parts of the process, which are compiled in the list below to make this guide more useful.
- When filling the basket with stones, vary the sizes and shapes to place the stones so they interlock with each other to keep the gabion walls straight.
- Consider using different coloured stones when filling the basket to add a more visually interesting look. Mixing colours can enhance the aesthetic appeal of the finished project.
- Consider adding a layer of landscape fabric or geotextile under the basket to prevent weed growth.
- Alternatively, you can incorporate plants or succulents between the stones for a natural and vibrant touch to your project.
If you would like to make your own gabion planter, you will find gabions of all sizes in our shop, as well as a choice of gabion stone.
Other gabion planter ideas
Of course, there are multiple ways to create planters. Here are some interpretations that beautifully capture the essence of stone-filled structures, using DIY materials while omitting traditional baskets.
Round planters

This project by A Crafty Mix uses PVC pipes and plastic coated wire mesh to create DIY gabions, turning them into this wonderful composition. Find the full guide on their blog.
Spiral planter

This unique design was created by Abundance by Design Permaculture, and it showcases a creative and visually appealing solution for garden landscaping.
Wire mesh planters

Like the round planters above, this project by TG The Gardener uses three containers, but shorter ones, wrapped in welded wire mesh.

Written By
This blog was created by our Home & Garden Content Creator, Orsi Magyari. Take a look at some behind-the-scenes images below.