How to Install Gabion Baskets

Below you will find a step-by-step guide on how to install gabion baskets.

- Experience Required: Low
- Tools Required: Protective gloves, Wire cutter, Pliers
- Materials Required: Gabion baskets, Helicals, Gabion stone, Corner ties (optional)
PREPARATION
Step 0) Health & Safety Regulations
- Gabion basket installation instructions are simple, but be sure to wear protective gloves to protect your hands.
- Before starting, check all relevant construction, health, and safety guidelines.
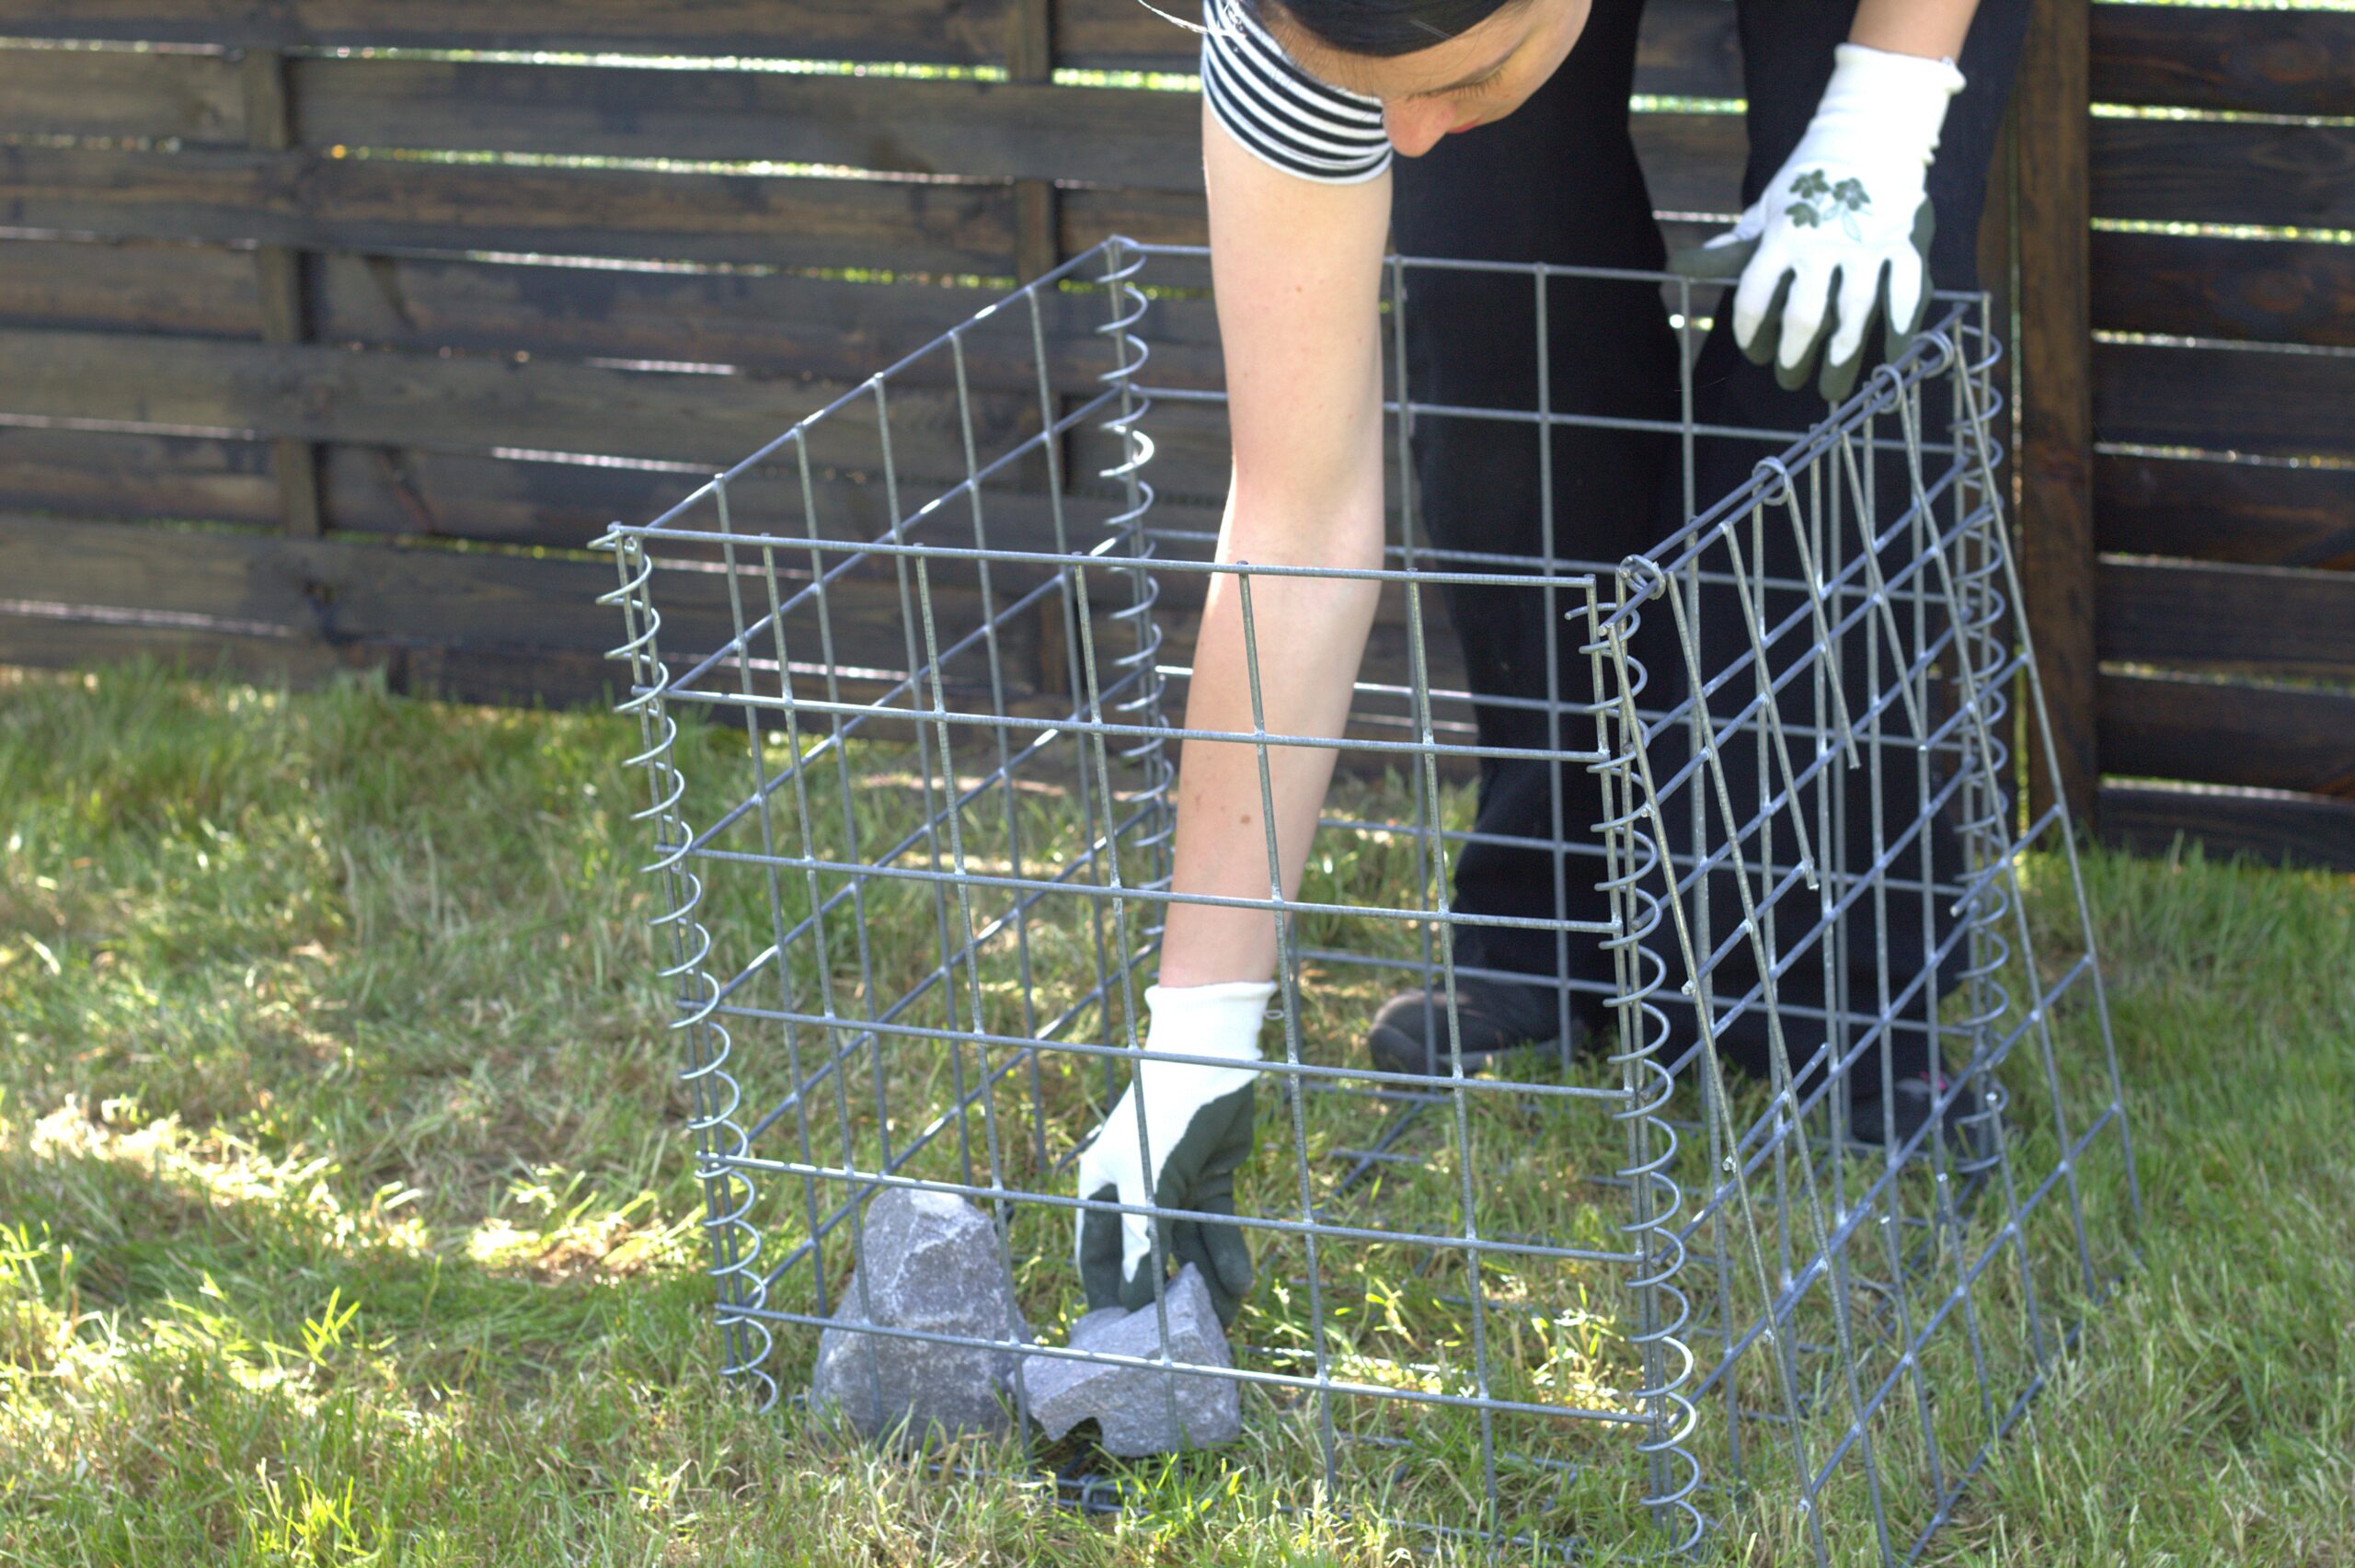
Step 1) Stable Foundation
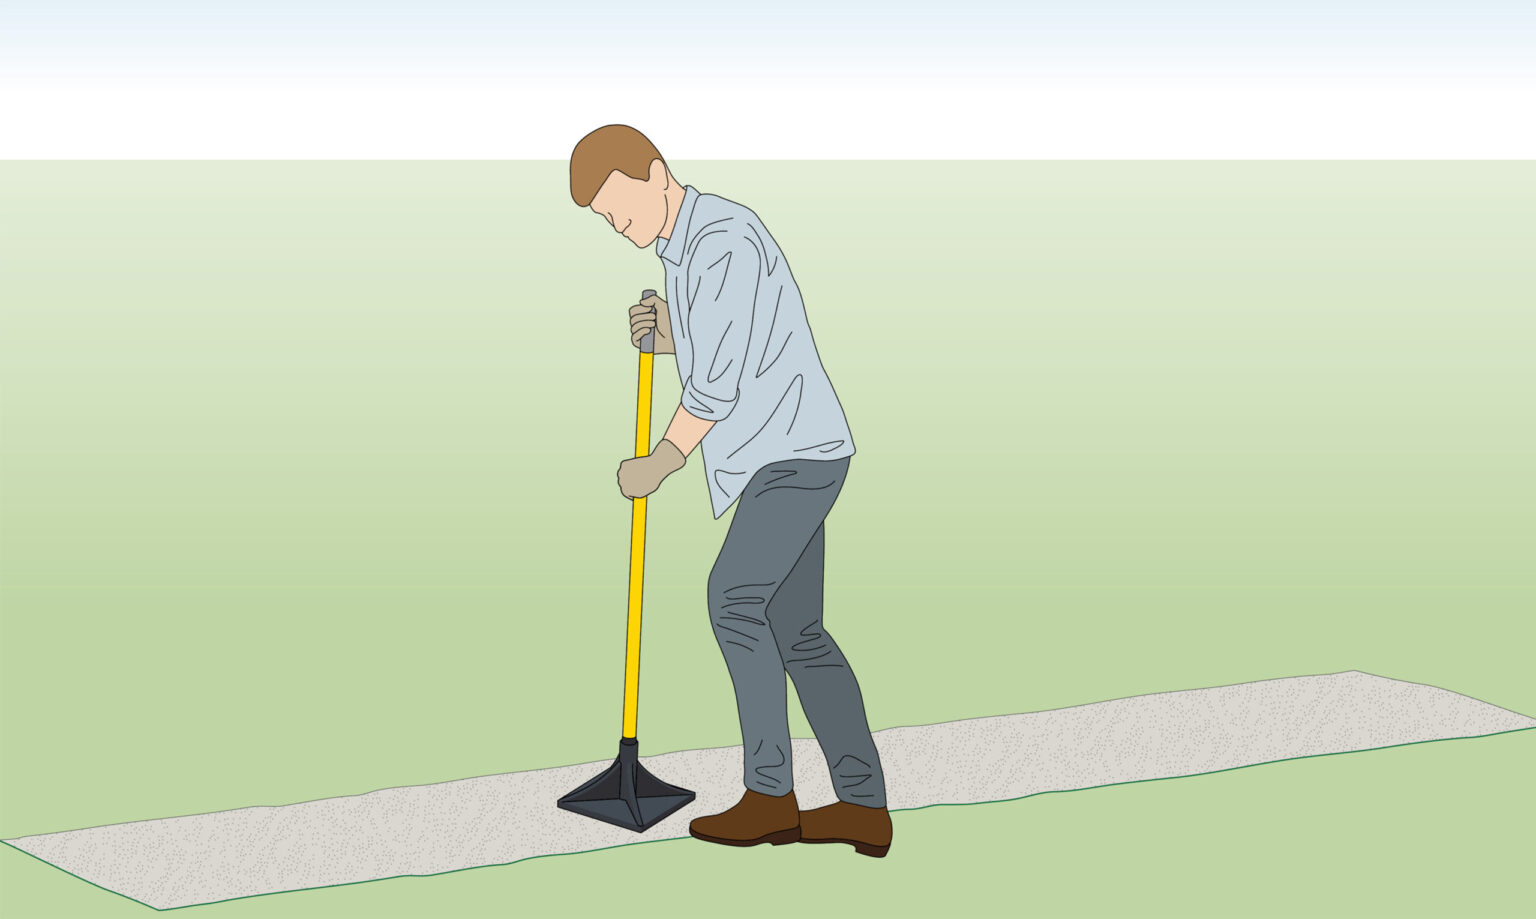
- To create a stable foundation for cages, start by removing any organic material that might decompose over time.
- Next, lay down a compacted sub-base of Type 1 stone to ensure long-lasting support.
Step 2) Delivered Flat Packed
- Cages arrive flat-packed and pre-clipped with steel clips, along with complimentary coils of tying wire.
- Additional accessories like helicals for faster setup, corner ties, geotextiles, and stone are also available upon request.
GABION BASKET ASSEMBLY
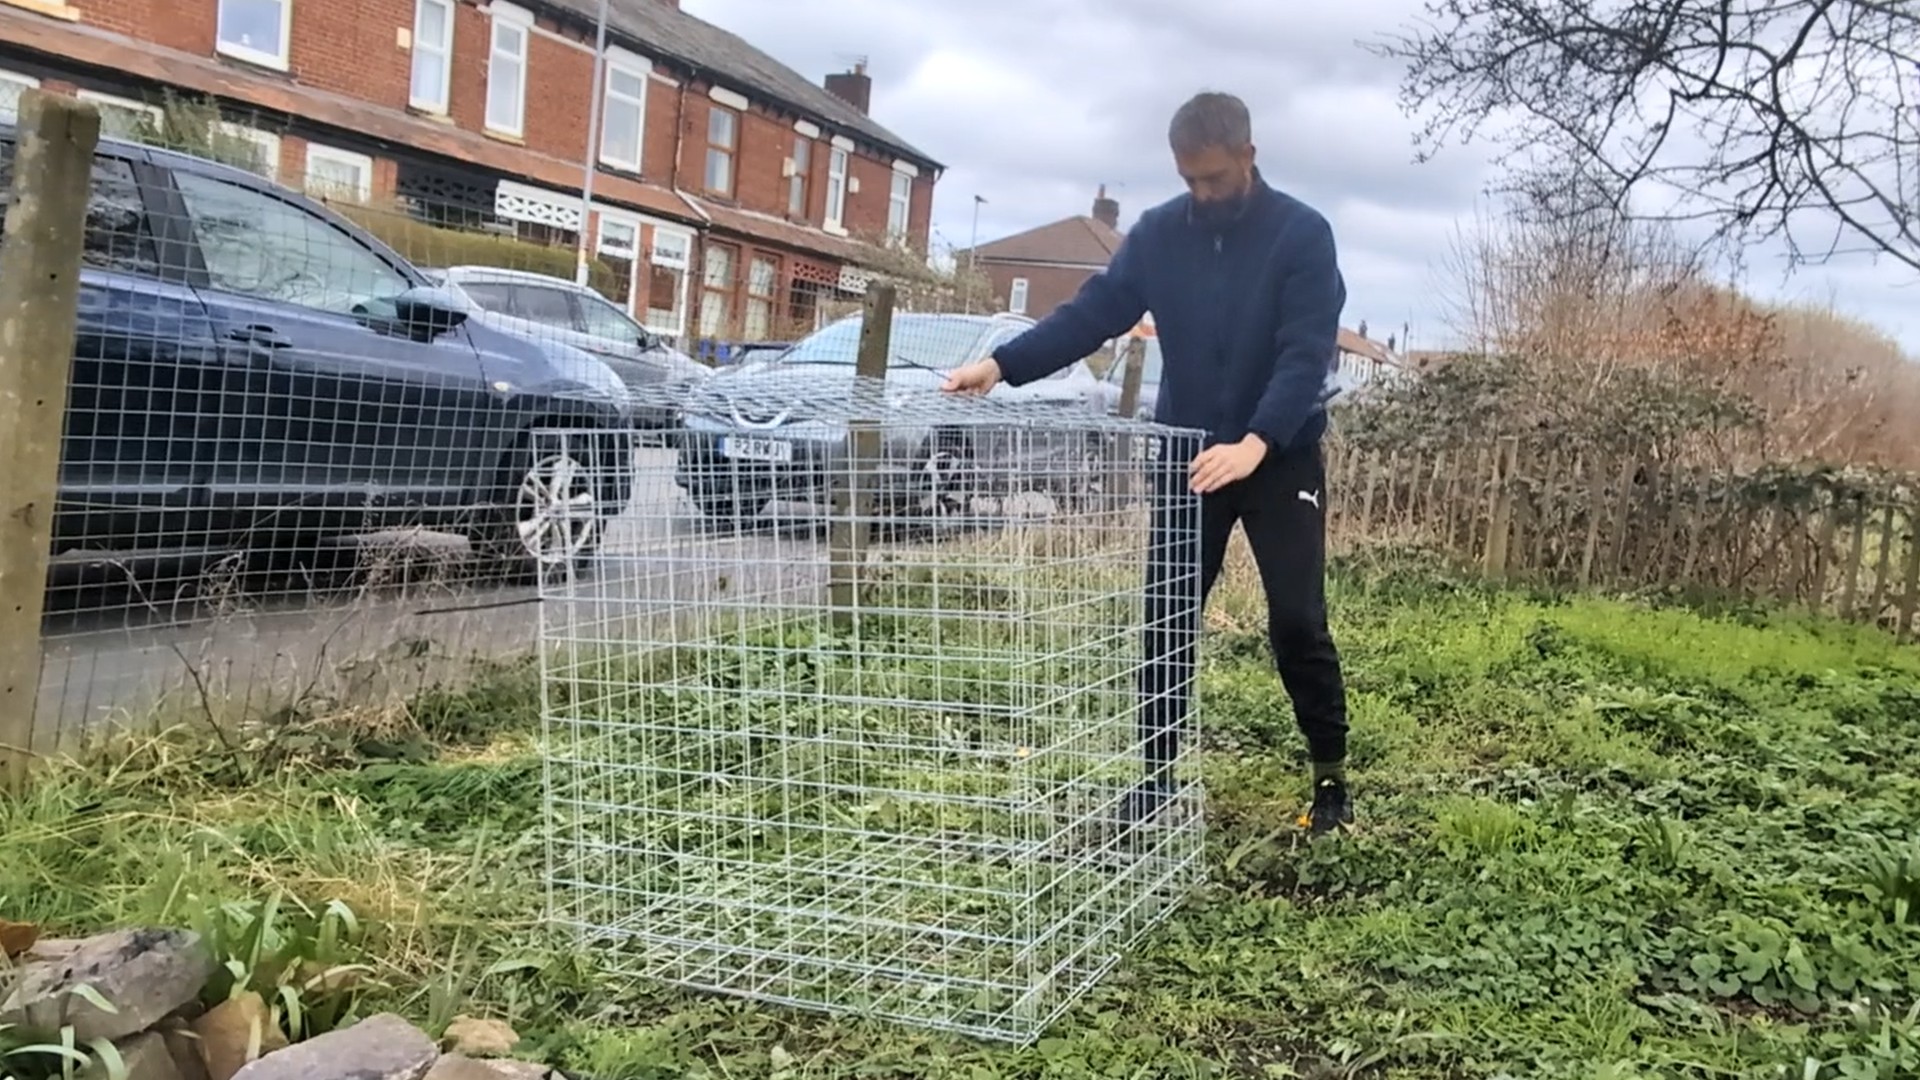
Step 3) Unfold the Gabion
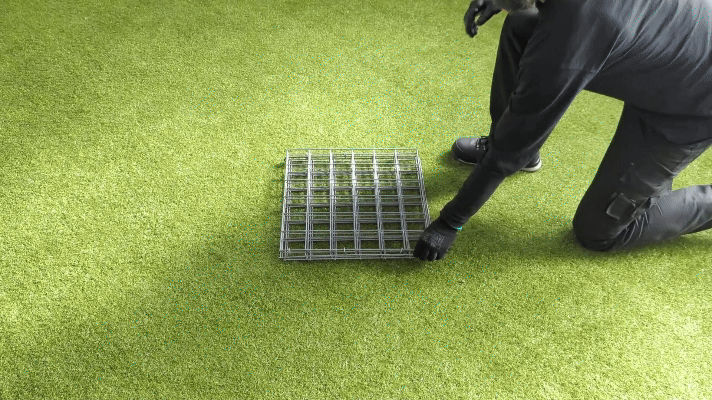
- In the process of how to install gabion baskets, unfold the cage and lay it flat on the ground.
- Each cage is made up of 6 panels: the top, bottom, front, back, and two sides.
Step 4) Pre-Clipped
- The base of the wire cage comes pre-clipped to all four sides, with the lid securely attached to the back panel.
INSTALLATION WITH TYING WIRE
Step 5) Measure & Cut Tying Wire
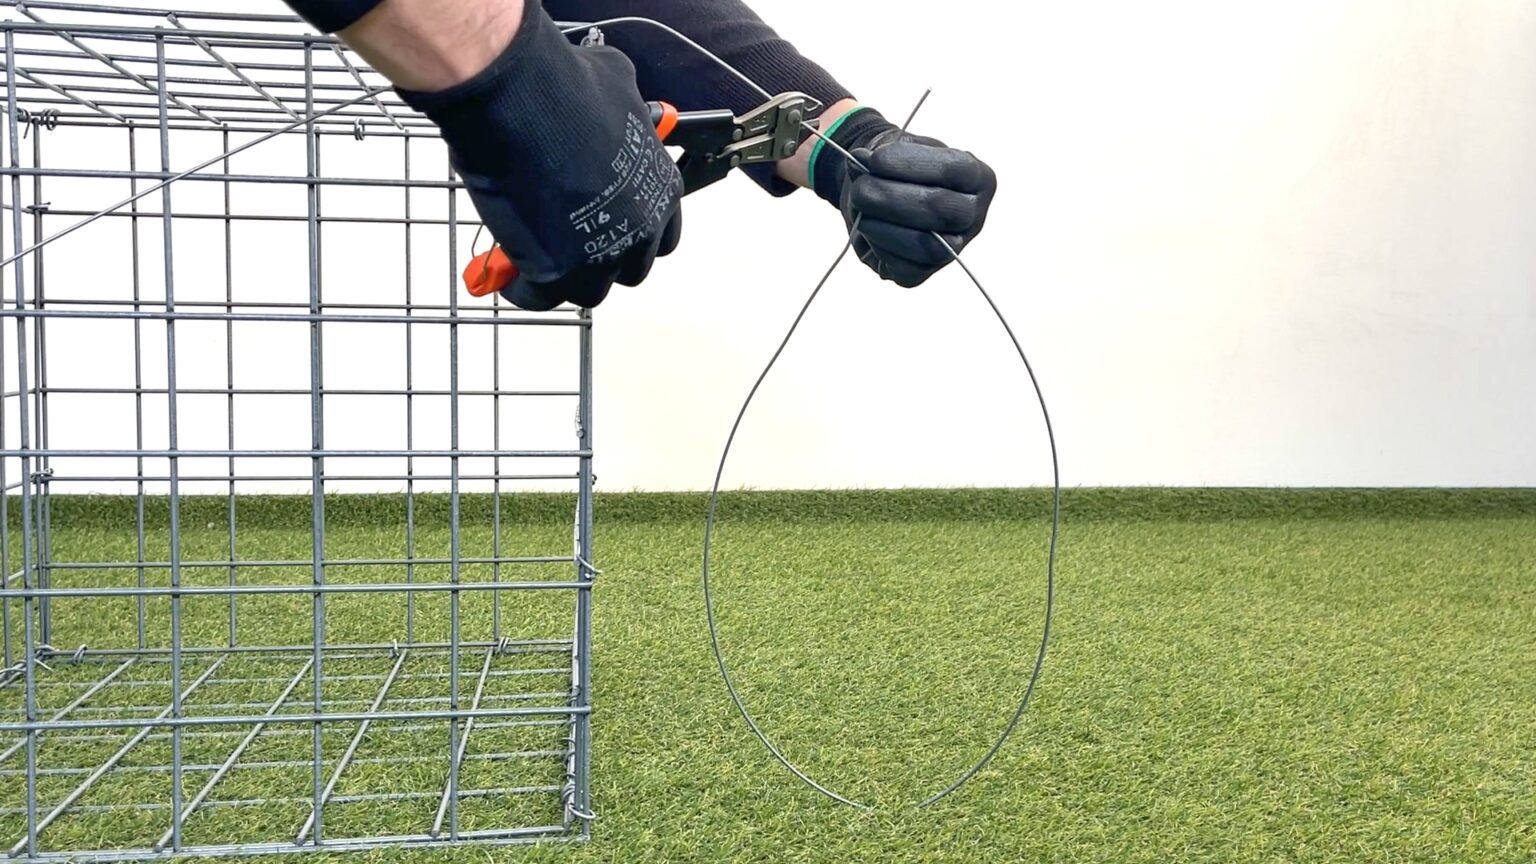
- Use a wire cutter to cut the tying wire to size: for each meter of gabion length, you’ll need about 1.5 meters of wire.
- Alternatively, you can estimate the required wire by doubling the length of each panel.
Step 6) Connect with Free Tying Wire
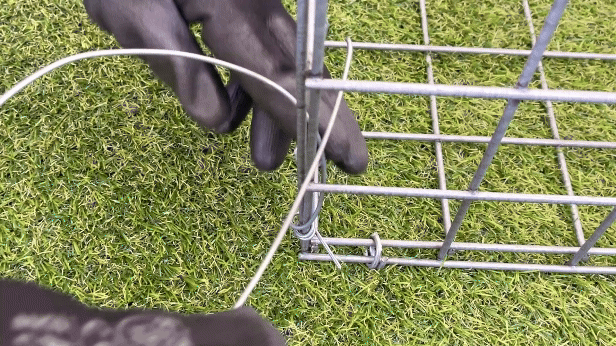
- To connect adjacent panels, use continuous wire.
- Begin by wrapping the wire three times around the first mesh hole.
- Then, weave it in and out along the edges, creating a double-loop around each hole to increase strength, pulling the wire tight as you go.
Step 7) Secure Wire at the Top
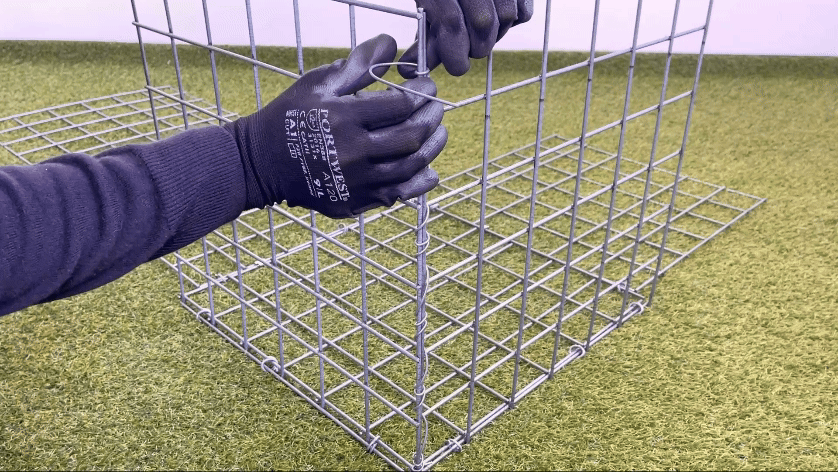
- Finish by wrapping the wire three times around the final mesh hole to secure the connection tightly.
Step 8) Cut off Excess Wire
- Once secured, use wire cutters to trim away any excess tying wire.
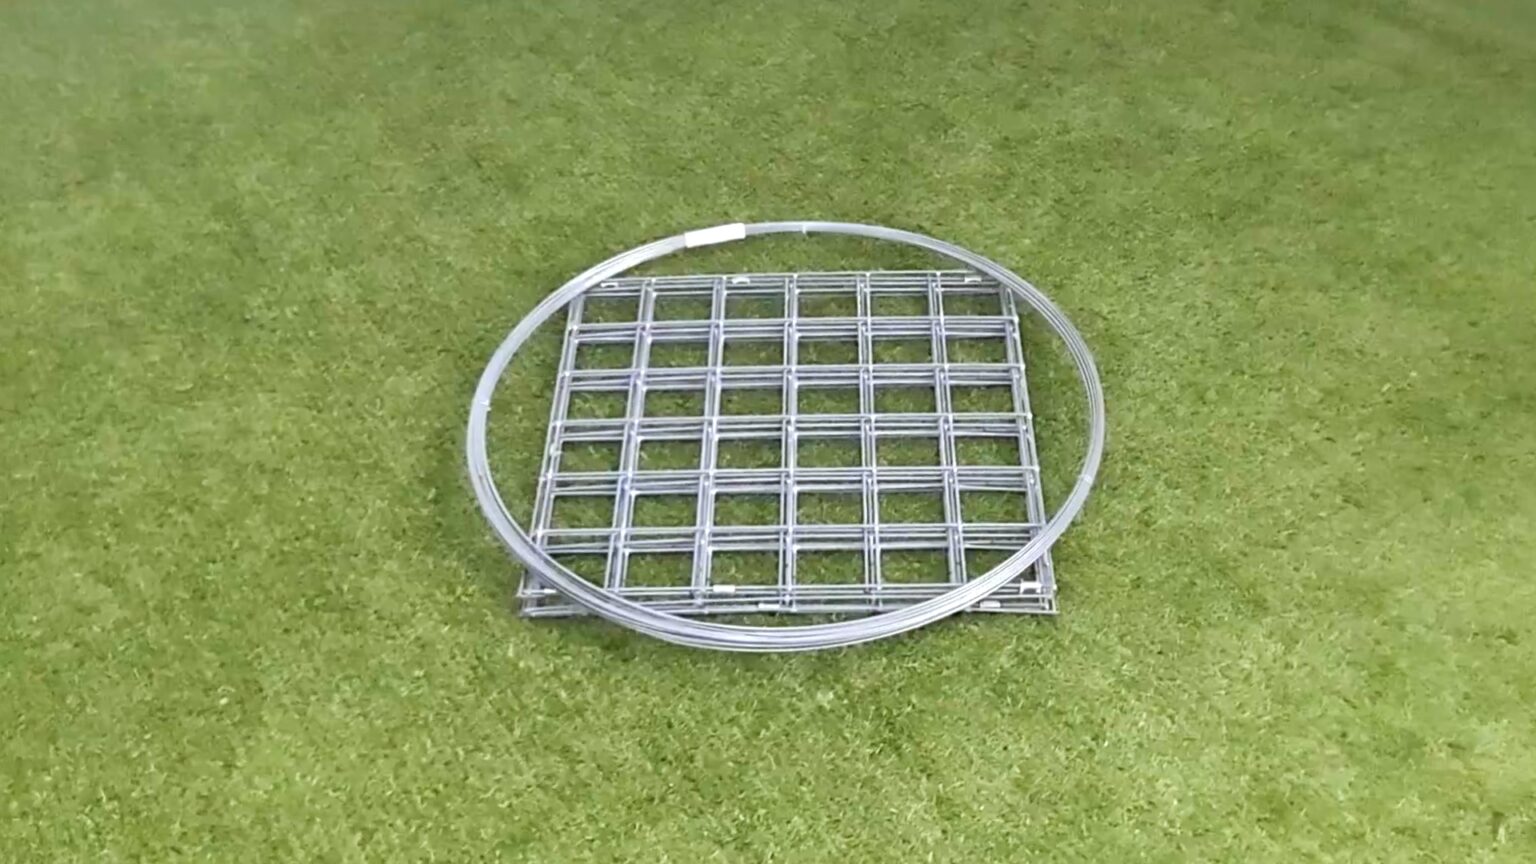
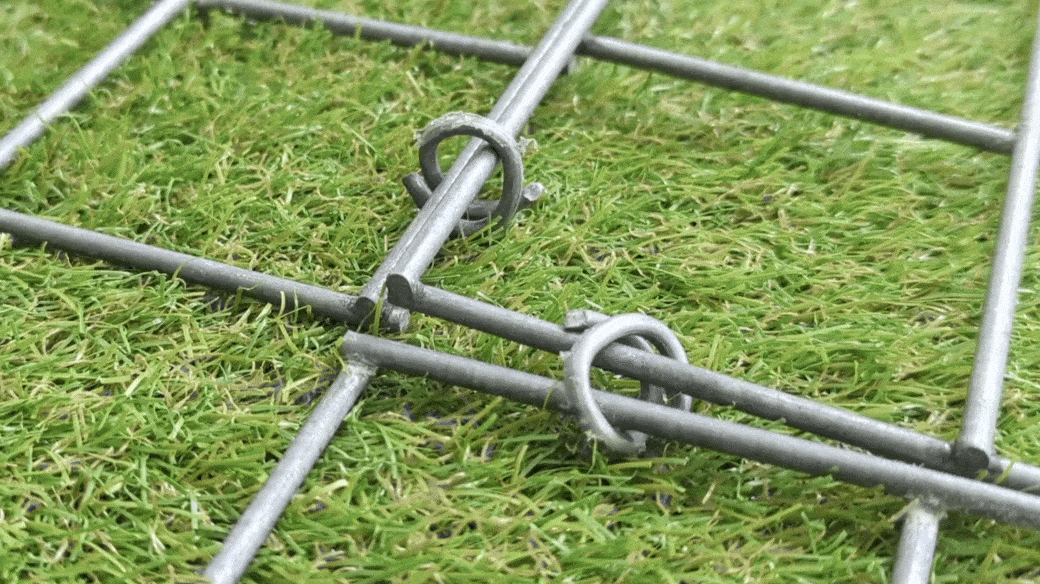
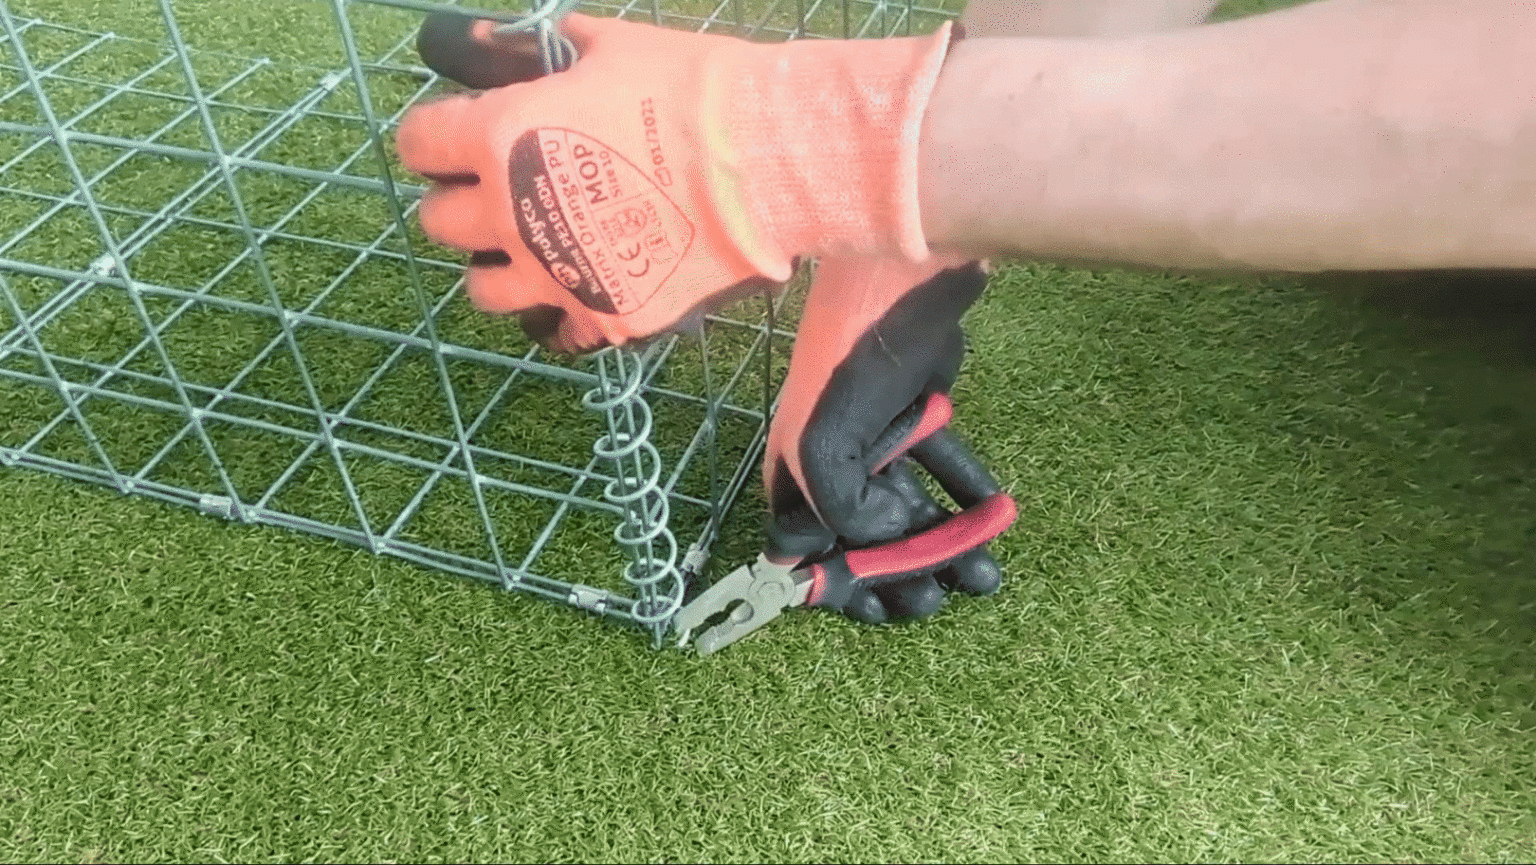
INSTALLATION WITH HELICALS
Step 5) Calculate Helicals
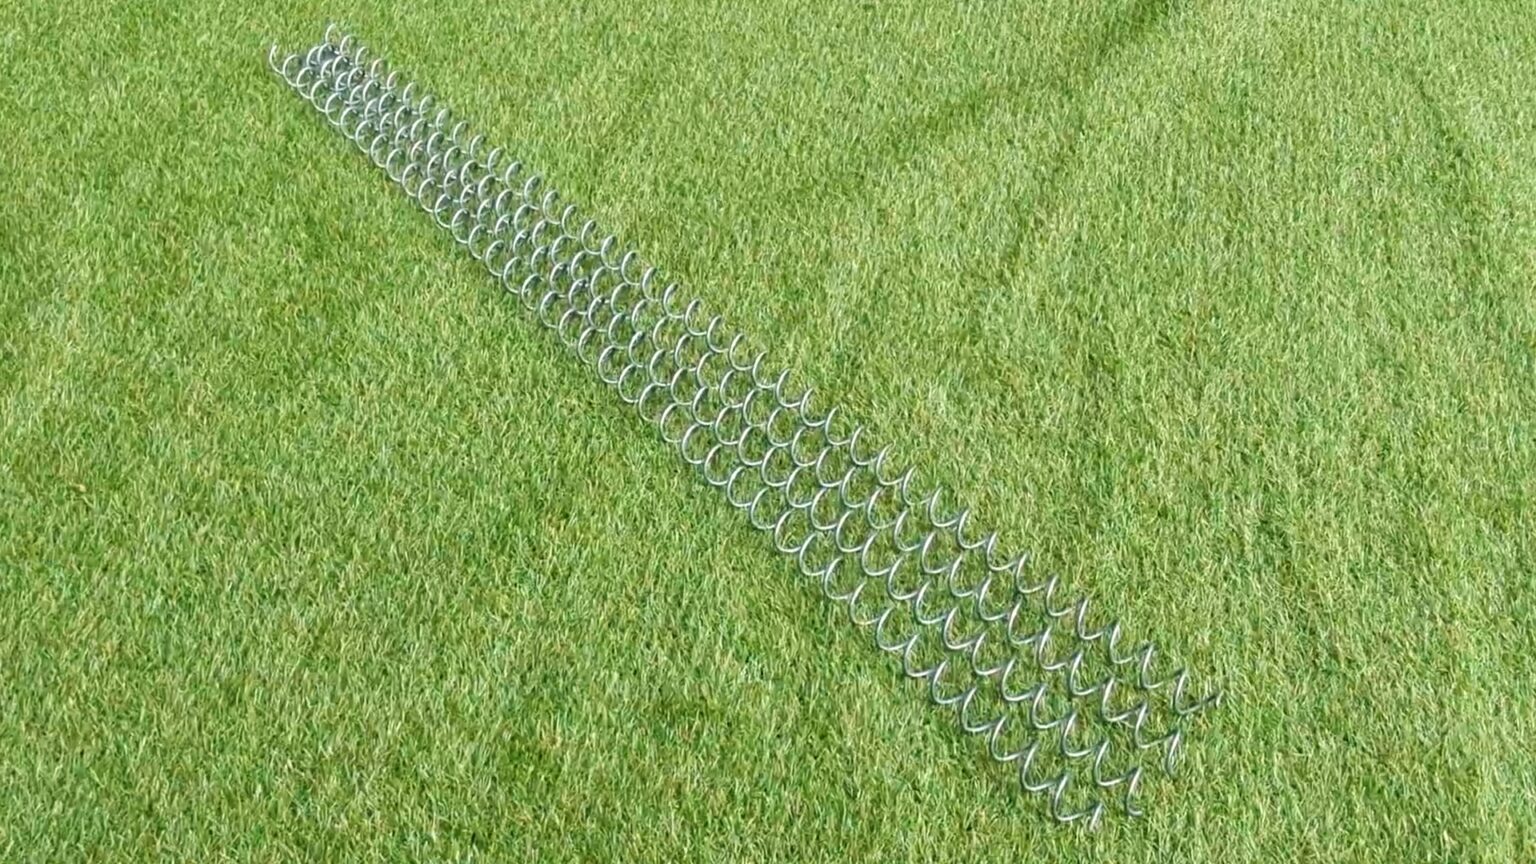
- To speed up assembly, use helicals, each measuring 1 meter in length.
- You’ll need 4 for the sides and 1 for the lid if you’re not using tying wire.
- For heights under 1m, cut the helicals to size. For heights over 1m, use a full helical and a cut one.
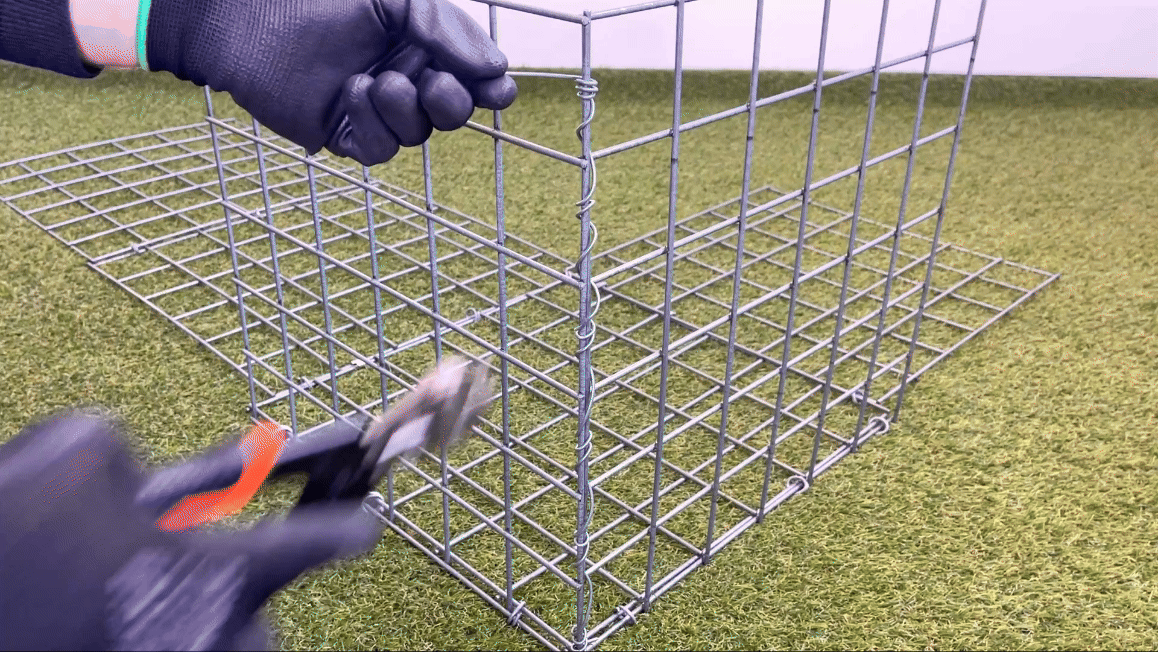
Step 6) Join Panels
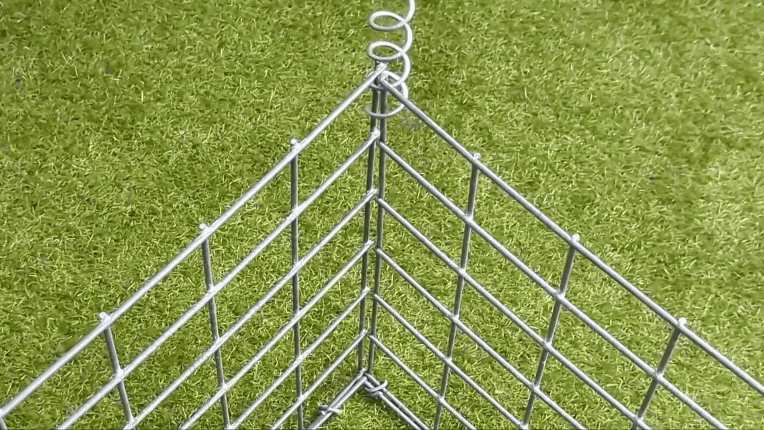
- Secure the four corners by twisting the helical through the mesh.
Step 7) Cut Off Excess
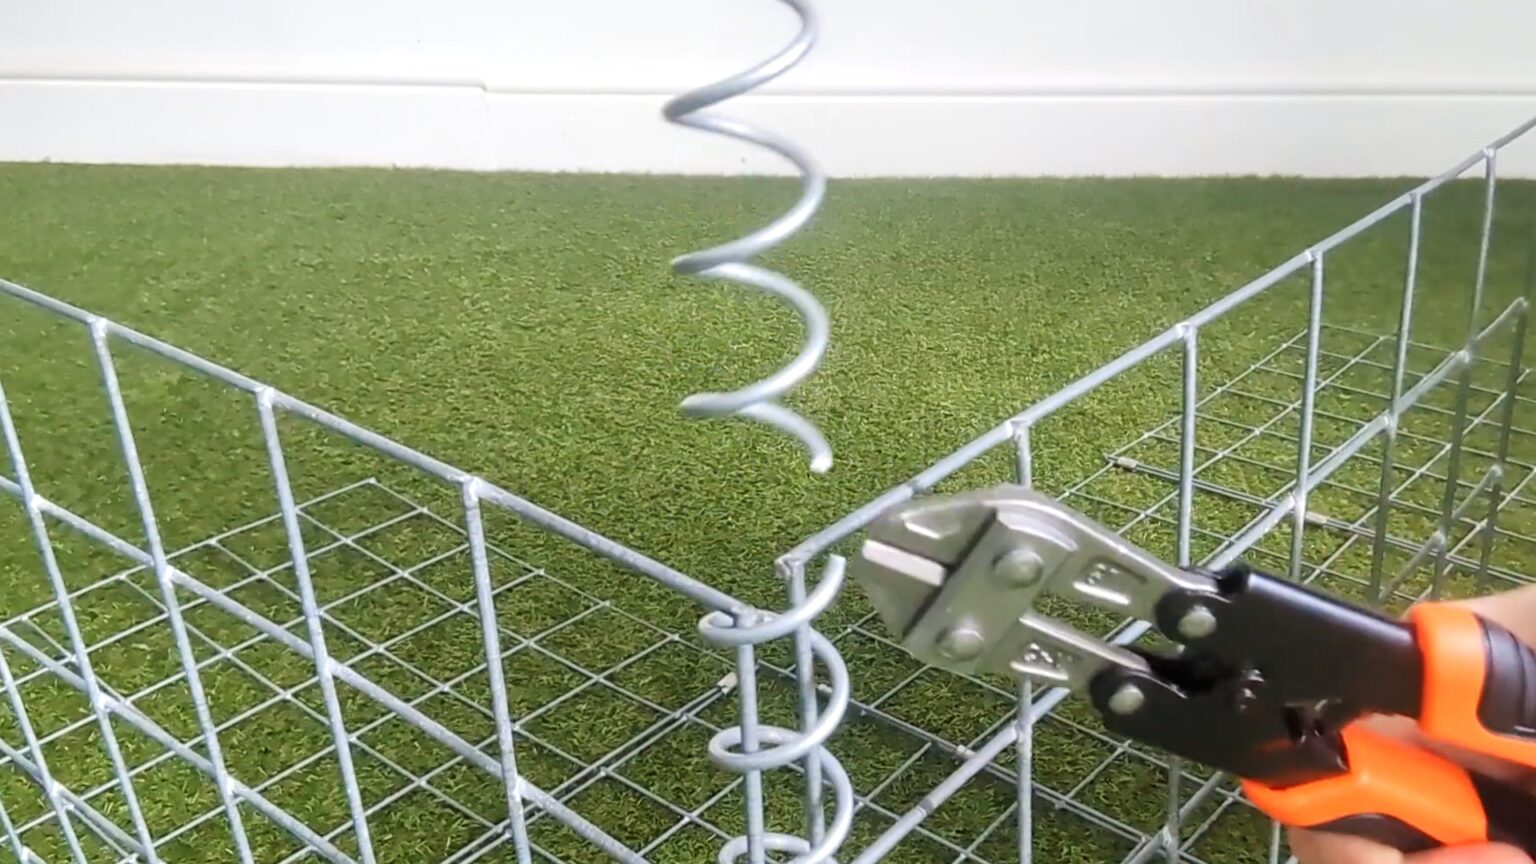
- Each helical measures 1 meter in length.
- If your cage is shorter than 1 meter, trim the helical to the appropriate size using wire cutters.
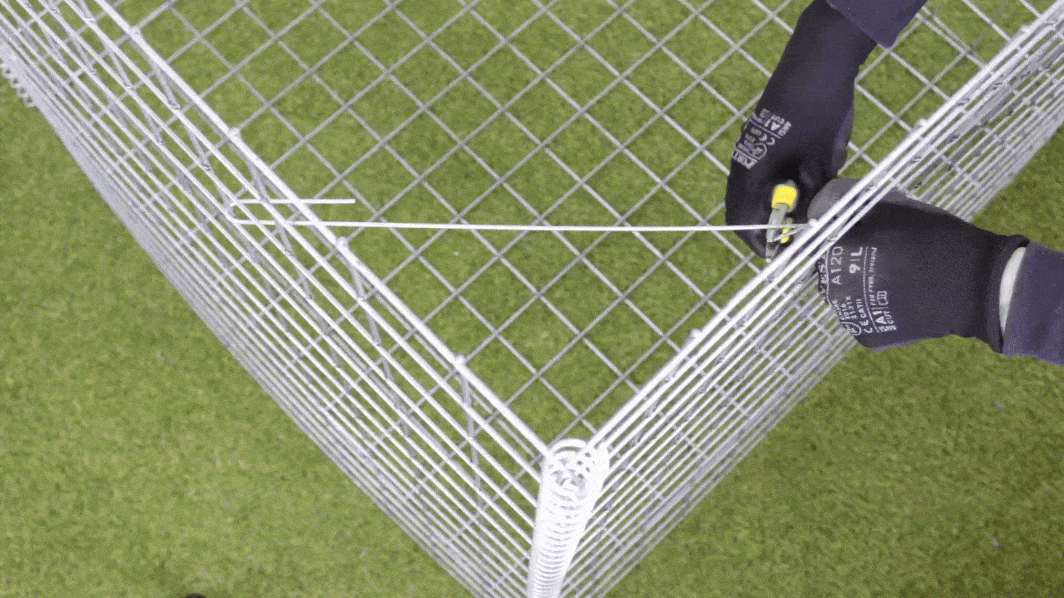
Step 8) Fold the End of the Helical
- At the top and bottom, use pliers to turn the last coil of the helical vertically by 90 degrees.
- This step helps to secure the helical in place and prevent any movement.
FILLING & BRACING
Step 9) Use Corner Ties
- To prevent gabion baskets from bulging, use corner ties to secure the corners.
- Insert the end of the tie through the mesh at the upper corner, then twist it around the mesh to secure it.
- Repeat for the other loop, and continue for each remaining corner.
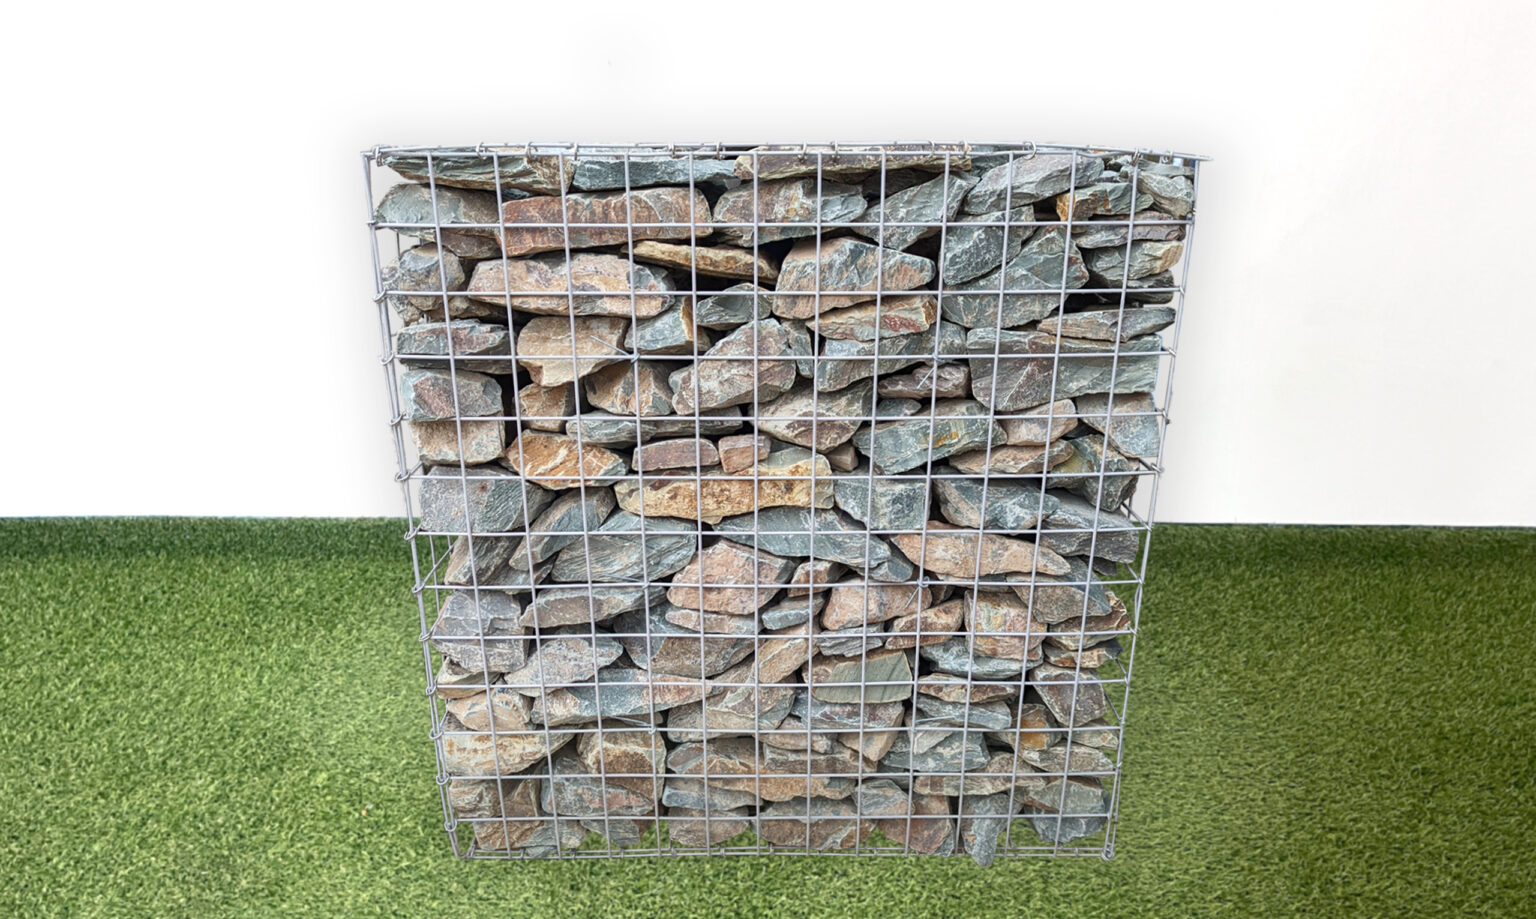
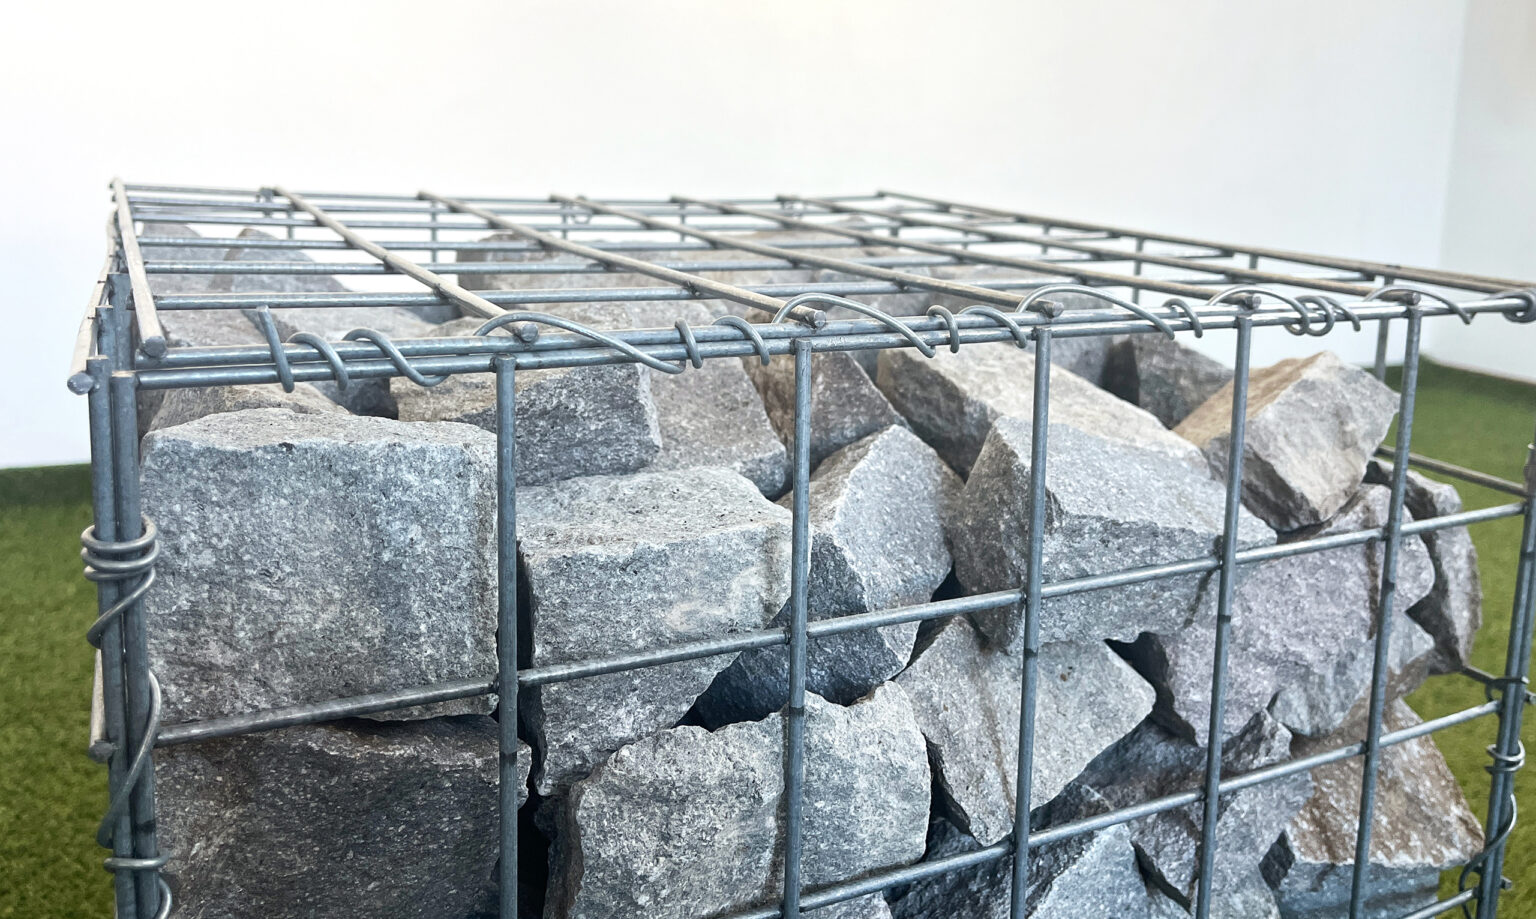
Step 10) Choosing the Right Stone
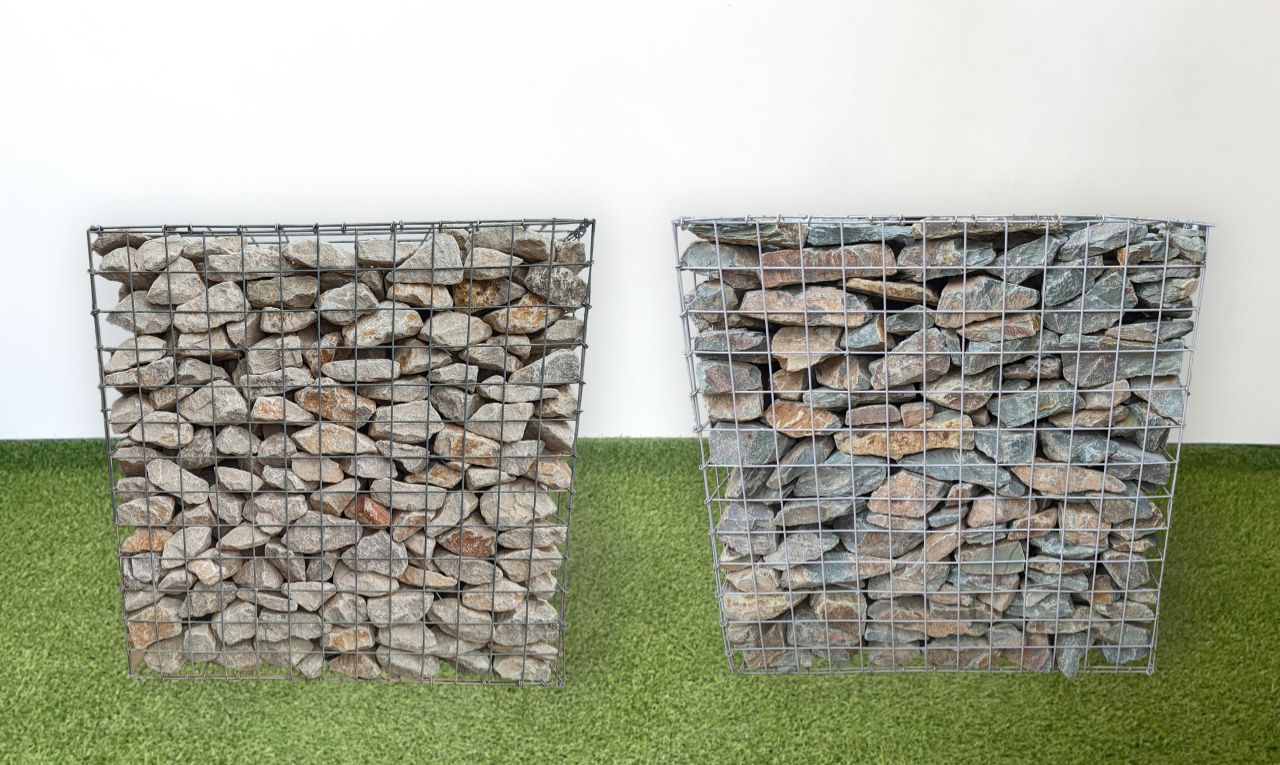
- Fill the wire cages with angular, interlocking gabion stones to reduce pressure on the sides.
- The stones should be larger than the mesh openings, typically ranging from 75mm to 200mm in size.
- Choose granite or limestone based on preference.
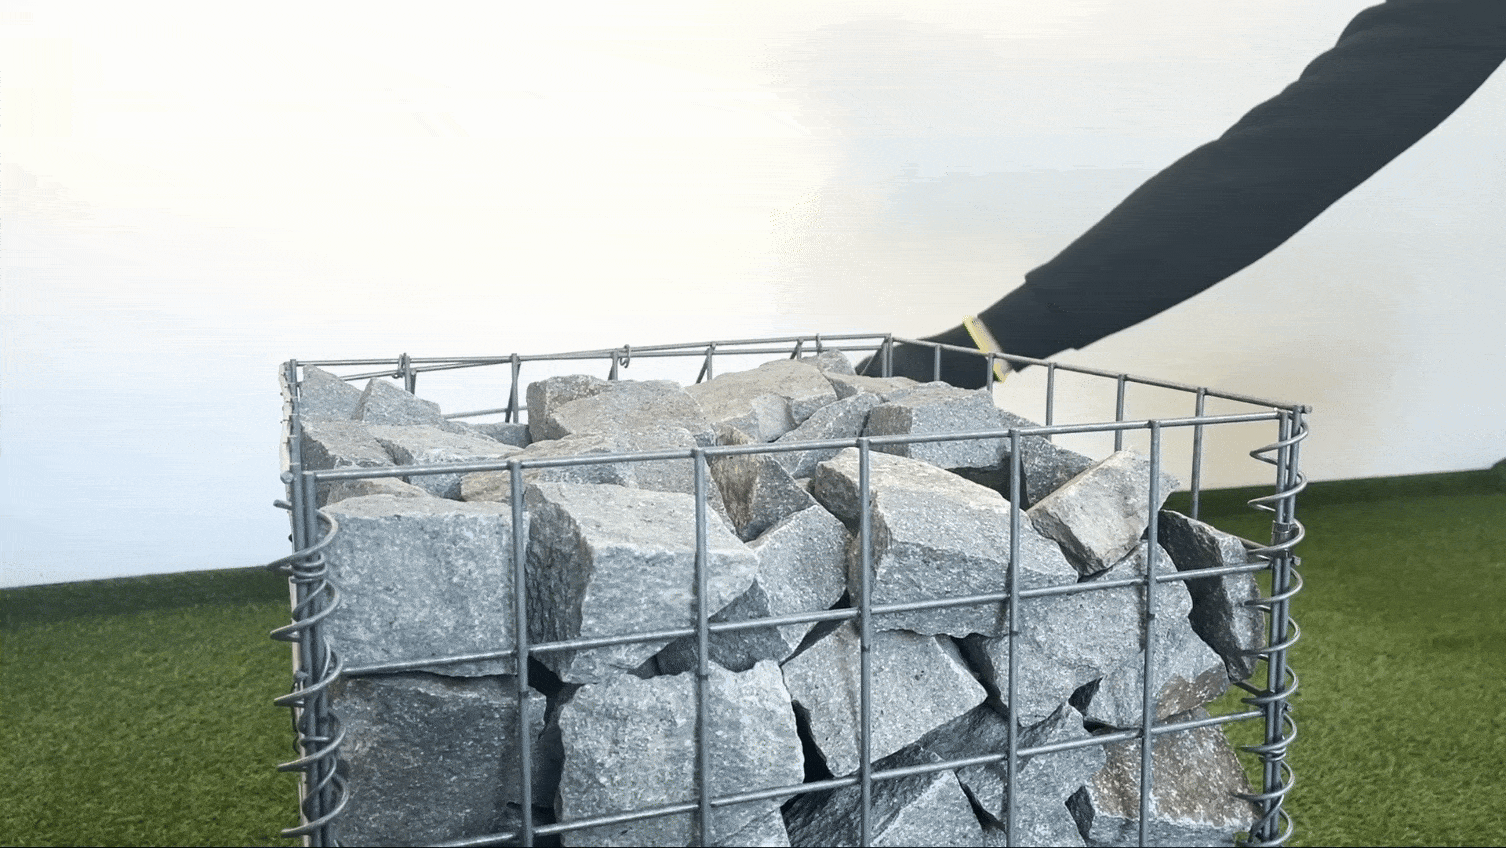
Step 11) Fill the Cage

- Fill the cages slightly above the top edge to accommodate settlement.
- The cages can be filled by machine; however, for optimal results and to minimize voids, they should be filled by hand.
CLOSING THE LID
Step 12) Close the Lid
- Once the basket is filled, close the lid securely, making sure it fits snugly against the stones without any gaps.
Step 13A) Secure with Tying Wire
- Secure the top edges with tying wire, just as you did before.
- Cut any excess wire, as described in step 8.
Step 13B) Secure with Helicals
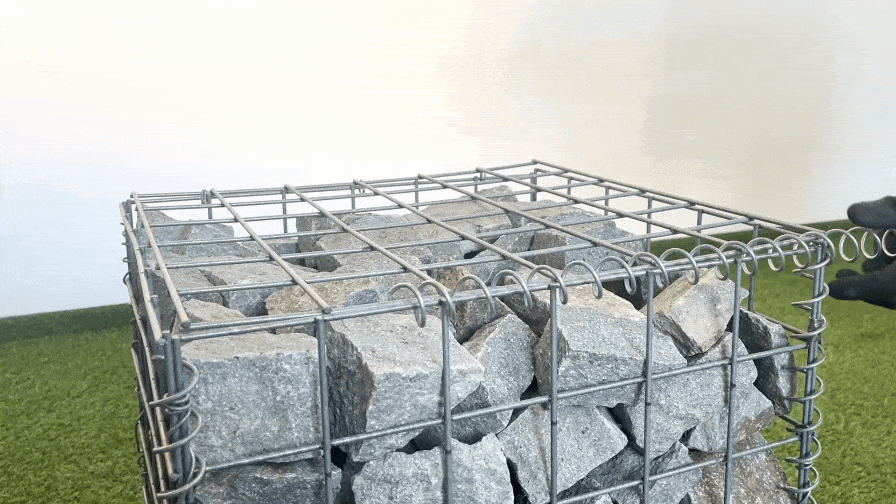
- Secure the top edges using a helical, following the same method as previously described.
- Once secured, trim away any excess helical and you have successfully completed the gabion basket installation.
FURTHER TIPS & READING
Further Tips on How to Install Gabion Baskets
Working through the installation helped us identify both the strengths and the trickier parts of the process, which we’ve compiled into the list below to help make this guide more useful.
- Wire diameter: Opt for a 4mm or 5mm wire for enhanced security, stability, and strength, which helps to minimize bulging.
- Coating option: Consider PVC-coated wire cages for enhanced weather resistance.
- Stone separating panels: Use them to fill the back compartment of the cage with inexpensive rubble, reducing the total cost.
- Support panel: Cages longer than 150cm come with a central support panel for added security!
- Geotextile: Place a geotextile layer between the cage and the base to improve durability and support.
- Layering: Once the lower basket is filled, securely fasten its lid with wire, then assemble the next layer on top.
- Walls: For a stable wall, use a 6-degree slope and a Type 1 basecourse foundation for optimal support and durability.
FURTHER READING
- How To Assemble Gabion Baskets – Step by step instructions on how to assemble gabion baskets.
- How to Lace Gabion Baskets – Learn how to lace wire cages using different methods.
- How to Fill Gabions – A guide showing you how to fill cages.
- How to Use Gabion Stone Separating Panels – Step by step instructions on how to use stone separating panels.
- How to Stop Gabion Baskets Bulging – Learn how to stop cages bulging.
- How to Bend a Gabion Back into Place – A guide showing you how to bend a cage back into place.
- Gabion Learning Hub – a library of help videos
VIDEOS

Written By
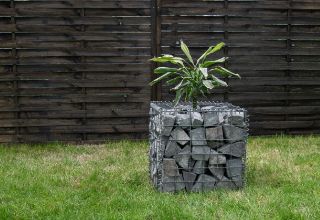
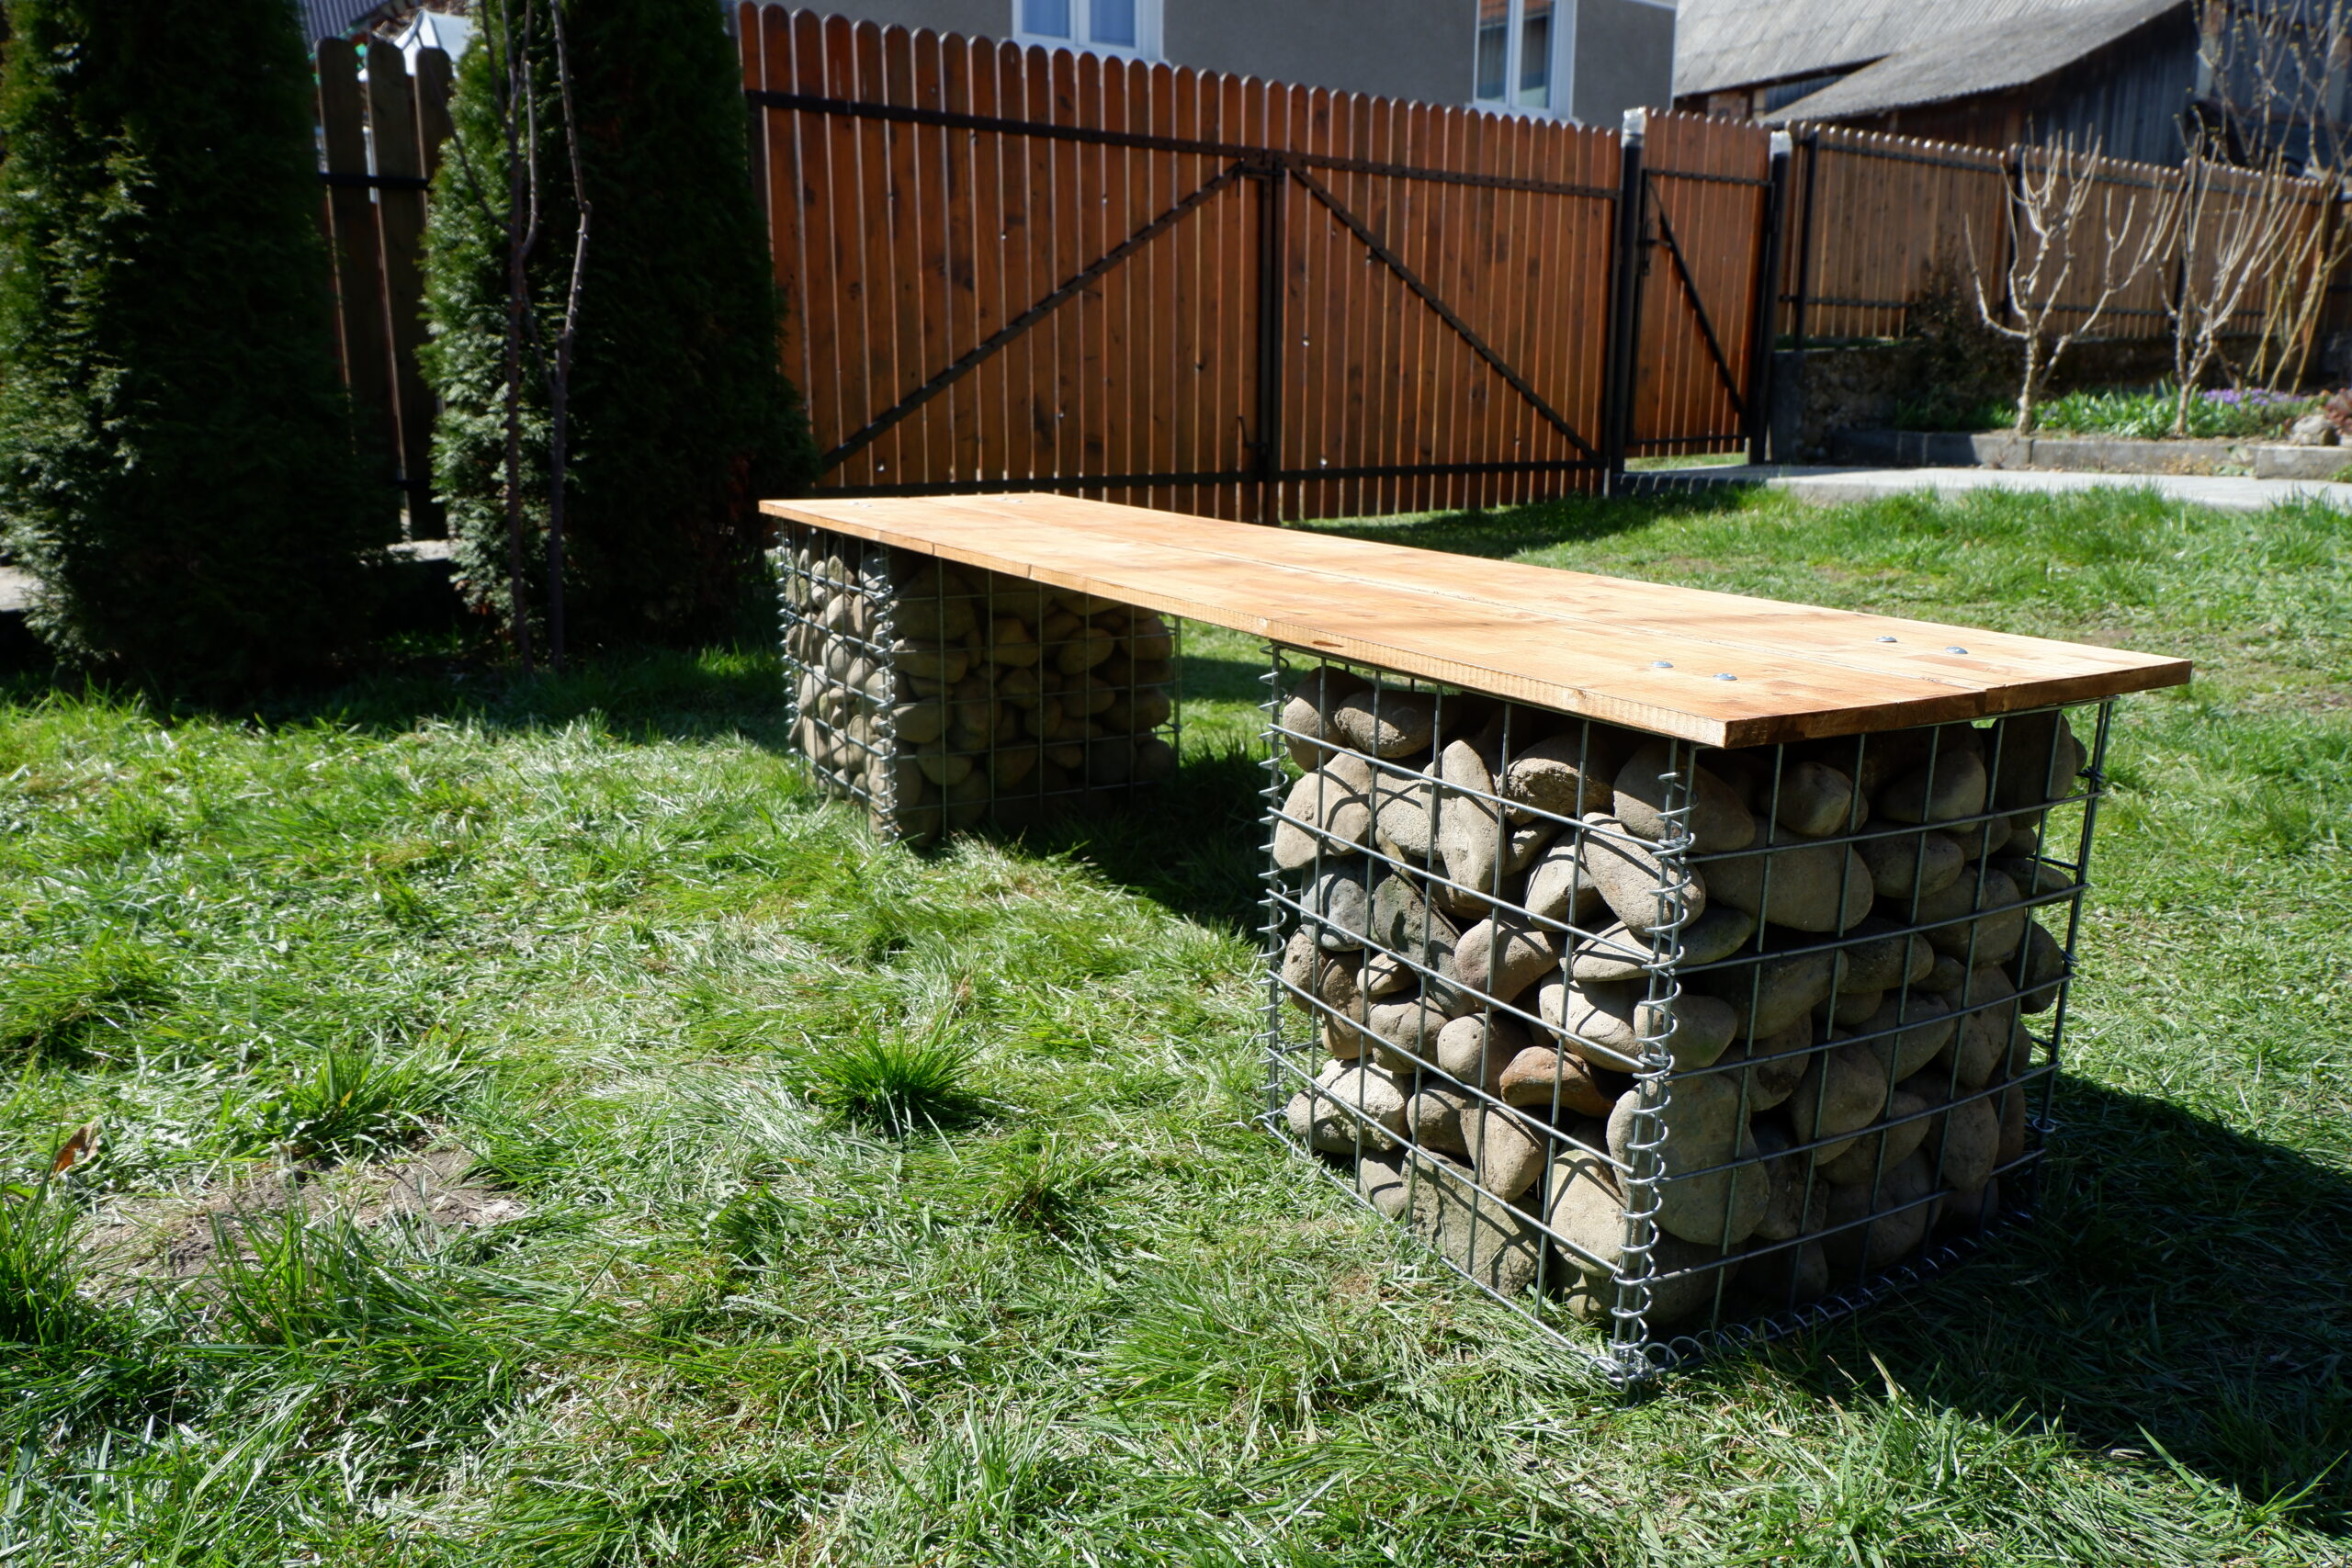
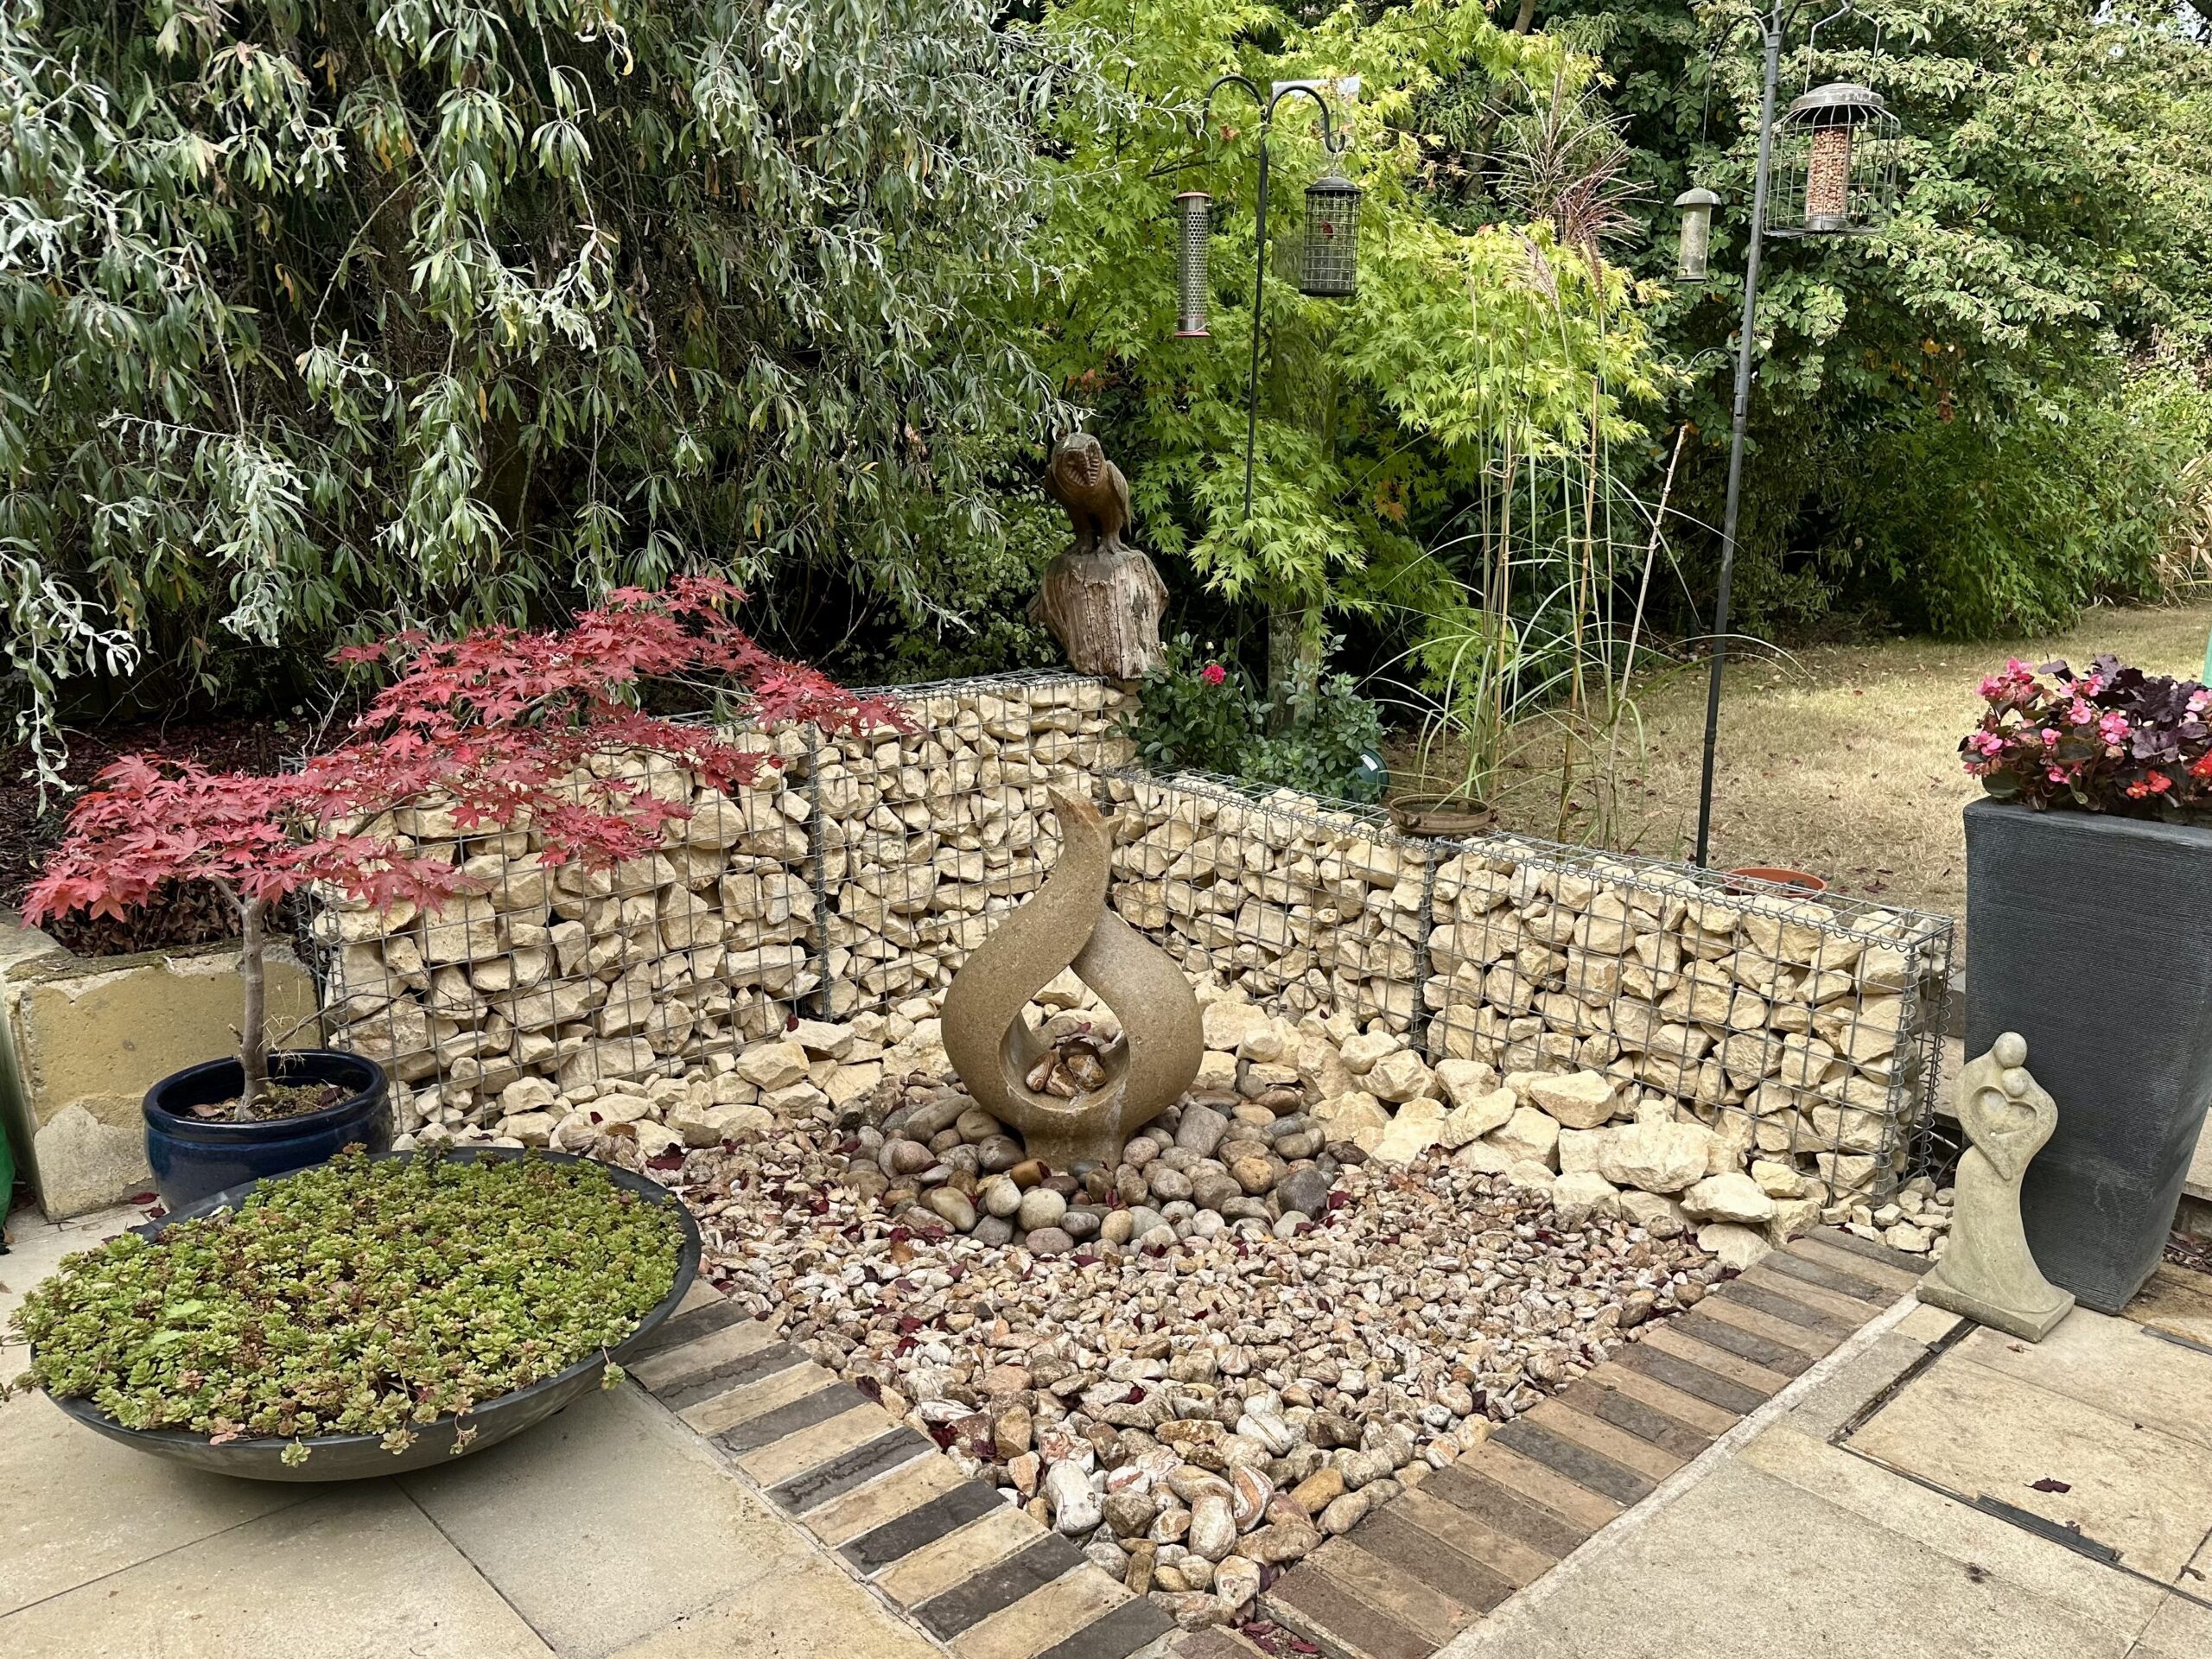
This blog was created by Timi with the help of Erno, Orsi and John. During multiple occasions installing gabion structures we compiled an extensive guide on how to assemble and fill a gabion. Check out some behind the scenes images and different gabion structures installed by us and our customers.


Published by
