How to Fill Gabions


Below you will find an easy guide on how to fill gabion baskets with gabion stone or alternative materials. This blog will walk you through different methods.
OVERVIEW
- Experience Required: Medium
- Tools Required: Pliers (if working with tying wire)
- Materials Required: Gabions, Helicals, Stones, Partitions
STEP 1: Choosing the Right Stone

- Interlocking, angular stones are the best for filling the baskets (Class 6G).
- The stones have to be around 100mm – 200mm in order to be suitable for the cages, so they do not slip through the holes.
- If you want to prevent bulging, use 5mm wire for large, round stones.
METHOD A: Using One Type of Stone
- Make sure to have the larger stones on the bottom and the sides.
- Try to place flat stones to face the walls of the cage.
- Leave no voids and pack the stones as tightly together as possible.
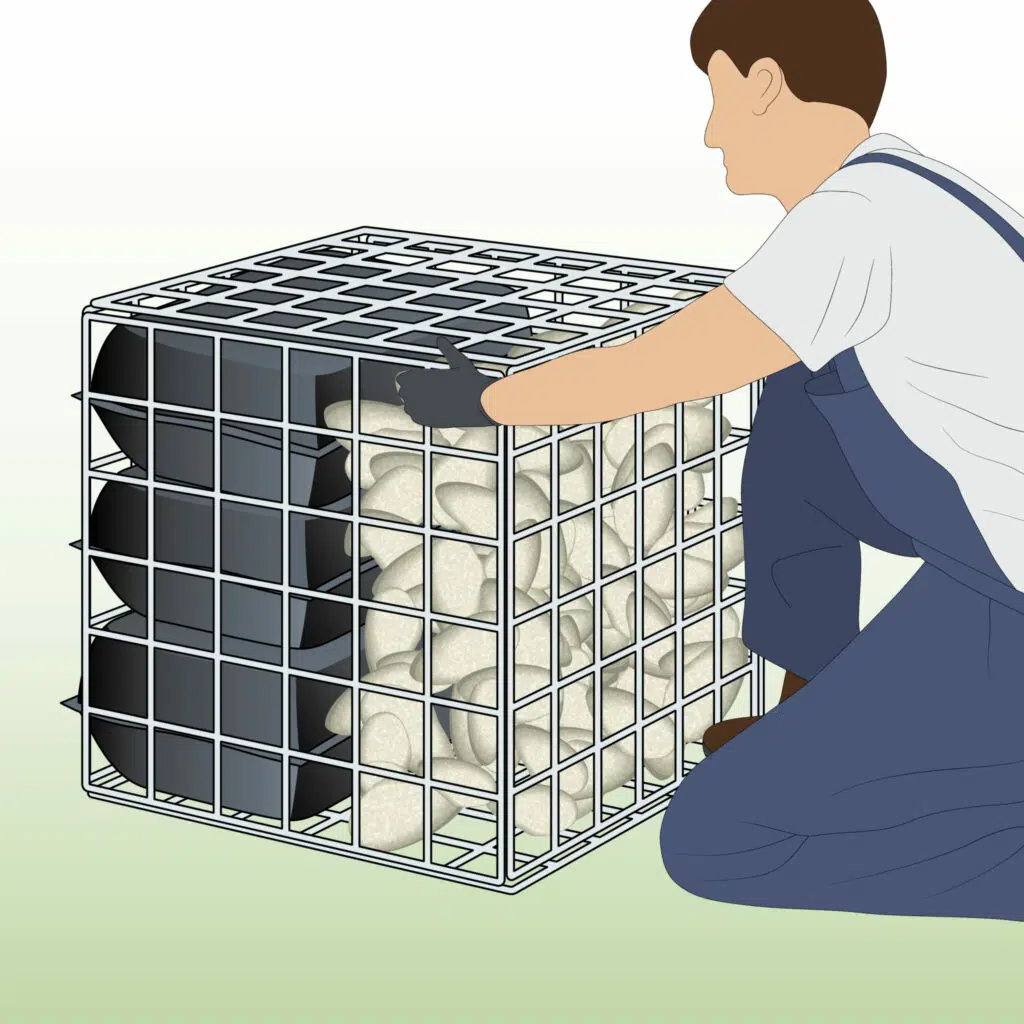
METHOD B: Using Rubble Bags and Decorative Stones

- Place rubble bags or sandbags at the back of the cage.
- Add the decorative stones to the front, facing the panels with the flat side of the rocks.
- Leave no space between the rocks and the bags.
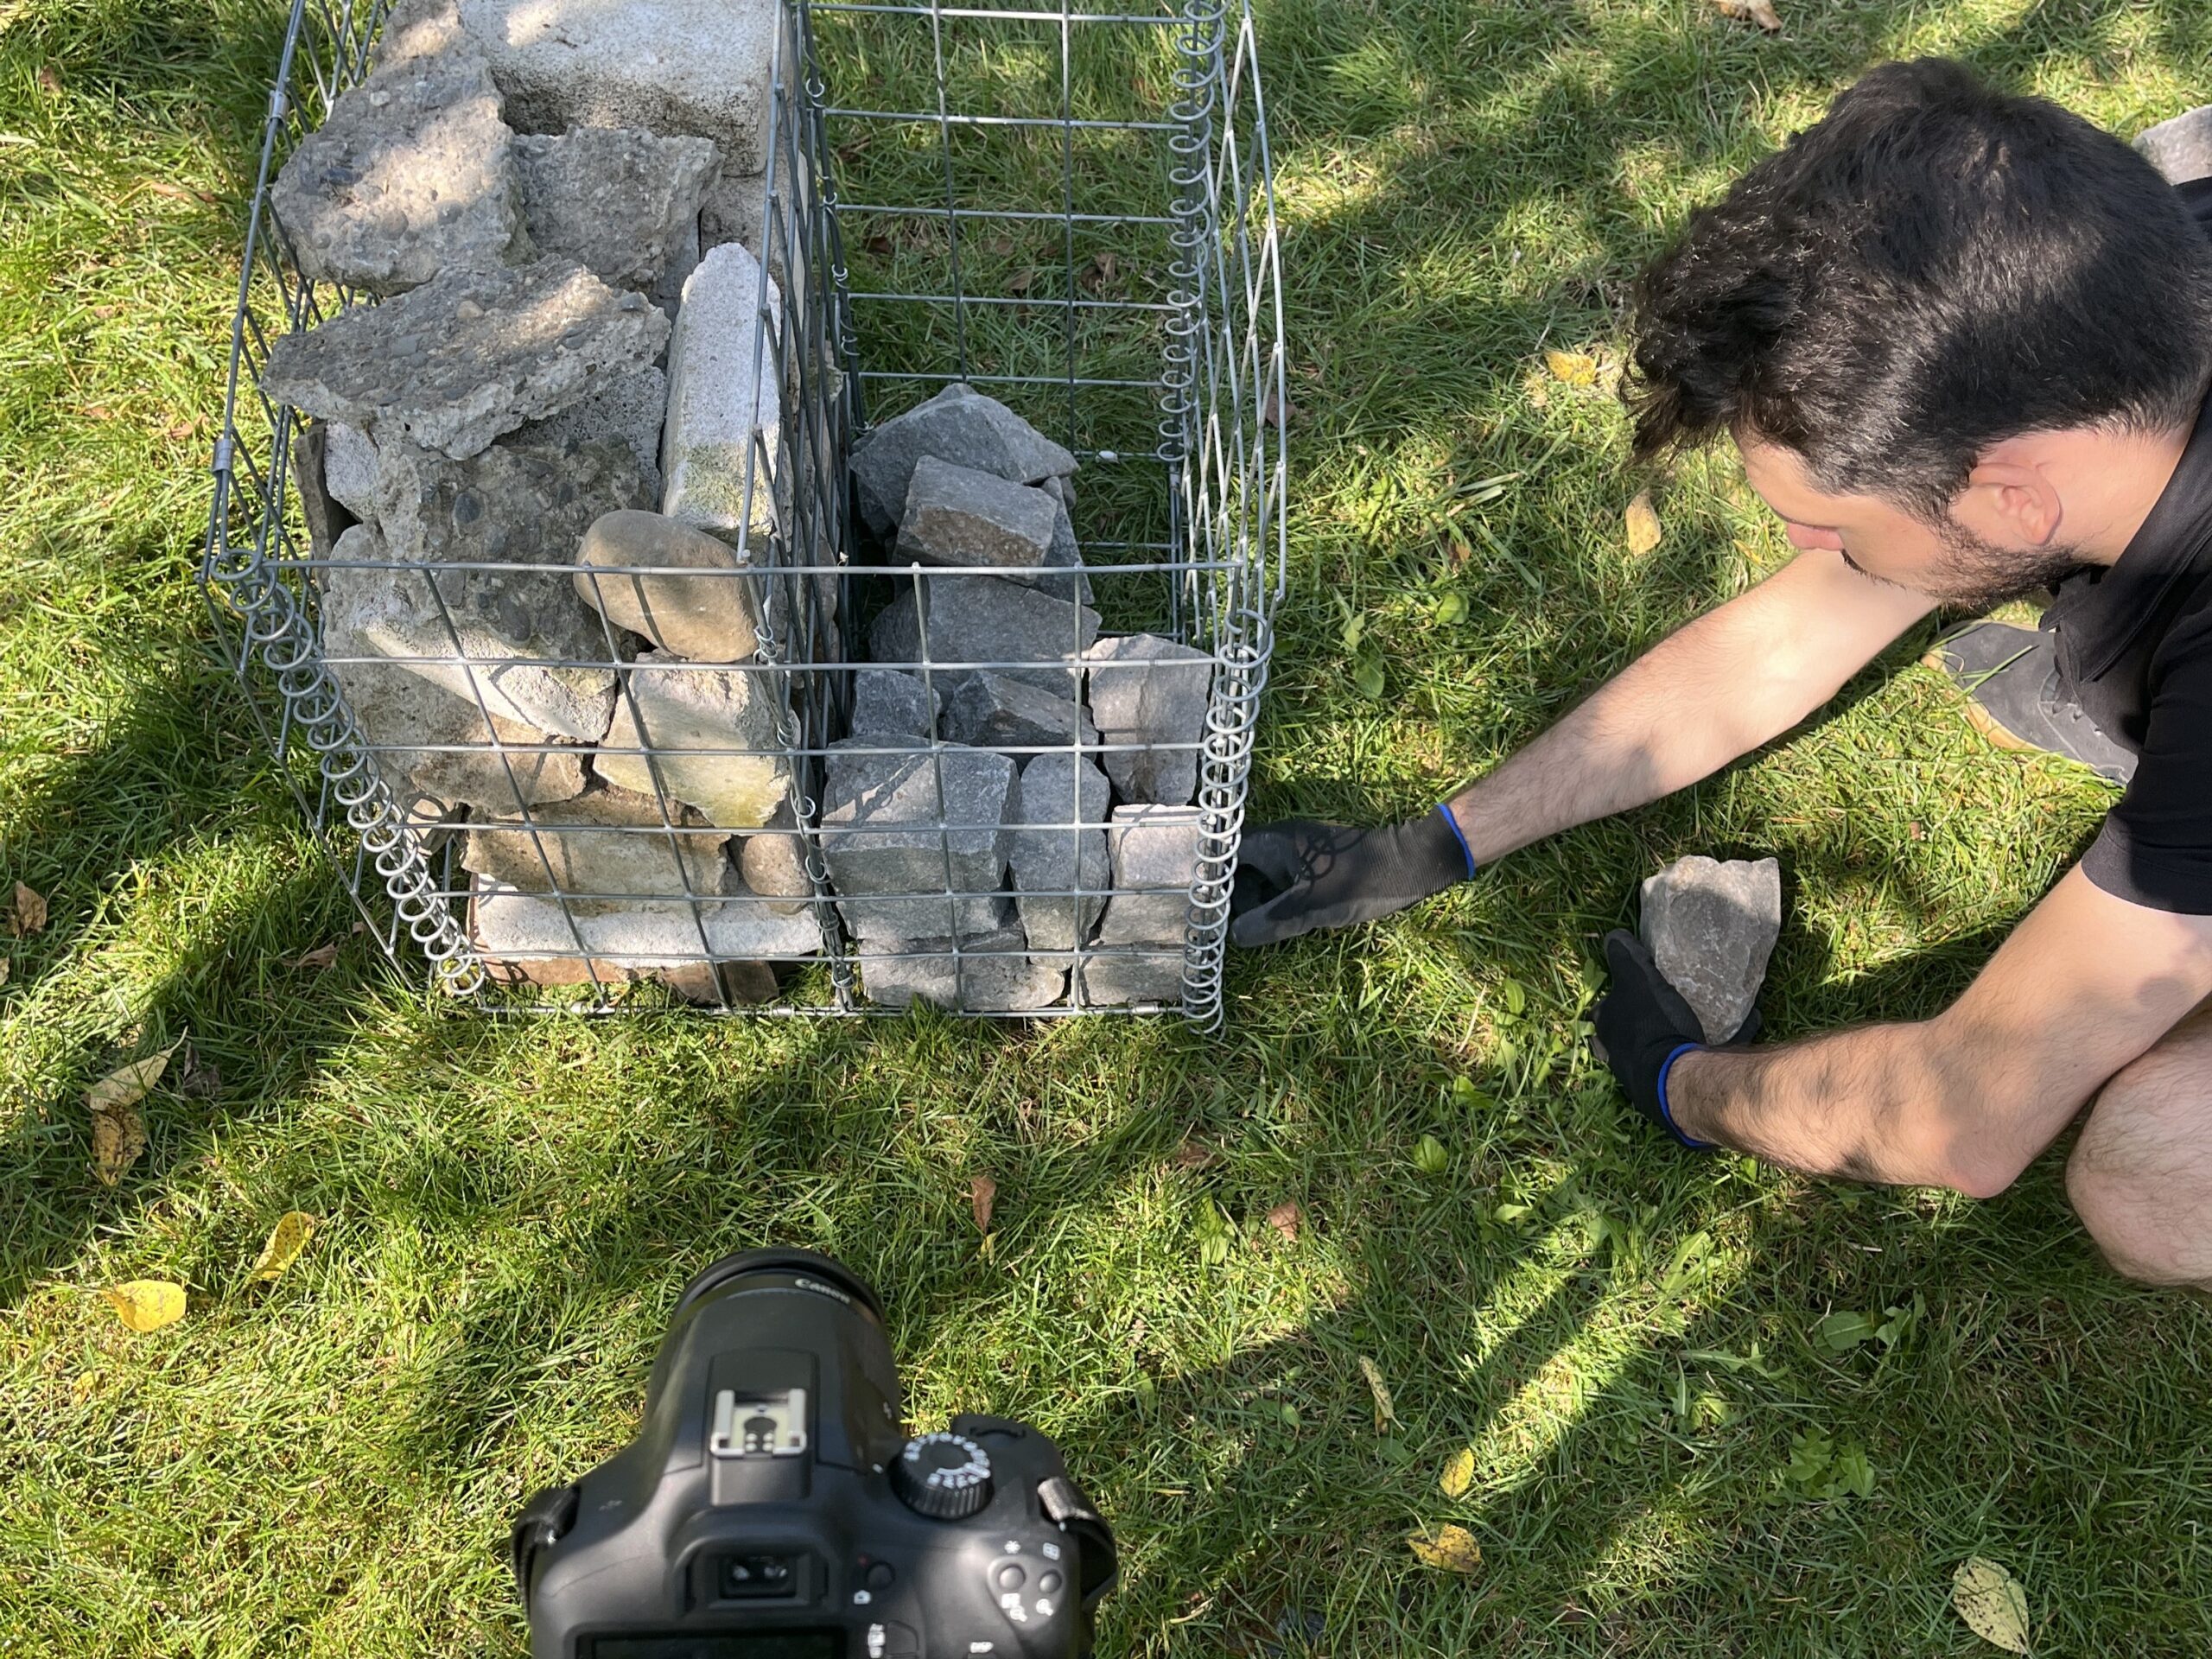
METHOD C: Using Rubble and Handlaying Partitions
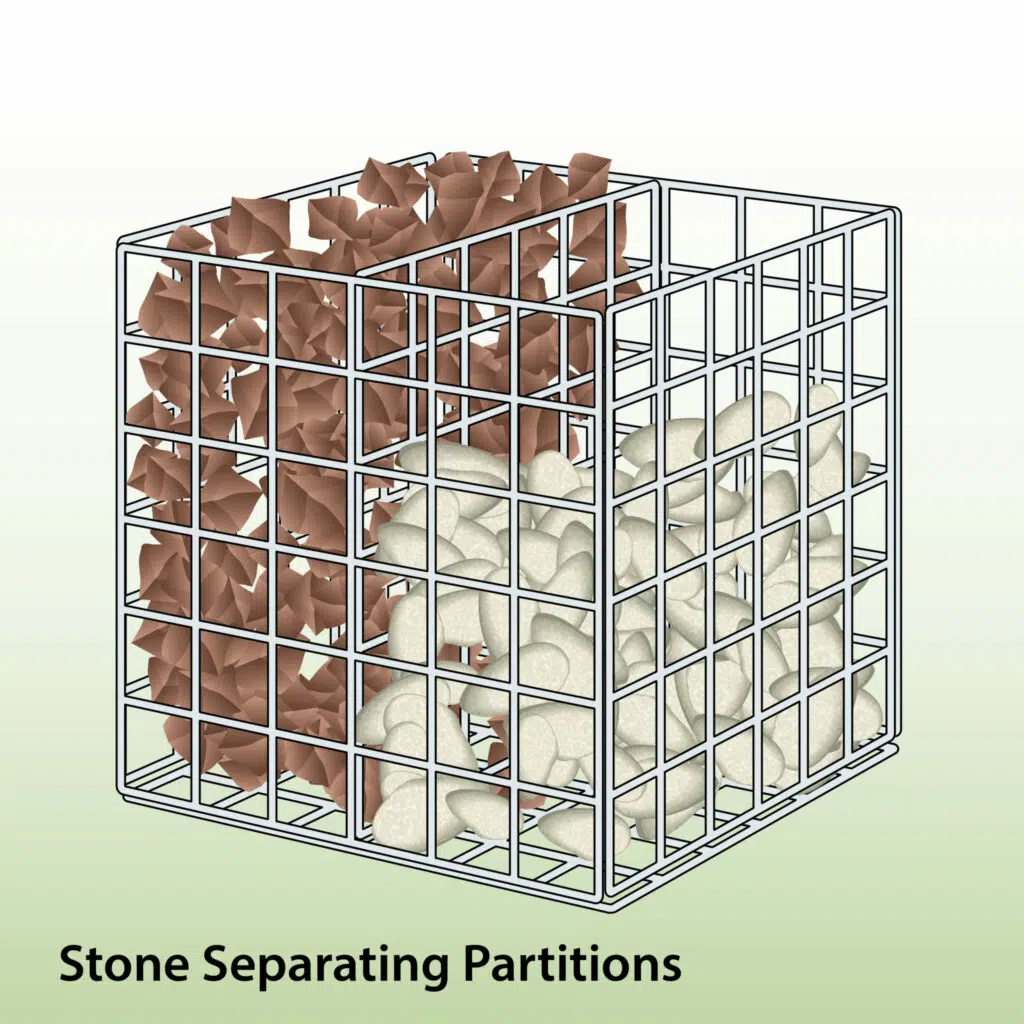
- A stone separating panel will make the job much easier and cheaper.
- Connect the panel to the sides of the basket with tying wire or helicals.
- Make sure the rubble is tightly packed, then start with the front – you only need the decorative stones here.
METHOD D: Machine Filling
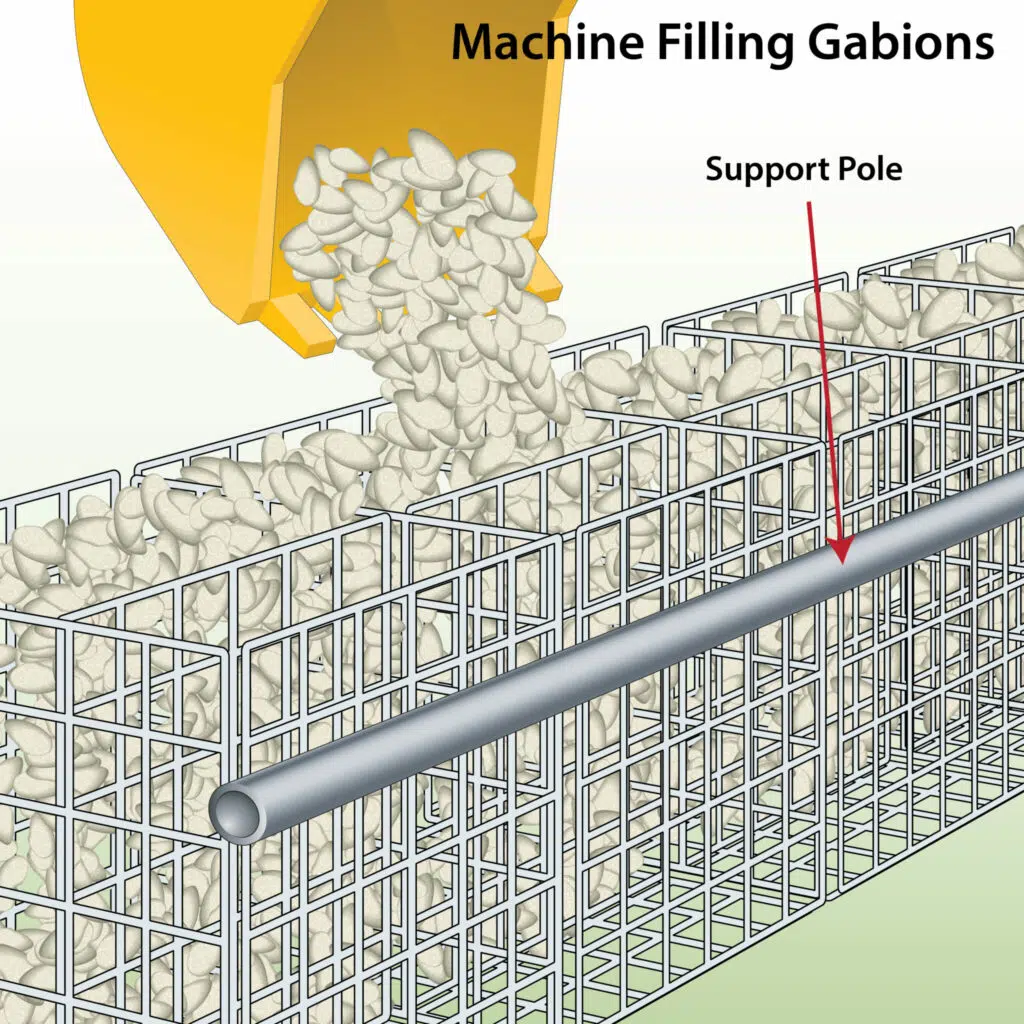
- Machine filling is the quickest option for large jobs.
- There will be bigger gaps that you will need to sort out by hand to make sure that there are no voids between stones.
- Use a support pole to reduce bulging. If large amounts of stone hit the panels with force, they will bulge during the process.
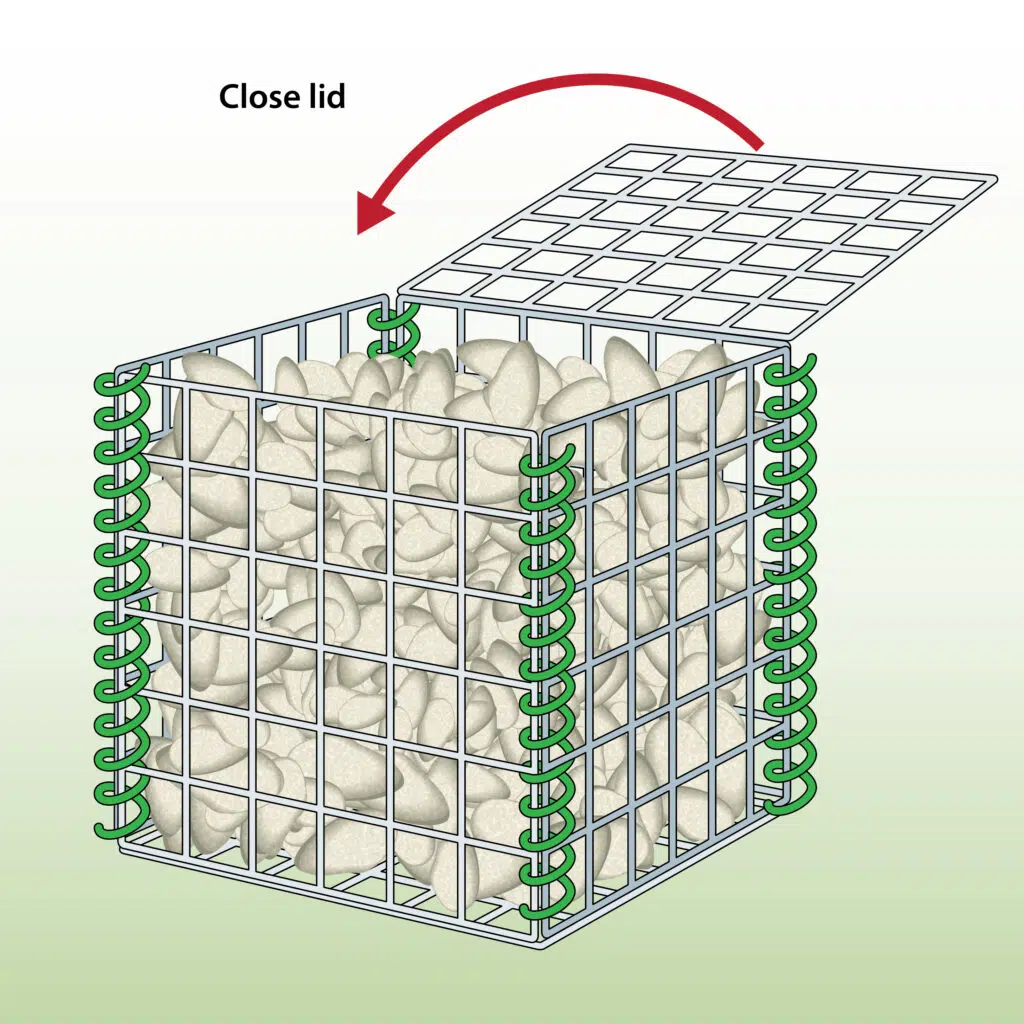
STEP 3: Securing the Lid
- You will only have to close the cage and secure the lid.
- This can be done with either tying wire or helical connectors.
CHOOSING LOCAL STONE
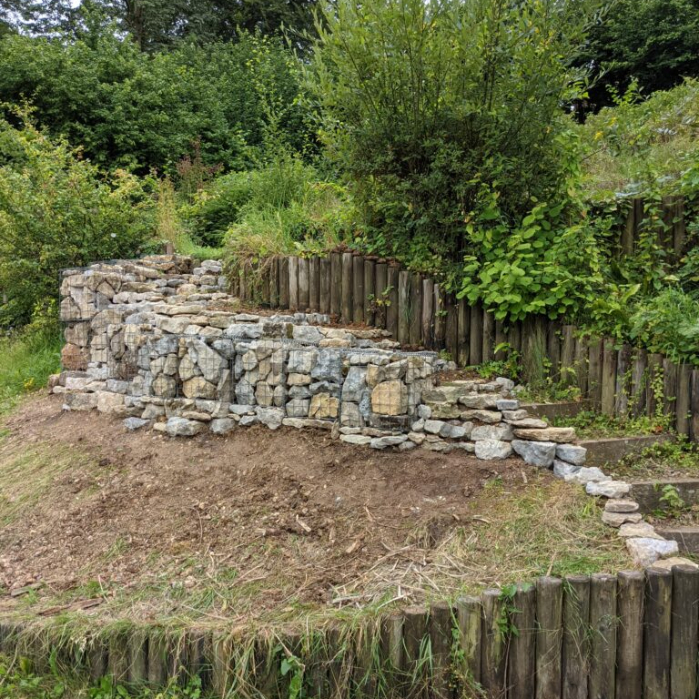
- You can use local stones that are freely available to you.
- No matter what material you choose, always make sure that the size is between 80mm – 200mm.
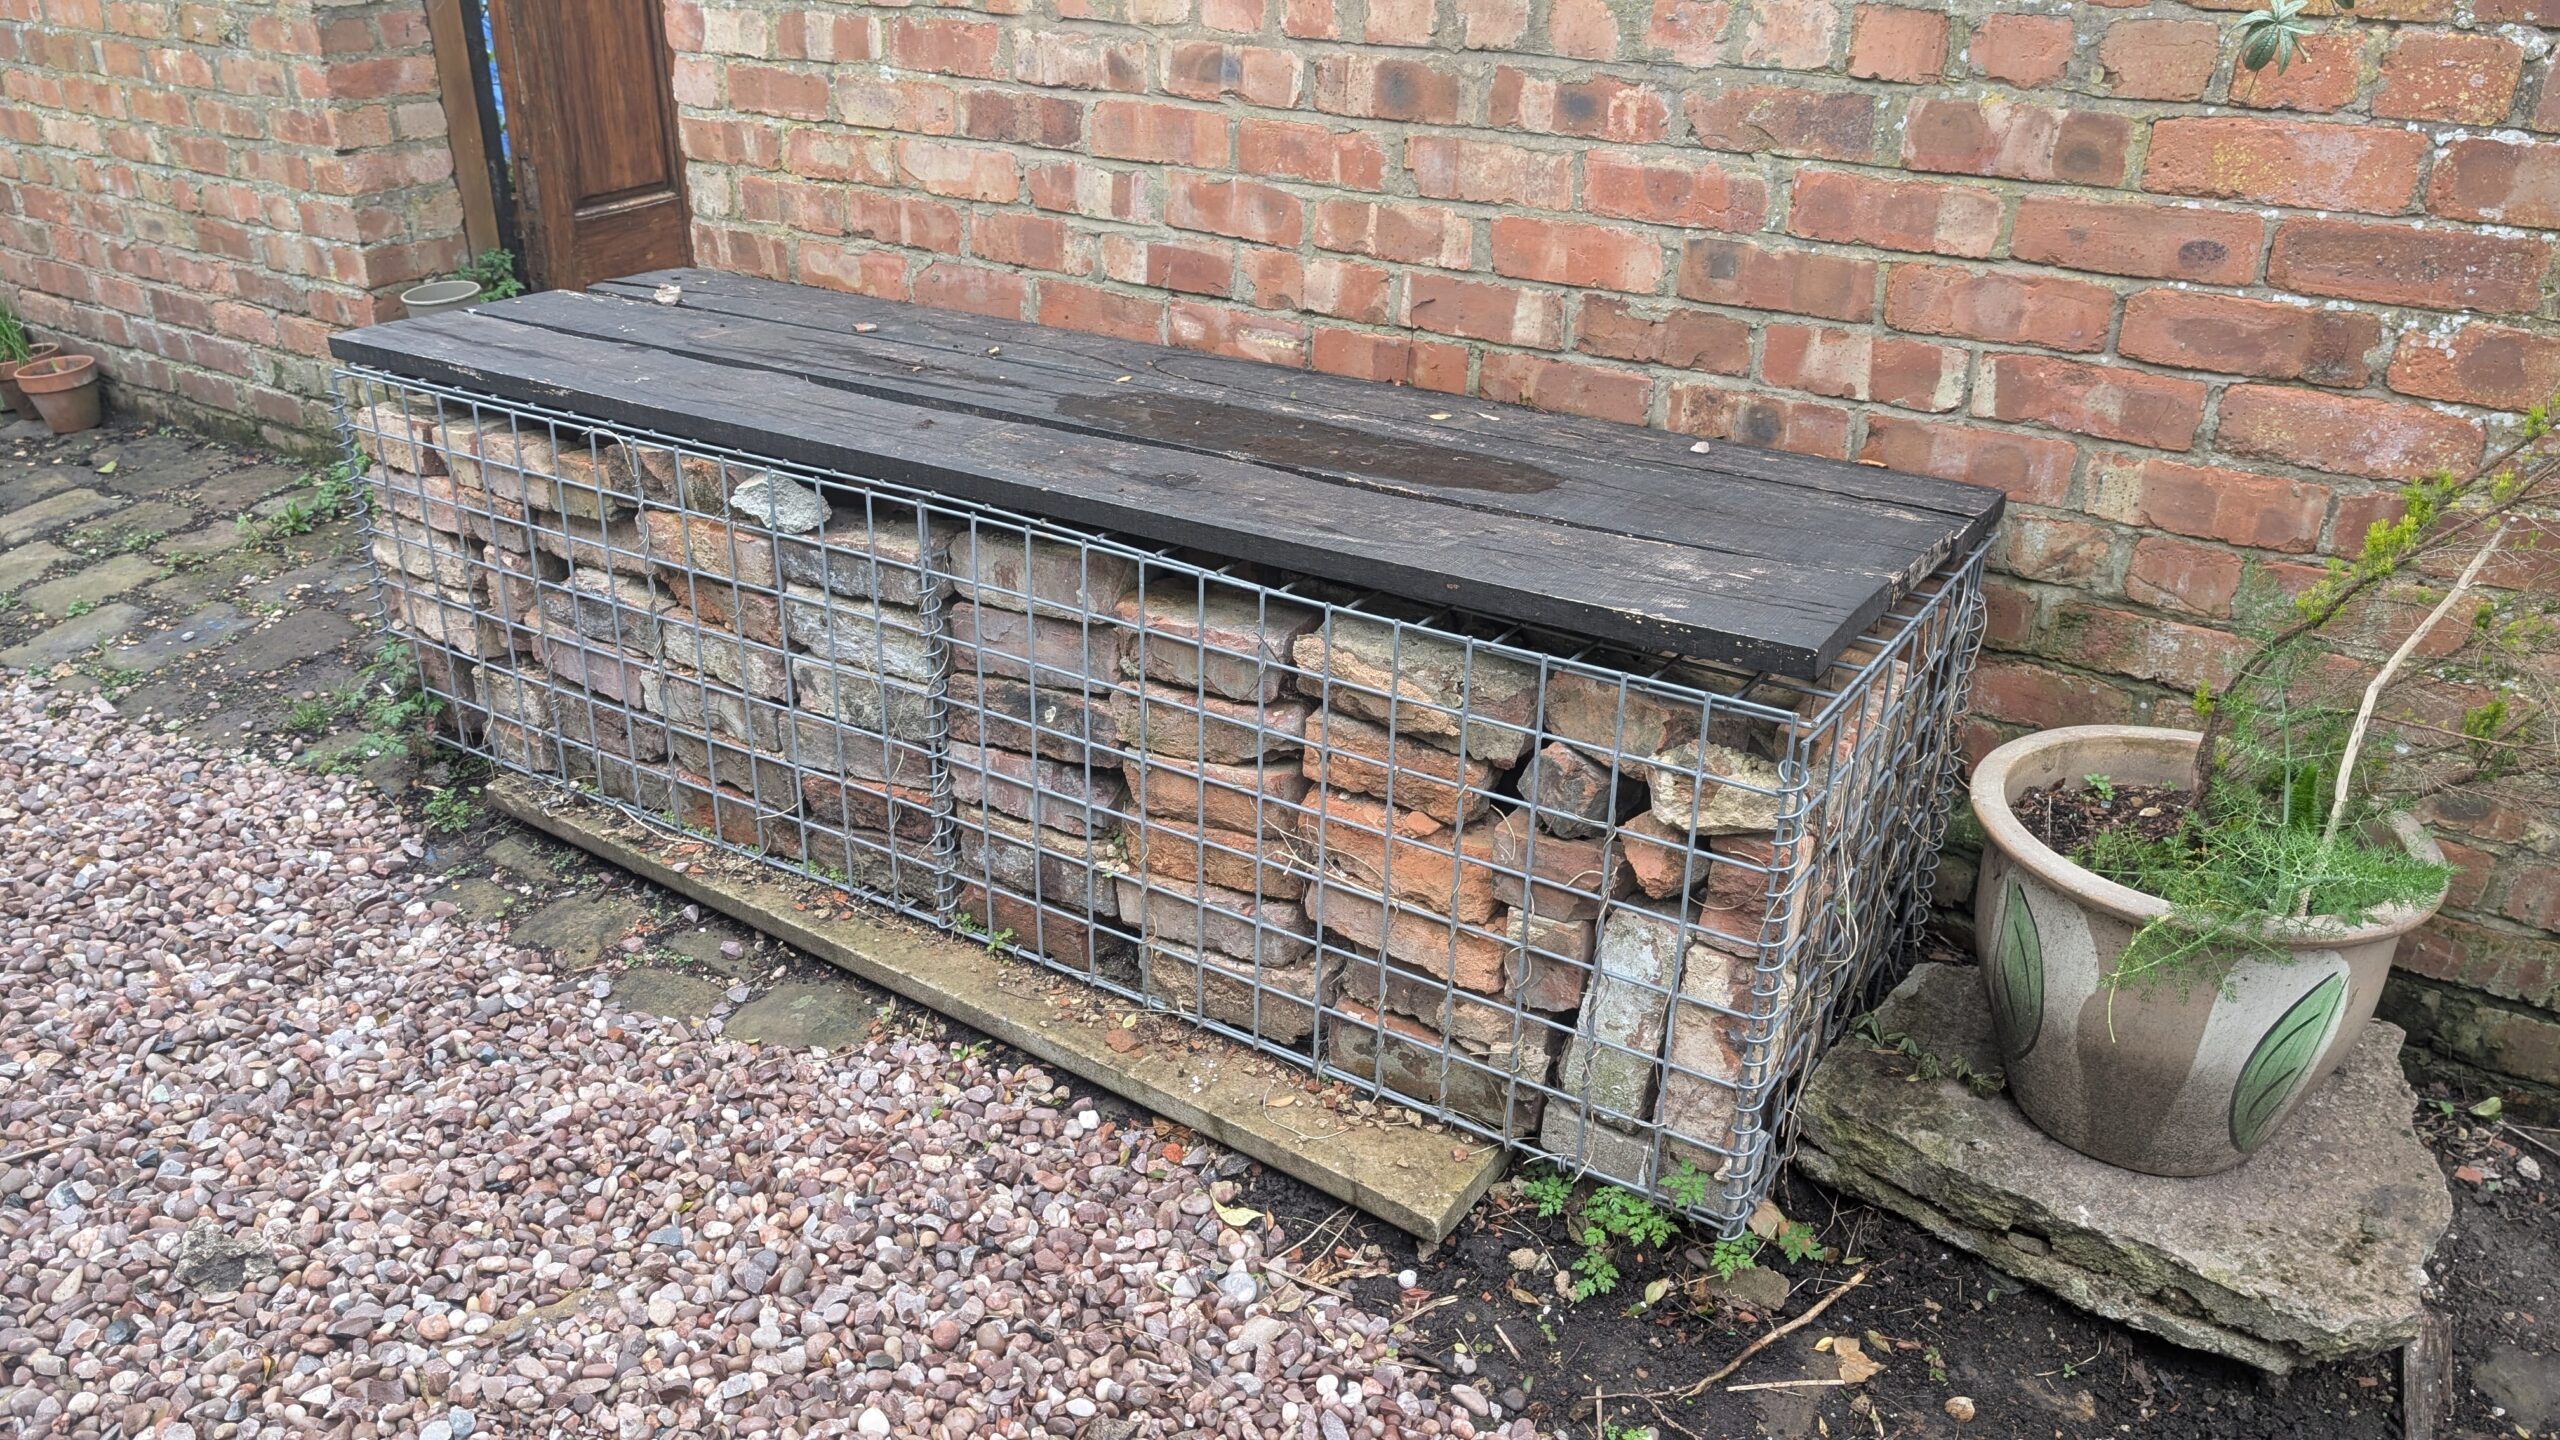
USING BRICKS
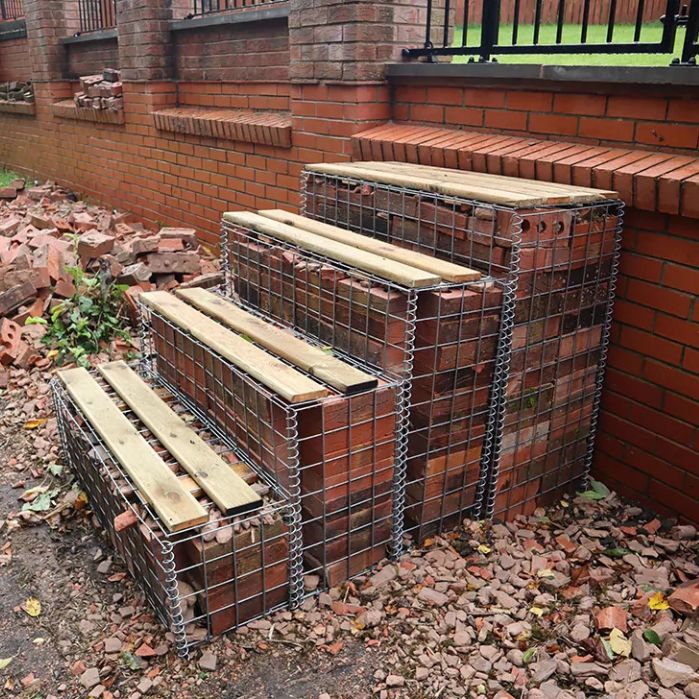
- You can always use loose building material that you may have lying around, like bricks.
- Because of the rectangular size, bricks will help keep a straight-edge finish.
USING RECYCLED MATERIAL
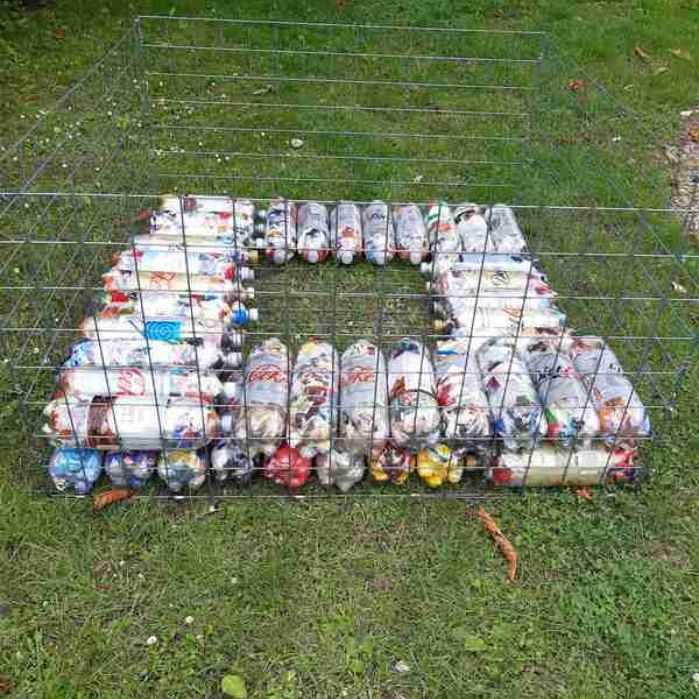
- You can even choose glass or plastic bottles to achieve a unique look while saving on the materials and recycling in the process.
- It is required that the items that you are using are hard, heavy, durable, and can also drain water.
USING LARGE ROUND COBBLES
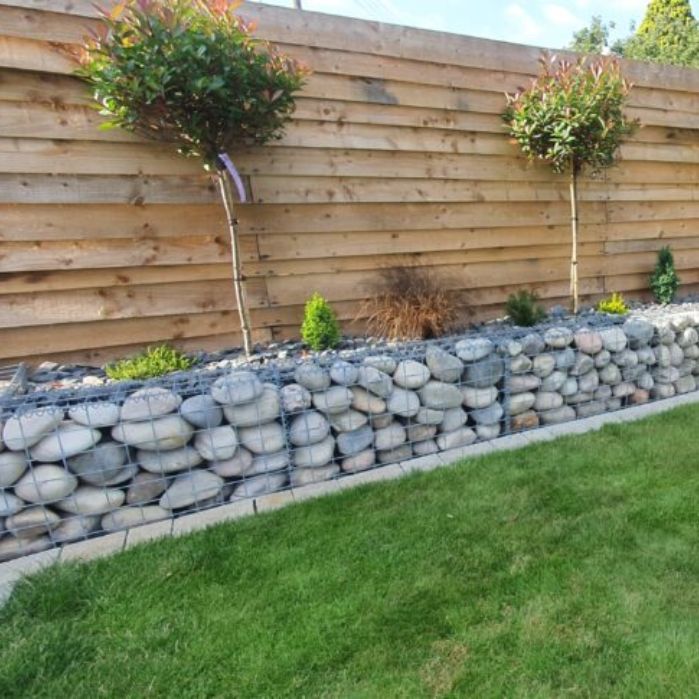
- Large cobbles require a 5mm wire in order to prevent bulging but they look just as good as angular, interlocking stones.
USING GRANITE STONE

- The flat side of the granite that you can see above should always face the wall of the basket.
- This will guarantee a uniform look and prevent bulging as well.
USING SMALL ROUND STONES
- Smaller round stones are less likely to make the baskets bulge but still need a thicker wire (4mm or 5mm).
- These are great to use for projects calling for taller structures.
TIPS
Before starting your gabion project, it’s important to consider a few key factors when filling your baskets. The points below are based on our team’s experience filling and installing gabion structures.
- If you are working with a thinner wire cages, you can cross-wire them or use support panels.
- Take some tying wire and connect the front and back panel with it.
- The wire will reduce the pressure on the panels while filling the basket.
- Carefully hand-fill the gabions so the stones are interlocking making the gabion walls straight
FURTHER READING
- How to Assemble Gabions – The baskets come flat-packed and already clipped together at the bottom and lid. They can be assembled with tying wire or helical connectors.
- How to Use Gabion Stone Separating Panels – Learn how to use stone separating panels correctly.
- Gabion Learning Hub – a library of help videos
If you would like to fill your gabion, we have a variety of gabion stones in our shop, and we also manufacture gabions to any size you require.
VIDEO
Written By
This blog was created by our Technical Consultant, Erno.
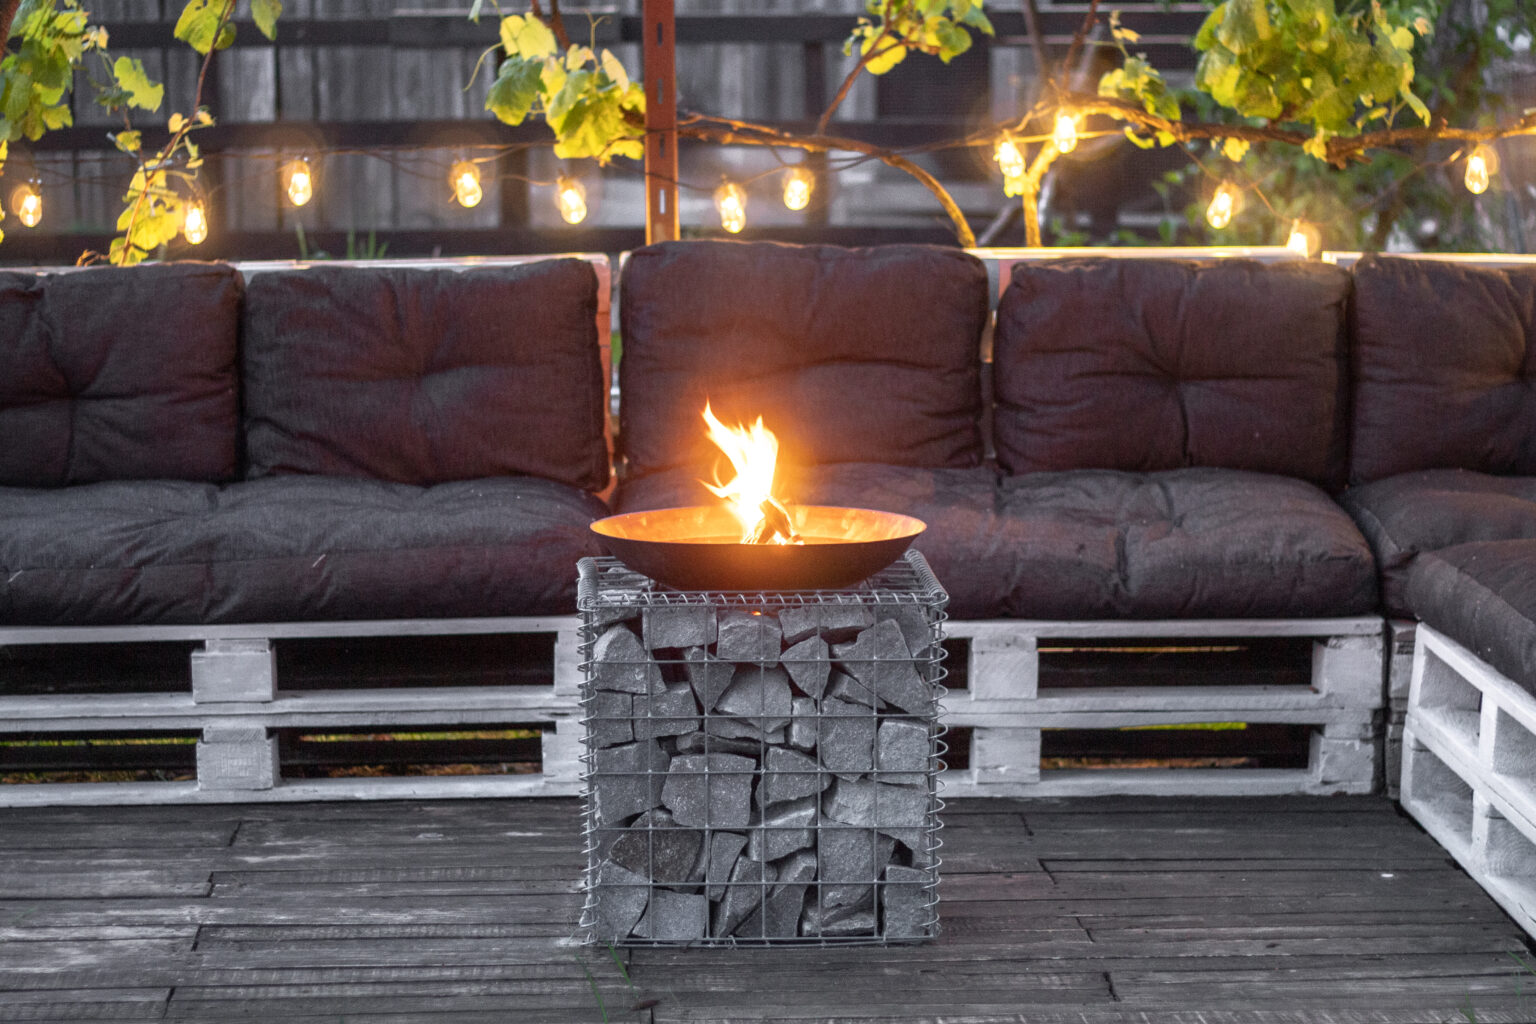
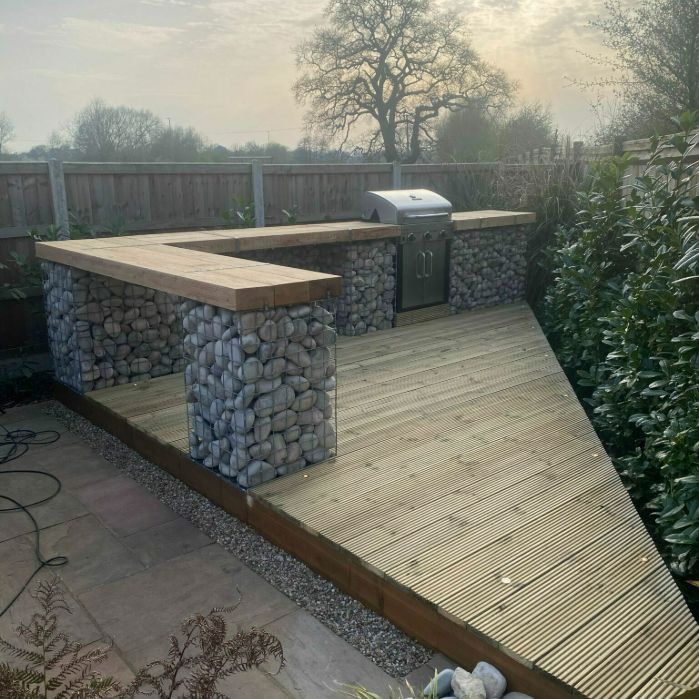
Below you’ll find examples of our real-life gabion builds, along with behind the scenes images testing different filling methods. We’ve opted for technical illustrations for the instructions found in this blog because they provide better clarity on structural details that can get lost in real-life photography.