How to Build a Gabion Wall (RETAINING & FREESTANDING)

Below you will find a step by step guide on how to build a gabion wall, including both retaining and freestanding types.
Feel free to utilize the following information as a reference. If you have any uncertainties regarding the installation of your gabion wall, we advise reaching out to a Civil Engineer for guidance.

RETAINING WALL
- Experience Required: Hard
- Tools Required: Shovel, Tamper, Protective Gloves, Spray Paint, Tape Measure
- Materials Required: It is important to use certified gabion baskets suitable for gabion wall construction to ensure they do not break, as well as 6G gabion stone, helicals and geotexile.
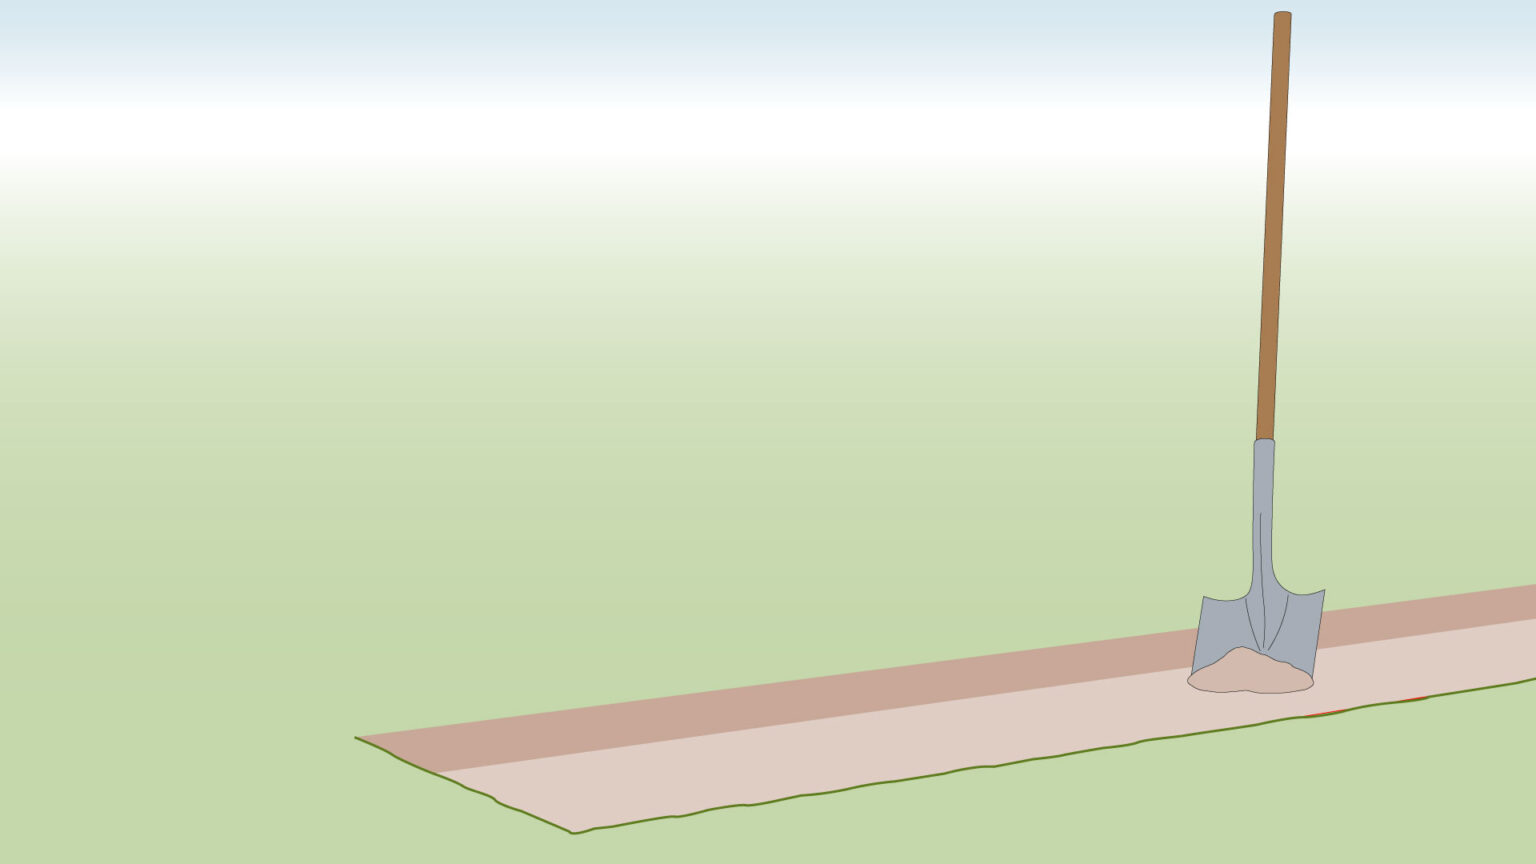
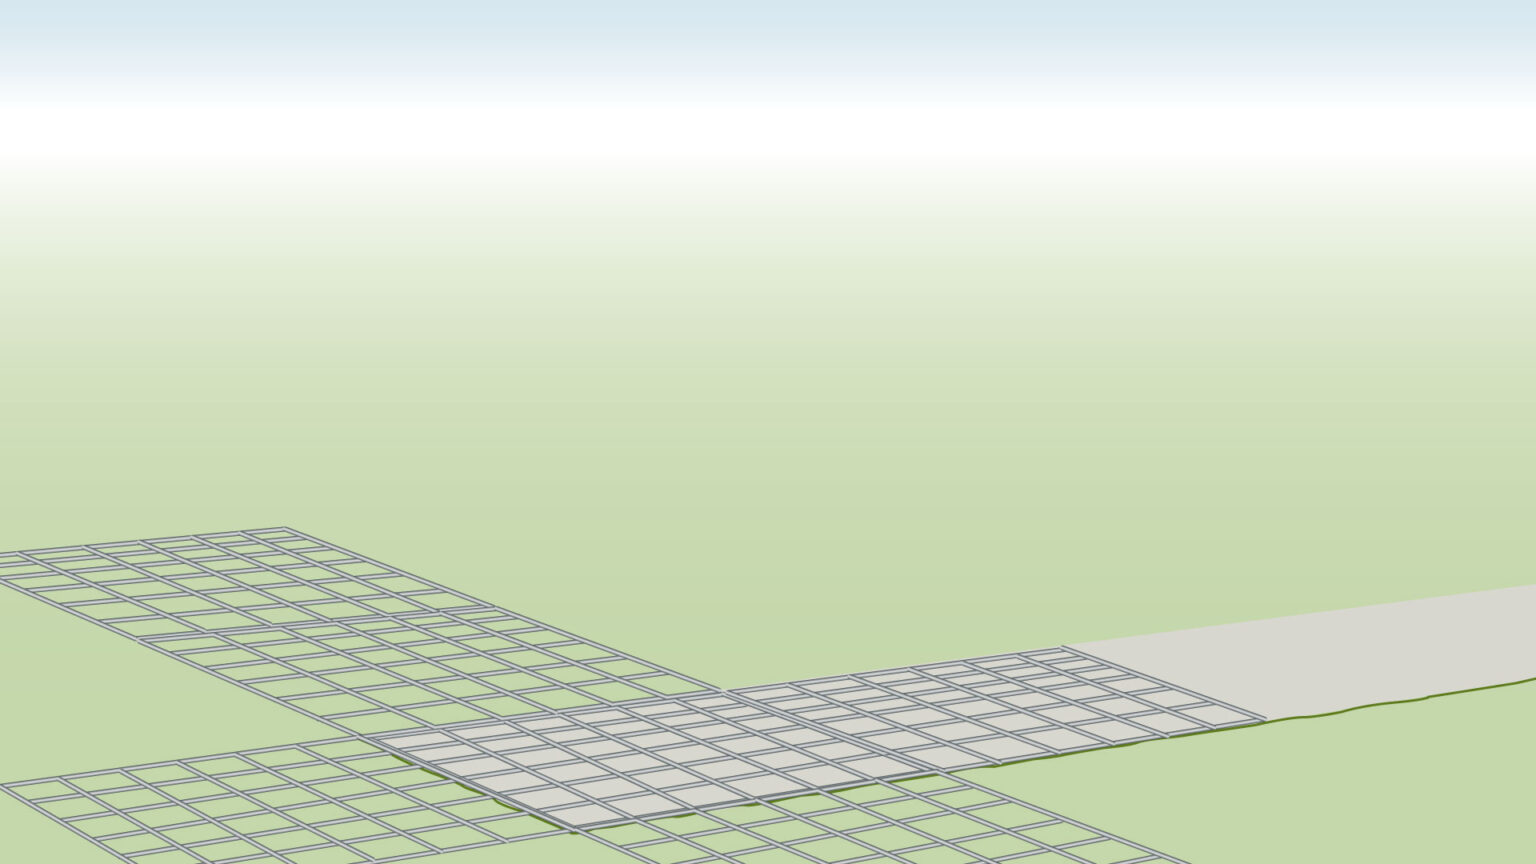
Step 1) Identify location

- Mark the location where you plan to construct your structure by using spray paint, rocks or alterative materials.
Step 2) Dig
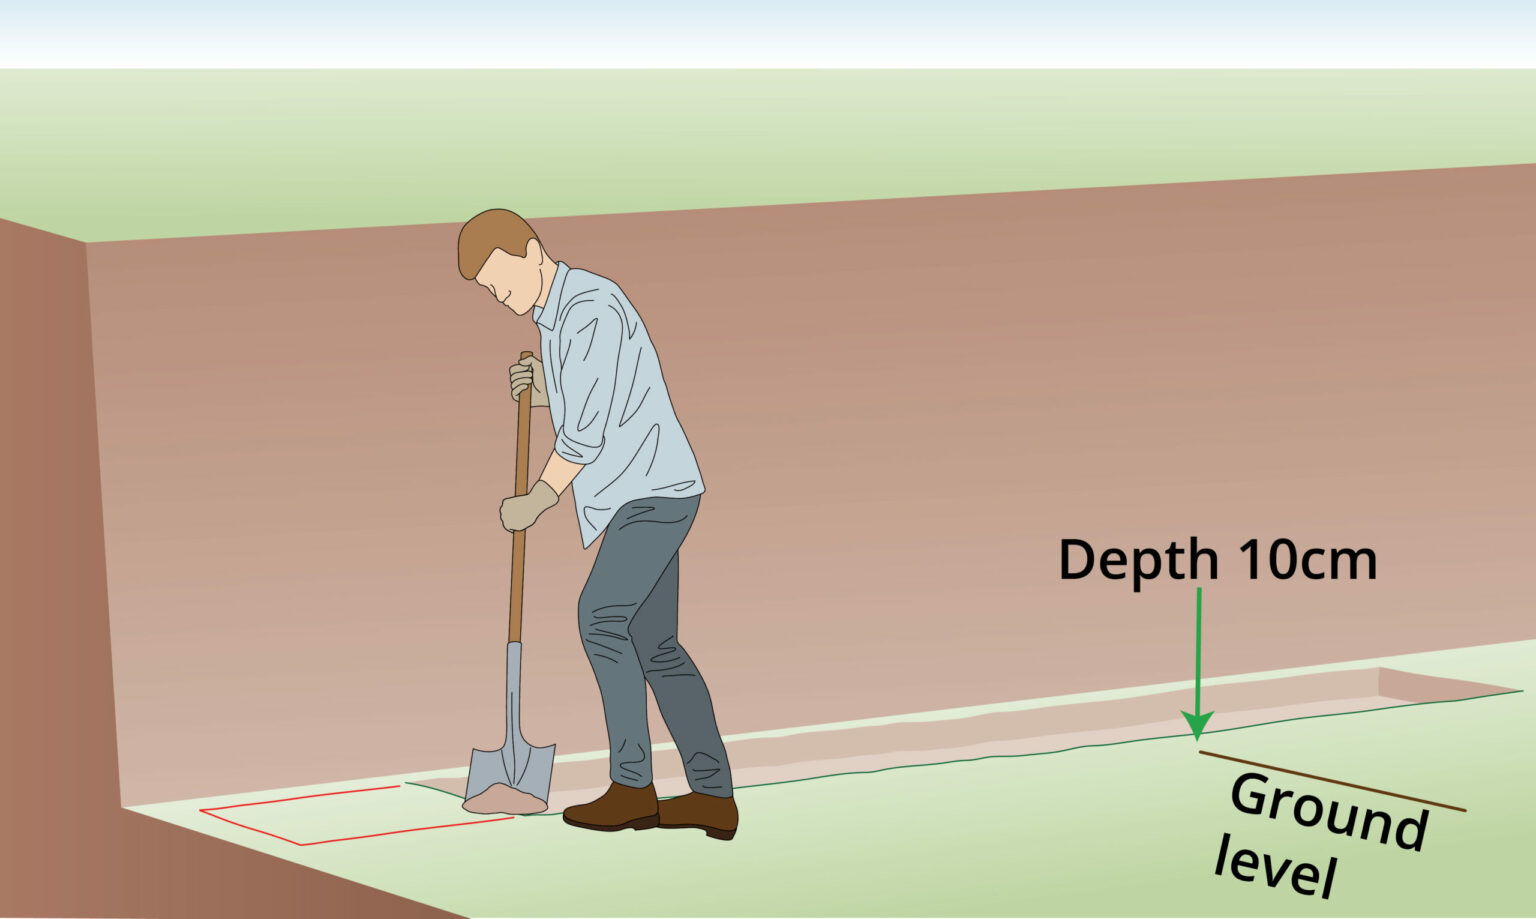
- Retaining constructions must follow regulations and start 50cm below ground level.
- Gabion walls under 2m can be placed on the ground or at a lesser depth.
- For structures up to 2m, digging down 20-50cm until reaching a solid substrate is enough.
Step 3) 6 Degree Slope
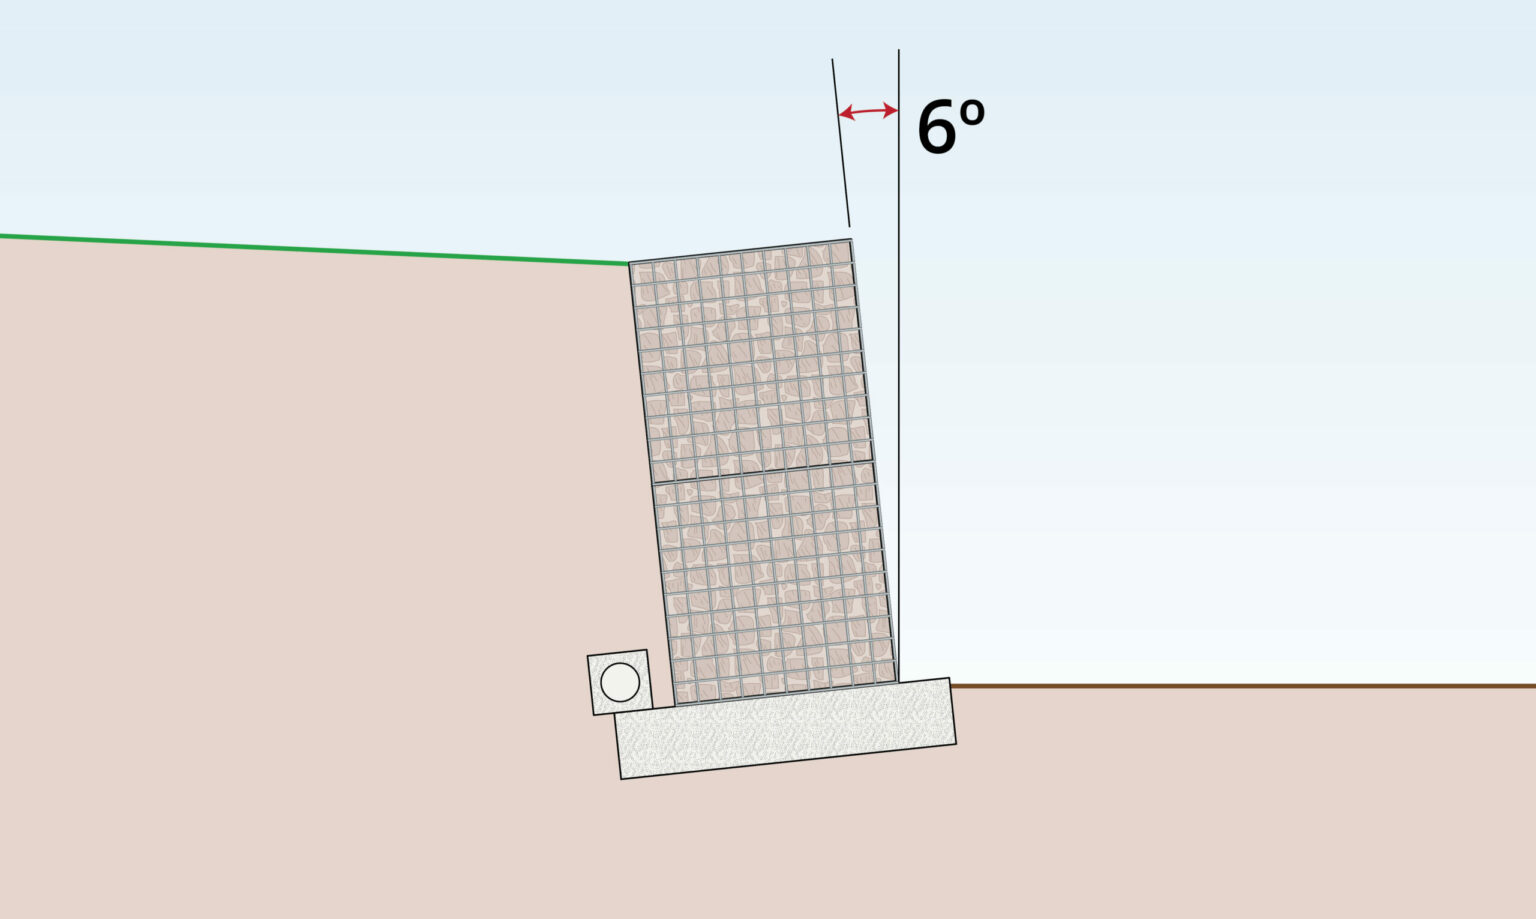
- When retaining a significant amount of soil, ensure the hole features a 6-degree slope leaning backward.
- In the case of smaller or decorative constructions, it’s acceptable to maintain an upright edge instead of the 6-degree slope.
Step 4) Add Gravel
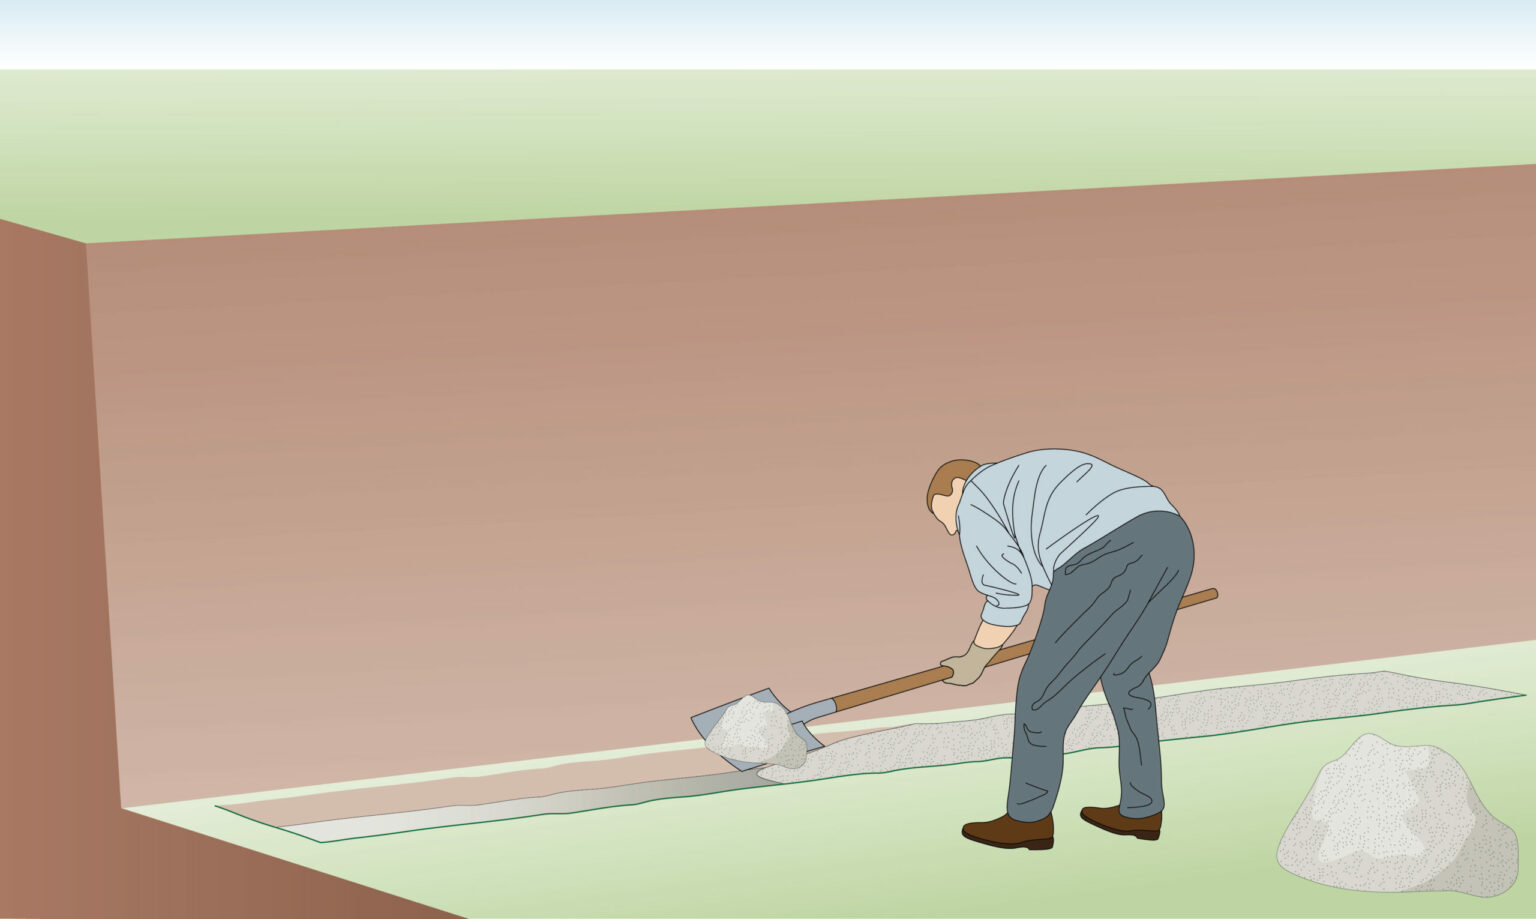
- Add a layer of gravel or basecourse measuring 20cm on top of the soil.
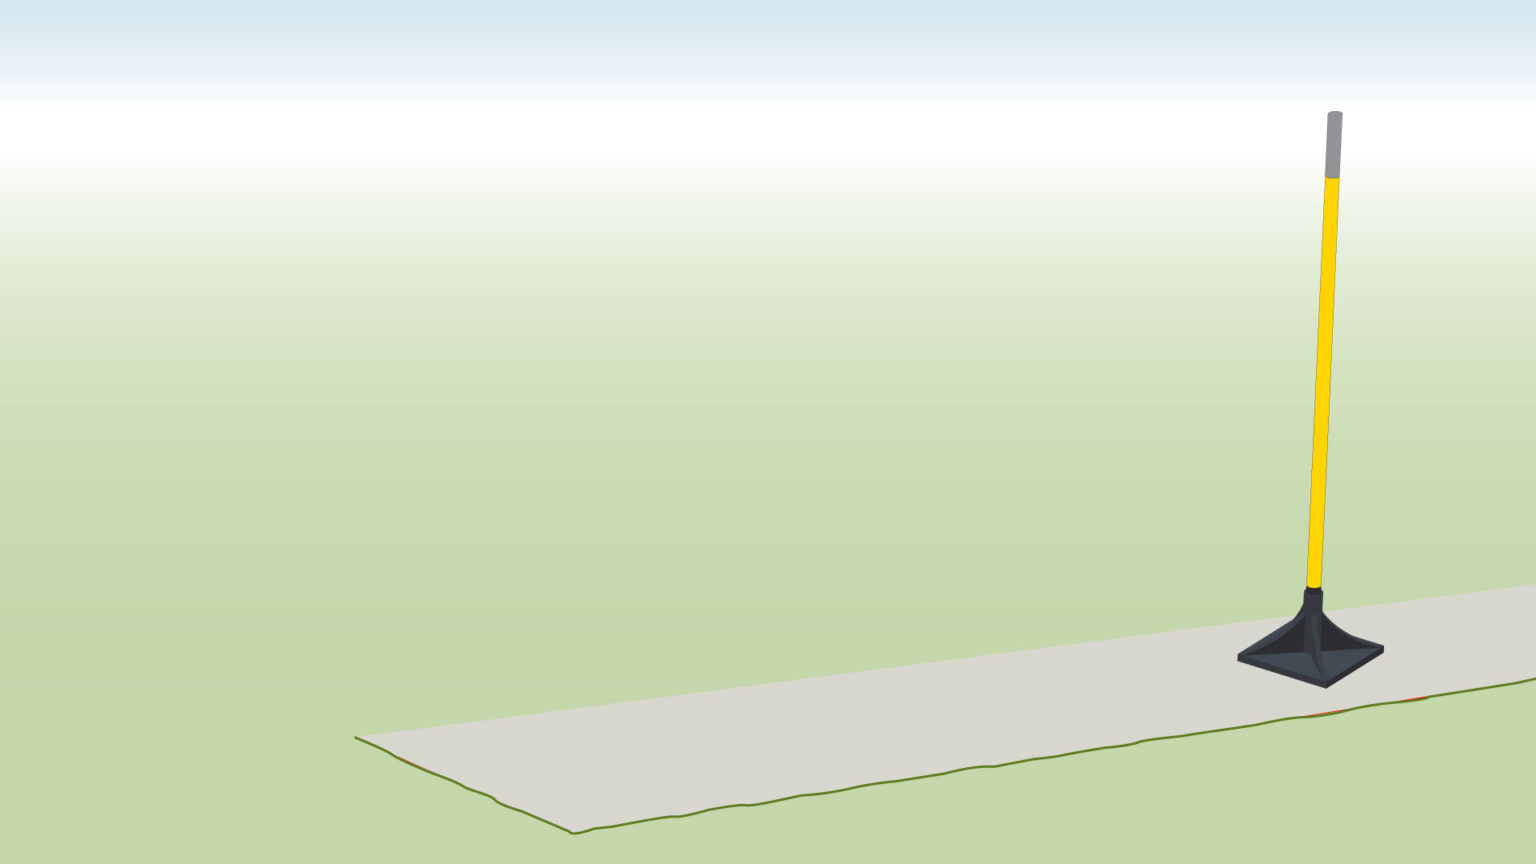
Step 5) Compact Gravel
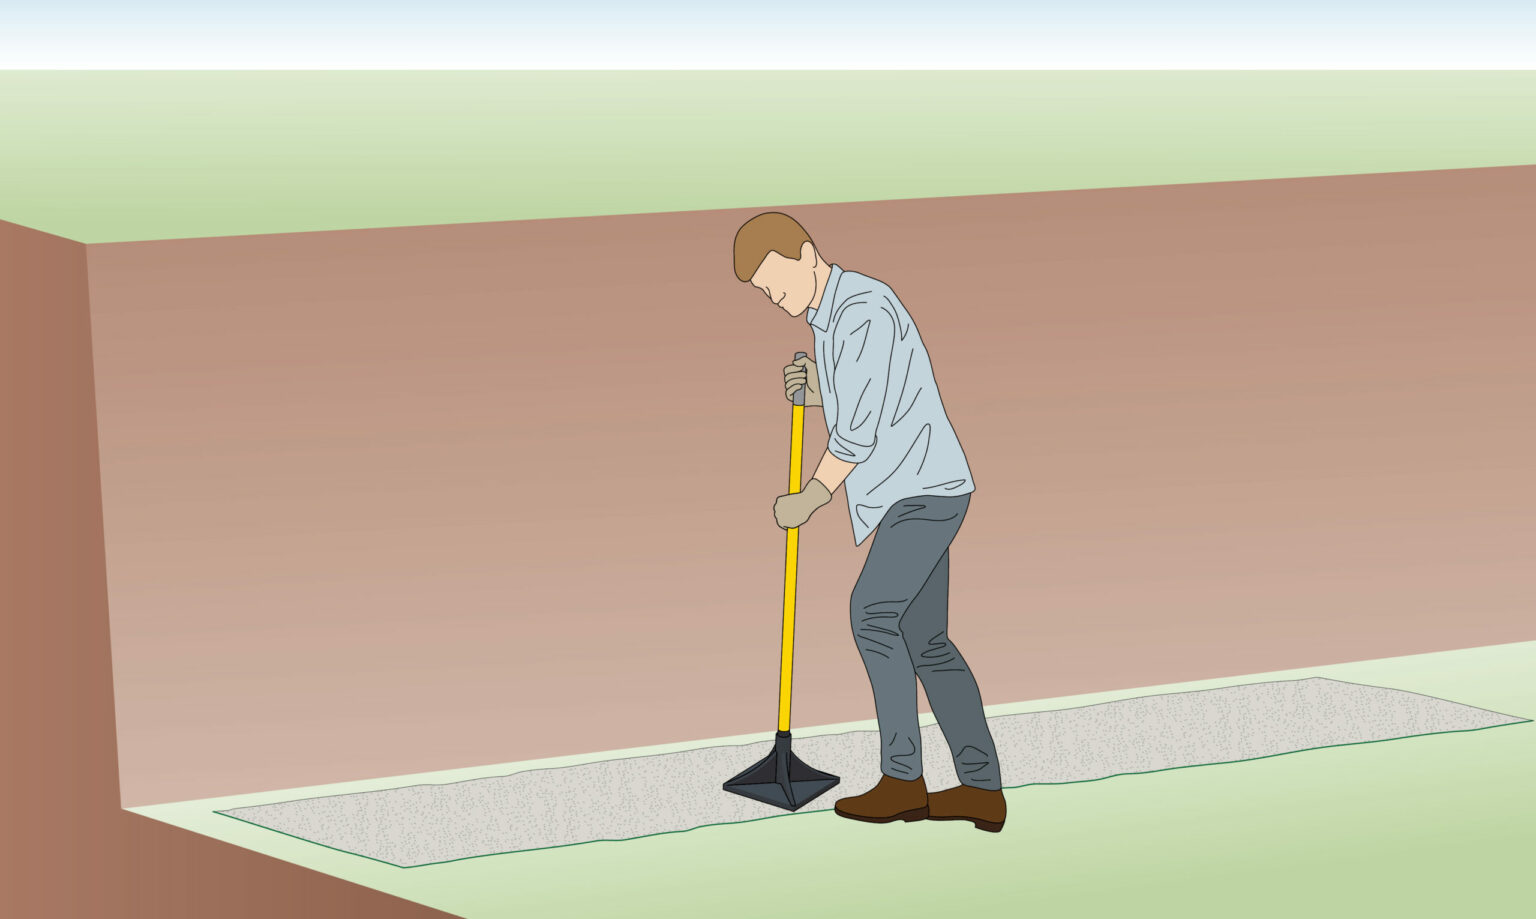
- Compact the gravel by walking and stomping on it.
Optional) Concrete foundation
- Typically, low-level gabion walls don’t necessitate a foundation.
- However, in cases of significant groundwater or weak soil conditions, a foundation might become necessary.
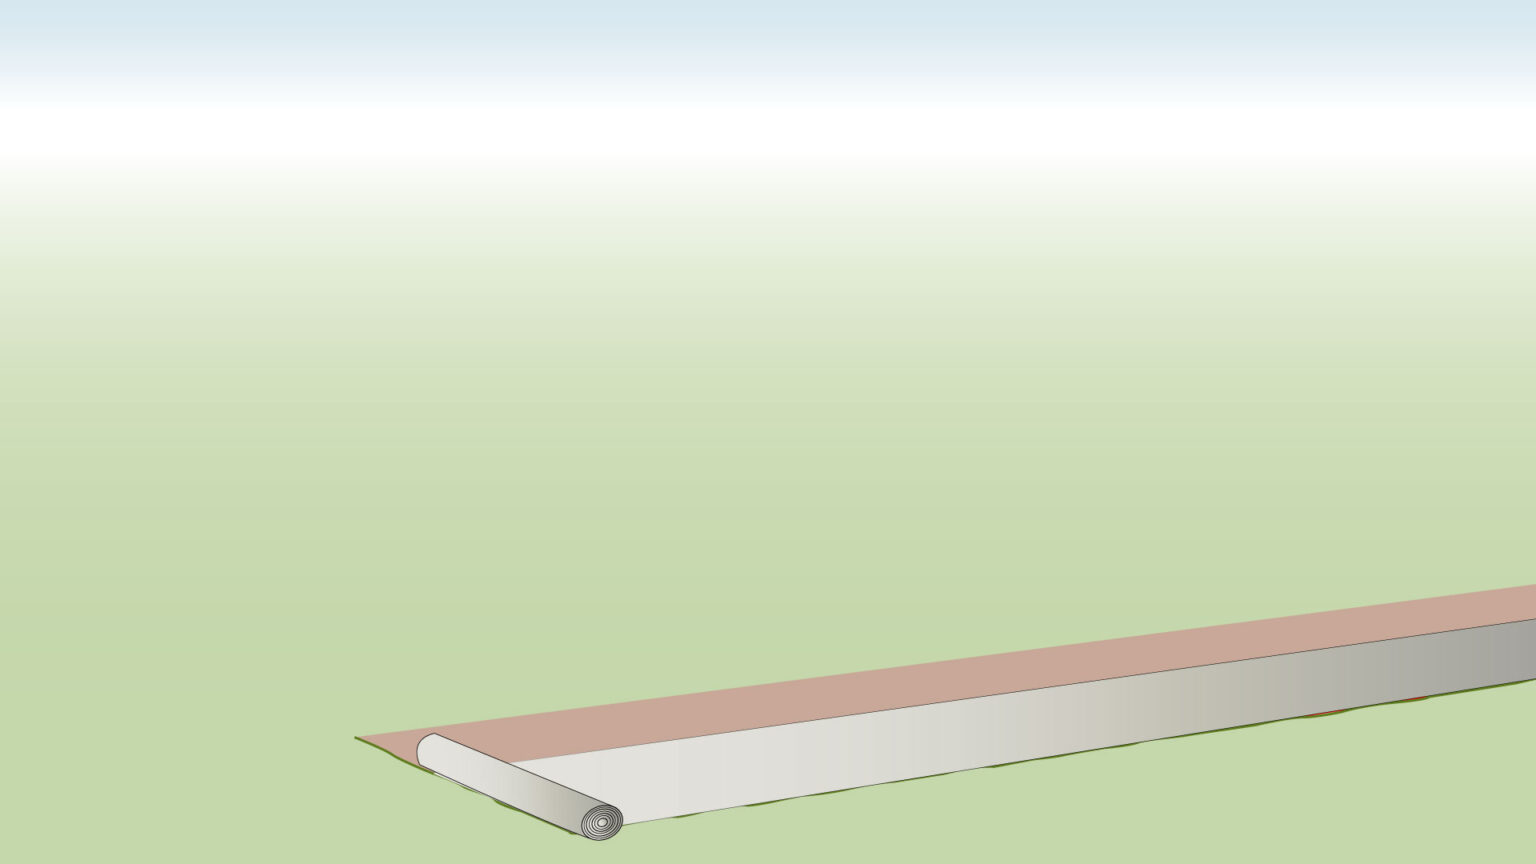
Step 6) Geotextile
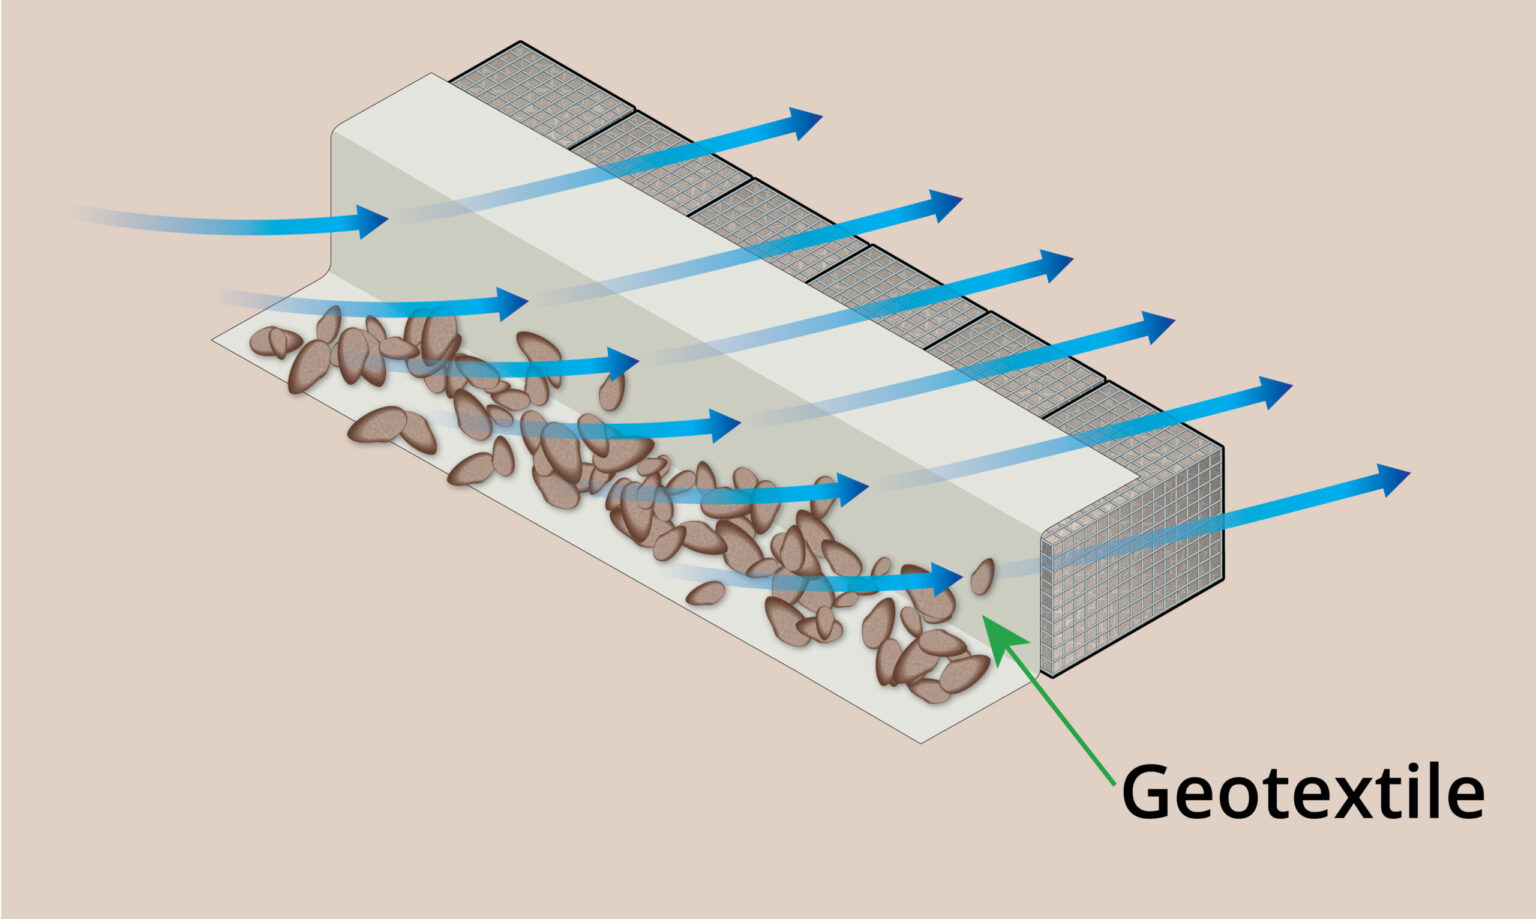
- Apply a geotextile or weed mat to the rear of the baskets to prevent soil and debris accumulation behind the structure.
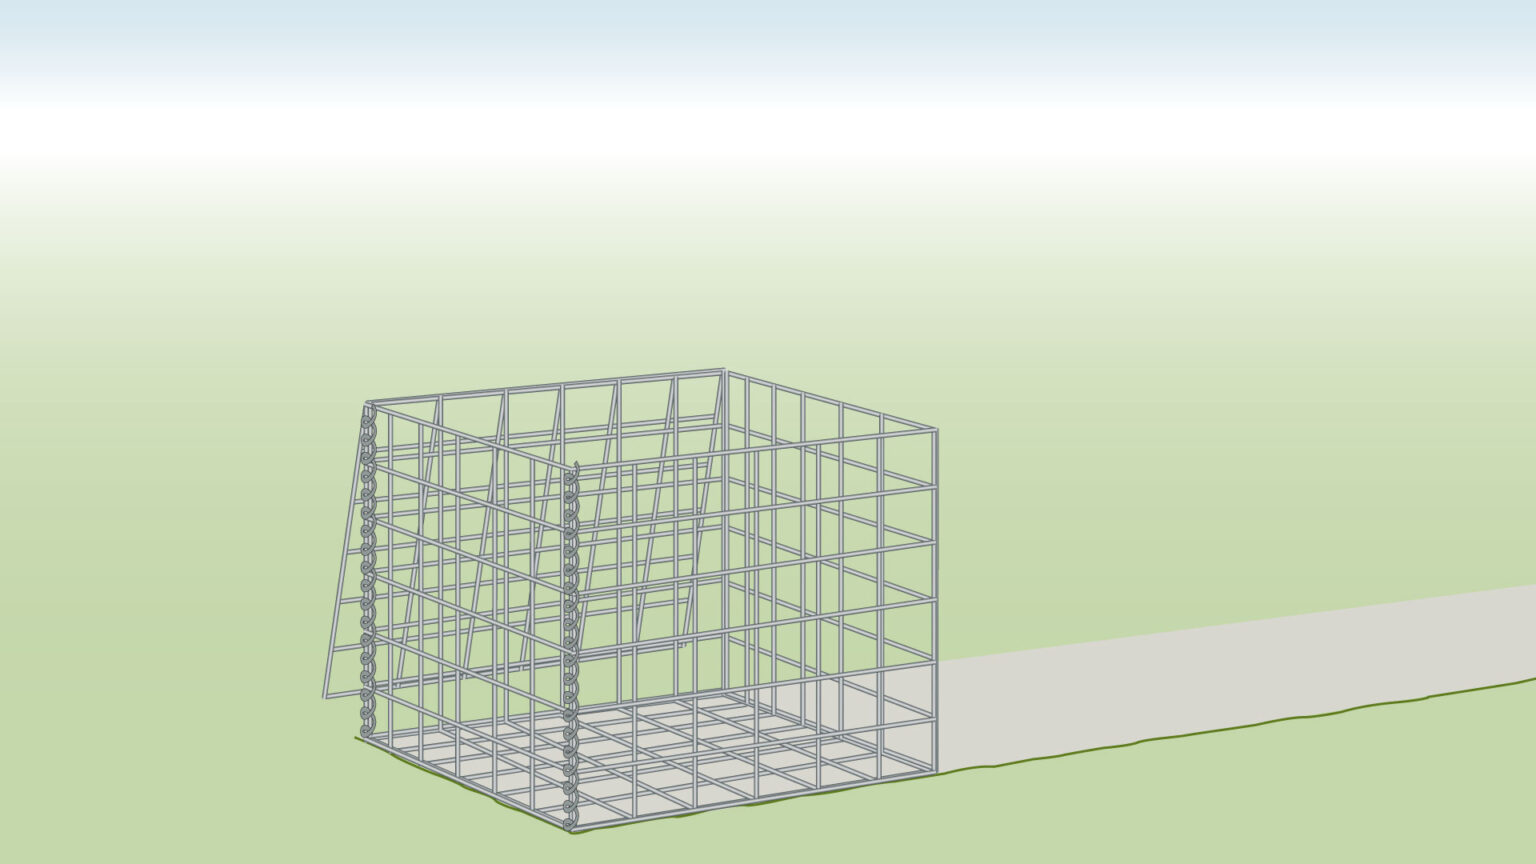
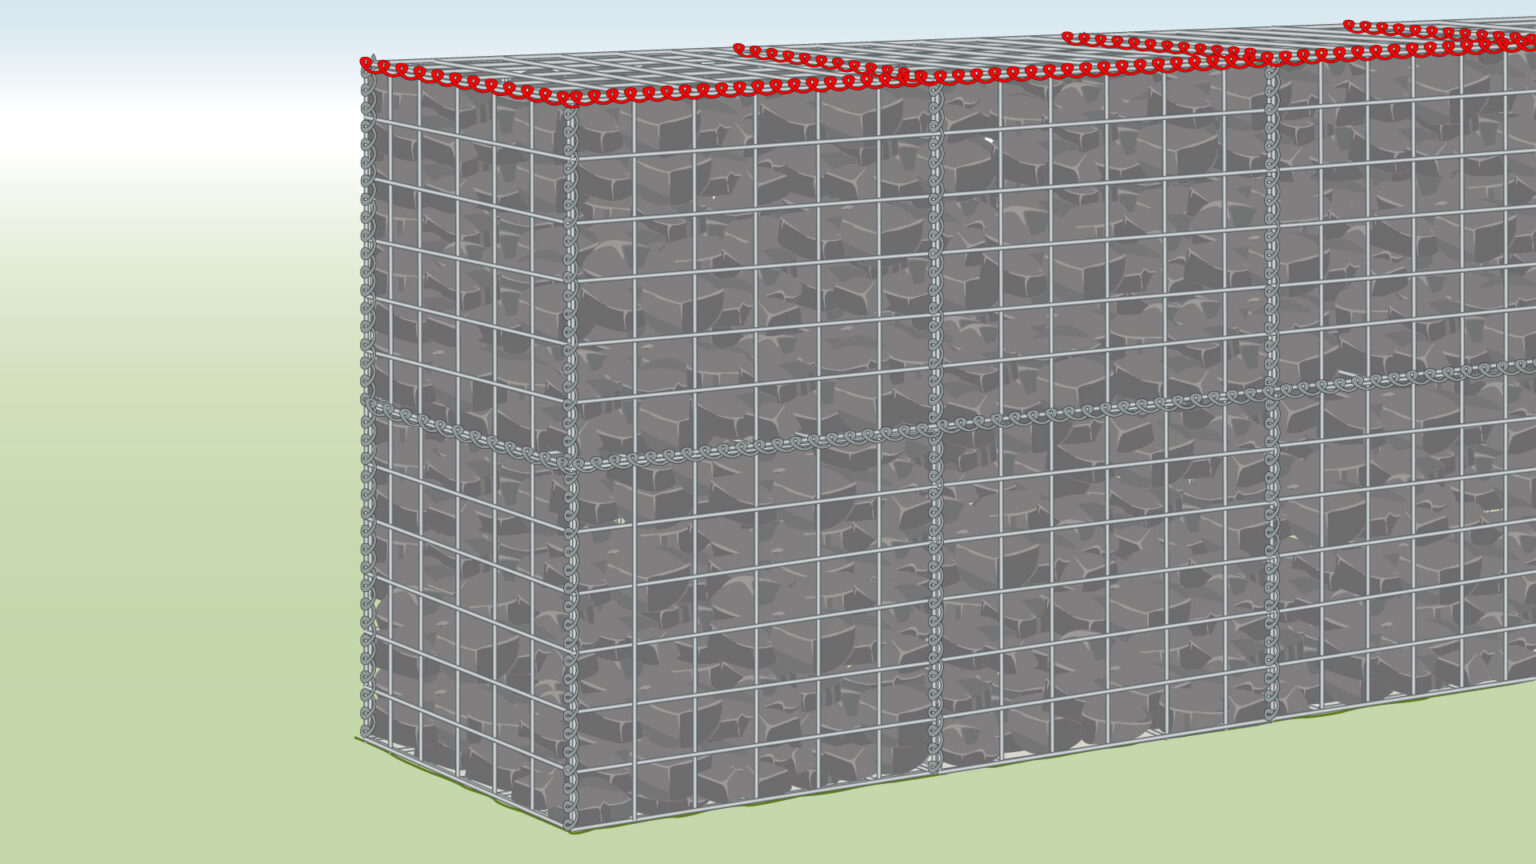
Step 7) Unfold the Baskets
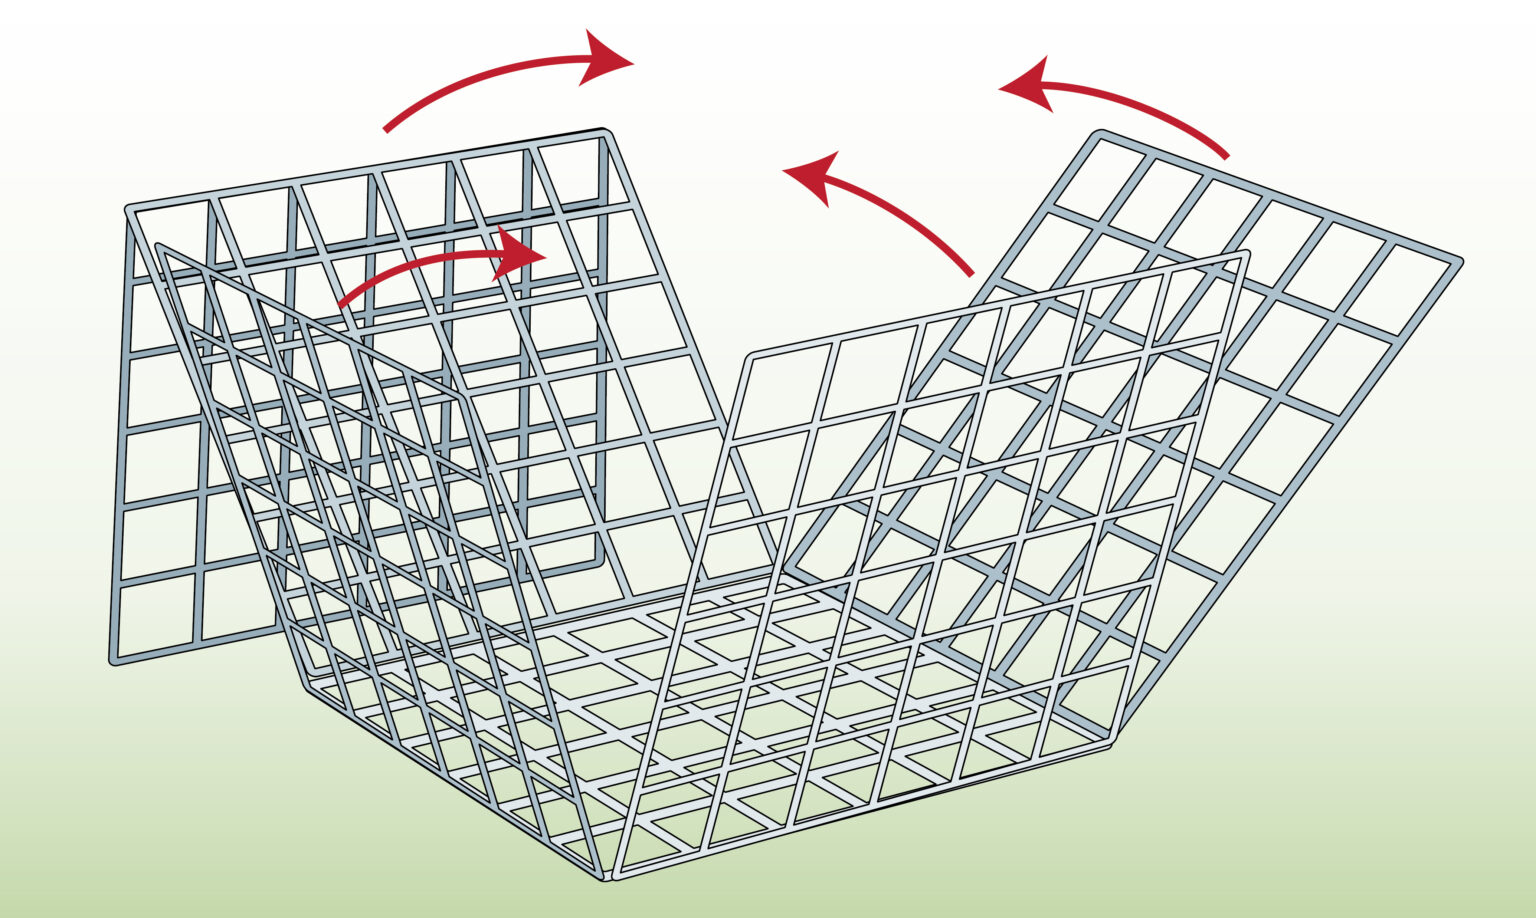
- Unfold the baskets, lifting the sides.
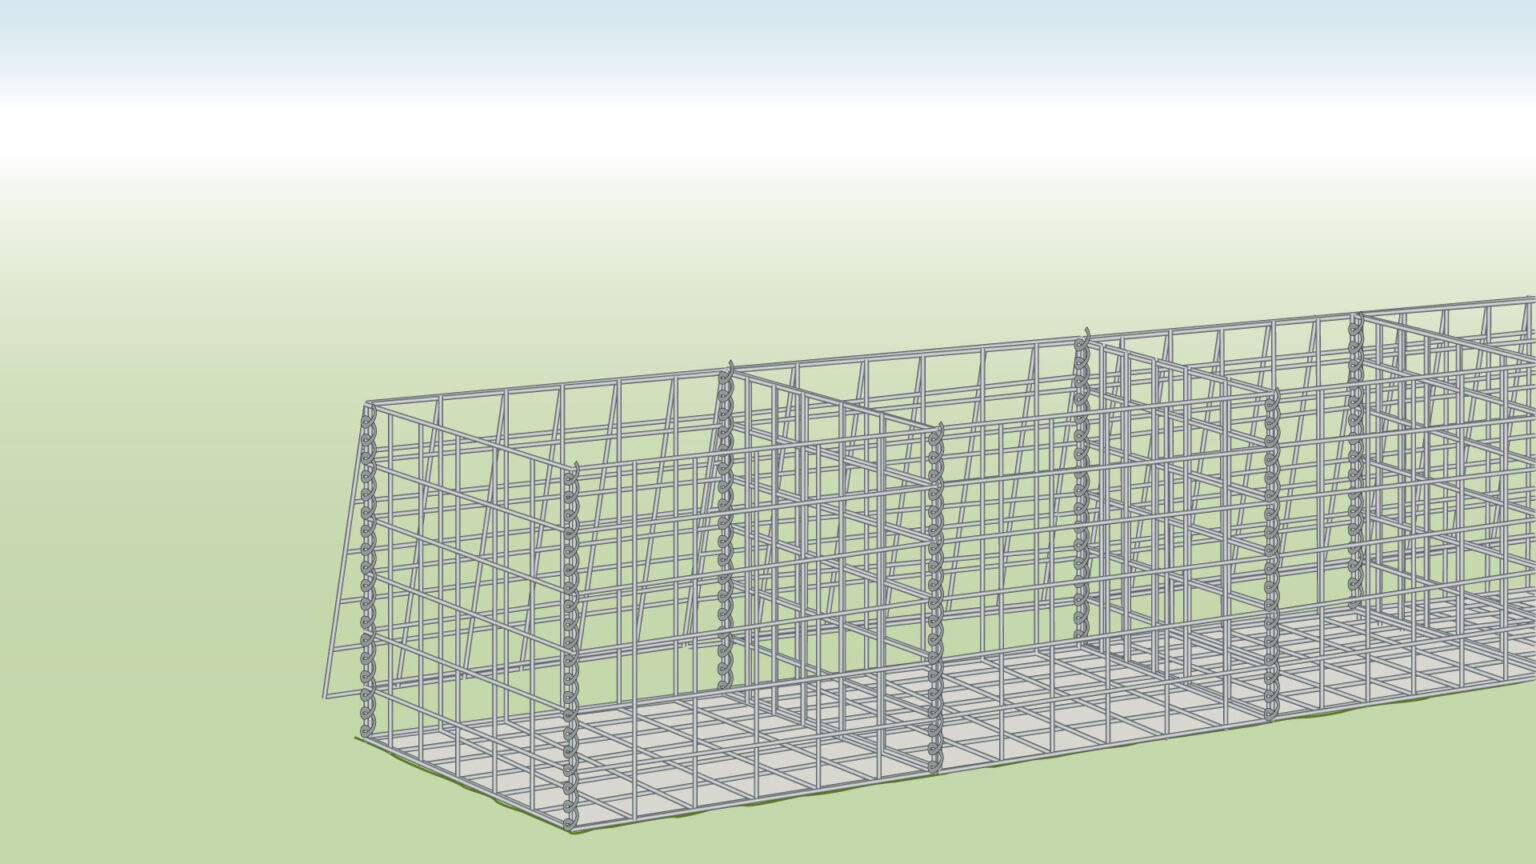
Step 8) Join the Cages
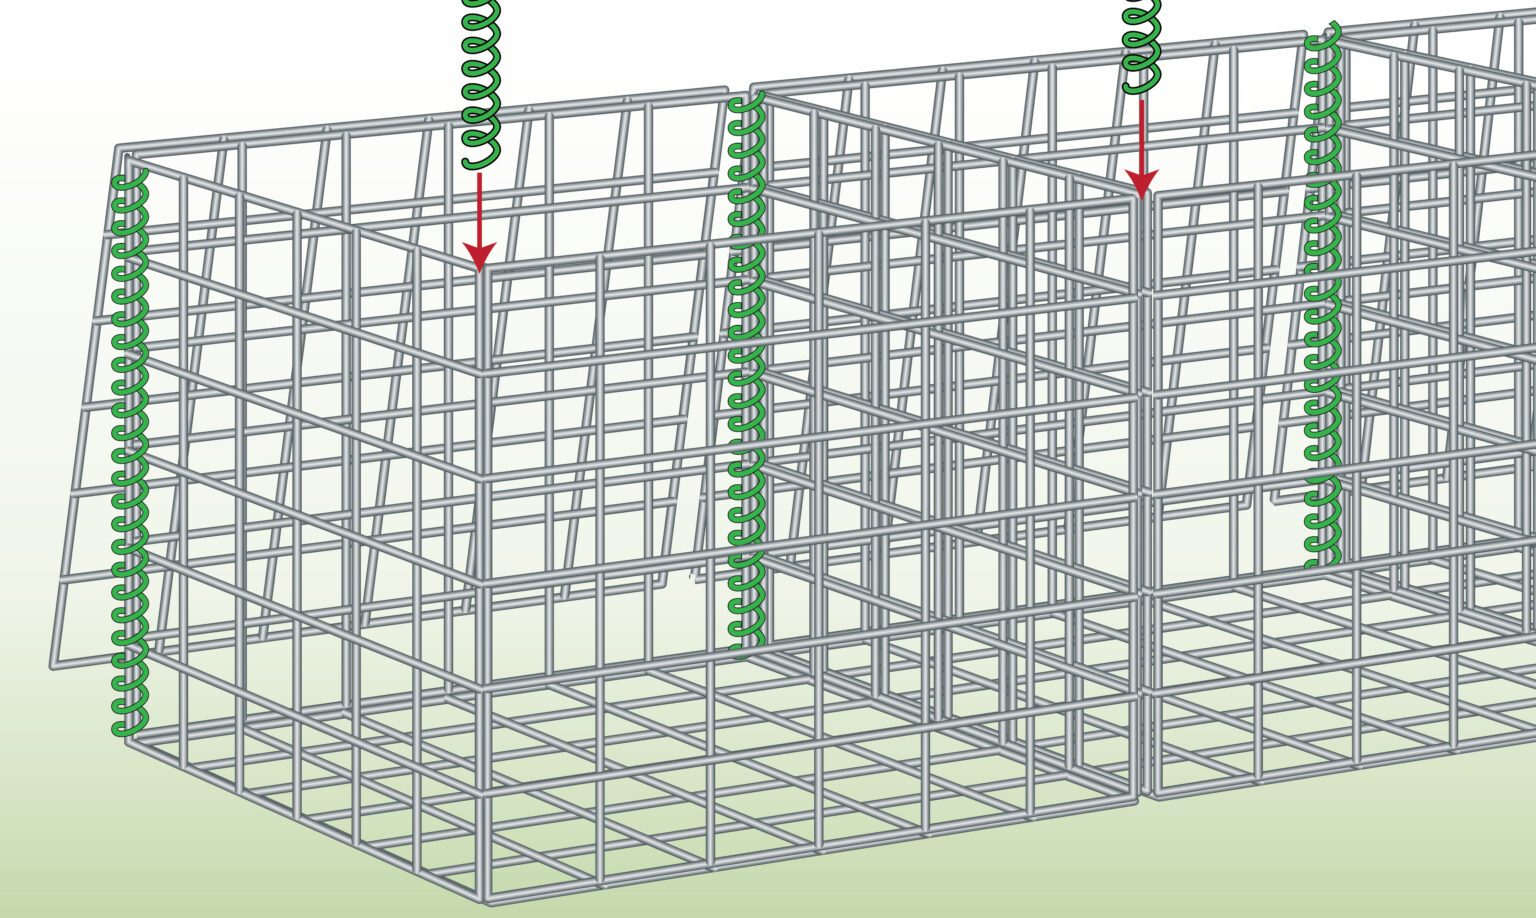
- Assemble the baskets, following the instructions.
- Use the helicals included in the kit.
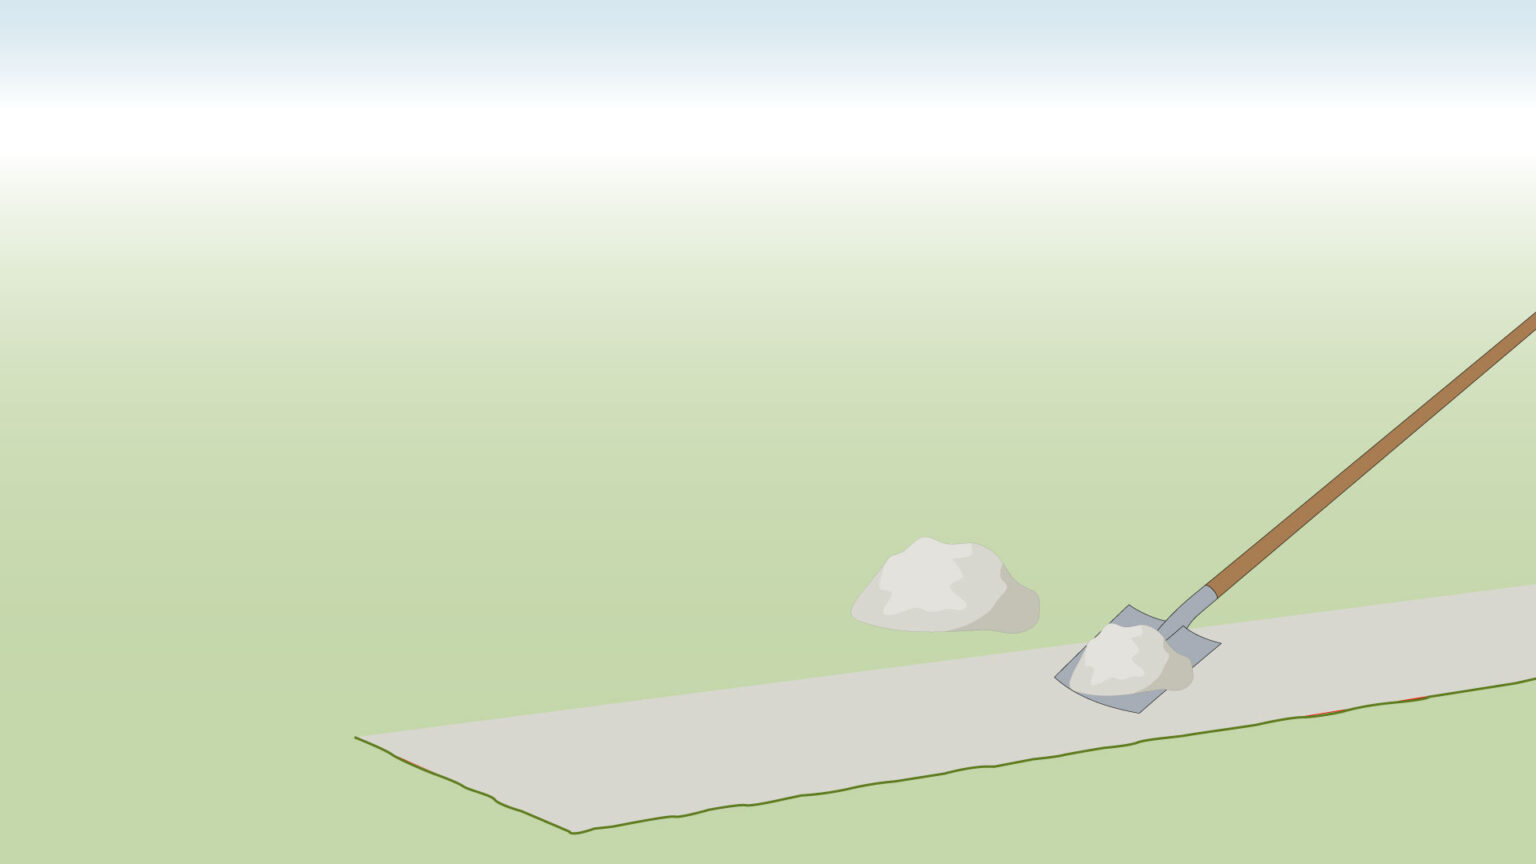
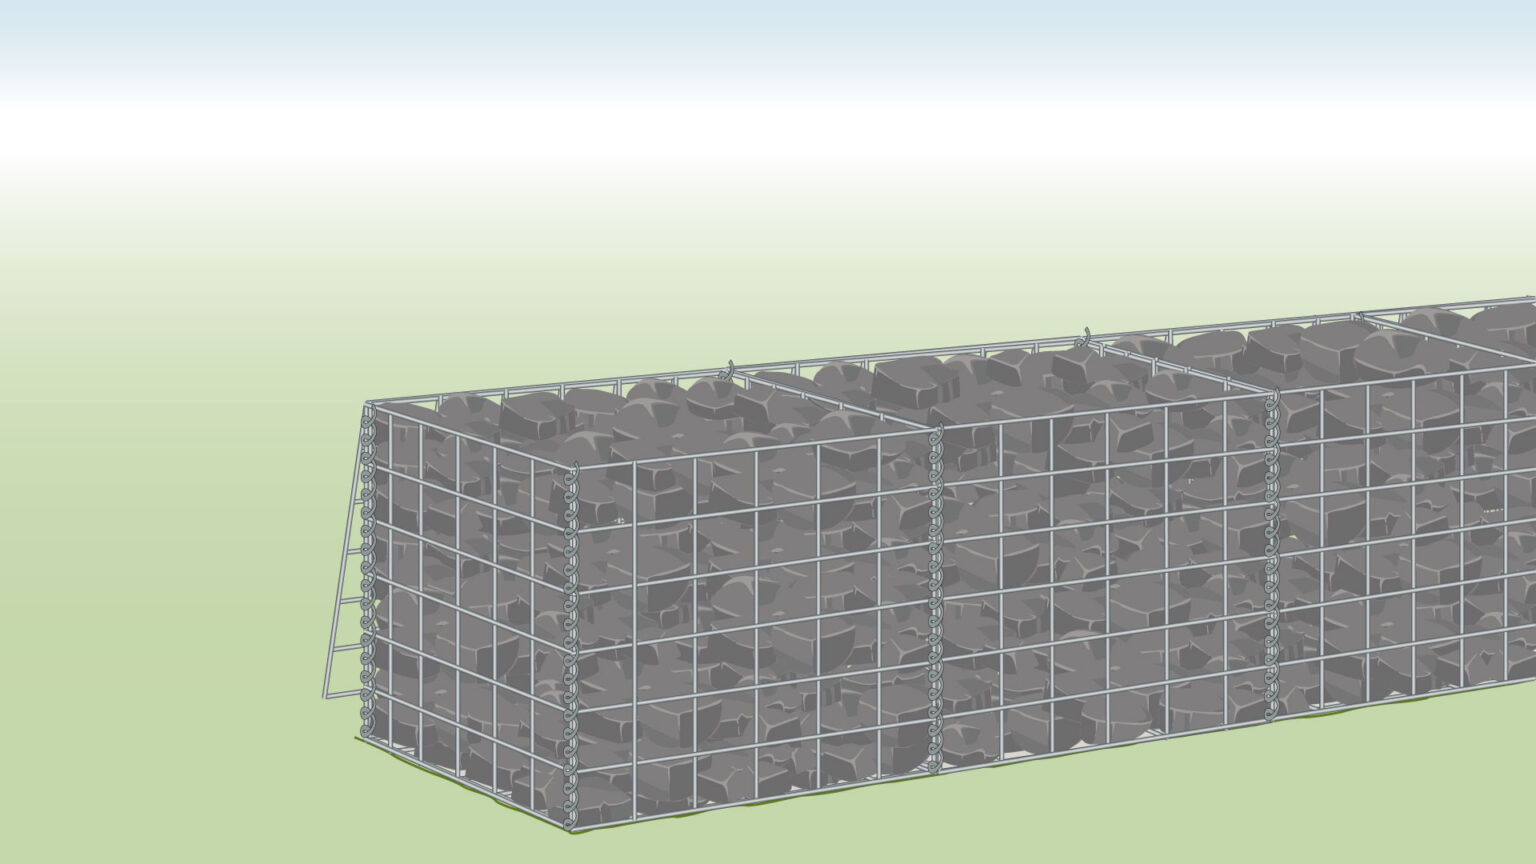
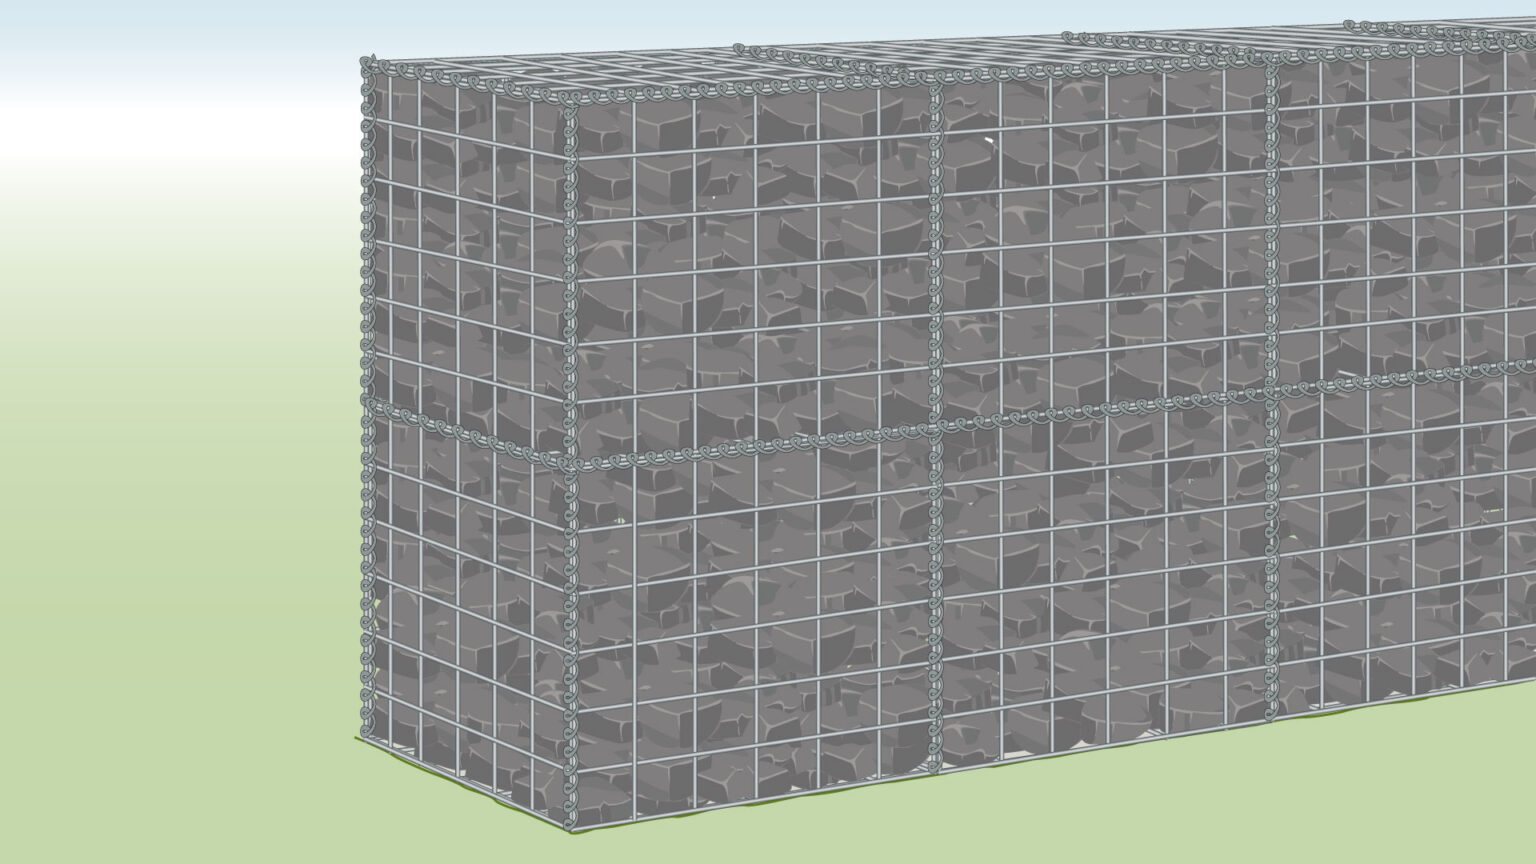
Step 9) Fill with Stone

- Use the stone of your choice to fill the cages.
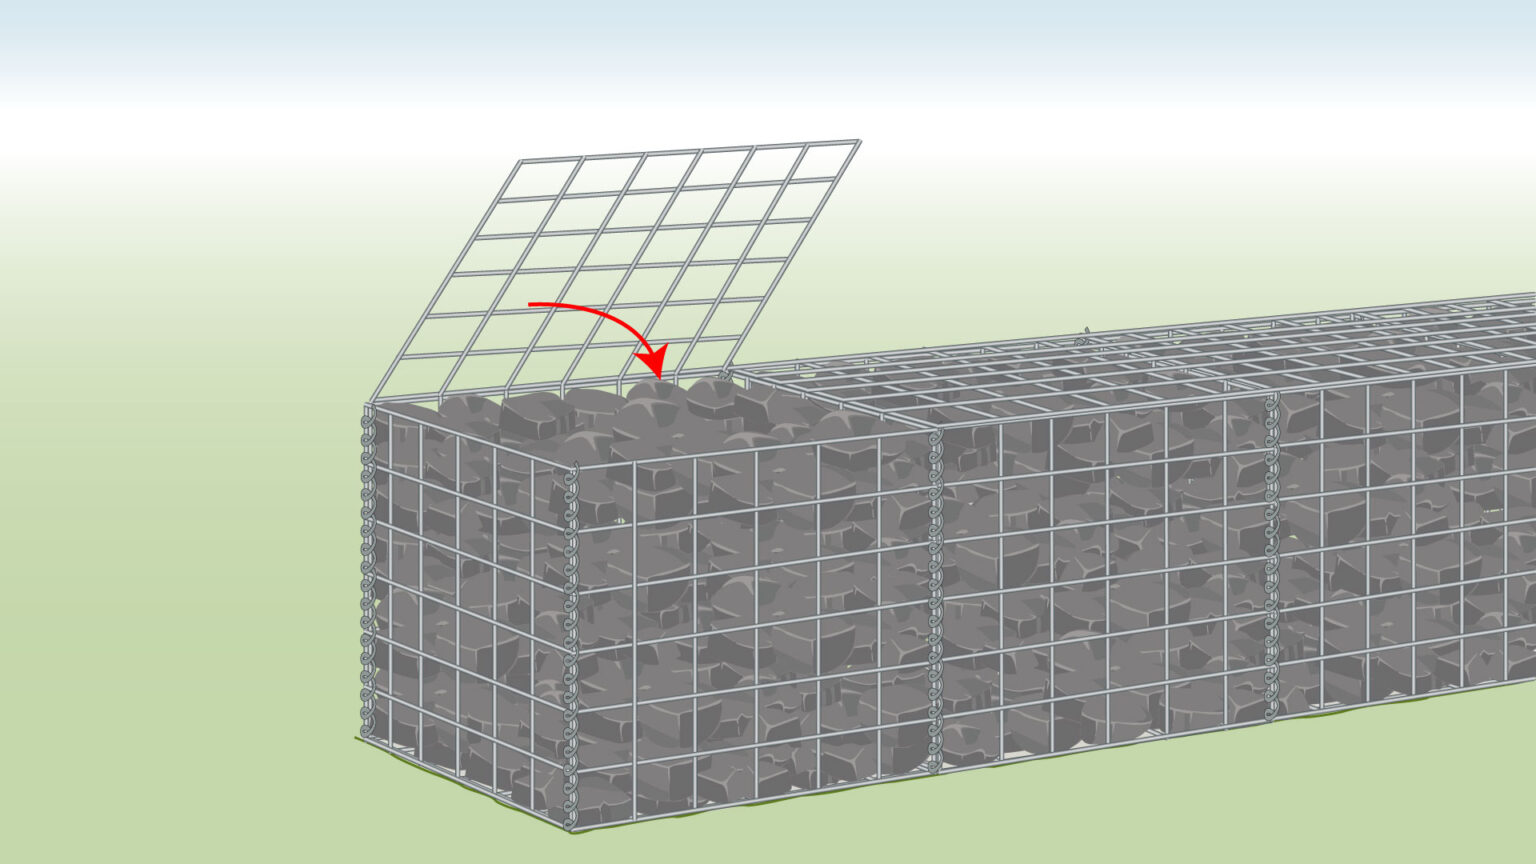
Step 10) Close Lids
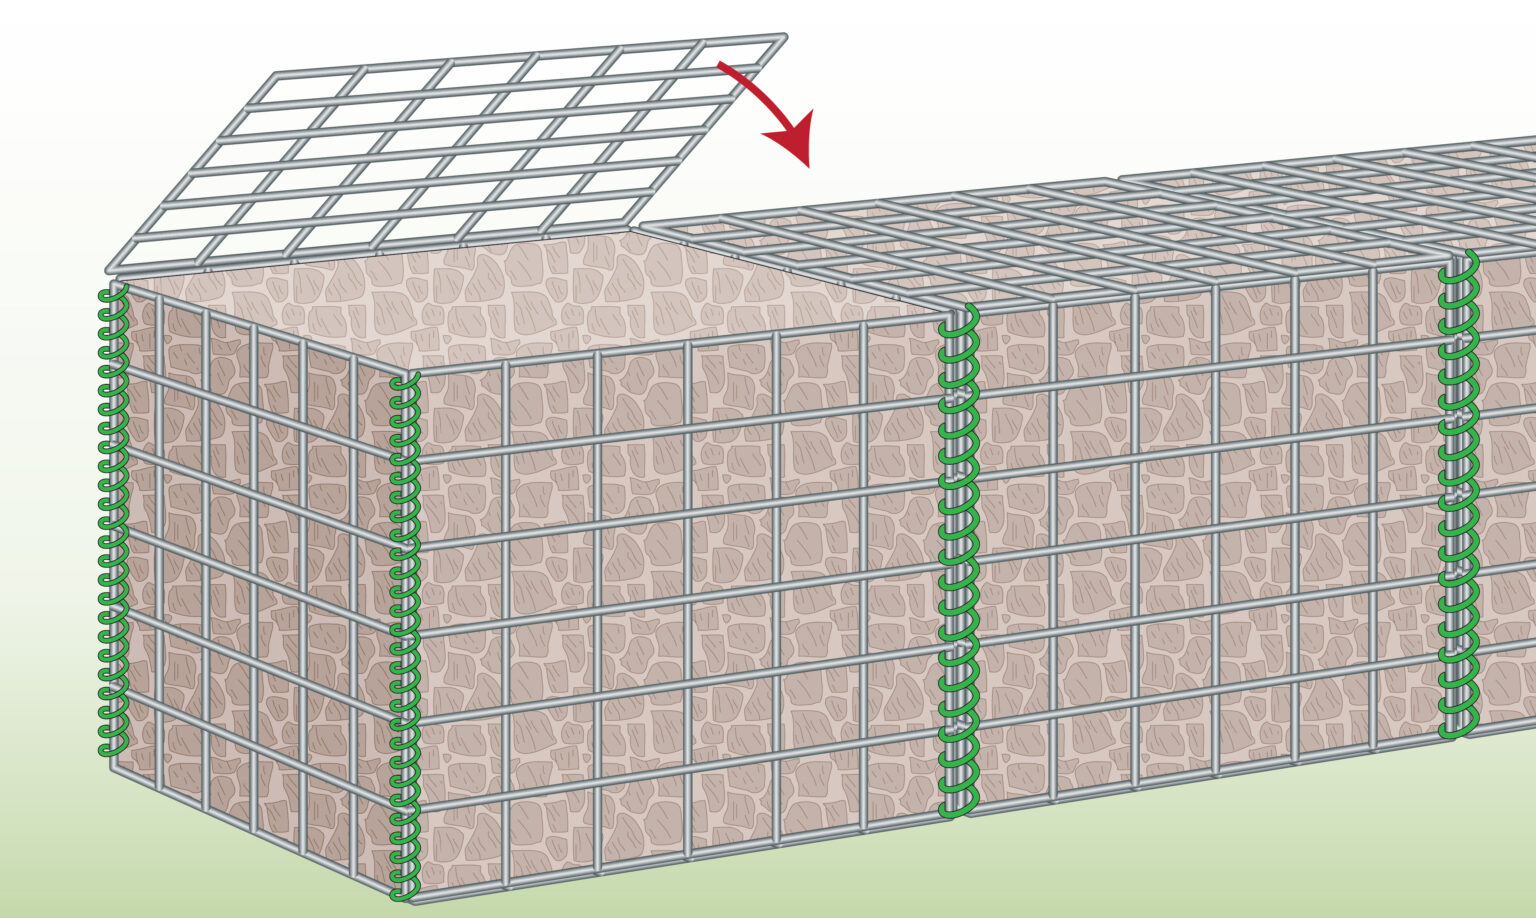
- Close your baskets, folding down the lids.
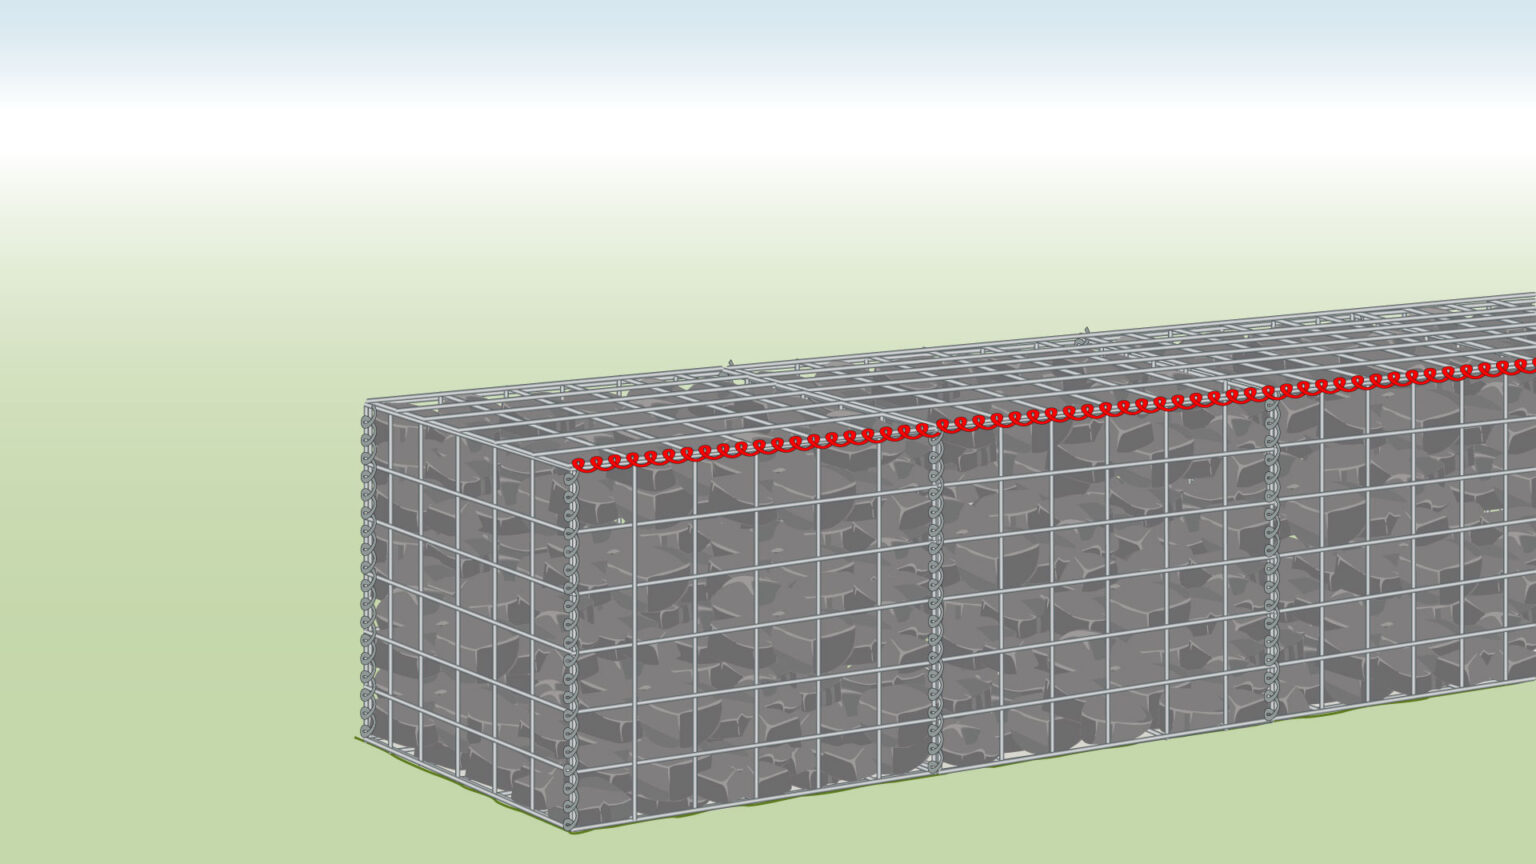
Step 11) Add Second Row
- Position the second row of baskets directly above the first row, connecting them together using helicals.
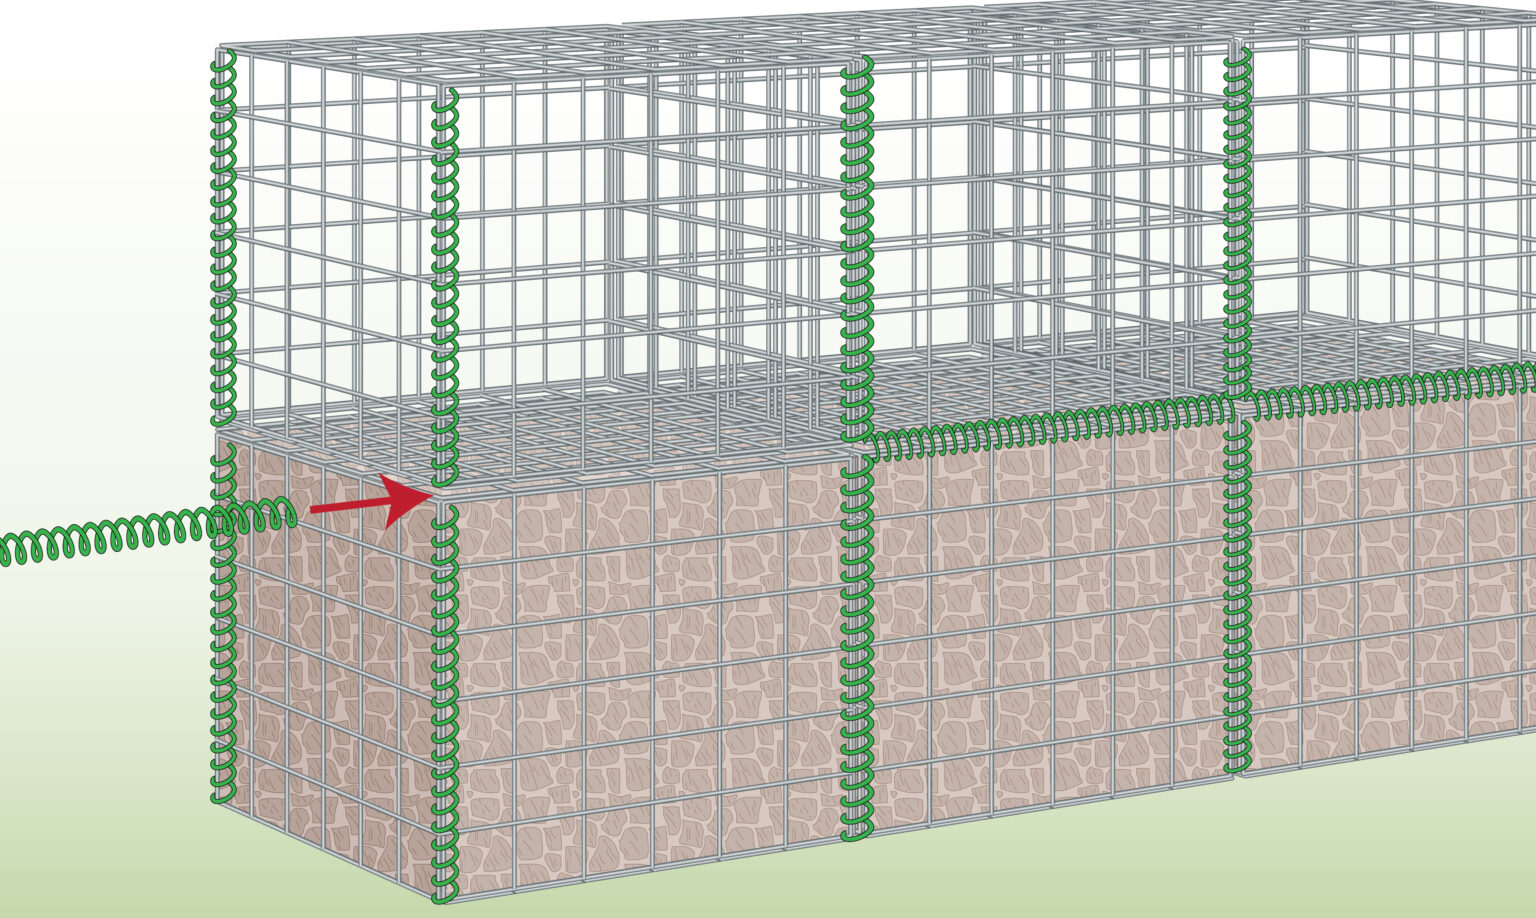
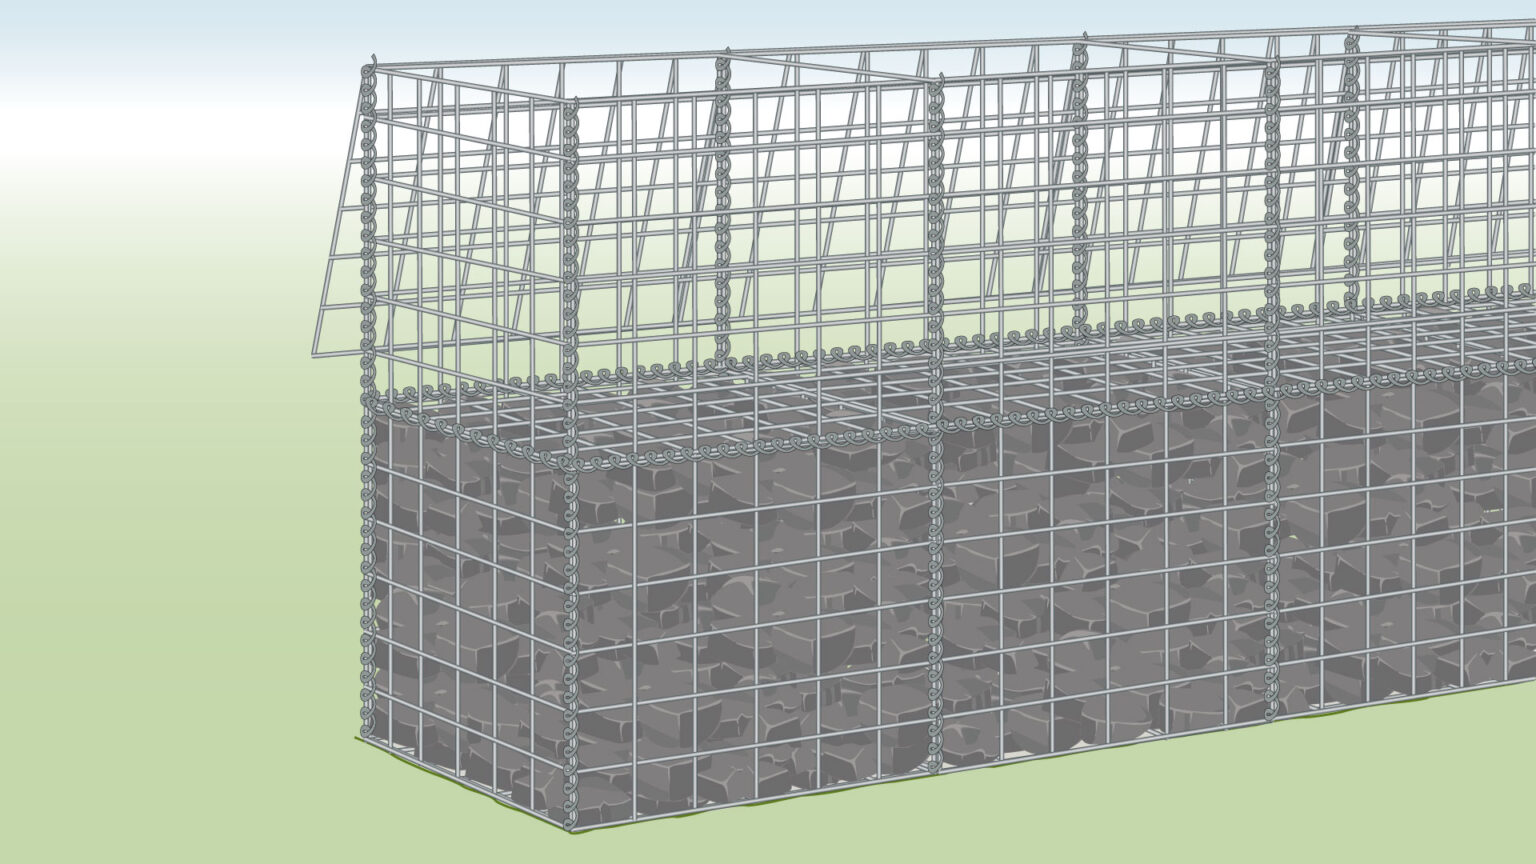
Step 12) Fill and Join
- Fill the top baskets with rocks.
- Enhance security by connecting the baskets with helicals from front to back. Adjustments may be required by cutting some of them to fit the structure’s depth.
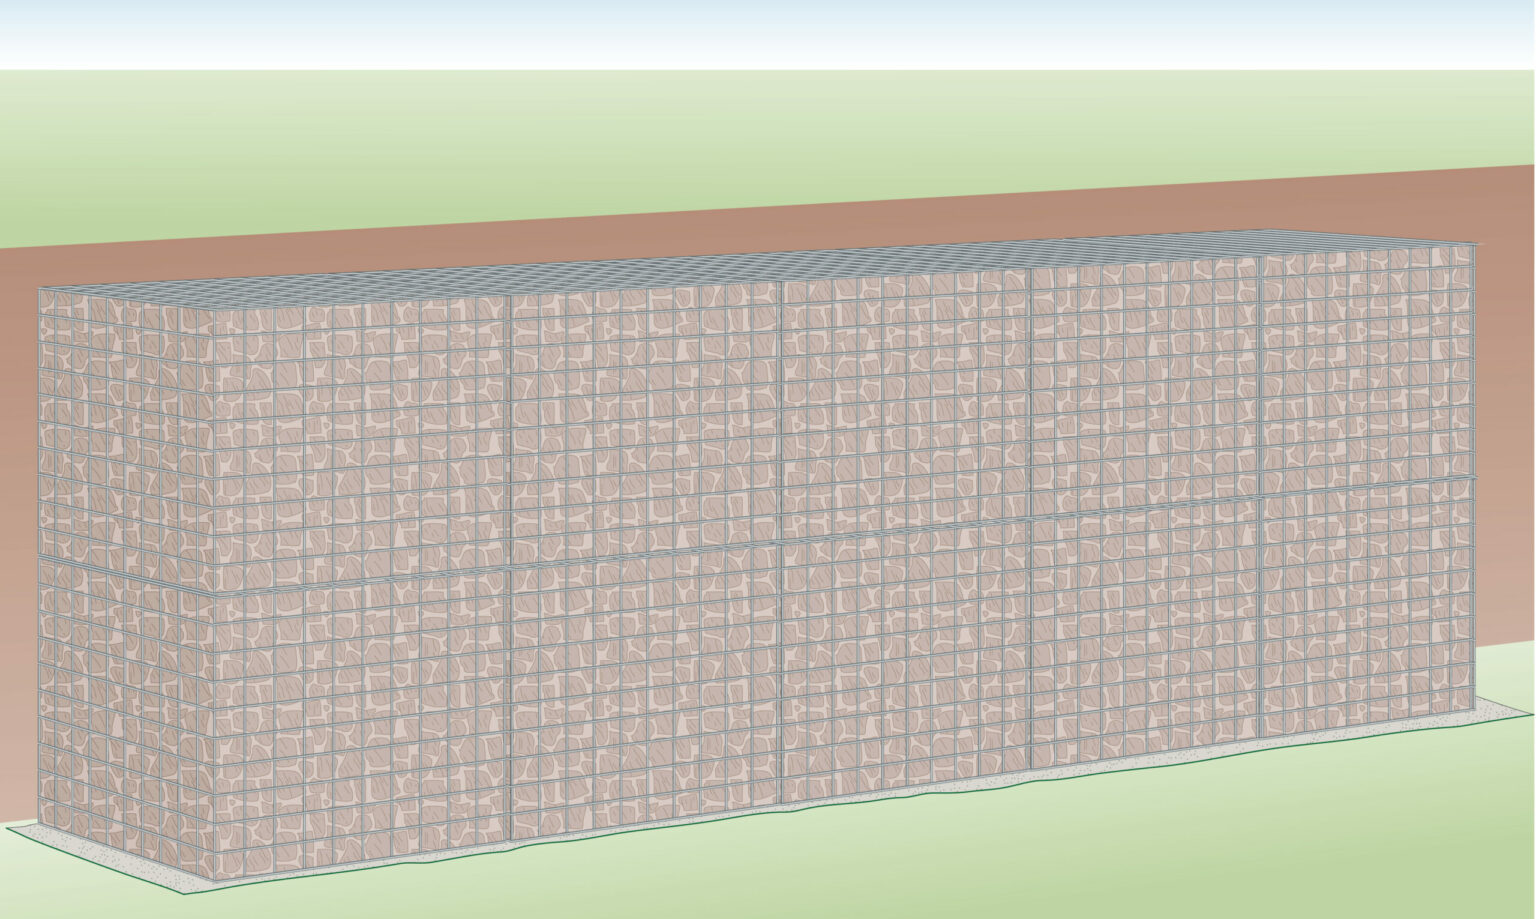
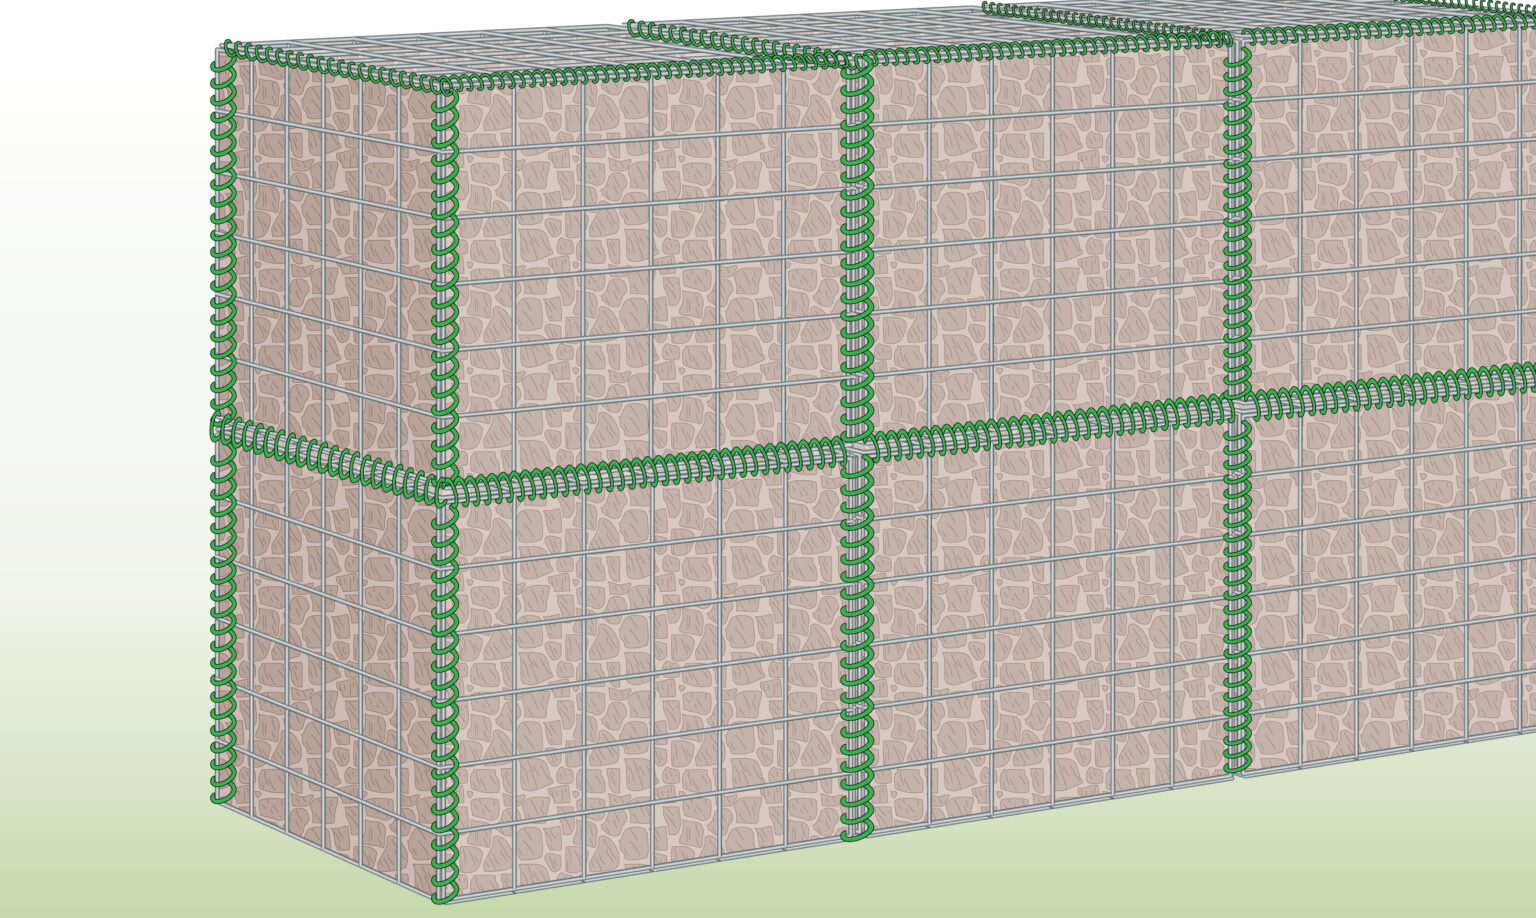
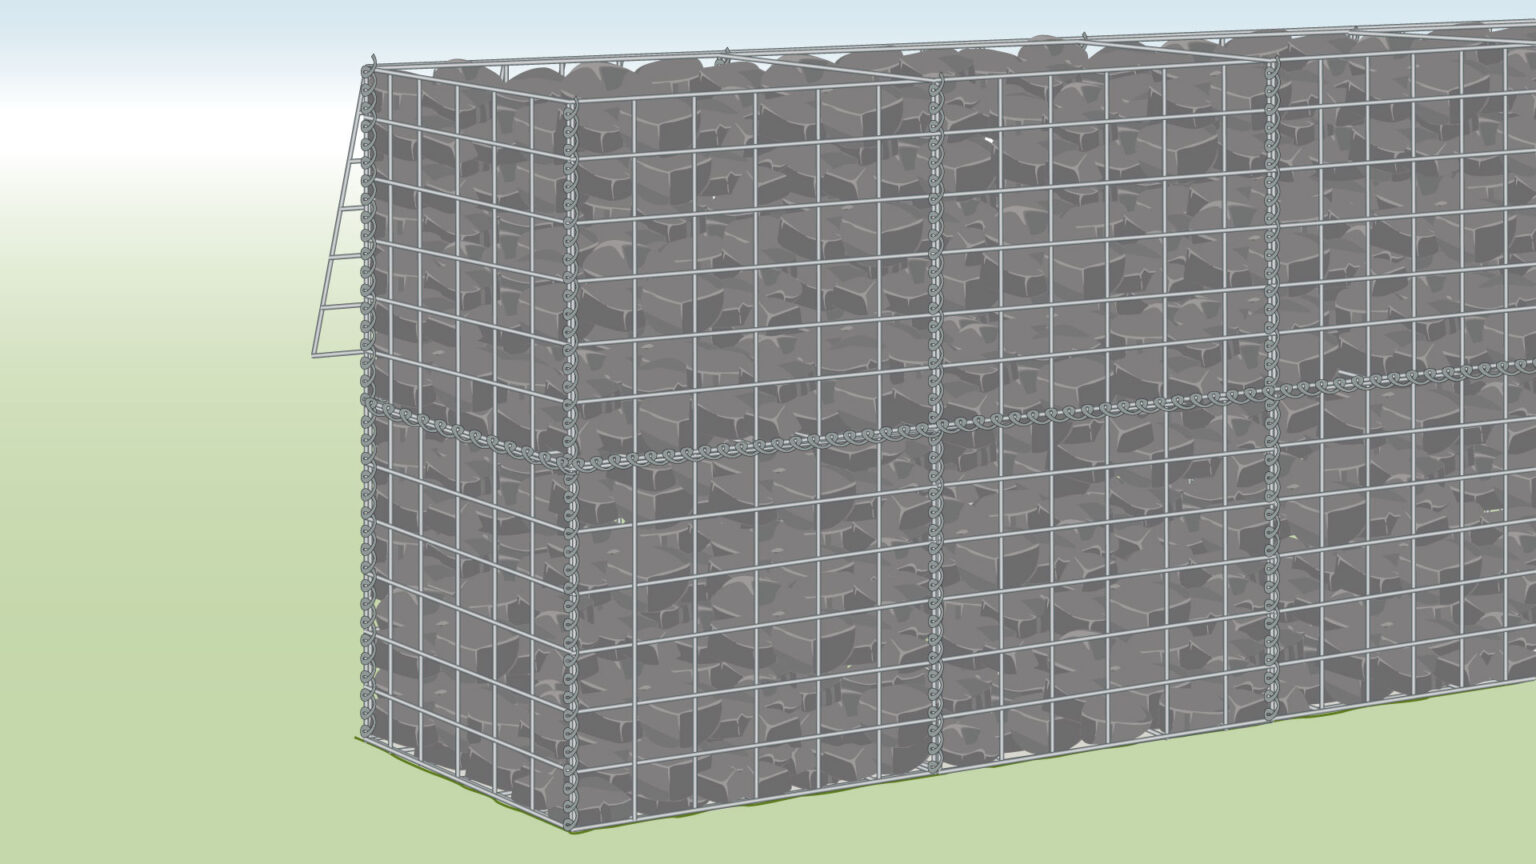
Step 13) Finished Project
- Your 2m gabion retaining wall is finished!
FREESTANDING WALL
- Experience Required: Medium
- Tools Required: Protective gloves, Wire cutters, Tape measure, Spray paint, Shovel, Hand tamper or plate compactor
- Materials Required: Gabion baskets, Helicals, Gabion stone, Geotextile, Basecourse, Concrete (optional)
Step 1) Measure and Plan
- Start by planning your freestanding structure and measuring the area.
Step 2) Mark the Location

- Mark the location where you plan to build with spray paint, stones or other materials.
Step 3) Dig a Base
- In case of 2m high structure, dig a 20cm deep base, or until you reach firm ground.
Step 4) Add Geotextile
- Lay geotextile on the base to prevent weeds from growing up and through your baskets.
Step 5) Add Basecourse
- Add 20cm of gravel or basecourse on the top of the geotextile.
- Alternatively, if the soil is weak, you may need to pour a concrete foundation instead.
Step 6) Compact the Base
- Compact the basecourse well using a hand tamper or a plate compactor, depending on your base size.
Step 7) Lay it Flat
- Lay the basket flat on the ground.
Step 8) Assemble the First Basket
- Unfold and lift up the sides of the basket.
- Then, start assembling by securing the corners with helicals, but leave the adjacent corners open for now.
Step 9) Repeat Assembling and Join Corners
- Repeat the process for the other cages.
- Use helicals to secure each corner and where the corners connect.
Step 10) Fill with Stone
- Fill the cages with stones.
Step 11) Close Lids
- Fold the lids down to close the baskets.
Step 12) Secure Lids, in case of 1m Structures
- For a 1m structure, you can secure the lids with helicals to finish it.
- For taller installations, leave them unsecured for now.
Step 13) Add a Second Layer
- Place the second layer of baskets on top of the first.
- Connect them with helicals at the front, sides, and back.
Step 14) Fill with Stone
- Fill the top baskets with stones.
Step 15) Close and Secure the Lids
- Then close the lids and secure them with helicals.
Step 16) Finished Project
- Your freestanding gabion wall is complete.
Foundation Guide
- 1m structure = 10cm base depth
- 2m structure = 20cm base depth
- 3m structure = 30cm base depth
- 4m structure = 40cm base depth
- 5m structure = 50cm base depth
Tips and Tricks
Before starting your gabion wall project, it’s important to plan carefully and consider a few key factors. The points below are based on our team’s experience designing and installing gabion structures.
- Before beginning the process of how to build a gabion wall, ensure you have a detailed plan. Sketch out your structure’s dimensions and layout, ensuring it fits within your space and meets your needs.
- Opt for high-quality baskets and durable stones. This will enhance the longevity and stability of your retaining construction.
- Check the stability of the soil where you plan to build. If the soil is loose or unstable, consider consulting a professional for advice on additional reinforcements.
- Adequate drainage behind the structure is crucial to prevent water buildup and potential damage. Incorporate a drainage pipe if necessary.
- Periodically check your gabion wall for any signs of wear or damage. Addressing minor issues promptly can prevent more significant problems in the future.
- You can compact the basecourse using a hand tamper or a plate compactor as well.
- You can fill your baskets with different types of stones, or vary them, as long as they are larger than the hole size.
Do’s and Don’ts
Do’s
- Ensure the gravel base is well-compacted to provide a solid foundation for your gabion structure.
- Carefully follow the manufacturer’s instructions when assembling the baskets to ensure structural integrity.
- Apply geotextile fabric behind the structure to prevent soil erosion and maintain the structure’s stability.
Don’ts
- For constructions retaining significant amounts of soil, don’t skip creating a 6-degree slope. This helps with stability.
- Avoid overfilling baskets, as this can cause bulging and instability. Fill them evenly and securely.
- Don’t neglect a concrete foundation if your site has poor soil conditions or significant groundwater. It’s crucial for structure stability.
- Building a retaining structure requires time and precision. Don’t rush through the steps, as hasty construction can lead to structural issues.
Further Reading
- How to Install Gabion Baskets – A guide showing you how to assemble baskets.
- How to Fill Gabions – Learn how to fill cages.
- How to Lace Gabion Baskets – Step-by-step instructions on how to lace baskets.
- Gabion Learning Hub – a library of help videos
If you are planning to build a gabion wall, do not be tempted to buy cheaper gabion baskets that might fail. We sell BBA and ISO certified and tested gabion baskets. Our accessories are also certified, and we supply responsibly sourced, 6G stone suited to filling gabion baskets.
VIDEO

Written By
This blog was created by our Technical Illustrator, Timi and reviewed by our Founder, John.
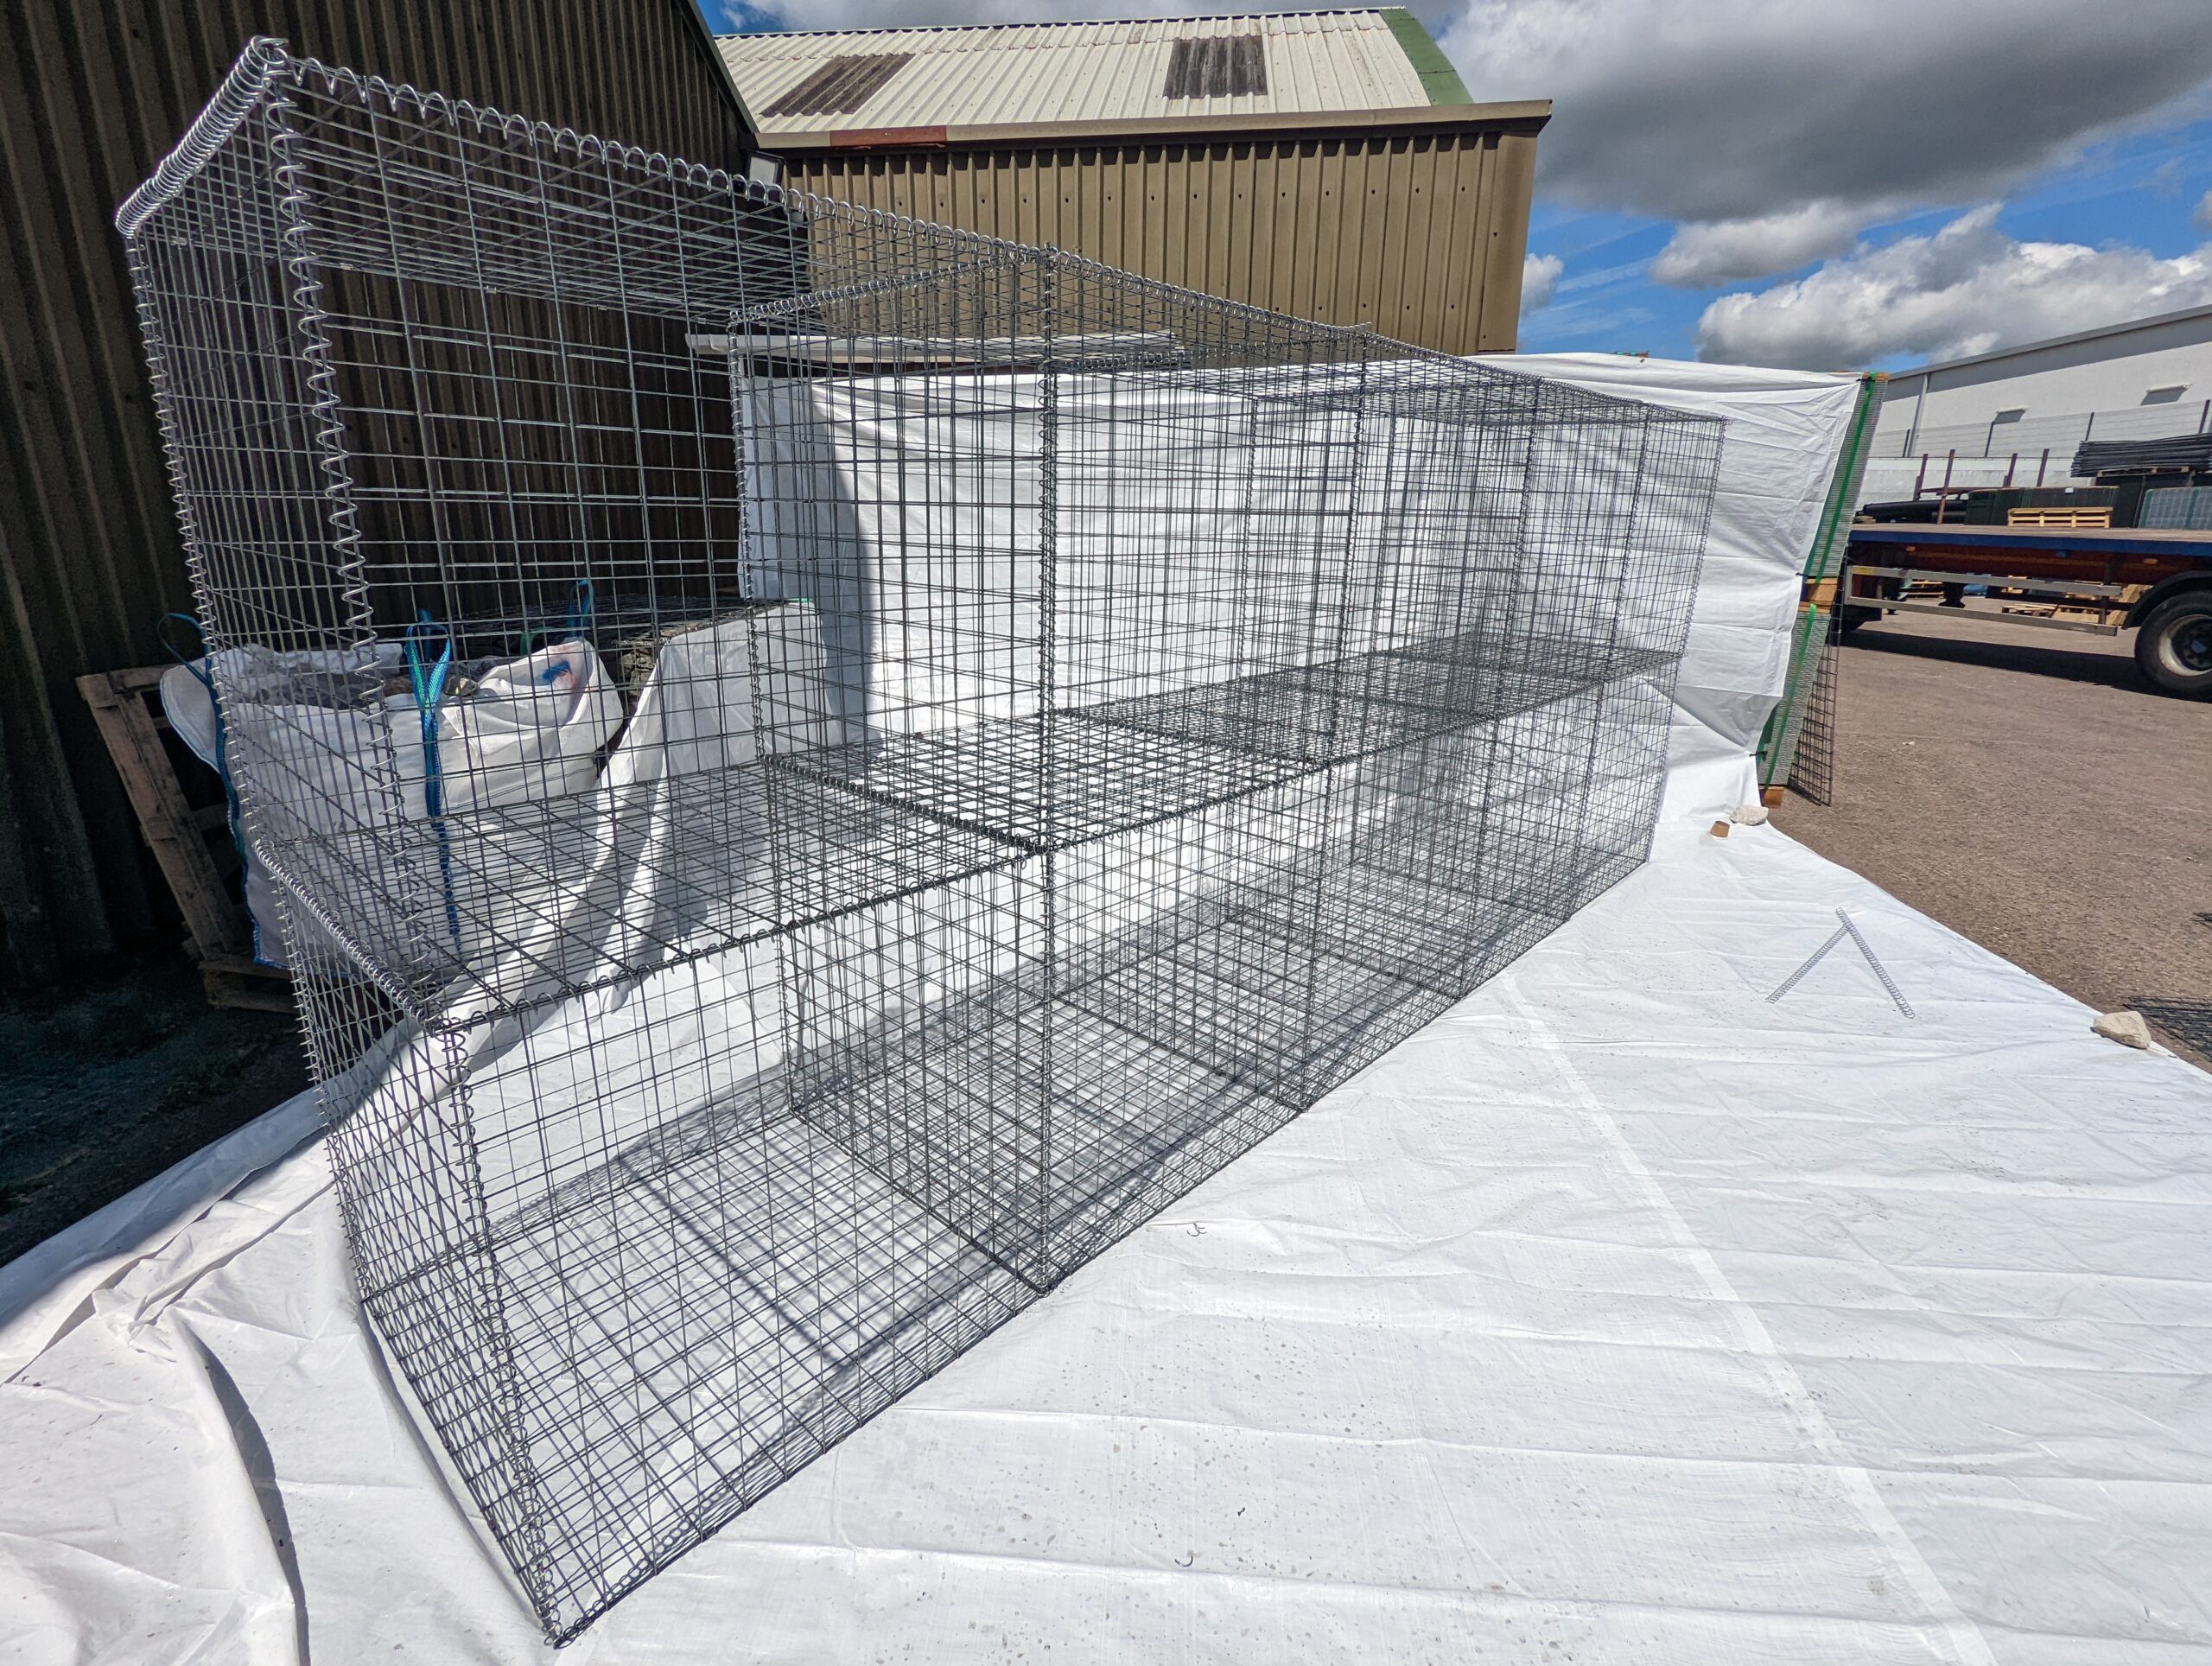
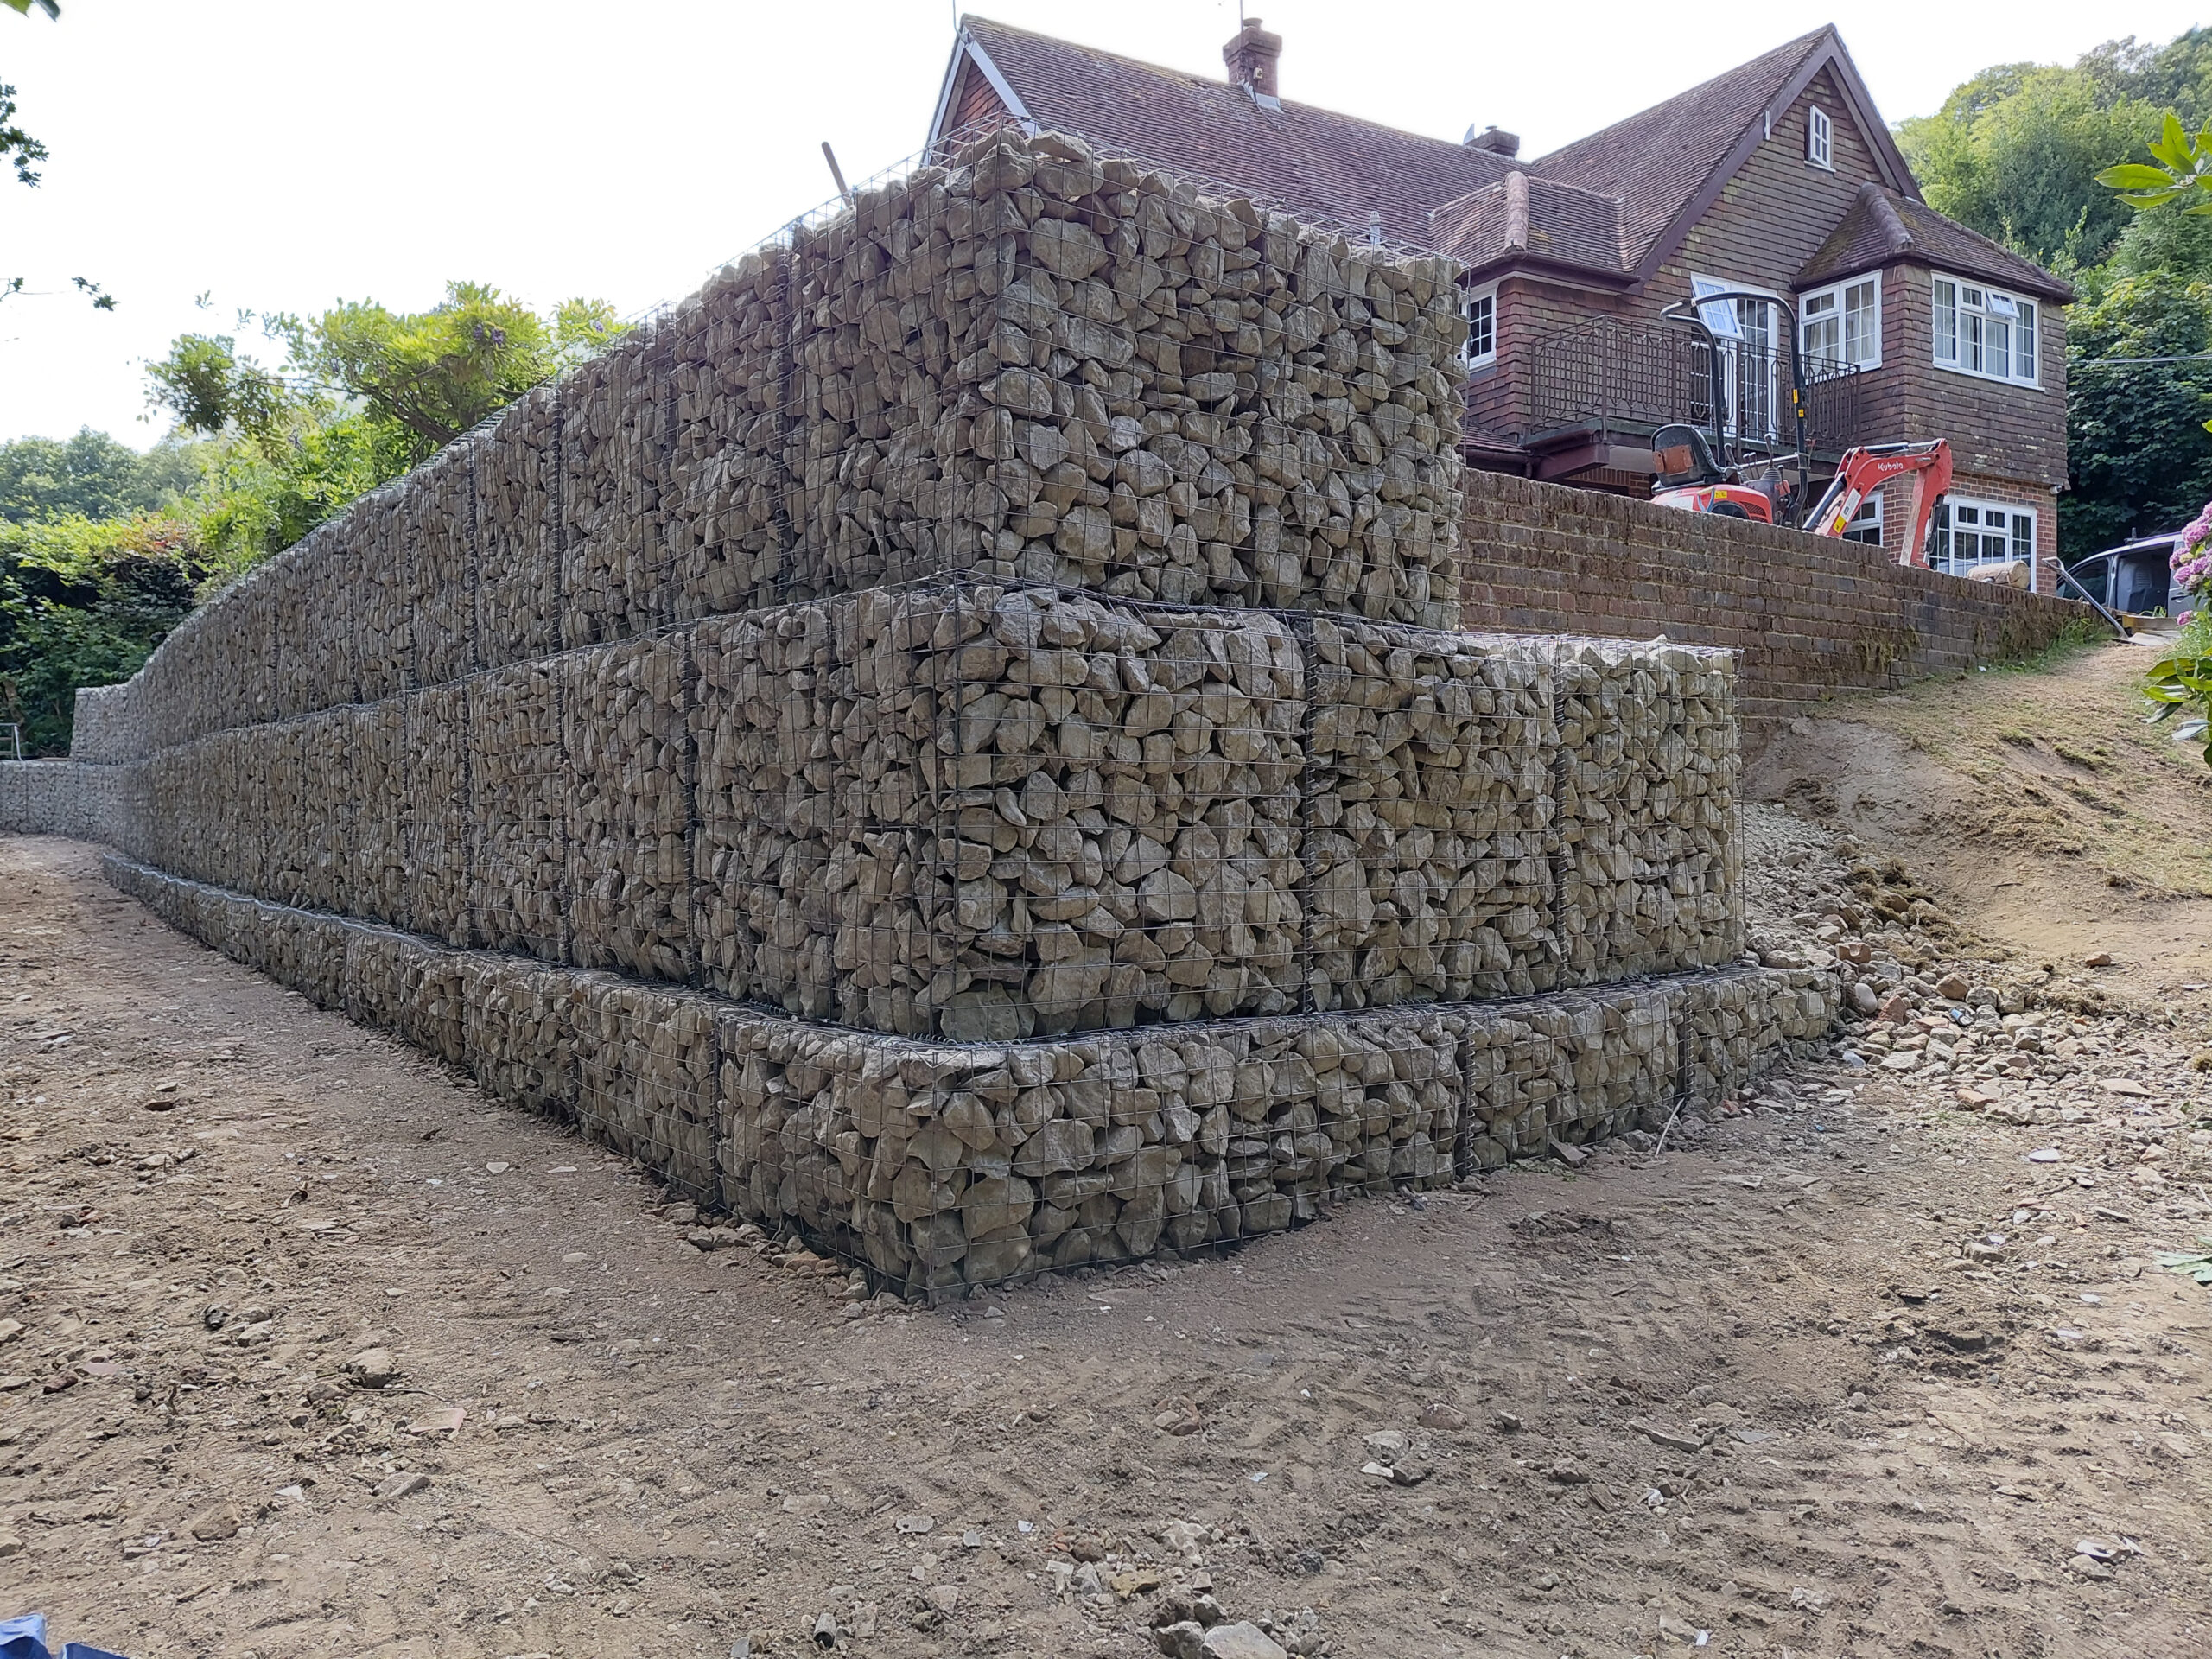
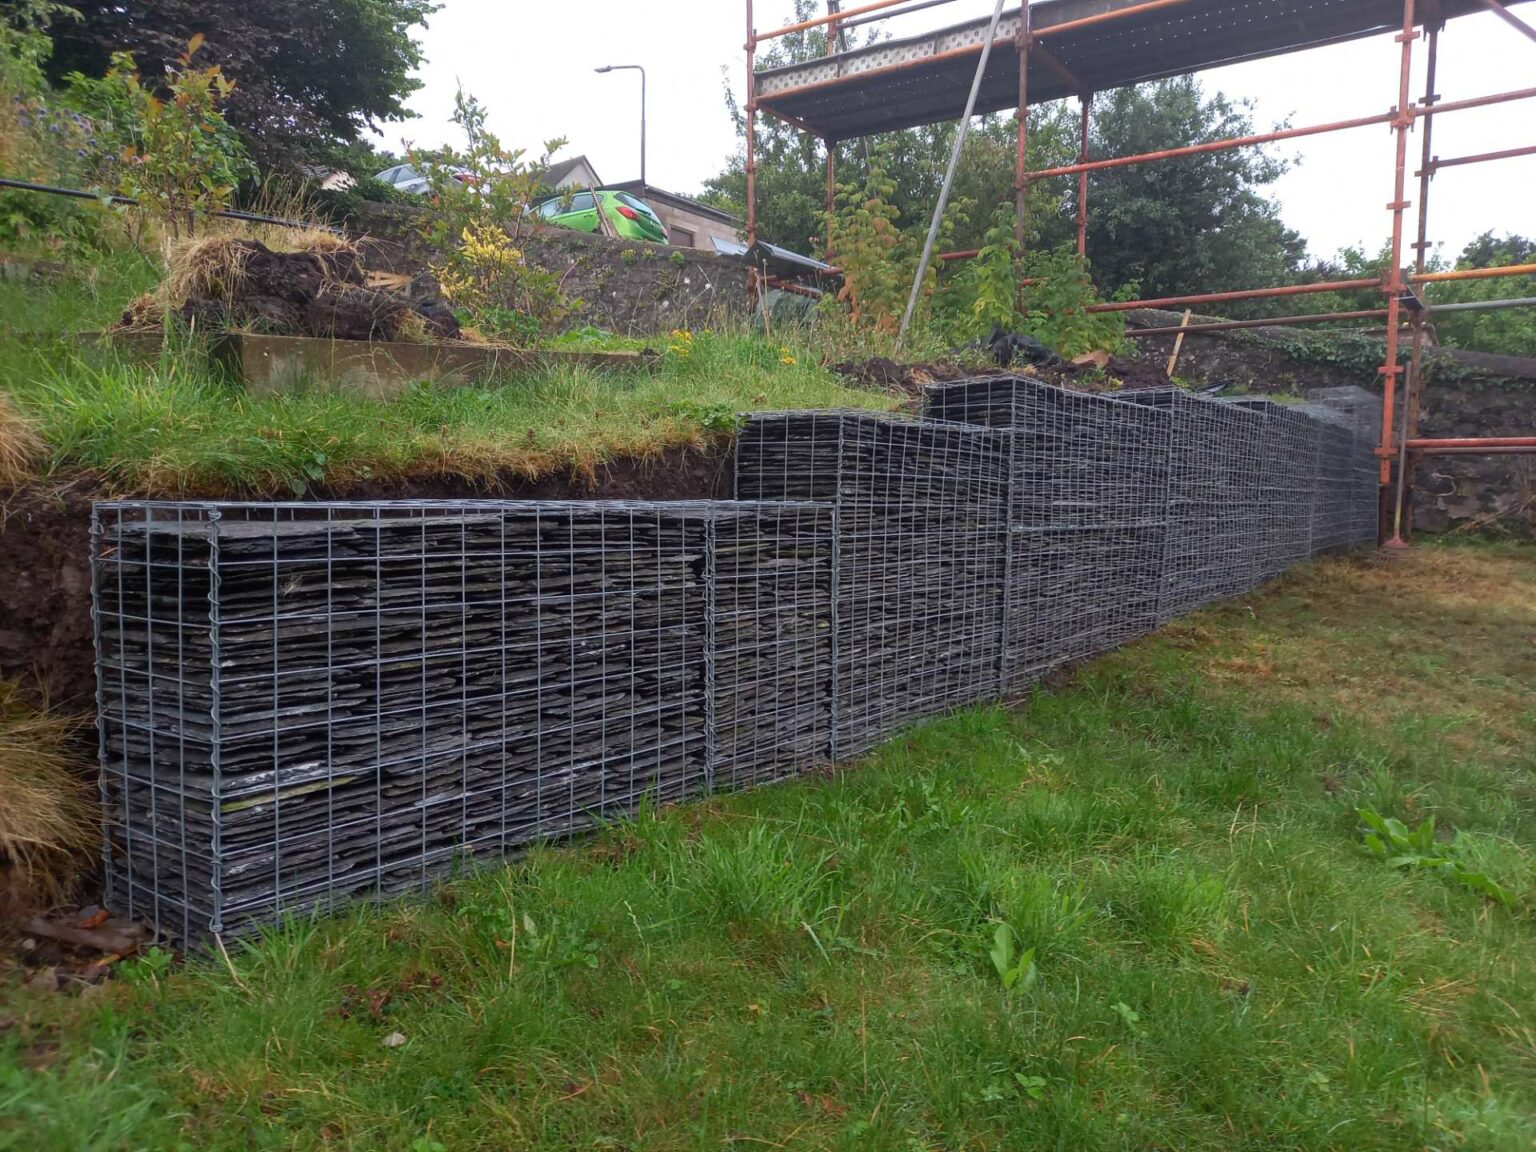
Below you’ll find examples of our real-life gabion wall builds, along with customer projects. We’ve opted for technical illustrations for the instructions found in this blog because they provide better clarity on mesh placement and structural details that can get lost in real-life photography.


Published by

You should know that building a gabion retaining wall involves filling wire mesh containers with stones. What are the key benefits of using gabion retaining walls in landscaping?
Hi Sungreen,
Thanks for your comment and question.
Gabion retaining walls offer several key benefits in landscaping, including:
Durability and Strength: The combination of wire mesh and stones creates a sturdy structure that can withstand significant pressure and environmental factors, making gabion walls highly durable and long-lasting.
Flexibility: Gabions can adapt to ground movement without losing their structural integrity. This flexibility makes them ideal for areas prone to erosion or unstable ground conditions.
Permeability: Gabion walls allow water to pass through, reducing hydrostatic pressure and improving drainage. This permeability helps prevent water build-up and erosion behind the wall.
Environmental Friendliness: Gabions can be filled with locally sourced stones, reducing the carbon footprint associated with transportation. Additionally, they blend well with natural surroundings and can promote vegetation growth, enhancing the ecological value of the landscape.
Cost-Effectiveness: Gabion walls are relatively easy to construct and require minimal maintenance. Their materials are often more affordable compared to traditional retaining wall options, resulting in cost savings.
Aesthetic Versatility: The natural appearance of stones can complement various landscape designs. Gabions can be customized in terms of shape, size, and stone type to fit specific aesthetic preferences.
Erosion Control: By stabilizing slopes and preventing soil erosion, gabion walls contribute to landscape sustainability. Their structure effectively holds back soil while allowing water to filter through.
These benefits make gabion retaining walls a practical and attractive choice for many landscaping projects.
Hello there, I am trying to build a 50m long by 20 m high retaining stone wall to prevent part of my land slipping away. At the bottom is a small creek that is 10 meters from the possbile stone wall area. There will be flooding during high rainfalls, which will flood on to the wall by the creek.
Hi Jacob,
Many thanks for your comment!
This would be a very large project and gabion wall, so we definitely recommend consulting a civil engineer and have them assess the ground situation as the gabion wall design plan might change based on that.
Since our guide is for wall up to 5 meters, anything that’s above that needs to be assessed and checked by a licensed engineer as ground condition might influence the overall stability and design of the wall.
Hope this is helpful and we wish you good luck with your project!
Kind regards,
Erno