

Chain Link Fence Installation

Below you will find a step by step guide on chain link fence installation.
- Experience Required: Medium
- Tools Required: Spirit level, Pliers, Radisseur, Spade
- Materials Required: Chain link fence, Tensioning wire, Cable ties / Tensioning Wire, Concrete posts, Angle supports, Cement (optional)
Step 1) Planning a chain link fence

- Use spray paint or a similar method to mark the locations for your posts.
- Maintain a distance of 2m-2.5m between each post.
- Measure the total length between the ends to determine the required amount of fencing.
Step 2) Dig holes


- Concrete method: Fill holes with 100mm of gravel, pour 150mm of concrete on top, insert poles and let set for 1 day, fill the rest with dirt.
- Without concrete: Position posts in center of holes, fill with stones to stabilize, add earth and compact.
Step 4) Check for straightness

- Use a spirit level to make sure your poles are straight, then secure them in place.
- This is important, otherwise your fence will not be straight.
- Once they are all in place, allow a few days for the concrete to dry up.
Step 5) Position end posts
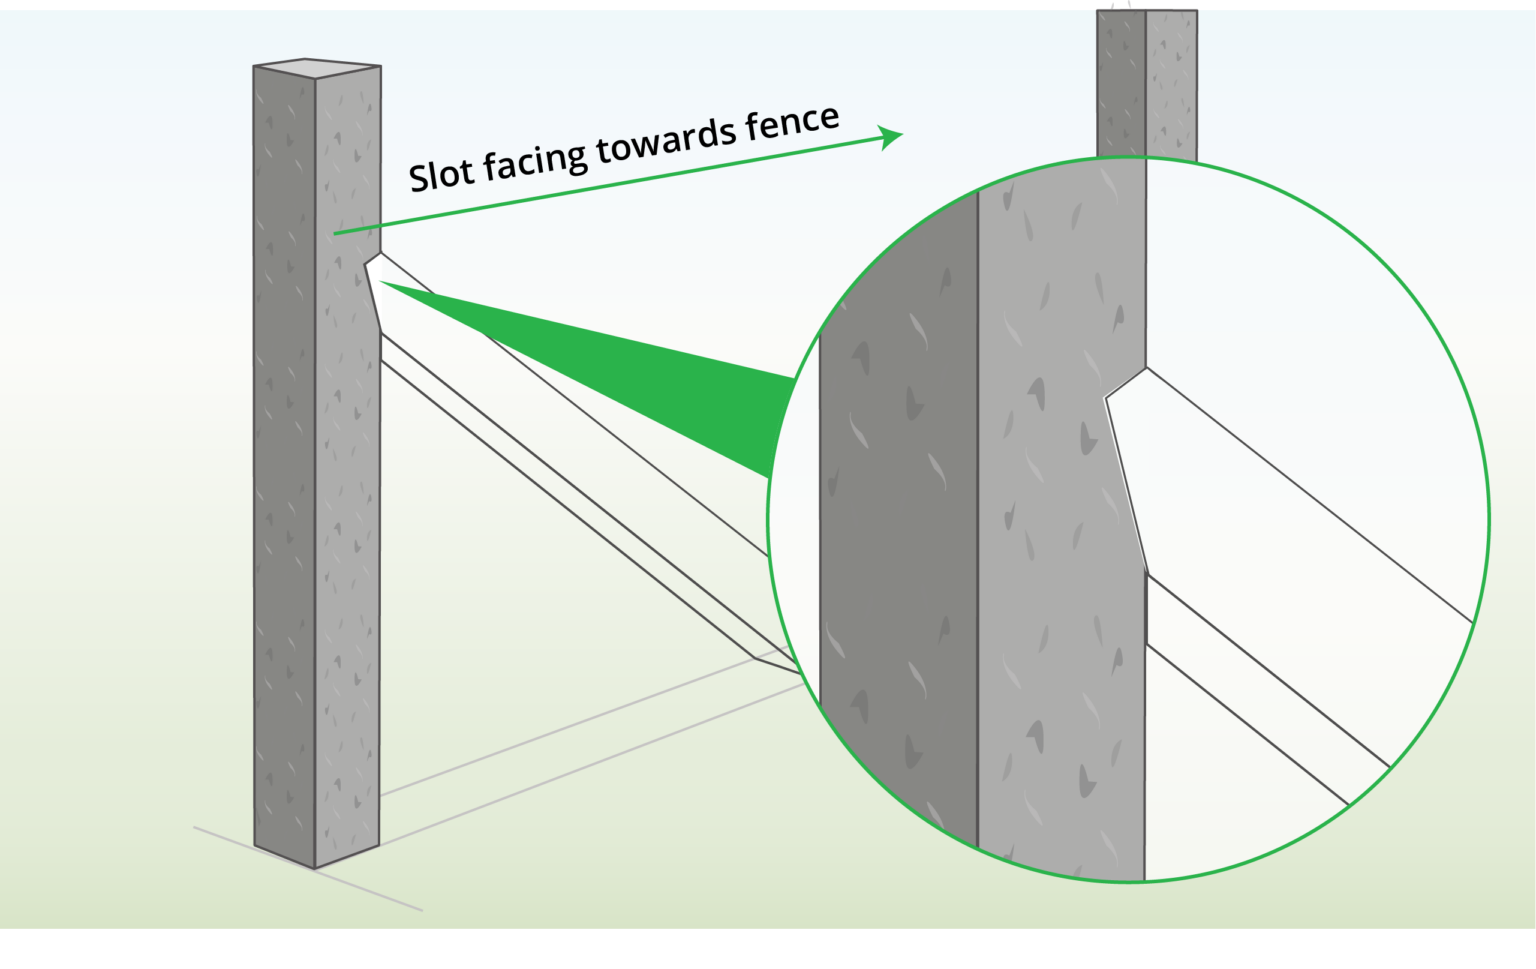
- End posts should feature a slot for the angle support.
- Ensure the angle support slot faces towards the fence run.

Published by
