
How to Tighten Chain Link Fence

Below you will find a step-by-step guide on how to tighten chain link fence.
- Experience Required: Medium
- Tools Required: Protective gloves, Pliers, Wrench, Stretcher bar, Fence stretcher
- Materials Required: Tension bar, Tension bands, Wire ties
Introduction
- Chain link fences may sag over time as tension wires loosen.
- To maintain stability, inspect for sagging, check poles, tension bands, and wire ties for rust or damage, and fix any issues to ensure durability.
Step 1) Prepare for Tightening

- Start at the end post by using a wrench to loosen the tension bands anchoring the fence.
- Next, use pliers to remove the wire ties or any other attachments.
- If you plan to tighten additional sections, remove the attachments after the post or section as well.
Step 2) Relocate the Tension Bar
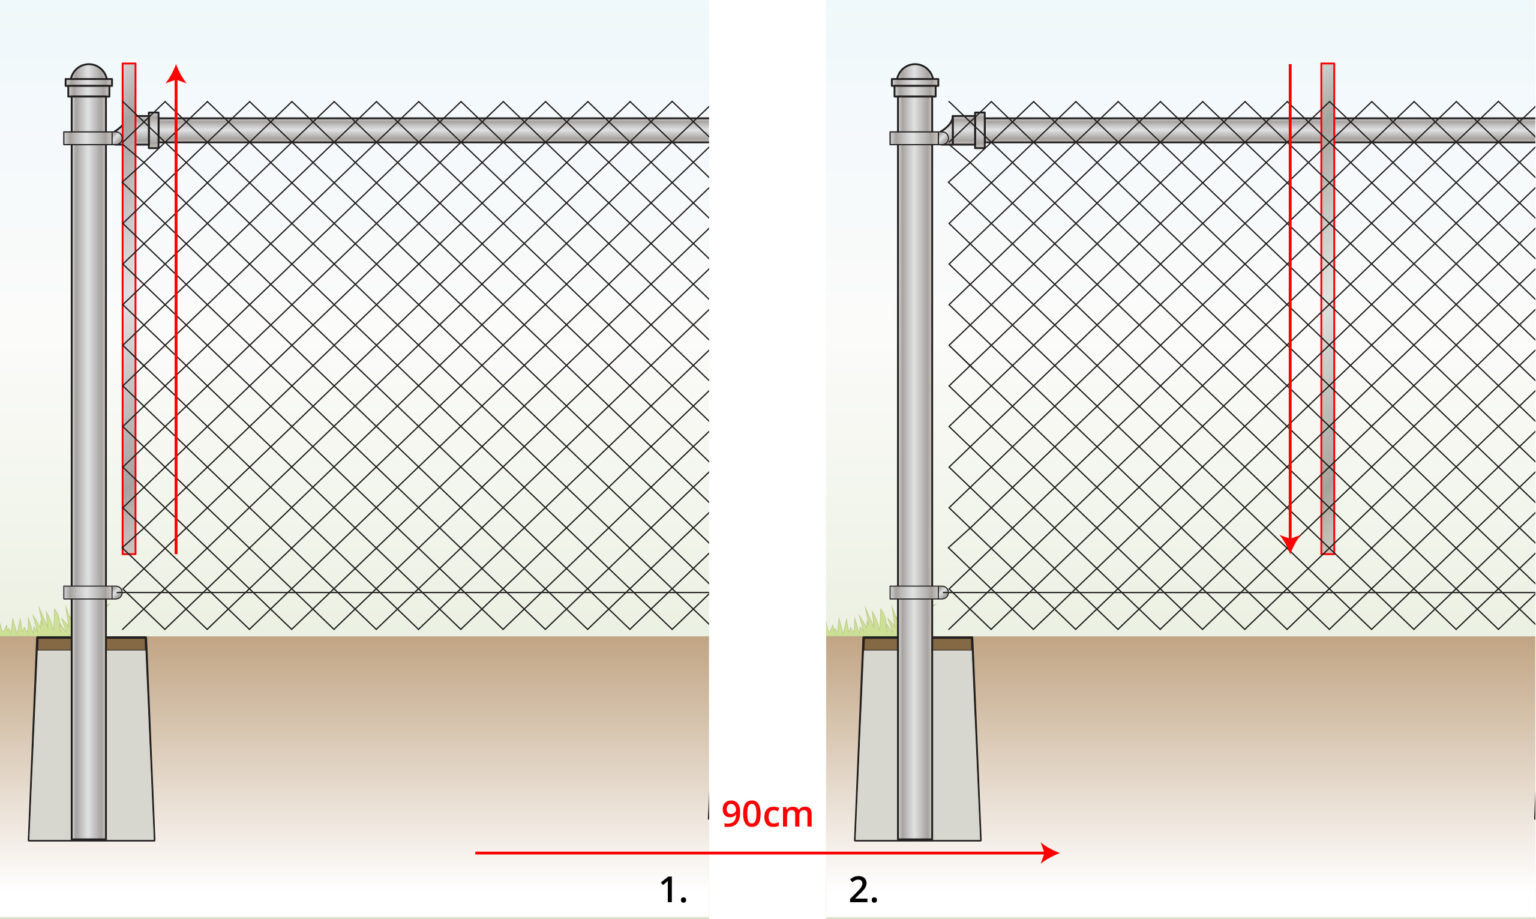
- Take out the existing tension bar from its position.
- Next, slide the tension bar vertically through the chain links where you intend to begin tightening.
- As a general guideline, position it approx. 90cm away from the end post to assist in the process.
Step 3) Attach the Fence Stretcher Tool
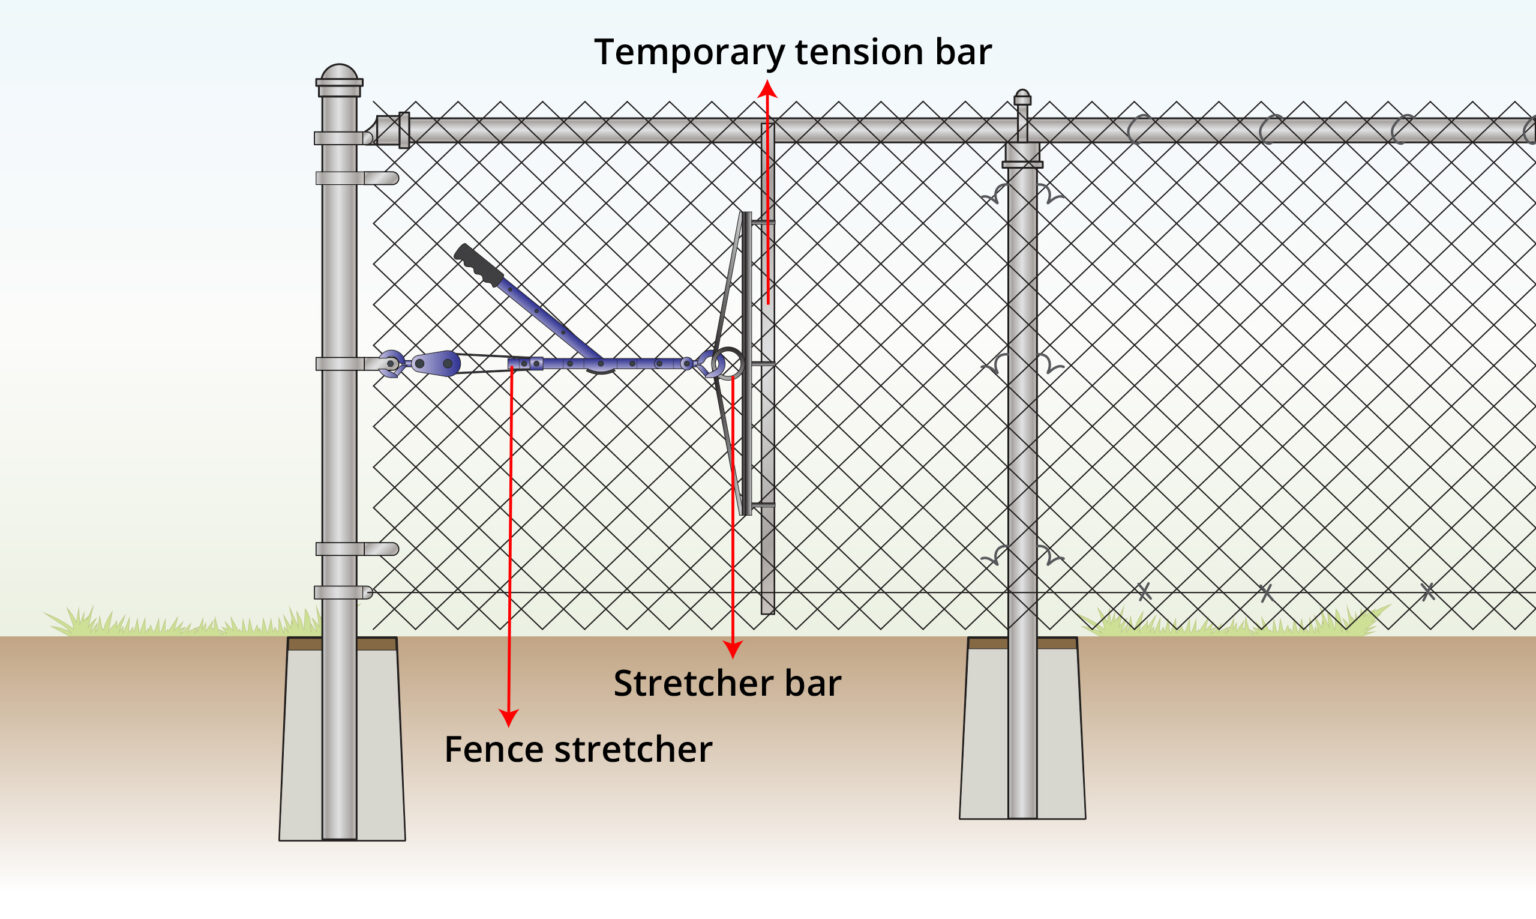
- In the process of how to tighten chain link fence, attach one end of the stretcher bar to the temporary tension bar.
- Secure the other end to a sturdy post or another reliable anchor point.
Step 4) Stretch the Fence Gradually
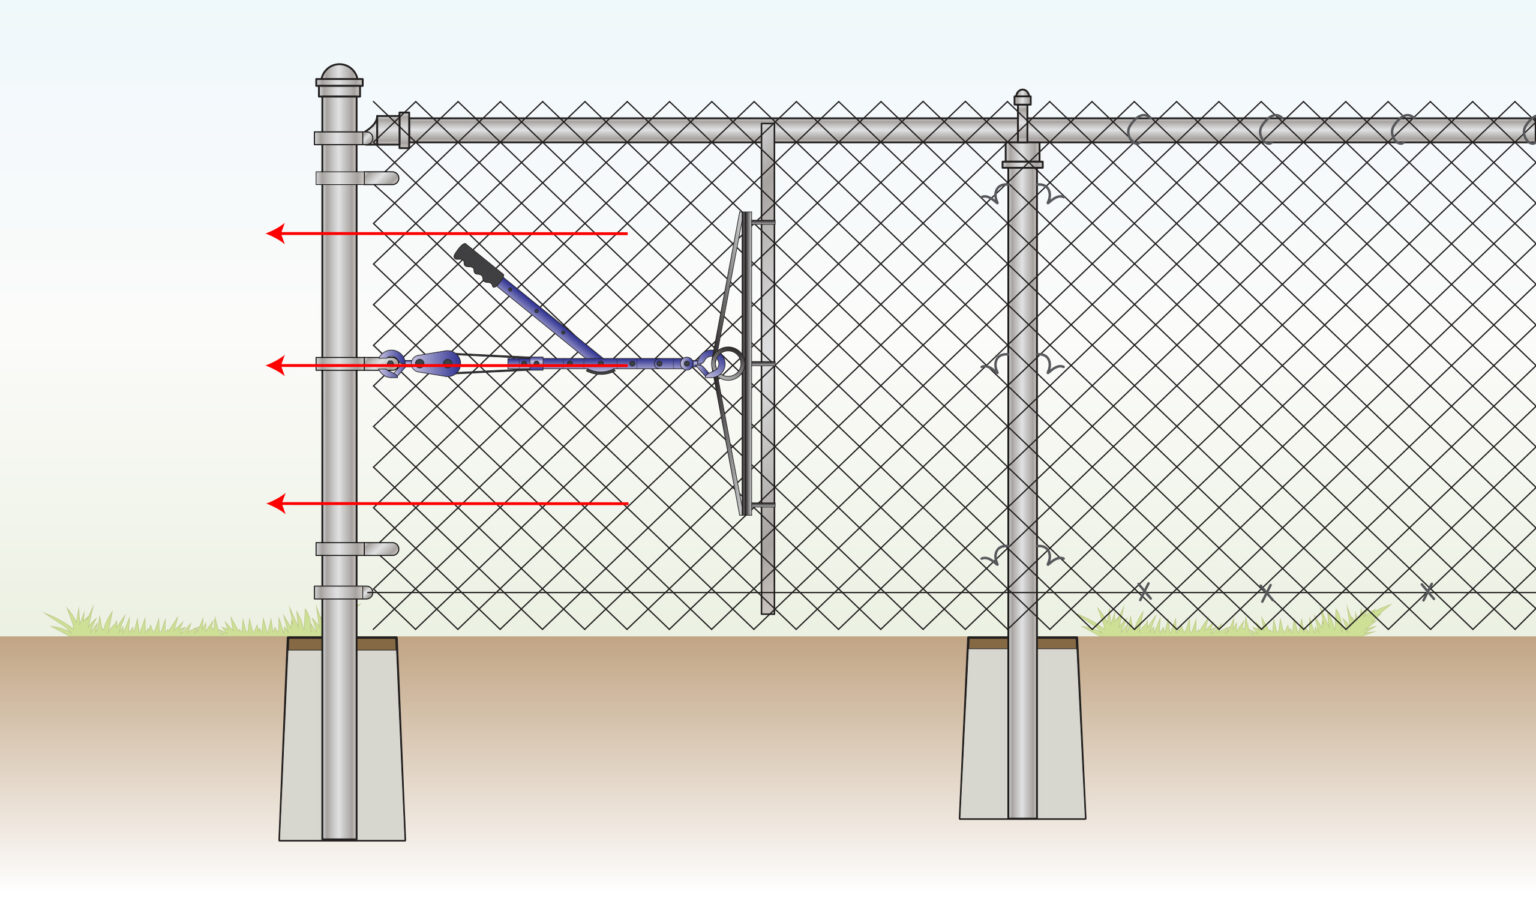
- Use the stretcher tool to gradually tighten the mesh, pulling it taut.
- Periodically check to ensure that the tension is even across the entire section.
- Take care to avoid overstretching, as this could deform the run.
Step 5) Reattach the Tension Bands & Wire Ties
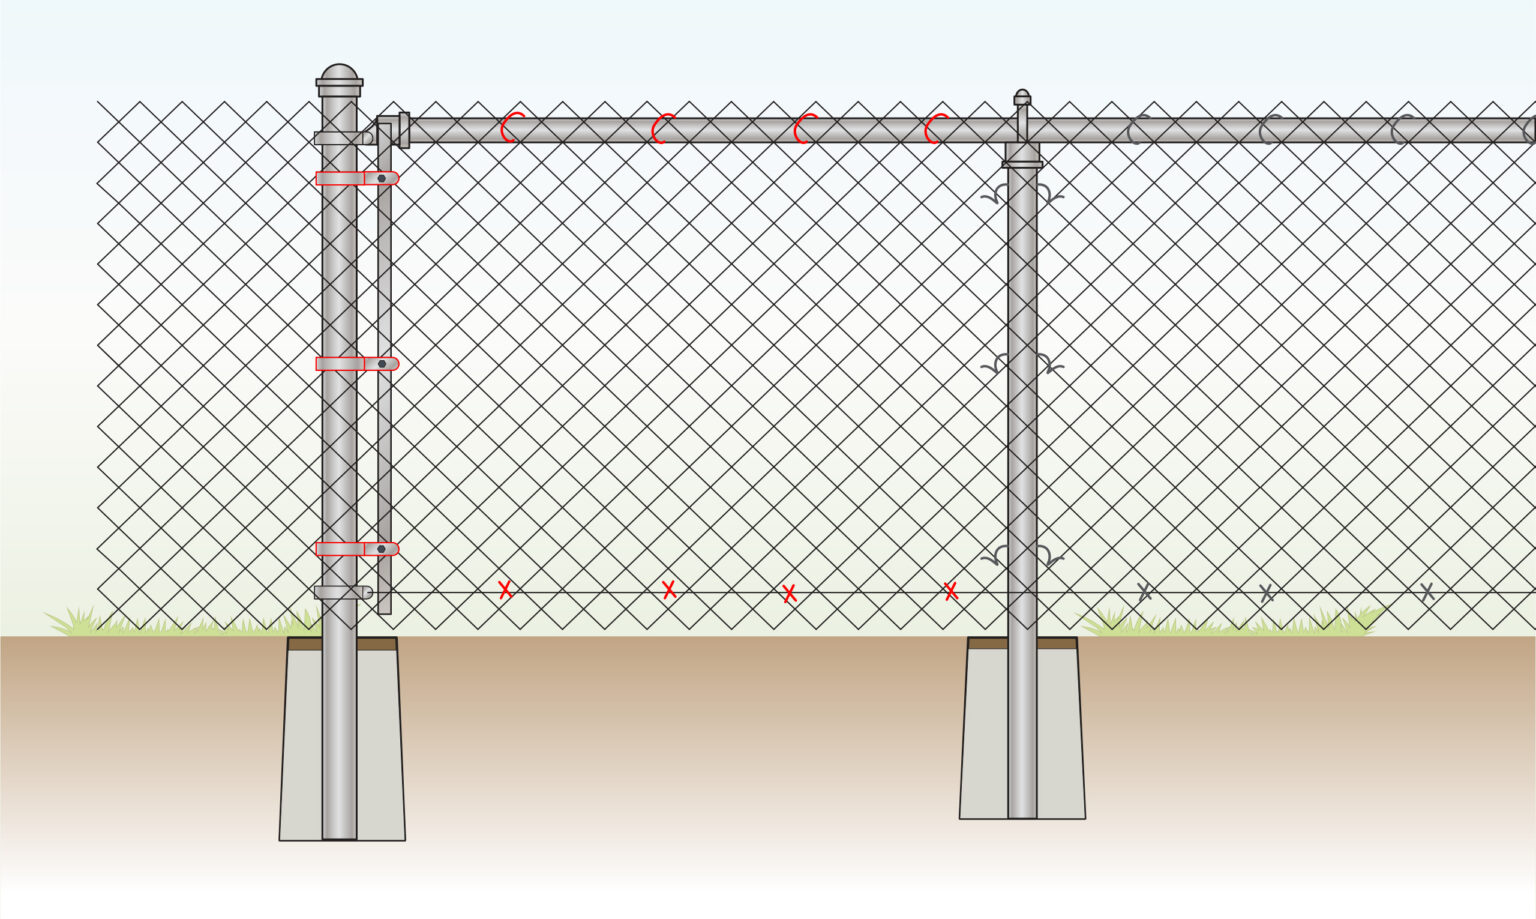
- Once the fence is properly tightened, reattach the tension bands to the end and corner posts and secure them firmly with a wrench.
- Reinforce the mesh along its length by attaching wire ties at regular intervals, spacing them every 30-45 cm.
Step 6) Cut Off Excess
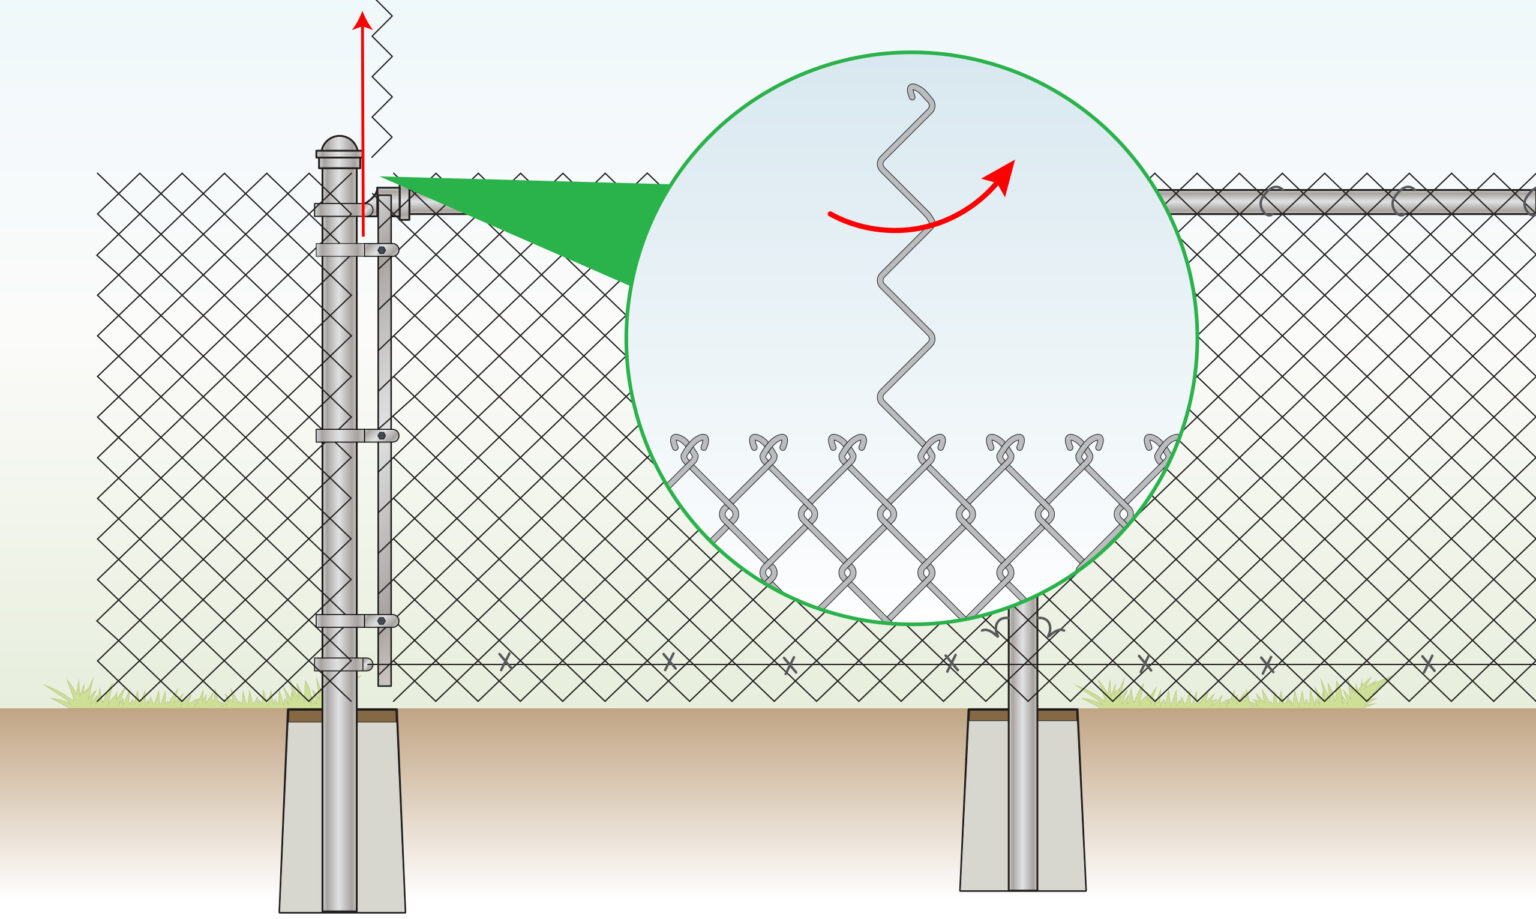
- After tensioning, remove any excess chain link material at the end sections.
- To do this, locate a single strand of wire and open its top and bottom loops.
- Then, unwind the strand upward through the links until the excess fabric comes apart.
Step 7) Repeat Process if Necessary
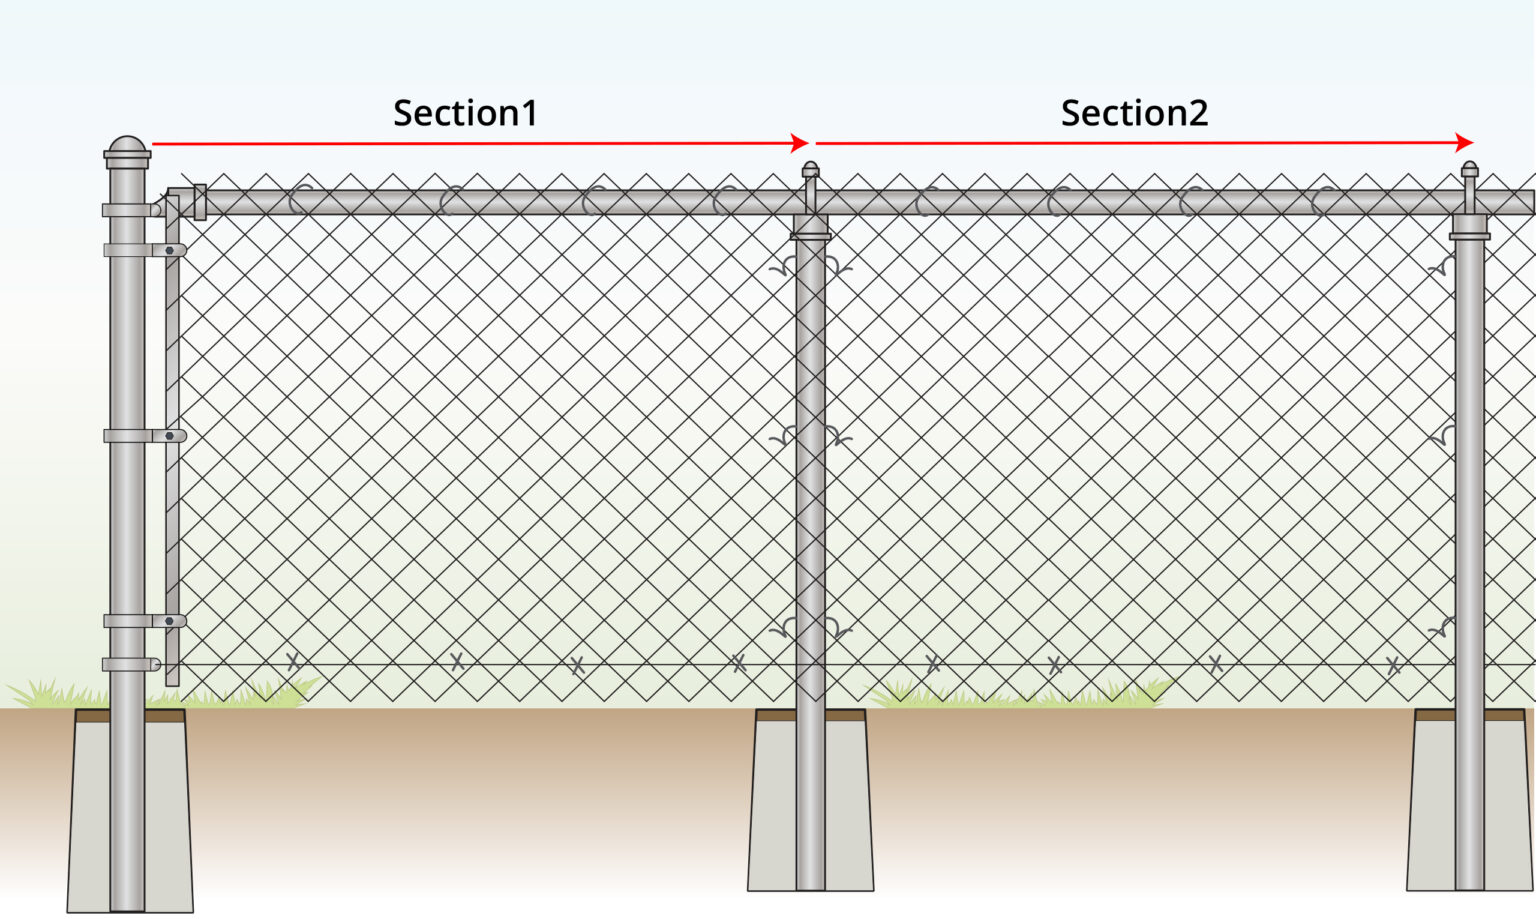
- Continue along the line, repeating the tightening process for any other loose sections.
- Once complete, inspect the entire line to ensure even tension and alignment, making any final adjustments as needed for a clean finish.
Further Tips on How to Tighten Chain Link Fence
Before starting your fencing project, it’s important to plan carefully and consider a few key factors. The points below are based on our team’s experience designing and installing different fencing.
- Avoid overstretching the fence to prevent damage to the material.
- Work on smaller sections (from post to post) at a time to prevent strain and maintain an even pull along the entire length.
- If you need to tighten the entire run rather than just one section, remove all the attachments beforehand. Once the strengthening process is complete, reattach the ties and tension bands securely.
- Having a second person can help with holding the chain taut while you work on it, making the process smoother and quicker.
FURTHER READING
- Chain Link Fence Installation – Step by step instructions on how to install a chain link boundary.
- How to Unroll Chain Link Fence – Learn how unroll mesh to using different methods.
- How to Cut a Chain Link Fence – A guide showing you how to cut the mesh.
VIDEO

Written By
This blog was created by our Technical Illustrator, Timi and reviewed by our Technical Consultant, Erno.
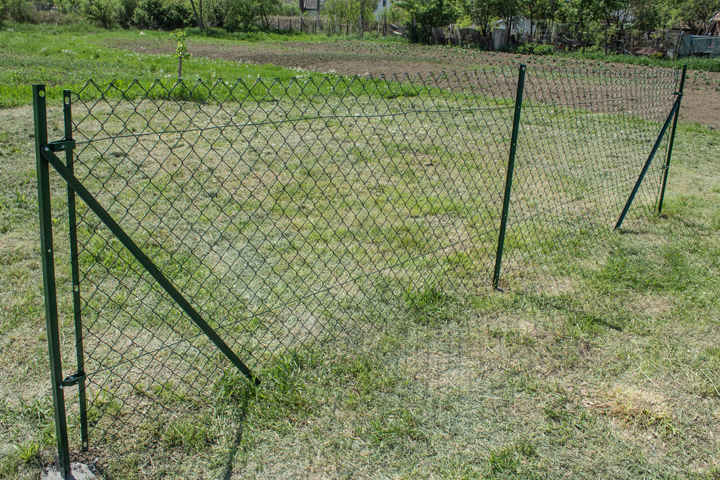
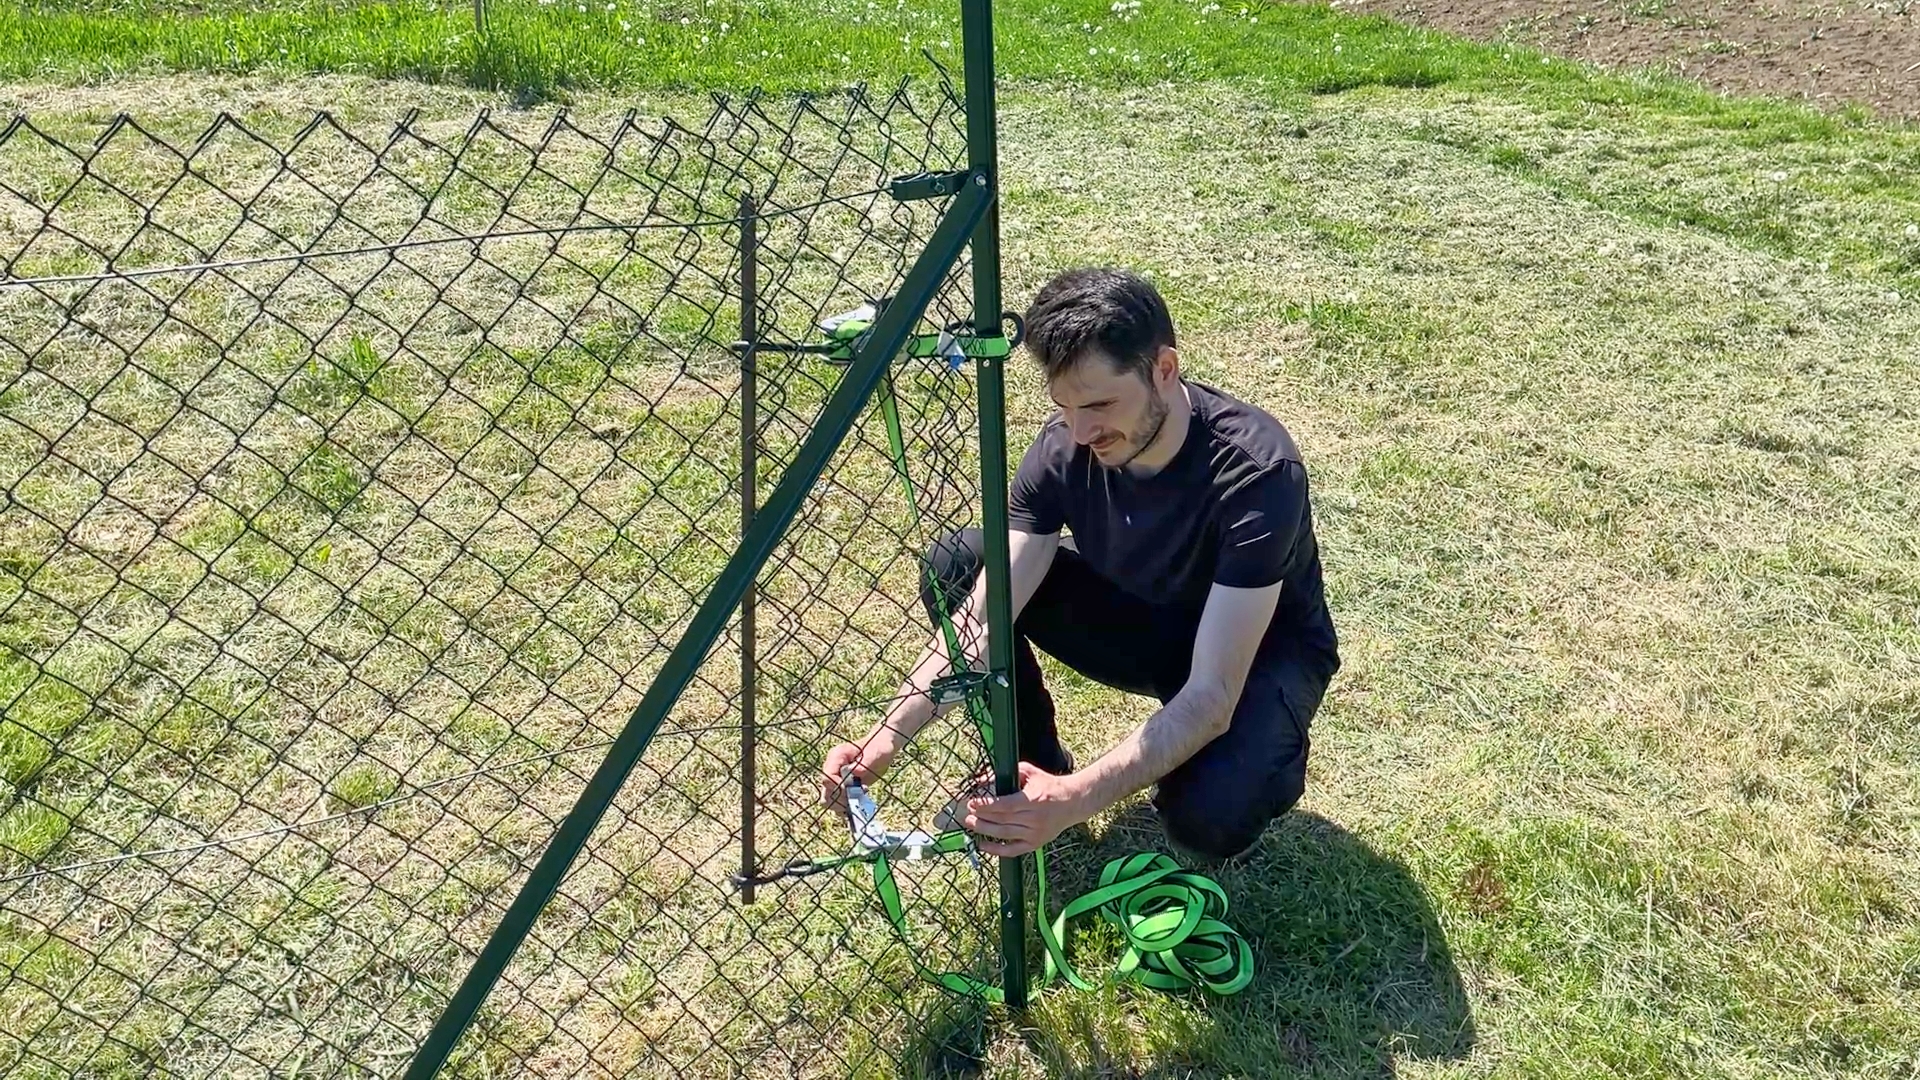
Below you’ll find examples of our real-life chain link fence builds, along with customer projects. We’ve opted for technical illustrations for the instructions found in this blog because they provide better clarity on mesh placement and structural details that can get lost in real-life photography.

Published by
