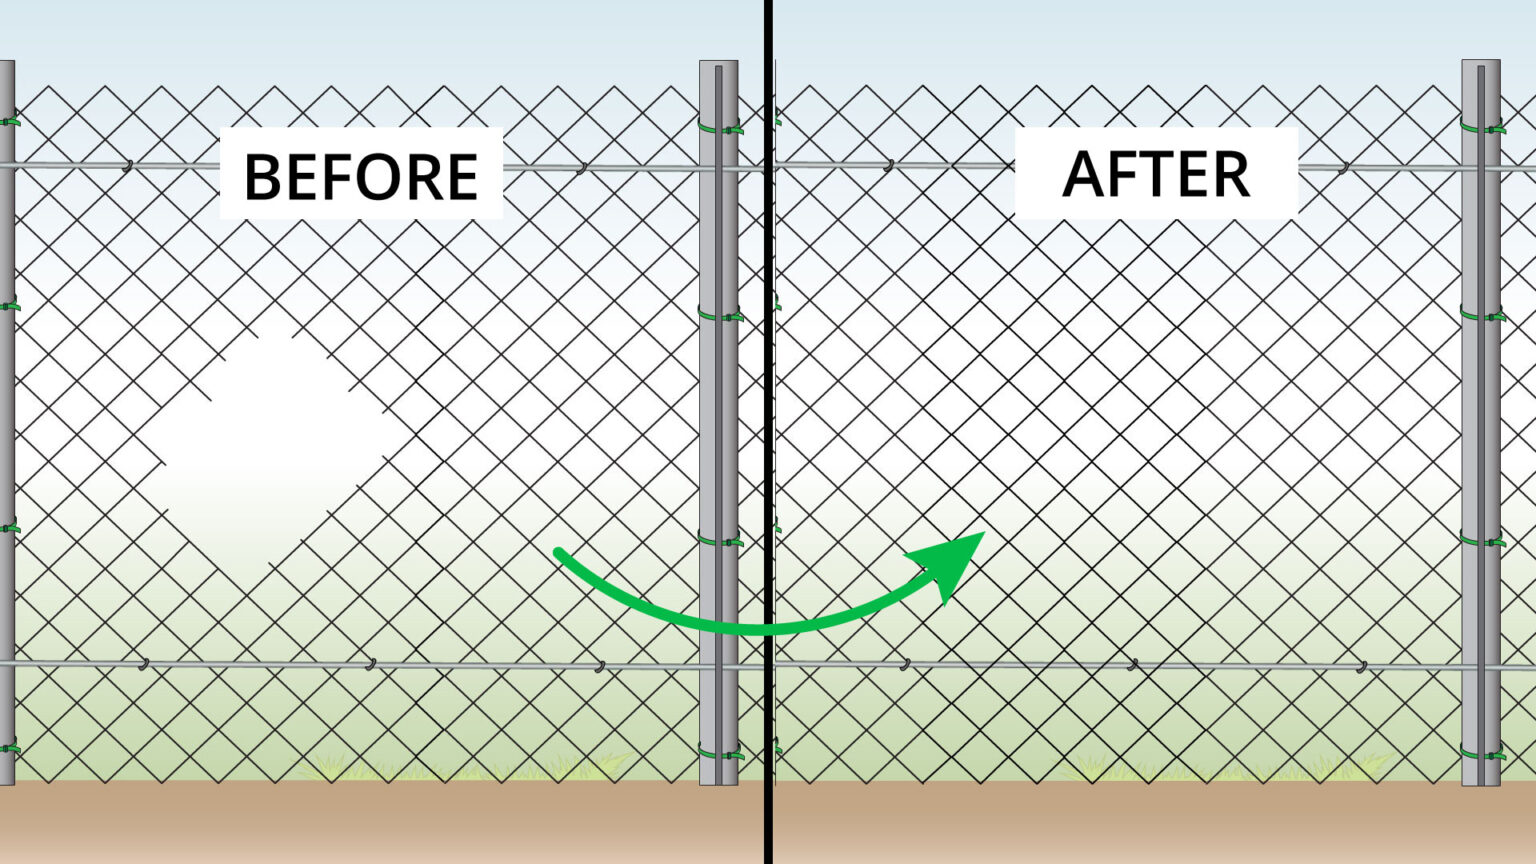
How to Repair Chain Link Fence
Below you will find a step by step guide on how to repair chain link fence fabric.
- Experience Required: Medium
- Tools Required: Protective gloves, Wire cutters, Pliers, Fence stretcher, Tape measure
- Materials Required: Chain link fence, Stretcher bars, Hog rings
Step 1) Identify the Damaged Section
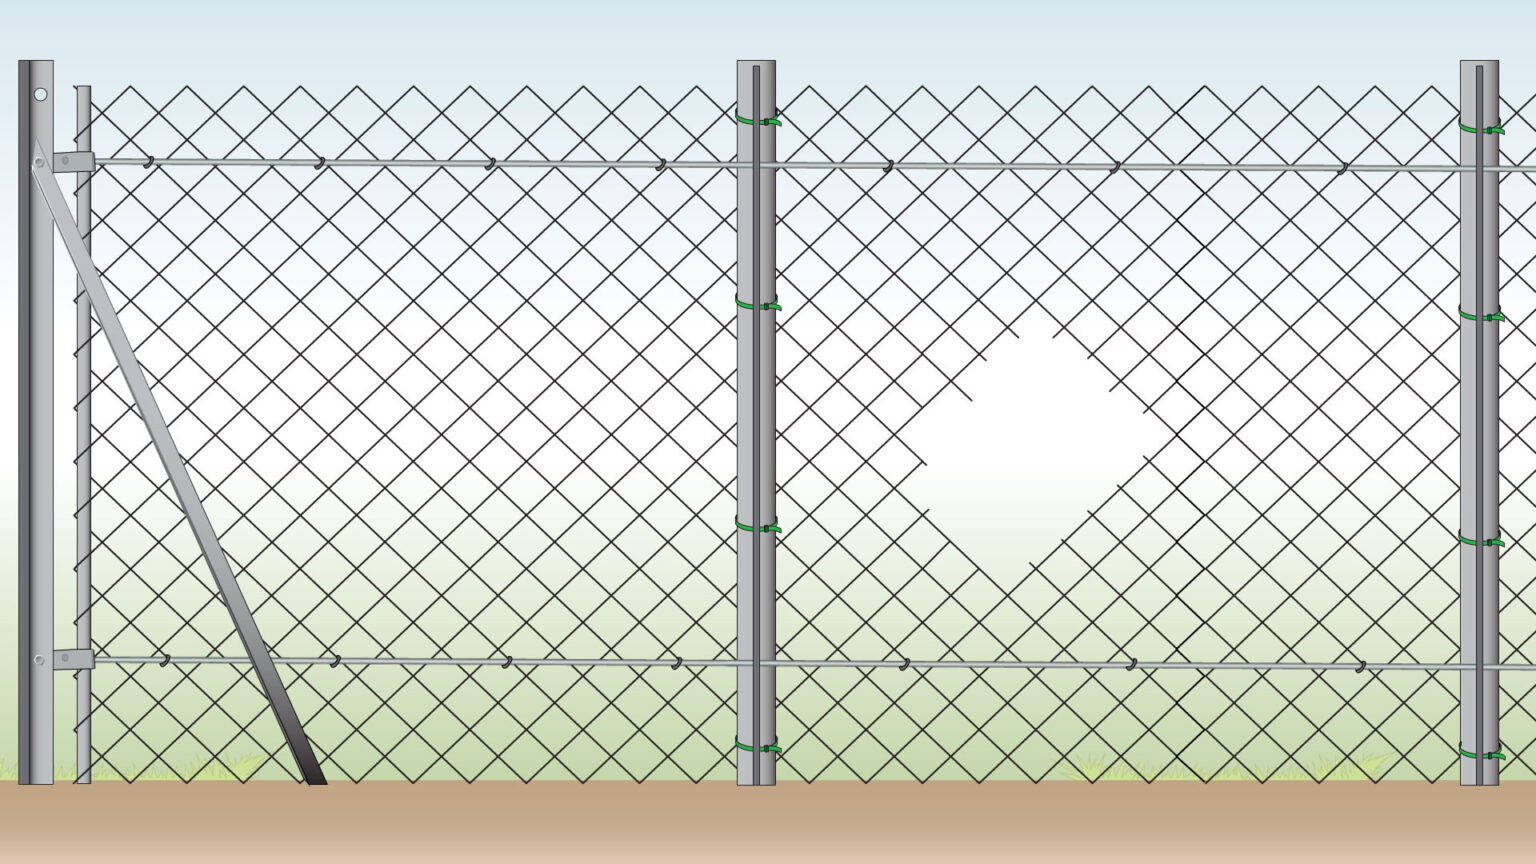
- Begin the process of how to repair chain link fence by identifying the damaged section of the fence.
Step 2) Remove Attachments
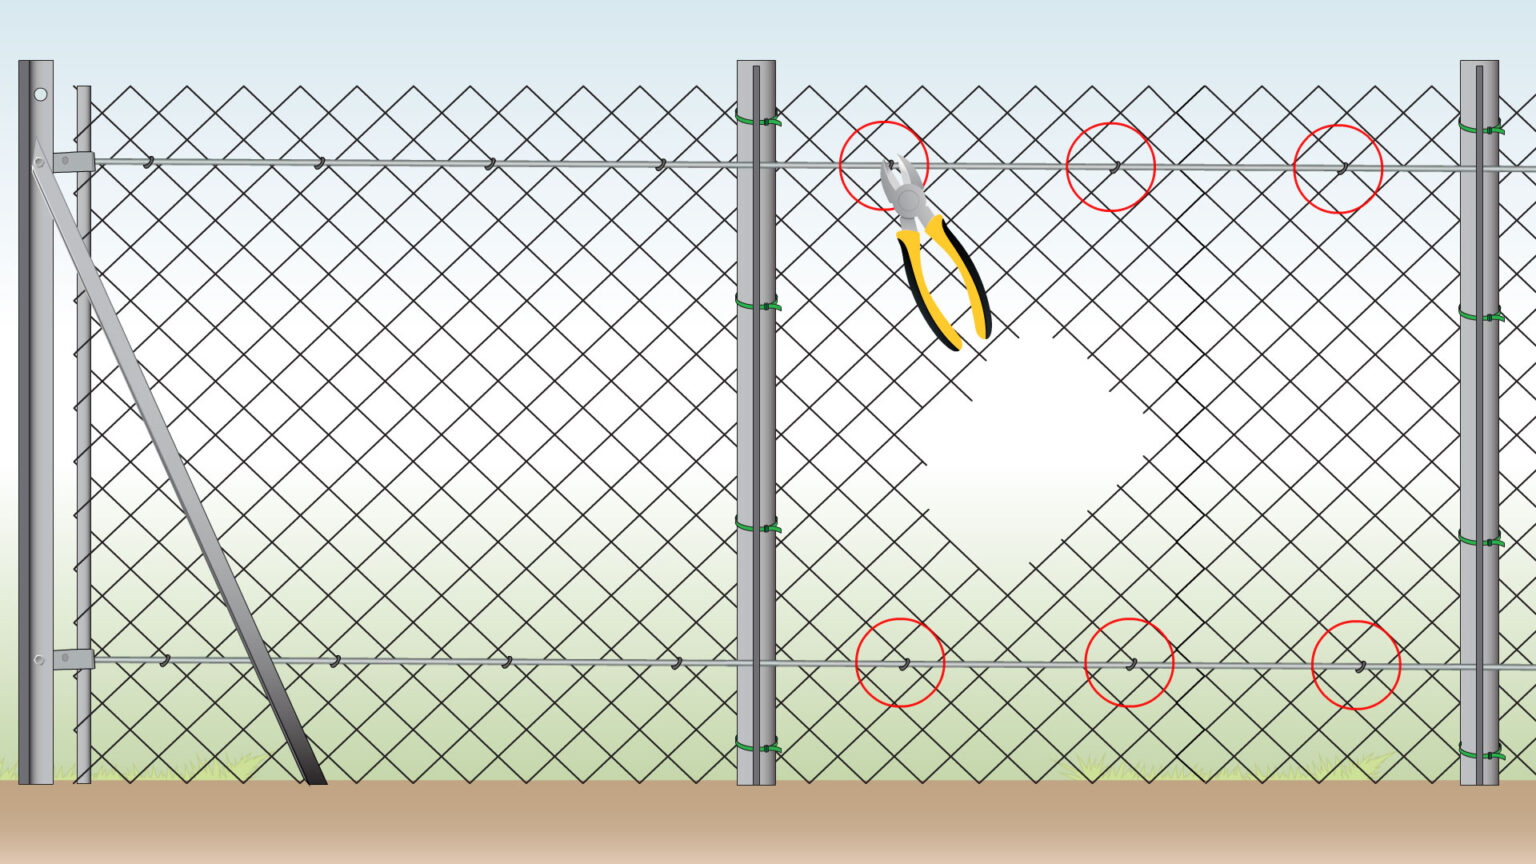
- If the section is connected to a top or bottom tension wire, untie or cut it first.
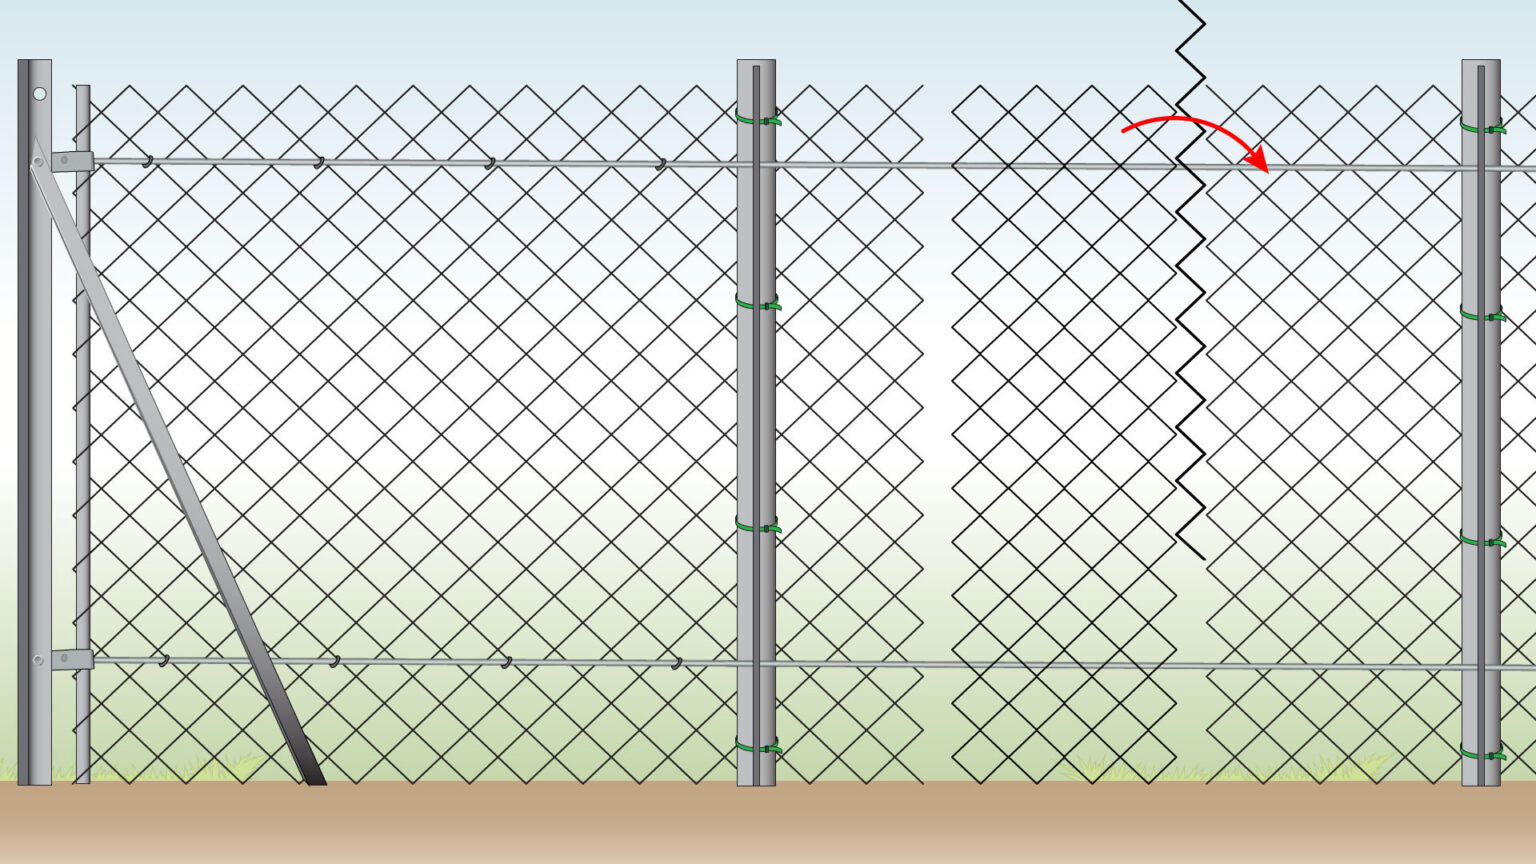
Step 3) Cut One Strand
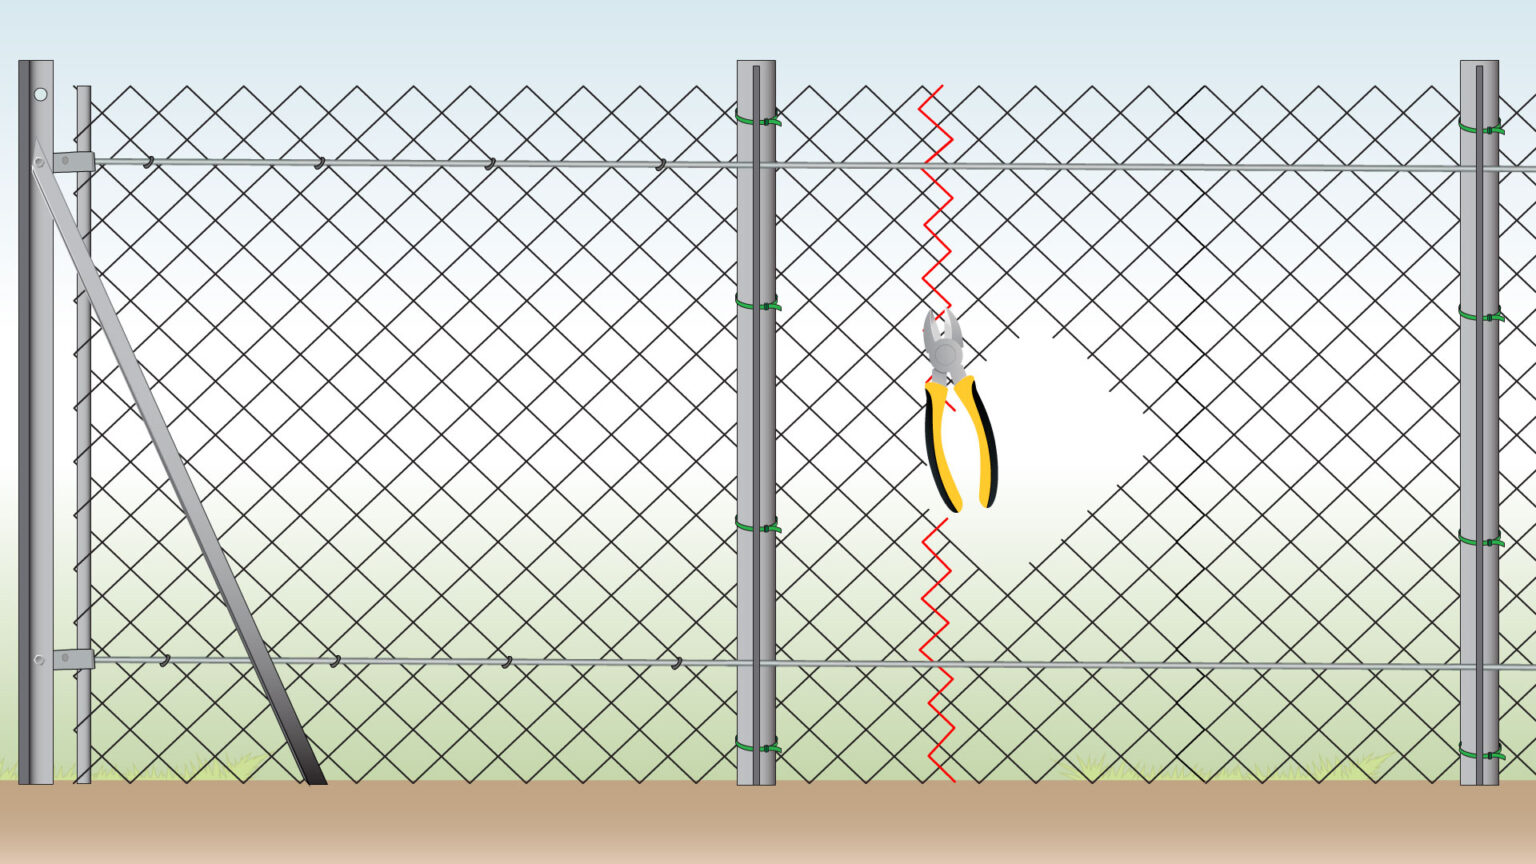
- On one side of the damaged area, cut a single wire strand using wire cutters.
- Since the fence is under tension, you won’t be able to untwist the wire at this stage.
- For different methods on How to Cut a Chain Link Fence, check out our blog for more guidance.
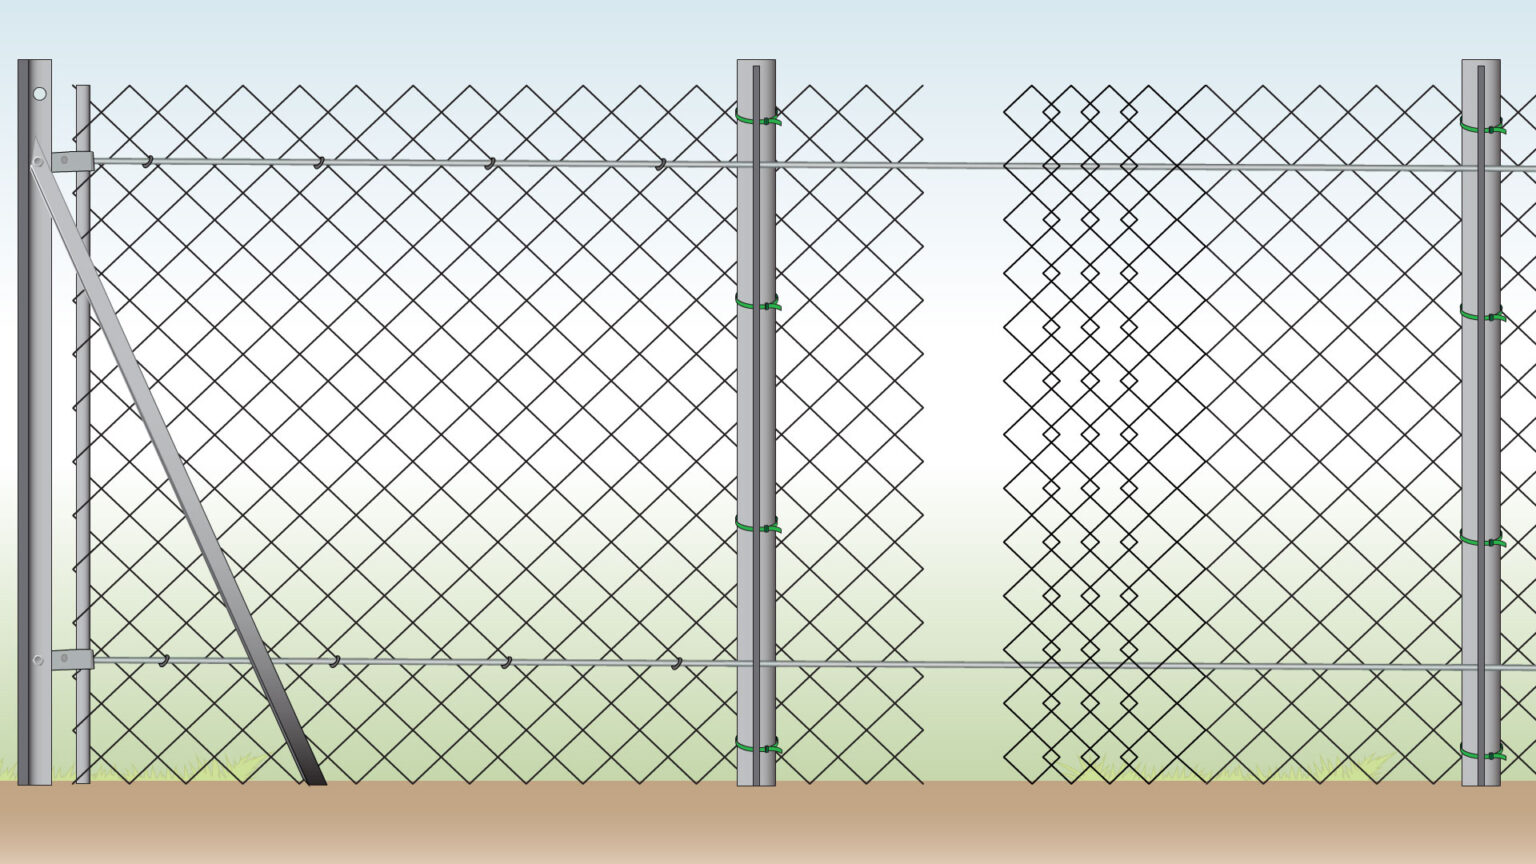
Step 4) Untwist Strand Other Side
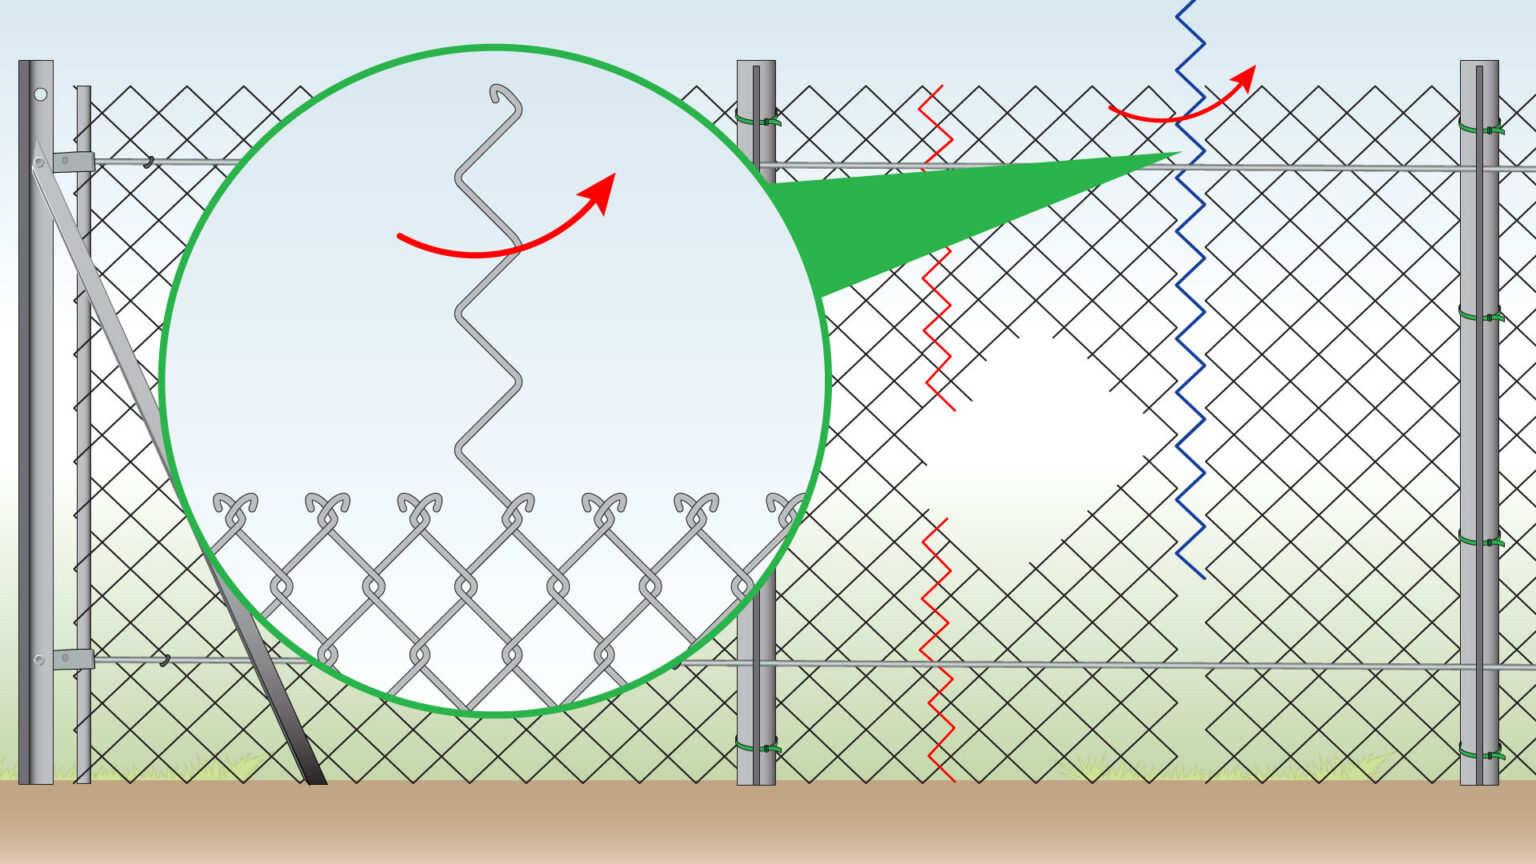
- On the other side, untwist the wire strand by hand, since the fence is not under tension now.
- Set this strand aside.
Step 5) Half Diamonds
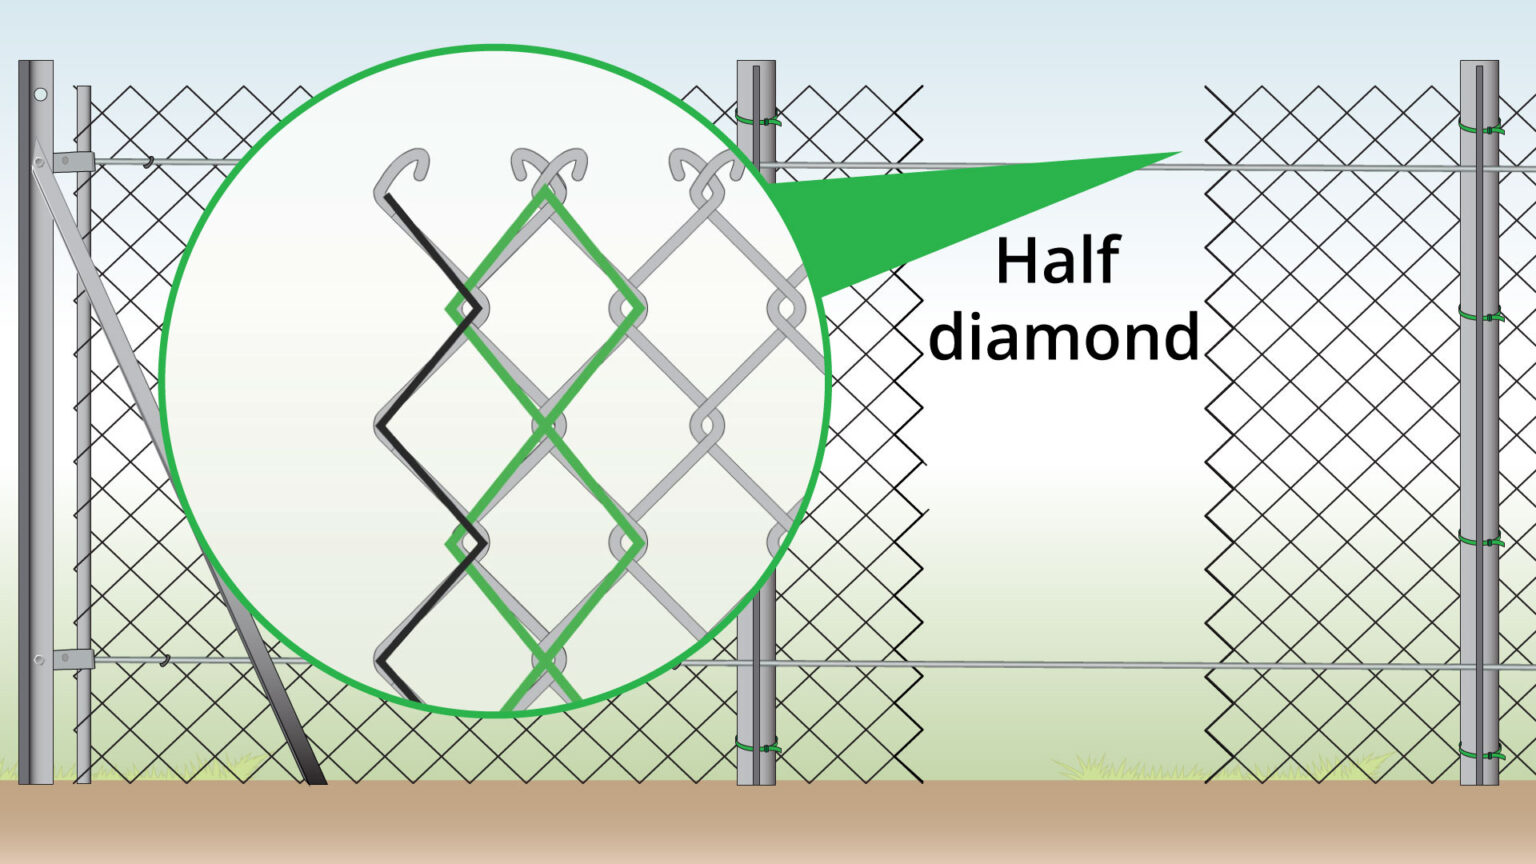
- Keep half diamond ends on both sides so the replacement section can be connected later.
Step 6) Measure Out Enough Material
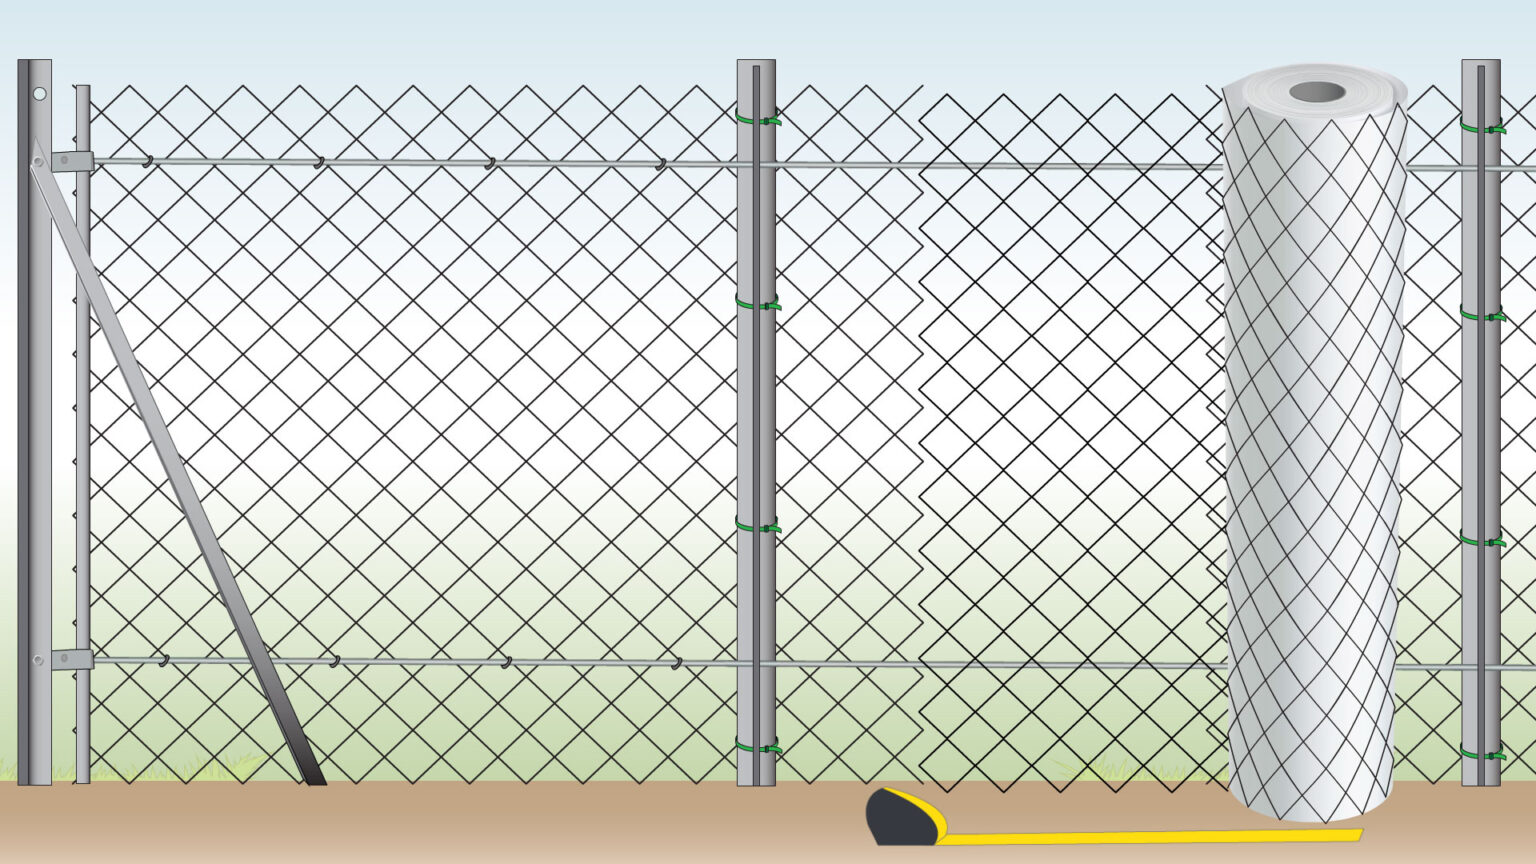
- Ensure the replacement material matches the size and wire gauge of the fence.
- Measure enough material to cover the gap, leaving a little extra.
- Alternatively, use the damaged section as a guide, but cut the replacement slightly longer.
Step 7) Untwist Wire from Roll
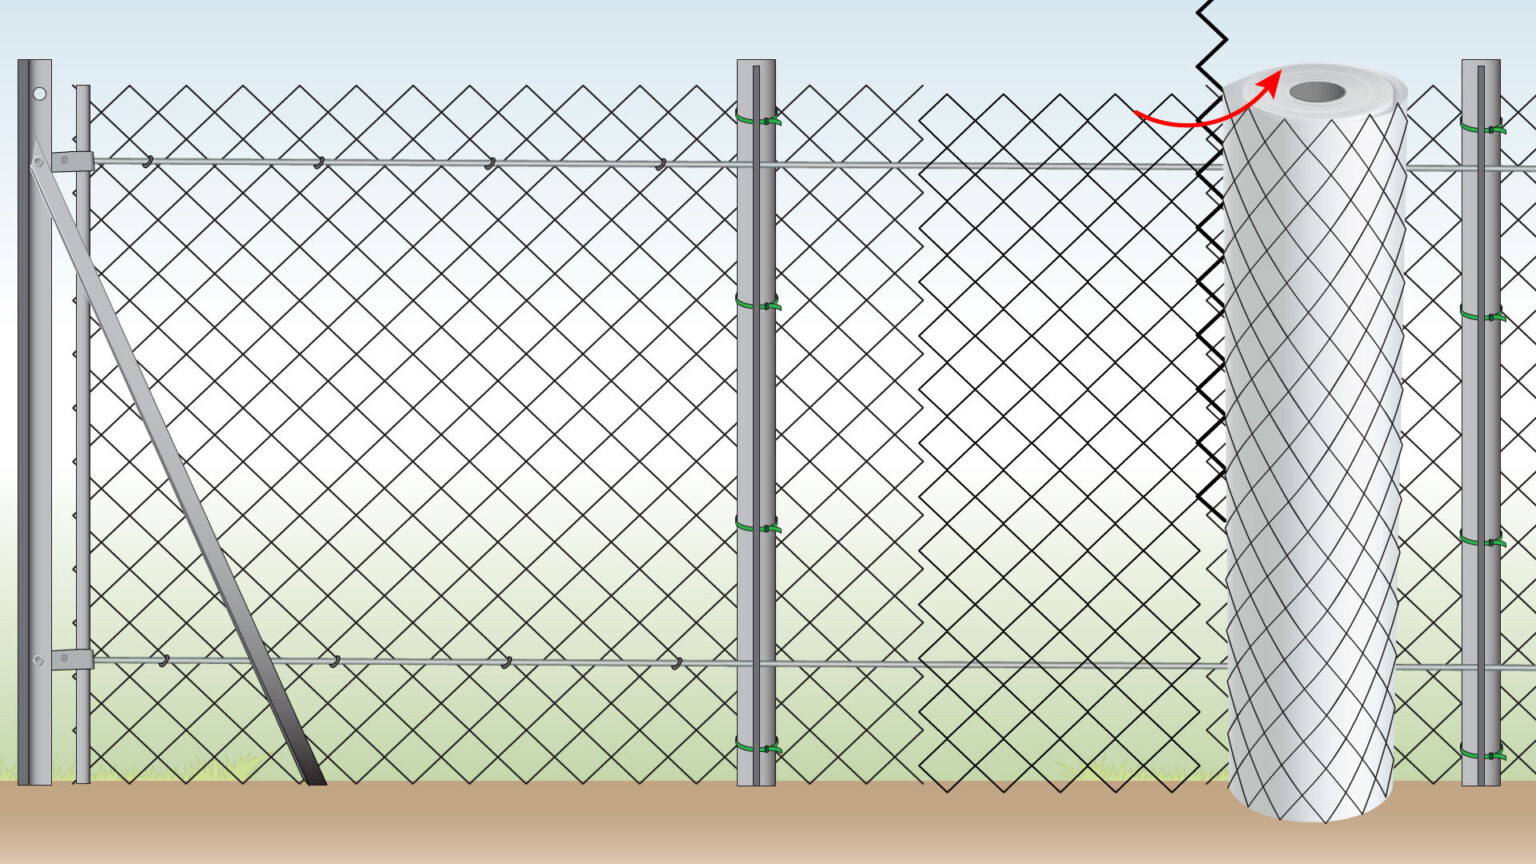
- Untwist a wire strand from the roll at the point where you want to cut the material to the required length.
- You can reuse this strand in the next step.
Step 8) Connect at One Side
- Twist the removed wire strand to secure the replacement section to one side of the existing mesh.
- If you’re unsure about this procedure, check out our How to Connect Chain Link Fence blog for more guidance.
Step 9) Fabric May Sag
- The mesh will sag without tension, so it’s normal for the links to droop.
- You won’t be able to connect the other side until it is tightened.
Step 10) Position the Two Bars
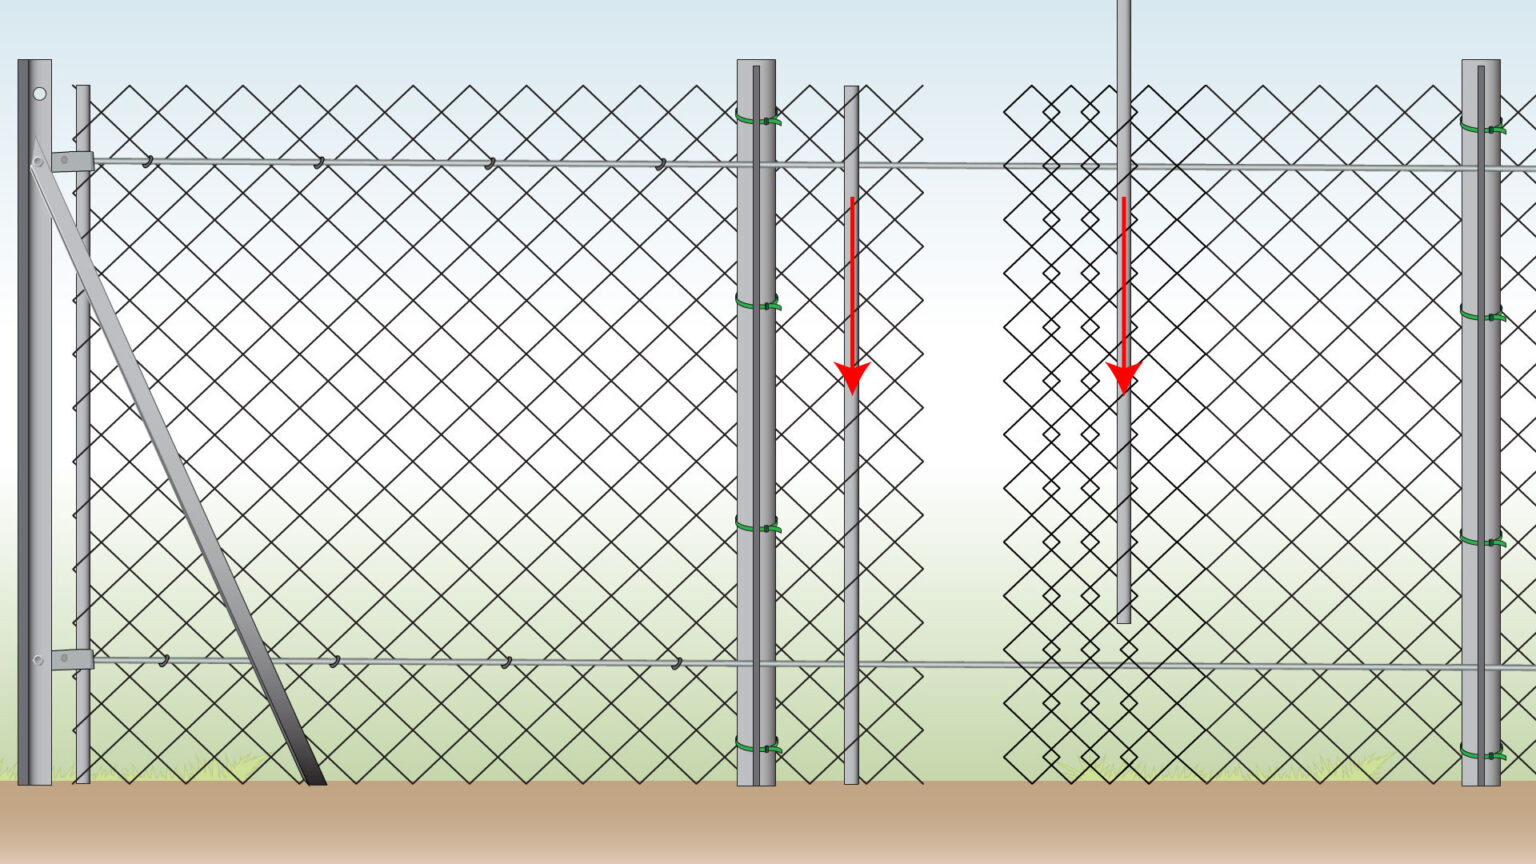
- Position two stretcher bars at each end of the opening, making sure they are not placed in the end diamonds.
Step 11) Pull Sections Together
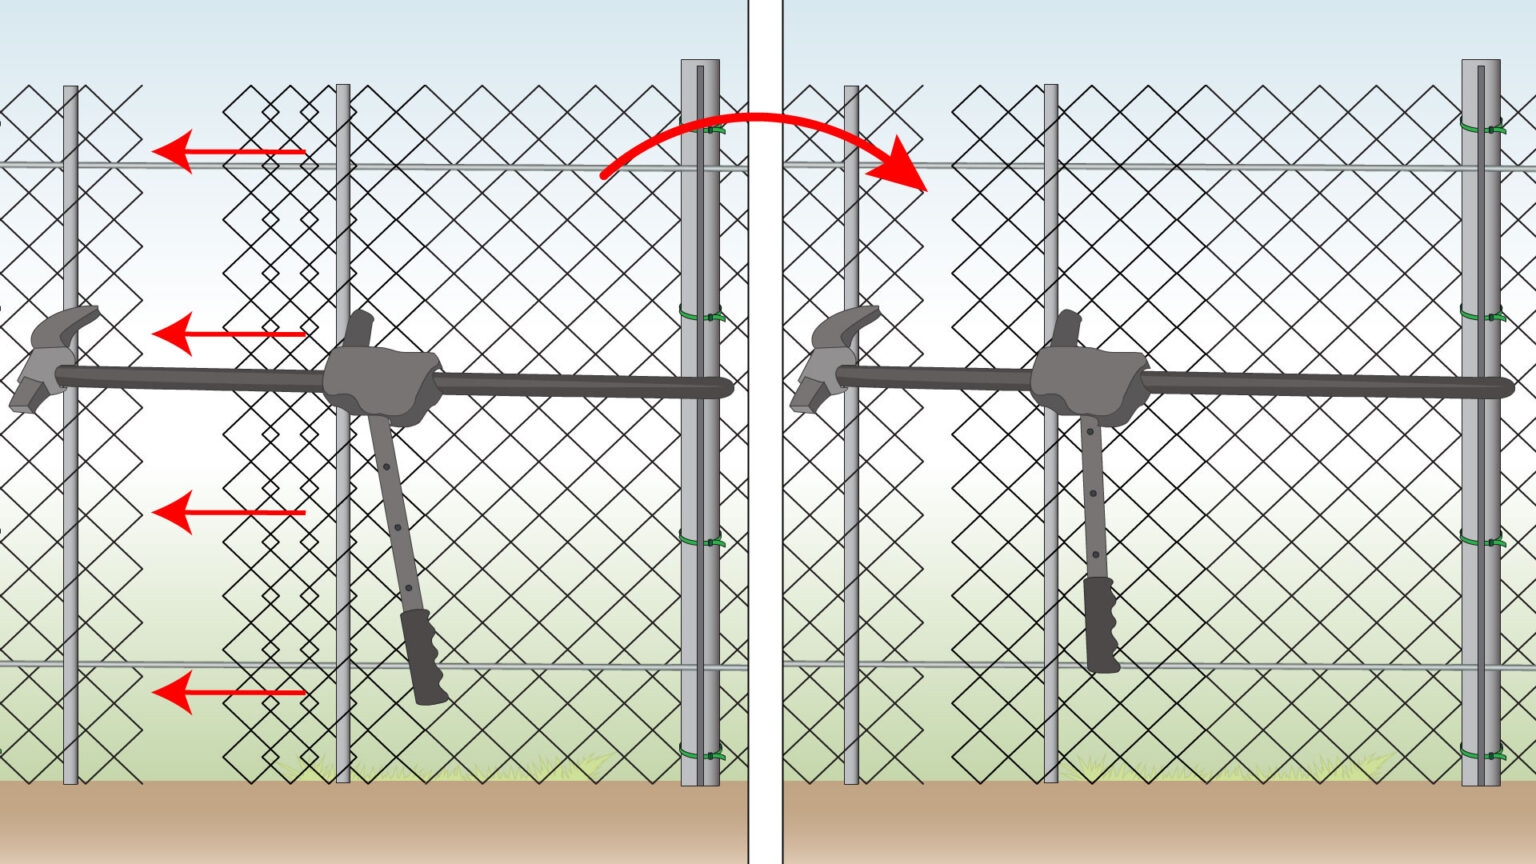
- In the process of how to repair chain link fence, use a stretcher tool to pull the two sections together.
Step 12) Complete The Repair

- Once aligned, weave in the saved wire strand to connect both sides and complete the repair.
Step 13) Remove Tool and Bars
- Once secured, remove the stretcher tool and tension bars.
Step 14) Secure It Back
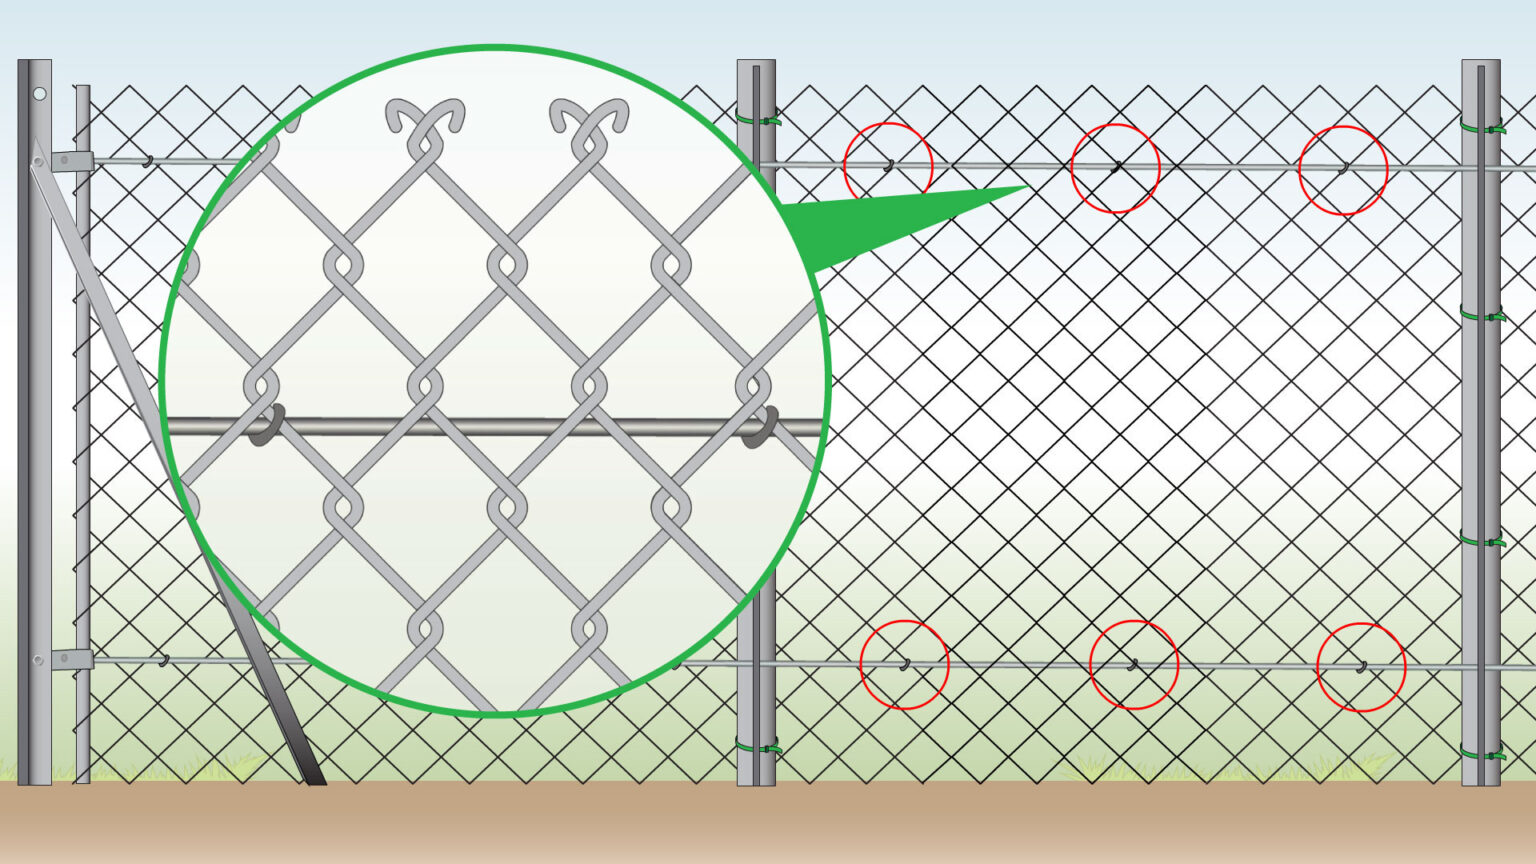
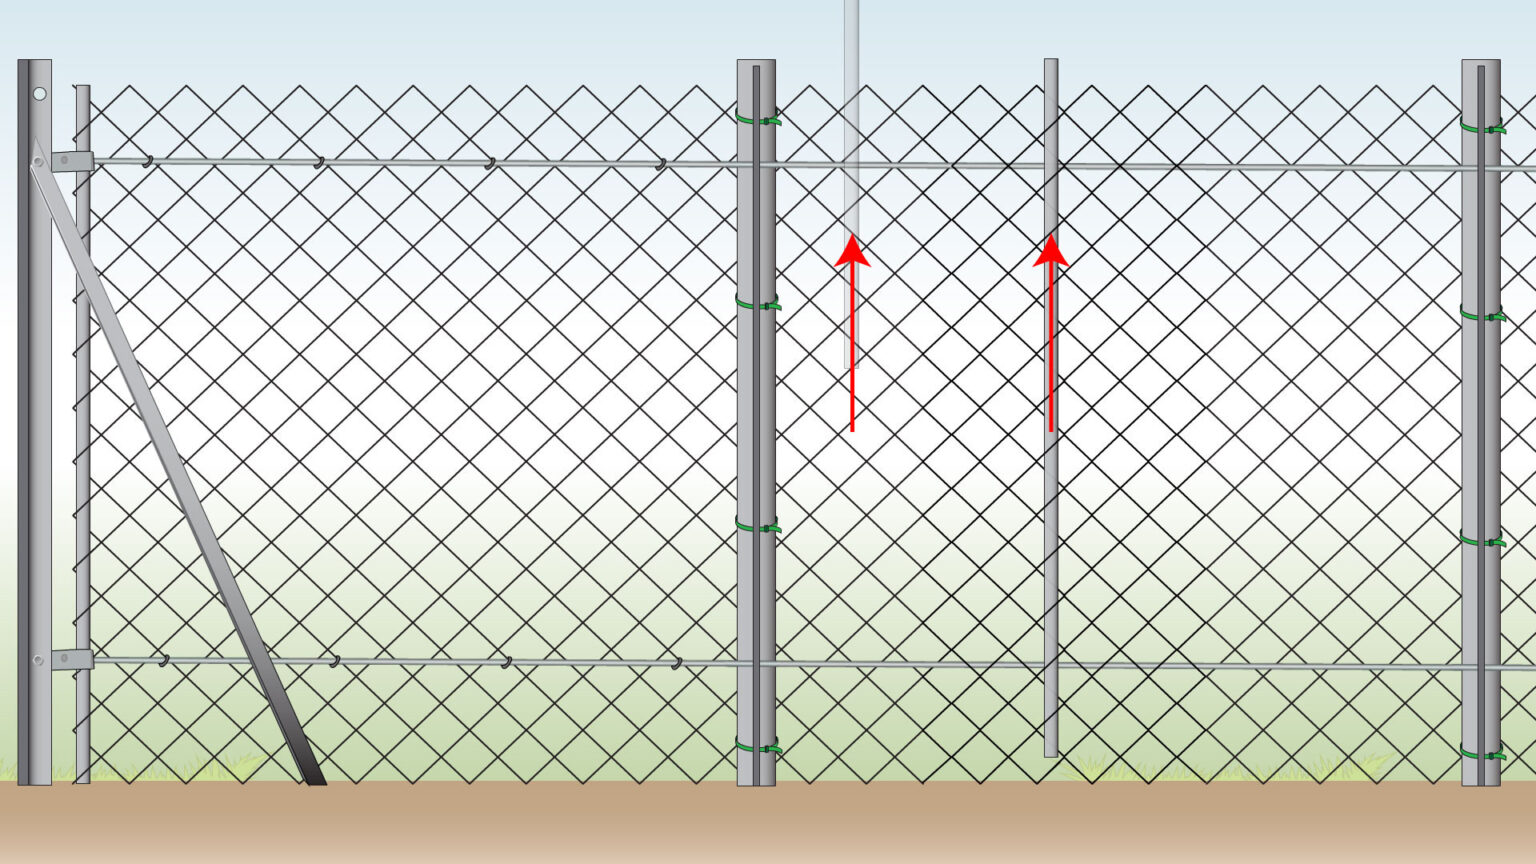
- Secure the mesh back to the top and bottom tension wires using hog rings.
Step 15) Finished Project
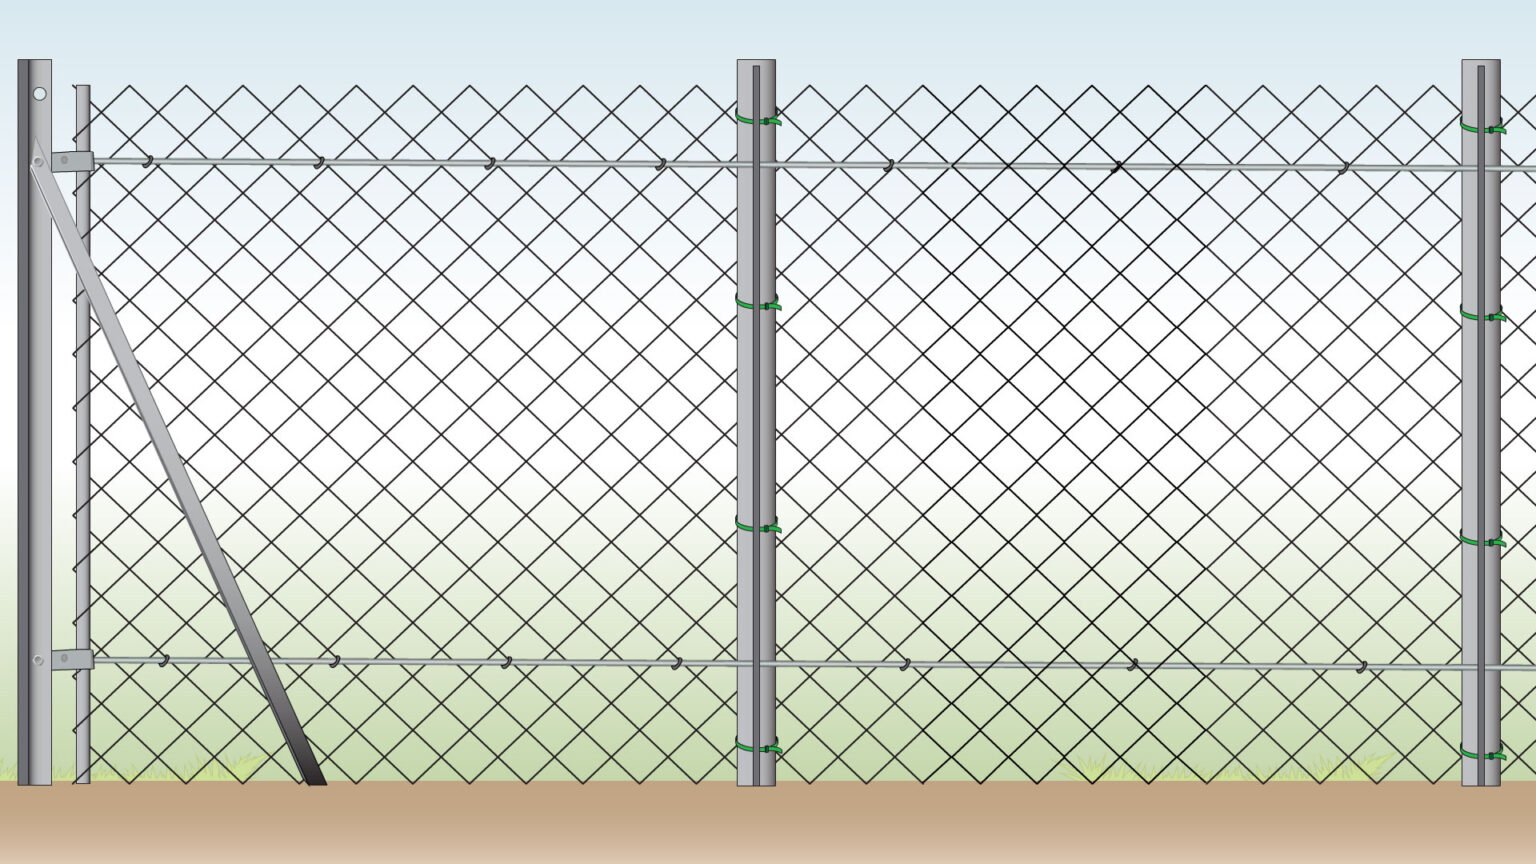
- You’re all set. The material is now repaired.
Tips and Tricks on How to Fix a Chain Link Fence
- Leave half-diamond ends on both sides of the opening so the replacement section can be attached properly.
- If you did not save a single wire strand, you can twist one out from the roll.
- When you fix hole in chain link fence, make sure the replacement fabric matches the existing fabric size and wire gauge.
- Measure enough material to fully cover the opening. You can use the damaged section as a guide, but cut the replacement fabric one or two links longer for proper fitting.
- Replace or install new posts, and change any additional materials as needed before attaching the new chain-link fabric.
FURTHER READING
- How to Cut a Chain Link Fence – A guide on how to cut the fabric accurately.
- How to Connect Chain Link Fence – Learn how to join sections of material together.
- How to Tighten Chain Link Fence – Step-by-step instructions for tightening the mesh.
- How to Unroll Chain Link Fence – A guide on how to unroll the material properly.
- How to Install Chain Link Fence with T Posts – Step-by-step instructions for installation using T posts.
VIDEO
