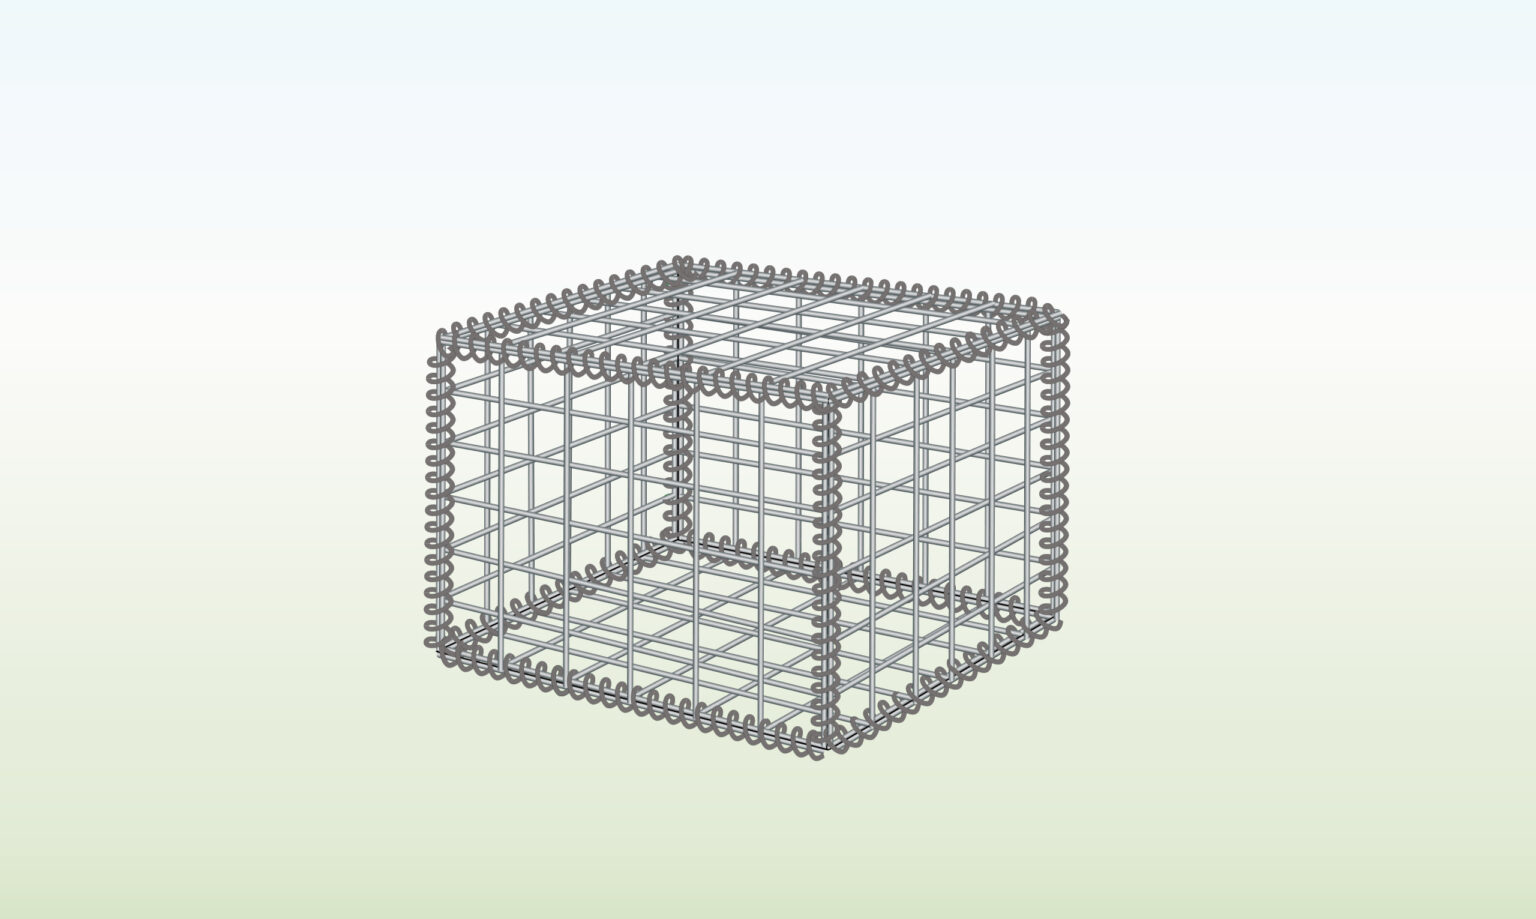
How to Make Your Own Gabion Baskets
Below you will find a detailed step-by-step guide on how to make your own gabion baskets.
- Experience Required: Low
- Tools Required: Protective gloves, Wire cutter, Tape measure
- Materials Required: Gabion panels, Helicals or Tying wire, Corner ties (additional), Stone (additional)
Step 1) Calculate What You’ll Need
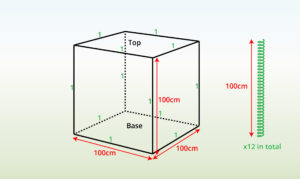
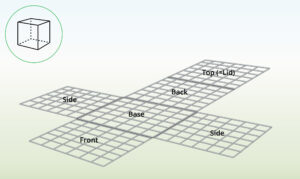
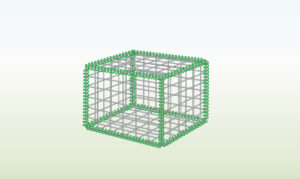
- Each gabion needs 6 panels for its 6 sides, all with equal dimensions for a cubic shape.
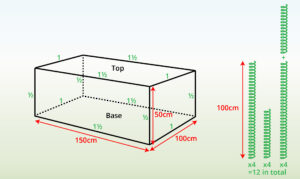
- Therefore, the basket will have 12 joints in total.
- Each joint is 100 cm long, so you will need 12 helicals (also 100 cm long each), to secure all the joints.
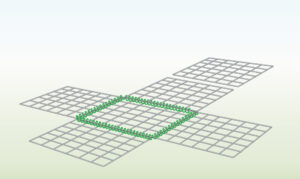
- Step 2) Prepare Your Panels
- Prepare all panels for the guide on how to make your own gabion baskets.
- For cubes, placement is irrelevant as they’re uniform.
- For varied sizes, match base and lid, front and back, and ensure side panels are identical.
Step 3) Attach First Panel
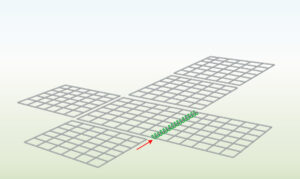
- Start with the base and one of the side panels, and attach them together using helicals.
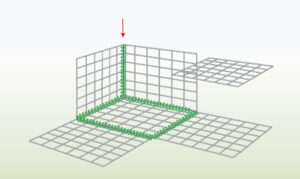
Step 4) Join Base to Sides
- Following the previous step, join the other side, front, and back panels to the base.
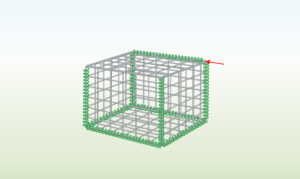
Step 5) Secure First Vertical Corner
- Fold up two panels in a corner and join them with helicals, twisting them downwards from above.
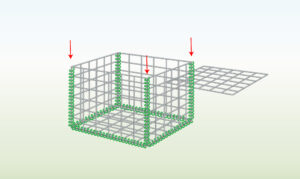
Step 6) Continue with All Vertical Corners
- Following the procedure described in the previous step, continue attaching the remaining corners using helicals.
- Leave the lid panel out at this step.
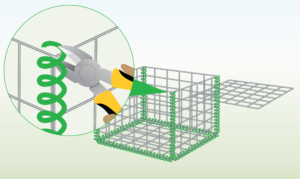
Step 7) Cut Off Excess (if applicable)
- If either helical is poking out of your basket so far, cut down the excess using wire cutters.
- Then, fold the ends of the helicals downwards using pliers.
Step 8) Secure Back of Lid
- Place the lid panel on the top of the gabion, and secure one side with a helical.
Step 9) Additional: Use Corner Ties
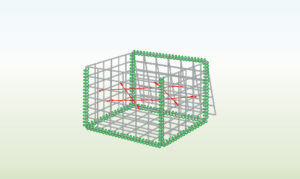
- To prevent bulging, especially with thinner panels, consider using corner ties.
- Hook the corner ties onto the 4th wire from each corner (symmetrically on both sides) and at every 3rd hole vertically.
Step 10) Fill with Stones
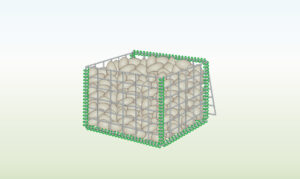
- Begin filling your diy gabion cage with stones.
- Remember, the lid should only be attached at the back side while doing this step.
Step 11) Secure Lid after Filling
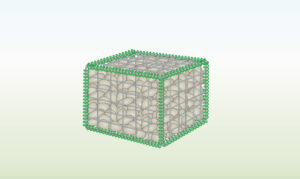
- After you have finished filling the cage, secure all sides with helicals, and use pliers to fold the ends of the helicals inwards.
Step 12) Alternative: Empty Gabion
- If you want an empty basket, finish securing the lid on the other three sides as well.
How to Calculate for Different Sizes
- You need 6 panels of 3 sizes (opposing sides same).
- Helicals are 100 cm long. Cut shorter lengths in half with wire cutters. For 150 cm, combine 1 helical with a 50 cm length.
- Calculate joint lengths, divide by 100 cm to find the helical quantity needed.
TIPS
- When planning how to build a gabion, if you’re making a cube, all panels will be the same size. But with varying sizes, ensure that opposing sides have the same dimensions.
- Determine the amount of stone you need using our stone calculator page.
TRICKS
- Choose 3-5mm panels; thinner ones may bulge, but use corner ties for added security to prevent bulging.
- Each helical is 100 cm. Cut shorter lengths with wire cutters. For longer lengths, join 1 or 2 whole helicals or combine a whole one with a bespoke length.
- If you don’t have helicals, you can connect the panels using tying wire or by creating helicals from wires.
FURTHER READING
- How to Lace Gabion Baskets – Step by step instructions on how to lace baskets.
- How to Fill Gabions – Learn how to fill cages using different methods.
- What is a Gabion? – A guide showing you how to use gabions in various situations.
- How to Use Gabion Corner Ties – Step by step video showing how to use corner ties.
