

How to Make Gabion Bin Store

Below you will find a step by step guide on how to make a bin store with Gabion cages.
- Experience Required: Medium
- Tools Required: Protective gloves, Tape measure, Spray paint, Shovel, Spade, Spirit level, Tamper
- Materials Required: Gabion baskets, Helicoils or Lacing wire, Stone, Geotextile, Basecourse or Gravel, Bin
Step 1) Plan the Layout

- Begin by measuring your space, then plan the layout of your gabion bin storage.
Step 2) Mark the Location

- Mark the locations for the baskets using spray paint.
Step 3) Dig a Base

- Dig out the soft topsoil until you reach firm ground and make sure the surface is level.
- Low projects of 1m or less on firm, level ground, with no heavy loads behind them, can be placed straight onto the ground, though a compacted base gives the best long-term result. Anything taller needs a compacted base. See our gabion wall rules for depths, heights and when you need an engineer.
Step 4) Add Geotextile

- Lay a sheet of geotextile over the ground to improve stability and allow proper drainage.
Step 5) Gravel or Basecourse

- Then spread a layer of gravel or basecourse over the geotextile.
- Optional: add a concrete base for extra strength.
Step 6) Compact Base
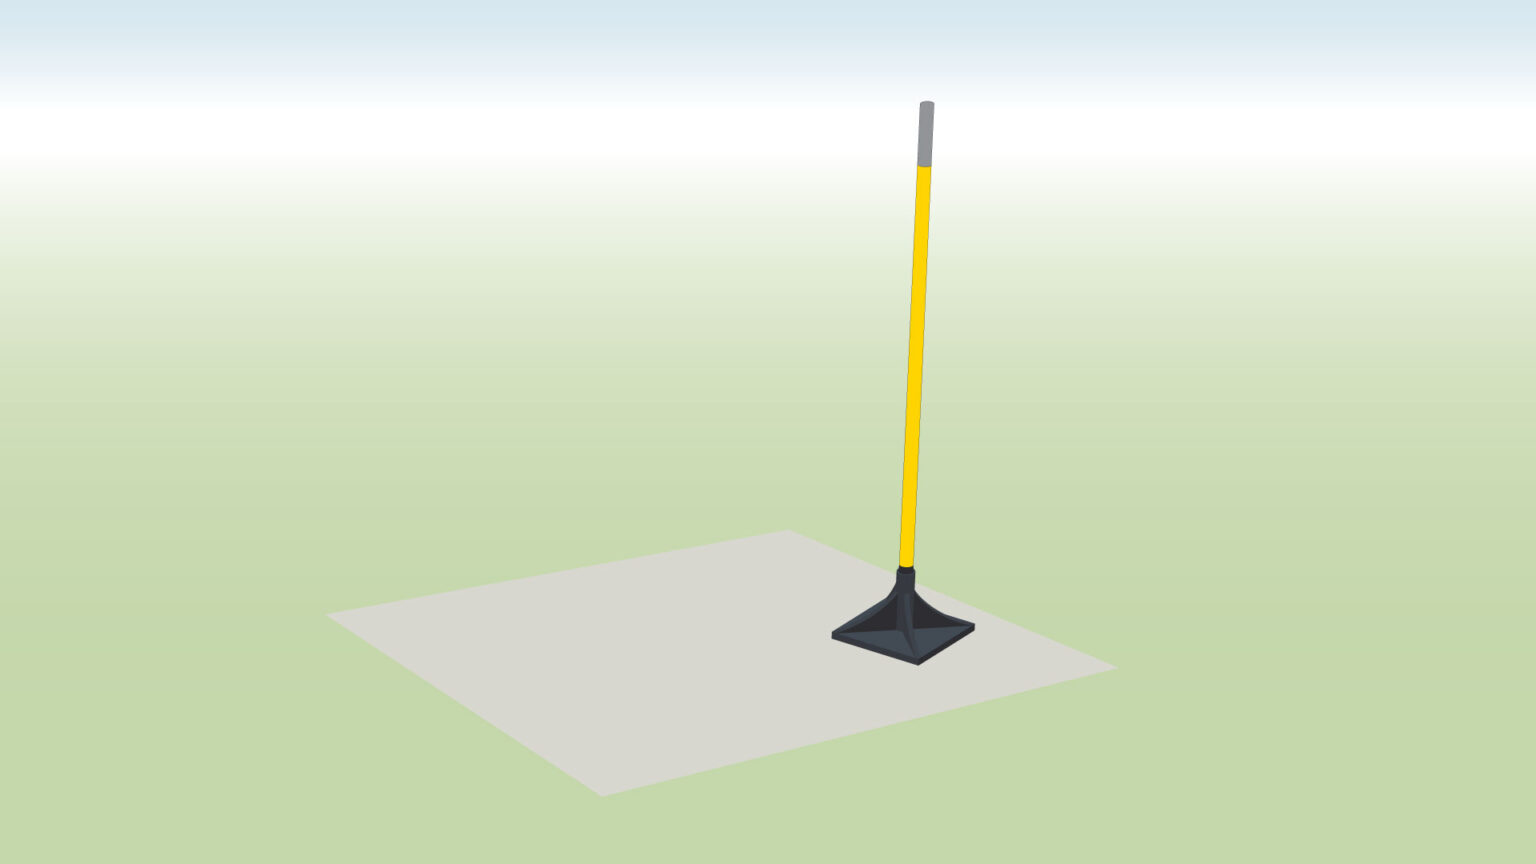
- Compact the gravel down firmly with a hand tamper to form a stable, even base.
Step 7) Assemble Gabion

- Place the first basket in position.
- Begin assembling it by securing the corners with helicoils, but leave the adjacent corners open for now.
Step 8) Position and Secure

- Follow the same process for the rest of the baskets.
- Secure every corner with helicoils, and use them as well to join the gabions together.
Step 9) Fill with Stone
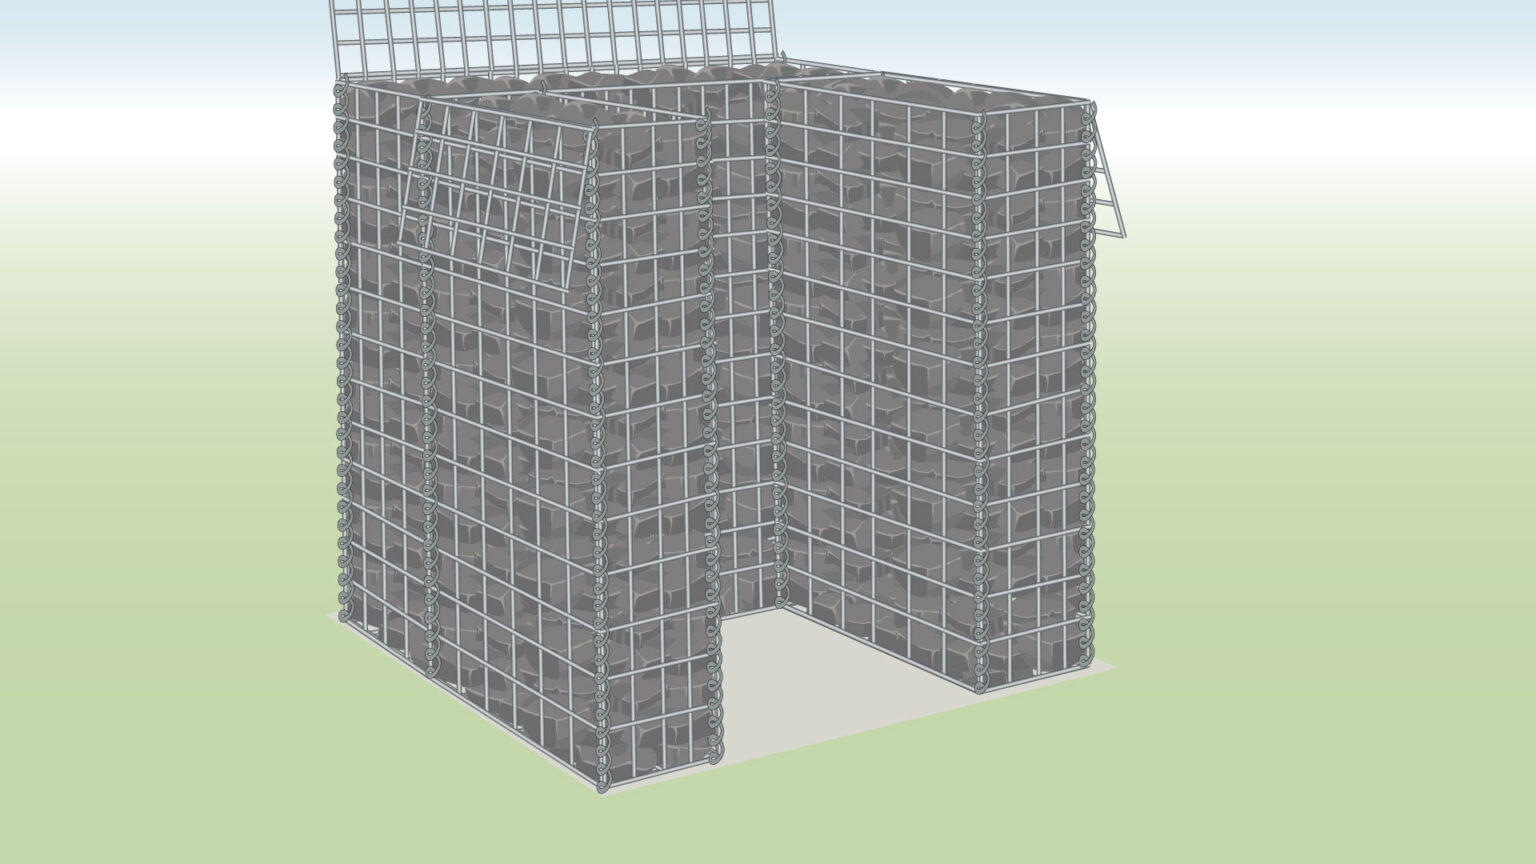
- Fill your baskets with stones.
Step 10) Close & Secure the Lids

- Fold the lids down to close the baskets.
- Secure the lids with helicoils or lacing wire.
Step 11) Position the Bin
- Lastly, move the bin into its final position.
Further Tips on How to Make Gabion Bin Store
- Design it to accommodate two or more bins.
- Include planters at the top to create a gabion planter or living green roof.
- This structure adds wind protection and improves the overall appearance.
- For a more creative finish, use different types of stone and combine them to form patterns or visual designs.
- Always build on a compacted gravel or concrete foundation to prevent sinking or leaning over time.
FURTHER READING
- How to Lace Gabion Baskets – A guide to lacing wire cages with lacing wire or helicoils.
- How To Assemble Gabion Baskets – Learn how to assemble wire cages.
- How to Install Gabion Baskets – Step-by-step instructions for installing baskets using different methods.
- How to Join Gabion Baskets Together – Learn how to join baskets together.
- Gabion Learning Hub – a library of help videos
- Buy Gabion Baskets – We manufacture any size gabion so you can customise your bin store dimensions
- Buy Gabion Stone – Fill your baskets with light or dark stone
VIDEO

Written By
This blog was created by our Technical Illustrator, Timi Szabo, and reviewed by our Founder, John Marlen-Summers.
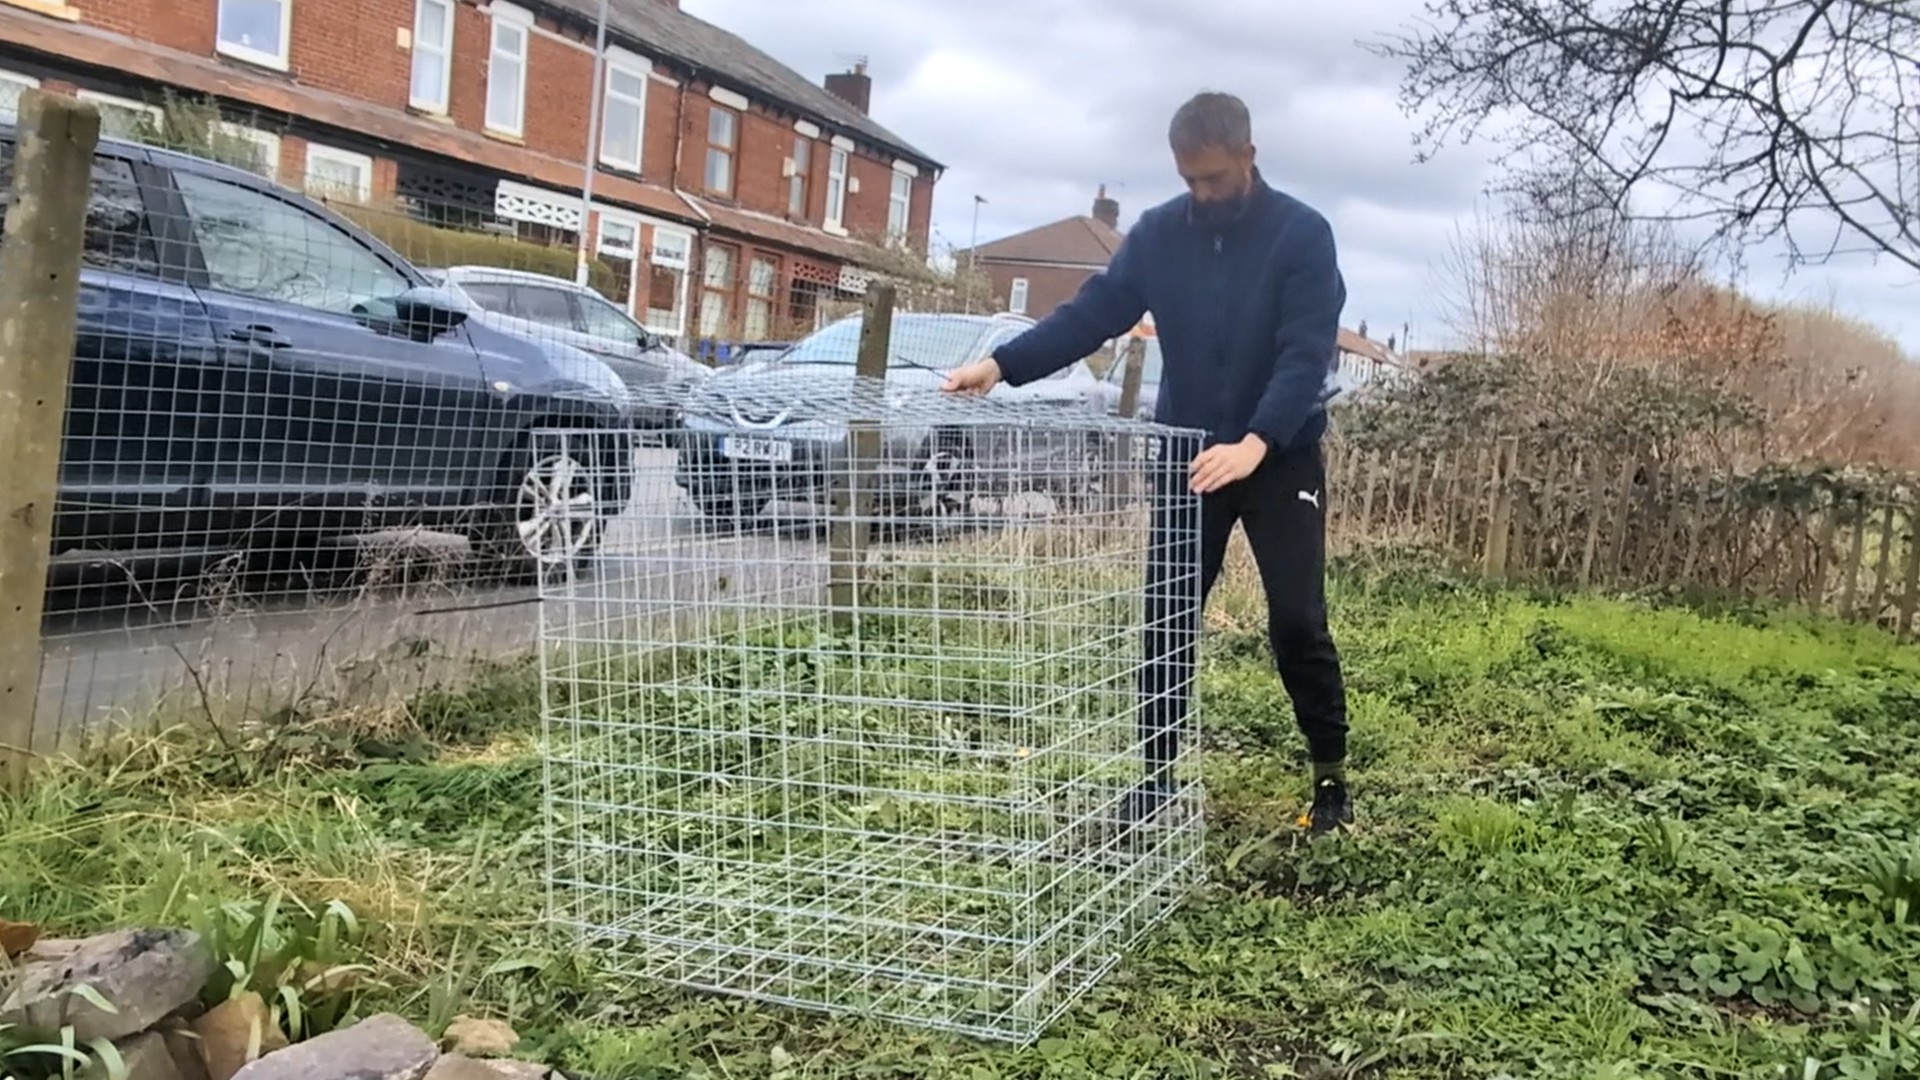
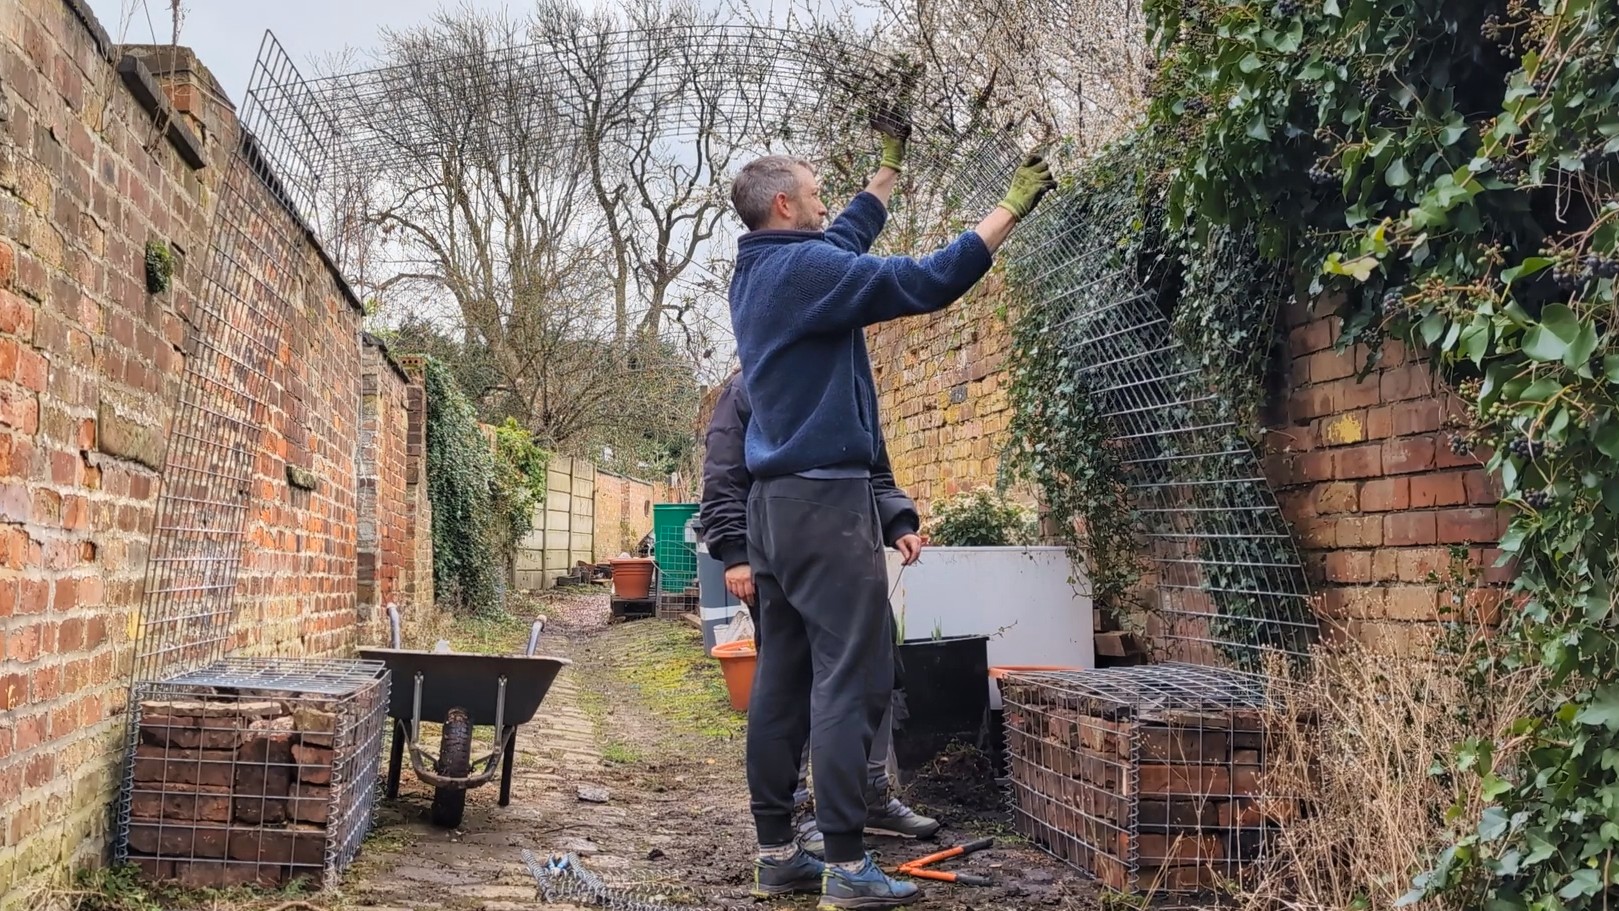
Below you’ll find examples of our real-life gabion wall builds. We’ve opted for technical illustrations for the instructions found in this blog because they provide better clarity on mesh placement and structural details that can get lost in real-life photography.

Published by
