
DIY Gabion Water Feature


Below you will find a step by step guide on how to install a DIY gabion water feature.
- Experience Required: Medium
- Tools Required: Protective gloves, Tape measure, Spray paint, Shovel, Level, Tamper
- Materials Required: Gabion baskets, Helicals or Tying wire, Gabion stone, Geotextile, Pond container, Basecourse or gravel, Water pump, Tubing, Spouts, Concrete (optional)
Step 1) Plan & Measure Your Space
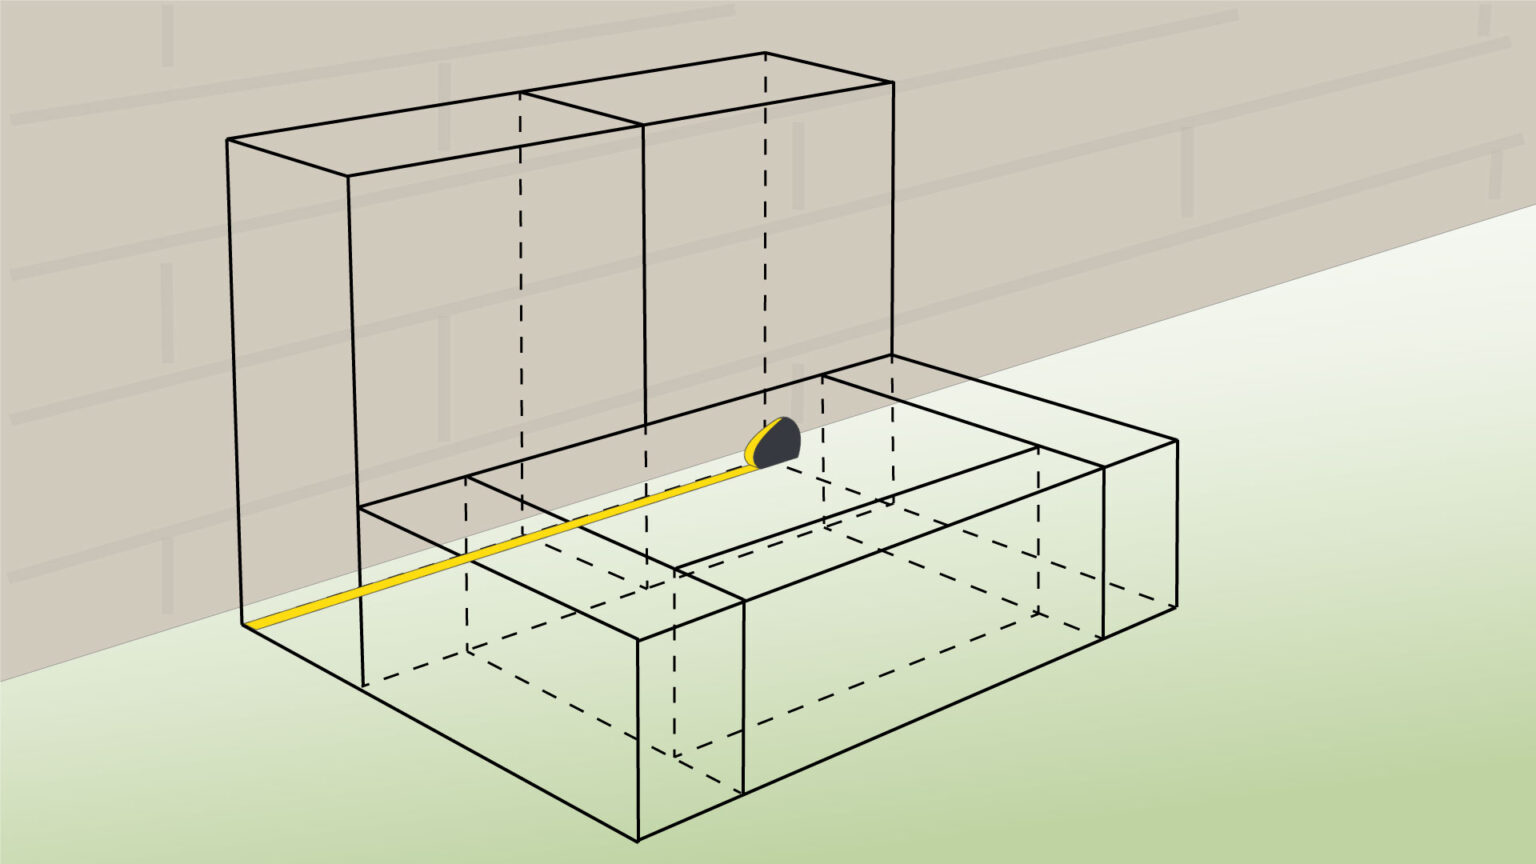
- Start by measuring your space and begin planning your design.
- Choose the shape, size, and style of your DIY gabion water feature.
Step 2) Measure Container, Calculate Gabions
- Measure your pond container, then work out how many baskets you need and what sizes, based on your plan.
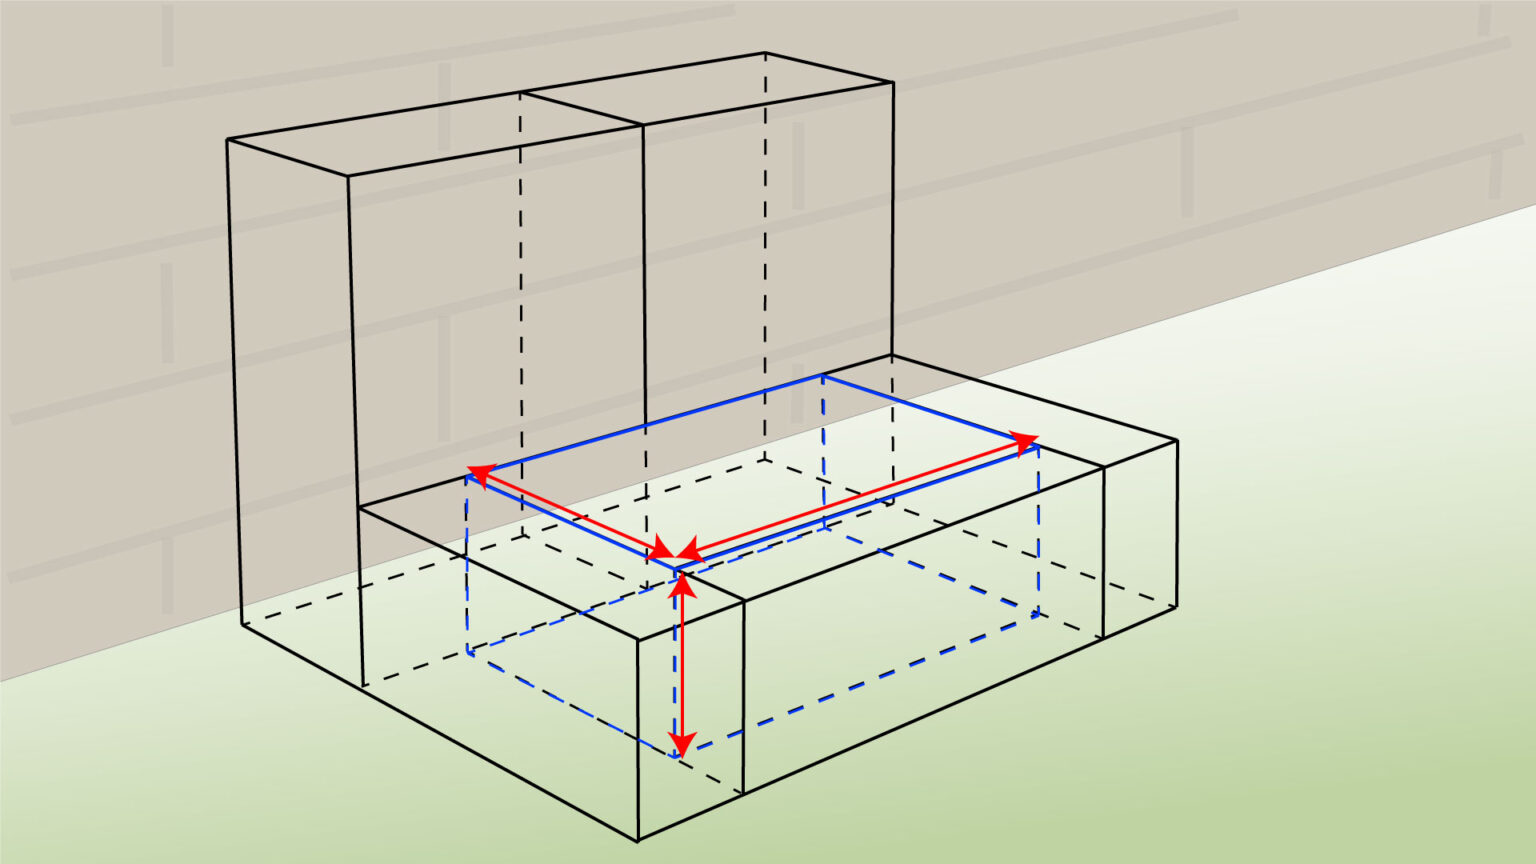
Step 3) Mark Location
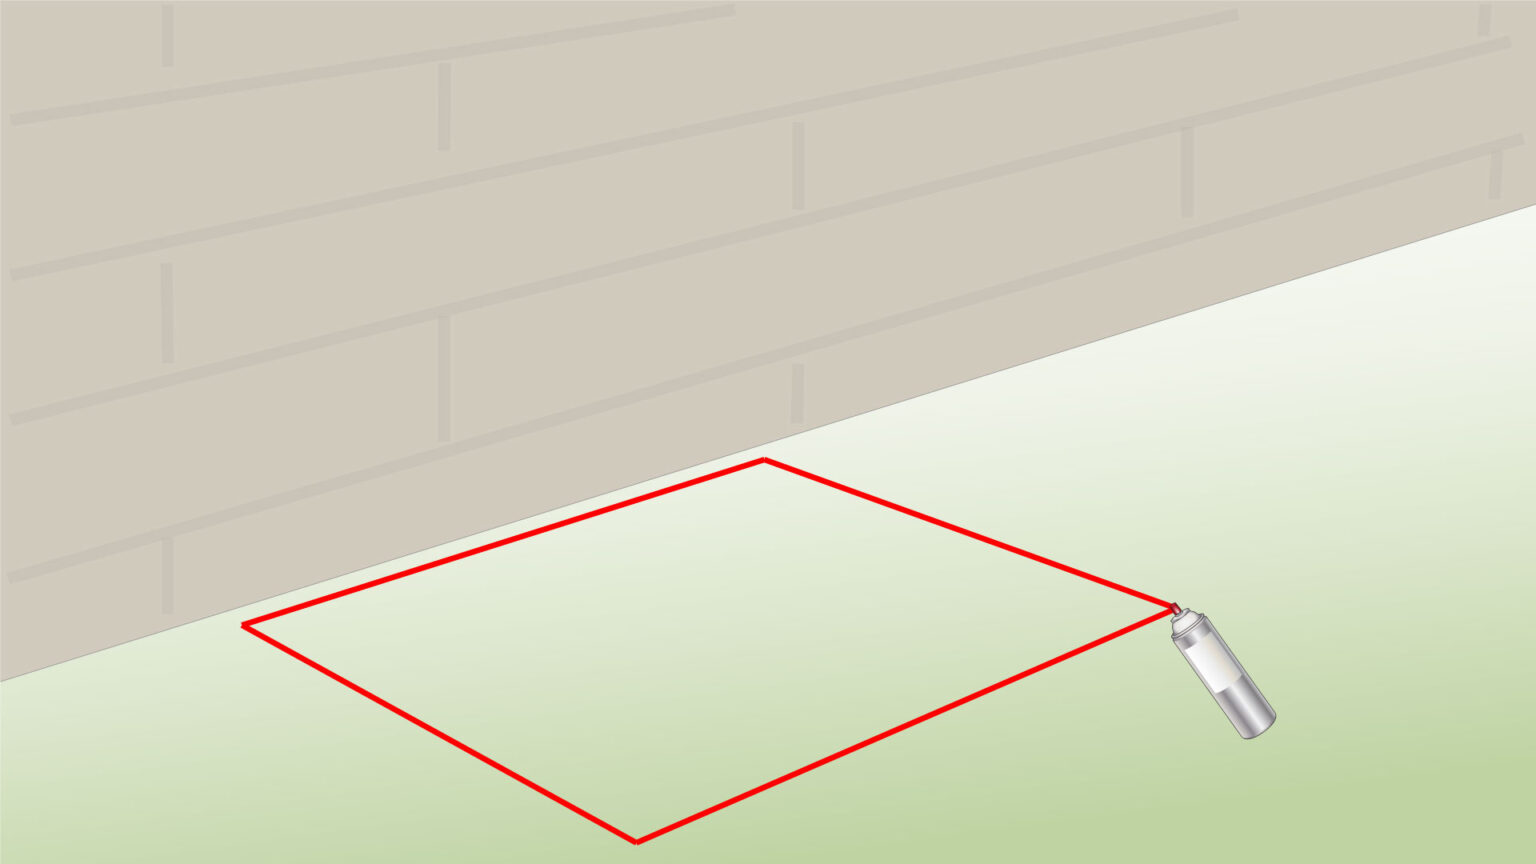
- Use spray paint to mark the spot where you plan to place the baskets and the pond container.
Step 4) Dig a Base
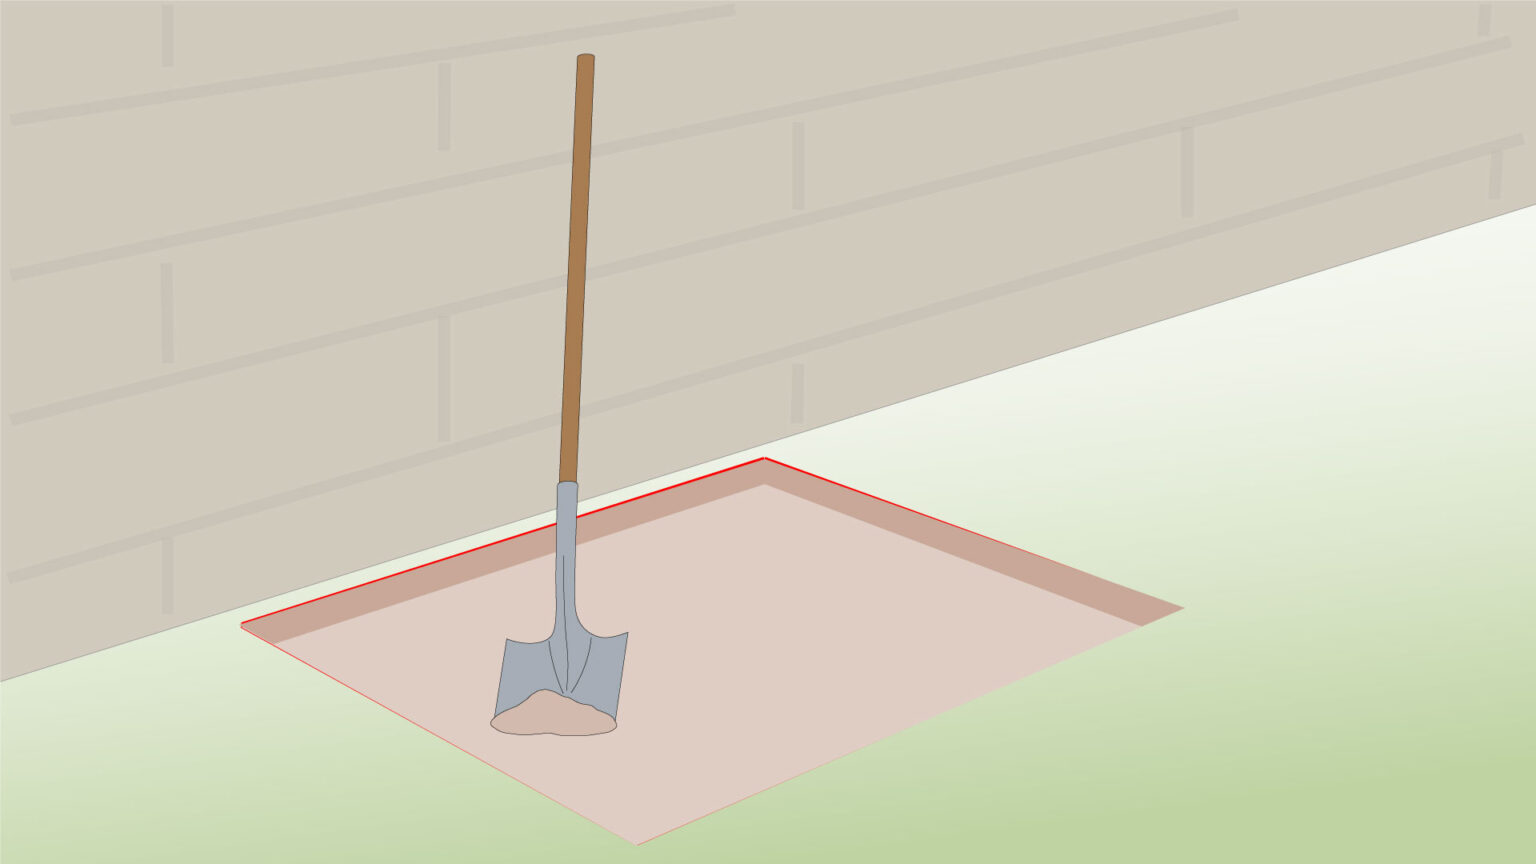
- Begin by digging a base for your gabion fountain, making sure it’s level.
Step 5) Add Geotextile
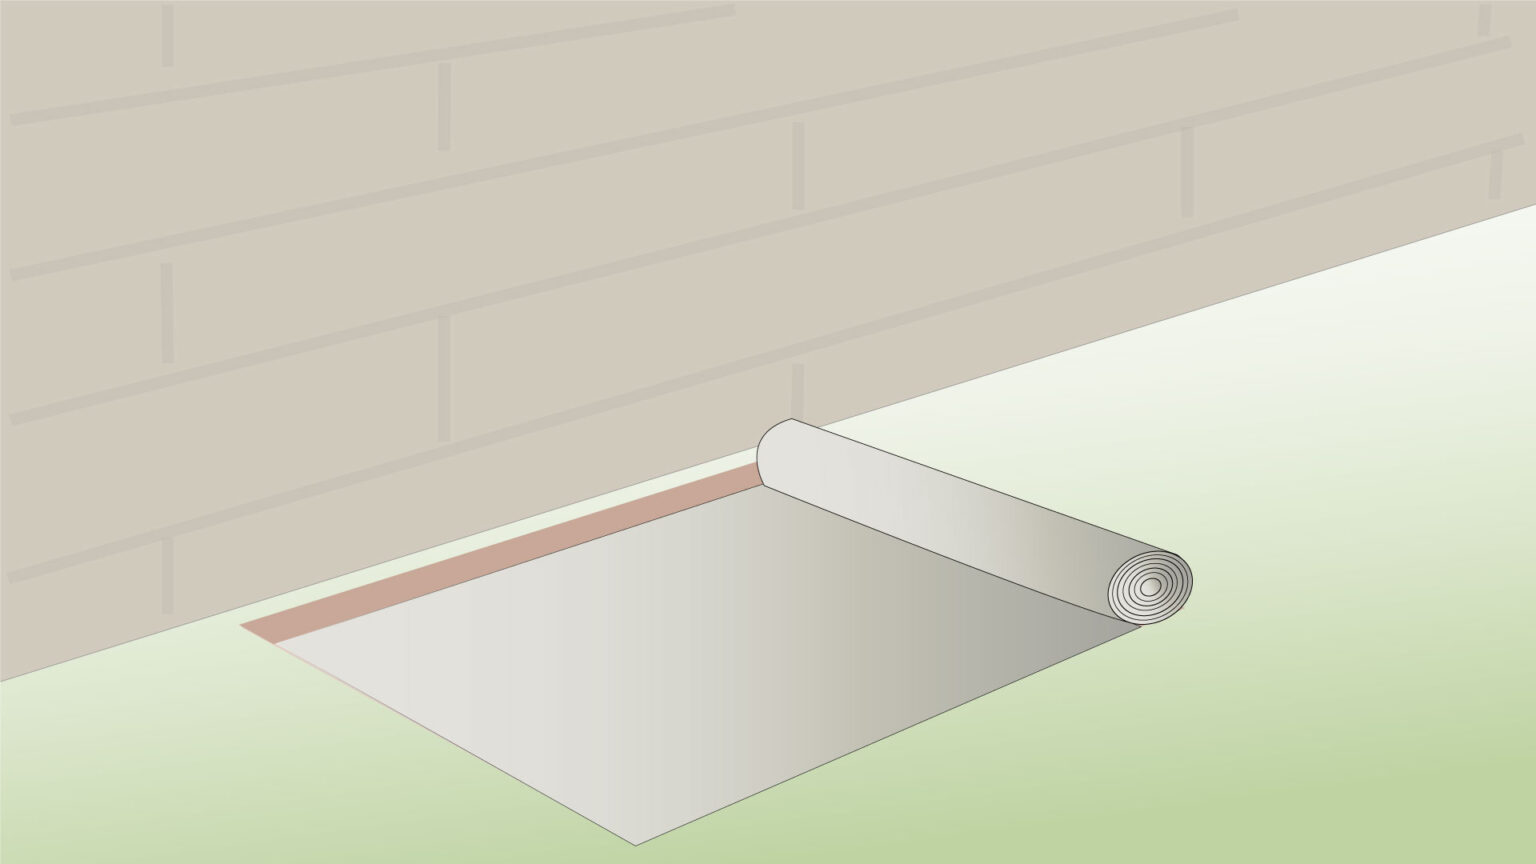
- Place a layer of geotextile over the soil to help with stability and drainage.
Step 6) Add Basecourse

- Next, add a layer of gravel or basecourse on top of the geotextile.
- If the soil is soft or your structure is larger, you can pour a concrete foundation instead, for added strength.
Step 7) Compact Basecourse
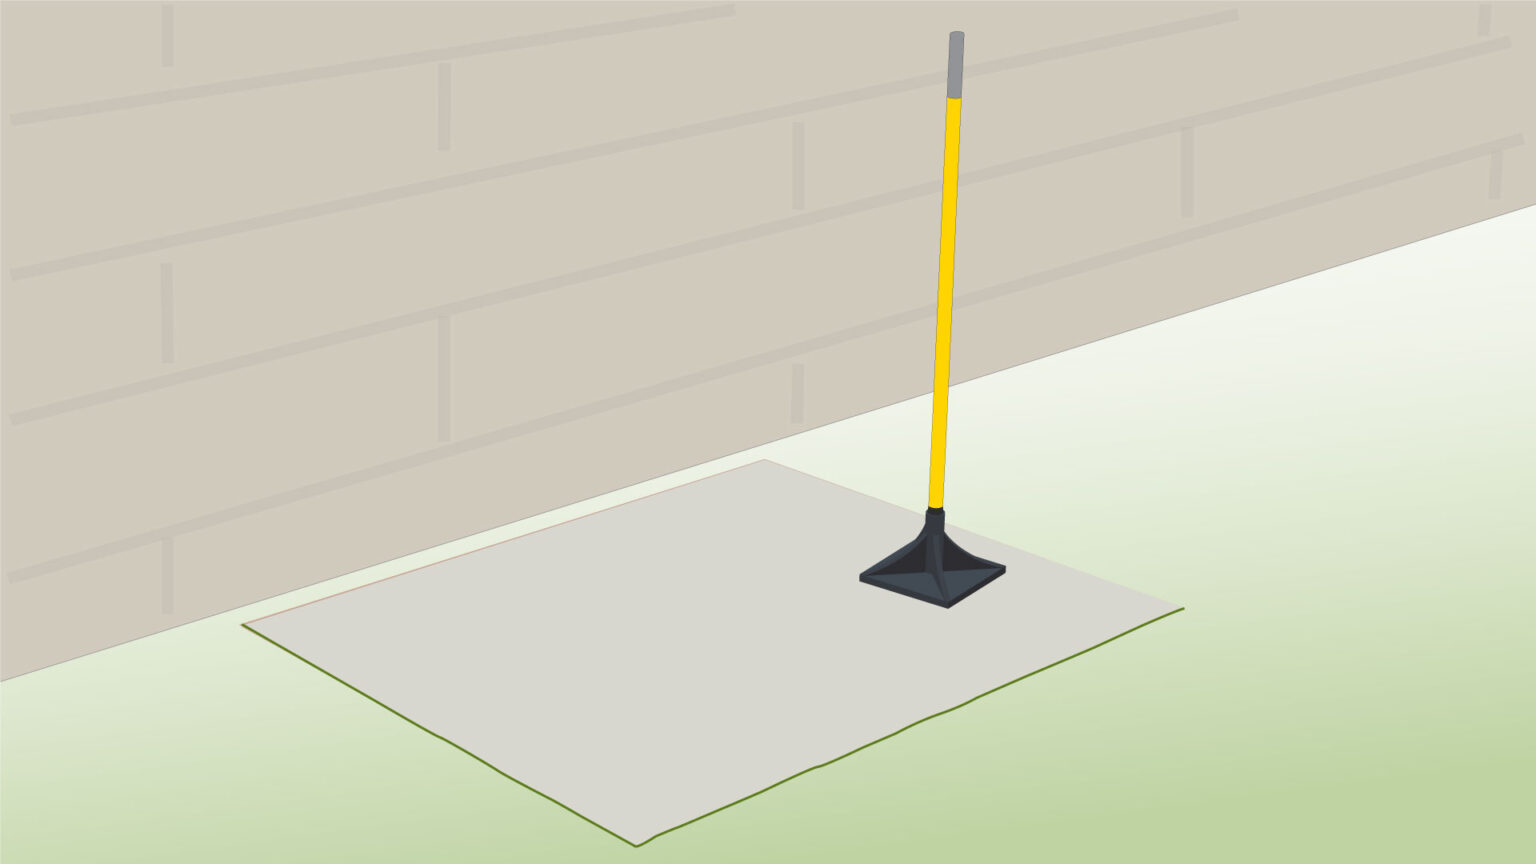
- Compact the gravel firmly using a hand tamper to create a solid, level base.
Step 8) Position the Pond Container
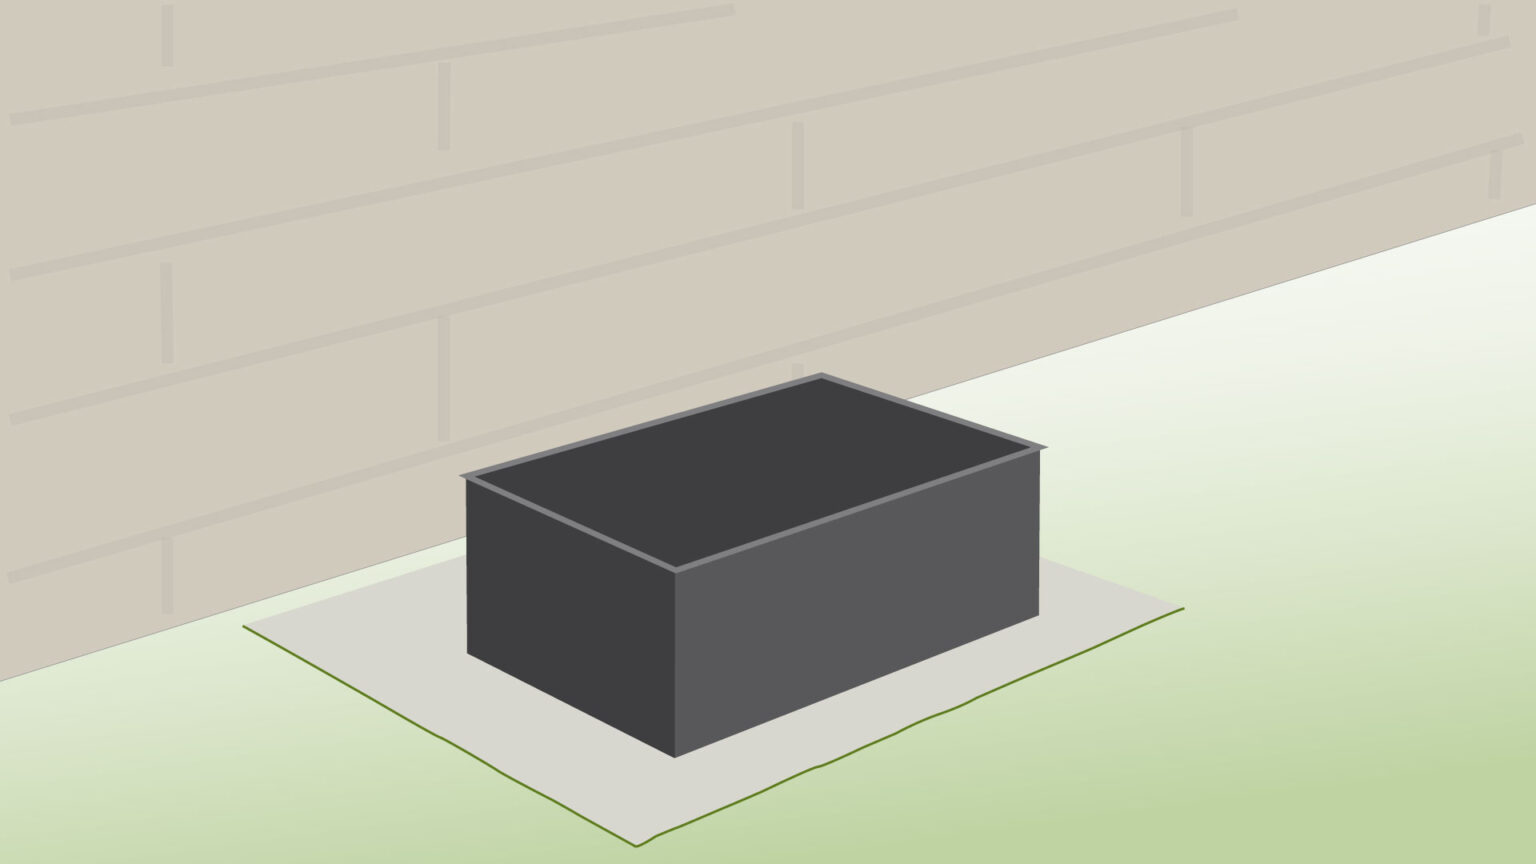
- Place the pond container in its planned spot.
- Make sure it sits level on the compacted base.
Step 9) Assemble Gabion
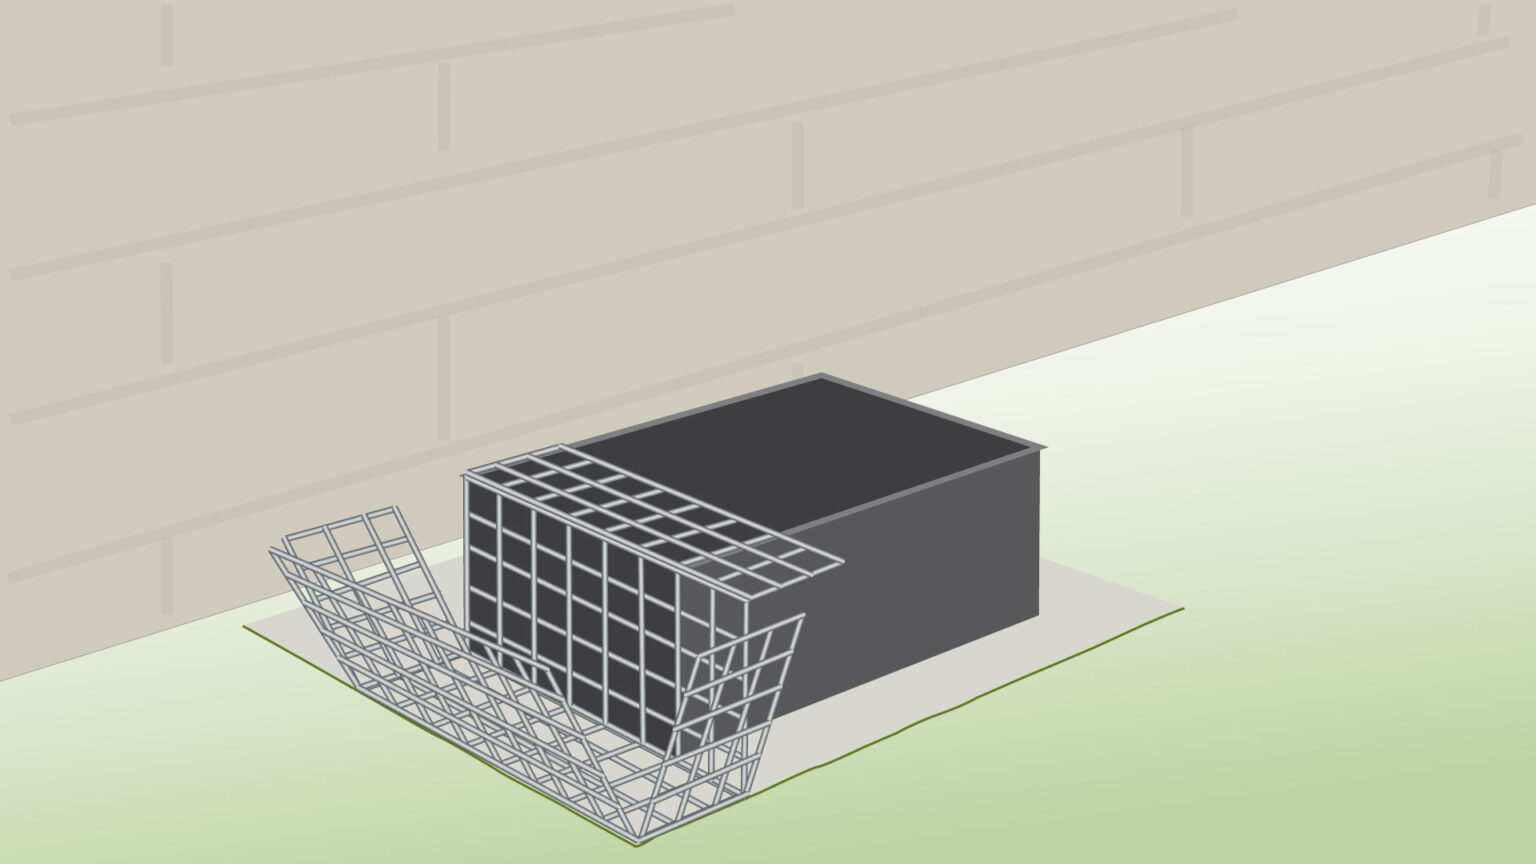
- Lay the first basket flat on the ground.
- Begin assembling it by securing the corners with helicals, but leave the adjacent corners open for now.
Step 10) Repeat with All Gabions
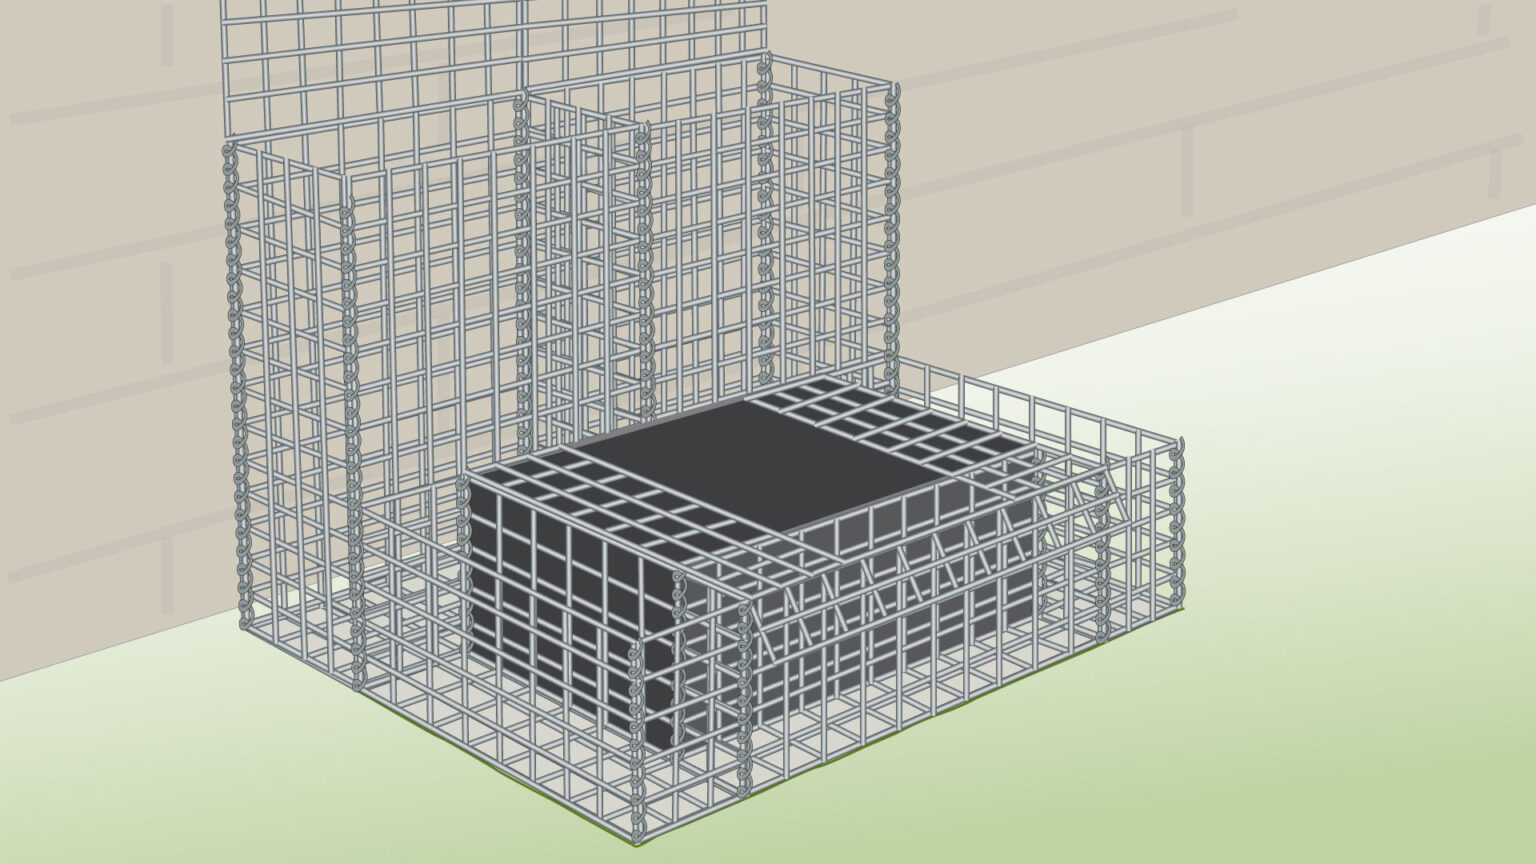
- Repeat the same steps for the remaining baskets.
- Use helicals to secure each corner and also where the gabions connect to each other.
Step 11) Install the Pump System
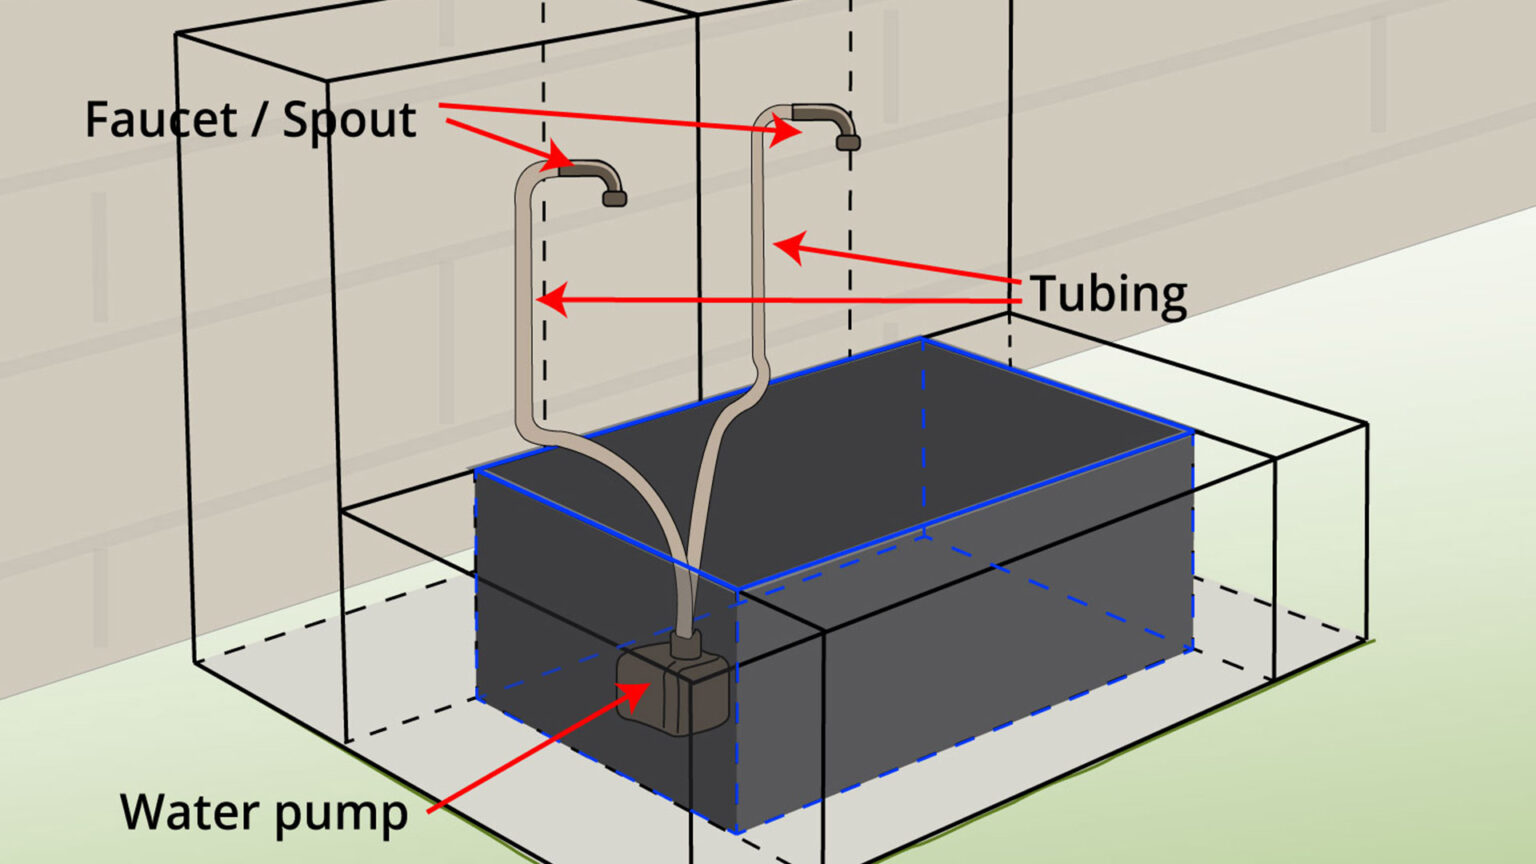
- Place the pump and run the tubing through the back or inside the baskets, ending where the water will flow out.
- Fit the faucets there.
- If unsure about setup, consult a landscaper or garden pond expert.
Step 12) Check the System

- Run the pump and test the flow, making adjustments if needed.
Step 13) Fill with Stones
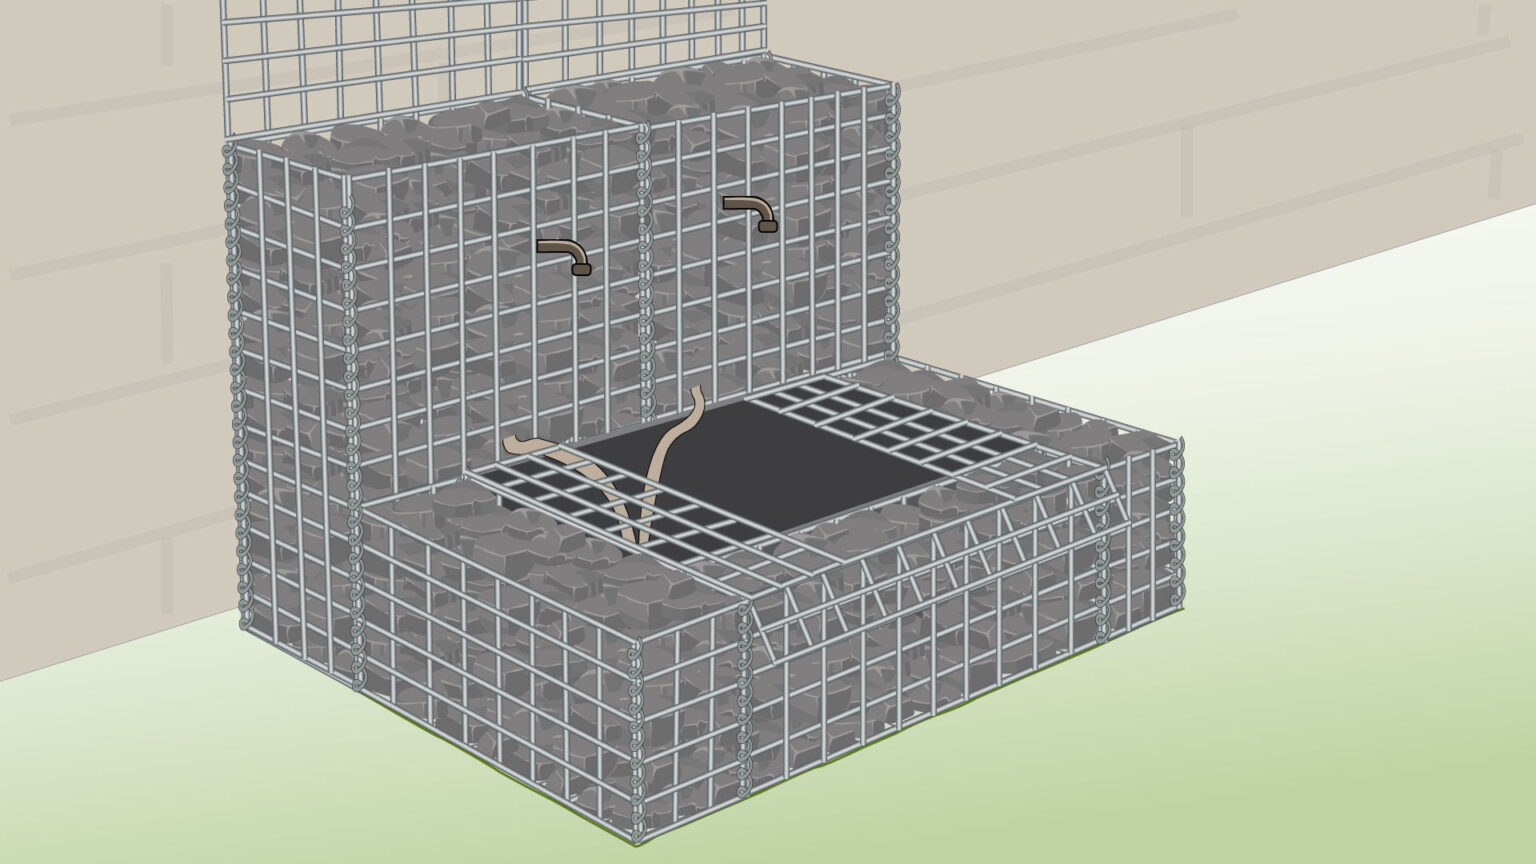
- Fill your baskets with stones.
Step 14) Close the Lids
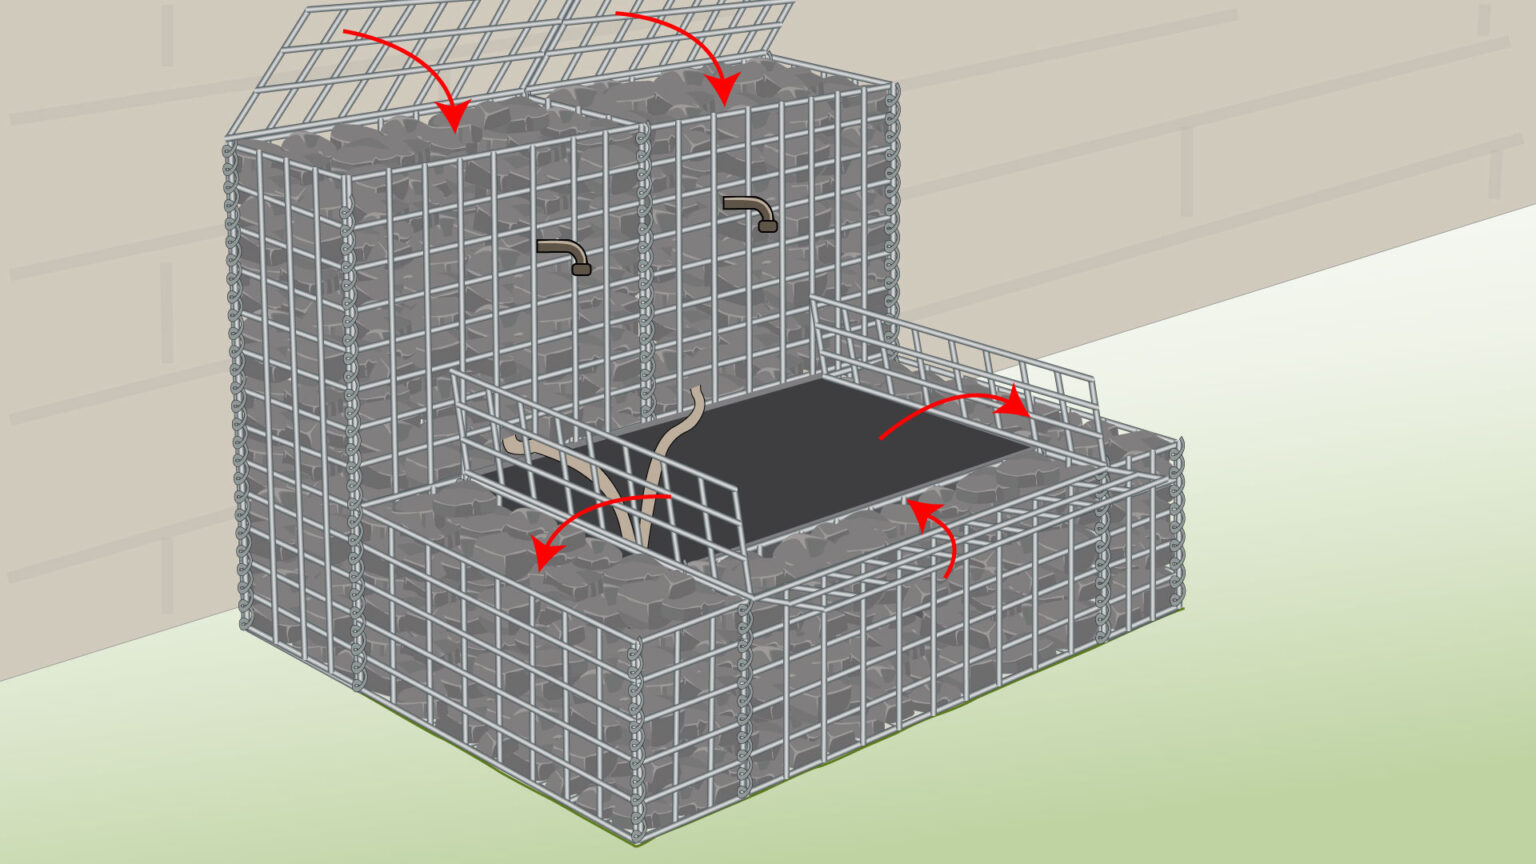
- Fold the lids down to close the baskets.
Step 15) Secure the Lids
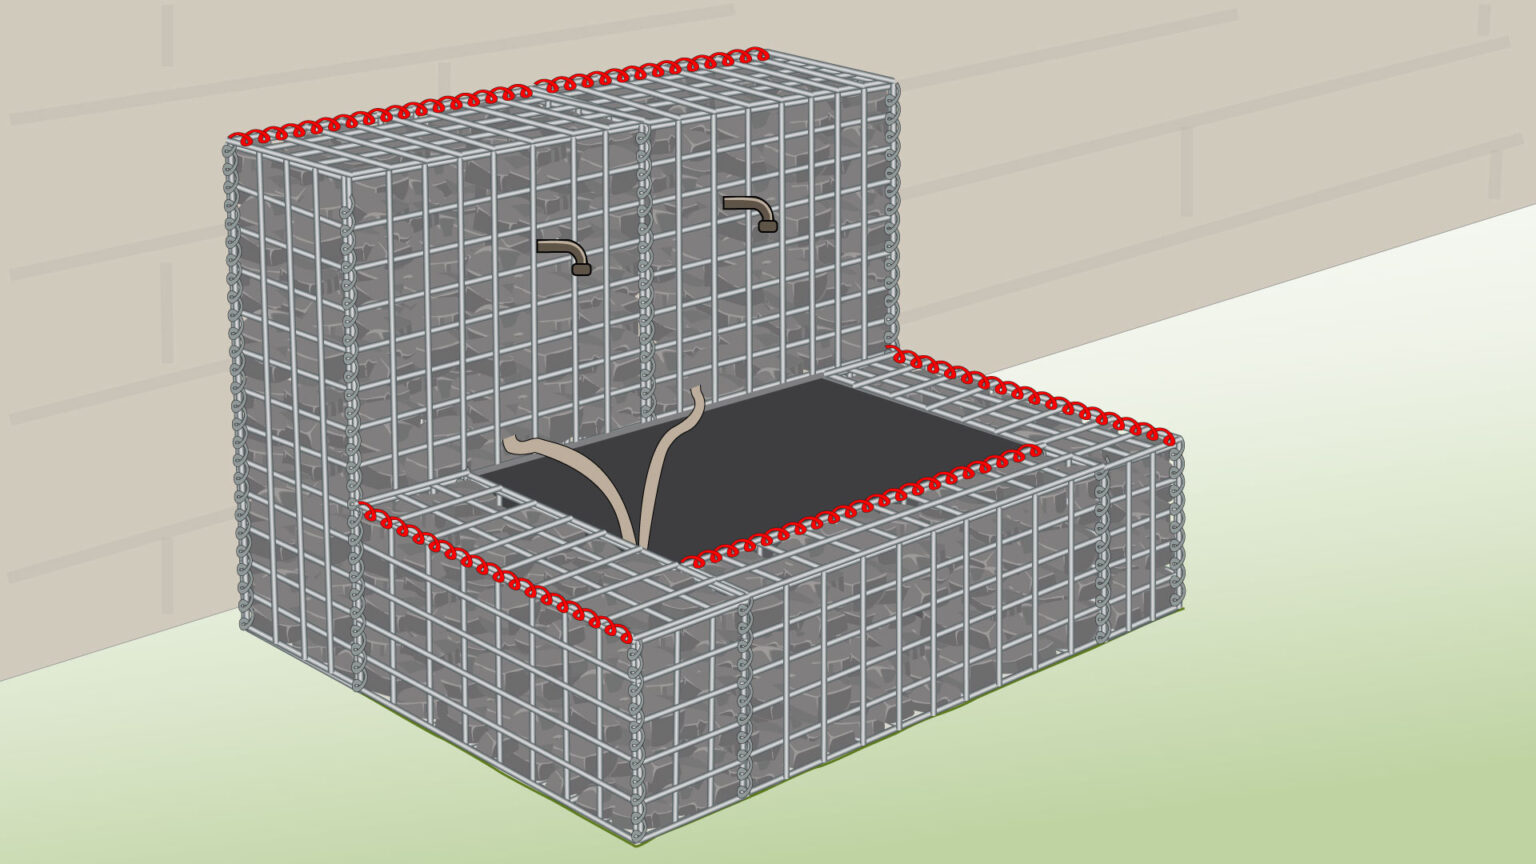
- Secure the lids with helicals or tying wire.
Step 16) Finished Project
- Your DIY gabion water feature is now finished!
- You can start adding decorations like plants, lighting, or any other features you like.
Tips and Tricks
- Before you begin, decide what kind of water feature you want. Instead of a pond container, you can use a pond liner.
- Choose the outlet: a spout, wall pipe, tap, or a waterfall blade.
- Gather your gabion water feature ideas: there are endless ways to design your fountain, with different shapes, styles, and layouts.
- Place the feature near an outdoor waterproof cable if your pump needs electricity.
- Add any decorations you like, such as plants or other features. You can also install LED lights for night-time lighting.
- If you’re not sure how to set up the pump, or how much water you need, ask a landscaper or garden pond expert.
Real Life Image
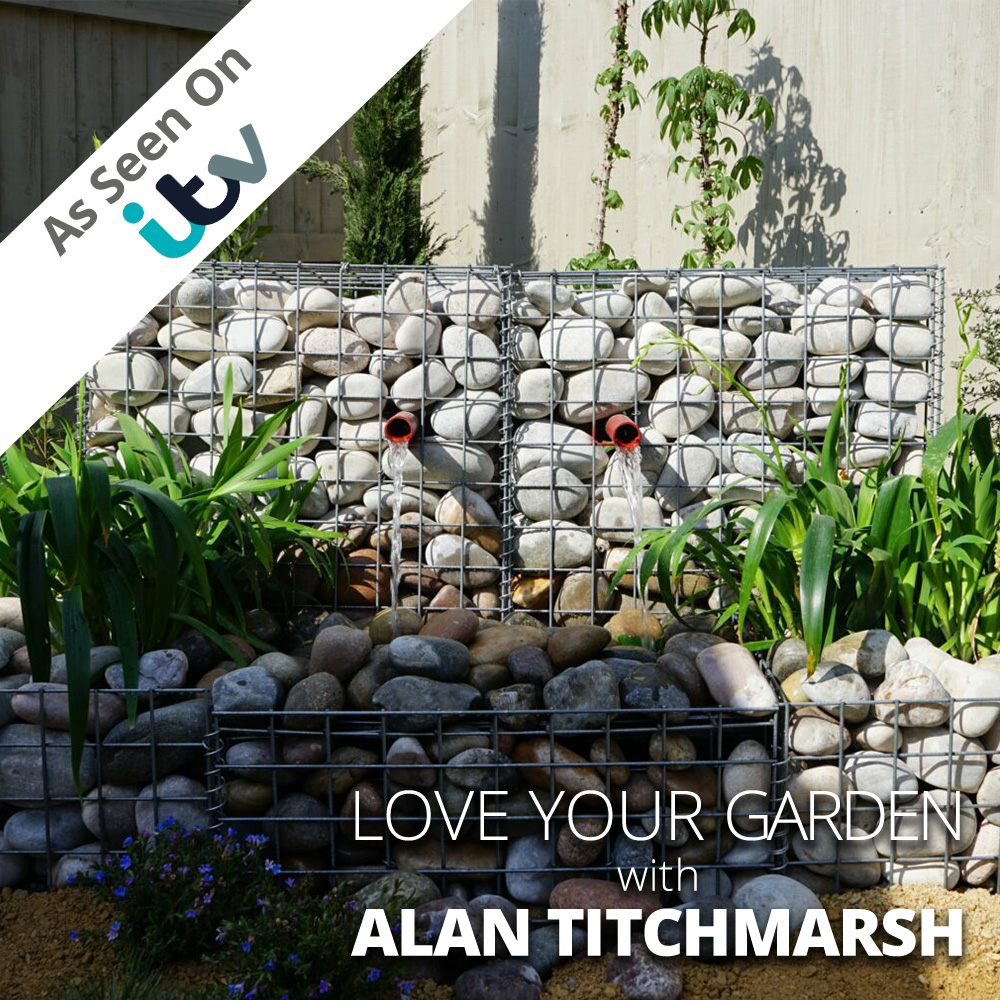
- Episode 7, series 10 of ITV Love Your Garden, was broadcast on 31st August 2021.
- Alan Titchmarsh and the team visited Dudley to give James and his family’s garden a full makeover.
- Check out the finished project here.
FURTHER READING
- How to Install Gabion Baskets – A guide showing you how to assemble baskets.
- How to Fill Gabions – Learn how to fill cages.
- How to Lace Gabion Baskets – Step by step instructions on how to lace baskets.
VIDEO


Published by