Easter Bunny Wreath DIY
This blog will show you how to make your own DIY easter bunny wreath. Just follow the step-by-step instructions below.
OVERVIEW
- Experience Required: Low
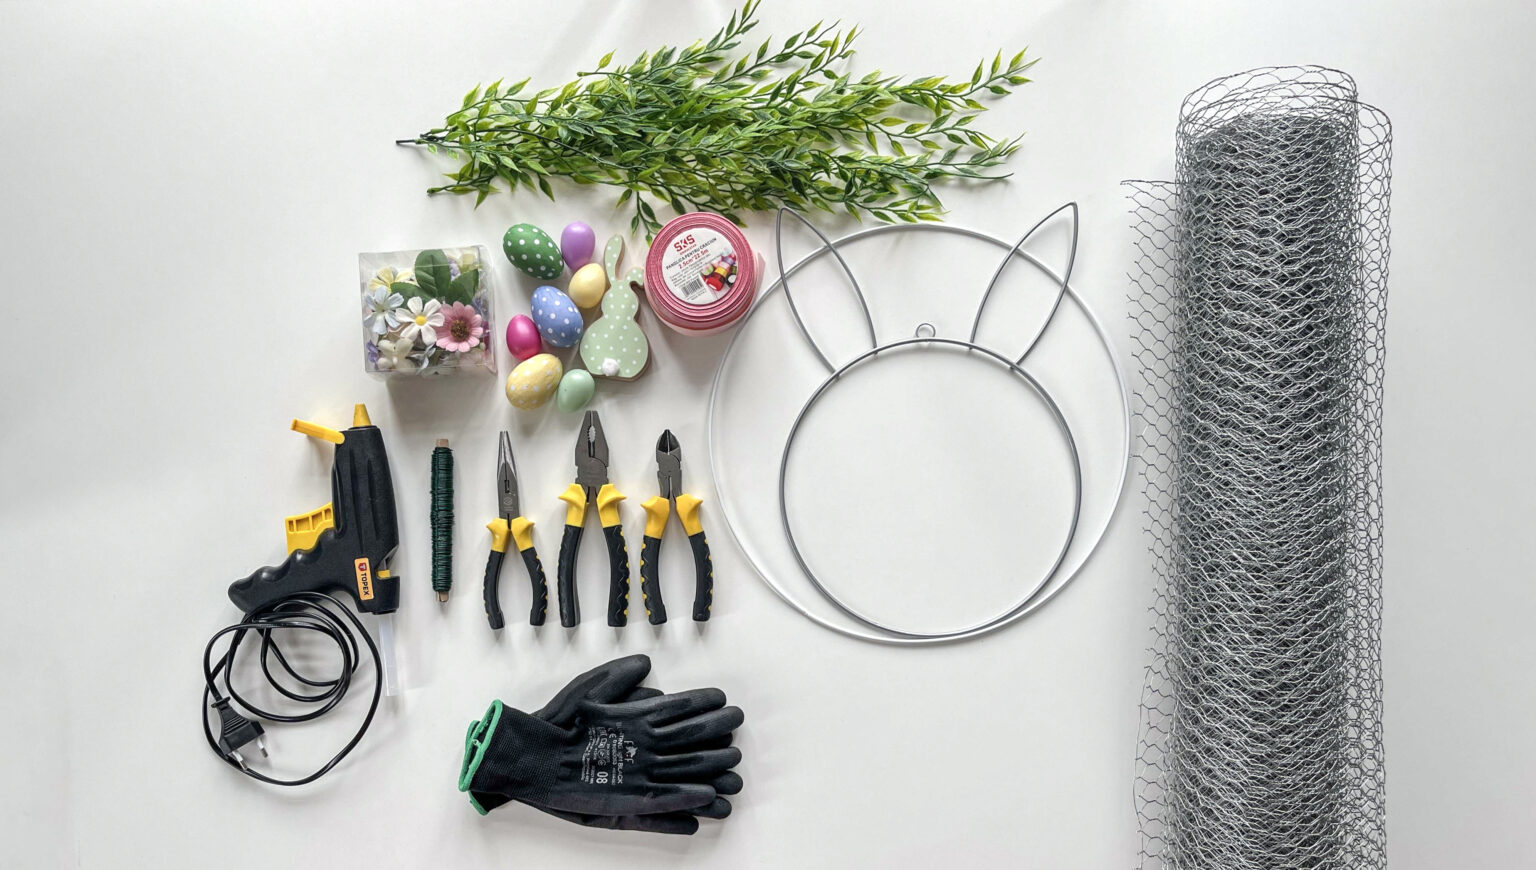
- Tools Required: Protective Gloves, Plier, Wire Cutter, Glue Gun
- Materials Required: Chicken Wire, Tying Wire, Bunny Wreath Frame, Artificial Flowers and Leaves, Decor Eggs, Bow
Step 1) Gather your supplies
- Prepare your supplies.
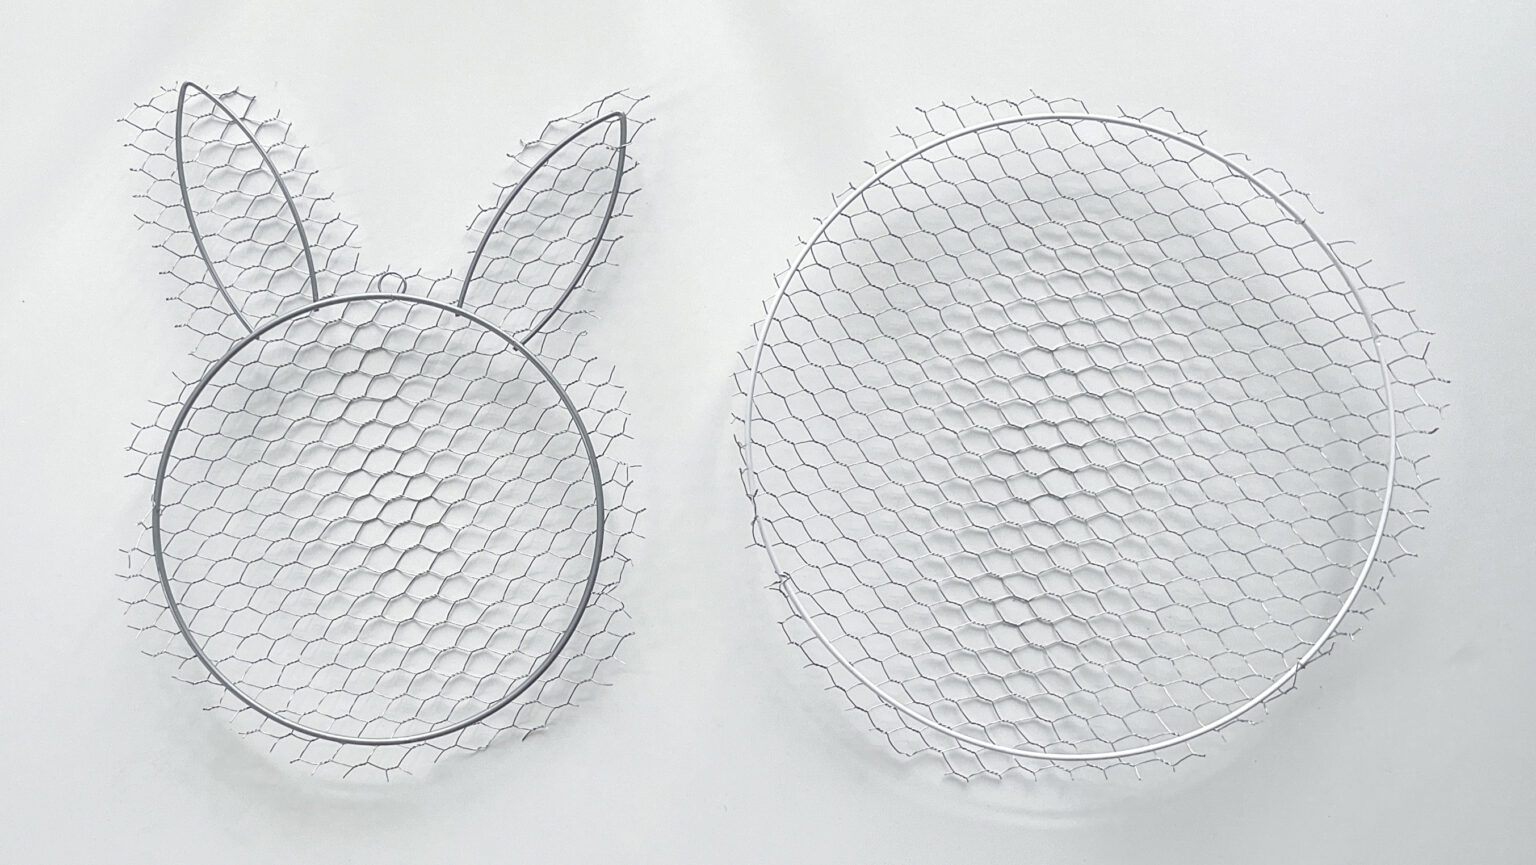
- If you cannot find a bunny-shaped wreath frame, you can use two wreath frames and tensioning wire to form the ears.
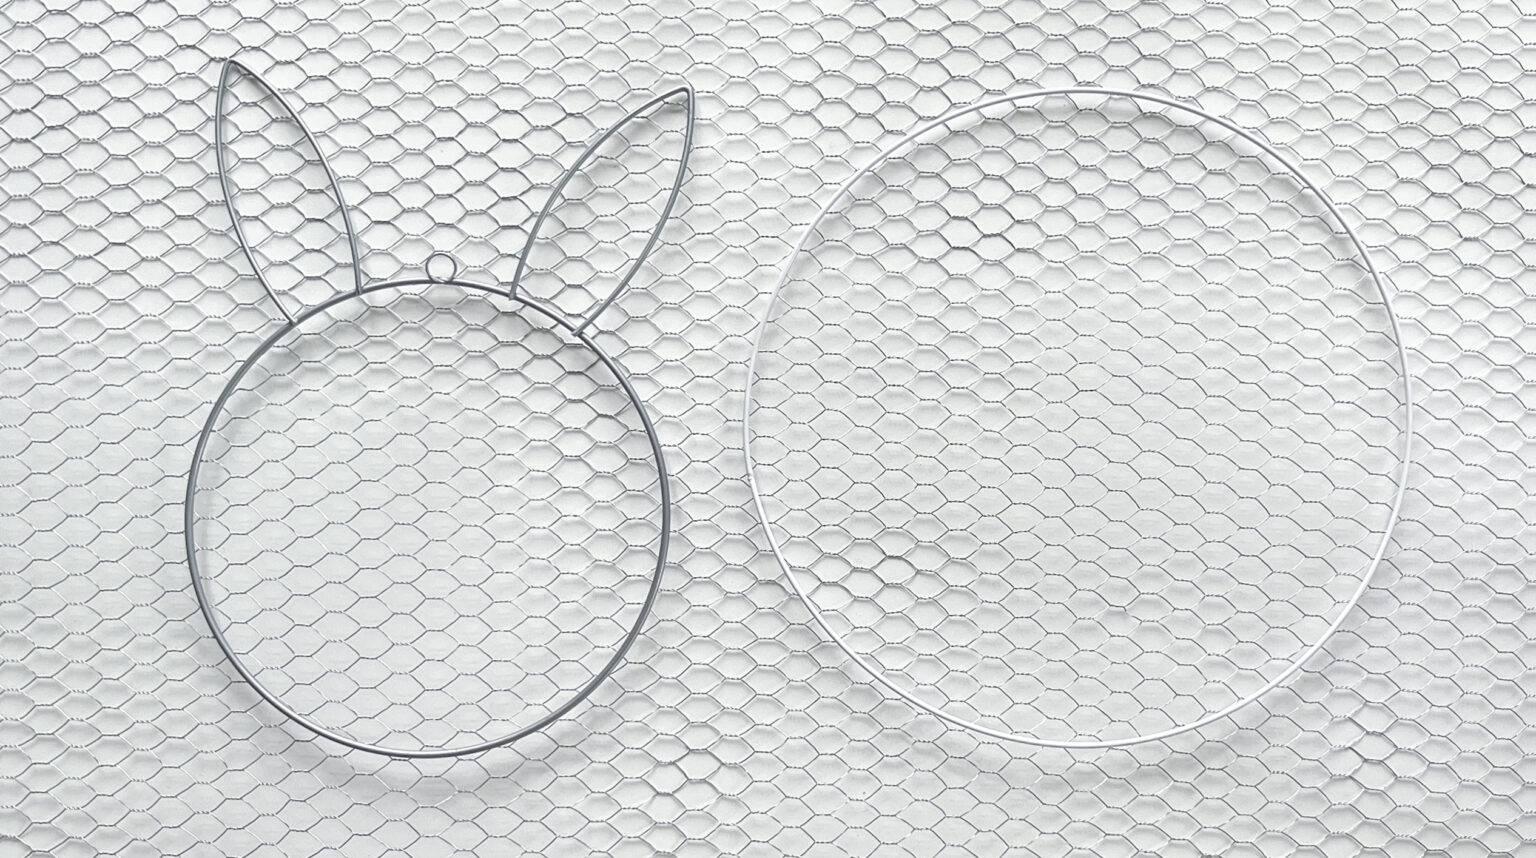
Step 2) Measure the chicken wire
- Roll out your chicken wire and place your wreath frames on top of it, in order to determine how much you will need.
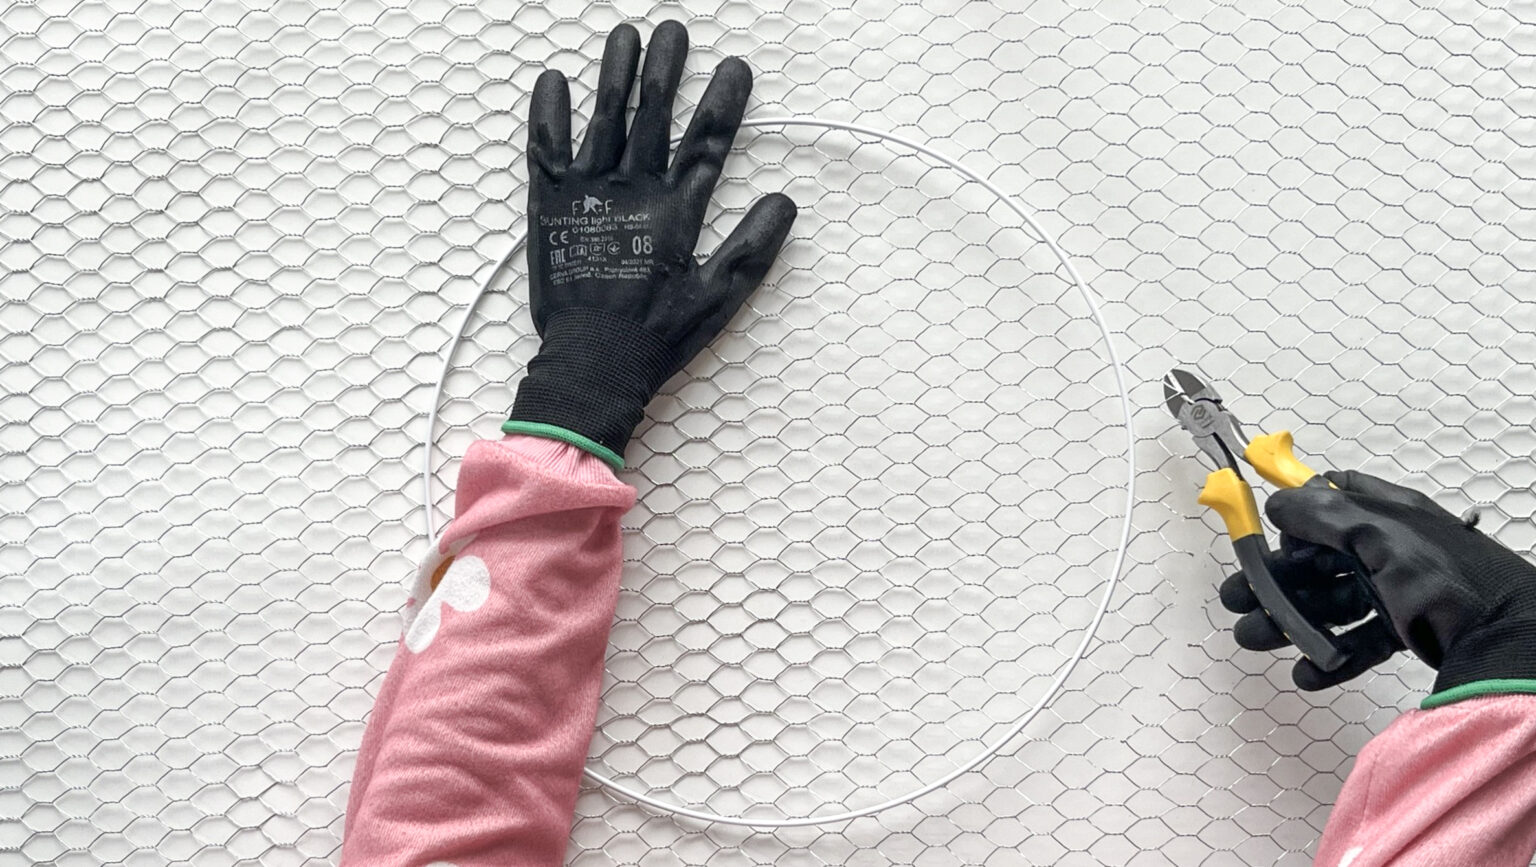
Step 3) Cut the chicken wire
- Cut around the shapes using wire cutters.
- Leave approximately 2 centimetres extra on the sides.
Step 4) Prepare the shapes
- Once you cut out your shapes, discard the excess chicken wire.
- Place your cut-out chicken wire under the shapes.
Step 5) Wrap the Edges
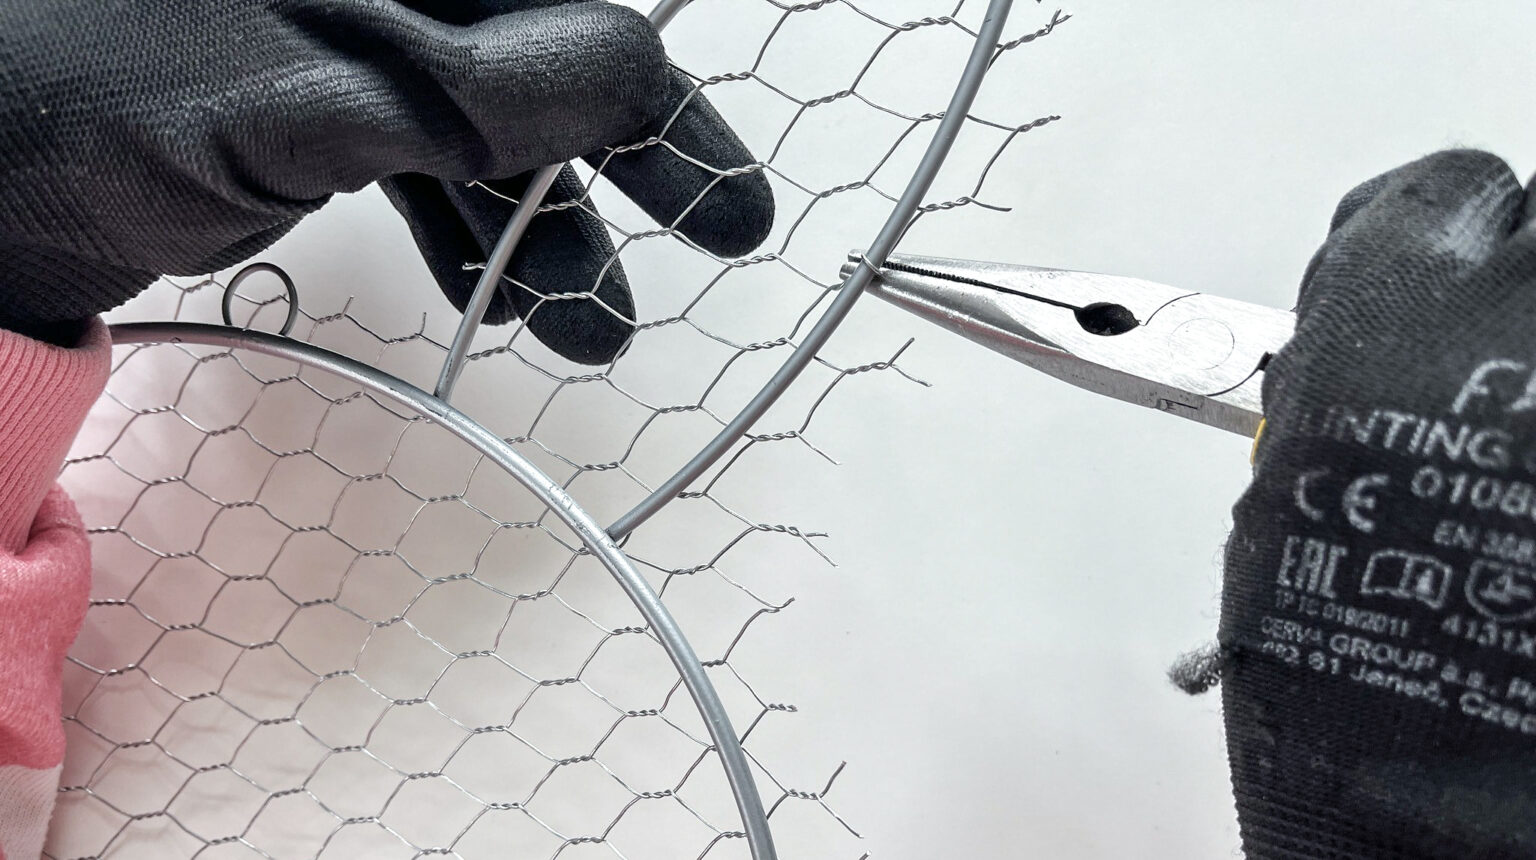
- Use the pliers to wrap the wire around the edges.
- Twist the loose pieces of over the frame, securing it.
Step 6) Finish wrapping
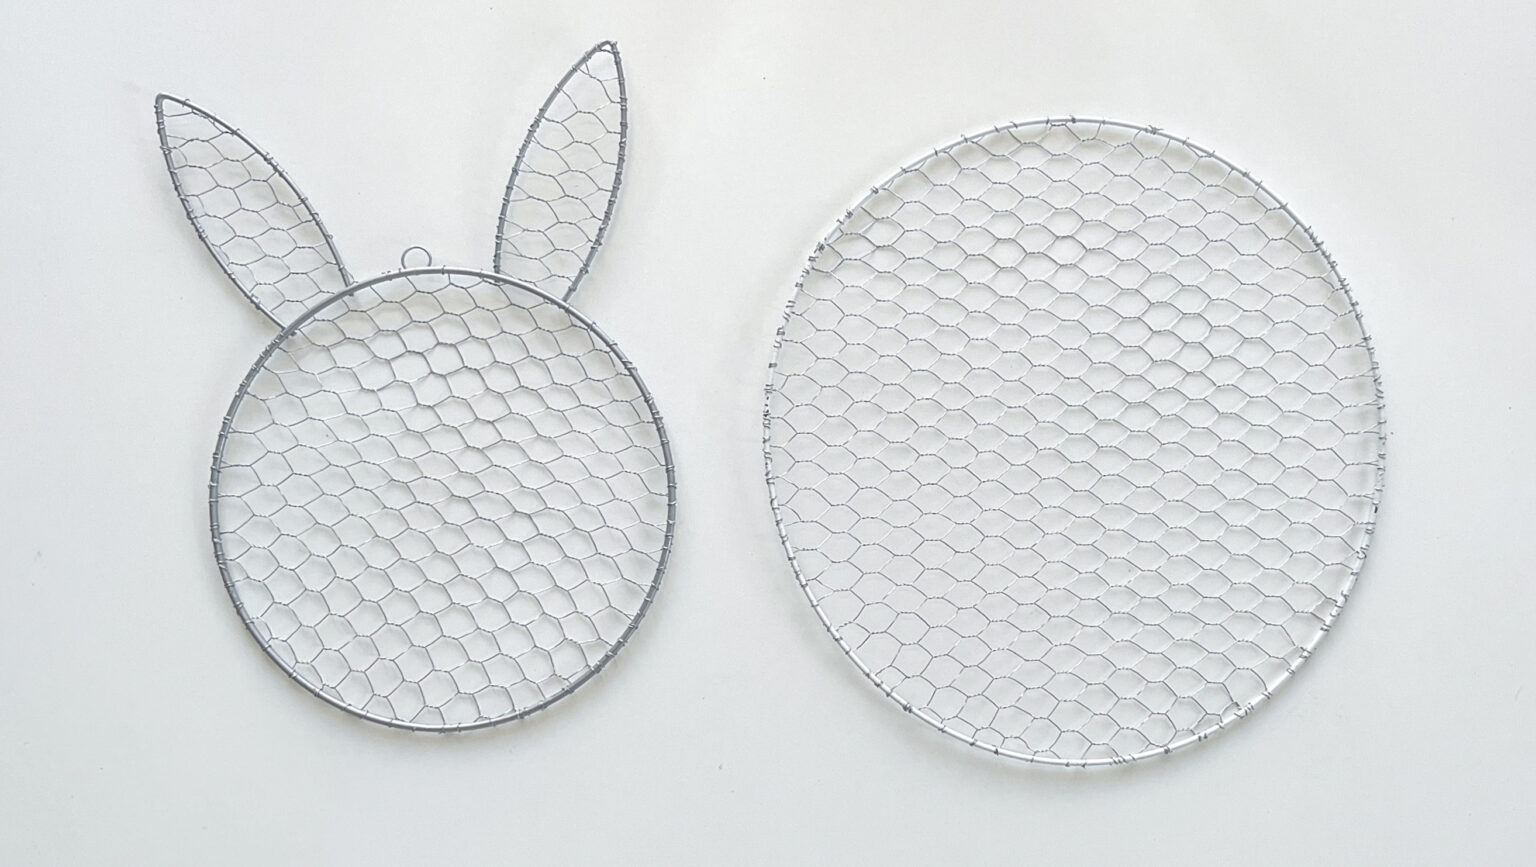
- Once you finish with the wrapping, your shapes should look like this.
Step 7) Attach the two parts
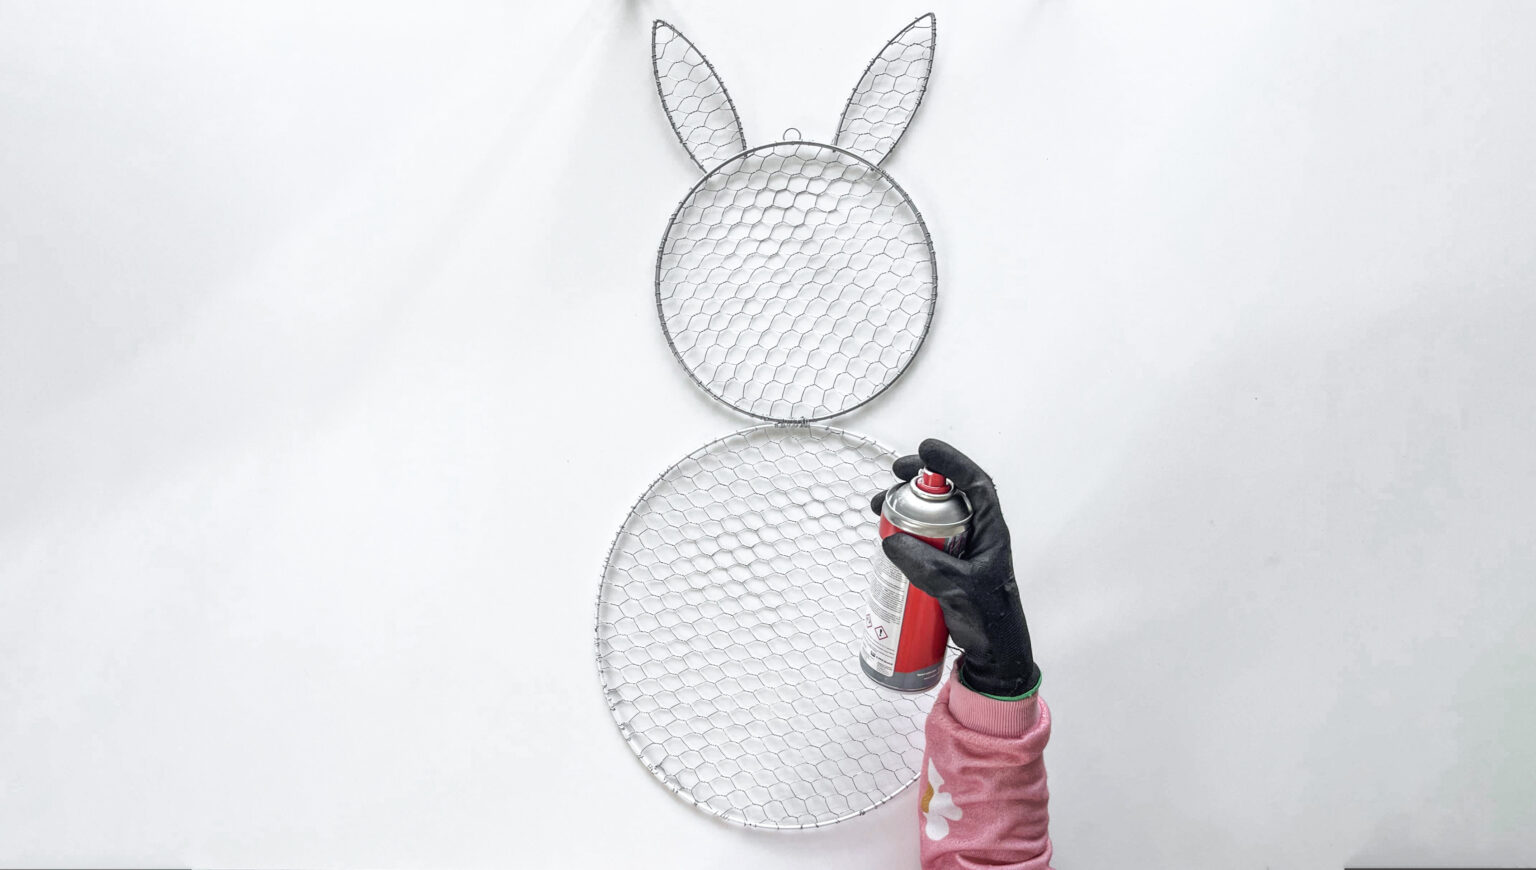
- Tie the two shapes together, using a piece of tying wire.
Step 8) Paint the wreath
- Paint the bunny wreath white, using spray paint.
- Put it aside, allowing it to dry.
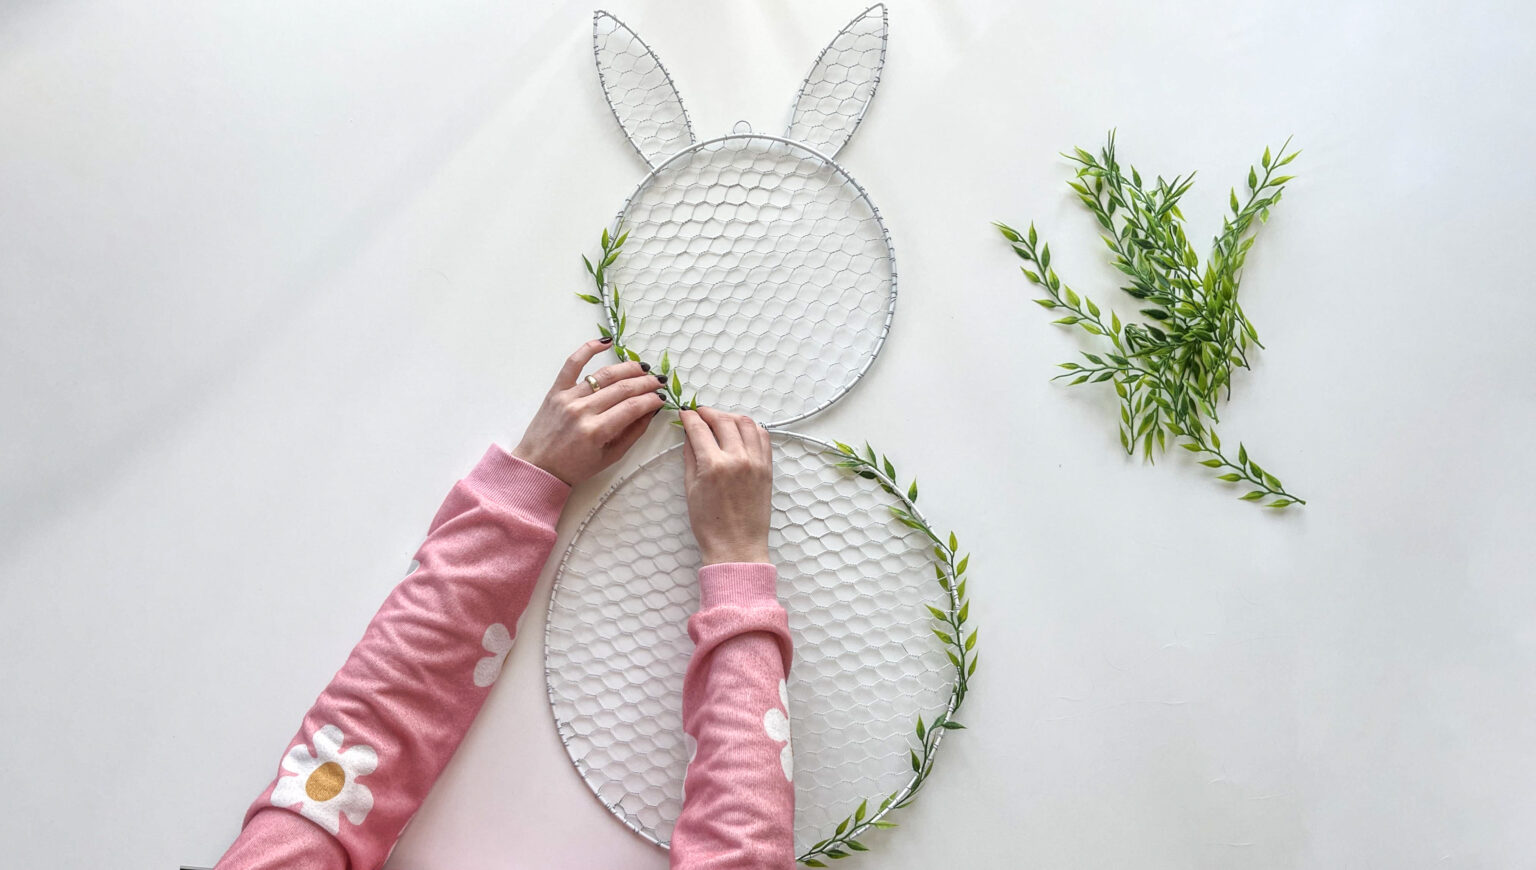
Step 9) Attach leaves
- Wrap the artificial leaves around the sides of the wreath, securing the ends with your glue gun.
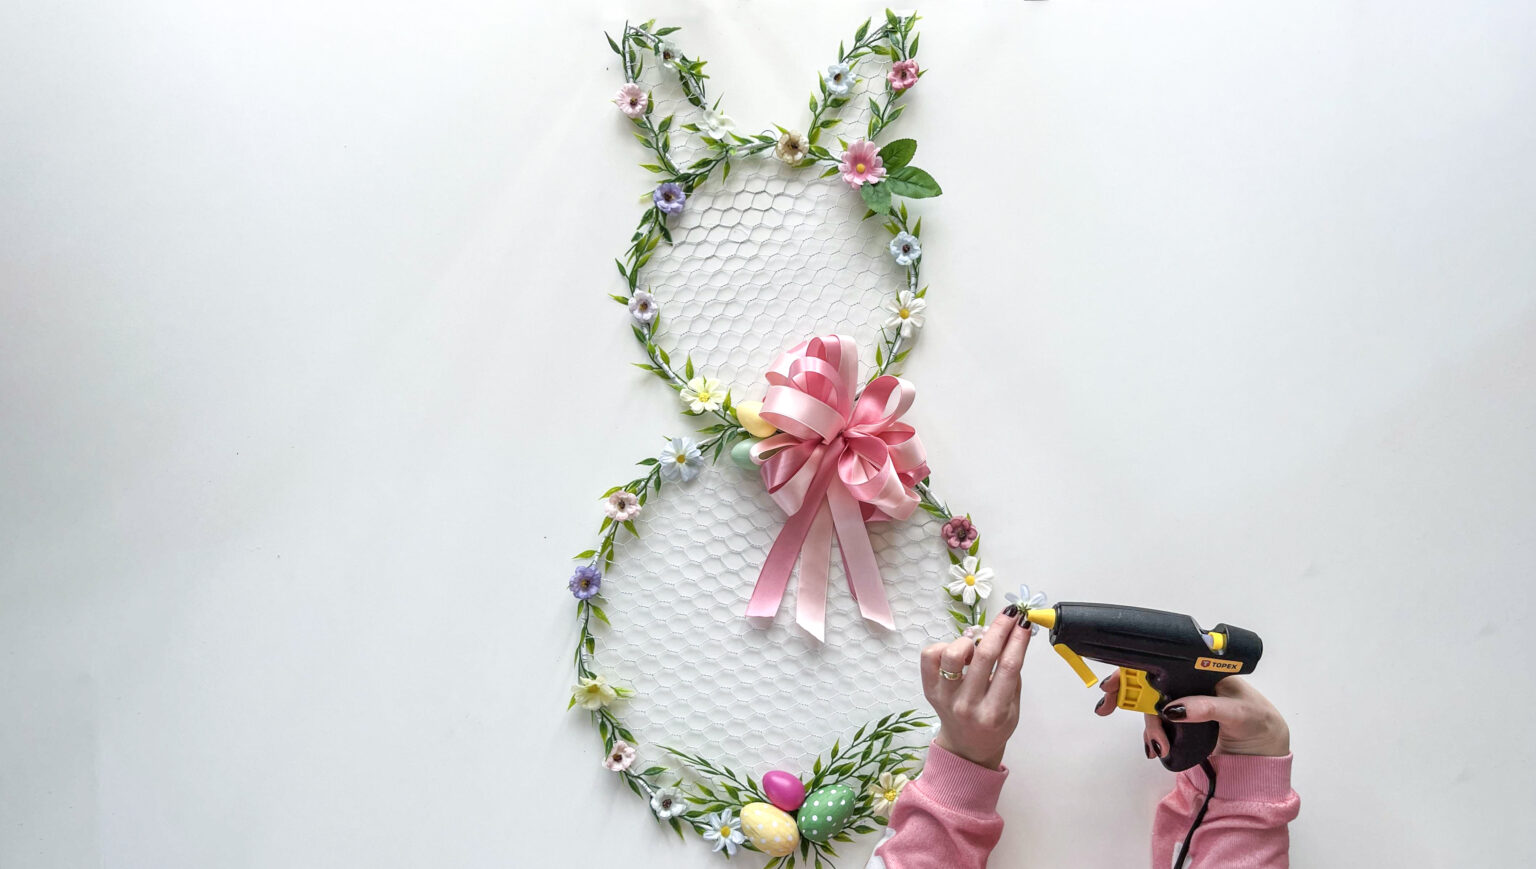
Step 10) Add decorations
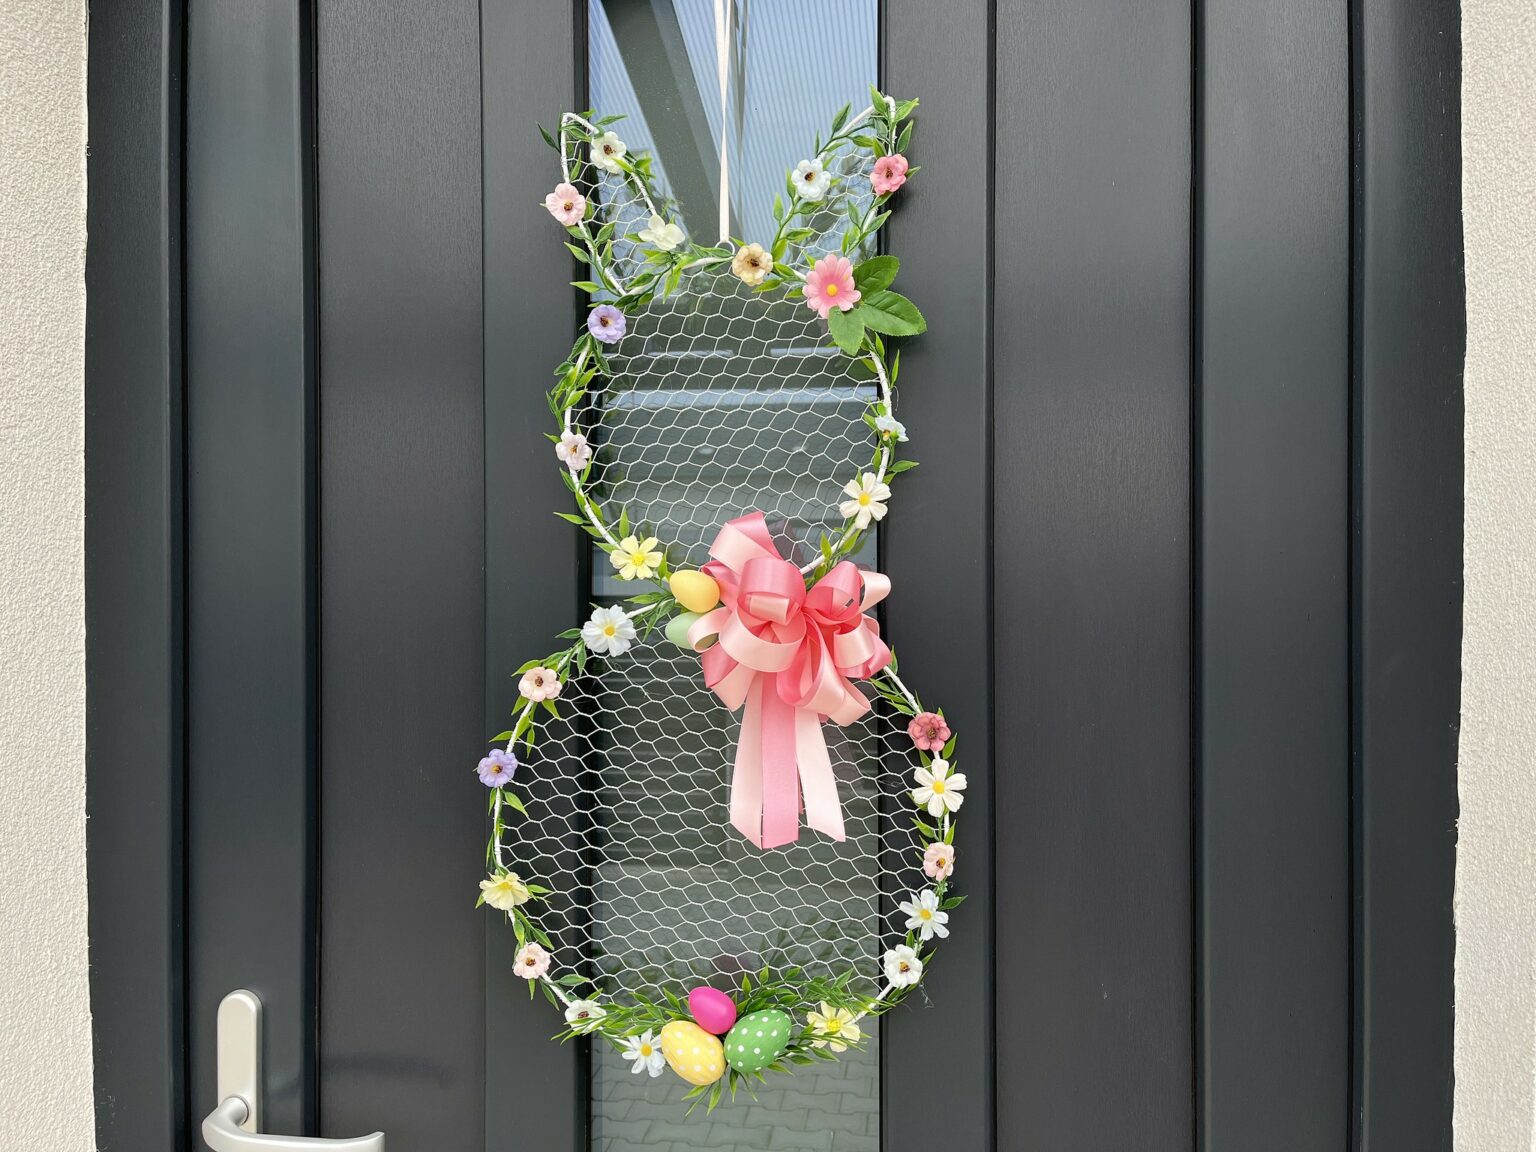
- Add a bow to the neck of the bunny and decorate with artificial flowers, easter eggs or other decorations to your taste.
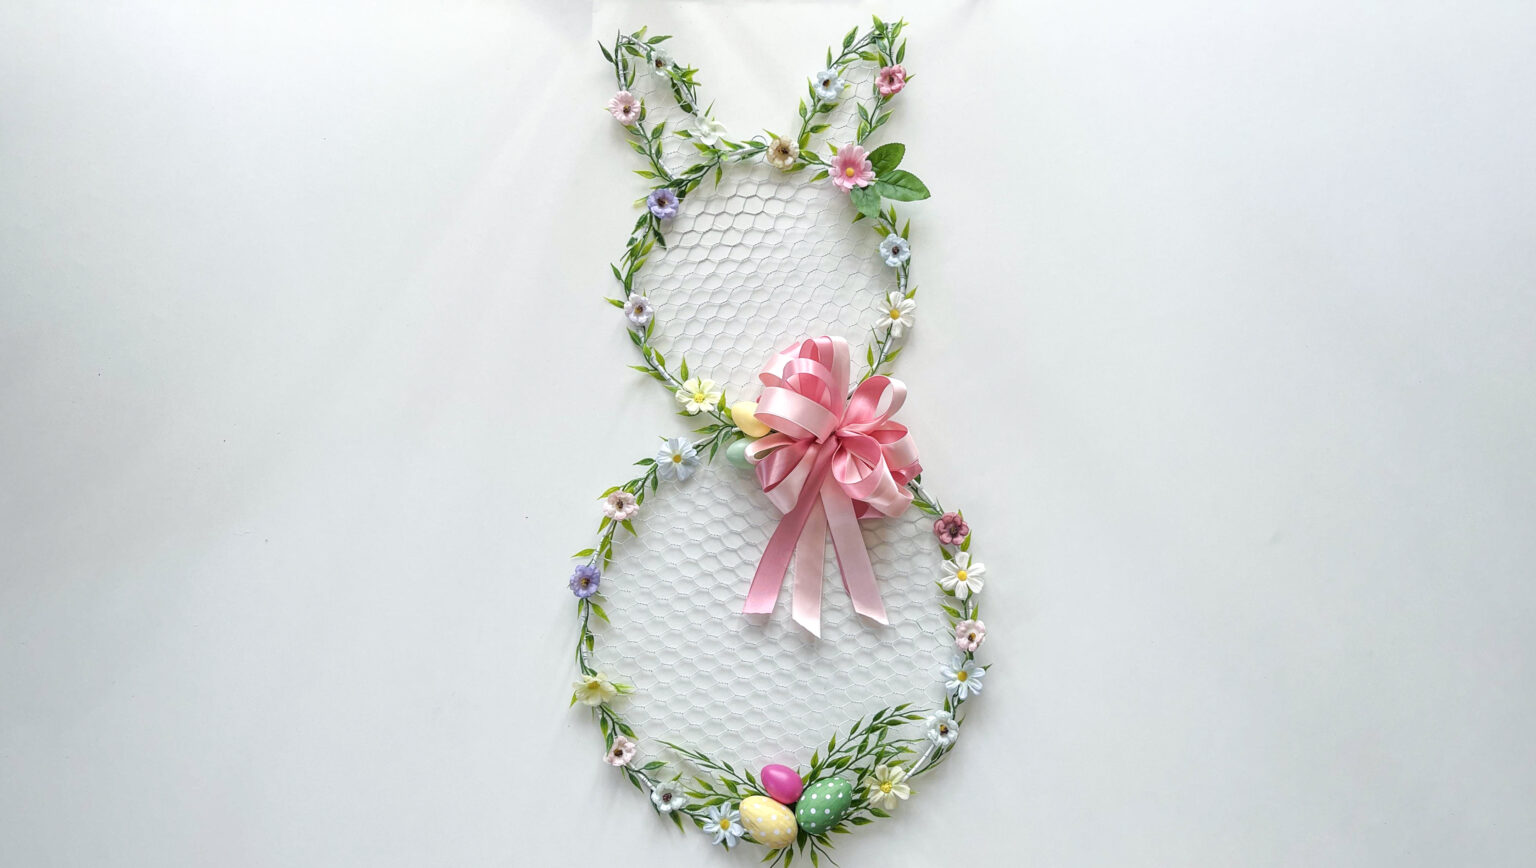
Step 11) Finished wreath
Enjoy your finished easter bunny door wreath!
Video
Tips and tricks
- Use high-quality wire cutters to simplify the chicken wire-cutting process. If uncertain, refer to our instructions for cutting chicken wire.
- Whether opting for a pre-made wreath shape or crafting your own, be mindful that when creating a DIY bunny wreath, avoid welding galvanized wire.
- Although painting the chicken wire is optional, it can help achieve a uniform look. If you’re going for a more industrial look, you can skip that step.
Other folks’ lovely projects
Having learned how to make an easter bunny wreath, why not take a look at some other notable creations from bloggers around the internet? Below, we collected some of the DIY easter wreath projects that we were most inspired by.
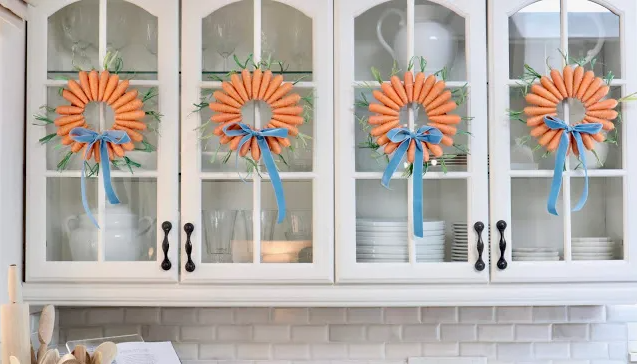
Jute Twine Carrot Wreath
Melaine of My Sweet Savannah sure found a great way to use the jute twine carrots she found in a thrift store – these wreaths are cute, creative and a perfect fit for the easter period. Find her tutorial here.
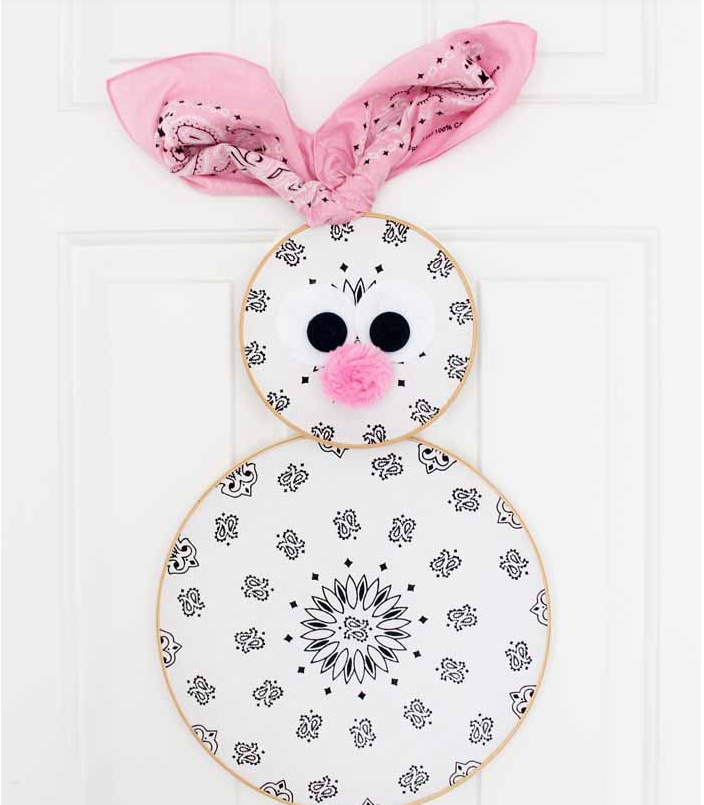
Bandana Bunny Wreath
Angie from The Country Chic Cottage had a remarkably creative take on bunny easter wreaths – she used bandanas to create this unique and stunning door decor. Find the instructions for the project here.
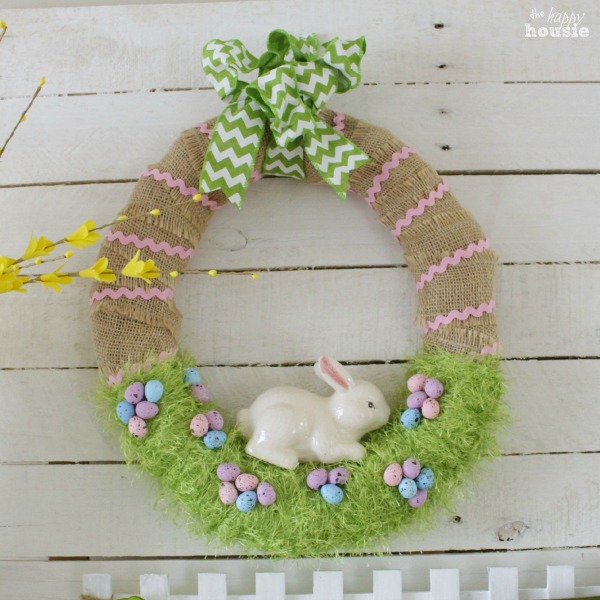
Easter Bunny Spring Wreath
Krista, the blogger behind The Happy Housie presents this simple but amazing spring wreath, covered with burlap ribbon and featuring easter decorations. It’s a lovely project, and you can recreate it by accessing the guide here.
