
Easter Egg Wreath DIY

This blog will show you how to make your own DIY easter egg wreath using chicken wire. Just follow the step-by-step instructions below.
OVERVIEW
- Experience Required: Low
- Tools Required: Protective Gloves, Pliers, Wire Cutter, Glue Gun
- Materials Required: Chicken Wire, Plastic Eggs, Artificial Leaves, Bow
Step 1) Prepare Supplies

- Gather everything you need for the project.
- We used 1mm thick chicken wire mesh to make this wreath
Step 2) Cut Out a Piece of Chicken Wire

- Cut a piece of chicken wire, depending on the desired size of your wreath.
Step 3) Add your Decorations
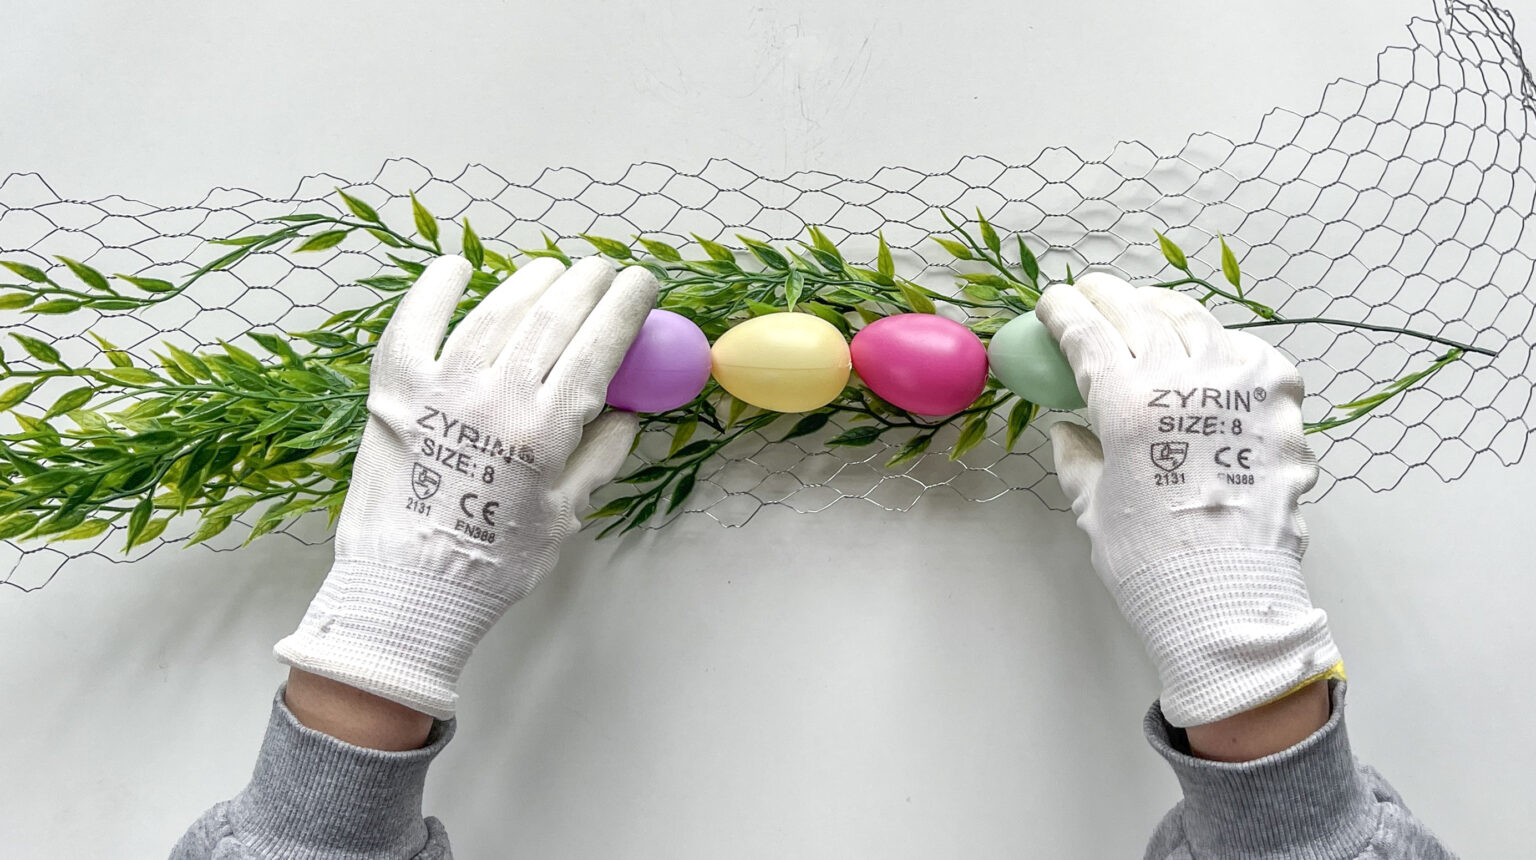
- Arrange your decorations on top of the chicken wire. Start with the artificial leaves, and sit the eggs on top of them, creating a natural look.
Step 4) Close the Chicken Wire
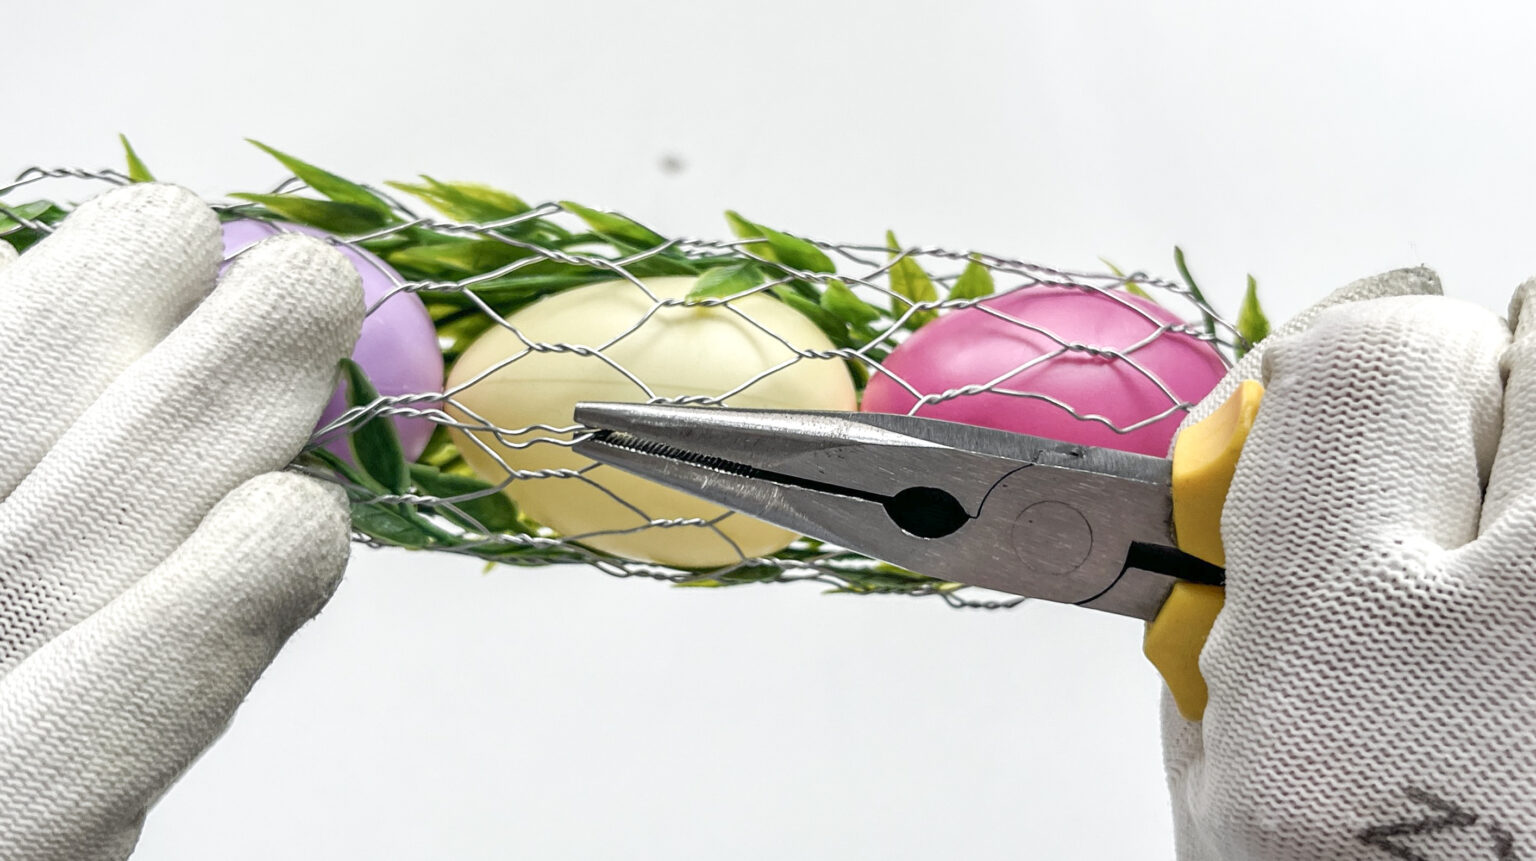
- Start attaching the chicken wire together in the middle, forming a tube. Tie the ends together using a plier.
Step 5) Continue Filling and Tying
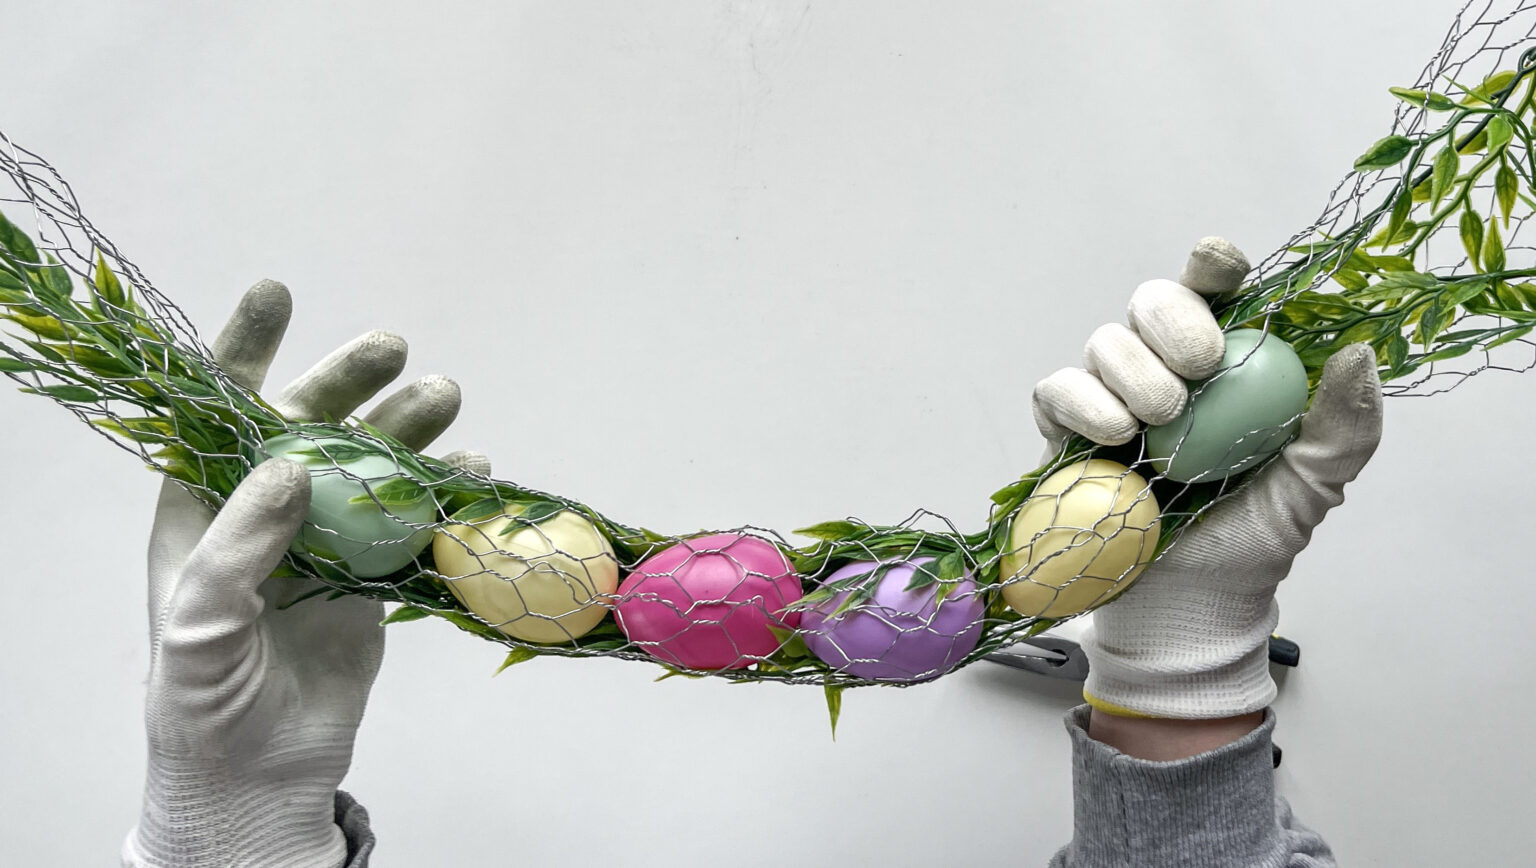
- Continue placing the decorations on the chicken wire and tying the ends together, until you reach the ends.
Step 6) Attach the Ends

- Once you filled the whole wreath, attach the ends together by tying together the loose pieces of wire.
Step 7) Attach the Bow
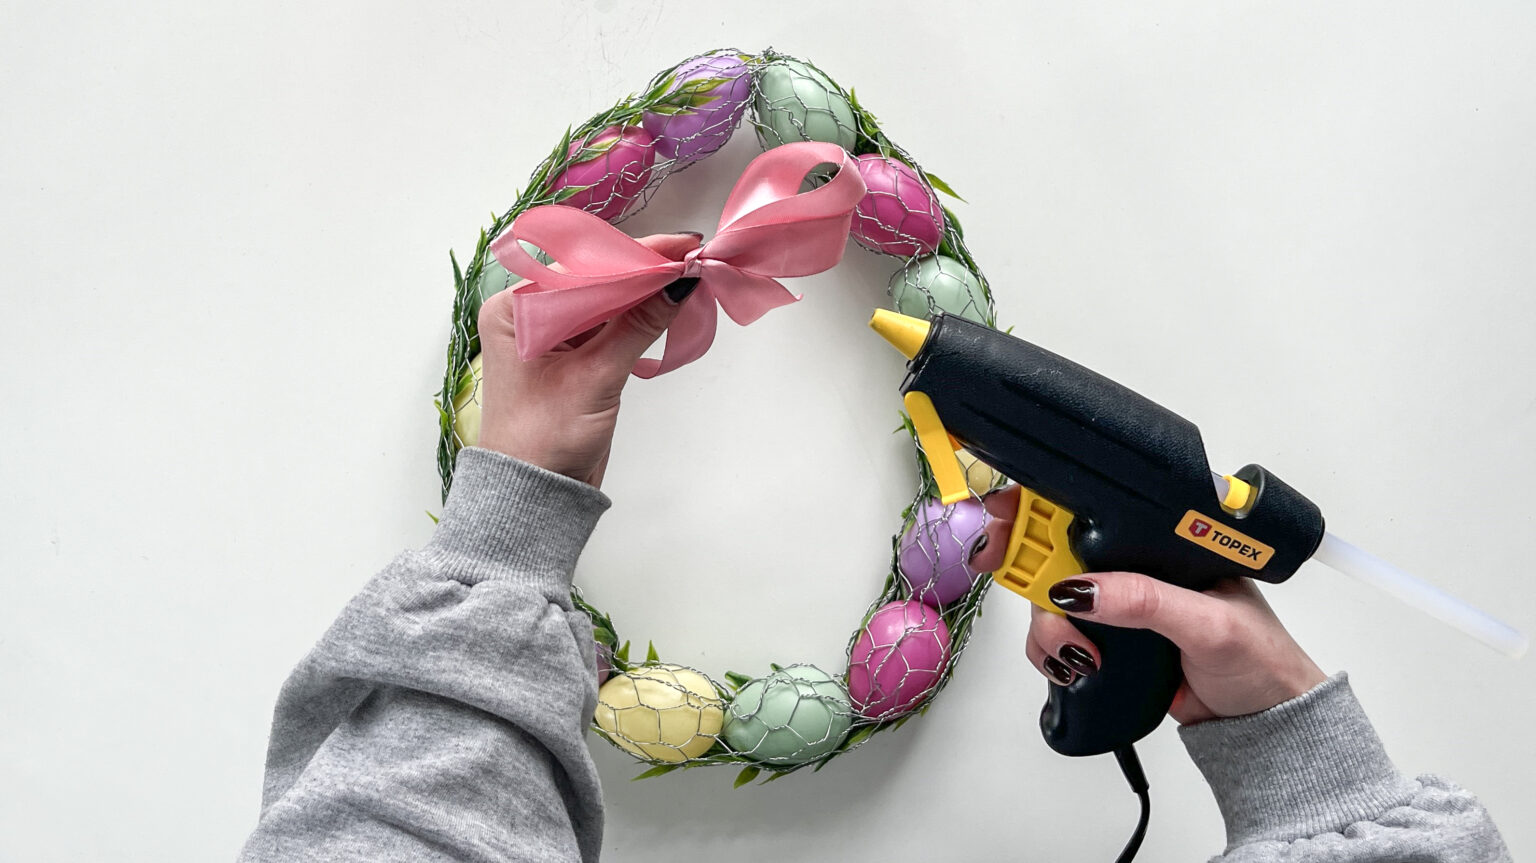
- Once your wreath is secured together and bent into an egg shape, you can attach the bow on top of it using a glue gun.
Step 8) Finished Wreath
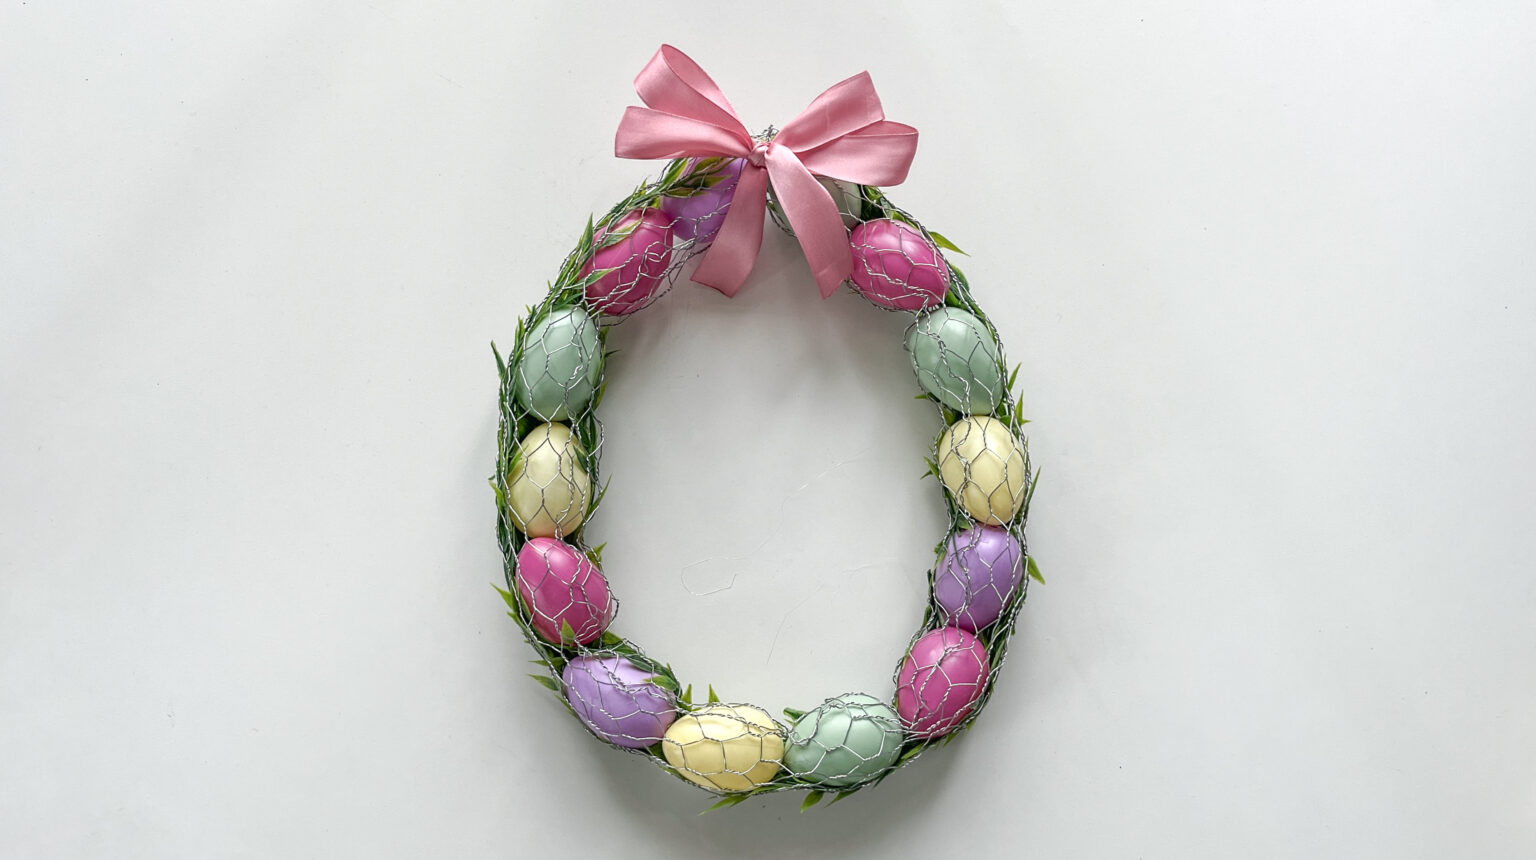
- Enjoy your finished DIY Easter egg wreath and feel free to hang it on your door.
Video
Tips and tricks
- Use good quality wire cutters to make the process of cutting the chicken wire easier. If you are unsure, you can follow the instructions on how to cut chicken wire.
- Get creative with your colour choices for the eggs and leaves to match your existing decor or create a vibrant Easter-themed palette.
- Before you start attaching decorations, plan out the arrangement on the chicken wire to ensure a balanced and aesthetically pleasing design.
- As you form the wreath shape, adjust the tension of the chicken wire to ensure it holds its form securely without being too tight or too loose.
- When hanging your finished wreath, use a sturdy hook or door hanger capable of supporting its weight. Avoid placing it in direct sunlight or areas prone to moisture to preserve its longevity.
- Consider adding additional embellishments such as ribbon, faux flowers, or seasonal ornaments to further personalize your wreath and make it uniquely yours. Utilize a chicken wire wreath frame for added stability and structure, ensuring your decorations stay securely in place.
Other folks’ lovely projects
Easter Egg Wreath
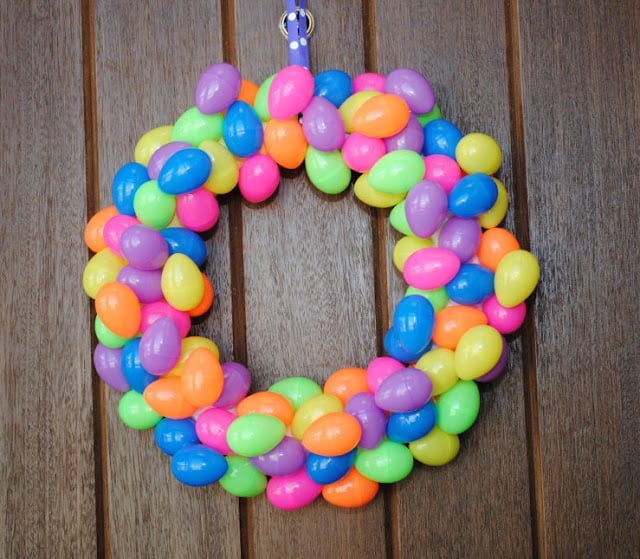
This craft by Crazy Little Projects is a simple, but stylish interpretation of an egg wreath. It uses colourful plastic eggs to create a stunning composition and bring a touch of colour to your door. Find the instructions here.
DIY Nest Wreath
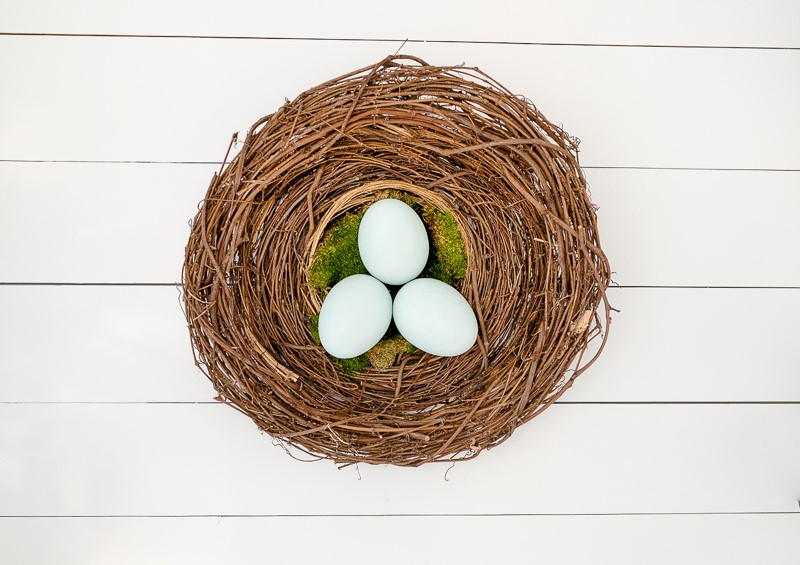
This unique idea was published on Home Stories A to Z, and it offers a unique take on the Easter decorations. The nest is made out of multiple grapevine wreaths, while the eggs in the middle give it an Easter vibe. Find the step-by-step guide here.
Wooden Egg Wreath
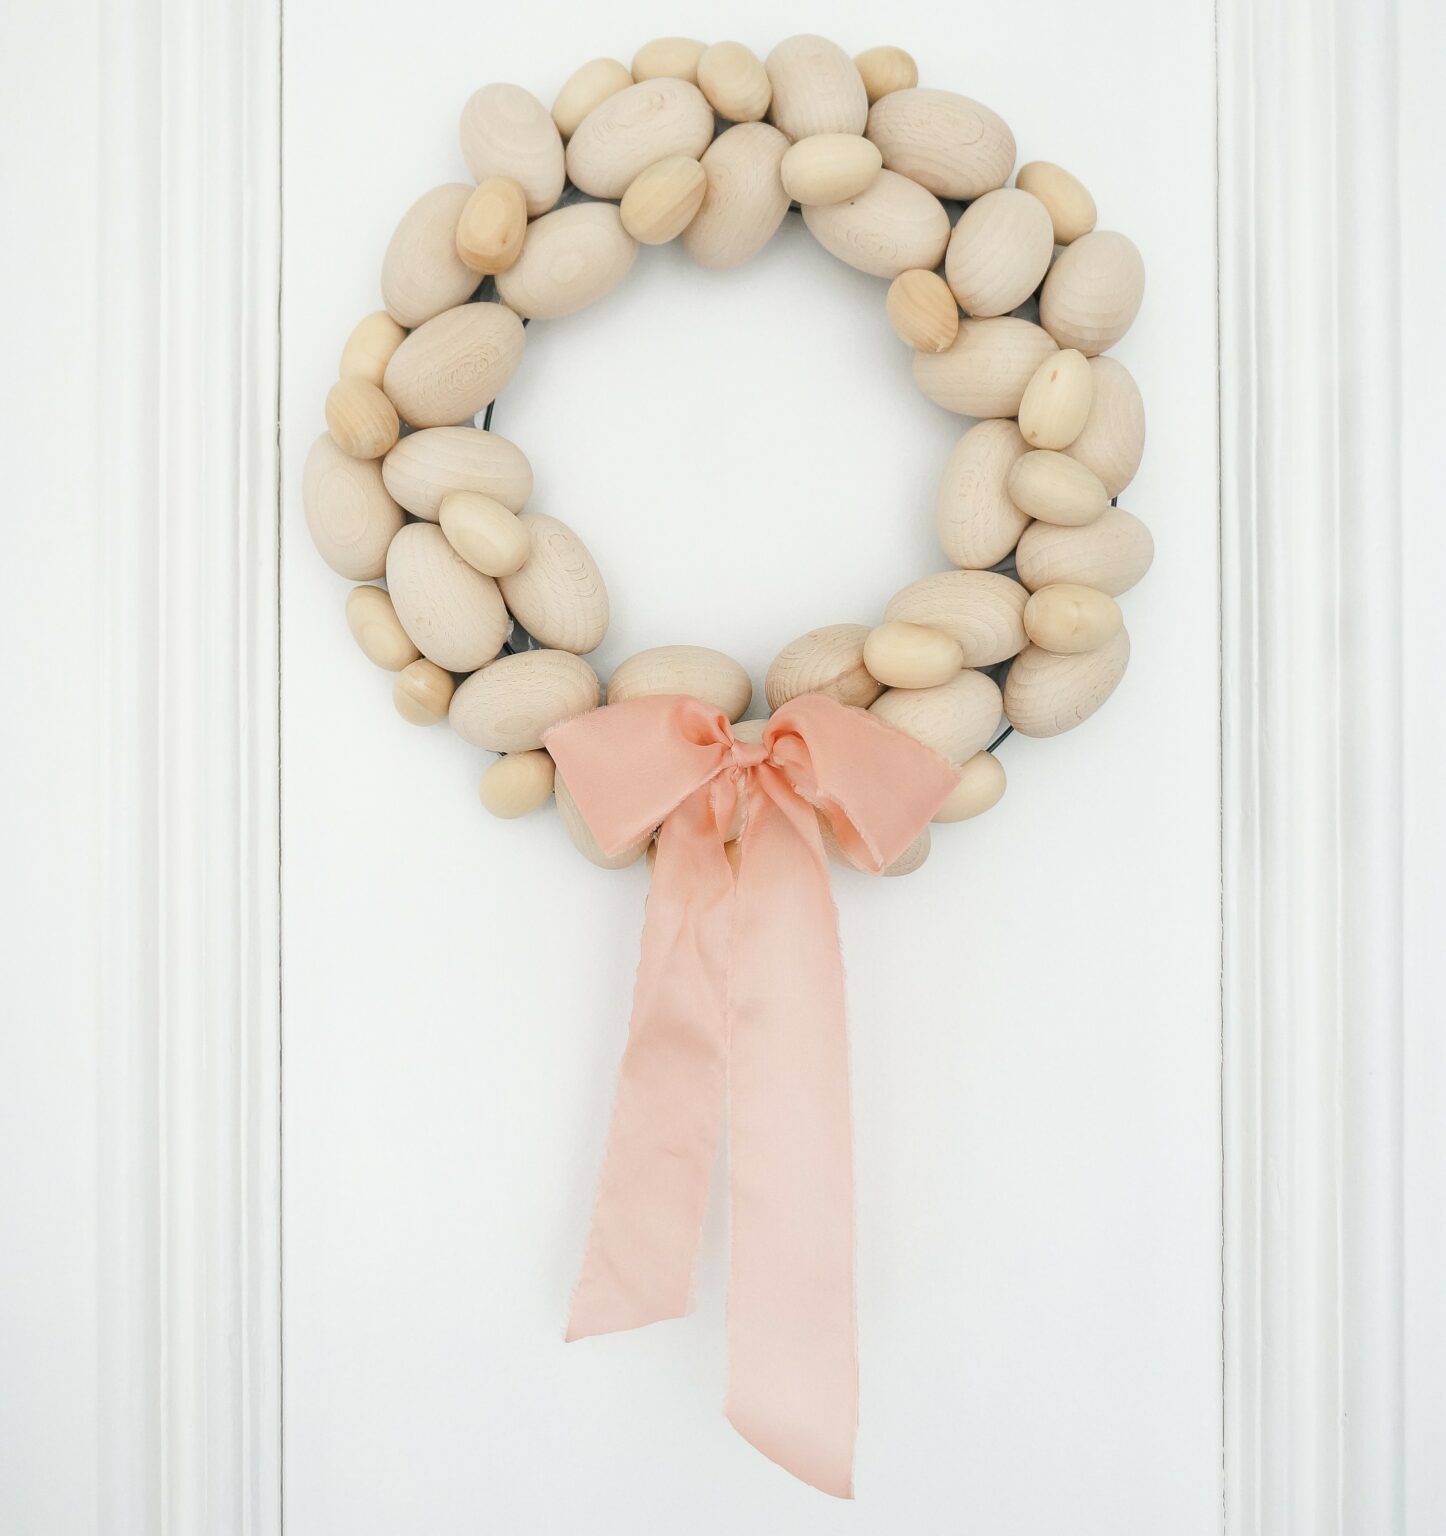
It’s true that egg wreaths can come in all shapes, sizes and materials. This amazing project by Fiding Lovely proves this, by presenting a wooden egg wreath that can complement even the most minimalistic interiors. Its neutral colours bring a simple elegance into your home. You can read the guide here.

