How to Make Flower Vase with Paper Mache
In this blog we will show you how to make flower vase with paper mache. Just follow the steps below to recreate this head shaped trendy vase.
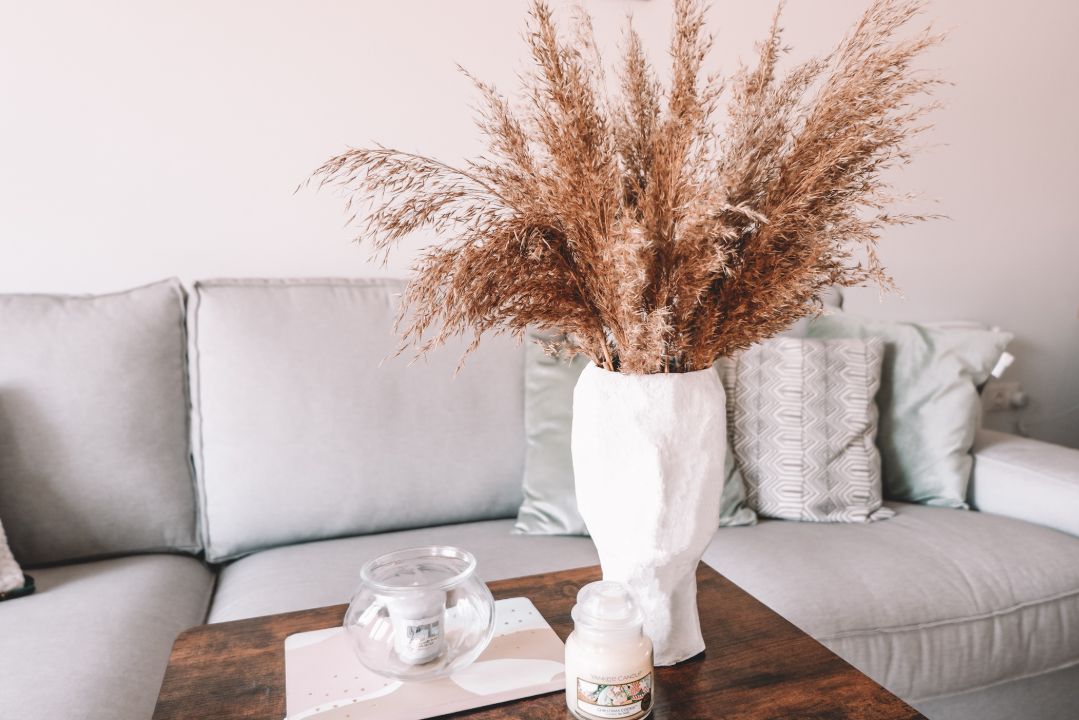
OVERVIEW
- Estimated Completion Time: ~3 Hours (without waiting time)
- Experience Required: Low
- Tools Required: Pliers, Wire Cutter, Brush, Bowl
- Materials Required:
- Chicken Wire Mesh
- Newspaper
- White Glue
- Facial Tissues
- White Acrylic Paint
- Baking Soda
STEP 1) Cut Two Pieces of Chicken Wire
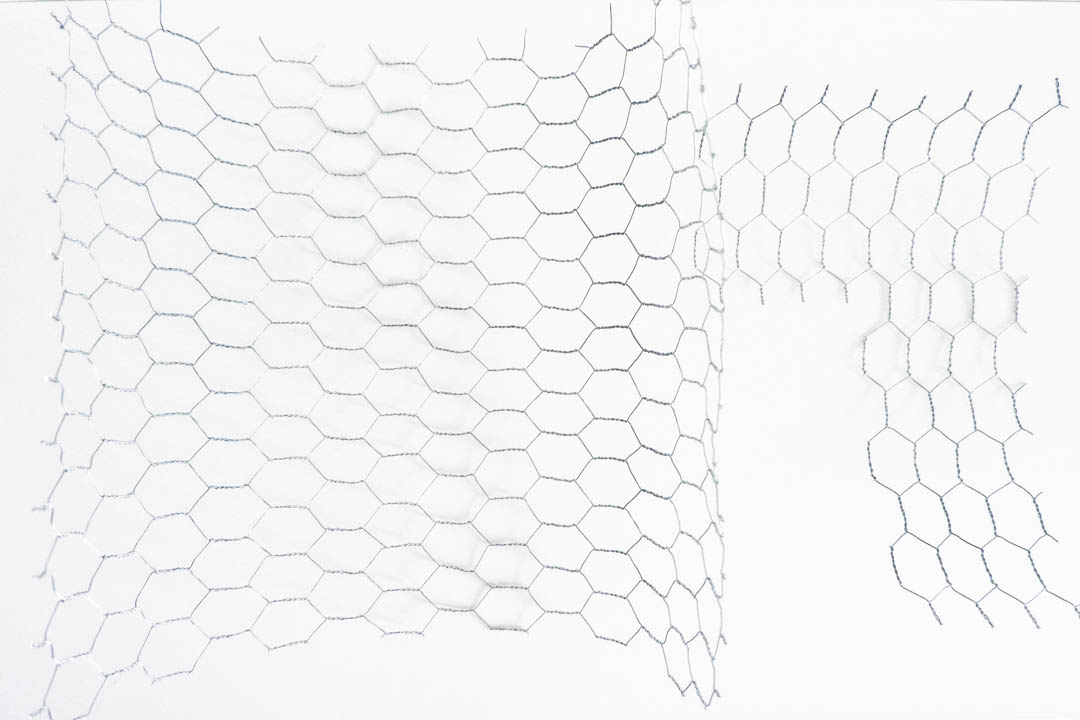
- Cut a rectangular shape piece of chicken wire with the following measurements: 30 cm width * 35 cm height
- Cut a second – L shape – piece of netting with these measurements: 28 cm width * 18 cm height (left side) * 10 cm height (right side)
STEP 2) Create the Base
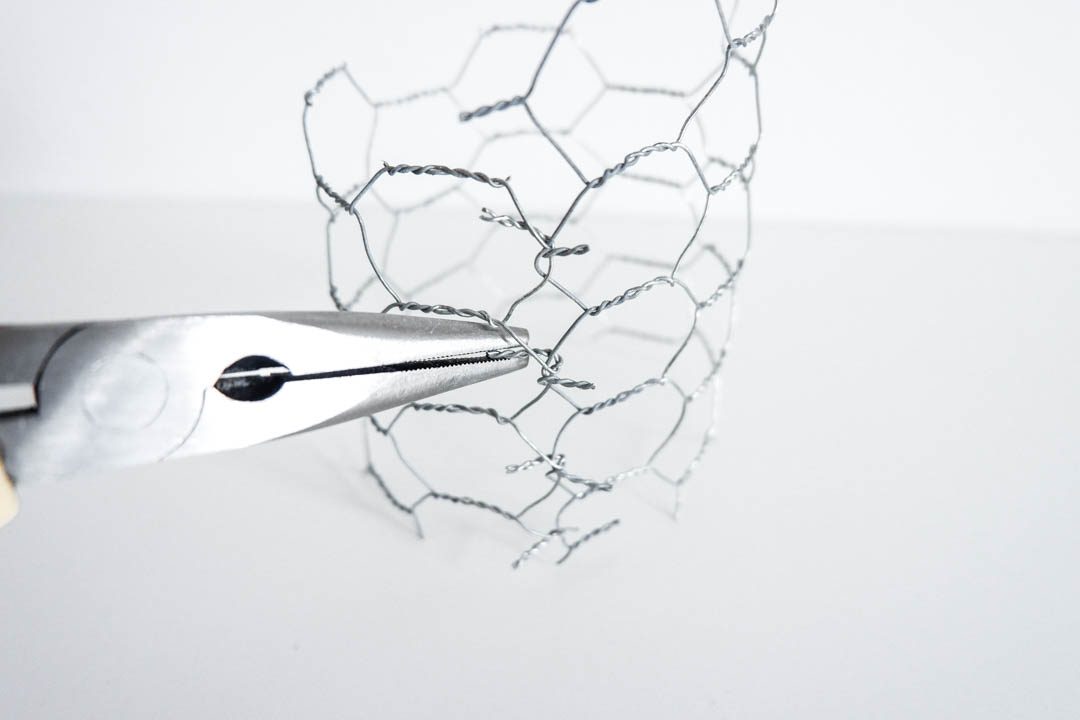
- Roll the L shape mesh into a cylinder and connect the ends by twisting the loose ends around each other
STEP 3) Connect the Bottom Part
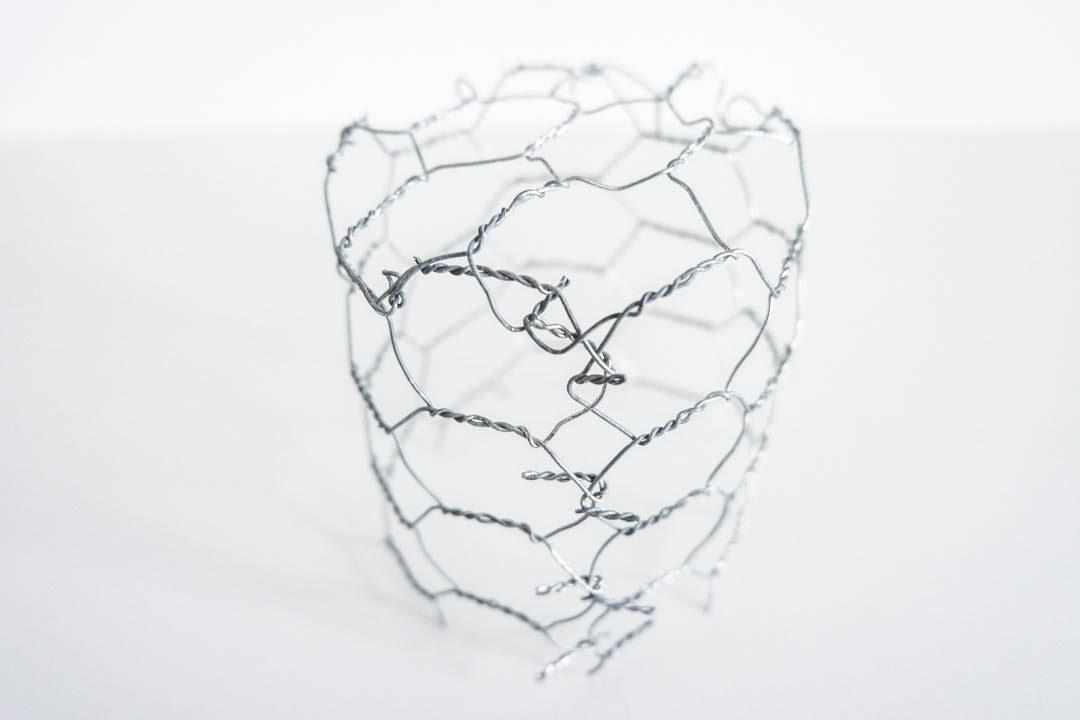
- Take the loose piece of mesh and fold on to the cylinder
- Connect the ends to the bottom part of the cylinder by twisting the loose ends – this will act as a base for the vase
STEP 4) Make the Second Cylinder
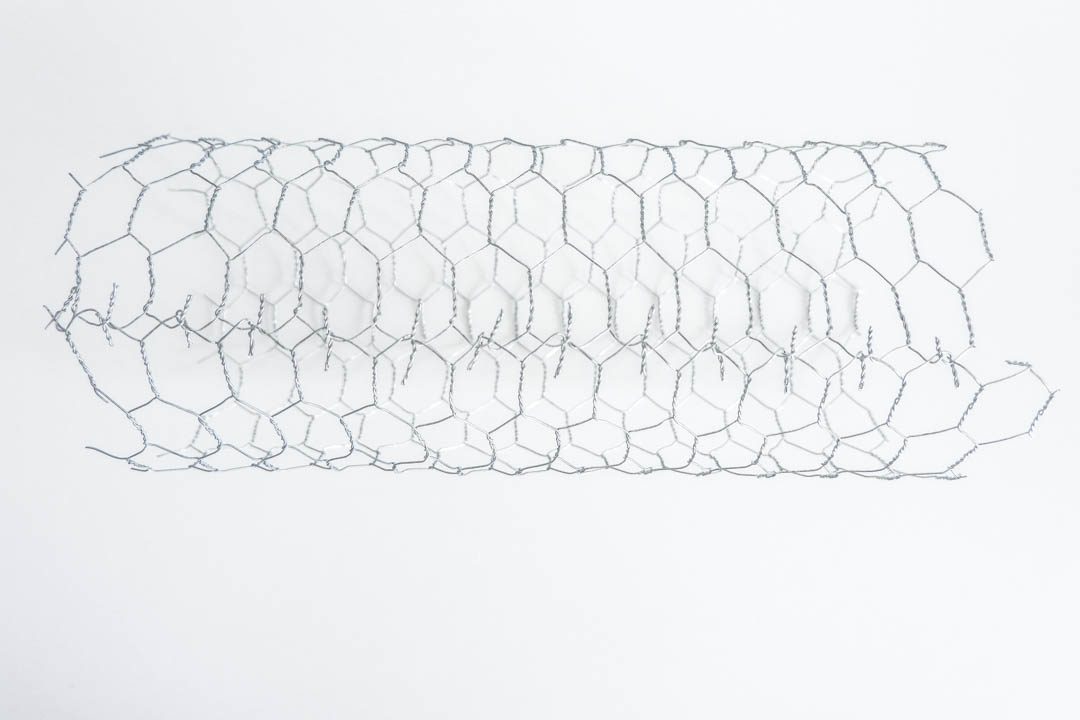
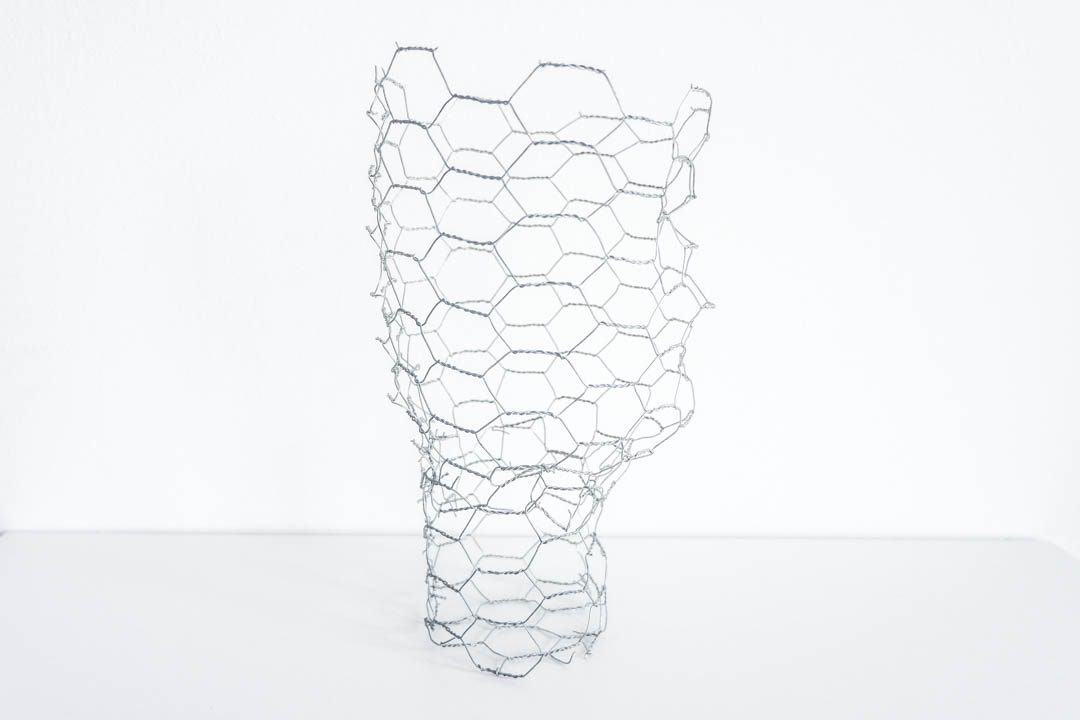
- Now roll the larger piece of chicken wire into a cylinder and connect the ends by twisting the loose ends around each other
STEP 5) Create the Vase
- Place the tube you have just created on to the base and connect the ends with the same method
- Start to form the vase by pulling and pushing the chicken wire until it resembles a head
STEP 6) Cut Up the Newspaper
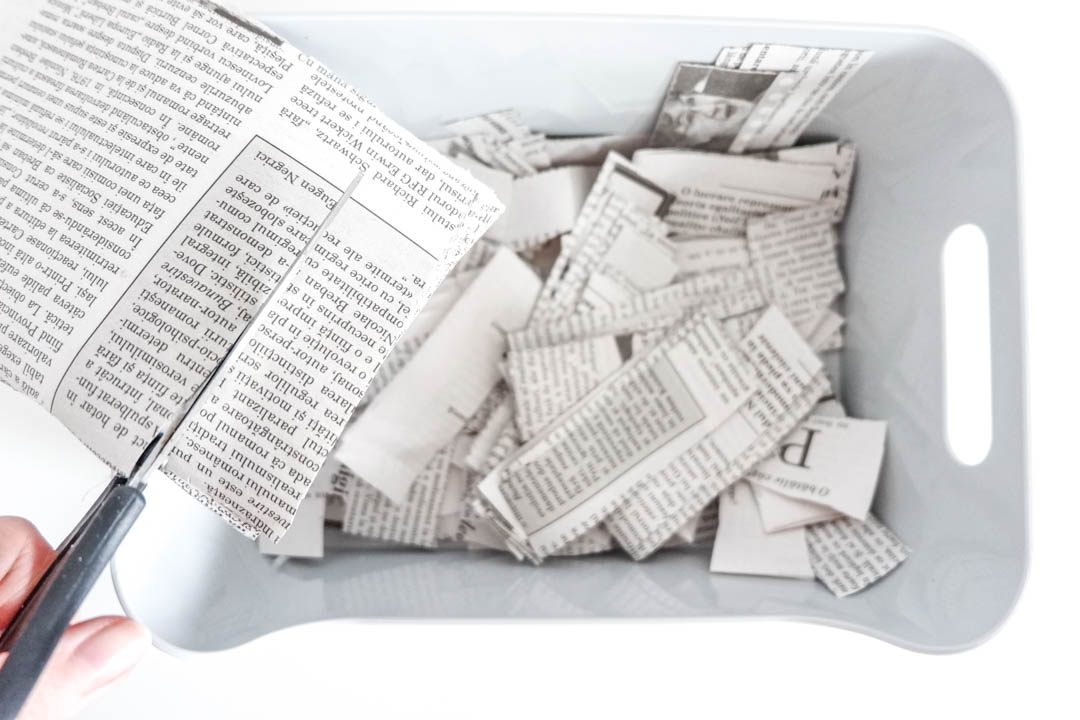
- Cut up the newspaper into approximately 3*8 cm pieces
- You can also rip them into irregular shape pieces as it can be easier to cover the curves
STEP 7) Prepare the Glue
- The next steps will show you how to do paper mache
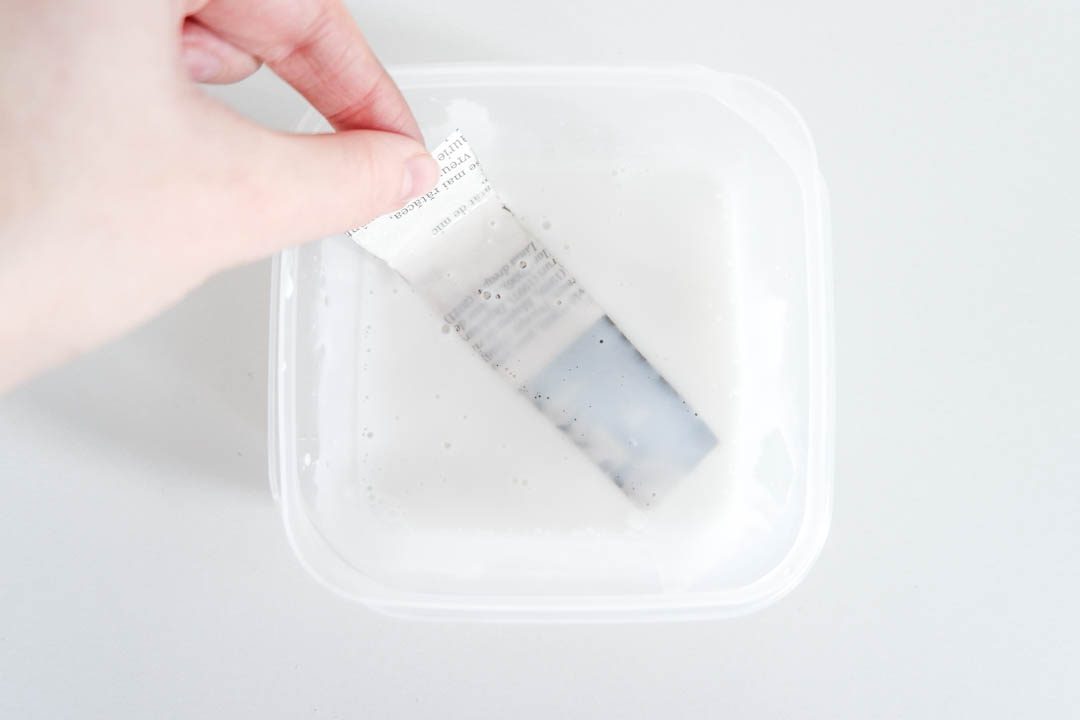
- Take the white glue and mix it with approximately the same amount of water
- Dip the newspaper pieces in the glue mixture and remove the excess with your fingers before sticking it to the wire sculpture
STEP 8) Cover the Chicken Wire Sculpture
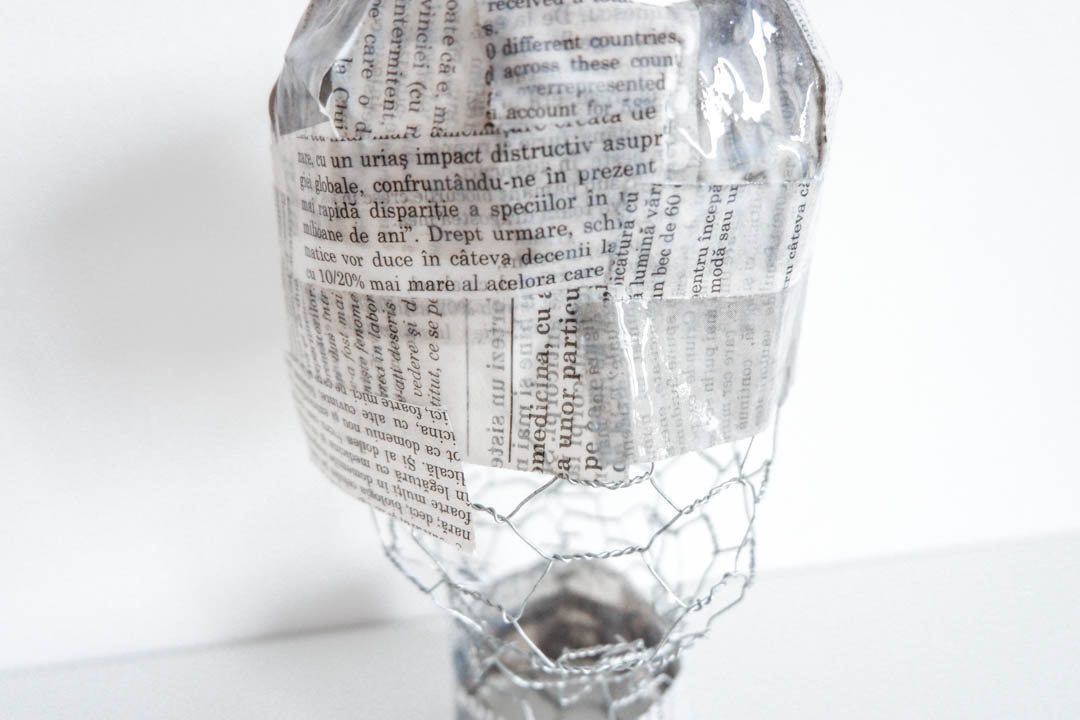
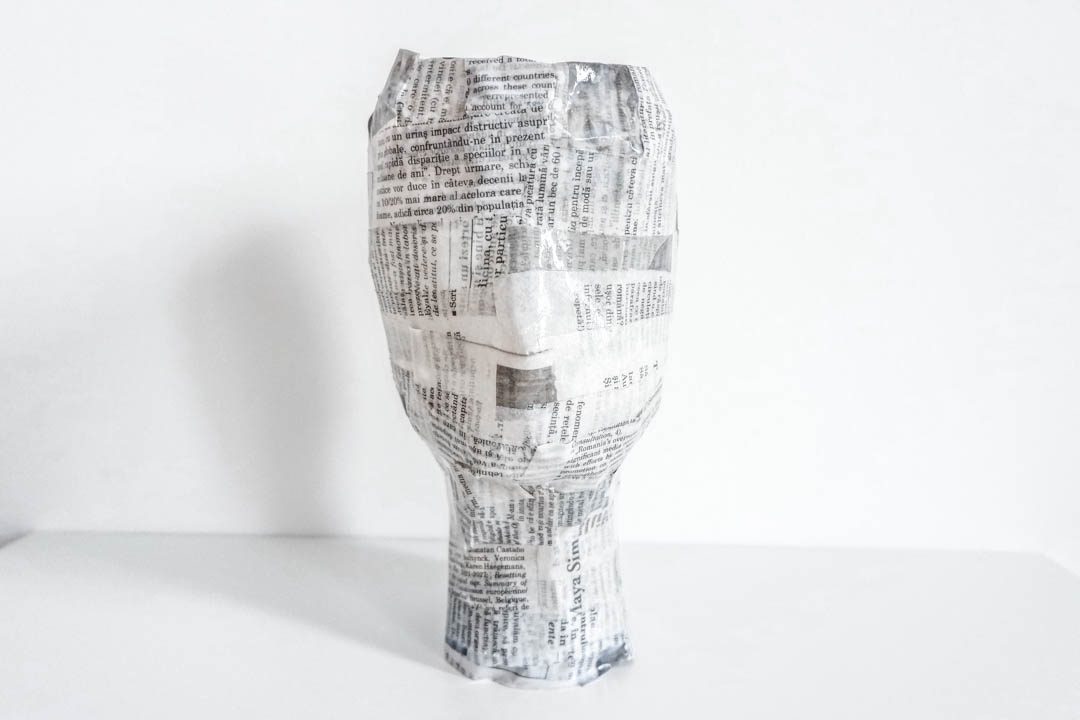
- One by one cover the sculpture with the newspaper pieces dipped in glue
- After you have finished applying the first layer let the vase dry
STEP 9) Apply Second Layer
- Apply a second coat of newspaper with the glue mixture and let it dry as well
STEP 10) Finishing Layer
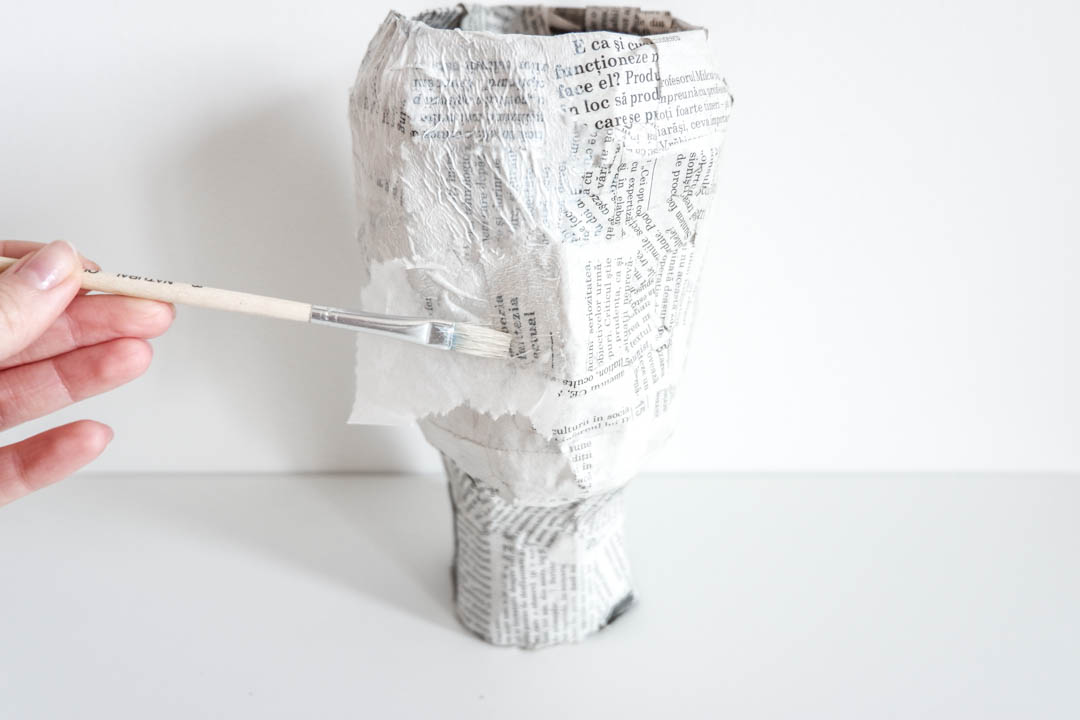
- For the third layer use facial tissues instead of newspaper to get a smoother finish
- Firstly apply a coat of glue with a brush, stick the pieces of tissue paper into the glue then gently apply a new thin layer of glue on the top of the tissue
STEP 11) Paint the Vase
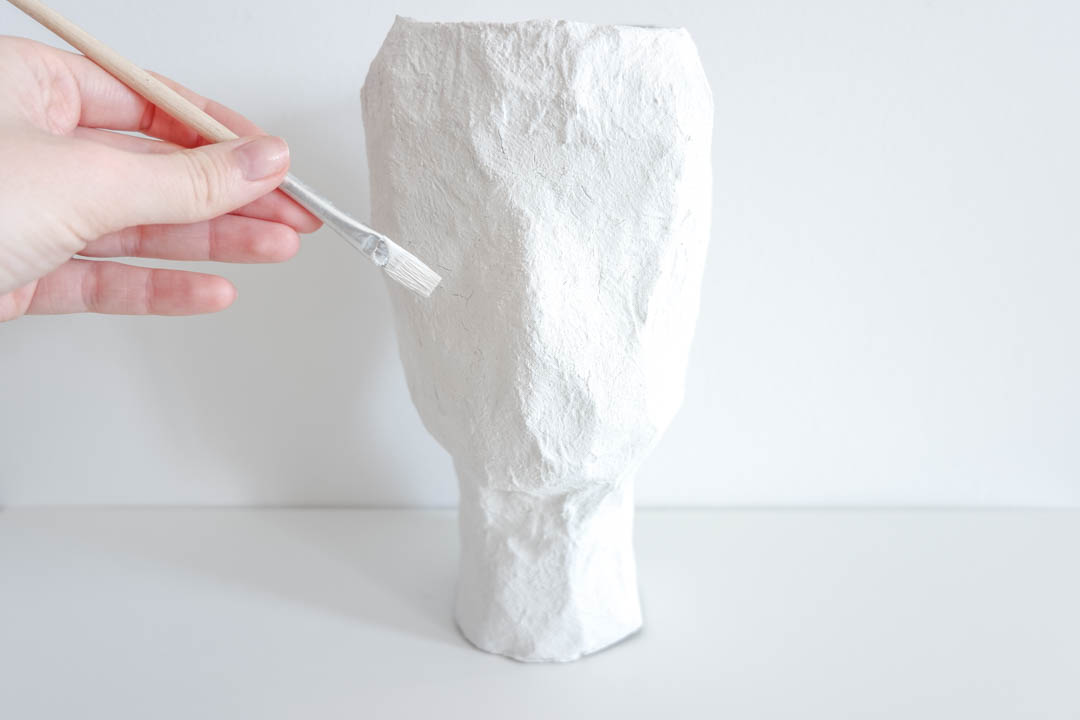
- After the last coat has dried you can paint your vase with acrylic paint (we used white)
- To add a rustic touch add a teaspoon of baking soda to the paint
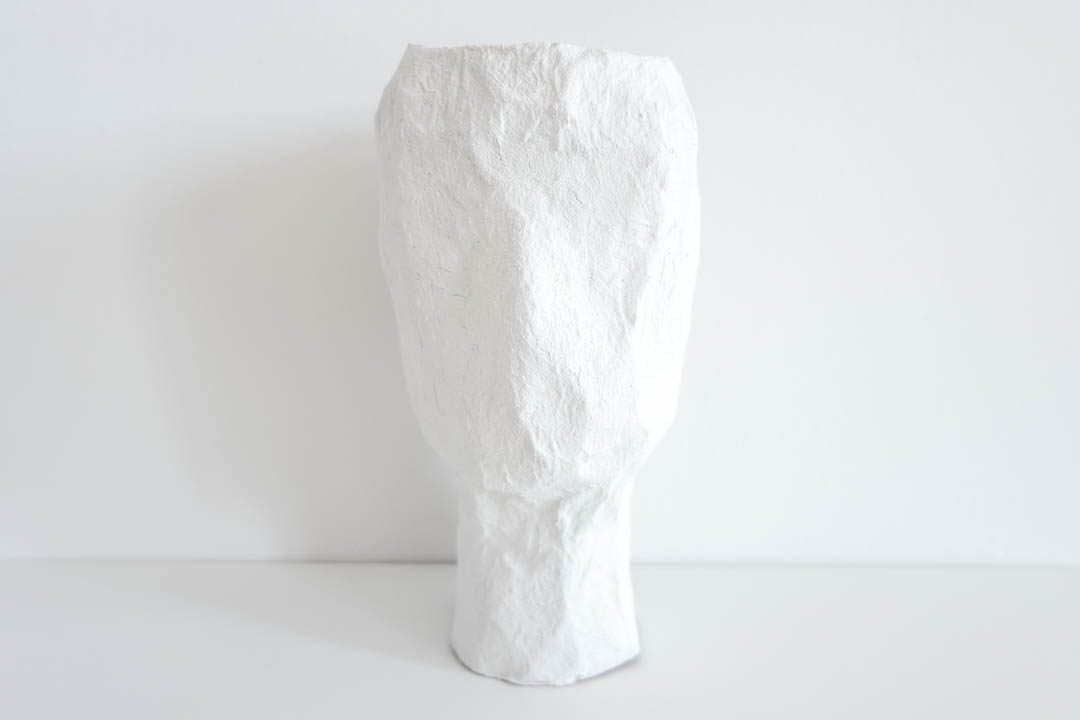
STEP 12) Your Vase is Ready
- After the paint has dried your vase is ready to use
- Add some pampas grass or any artificial flowers of your choice
FURTHER READING
- How to Cut Chicken Wire – Learn how to cut chicken wire with different tools
- DIY Chicken Wire Jewelry Holder – This guide will show you how to make a jewelry holder out of chicken wire
