DIY Cat Proof Fence
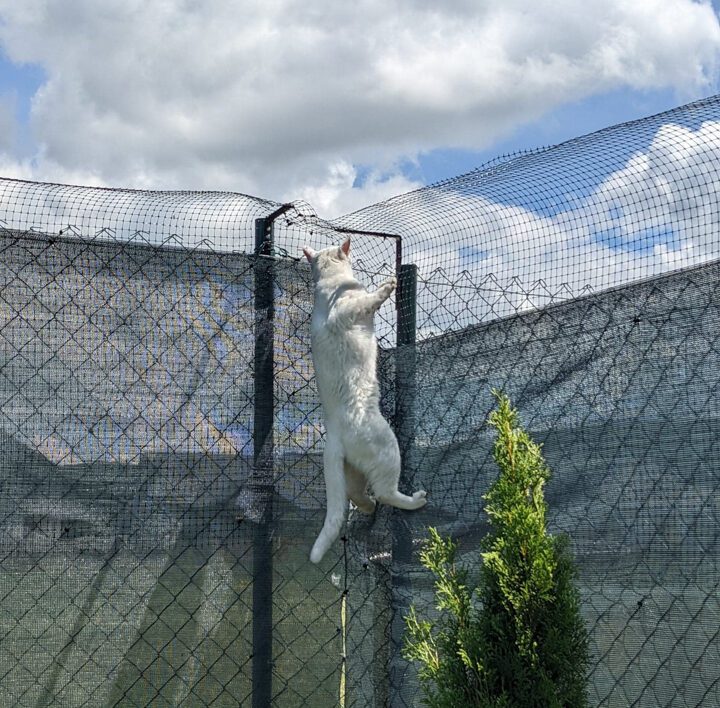
This blog will show you how to make your own DIY cat proof fence to keep your cats safe in the garden. Just follow the step by step instructions below in order to complete the project.
OVERVIEW
- Estimated Completion Time: ~ 6 Hours
- Experience Required: Medium
- Tools Required: Drill, Bolts and Nuts, Socket Wrench Screwdriver, Cable Tie Cutter, Tape Measure
- Materials Required: Cat Proof Netting, Cable Ties, Brackets
STEP 1) Count the Posts
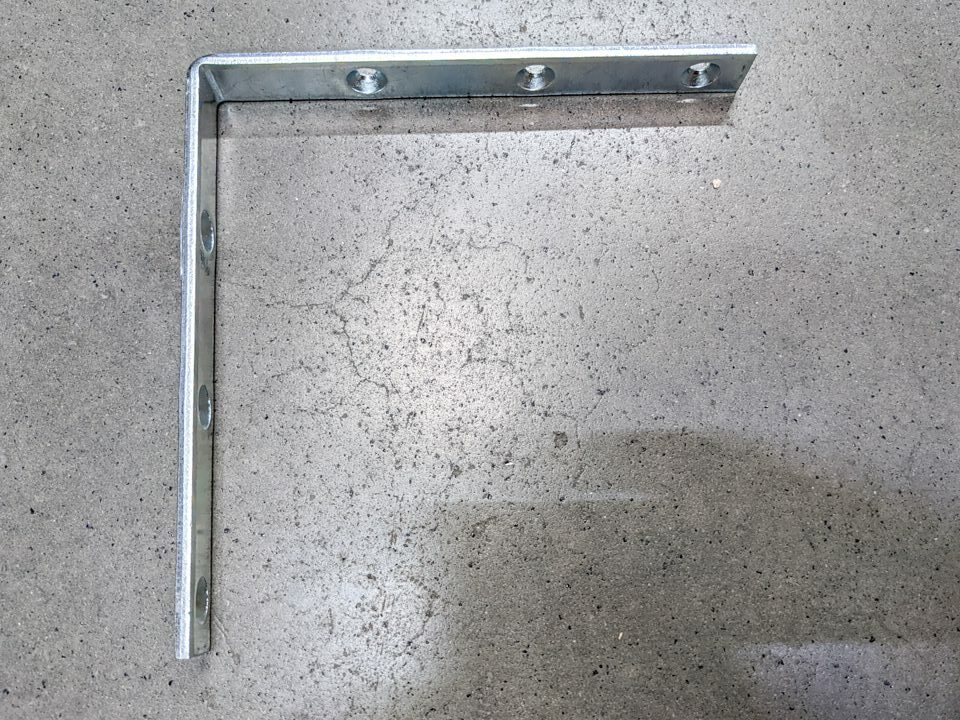
- Count how many brackets you’ll need
- The amount of brackets should be equal with the amount of posts you have
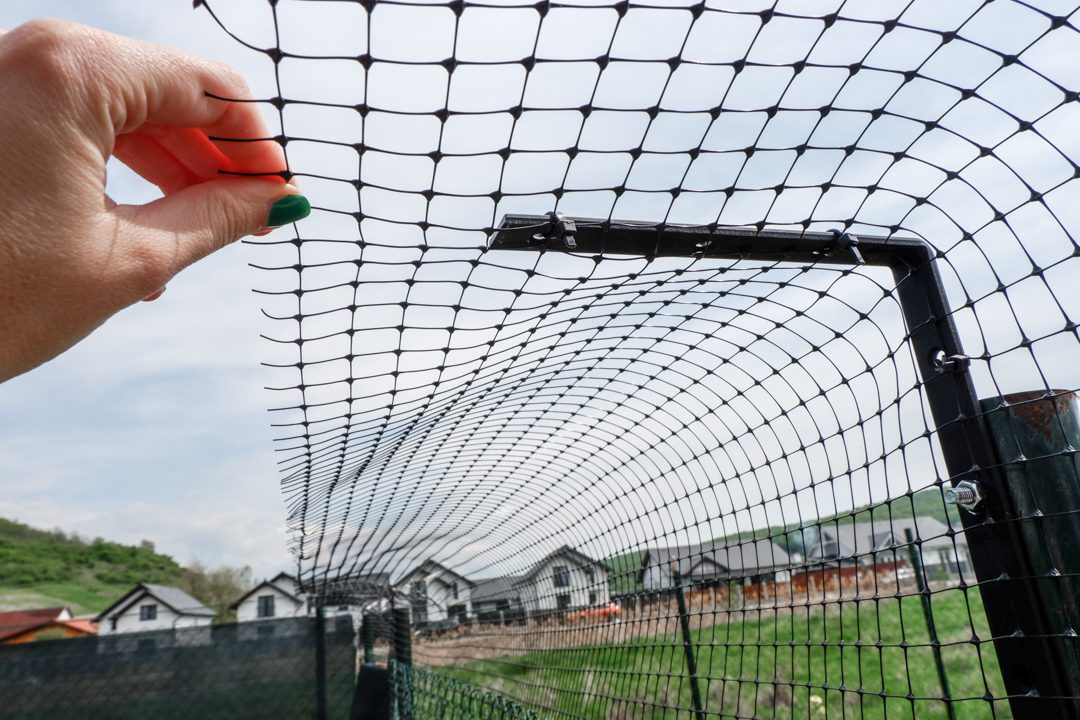
- We used 30*30 cm brackets with a 90° angle
STEP 2) Optional: Paint the Brackets
- Spray paint the brackets in order to blend them in
STEP 3) Measure the Fence
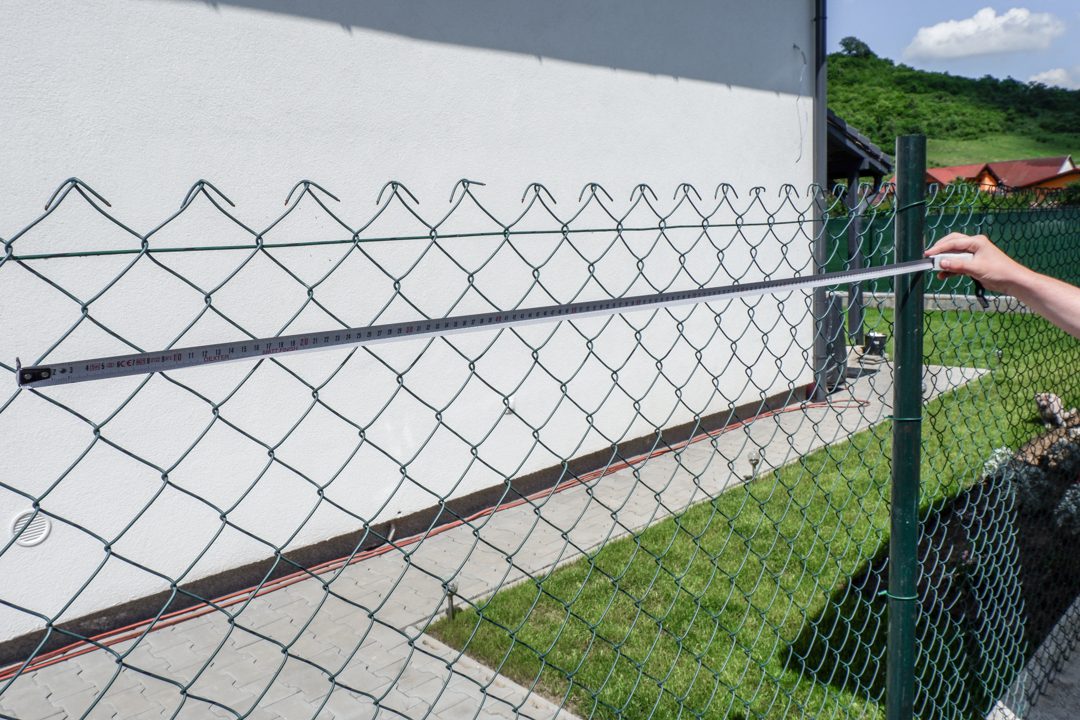
- Measure each side of the fence in order to know how much mesh you’ll need
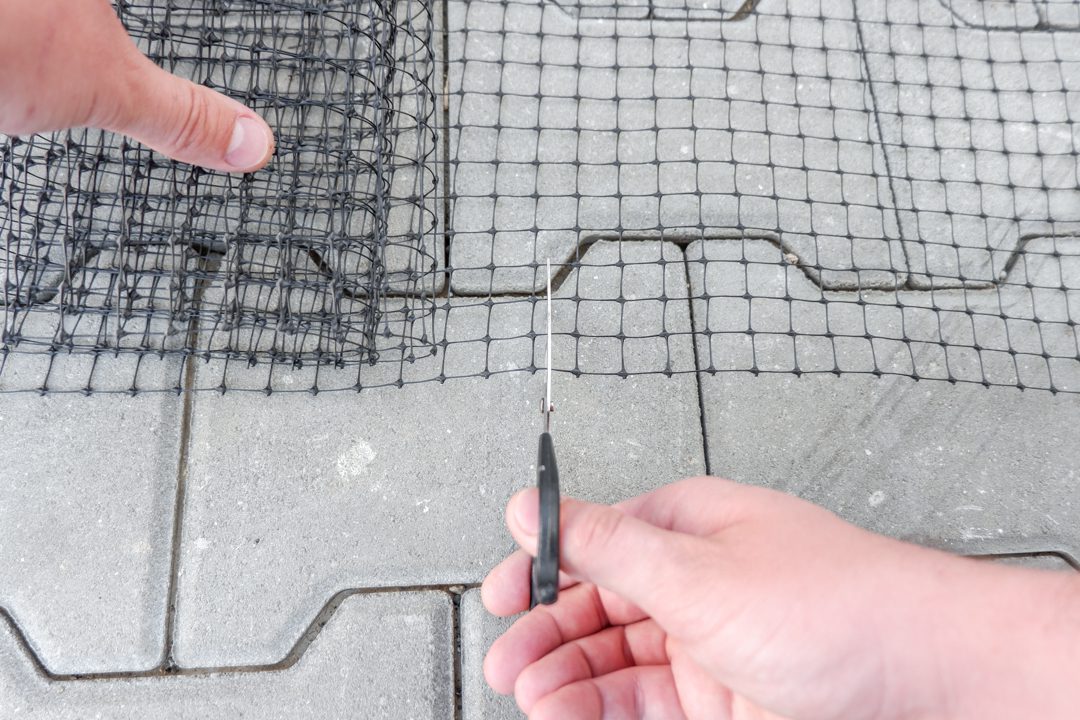
STEP 4) Cut the Mesh
- Cut a separate piece of mesh for each side of the fence as you’re going to apply them separately to each side
- Connect the corners together later
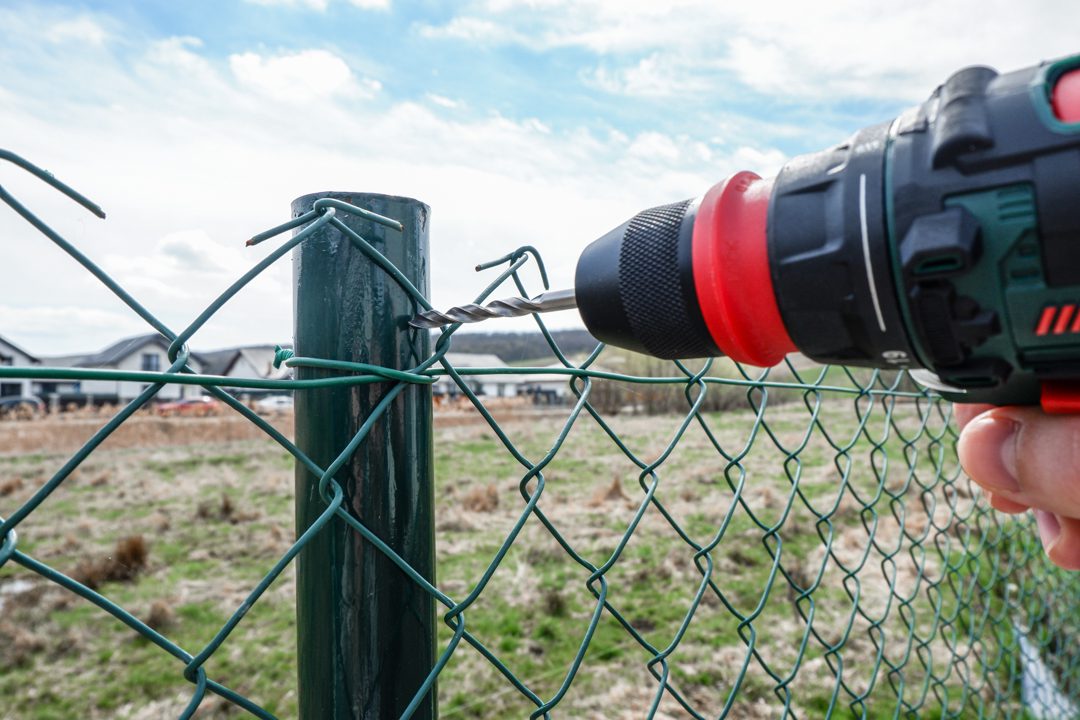
STEP 5) Drill the Holes
- Drill holes in the posts in order to attach the brackets to it
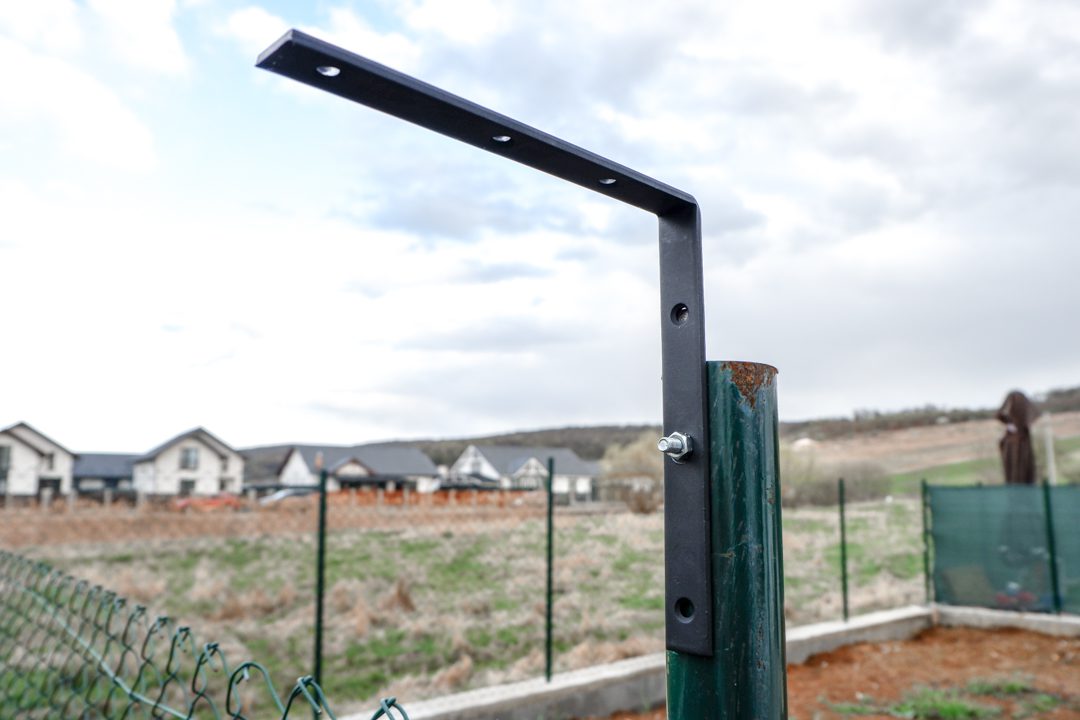
STEP 6) Attach the Brackets
- Attach the brackets to the post with bolts and nuts
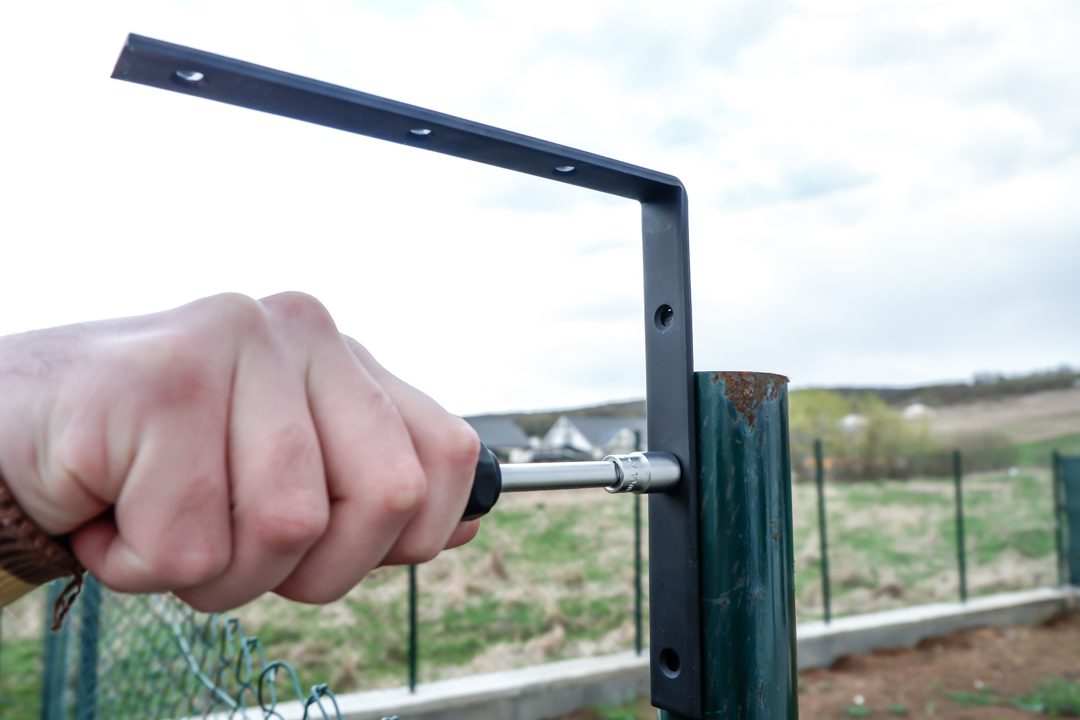
STEP 7) Use a Socket Wrench Screwdriver
- Use a socket wrench screwdriver to make sure the bracket is secured tightly to the post
STEP 8) Attach the Netting
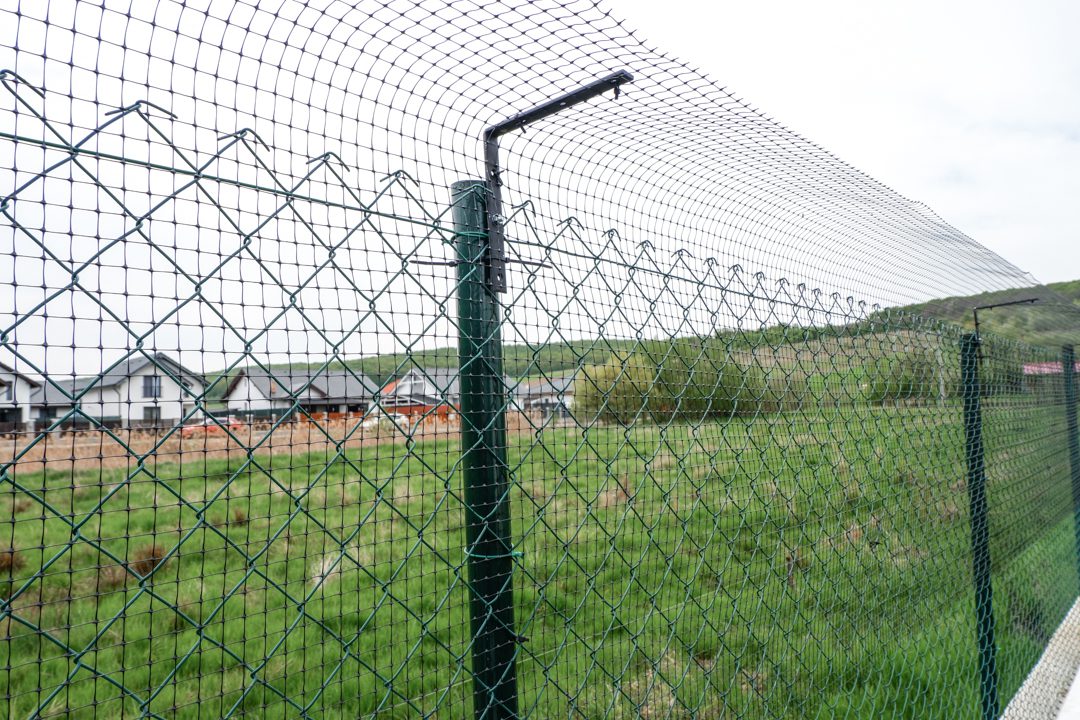
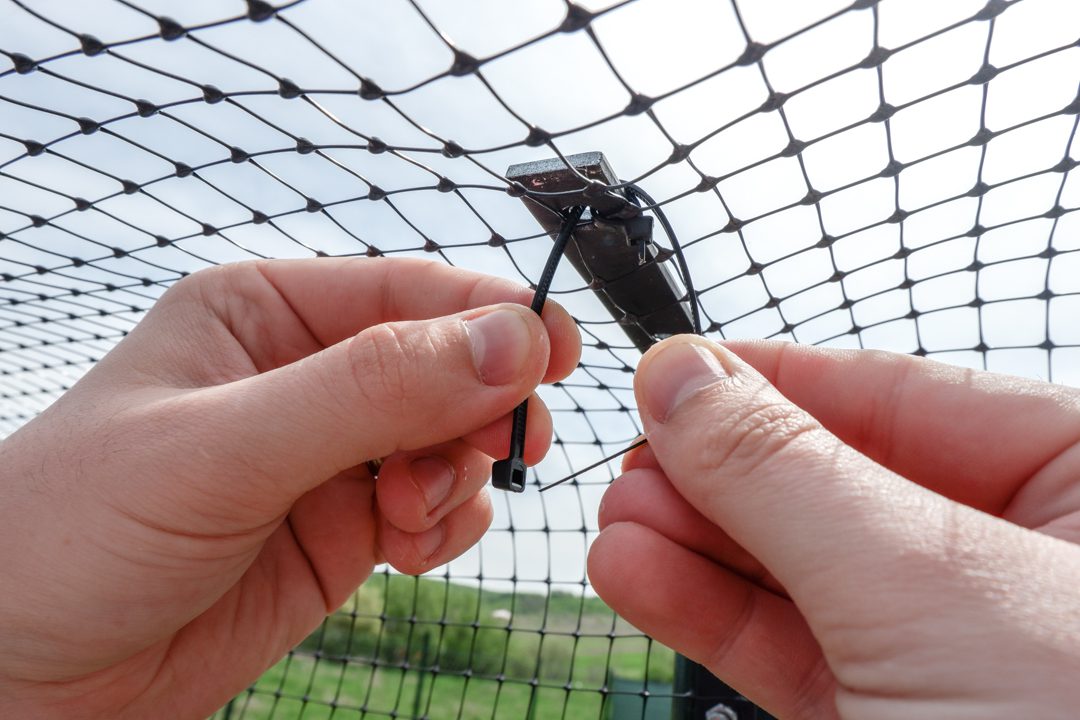
- Start to attach the netting to the brackets with cable ties
STEP 9) Secure the Netting
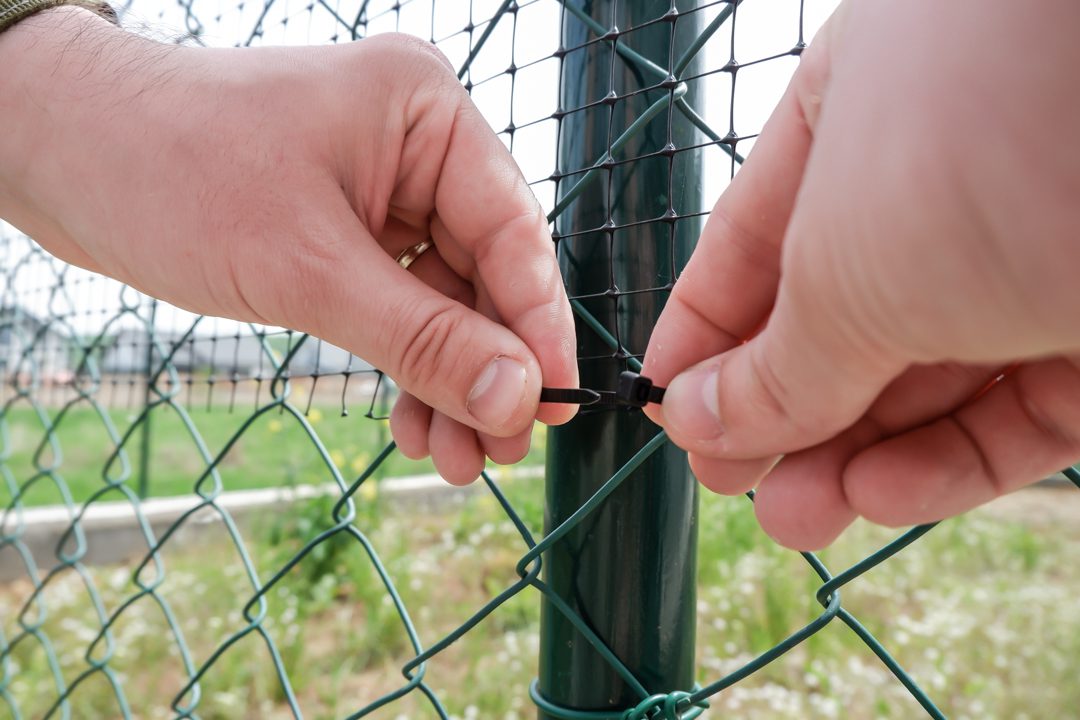
- Secure the netting to the existing fence with cable ties
- If you have a wooden fence use staples to attach the netting to the fence
STEP 10) Leave Extra Length
- Leave a 5-10 cm hang
- If the mesh is more wobbly the cat won’t be able to climb on it
STEP 11) Join the Corners
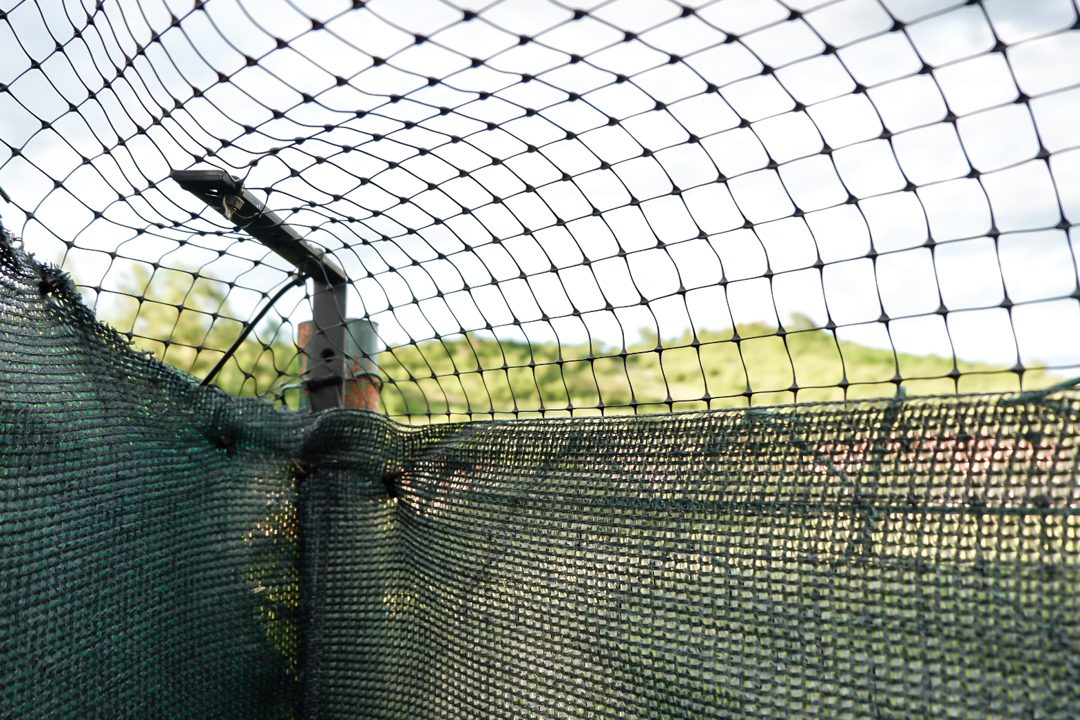
- To have a neat and secure result attach the corner bracket at a 45° angle compared to the rest of the brackets
- Join the ends of the pieces of mesh together in the corner
STEP 12) Your Cat Proof Fence is Ready
- Now that your diy cat fence is ready your cat can enjoy a safe time out in the fresh air
FURTHER READING
- How to Straighten Rolled Wire Mesh – Step by step instructions on how to flatten welded wire mesh netting
- How to Cut Wire Netting – Learn how to cut wire netting using the right tools

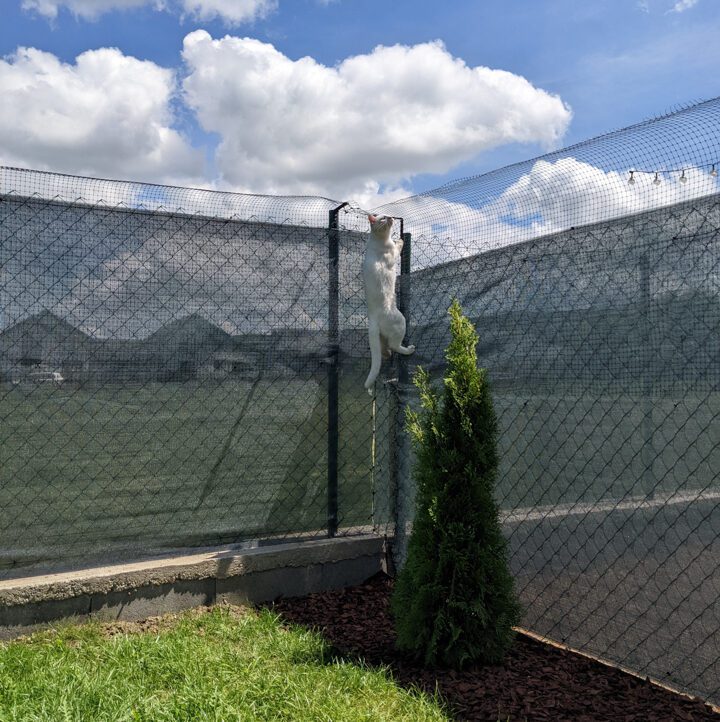

Looks good- have you been successful in keeping your cats in?
Hi Julie,
Thanks for your comment.
Yes, this fence has successfully kept in the cat that is located inside the property!
A tip would be to make sure you secure the mesh to the existing fence at every 10cm intervals to make that the cat does not squeeze through any gaps.
Hope this is helpful,
Erno
What posts are you using?
Hi Deejay,
Thanks for getting in touch with us and for your question.
In this guide, the brackets were installed on rounded metal posts using nuts and bolts.
However you can install them on pretty much every type of posts its just that you would have to use different tools and materials to attach them.
For any other types of metal posts, you can use the drilled hole technique using bolts and nuts as attachments.
For wooden posts, you can use wood screws to attach the brackets to the posts.
If you were to use them on concrete posts, you can also drill holes in the posts and attach the brackets with bolts and nuts.
Hope this is helpful and please let me know if you have any further questions.
Kind regards,
Erno
Shame the mesh being sold isn’t the same mesh used in the guide
Hi Jobe,
Many thanks for your comment.
Initially we used to supply the product used in this guide however unfortunately the plastic nettings got discontinued.
There are a couple of welded wire alternatives however that can be used instead and would work just as fine as the plastic mesh.
You can find a couple of them on the cat fencing category page on the below link: https://www.wirefence.co.uk/animal-control/cat-fencing/cat-cage/
Hope this is helpful and please let me know if you have any further questions.
Kind regards,
Erno