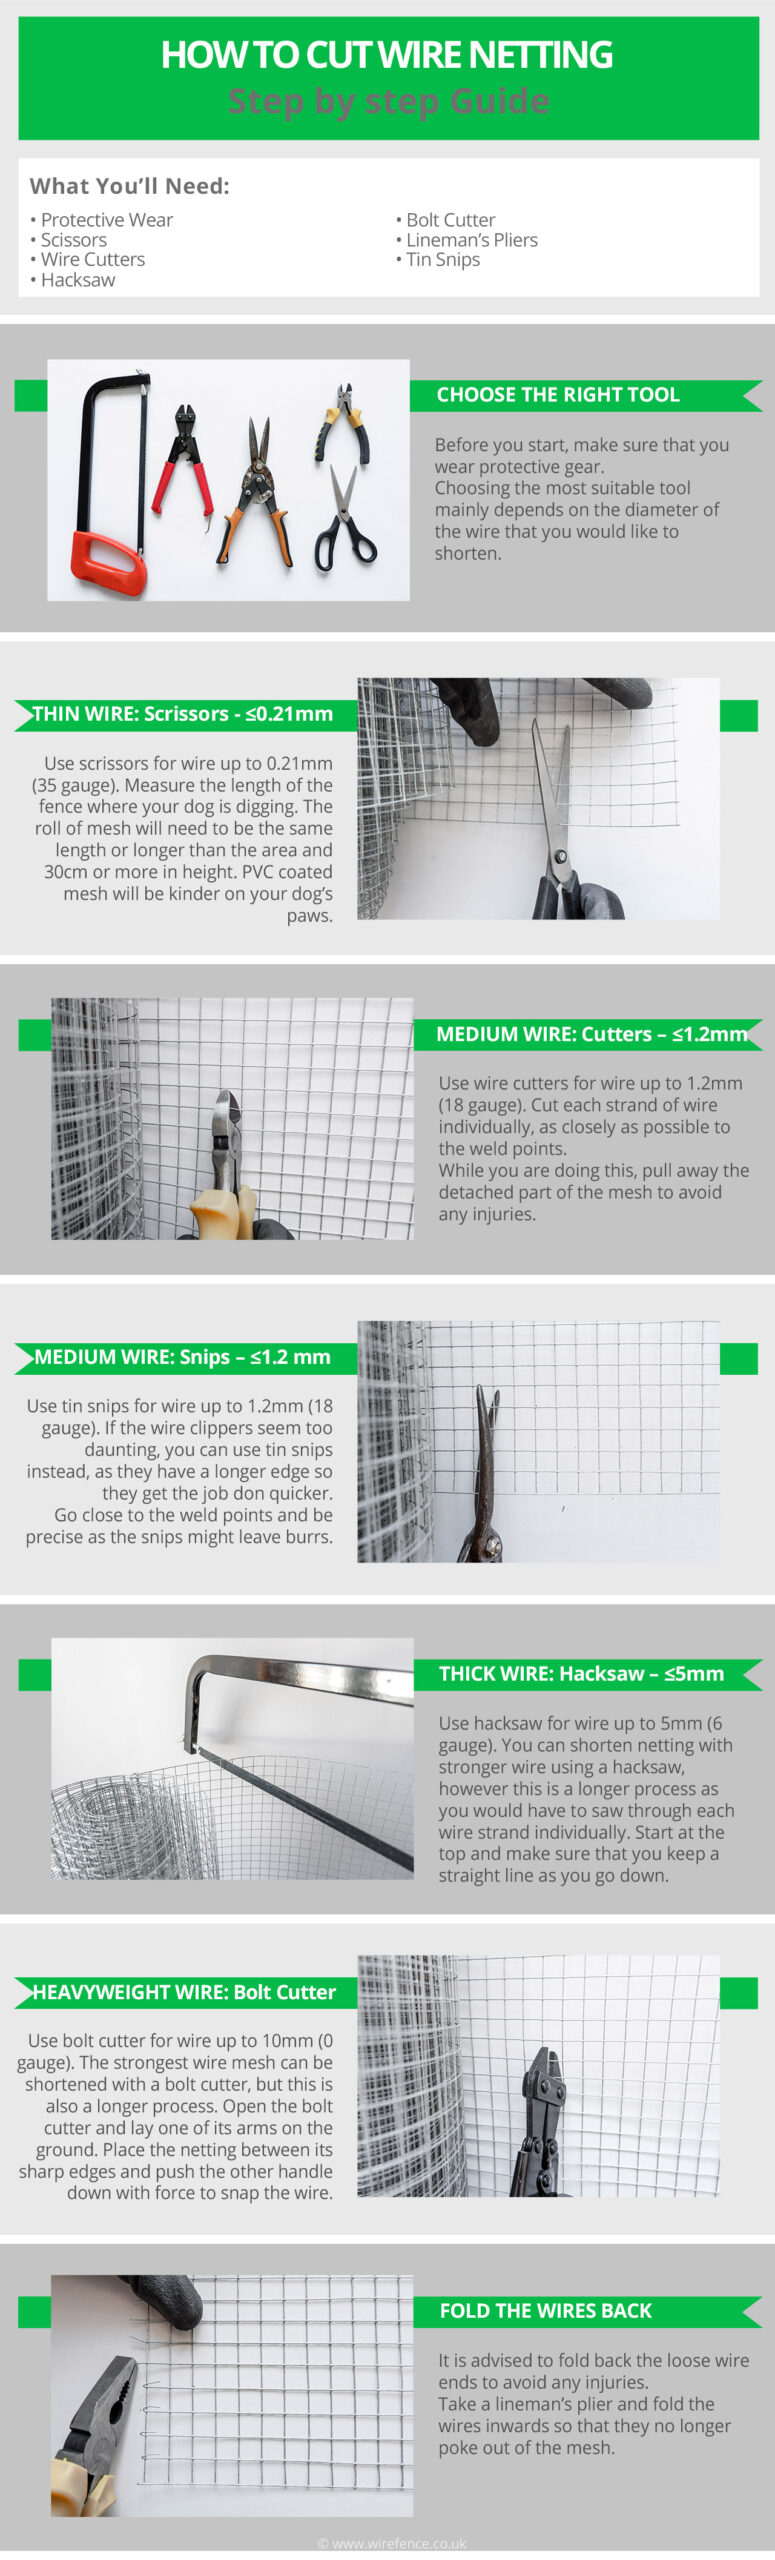
How to Cut Wire Netting


Below you can find out how to cut wire netting with different tools depending on the thickness of the wire.
OVERVIEW
- Estimated Completion Time: 10 minutes
- Experience Required: Medium
- Tools Required: Protective Wear, Scissors / Wire Cutters / Tin Snips / Hacksaw / Bolt Cutter, Lineman’s Pliers
- Materials Required: Wire Netting
CHOOSE THE RIGHT TOOL

- Before you start, make sure that you wear protective gear.
- Choosing the most suitable tool mainly depends on the diameter of the wire that you would like to shorten.
THIN WIRE: Scissors – Max. 0.21mm (35g)
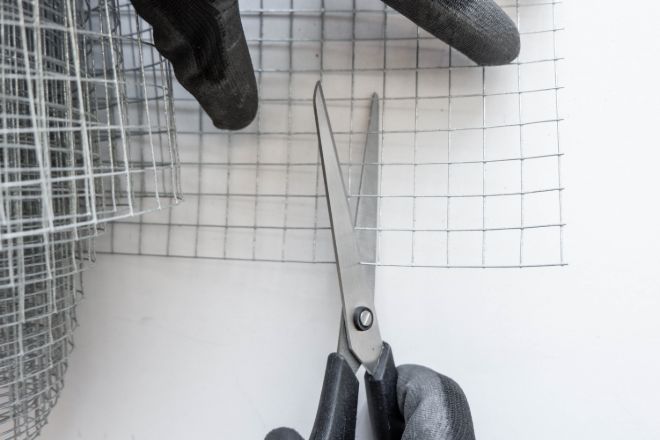
- Work with a partner so they can help you hold the mesh in place while you cut it.
- Use a pair of household scissors while pulling the separated part away from the roll.
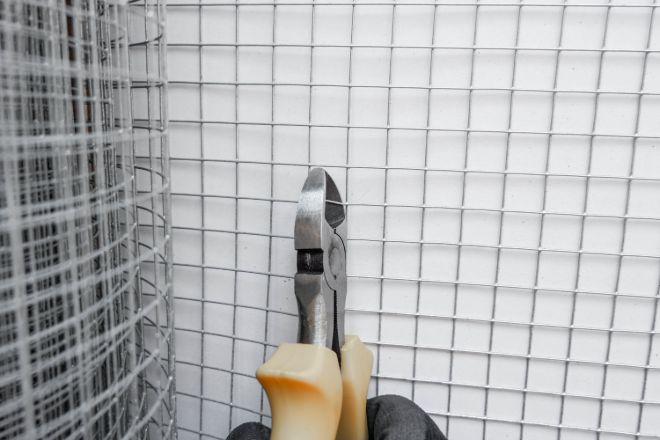
MEDIUM WIRE: Wire Cutters – Max 1.2 mm (18g)
- Cut each strand of wire individually, as closely as possible to the weld points.
- While you are doing this, pull away the detached part of the mesh to avoid any injuries.
MEDIUM WIRE: Tin Snips – Max 1.2 mm (18g)
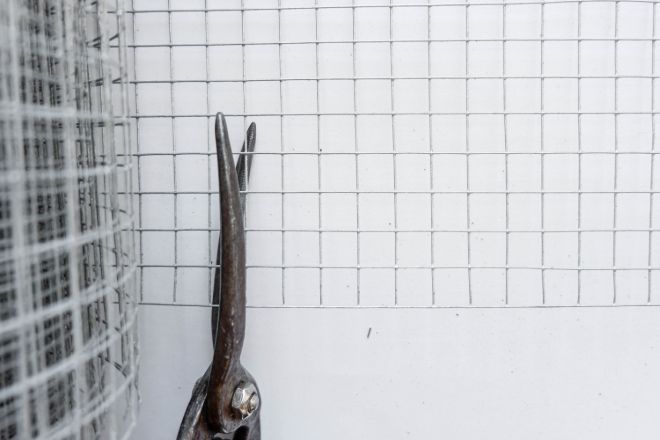
- If the wire clippers seem too daunting, you can use tin snips instead, as they have a longer edge so they get the job done quicker.
- Go close to the weld points and be precise as the snips might leave burrs.
THICK WIRE: Hacksaw – Max 5mm (6g)
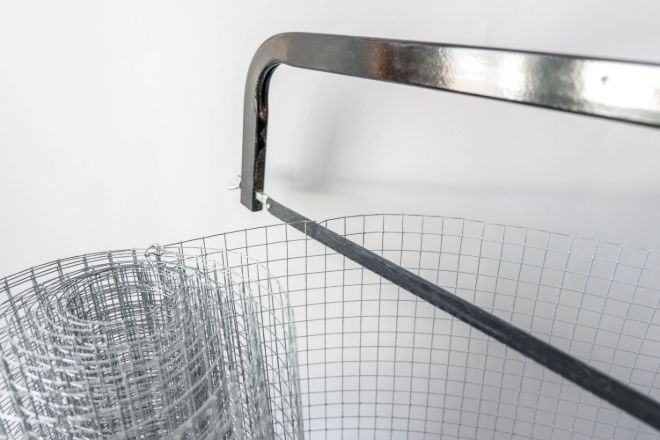
- You can shorten netting with stronger wire using a hacksaw, however this is a longer process as you would have to saw through each wire strand individually.
- Start at the top and make sure that you keep a straight line as you go down.
HEAVYWEIGHT WIRE: Bolt Cutter – Max 10mm (0g)

- The strongest wire mesh can be shortened with a bolt cutter, but this is also a longer process.
- Open the bolt cutter and lay one of its arms on the ground.
- Place the netting between its sharp edges and push the other handle down with force to snap the wire.
FOLD THE WIRES BACK
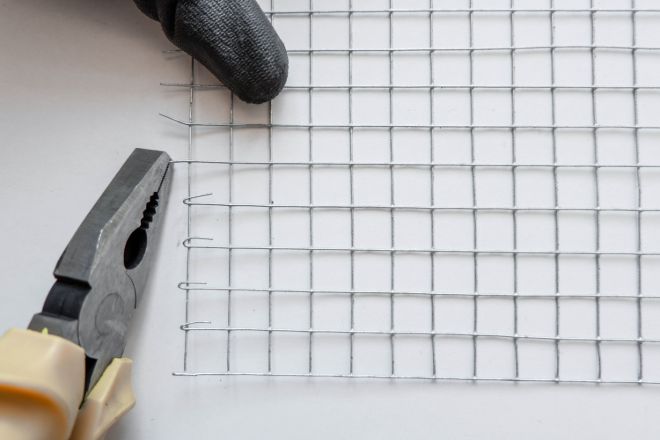
- It is advised to fold back the loose wire ends to avoid any injuries.
- Take a lineman’s plier and fold the wires inwards so that they no longer poke out of the mesh.
VIDEO

My mesh: stainless steel 5 x 5 mm 0.6mm thick.
My first method: I used sidecutters — similar to your method B. But the sidecutters didn’t cut the wire the first time. Several goes were needed so it go very tiring.
Second method: With cable cutters Felco C7. Well they cut wire fine but they are too wide to get into place so I couldn’t use them.
Third method: Screwing the mesh to a wooden batten and cutting down beside it with a saw. This worked best but is still not great.
Is there a thinner tool that would cut 0.6 mm stainless steel easily but still fit into a 5 mm mesh?
it would be great if you had a little advice. Thanks a lot.
Hi John,
Thanks for contacting us for advice. 🙂
The mesh we used in the blog above is a simple galvanised steel option so it’s a lot easier to work with, therefore the many methods for cutting it to size.
For welded stainless steel mesh with a 0.6mm thickness, the options for cutting would include tin snips or an angle grinder with a disc suitable for this material.
However, neither of these two could fit into the small hole size that your mesh has unfortunately.
I’m afraid stainless steel is a very sturdy material so it’s not easily cut or modified by hand, especially if you need peculiar shapes and not just a simple length separated from the rest of the roll.
Hope this is somewhat helpful though and please get in touch if you have any further questions.
In the meantime, good luck with your project and have a great day!
Gyopi
Thanks Gyopi.
It seems firming the mesh with wood and then cutting with a saw is the best method.