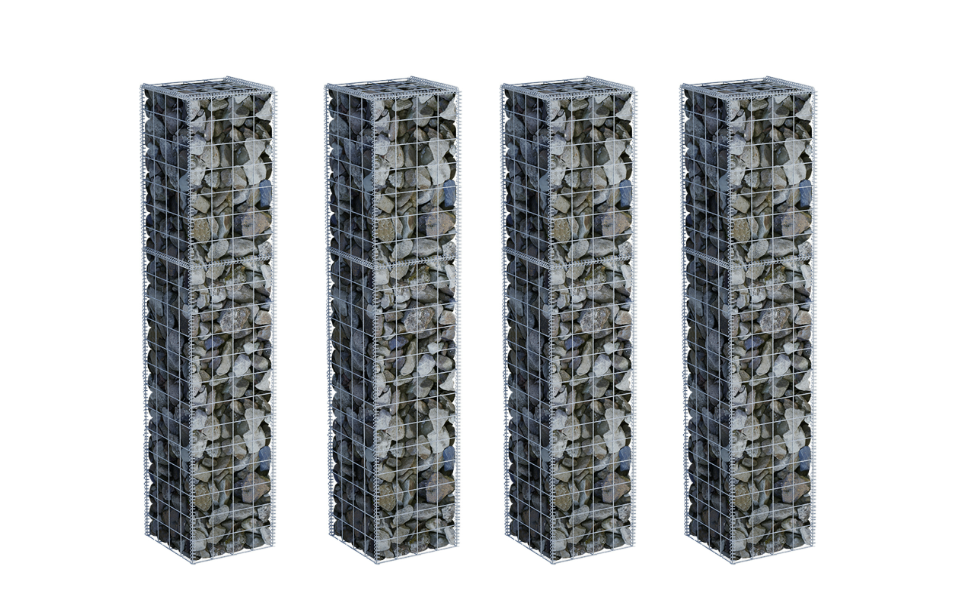
Materials Required:Gabion, Gabion Stone, Helicals/Tying wire, Gravel/Concrete, Support Posts
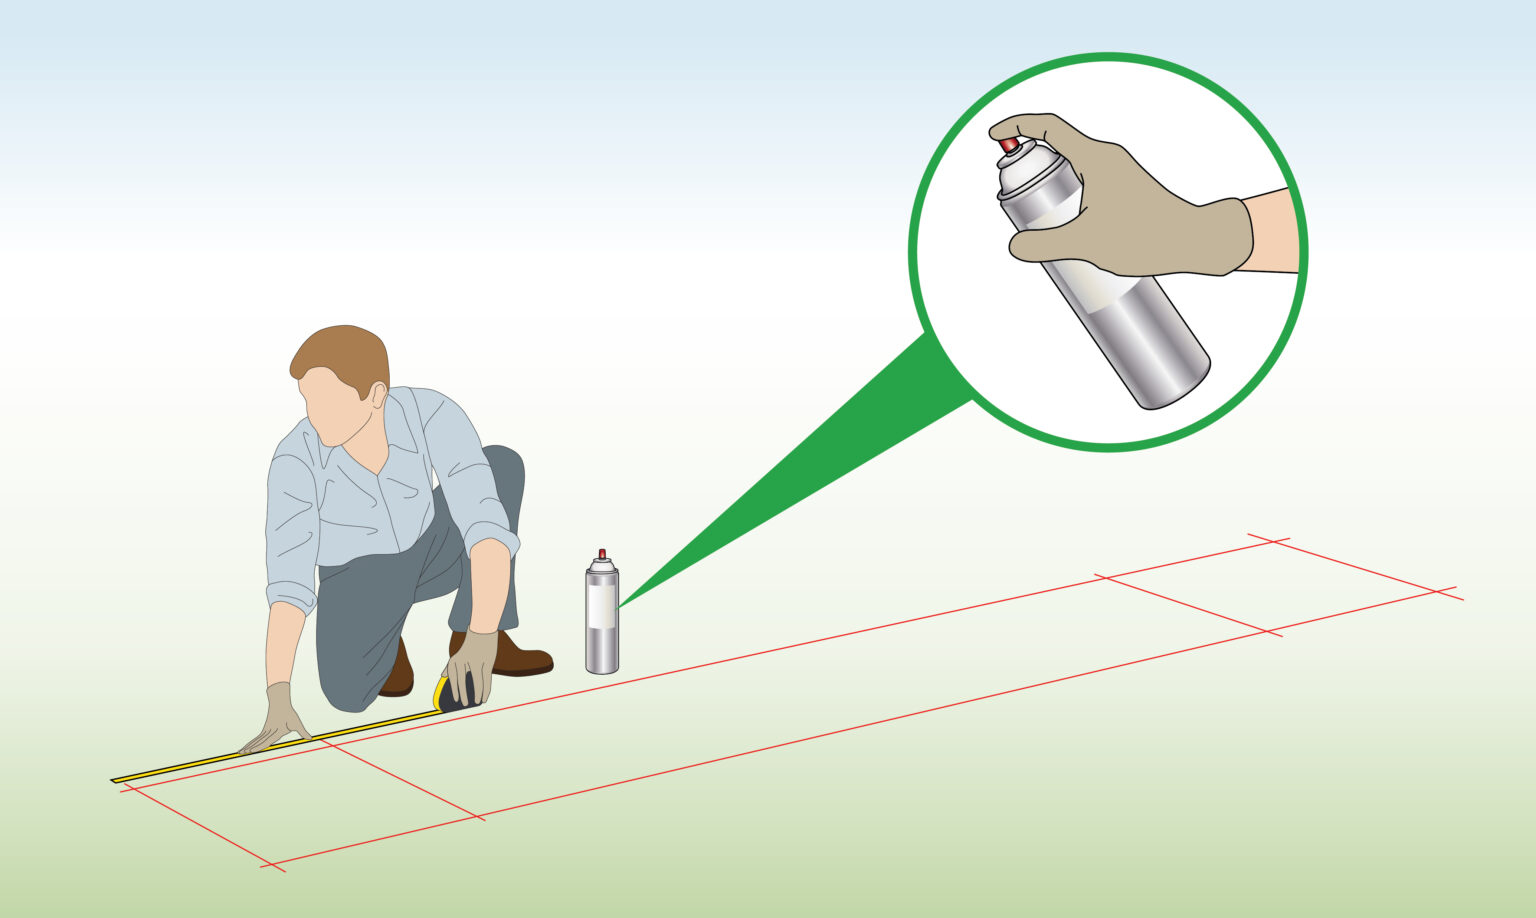
Step 1) Mark the Location
Begin by marking the desired location for your wall using spray paint, stones, or alternative materials.
Indicate the perimeter where you intend to build the wall with these markers.
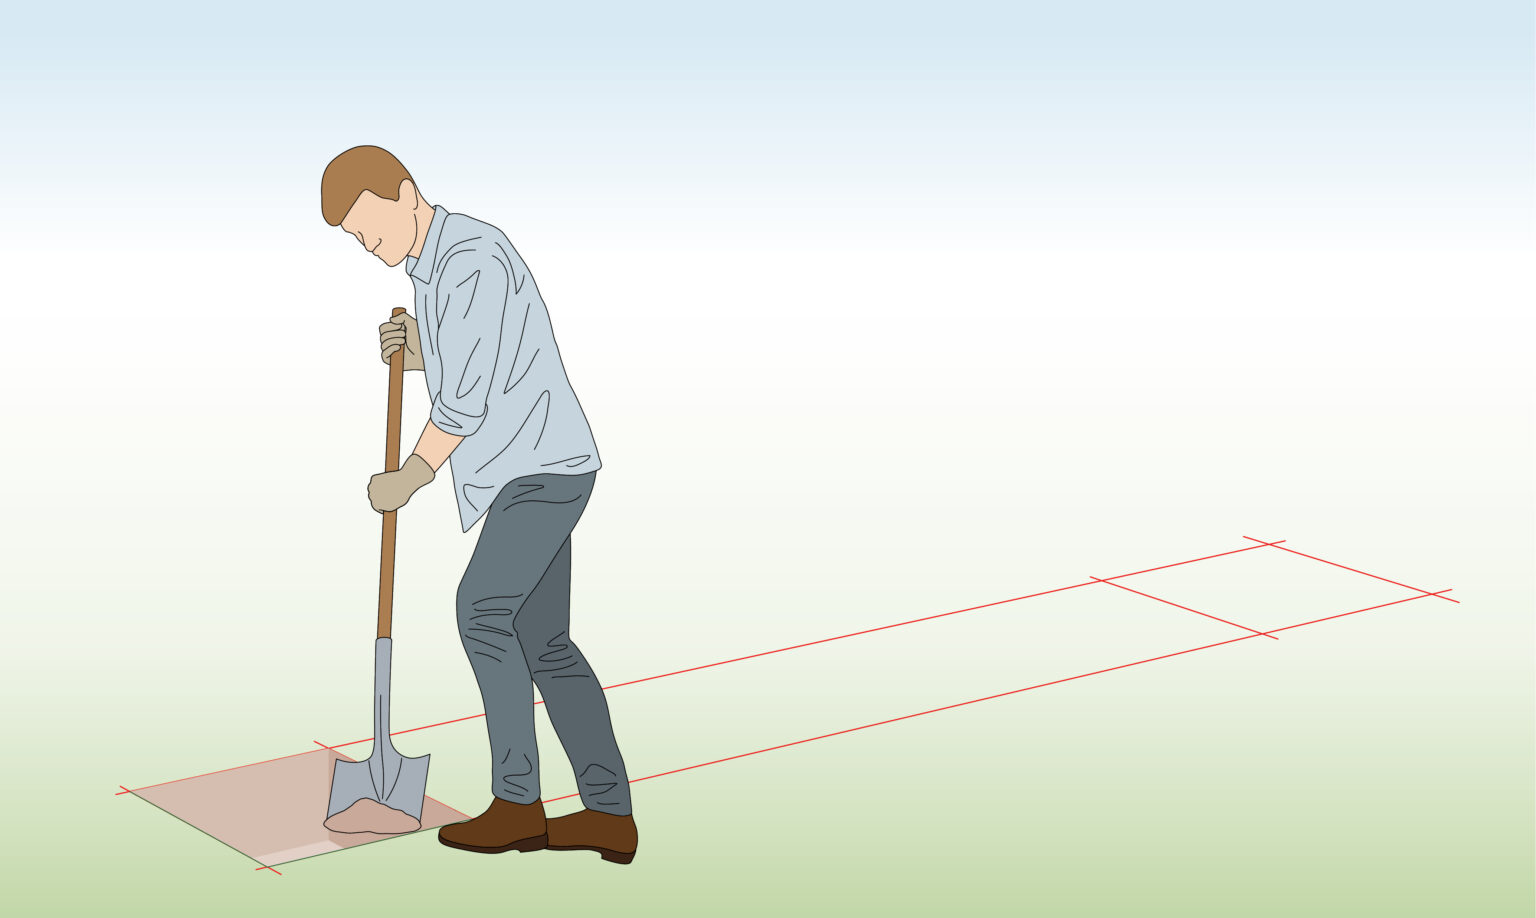
Step 2) Dig the Base
Dig until the earth is solid beneath.
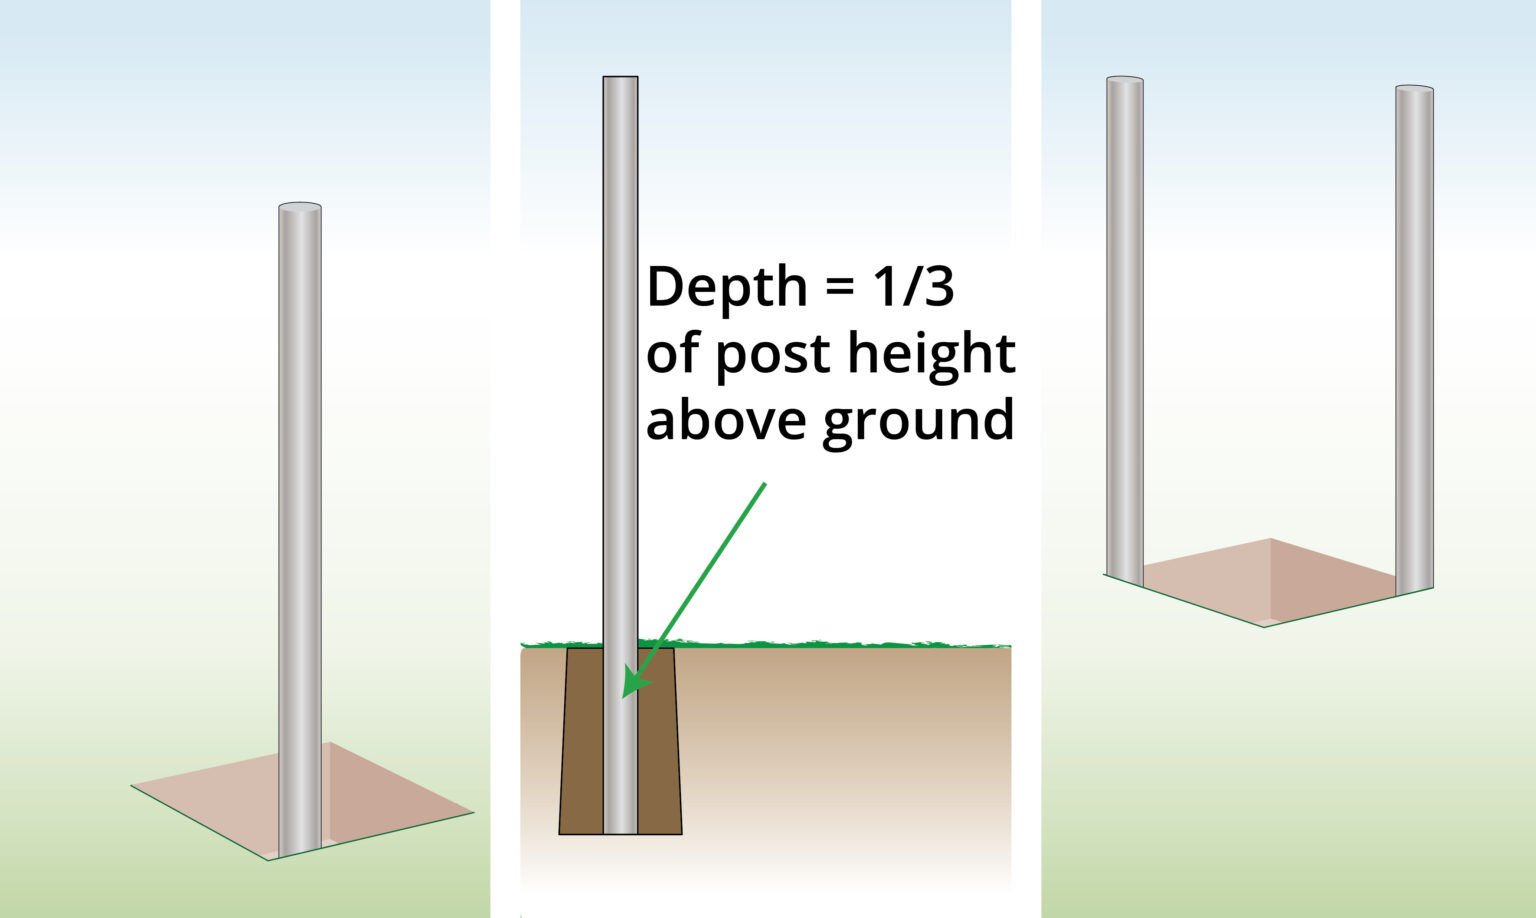
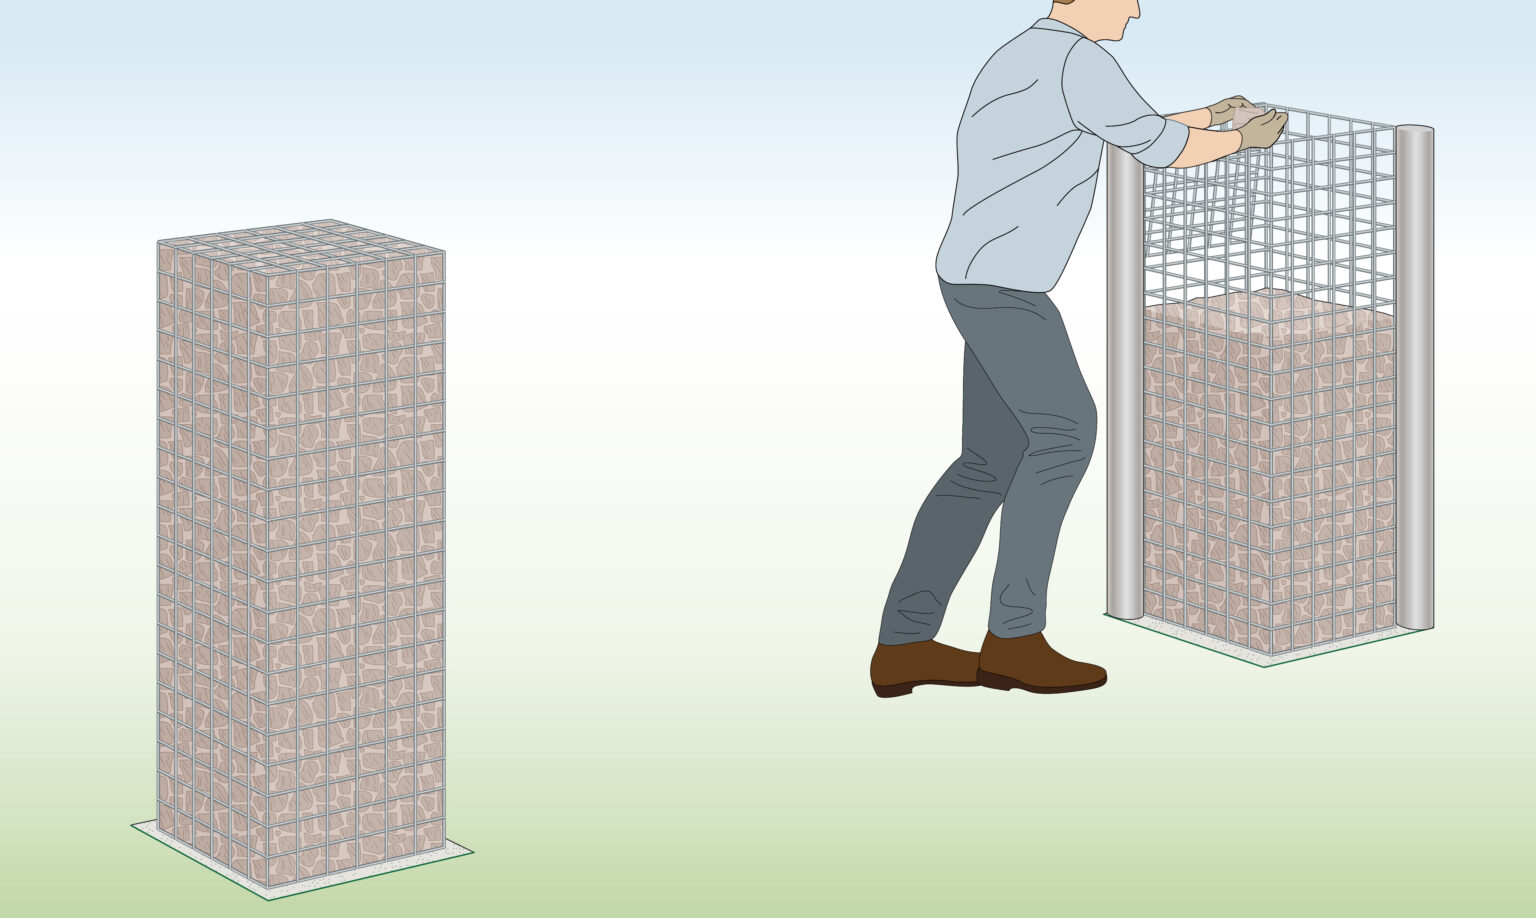
Step 3) Install Support Posts
Insert a support pole into the gabion, either inside or outside.
The pole’s depth should be one-third the height of the gabion column.
Use wooden or metal poles, and seal the top if hollow to prevent water damage.
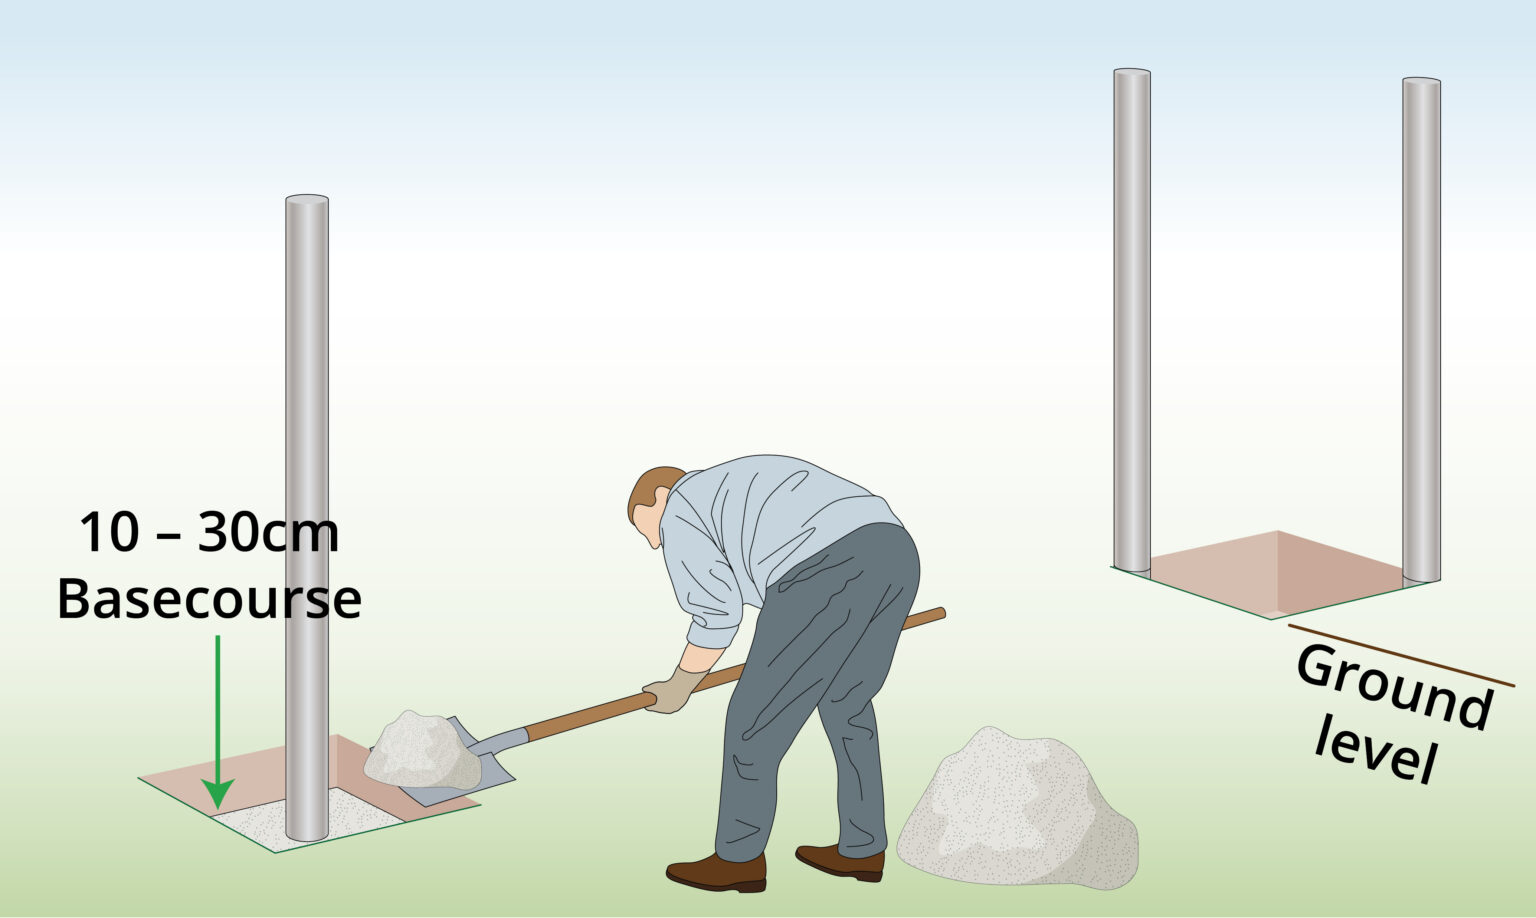
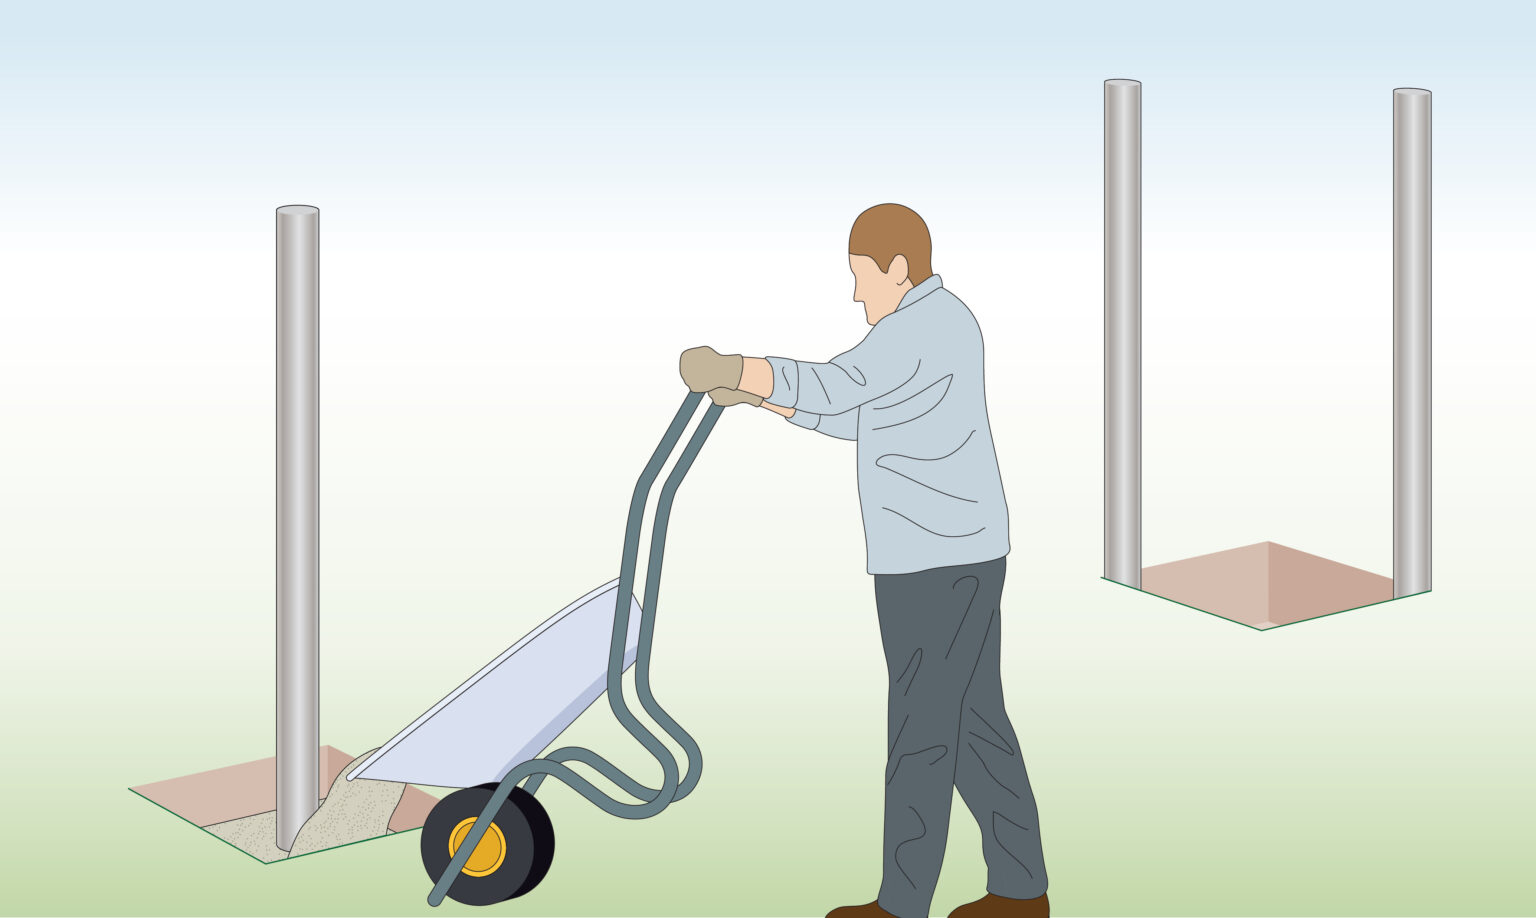
Step 4) Add Basecourse
Apply a layer of gravel or basecourse over the soil, following these guidelines:
For a 1m high pillar, use a 10cm layer of gravel.
For a 2m high pillar, apply a 20cm layer of gravel.
For a 3m high pillar, add a 30cm layer of gravel.
Step 5) Concrete Foundation (If Required)
For low-level or wide gabion columns, no foundation is needed.
For taller or narrower ones, a concrete foundation can provide extra stability.
Aim for a depth of 1/3 the column’s height and consider embedding support posts for added strength.
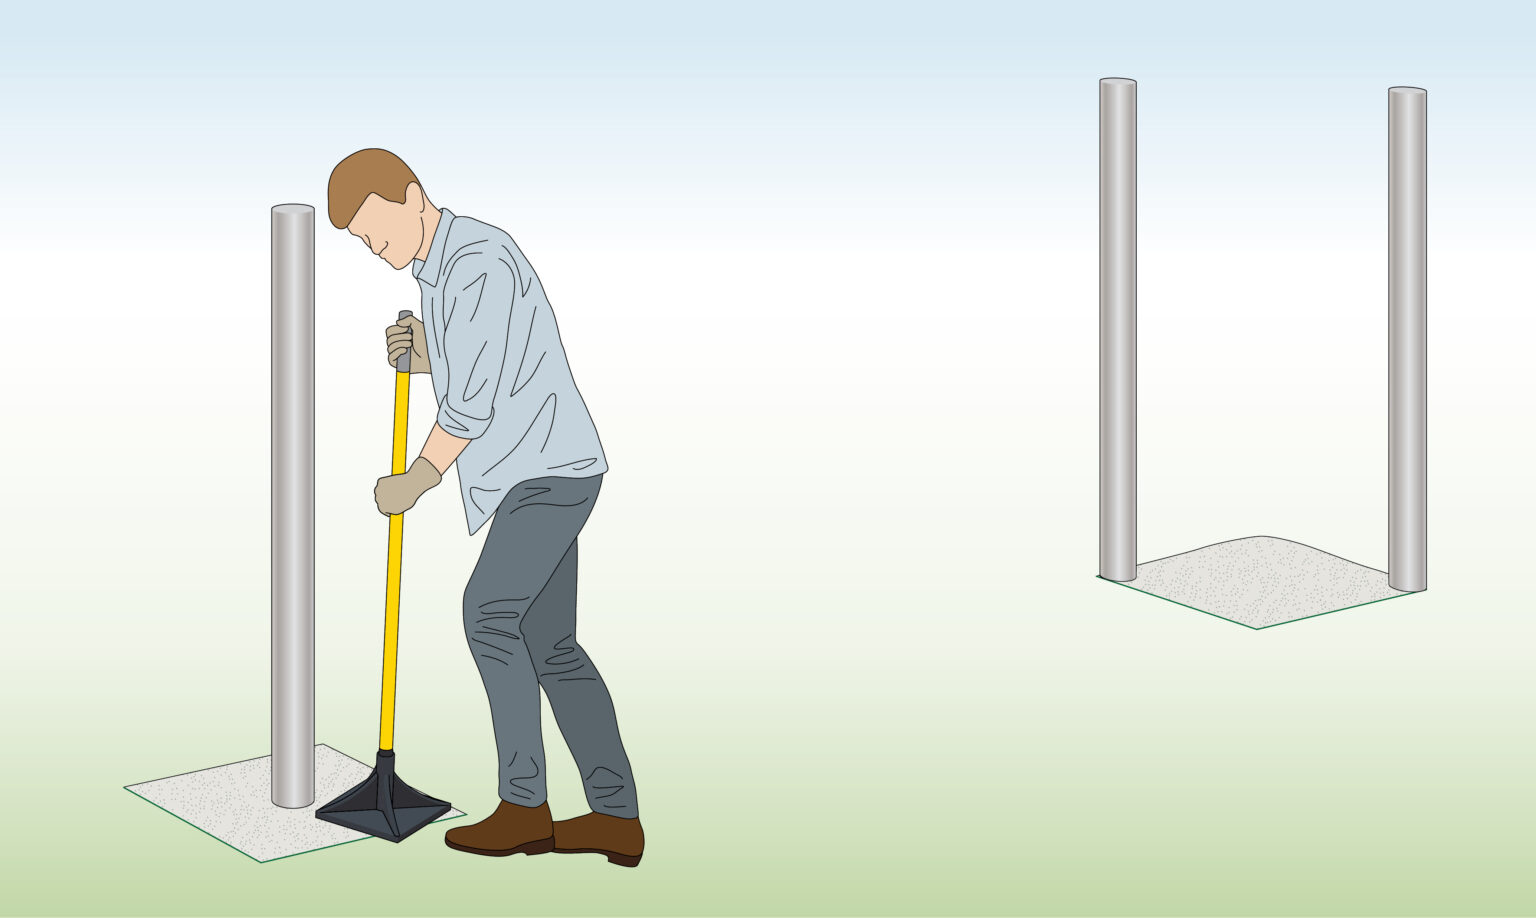
Step 6) Compact
You can effectively compact the basecourse by using either a plate compactor or a spade, ensuring thorough consolidation of the material for optimal stability and durability.
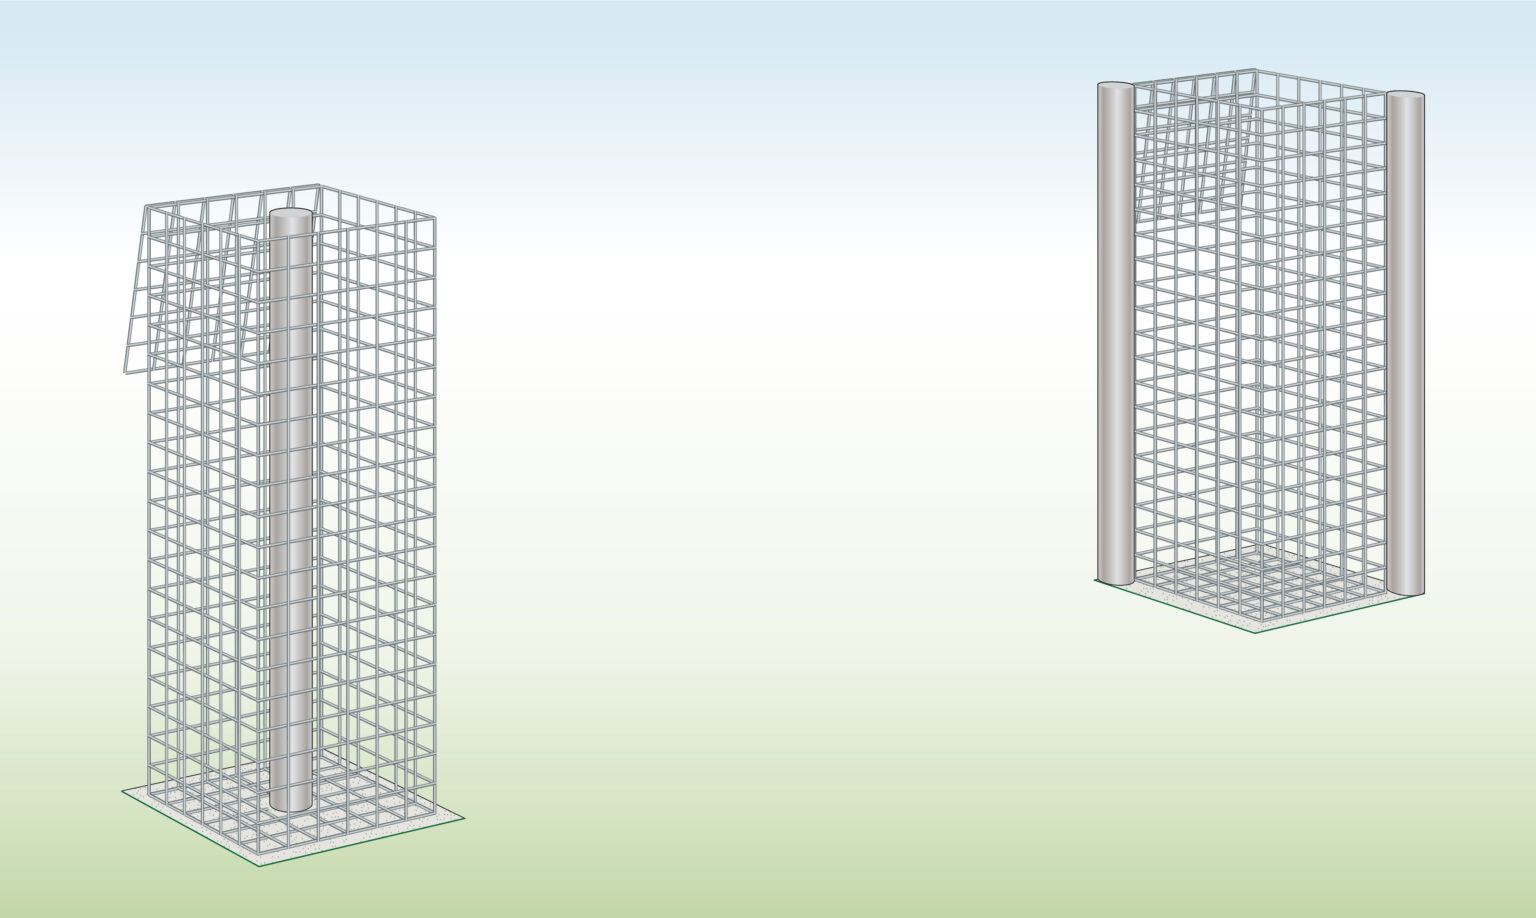
Step 7) Install Baskets
Position the gabion cages either onto or between the support posts.
Step 8) Fill the Gabions
Complete the columns by incorporating helicals into the structure, ensuring their proper placement, and then seal the lids securely to finalize the construction process.
Step 9) Make up the Height
When assembling 2 baskets for height adjustment:
Attach helicals on three sides to link the second cage with the first.
Proceed to fill the top basket as well.
TIPS AND TRICKS
Use spray paint or stones to mark the location of your gabion pillars clearly. This will help ensure precise placement and alignment.
When digging the base, make sure you reach solid earth to provide a stable foundation. This is crucial for the stability of the pillars.
When installing support posts, ensure they are inserted to a depth of one-third the height of the gabion column. Sealing the tops of hollow poles prevents water damage and extends the life of the posts.
Follow the recommended gravel layer thickness based on the height of your pillar. This ensures adequate support and prevents shifting.
Use a plate compactor or a spade to compact the basecourse material thoroughly. This step is essential for the stability and durability of your gabion pillars
You can calculate how much stone you’ll need using our stone calculator.
Timi K. is an illustrator and a genuine animal lover, and she couldn't hide it if she tried: she likes to offer fencing solutions especially for animal and pet related issues.
View all posts by Timi Szabo