How to Attach Chicken Wire to Bottom of Fence
Below you will find a step-by-step guide on how to attach chicken wire to bottom of fence on different materials.
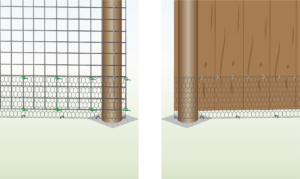
- Experience Required: Low
- Tools Required: Protective gloves, Wire cutter, Tape measure, Hammer (if using staples), Spade (additional)
- Materials Required: Chicken wire mesh, Staples (for wood) or Cable ties (for metal), Pegs
Step 1) Identify & Measure Your Location
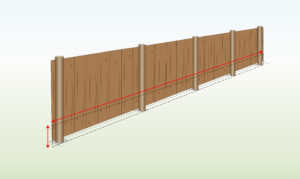
- Measure the length of the location where you plan to attach the netting.
- When measuring the height, be sure to include a few extra centimeters to allow for overlap with the existing fencing.
Step 2) Cut Down Mesh (if applicable)
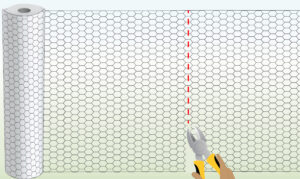
- Use wire cutters to cut the netting to the measured length.
- Be sure to leave a few extra centimeters for overlap, ensuring a secure fit when attaching the netting to your existing mesh.
Step 3A) Attach Chicken Wire to an Existing Wooden Fence
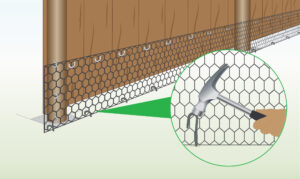
- When working on how to attach chicken wire to bottom of fence, start at one end, pull the netting taut against the barrier.
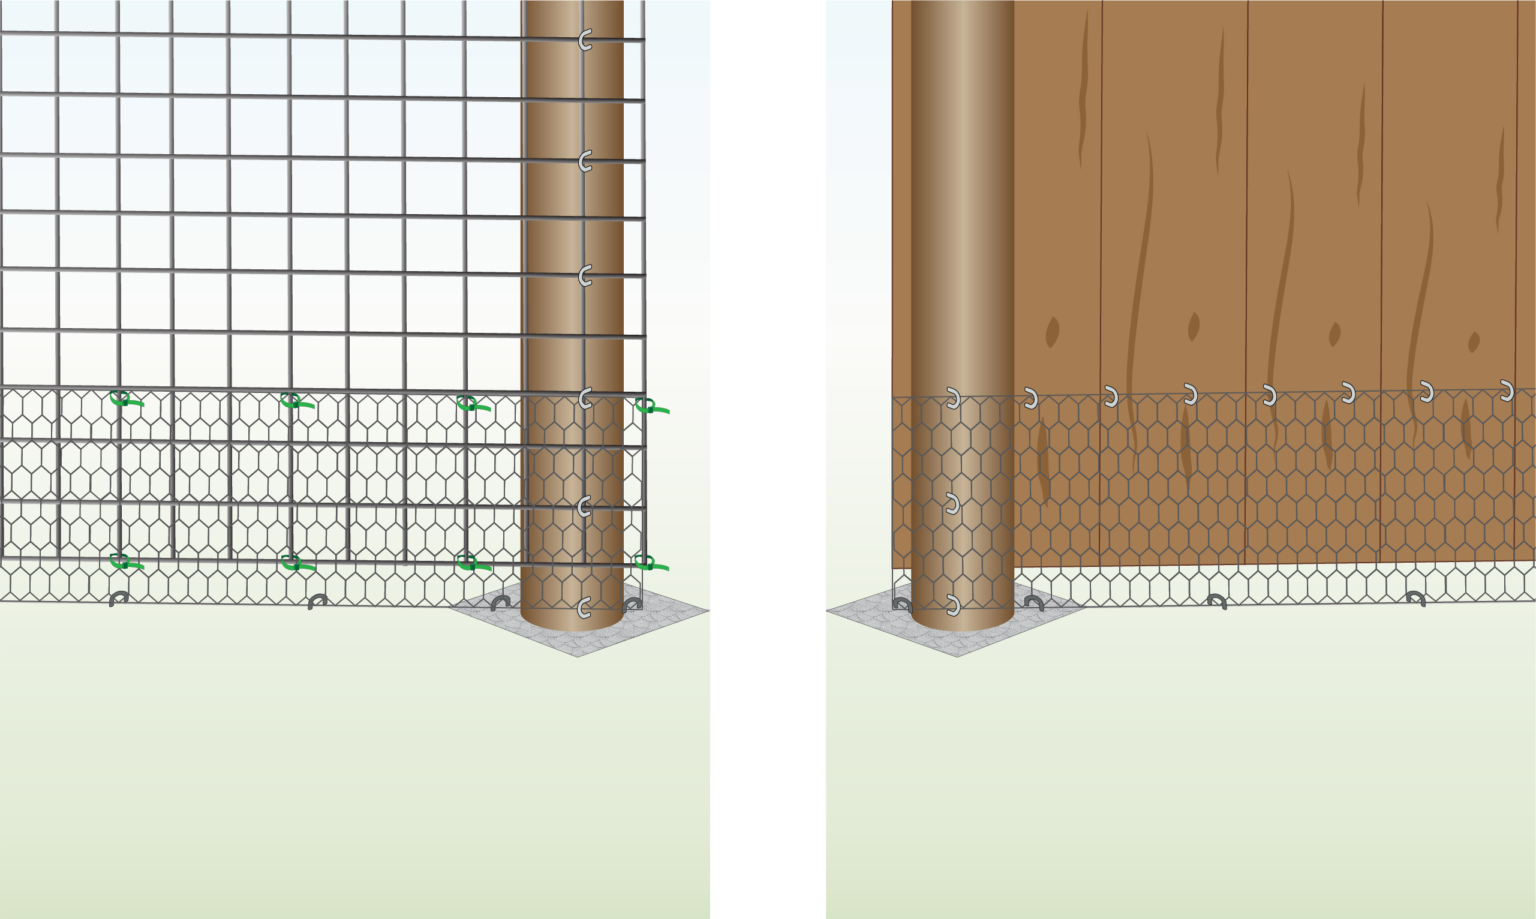
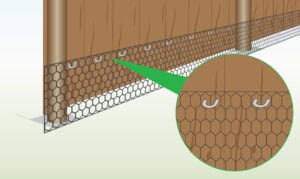
- For wooden fences, use staples to secure the mesh, placing them at 15cm intervals to ensure a firm and even attachment.
Step 3B) Secure Chicken Wire to an Existing Metal Netting
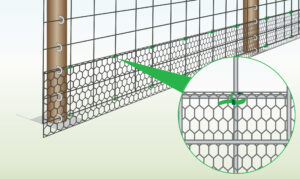
- For metal fences, such as chicken wire, chain link, or welded mesh, create an overlap.
- Use cable ties to secure the overlapping sections, placing the cable ties at 15 cm intervals to ensure a strong and stable connection.
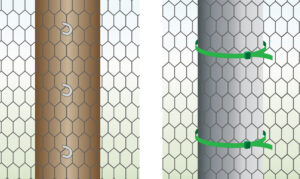
Step 4) Secure Netting to Posts
- While attaching chicken wire to fence, ensure you secure it to the posts as well.
- Use staples for wooden posts and cable ties for metal or T posts.
- Make sure that it remains straight and taut throughout the process.
Step 5) Secure to the Ground
-
Secure the netting to the ground by pegging it down every 60 centimeters.
- Insert pegs into the ground, making sure the hook catches the bottom of the netting.
Step 6) Optional: Dig a Trench and Bury Mesh
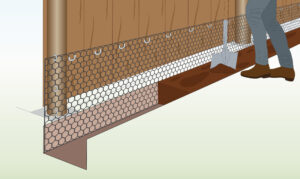
- Dig a trench along the fence line, approximately 15-30 cm deep.
- Place the bottom edge of the netting into the trench.
-
Backfill the trench with soil, pressing it down tightly to hold the netting in place and stop animals from burrowing under it.
Tips
- On the process of how to attach chicken wire to bottom of fence, you can use cable ties as a temporary measure to secure the netting to the wooden posts before securing it with staples.
- Ensure to pull the mesh taut without overstretching it when securing to maintain its stability. Overstretching can weaken the mesh, increasing the likelihood of it breaking under pressure.
- Use PVC coated mesh to enhance corrosion and weather resistance. This significantly extends the lifespan of the netting, ensuring durability even in harsh outdoor conditions.
- Bury the bottom edge of the mesh several centimeters underground to deter animals from digging underneath.
FURTHER READING
- How to Attach Chicken Wire to Posts and Different Materials – Step by step instructions on how to attach netting to different materials.
- Cutting Chicken Wire – Learn how to cut netting using different methods.
