How to Make a Christmas Light Ball With Chicken Wire
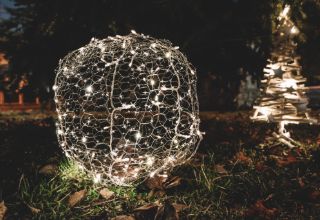
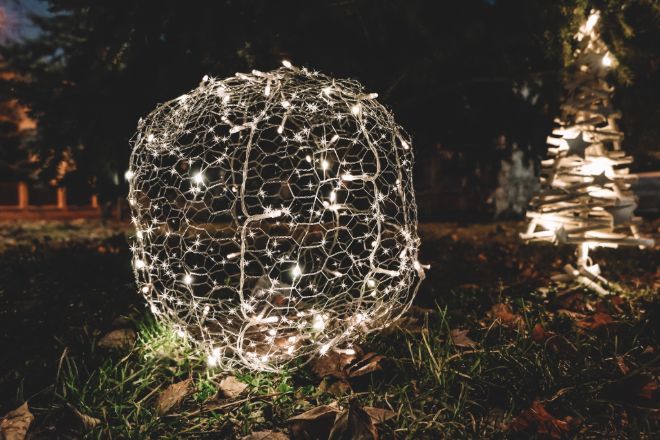
In this blog you can learn how to make a Christmas light ball with chicken wire to decorate your yard with for the Holiday season. Just follow the step by step illustrations below.
OVERVIEW
- Experience Required: Low
- Tools Required: Wire Cutters, Protective Gloves
- Materials Required: Chicken Wire, Christmas Lights, Thin Lacing Wire
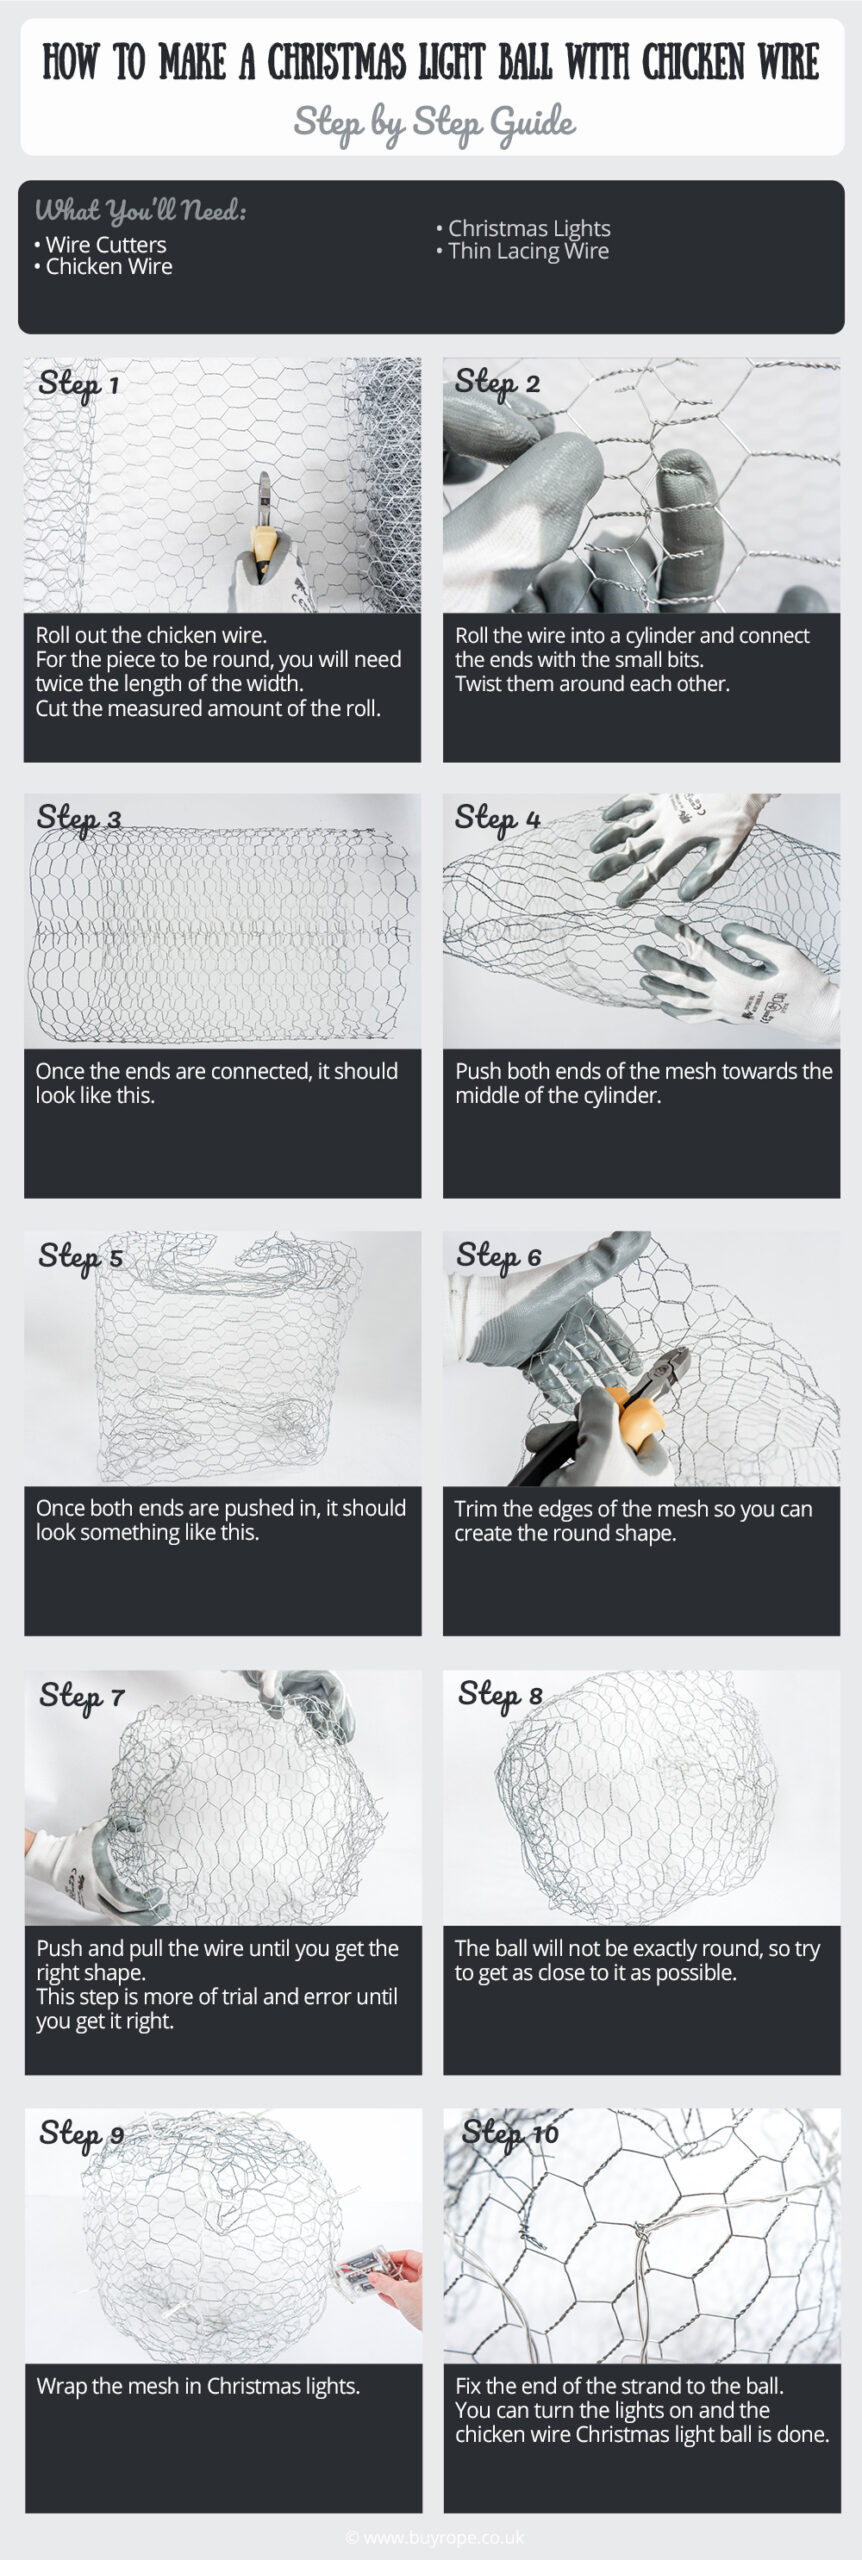
STEP 1) Measure and Cut the Mesh
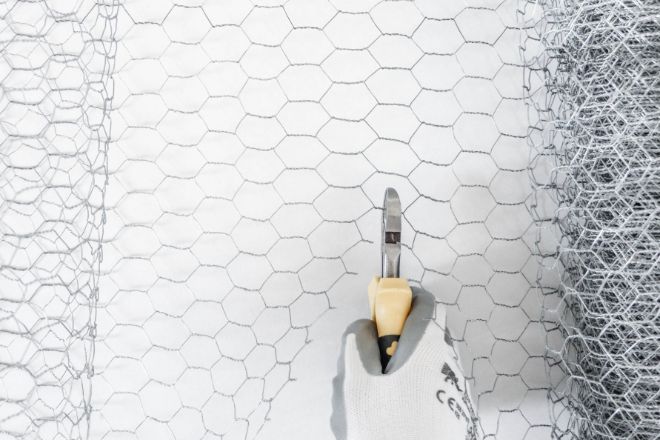
- Roll out the chicken wire and measure out a piece.
- For the piece to be round, you will need twice the length of the width.
- Cut the measured amount off the roll.
STEP 2) Connect the Two Ends
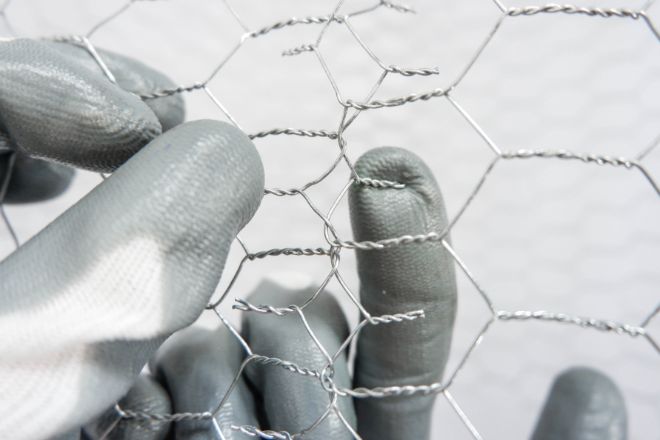
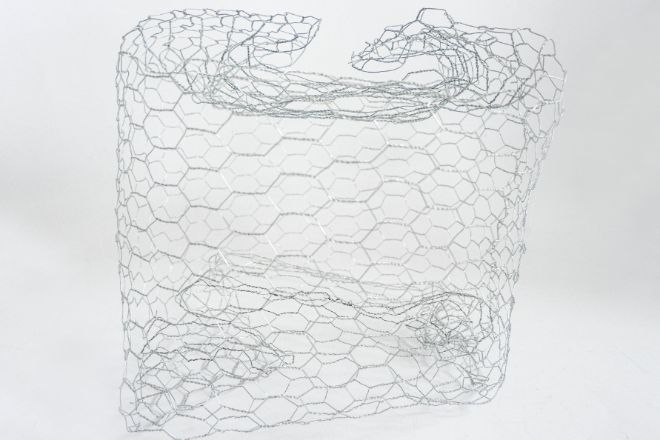
- Roll the mesh into a cylinder and connect the ends.
- Twist the loose bits around each other to tie the ends of the mesh together.
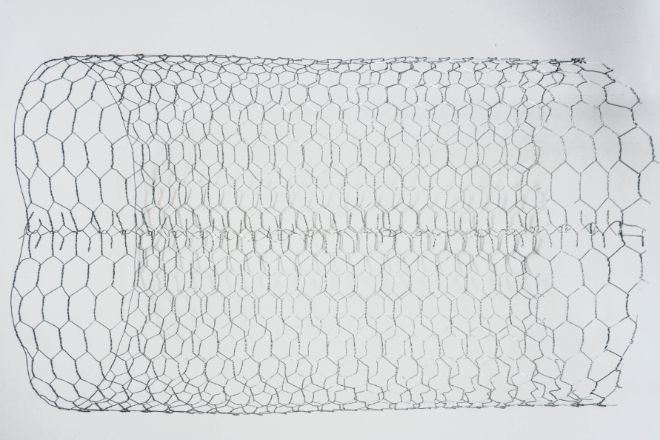
STEP 3) Finish the Cylinder
- Once the ends are connected, the cylinder should look like this.
STEP 4) Start Pushing In the Ends
- Gently push both ends of the mesh towards the middle of the cylinder.
STEP 5) Push In Both Ends
- Once both ends are fully pushed in, it should look something like this.
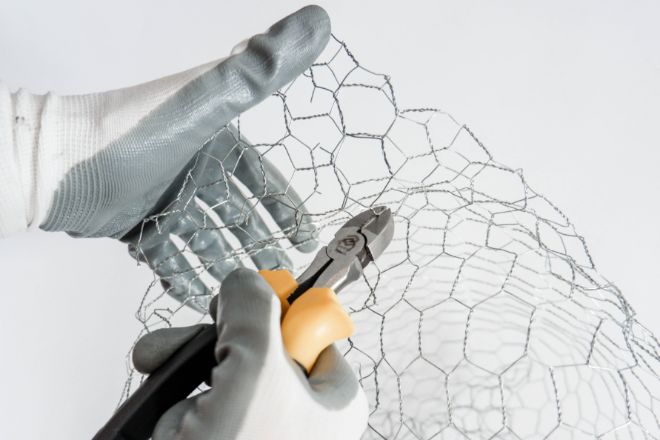
STEP 6) Cut the Ends of the Mesh
- Trim the edges of the mesh so you can create the round shape.
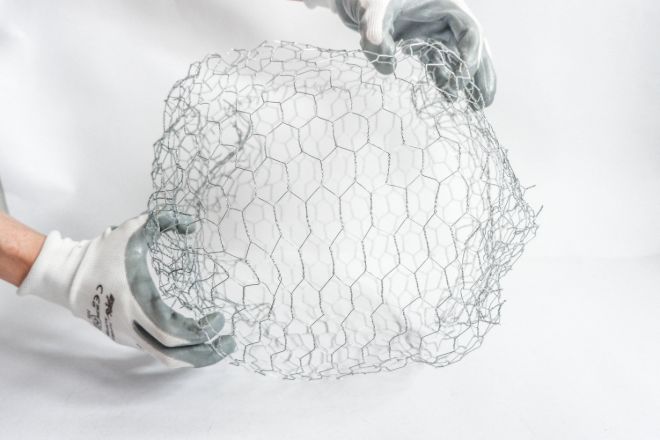
STEP 7) Push and Pull the Mesh
- Push and pull the mesh until you get the right shape.
- This step is more of a trial and error until you get it right.
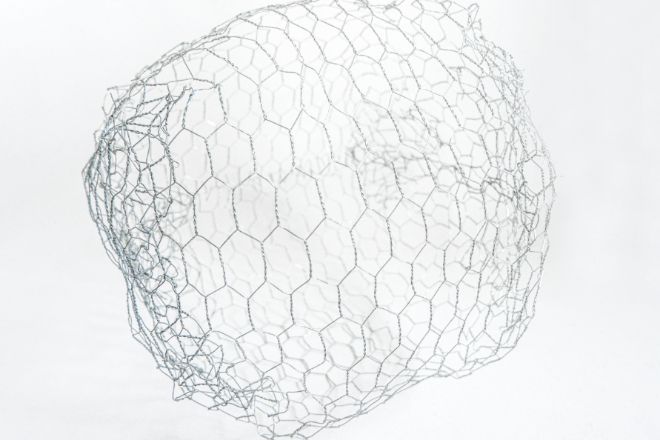
STEP 8) Try to Achieve a Round Shape
- The ball will not be exactly round at first, so try to get as close to the shape as possible.
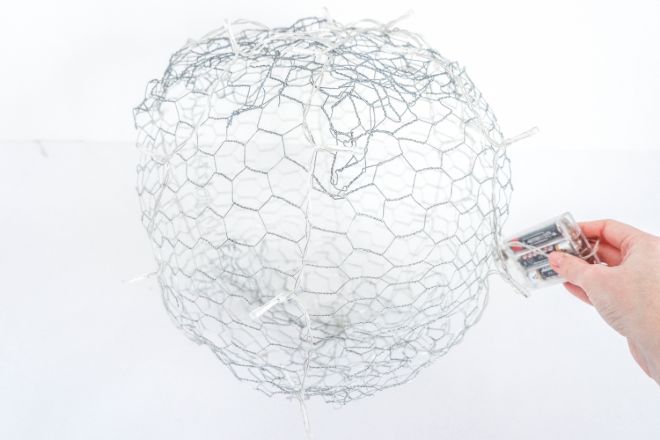
STEP 9) Wrap the Ball in Lights
- Wrap the mesh in Christmas lights.
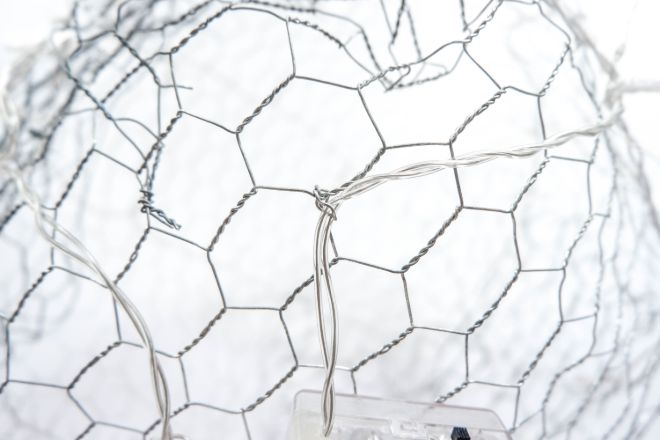
- You can attach the light strand to the mesh with thin lacing wire wherever you feel it’s necessary.
STEP 10) Fix the Strand
- Fix the end of the light strand to the ball.
- You can turn the lights on and the Christmas light ball is done.
FURTHER READING
- Cutting Chicken Wire – Learn how to cut chicken wire with different tools by following this step by step guide
- How To Make Chicken Wire Ghost Figures – A step by step guide with illustrations showing you how to make a ghost shaped figure for your yard
