DIY Catio
Below you will find a step by step guide on how to build a DIY catio.
- Experience Required: Medium
- Tools Required: Protective gloves, Tape measure, Marker, Utility square, Wire cutters, Hammer, Hacksaw, Drill
- Materials Required: Cat-proof mesh, Timber battens (like two-by-fours), Staples, Screws, Hinges, Latch
Step 1) Plan Your Design
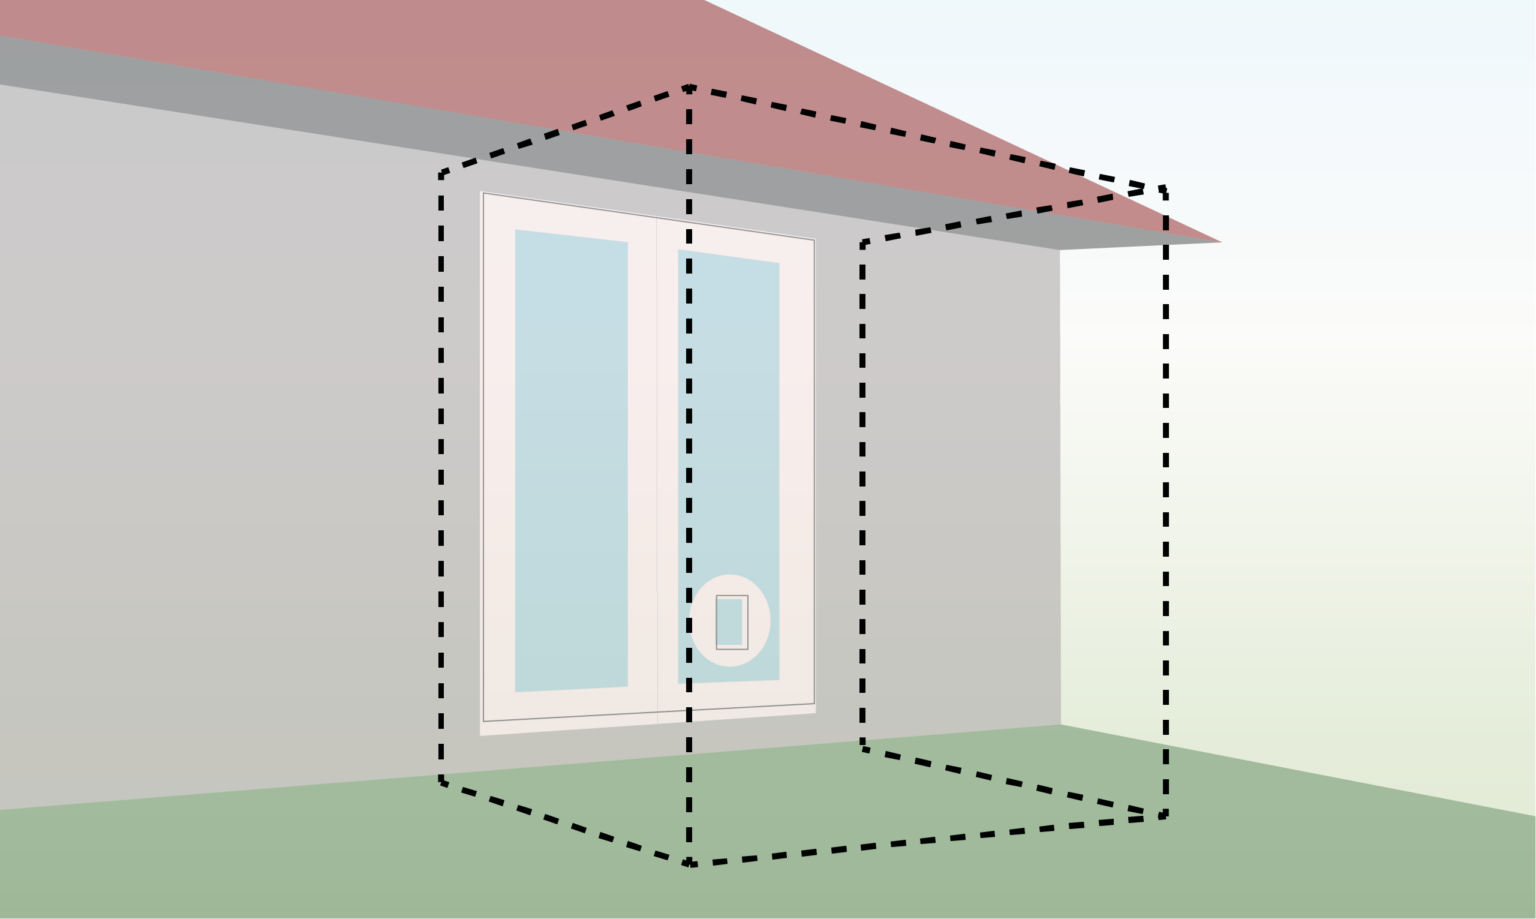
- Design and measure your DIY cat enclosure, considering the following key aspects: allocate 1-2 square meters of space per cat, prioritize vertical space, ensure easy access for your cats through a window, door, or pet flap.
- Choose between a plastic or mesh roof for weather protection.
Step 2) Measure and Prepare Wood
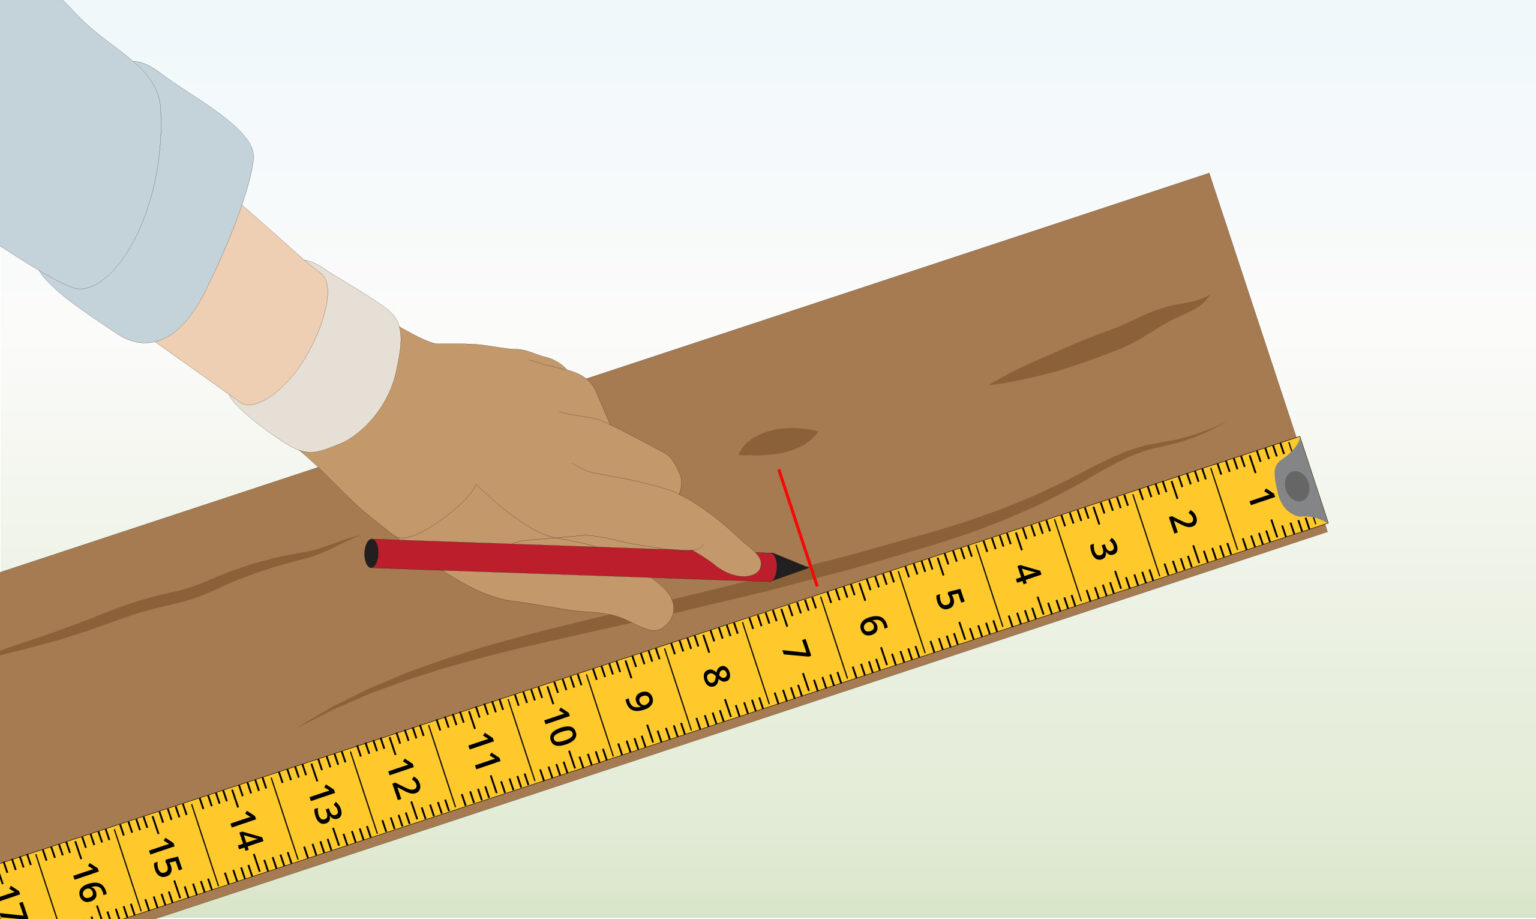
- Begin by gathering your treated timber battens and a tape measure.
- Proceed to measure and mark the pieces necessary for constructing the frames of the enclosure.
Step 3) Cut the Battens
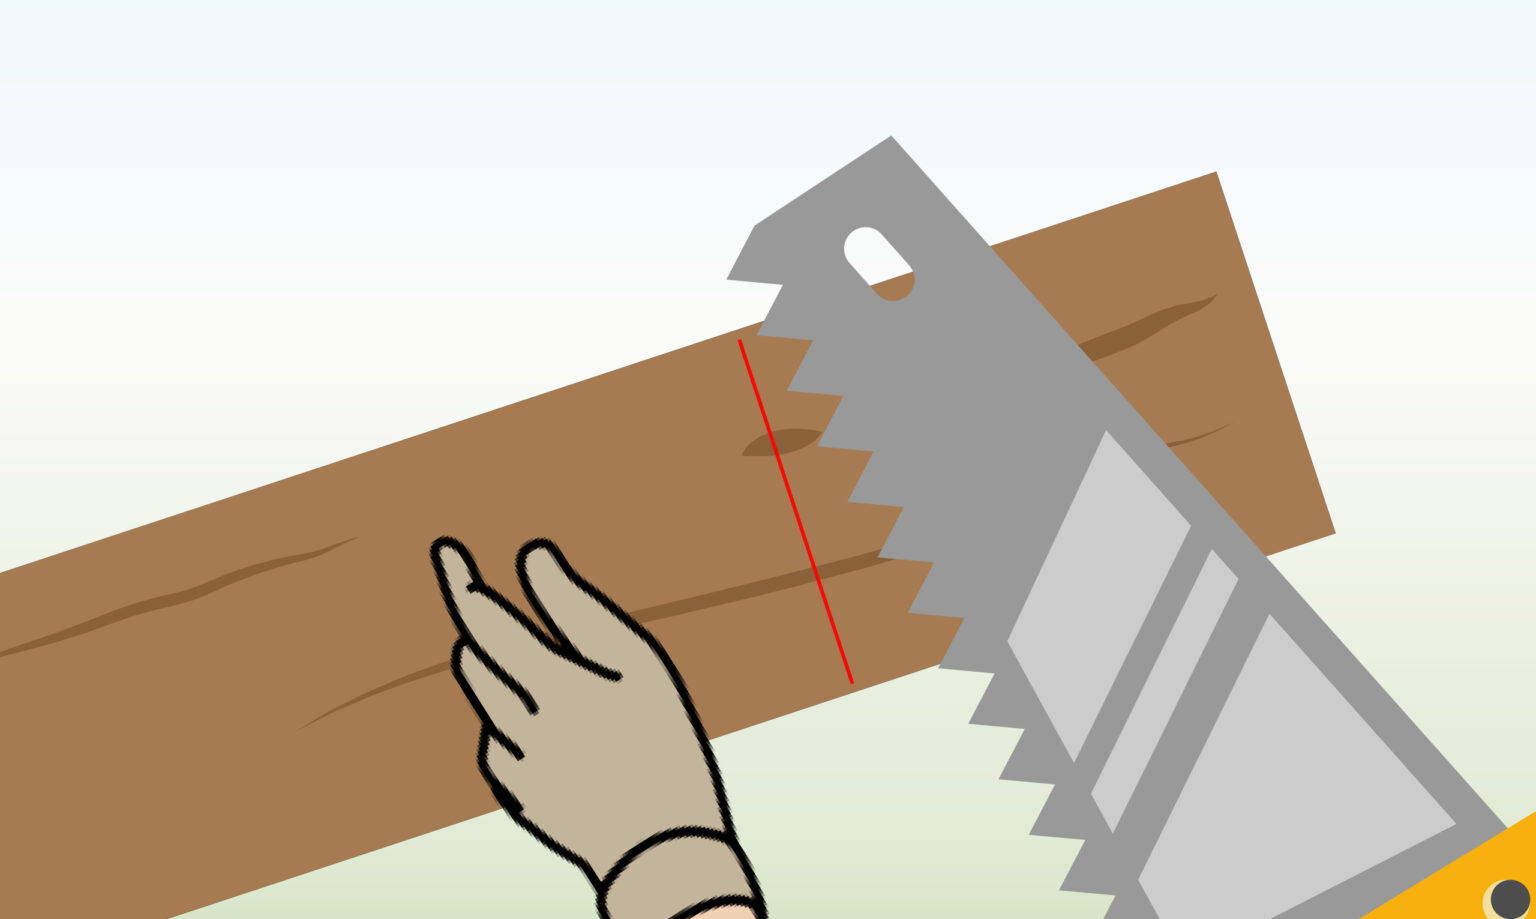
- Place the battens on a stable horizontal surface for cutting with a hacksaw.
- Remember to wear protective gear during this task to ensure safety.
Step 4) Assemble the Frames
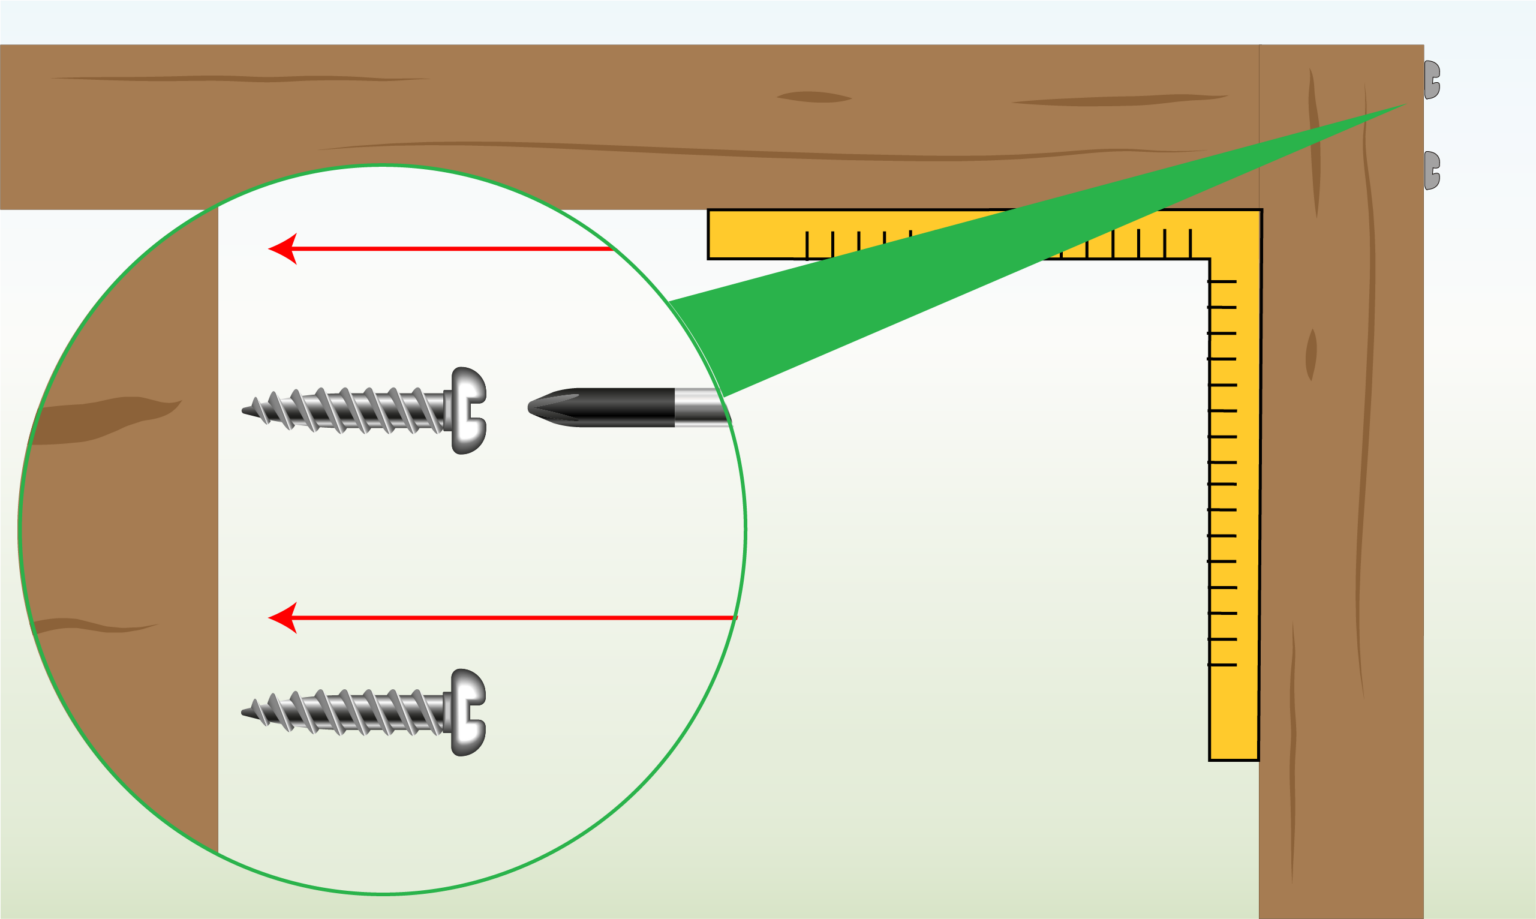
- Use a utility square to ensure proper angles.
- Consider utilizing glue initially for adhesion, in addition to joining the battens with wood screws and a drill.
- Remember to pre-drill and countersink your connections to achieve a smooth and securely finished outcome.
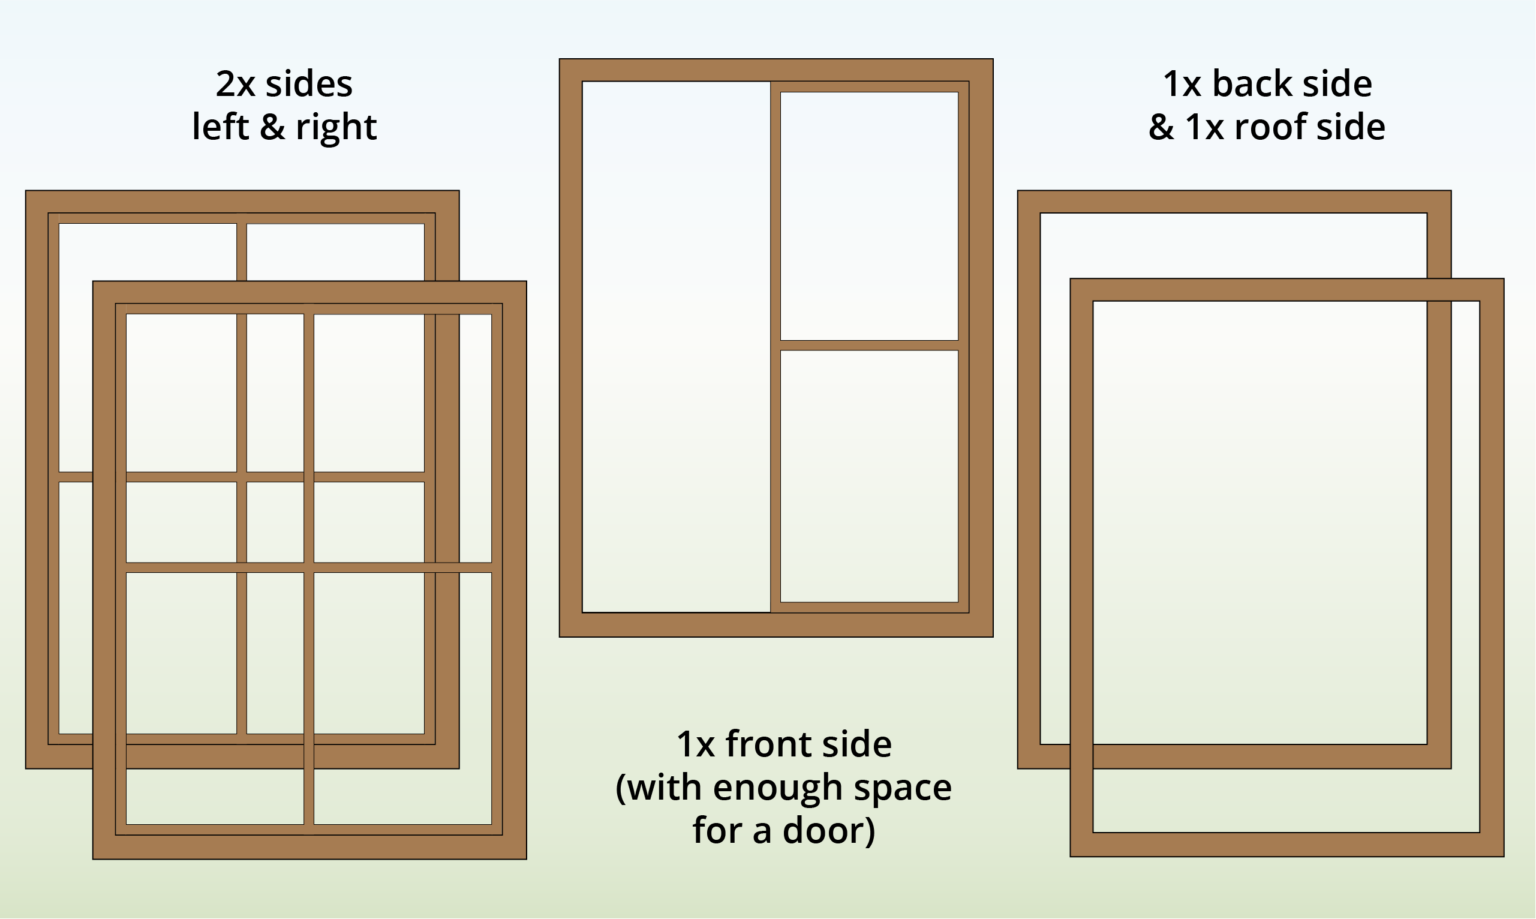
Step 5) Construct the Frames
- Follow the design blueprint and Step 4 guidelines to construct wooden frames for the enclosure.
- Allow room for a door if necessary, and consider a frame for an open mesh roof.
Step 6) Measure and Cut Mesh
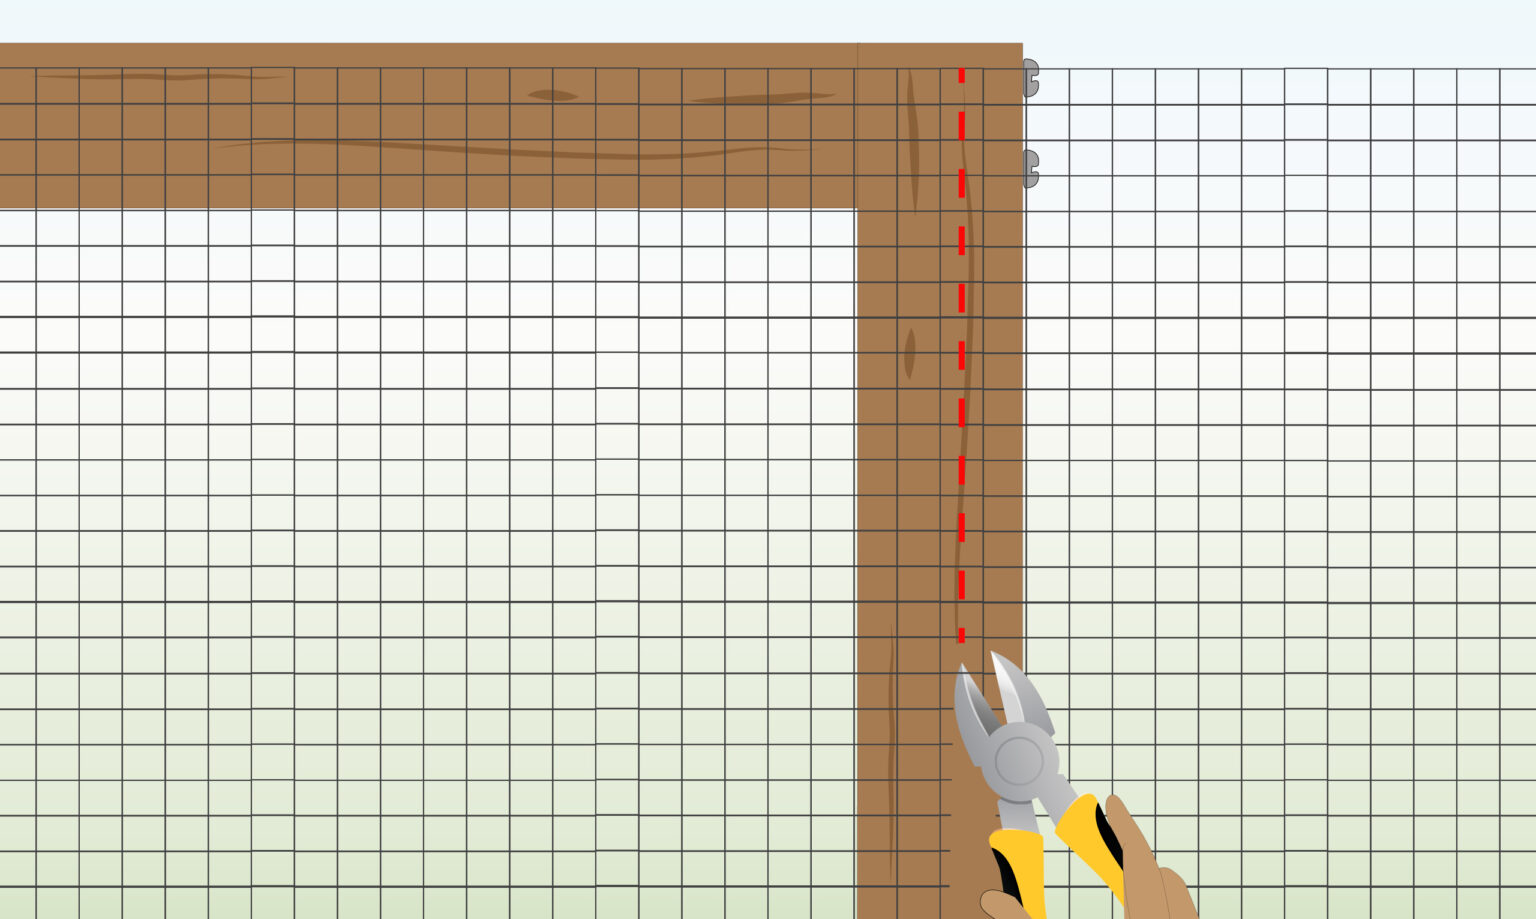
- Position the wire mesh over the frames.
- Cut the mesh along the wood, ensuring overlap with the wood to accommodate staples or attachments.
Step 7) Attach Mesh to Frame
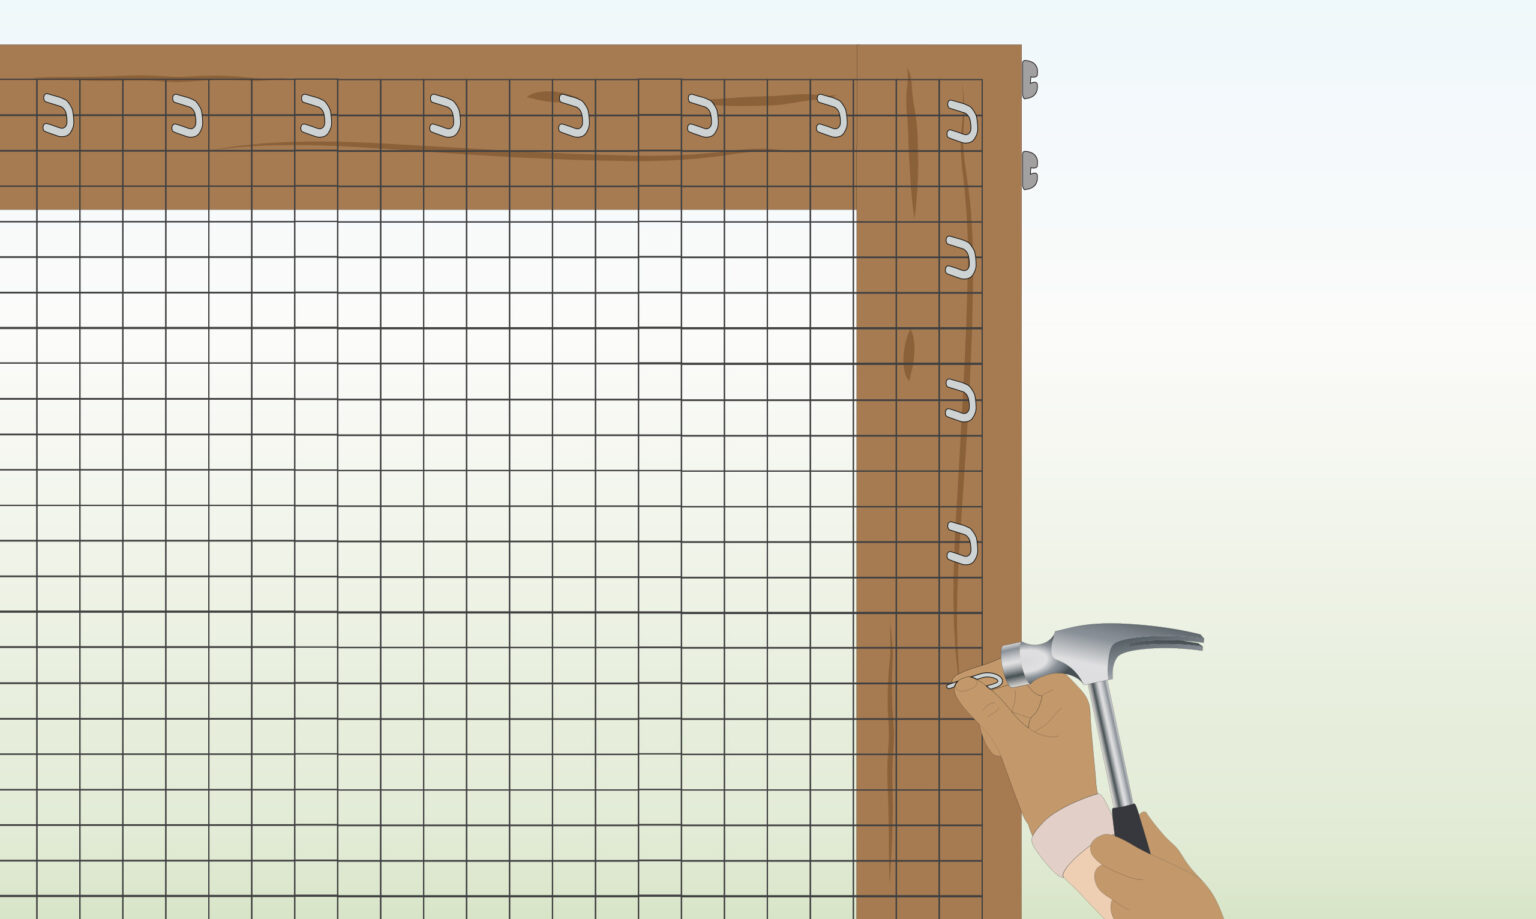
- Utilize staples, spacing them no more than 15 centimeters apart, and hammer them into the wood to attach the netting to the frames.
- Ensure the back side remains open to enable unrestricted entry for your pets.
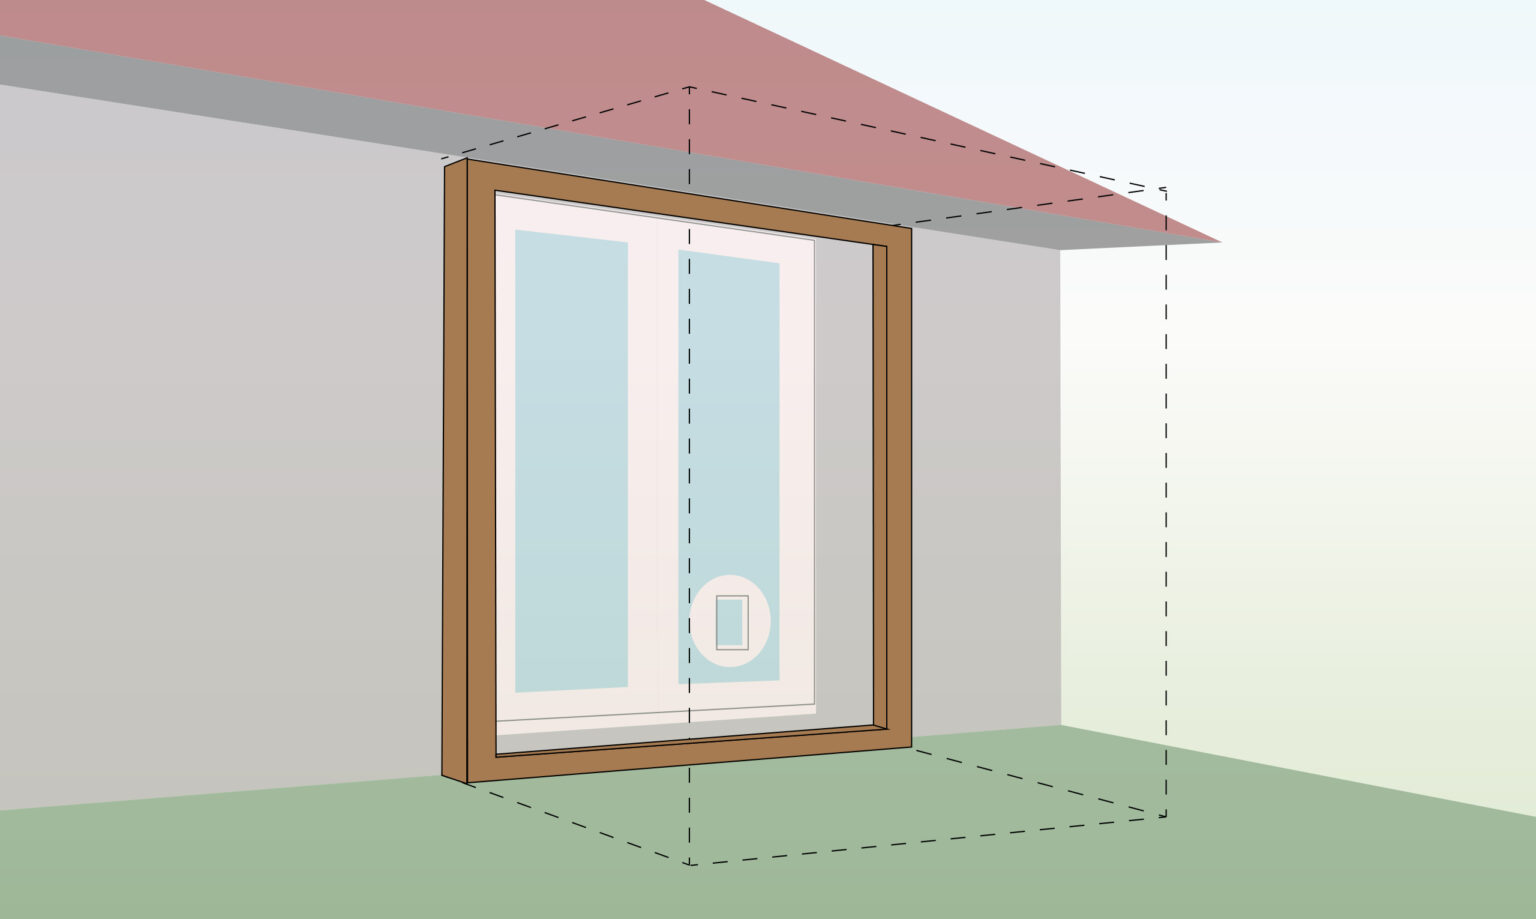
Step 8) Attach Back Frame to Wall
- Depending on the building materials of the house, varying wall fixings may be necessary for this stage.
- Ensure the open back of the enclosure aligns flush with the wall and is firmly attached for security.
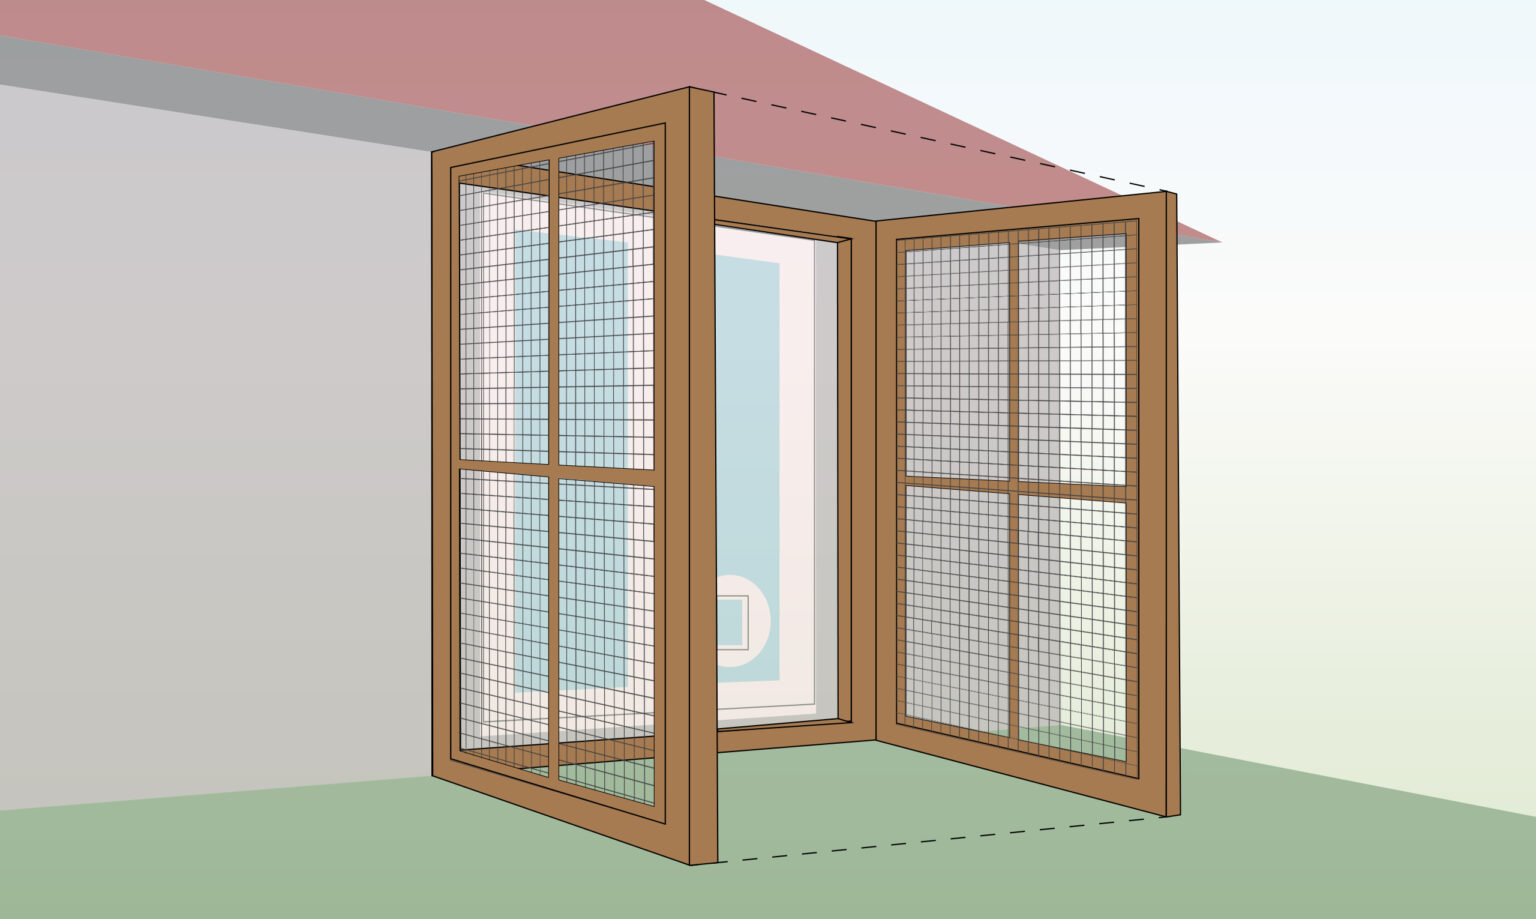
Step 9) Join the Frames
- Secure the two side frames to the back frame using screws, employing at least 4 points of attachment per side.
- Ensure that the mesh attachments are oriented outward for proper installation.
- Remember to pre-drill and countersink your connections to achieve a smooth and secure outcome.
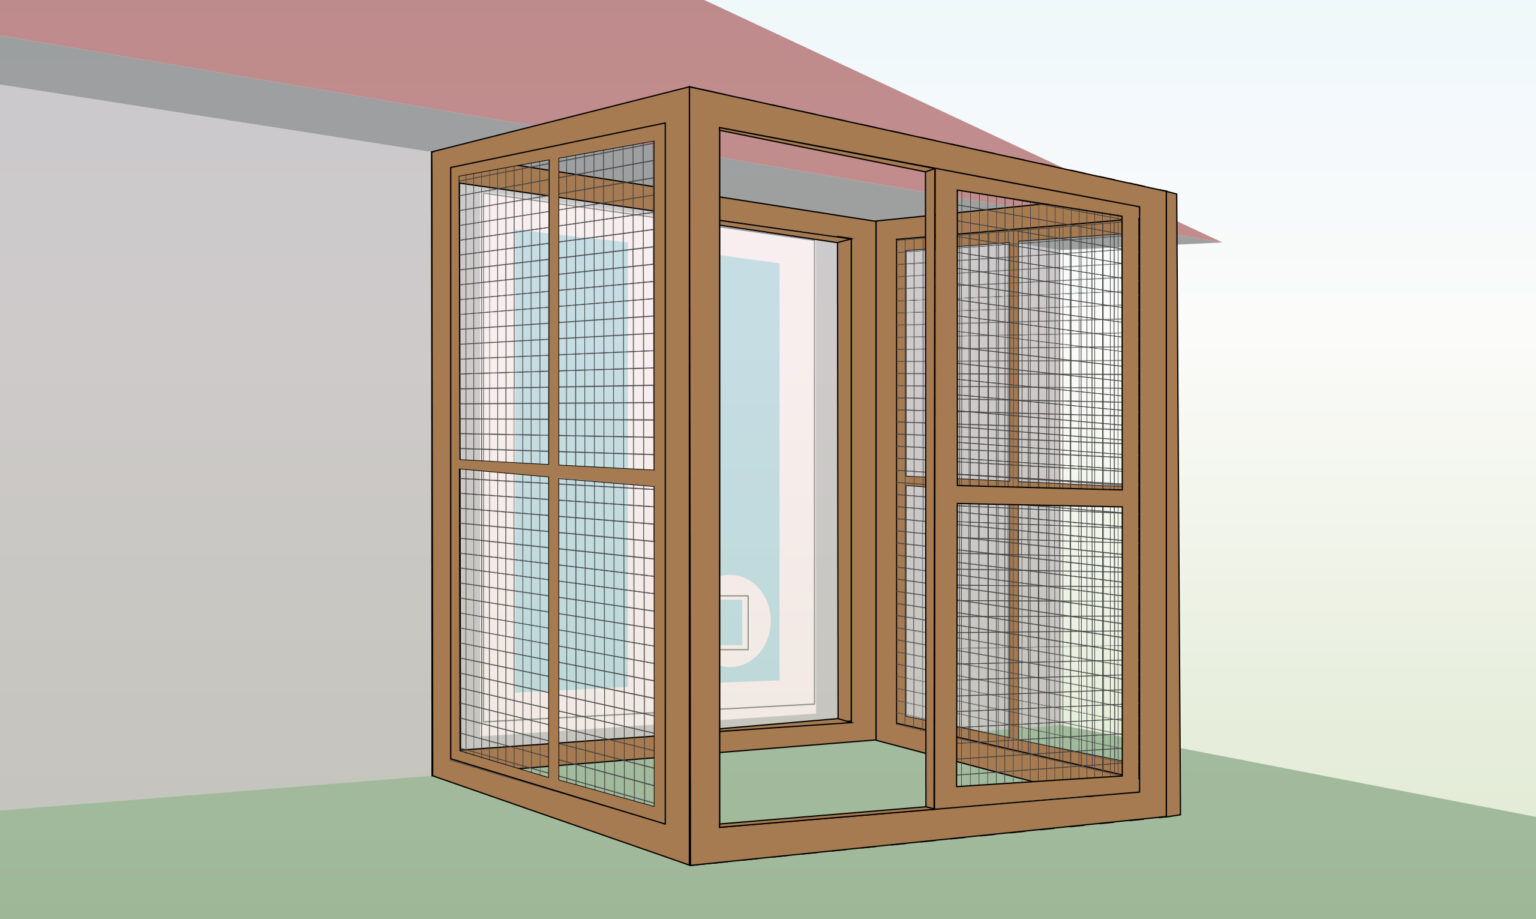
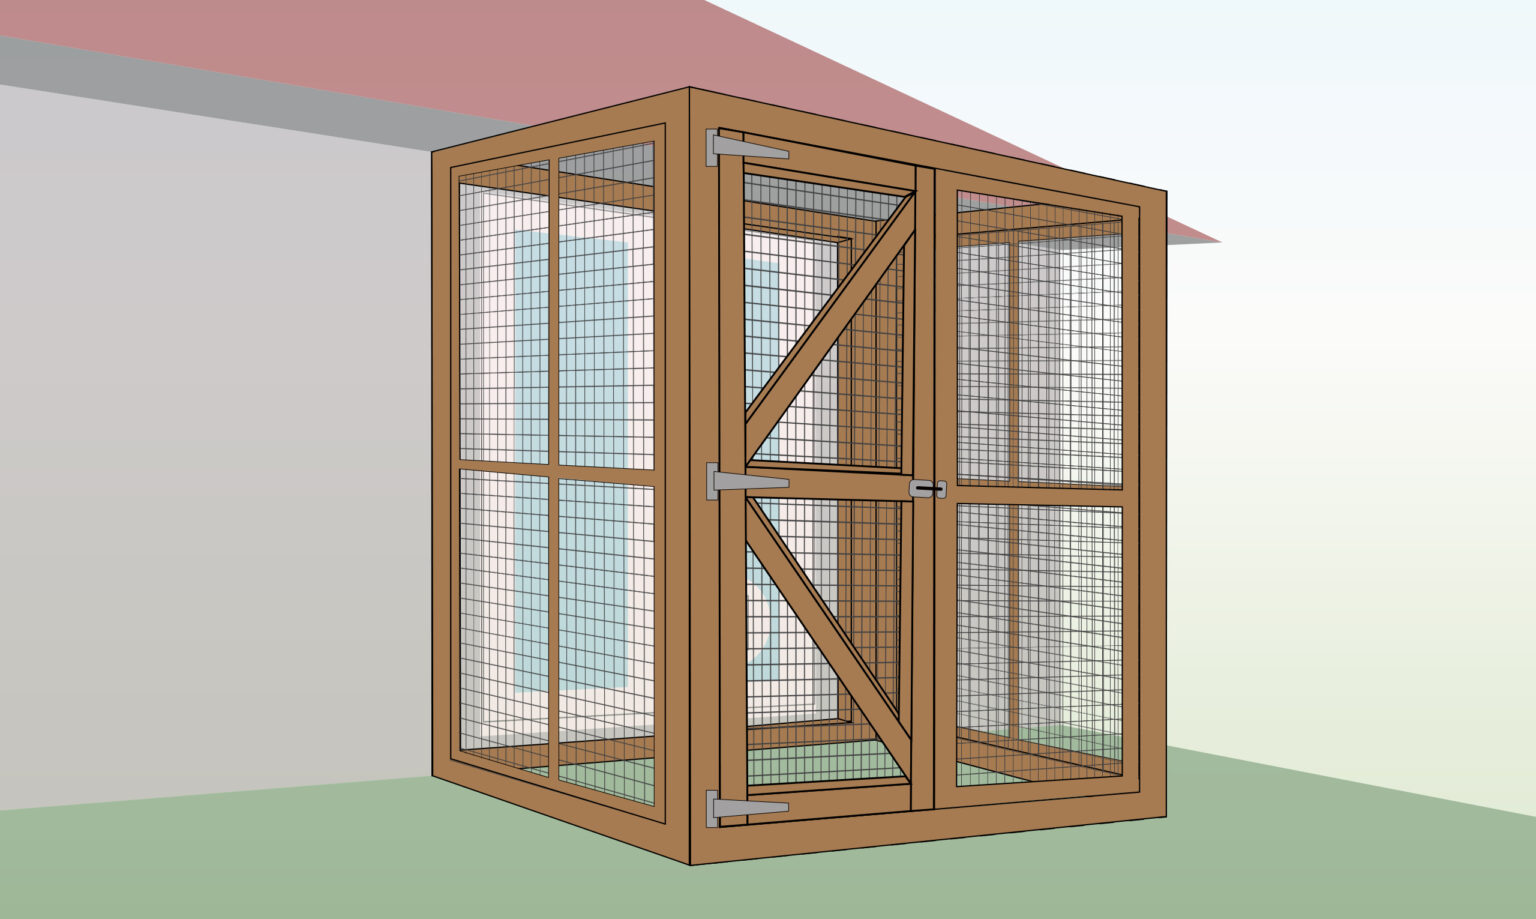
Step 10) Attach the front frame
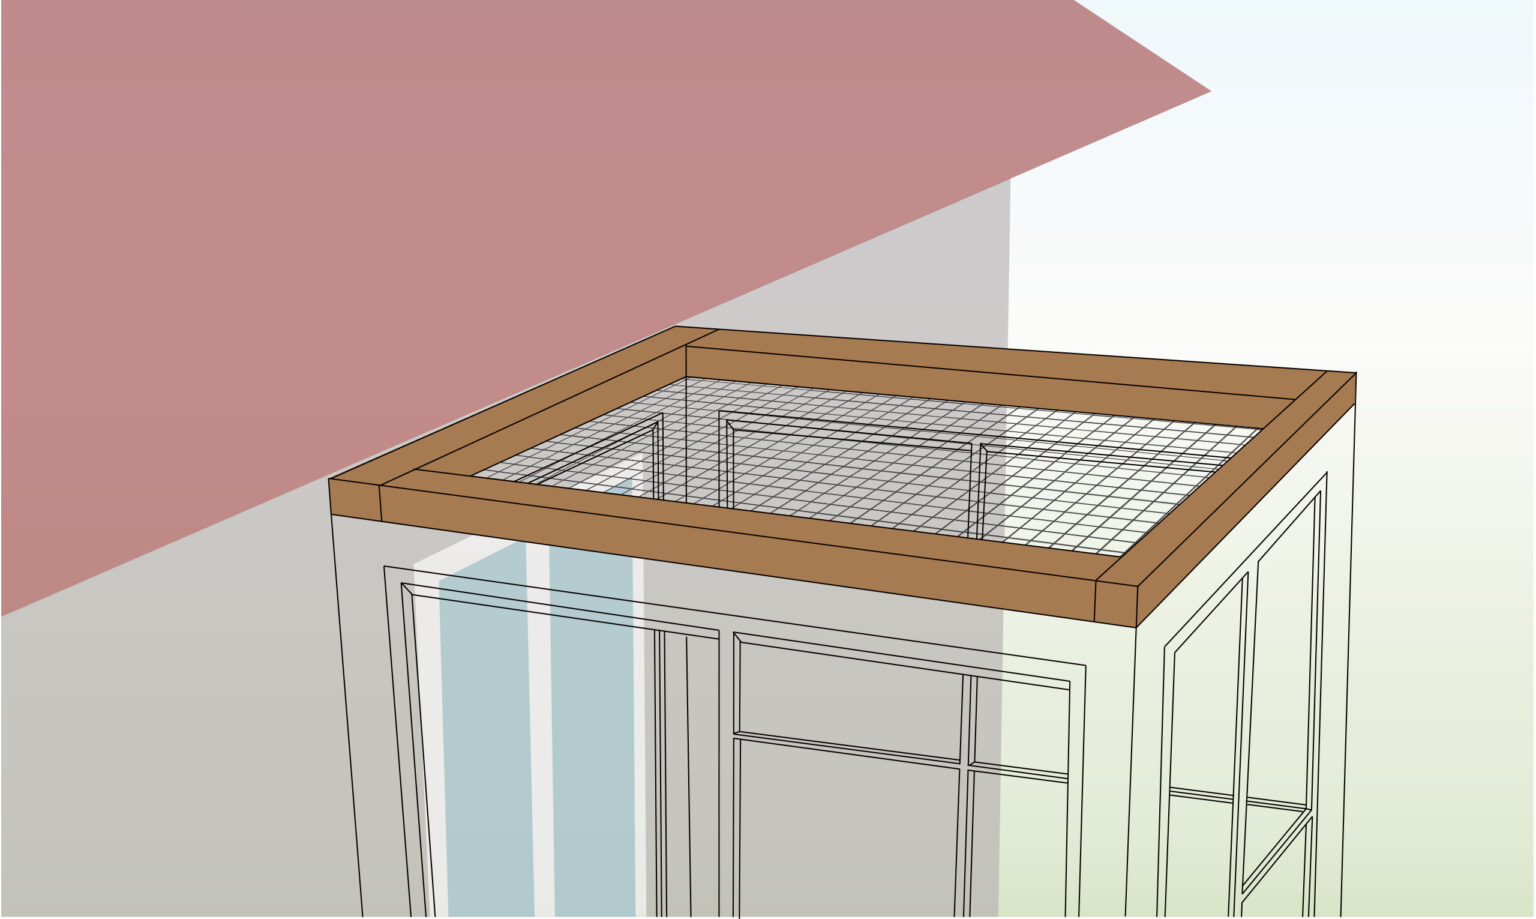
Step 11) Attach the roof – Open (Mesh)
- Implement steps 7-8 to install the roof panel and enclose the catio from above.
- Ensure sufficient shade is available if opting for this roofing style to safeguard your cats from UV rays.
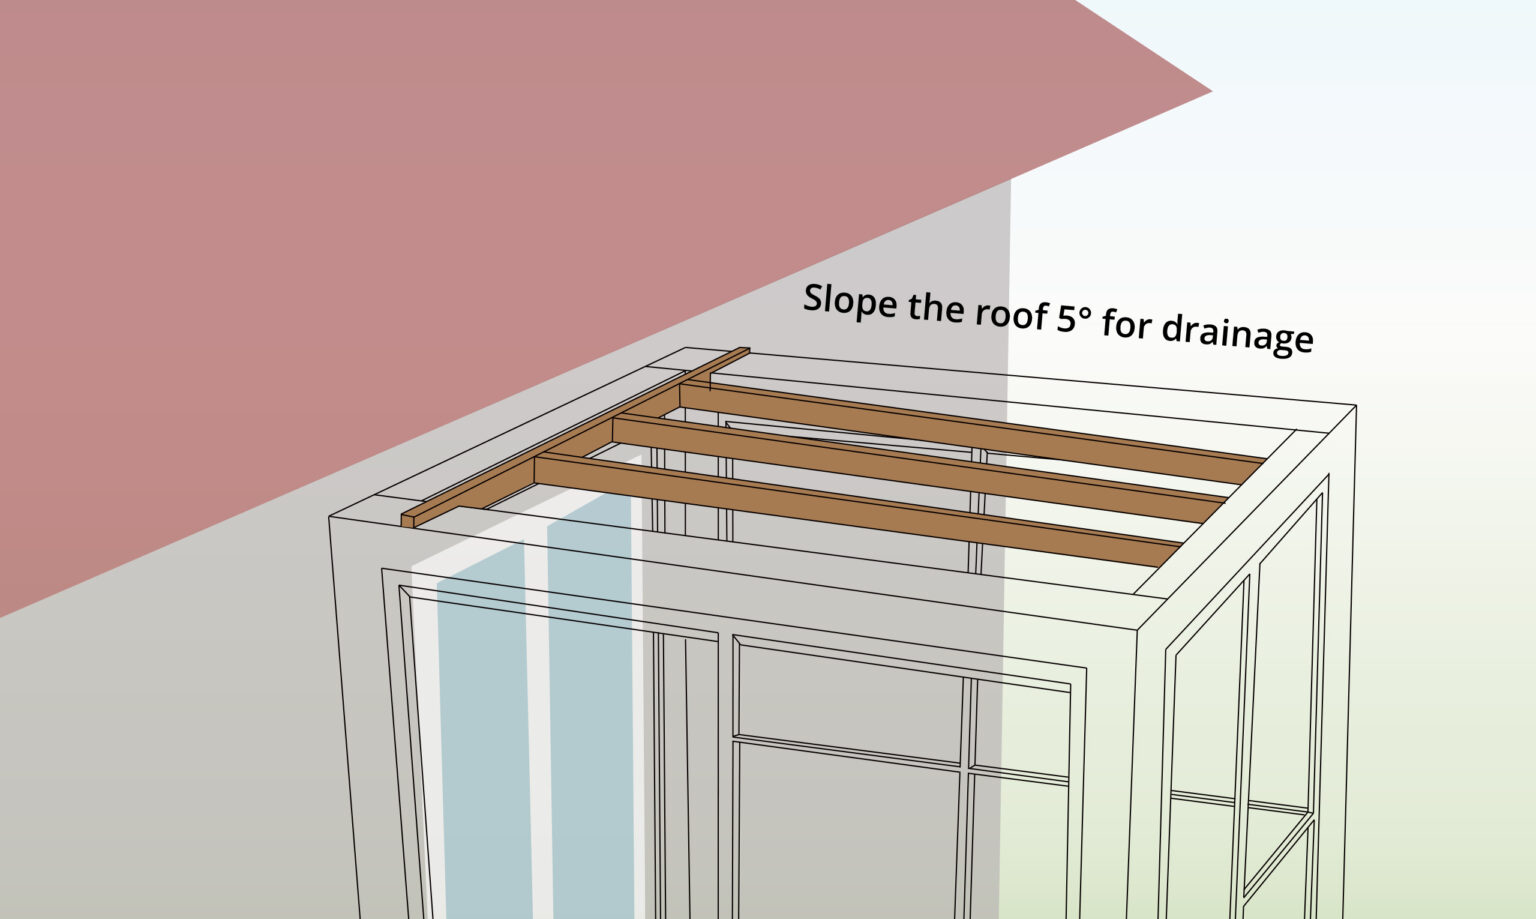
Step 11b) Attach the Roof – Closed (Plastic)
- Attach battens to the back of your DIY catio, with perpendicular ones for drainage.
- Use plastic roofing sheet and screws to prevent water from seeping in.
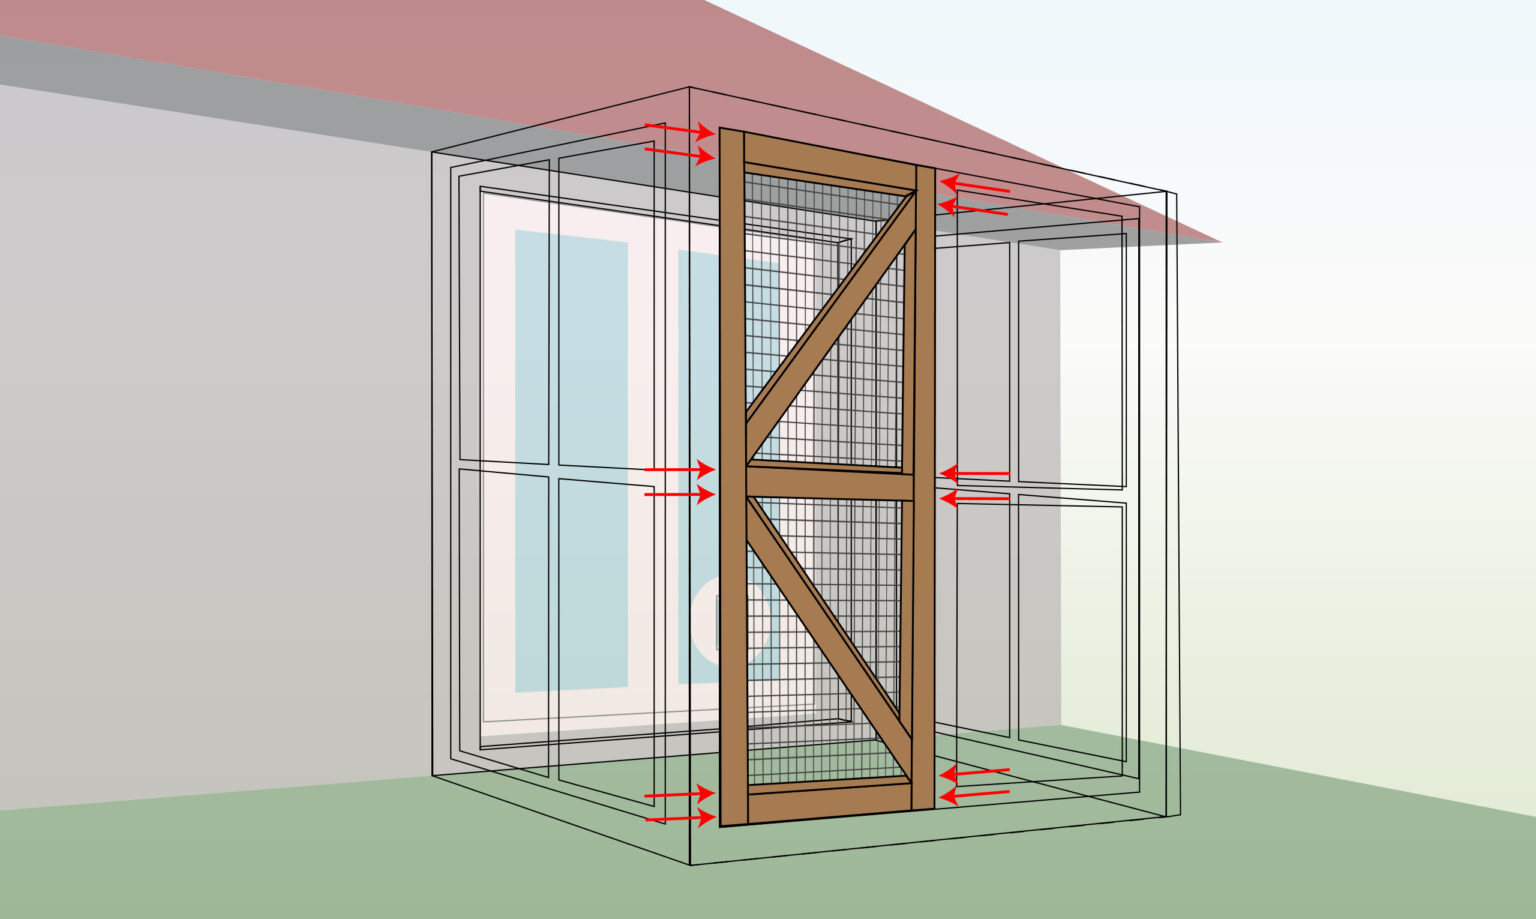
Step 12) Build Door (if applicable)
- To make your catio safe for your cat, add an interior doorway and consider having two entry points.
- Reinforce the door with diagonal braces and apply mesh to the exterior for durability and security.
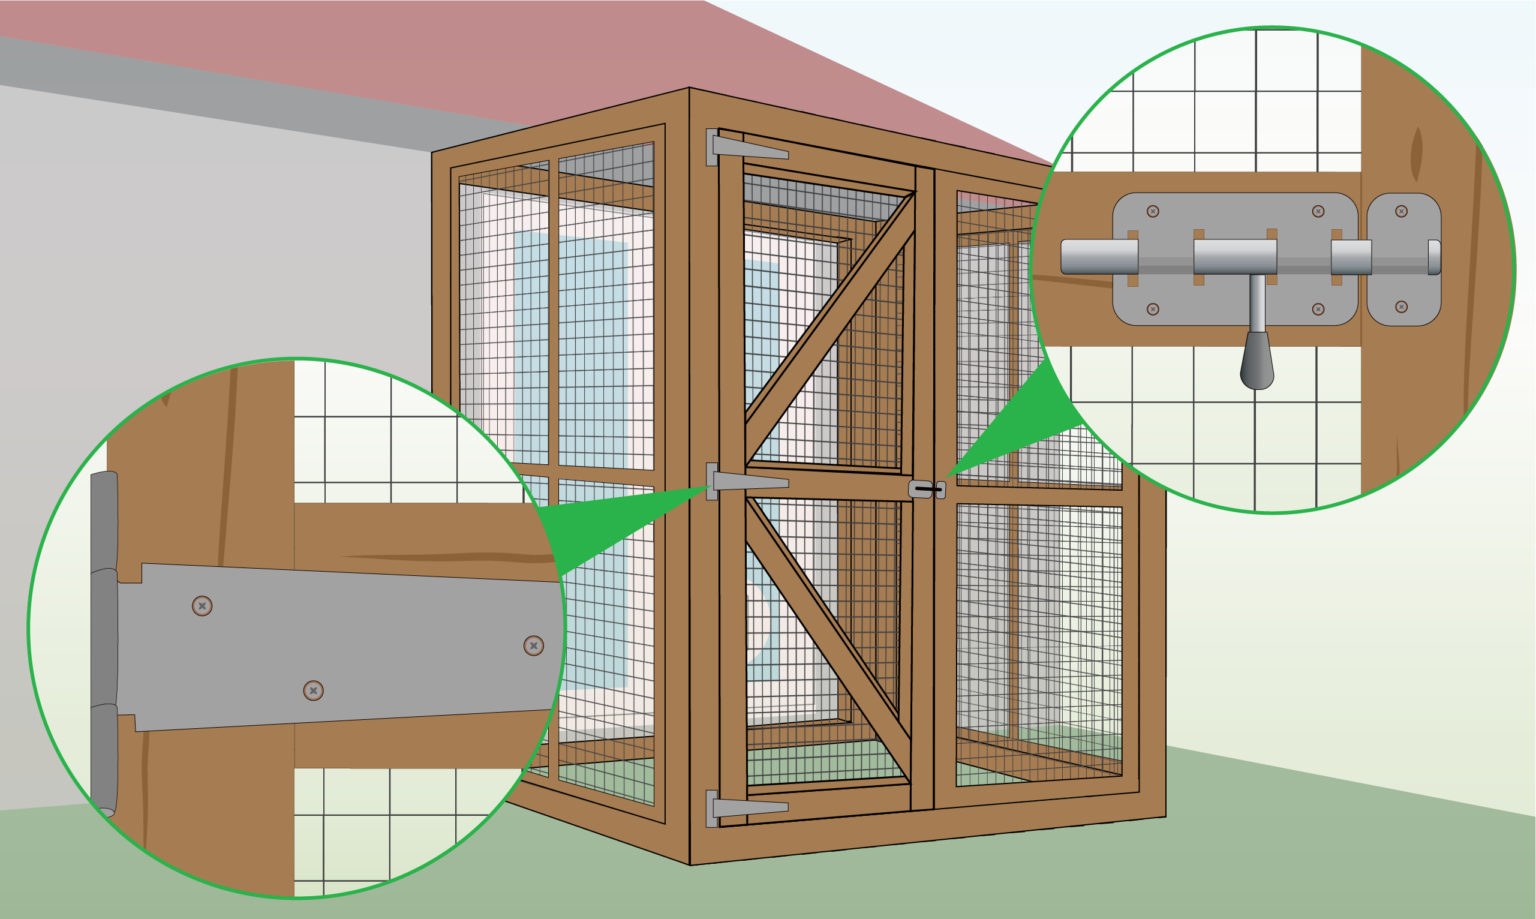
Step 13) Attach Door (if applicable)
- If you are not installing a door, proceed to the next step.
- Secure three latches to the wooden frame using screws.
- Additionally, affix another latch to ensure the door remains closed securely.
Step 14) Verify Weak Areas
- Prepare your catio by inspecting all sides and connections for proper attachment.
- Eliminate potential escape routes and securely fasten the back frame to the wall.
- Verify that the door closes smoothly and securely.
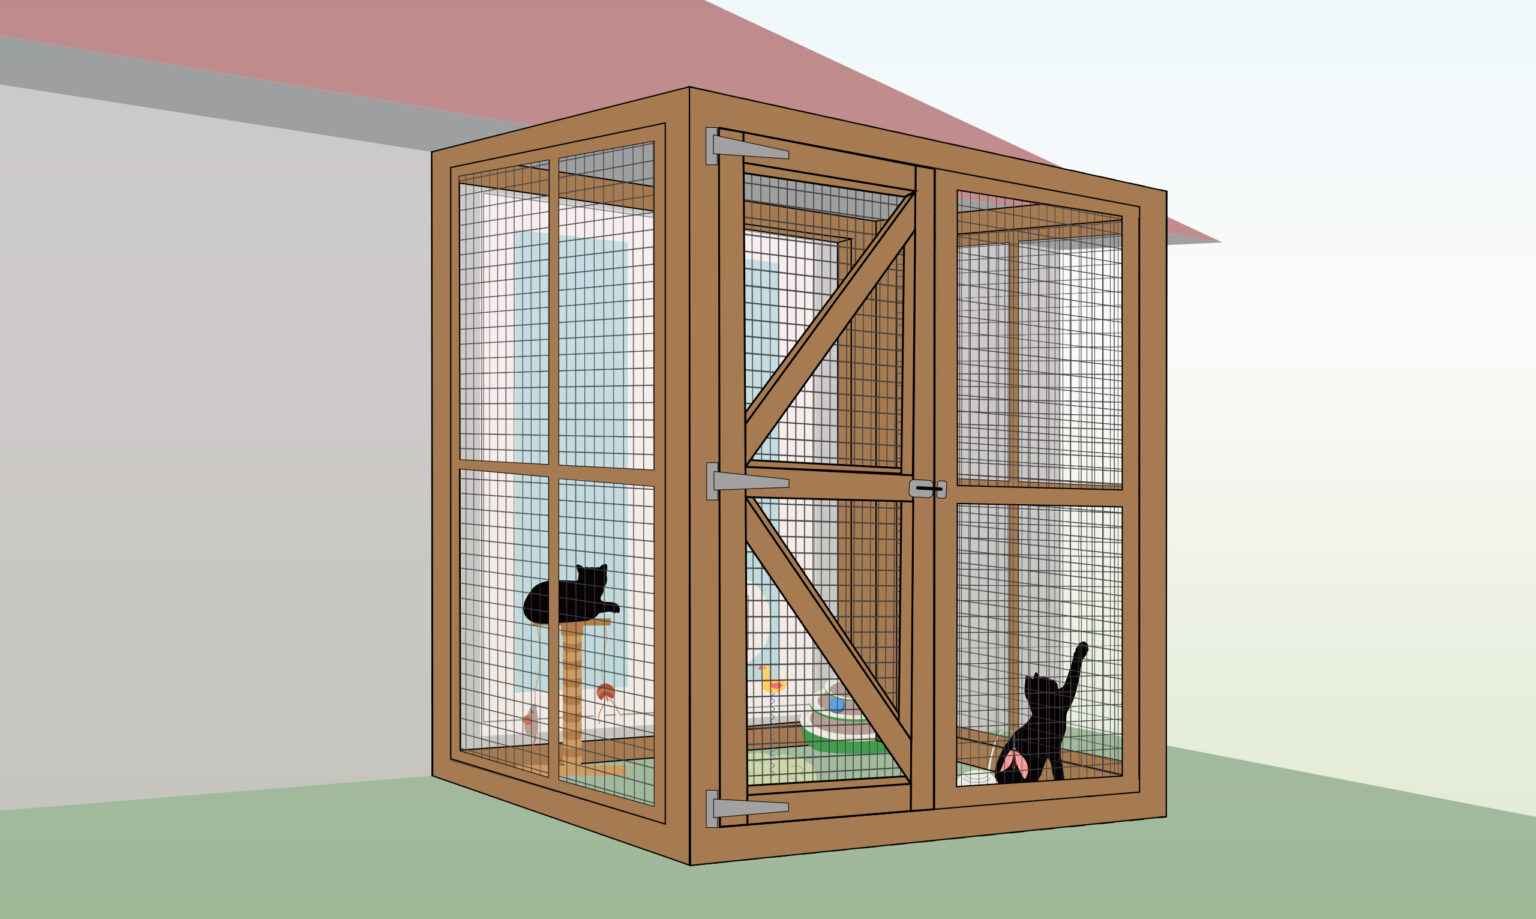
Step 15) Furnish Your Finished Catio

-
Enhance your cats’ outdoor experience with these additions to your DIY catio: climbing structures, cozy hiding spots, scratching posts, cat-safe plants, and toys.
Do’s
- Ensure materials used are suitable for outdoor conditions to prevent the growth of mildew and mold.
- Provide fresh water and a litterbox to enhance comfort for your pets.
- Select materials that are soft, comfortable, and free of splinters and sharp edges.
- Choose pavement, wood, or grass flooring over gravel or crushed stone.
- Create circular routes with shelves and climbing trees to facilitate movement, especially for multiple cats.
- Incorporate plenty of hiding places and shade, while also allowing sunlight into your DIY outdoor cat enclosure for your felines to soak up some sun.
Don’ts
- Refrain from leaving food outside to prevent attracting strays and wild animals.
- Avoid using pallets and other materials treated with harmful chemicals.
