
Customer Project of May 2024

Each month, WireFence showcases a customer project of the month!
The team loves seeing products in action, selecting a favorite through a vote based on reviews and extra images sent through LiveChat or email.
May’s Pick – Diamond Shaped Trellis
This month’s favourite project belongs to Sophie, who made use of our standard 1,50m square panels in 4mm thickness to create trellises for her honeysuckle and berry shrubs.
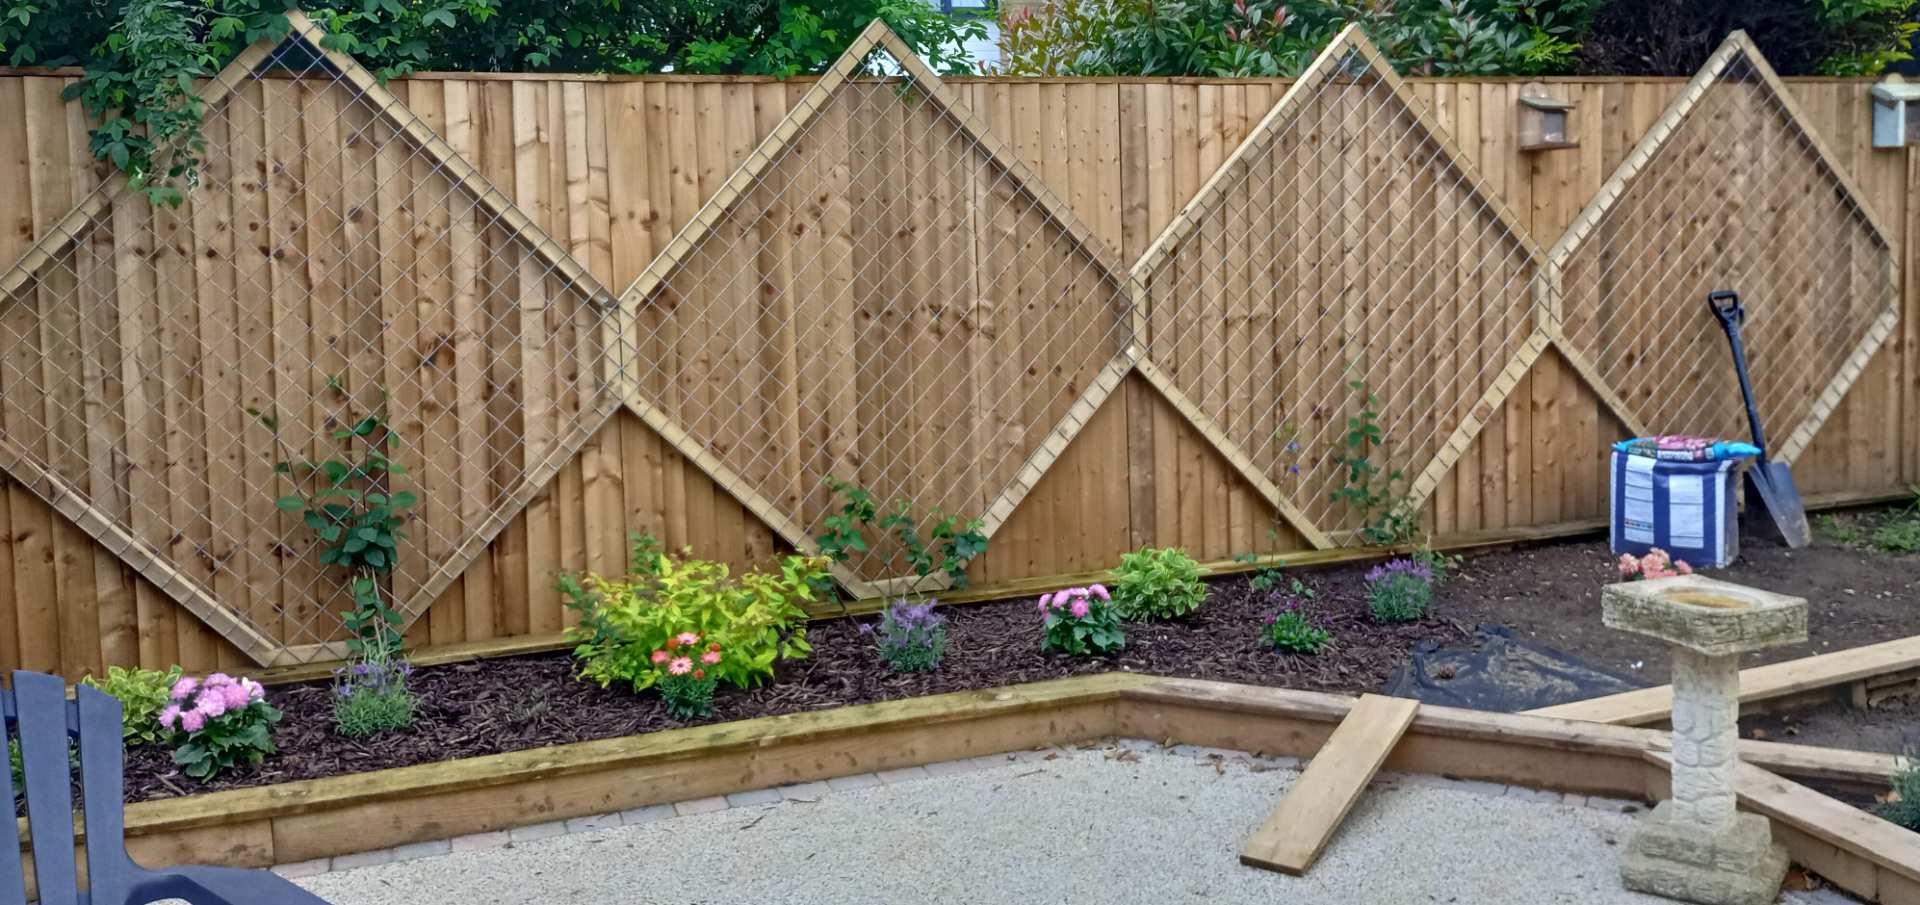
Diamond shaped frames have been attached to the wooden fence, which then provided a new home for the mesh panels. The squares had to be cut slightly at the corners in order to follow the shape of the frames.
The 4mm mesh will provide ample support for the berry bushes, as well as the honeysuckle to grow into a beautiful living fence. Once they grow into the frames, these shrubs will provide not only a relaxing view but healthy sweet treats and a lovely smell during the summer months.
“Thank goodness I found Wire Fence! The 150x150cm galvanised mesh panels were Just what I needed for my honeysuckle, blackberries and raspberries.” – Sophie
In May, we didn’t receive as many photos of customer projects as usual. However, the team felt it was still important to highlight the other amazing project we’ve been updated on.
Honourable Mention – Primary School Seating Area
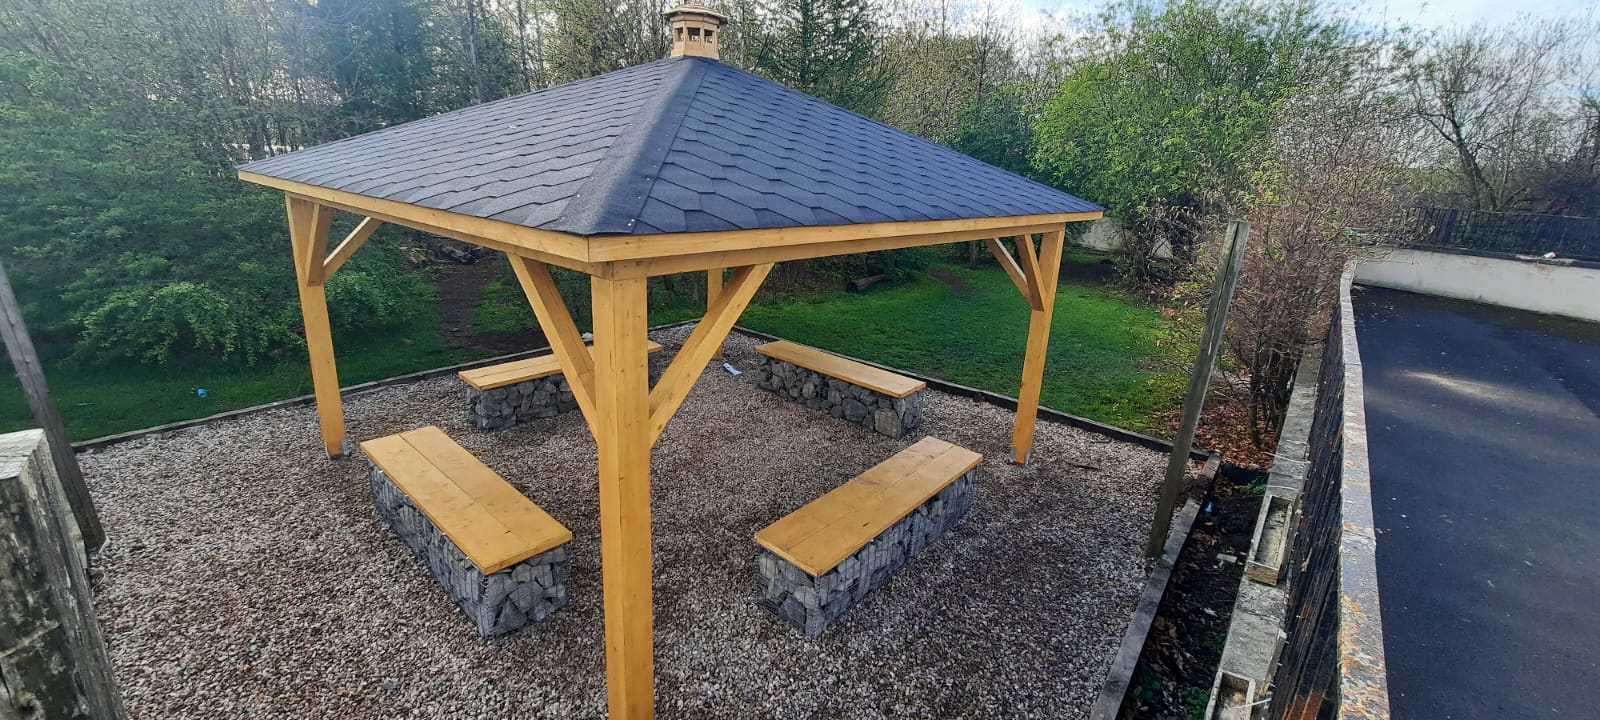
Lesley from Linnvale Primary School got in touch with us asking for advice on how to attach the wooden tops to benches, as they were looking to build several gabion seating areas around the school yard.
As this was a project financed by a school, we were able to provide the gabions at a cost price. The project is still underway but they managed to build quite a few already. We’re looking forward to seeing even more benches come to life and being used by the pupils and teachers alike.
“Everyone loves our new gabion seating and we are now adding even more!” […]
To make the benches we got planks of wood that we cut to fit the length then nailed together to make a width that was two planks thick (1 plank cut in half did one bench). We used a thin strip of wood across the two planks at the ends to hide the nails and prevent any rough edges, plus it made it a bit more robust.To attach the planks to the gabion lid we used a metal strip that has holes in it for attaching (galvanised fixing roll) and treated it with fire resistant paint before painting with wood treatment. We got the gabion stone from our local quarry, which if you buy loose rather than bagged is a lot cheaper .”Lesley, Class Teacher at Linnvale Primary School
Published by